TR2 - THE FENICIAN TEMPLE 3
Author: Turbo Pascal........... Homepage
Download: Here.....

WALKTHROUGH BY VIRUS-INSIDE
Here's
the walkthrough and I've included the only semi- secret: the automatic pistols.
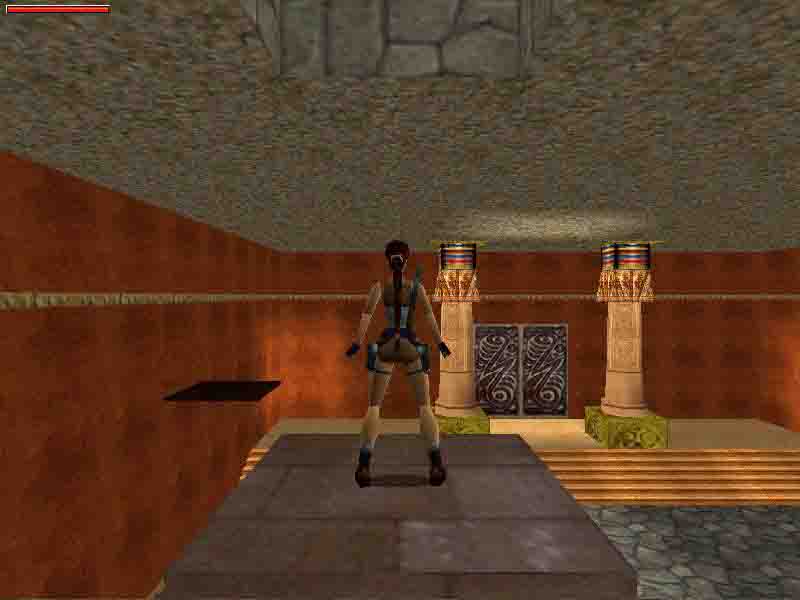
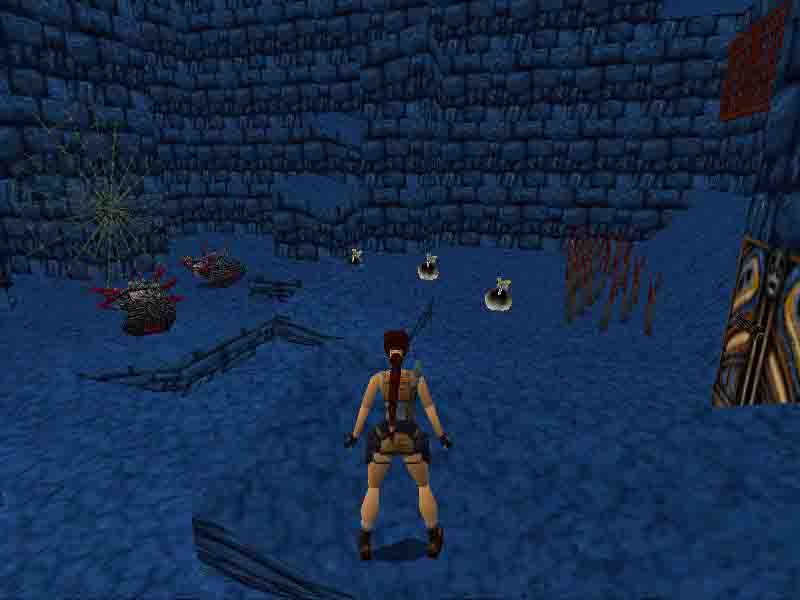
The level begins with Lara on a tall stone pillar. Drop to the floor and head
to the right corner of the room. There you will find a small medipack. Notice
the double doors ahead- you will come back to them later. For now, go to the
section of the floor that is facing the high passage with the collapsible
tile. Position Lara toward the opening and run over the red tile that is actually
a bouncing pad. Keep running when you land or youll fall back down. Continue
up the passage to enter a room, littered by broken columns. Locate another
bouncing pad in the left side of the room next to the columns. Look up to
make sure that Lara is facing the opening and run forward. Lara should land
on the upper section safely. Turn to the left and approach the opening. By
now youve distinguished the sound of the rolling blades. Wait for the blade
to come and start running after it when it makes its way down again. At the
end of the passage jump forward and angle Lara a little to the left to land
in the opening and clear of the blades way. Repeat this with the next blade
thats waiting in the next passage. After accomplishing this, youll be in
yet another passage. Notice that this time the blade passes the opening Lara's
in. Turn to the left and wait for the blade, the moment it passes you and
goes to the right, start running and jumping at the same time, and in the
end of the passage jump to the left. Now that youre safe, go and pull the
switch to open the double doors from the main room. Backtrack to the opening
in the ceiling while running in front of the rolling blades . Safety drop
to the floor but be careful not to land on the bouncing pad. Run through the
passage to the room you initially started in. Safety drop once again and head
for the now opened double doors.
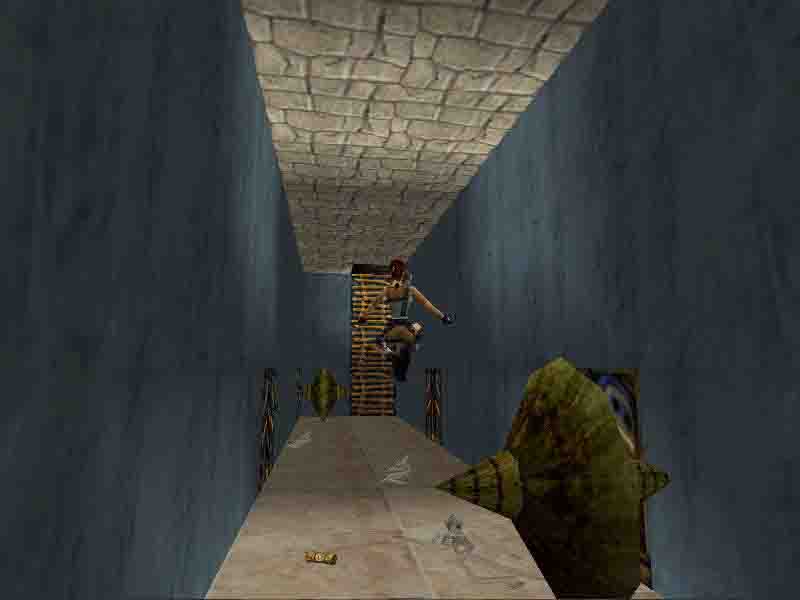
The room ahead has two tall platforms supported by columns. If you run forward,
the camera will move away from Lara to show you around the room. Face the
entrance and notice the switch up above (which opens the double doors) and
the collapsible tile that leads to another passage. Youll use the switch
much later, so head to the left platform and inspect the floor. Youll come
across a tile, which is slightly lighter than the rest: another bouncing pad.
Face off the wall and run forward to bounce to the top of the platform. Take
a running jump to the collapsible tile and emerge on the platform. Pick up
the box of flares and ignore the flare on the ground, as you dont need it
for the passage up ahead. Run to the exit and draw pistols because there are
two tigers inside. You can run in and kill them in the room while jumping
around to dodge them (be careful of the broken columns that obstruct Laras
way). Or when you enter the room you can hop back in the passage and kill
them from there, as they will not follow Lara inside. After theyre dead,
run up the stairs to the top. Take a running jump to grab the edge of the
first collapsible tile and pull up. Run forward and stop before you step onto
the last tile. Side flip to the left to the safety of the ledge. Turn to the
left to the nice little obstacle ahead. Wait until the rolling blade passes
you and jump to the platform. Hop back and grab the edge. Shimmy to the left
until you reach the double blades. Wait for the rolling blade to pass to the
right and pull up. Immediately side flip to the left and then jump forward
to land in the opening of the passage, concealed by some vegetation.
At the end of this passage is the hardest puzzle in the level but its not
that bad if you follow the instructions. Jump down and grab the edge. Shimmy
to the right and drop down. Dont worry, the blade wont harm you here. Wait
for the blade to pass and turn to the right wall. Side flip to the right twice
and side step to the left once. Pull the switch and roll. Wait about 4 seconds
and jump forward (this should be about when the blade is passing over a black
clump on the floor to the left). Lara will barely miss both blades. From there
side flip to the left once and side step to the left four times. Back flip
and when you land, immediately jump forward to pull the switch. Roll and jump
forward. Take a step back and grab the medipack. Back flip immediately. Lara
will bump in the wall. When she stands up, jump forward and bump again and
then back flip. Side flip to the right and then jump forward. Pull the switch
and immediately side flip to the right. Roll, wait for about a second and
jump forward. You should have barely missed both blades (depending on your
timing you may lose some blood). Pull the switch and side flip to the right.
Roll, jump forward and side flip to the right once more. Take a step to the
left, pull the switch, roll and jump forward. Turn to the left and climb the
ladder to the open door at the top. Thats it, youre safe now.
Well, relatively. Continue down the passage to emerge in the opening of a
room with a spiked wall. Slide down the slope and drop to the ground. Get
up and start running, taking a running jump at the end. When youre safe,
look behind where the wall was, to find a small medipack. Pick it up and head
for the opening. Position Lara to the right and start running, taking an occasional
running jump. Traverse through the next corridor to emerge on the platform
with a switch in an already familiar room. Throw the switch to open the double
doors below and safety drop to the floor.
Enter through the doors to find yet another spiked wall. Slide down the slope
and take running jumps to reach safety. After that approach the corridor with
the statues with the huge swords. A good way to deal with them is to near
the swords and roll to the other side. Repeat this four times. Jump forward
at the base of the slope and continue to the left. Youll be at the top of
a sequence of spiked walls. Go as far to the left as possible and slide down
the slope and jump forward at the very end. Dont stop running and jumping
until youre in the safety of the passage ahead. Beware of the walls, as they
can hurt you if you stay too close to the entrance. When they stop, jump to
the floor, taking extra care not to touch them. Turn to the left to pick up
the only kind of a secret: four clips of automatic pistol ammo and the automatic
pistols. Return to the opening and climb up.
Run to the end of the passage and jump to the stone pillar. Walk to the rightmost
edge and wait for the swinging punching bag and blade combo to go almost all
the way to the right and jump forward to grab the edge. Pull up and wait till
the punching bag behind you starts swinging to the left and then take a running
jump and grab the next edge. On the next pillar position Lara so that shes
facing the leftmost part of the stone pillar ahead. Execute another running
jump when the punching bag is at its rightmost, starting to swing to the left.
After this jump to the next pillar and align Lara with the collapsible tiles.
Take a running jump and when you land, start running to the right, executing
a banana jump (now banana jump is short for when you jump and use the left/right
arrow to adjust in mid-air) to land in the opening to the right.
In this next room, there are two doors, one of which is open, and another
you need a key for. Go to the open door and draw pistols. Near the artifact-
looking thingy thats a transporter. Youll be transported in a room, whose
floor is littered with skeletons and the reason theyre here is advancing
upon you rapidly. A not so friendly acquaintance from TR2 is back: the huge
spider monster. Anyway, jump about and kill it. After youre done, go to the
right corner of the room to discover a passage. Its end leads to another room.
See the skeletons below? Draw pistols and slide to meet two more spiders.
Kill them and go to the part of the room they came from to collect a small
medipack. Ignore what looks like an opening in the wall: you cant reach it.
Instead turn right and approach the passage. There are some smashing doors
that await you (and hearing them smash closed all of a sudden literally made
me jump. Lara too). Approach them and roll through when theyre ¾ open.
After youve passed through run to the end of the passage. Youll get a wide-
angle camera shot , showing you the room. Take a running jump onto the second
collapsible tile, only to find out its not a collapsible tile. Same goes
for the corner tile ahead to the left, too. Take another running jump to reach
it. A simple running jump will take you to another solid bit. From there turn
to the right and take a running jump ahead, The second of the two tiles in
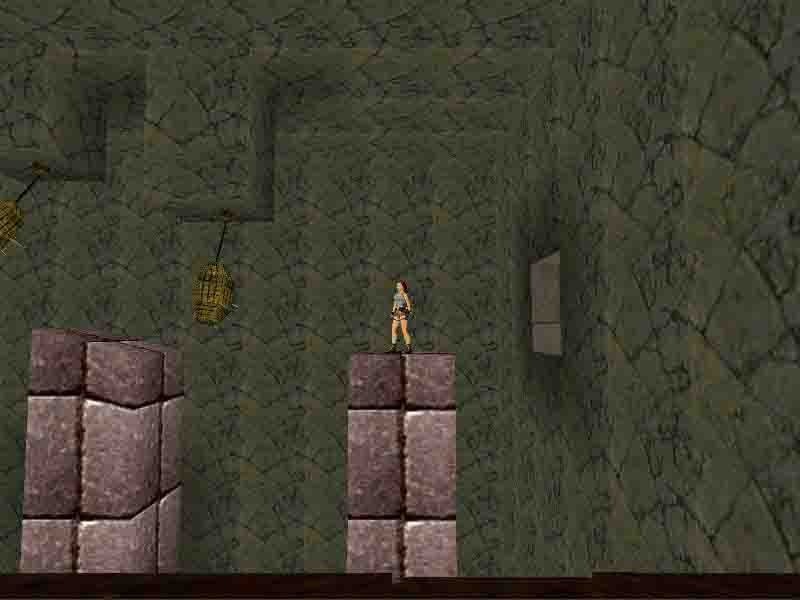
front of you is solid. Now in this part of the room, theres a platform made
of 3 tiles and two more single collapsible tiles. You can jump ahead on the
3-tile structure because of the solid tile, but then youll need more precise
adjusting when moving on to the next two tiles. So I've chosen to go to the
leftmost section of the tile youre standing on. Look down and make sure that
Lara will be able to make the first lone tile without adjusting. Jump forward
(dont do a running jump or youll miss the tile) and then jump to the tile
ahead. Lara should automatically adjust her position and keep running straight.
Jump to the next tile and grab the edge of the alcove. Pull up before you
fall to your death. Go as far to the left as possible and align Lara so that
shes facing the edge of the opening above. Jump and grab to pull up into
the next passage. In the end theres a ladder that leads you down into another
spider lair.
When youre at the bottom, draw weapons and enter. Two spiders will arrive
shortly. You can either kill them by jumping around or you can climb onto
the pillars on the left and pick them off from there. Either way, when youre
done, go to the switch. Throwing it raises the red lattice, which connects
with a taller pillar. You need it to shimmy over to another switch up above
that opens the golden door in the back. The switch is timed but reaching the
shimmy in time is not hard at all. Only thing to keep in mind is that the
pots/amphorae/vases obstruct your way. Throw the switch and press look to
avoid the weird camera angle. Take a running jump or two to the taller pillar.
From there climb the next one and turn right. Execute a banana jump to the
right and grab the lattice. Start shimmying to the right until you reach the
tall column. Pull up and climb to the top, where theres an opening with the
next switch. Throw it and youll see the golden door opening.
Backtrack down the slope and safety drop to the ground. Go into the next room
and use the transporter. The next room contains the golden key for the door
back where you used the first transporter and a closed trapdoor. Picking up
the key opens it. Safety drop to the floor to find that youre back in the
room with the closed door and the golden lock. Use the key and enter. Slide
down the slope and then go to the right.
Youre overlooking a pool with two very hungry sharks in it. Dive into the
water and head to the left, because theres the life- saving harpoon gun with
lots of ammo there. For some reason the sharks wont attack when you get the
harpoon gun. After youre done with them, swim to the right to a very small
opening that leads to an airlock. Fill your lungs and dive back down. Pull
the switches to open the door. Return for air any time you feel like it. Near
the switch thats resting on the same wall as the door, theres a skeleton
that holds two boxes of shotgun shells. Pick them up and swim to the next
room where two tigers are just dying to see you. Kill them and locate the
bouncing pad near one of the corners. Face the column you need to get to the
top of and take a few steps away from the pad. Jump onto the pad and you should
land on top. Take running jumps to move along the columns until you finally
reach the room that you saw from the bottom. Run to the opening on the right
and then through the passage. When you enter the room with the columns littering
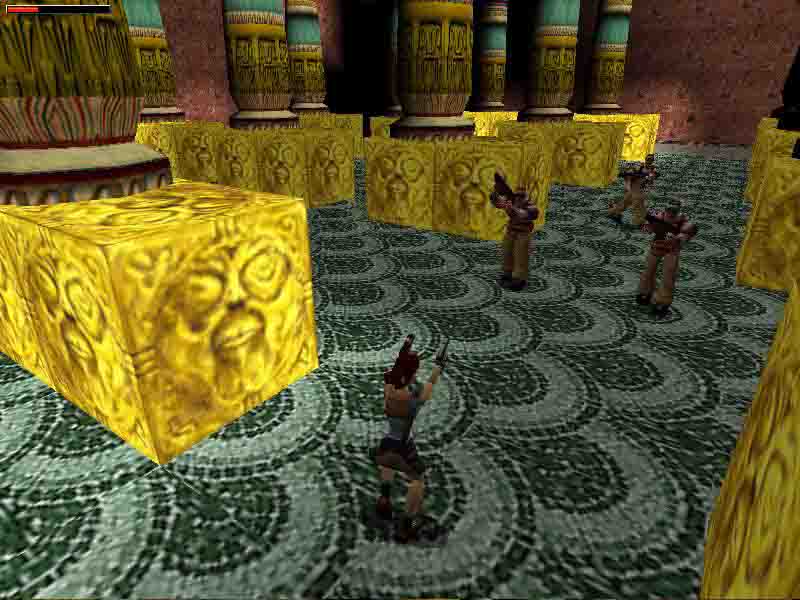
the floor, draw weapons and enter.
Notice the two thugs guarding the place. If you keep your distance you wont
take any damage. Dispatch them and move to the six switches on the far wall.
Pulling all of them opens the two doors that give you access to another switch.
Run to through the now- open doors and pull this switch as well. It raises
the red lattice that allows you to shimmy to yet another switch that opens
the golden door. But you need to fiddle with some blocks before you can go
there. First head near where you came from and push the block to the section
of the wall near the entrance where theres a gap. Use the block to plug the
gap. Climb up and pull/push the block as close to the lattice as you can.
Climb back down and head for the switches. Theres another moveable block.
Push/pull it until it is next to the higher block. Go to the other moveable
block and pull it until it connects with the one you just moved there. Now
you have enough space to move the higher block closer to the lattice. Climb
up and pull it once, then go to the other side and push it, until it rests
on the second moveable block. Drop and move the free block around and place
it in front of the high block, giving Lara enough space to move it again.
Pull it and then push it so that it rests on this next structure. From there
push and pull it until it will not go any further. Climb on top and jump onto
the next stone platform. Turn around and face the lattice. Simply jump forward
and grab it to shimmy all the way to the left (dont take a running jump or
youll hit yourself). Throw the switch to open the golden door. Safety drop
to the floor and go to the door.
Enter and run through the corridor to come into a lava room. Run to pretty
much the end of the platform and turn around to face the pillar ahead. Take
a running jump and grab the edge. Pull up and turn to the left. Execute another
running jump to land on the ledge. Pick up a big medipack and three clips
of ammo for the automatic pistols. Return to the previous pillar and turn
right. Take a running jump to the low stone block with all the lava bubbles
erupting around it. Turn to the left and take a running jump to another stone
block. From there, jump to the block in the corner. Pull up onto the high
ledge. Run to its end and turn left. Run through the corridor and stop when
you reach the opening. Check your health and draw the automatic pistols, because
there are five thugs that wait for you down there.
Slide down into the room and pick off the thugs. Dont jump around a lot,
or youll have to battle more of them at once. After theyre dead, search
their bodies to find one small medipack, one silver key, one golden key, and
one copper key. Use the keys into their respective keyholes, which are situated
on the right wall. This opens the door ahead. Run through the corridor and
pick up the small medipack. Draw weapons (preferably the automatic pistols)
and slide into the next room. Battle out the thug and pick up the beautiful
dragon head that he dropped. Run to the double doors and use the dragon head
in the receptacle. With this, youve finished The Fenician Temple 3, an awesome
level, isn't it?
Az oldalon közölt képek, a szöveges tartalom, illetve minden sajátkészítésû anyag, a © TR Editor.hu tulajdonát képezi. Azokat semmilyen formában nem lehet reprodukálni, másolni, terjeszteni, csak a szerkesztõség engedélyével.