TR3 - INDIA 2: SEARCHING THE TEMPLE
Author: Raider Croft Website
Download:Here.
Secret 1-2-3-4: 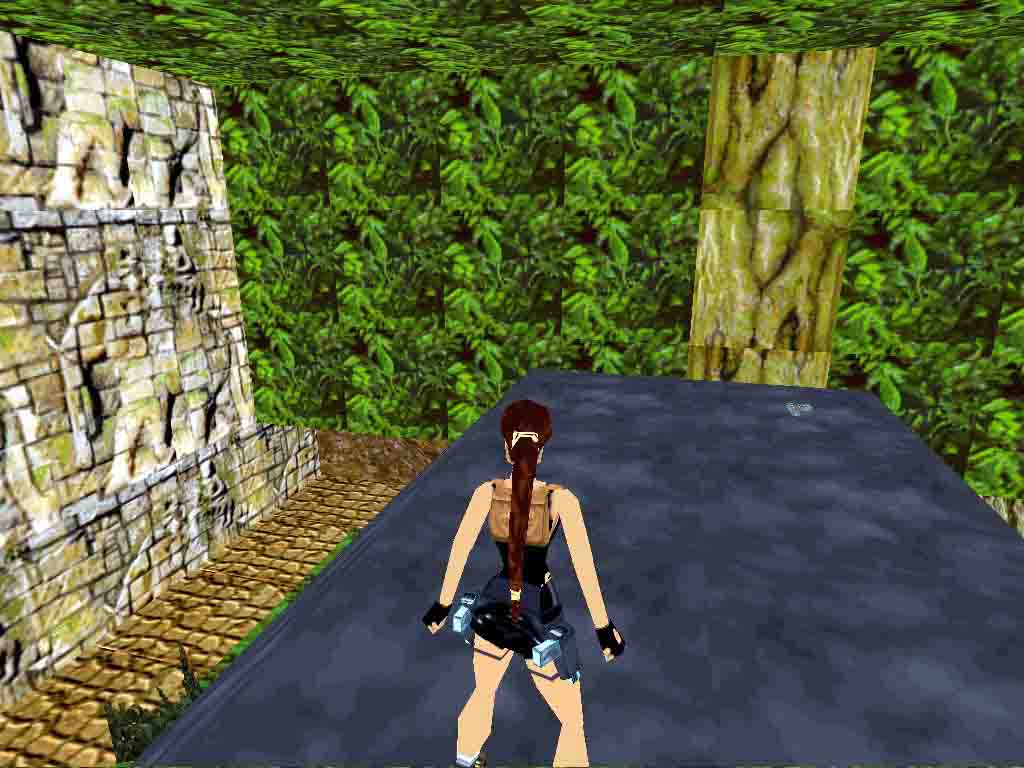
WALKTHROUGH BY RAIDER CROFT (TRANSLATED BY LOWENNA MAY)
When
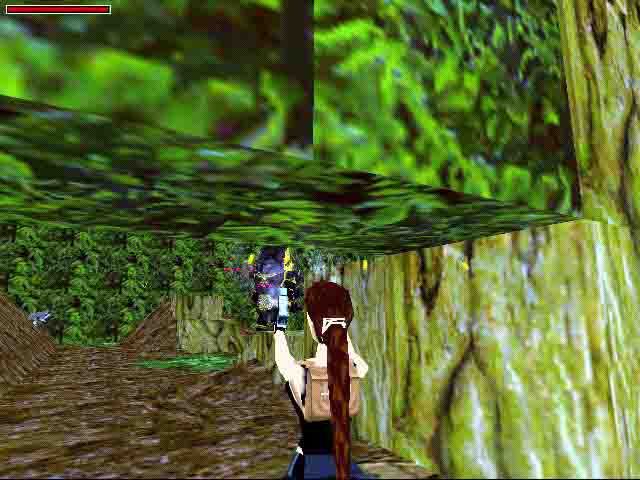
you finish sliding by the incline, go to the right of the tree trunk and pick
up the flares. After this go to the neighboring room, in this room is a hut.
When you walk animals and enemies will appear. Kill them all in order to clear
the area. If you are good at paying attention you may have already noticed
that in the hut there is a door. You cannot open it at the moment, but you
can climb the wall. Climb the wall and when you are almost directly underneath
the door, jump backwards to land on the roof of the cabin. This is secret
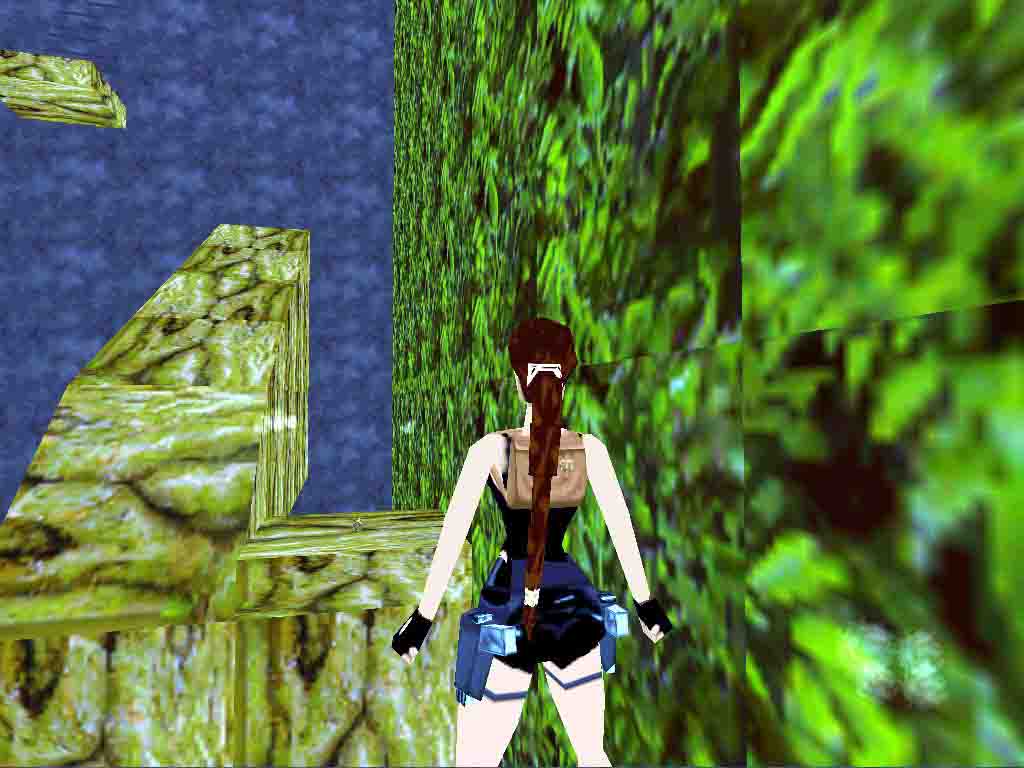
#1 go back up to the previous room. Now go to the tree trunk opposite
the one that had the flares. From here you should be able to monkey swing
when you reach the end go into the hole in the wall. In here is a snake, kill
it. Keep to the trunk and watch out for poisonous darts. You should see another
structure, which is near a grey wall. After this structure is a small space
which contains secret #2. If you are confused do not worry. I will explain
it again. When you raised the trunk (where the darts activate), you go to
the left, then to the front and next jump (thus you will cross the slope that
conforms the way.) when you have already jumped it, you will arrive at a small
hollow that contains the secret # 2. When you have picked up the secret walk by the part of the trunk,
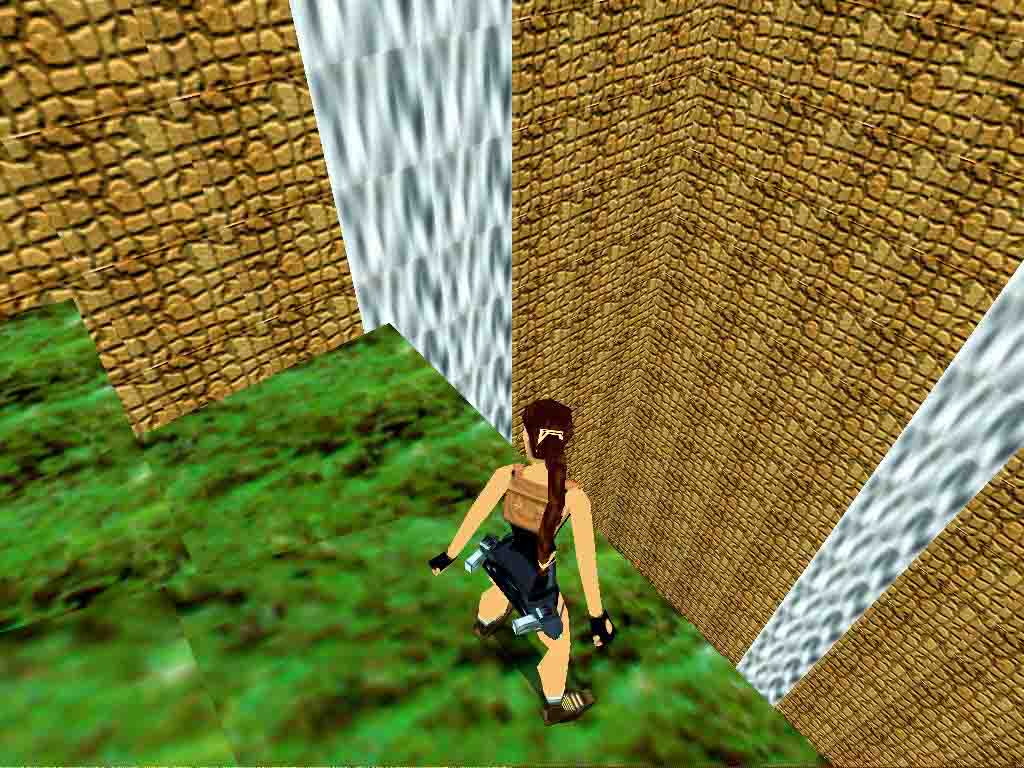
which ascends. When you reach the end jump to the trunk platform, which is
in the grey wall. When you arrive there climb up. As you are climbing you
will come across a part of wall, which is slightly darker in color. Approximately
from here you must jump backwards. When you have jumped a rolling ball will
come so you must jump backwards. When you do this jump right as another ball
comes by Lara. Now you must move in the direction of left. Be Watchful because
there are two balls, which will activate when Lara is close. When the two
balls have activated and moved. Look around there is a platform, which you
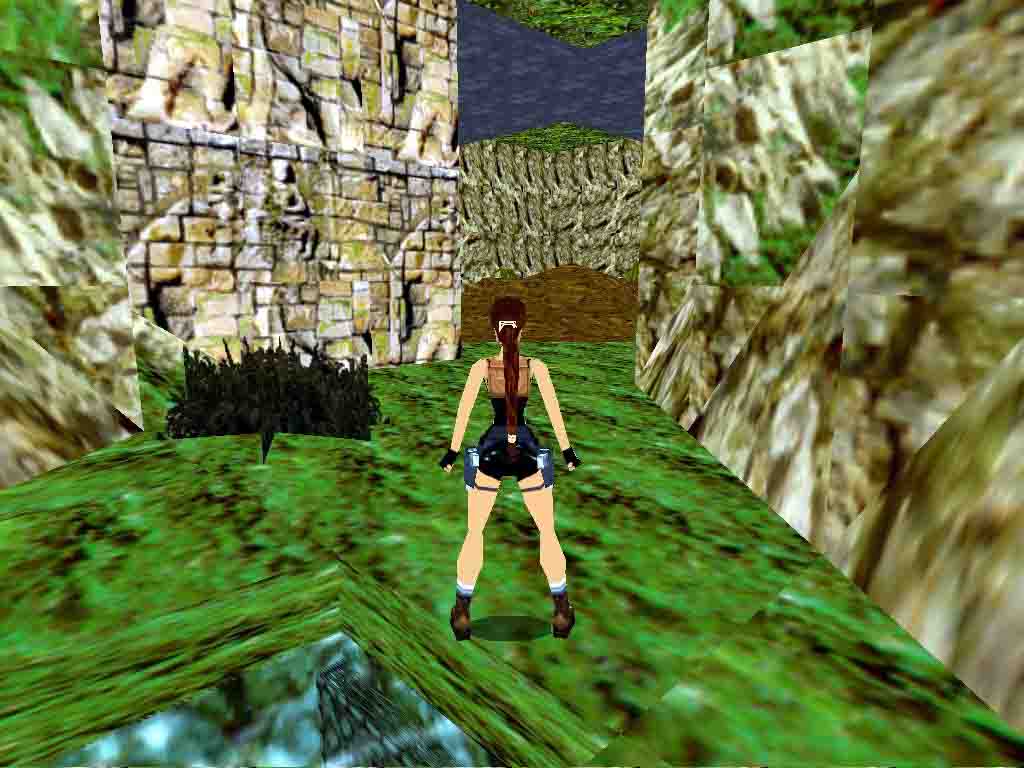
must get to. You need to go from the tree trunk to the green wall. You can
pass through the wall because it is hollow. When you enter the hollow wall
a camera will focus on Lara. Let it do this always as sometimes it is showing
you something. This time it shows you a lever. When you pull the lever a door
will open under water. Advance to the water. You will find 2 doors. Go to
the one that is open. Dive down and pull the lever. Now go to the other door
swim to the surface and pull yourself up into a room. You will be in a room
with fire and monkeys. If you move forward you will be able to see a marsh
and a lever. You will not be able to reach the lever so there is no point
in trying. You must go into the other room. In here pick up the grenades.
There will be a block in order to reach the top you must climb it. When you
have done this jump to the wall. You should now find a room. Follow the tunnel
and find a lever. Pull it. Now go back into the other room. On the way you
will find snakes. You will also be able to pick up a large medipack. Walk
to the left and find a part of the tree trunk, which you can climb. Move to
the other tree trunk, which has a monkey on it. You are now free to kill the
statues. When you have killed them, jump to the place of the 4 doors, which
have been opened already. When you step in certain places 4 rolling balls
will move, other balls will also move when you step on the right squares.
When all the balls have moved, go to the place where they came from. There
will be a key here. Go to the door. You will arrive in a zone where there
are yellow and grey squares. If Lara stands on a yellow square she will die
automatically. If you step on the grey squares nothing happens. When you reach
the other side jump towards the platform and pull yourself up. When you are
here you might recognize the ground. Move on forward and kill all the animals
along the way. Soon you will be able to see the lever from the beginning of
the level. You can now pull the lever without any problems. Look and you will
be able to see you have opened a door. In order to cross the marsh you must
take flight and jump. When you arrive safely across head towards the door.
When you are ready you must make a strategic jump over the blade. When you
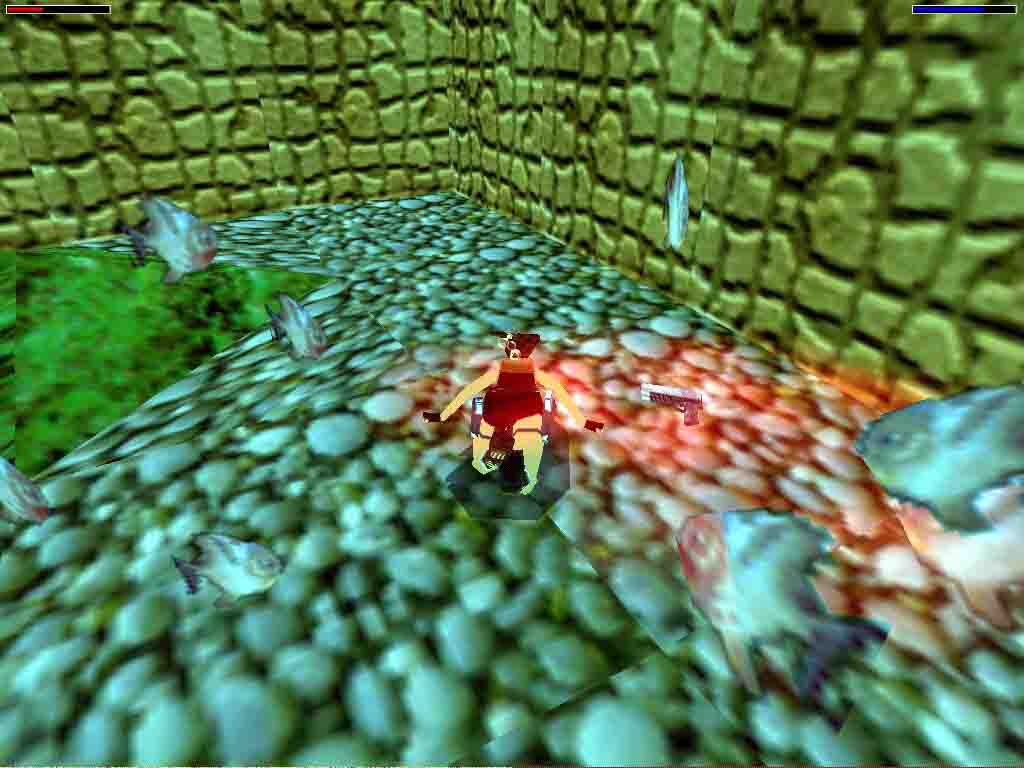
are sliding down the slope prepare yourself, as a group of piranhas will be
waiting for you. In the pool with the piranhas you will find to the left secret #3, which is a little difficult to obtain. Look
for a hollow to escape the piranhas. There should be a lever and a door for
you to go through. Keep swimming until you find the place to get out of the
water. In the next room there will be a monkey and snake waiting for you.
When you have killed them go to the place where the snakes were and pull the
lever. A door close by has been opened. Go through and you will see a room
you have already been in: the main room with the hut. Go to the hut and put
the key in the lock enter and pull the switch and go through the door. Climb
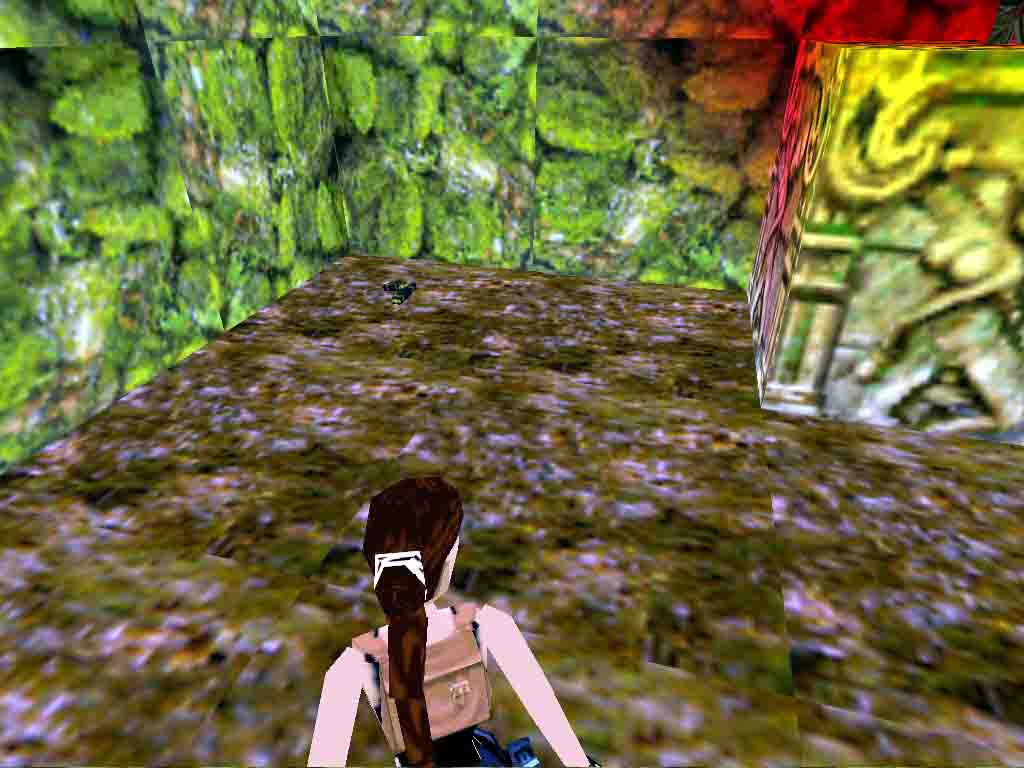
the wall, when you arrive at the hollow go into it. Somewhere in here is Secret #4. Keep going until you see a man. Go to the block
where the man is and the level finishes.
Secrets #4
WALKTHROUGH BY LUCAS
Slide
down to the Shiva statue, then walk up the branch to the left and monkey swing
across to the other end. Climb up the ledge and then up onto the branches.
Walk until the smokes in the wall and jump to the SECRET #1 (the small medipack). Run up the sloped branch
and jump to the platform, climb the wall and back flip onto a higher ledge.
Quickly dodge the boulder and drop down to the lower ledge. Take an angled
jump to the opening and throw the lever. Dive and pull the underwater lever
inside the passage, quickly swim to the passage on the other side and climb
out through the trapdoor. Run past the fire wall and head to the left wall,
climbing up the first column (unmarked climbable surface). Throw the lever
at the top and get back down there. Run past the snakes, pick up the large
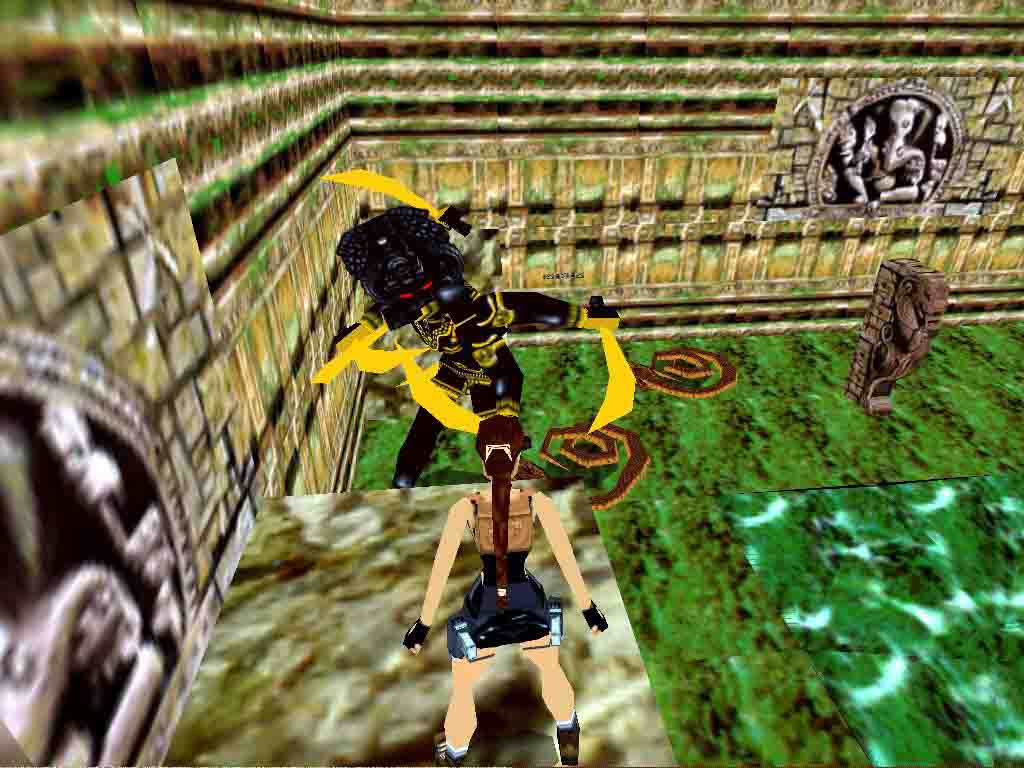
medipack and climb up the ladder to the left. Watch out for the Shiva and
jump to the other side. Jump to the four open gates, walk between them to
make the boulders roll. Beneath one of them you will collect the KEY OF
GANESHA. Return to the area past the four gates and step only on the black
tiles and then take a running jump to the branches and then onto the rocks.
Drop in the other end to throw the lever and then take a running jump to wade
across the mud. You're back to the fire wall, work your way back up to the
rocks. Now the door is open, jump over the wall mounted knife and slide down
into a pond infested with piranhas. The SECRET #2 (Desert Eagle) is beneath the floating
body. Quickly swim through the passage, throw the underwater lever at the
top of the first opening and climb out through the second opening. Dispatch
the enemies and throw the lever behind the snakes, then climb up into the
initial area. Head left to the hut and open it using the key. Get in and throw
the lever to open a gate outside. Get out, run around the hut and climb up
to the opening (unmarked climbable surface), but before crawling in, back
flip onto the roof of the hut to retrieve SECRET #3 (UZI clips). Now return and crawl into that
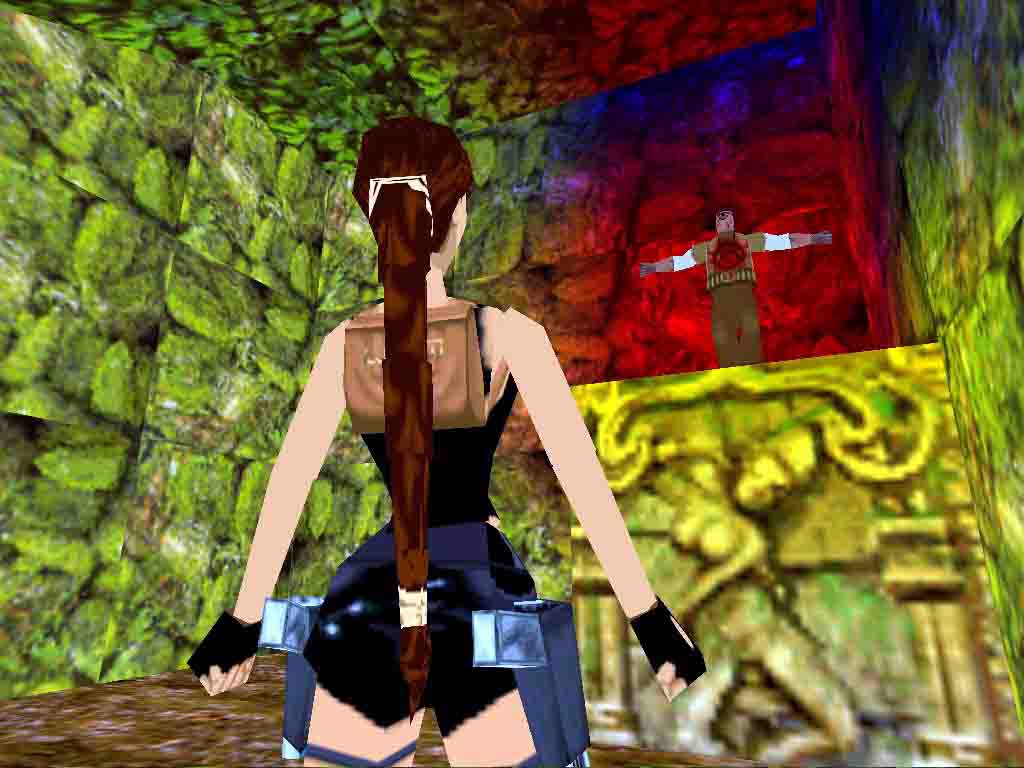
passage. Drop in the other side and pick up SECRET #4 in the corner (MP5 ammo), then climb up to the dead body.
End of Level.
Secrets: 4 of 4
Az oldalon közölt képek, a szöveges tartalom, illetve minden sajátkészítésû anyag, a © TR Editor.hu tulajdonát képezi. Azokat semmilyen formában nem lehet reprodukálni, másolni, terjeszteni, csak a szerkesztõség engedélyével.