TR3 - PORTUGAL 2: TOMB OF THE LIGHT
Author: Raider Croft Website
Download:Here....
Secret 1-2-3-4-5: 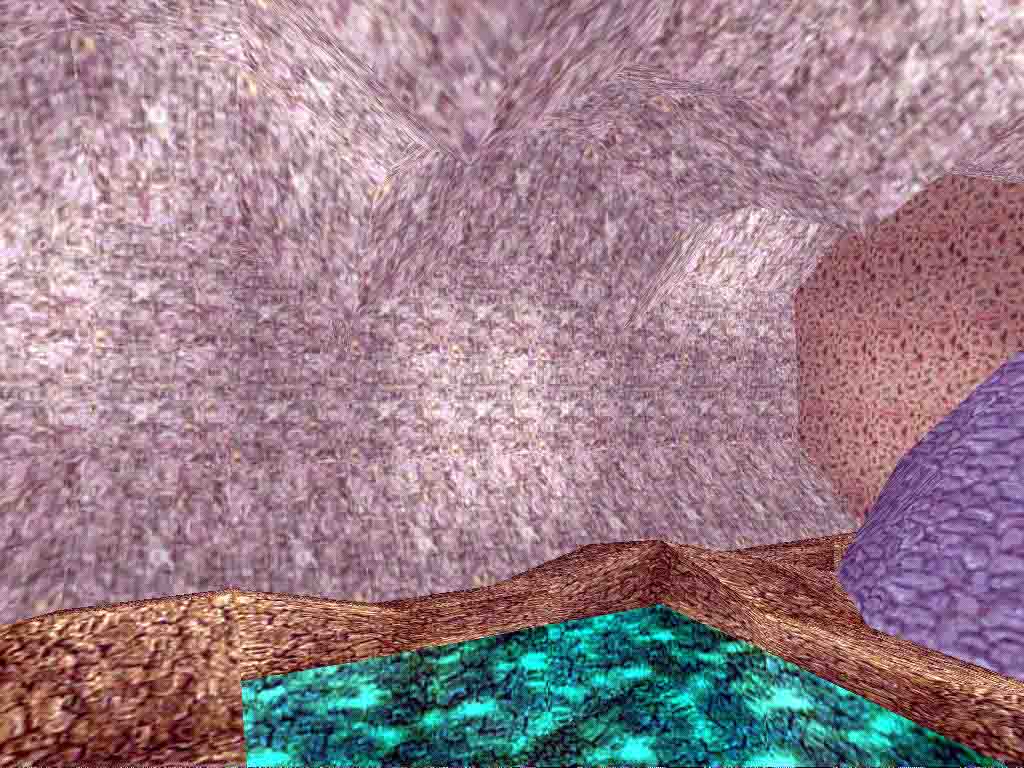
WALKTHROUGH BY LUCAS
Run
until the crystal and fight Frost. Follow the passageway. Pull the block to
reveal a lever. Throw it to raise the timed trapdoors and quickly jump and
grab, then shimmy all the way right. Throw another lever and get down, the
trapdoors surrounding the block are open. Walk down until an wide open area,
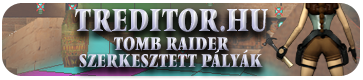
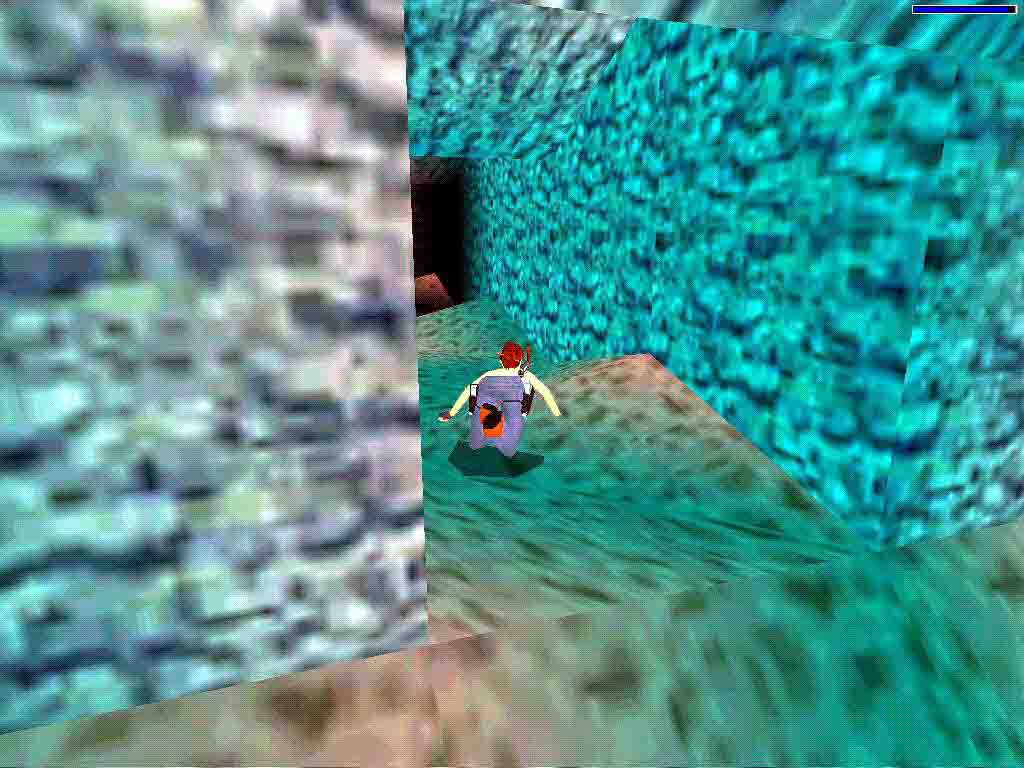
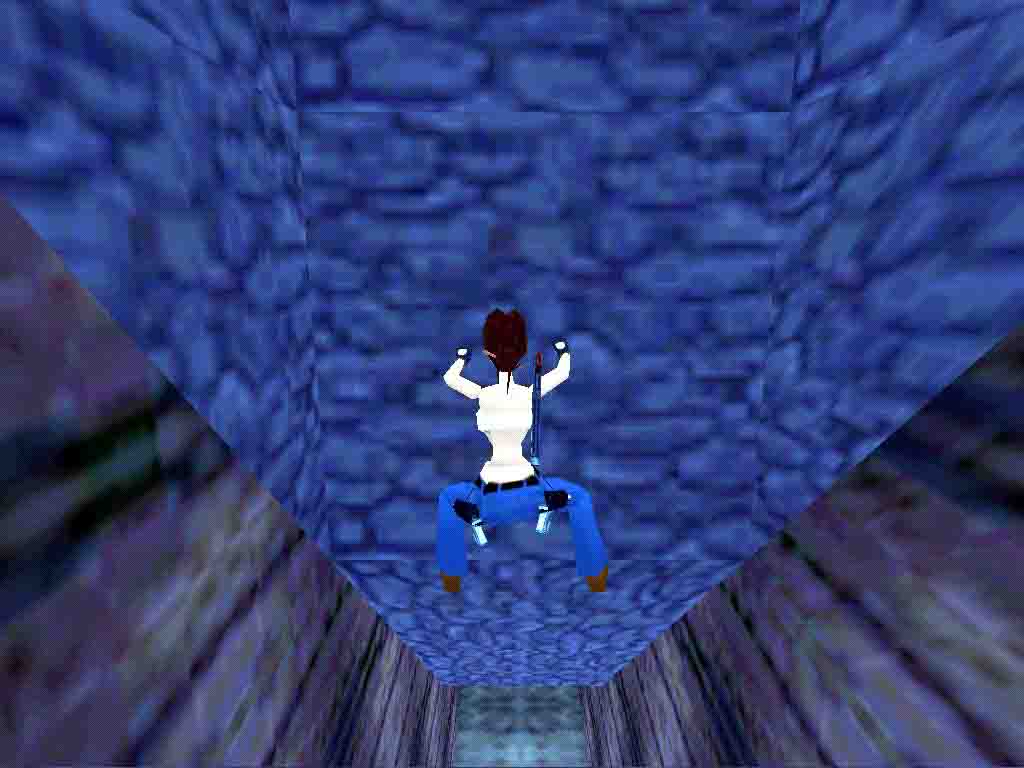
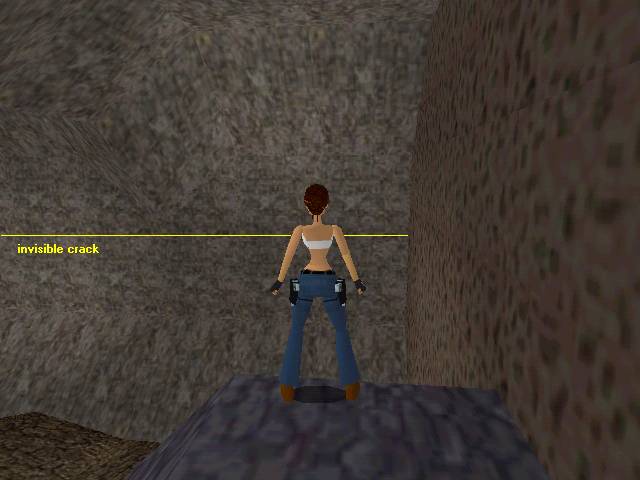
when the camera changes. Standing atop this mount, take a running jump to
the invisible crack (see attached screenshot) and shimmy all the way
left to find SECRET #1 (ammo). Climb down. Head through the opening to the right and pull
the block. Crawl in, walk past the chamber and up the ramp dodging the spiked
boulders. Climb up to the alcove from where the second boulder fell (unmarked)
to collect SECRET #2 (large Medi pack). Climb back down. Follow passages
until the camera changes: take the hint and monkey swing across to the crawlspace.
Pick up the crystal and drop down into lower area, head for the passage on
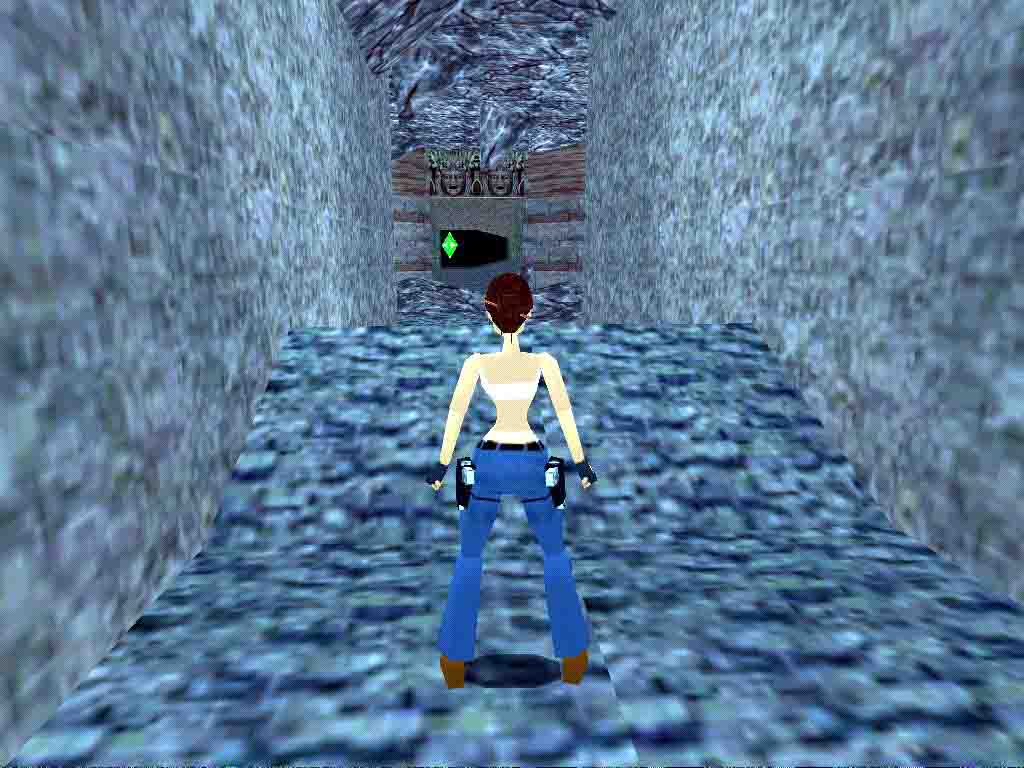
the right corner and rush past the chambers. Sprint past the spiked boulder
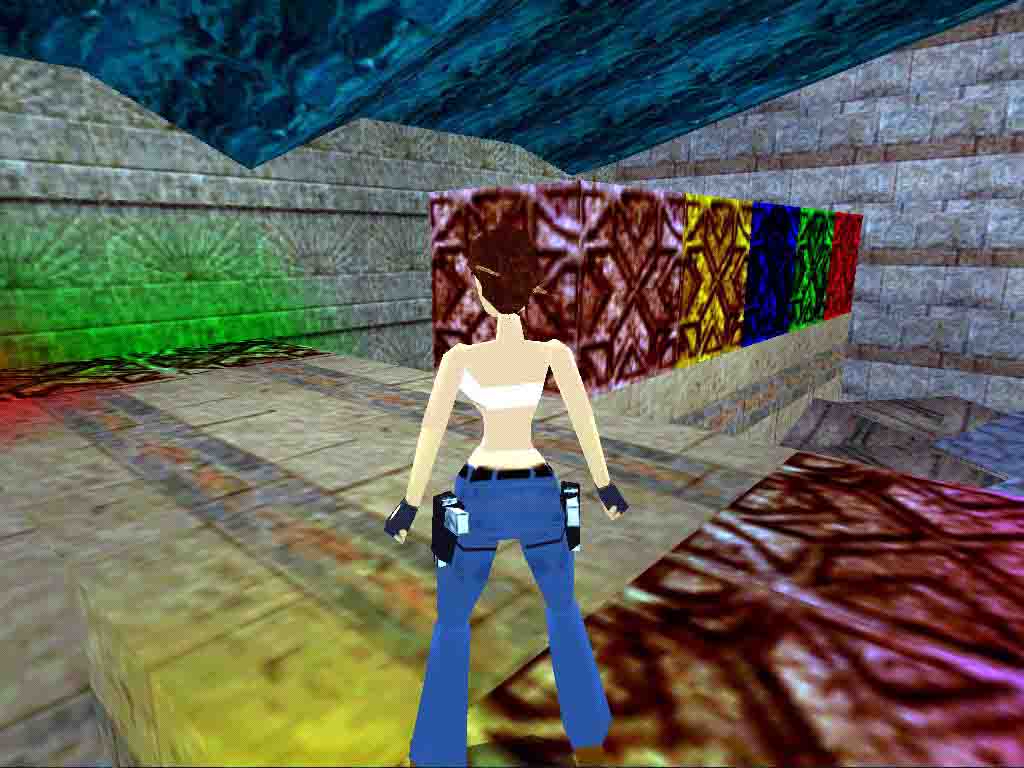
and cross the water wall to reach a room with colored blocks. Push them over
the matching colors in the ground and climb up the brighter wall on the right
side (unmarked). Dive and swim through the passage, in the other end, face
Alejandro again and pick up his LIGHT STONE PIECE. Follow to the chamber
in the backside, step up onto the ledge on the right and pull the block to
climb up the column and pick up SECRET #3 (ammo). Drop down and use the stone on the wall.
Slide down to reach the TOMB OF DANCING LIGHT (does that name sound familiar?).
Drop down to the lower bit and walk up the wooden stairway to find a LIGHT
STONE PIECE. Follow the passage by the slope and climb up the wall (unmarked)
to the top. Slide down into the tomb again, but this time around, use the
stone on the receptacle. This will bring the Stone Monks to life, and the
log in the center will start swinging. Drop down, head to the wooden stairway
again and slide down the passage on your right. In the middle of the slide,
jump to the opening in the ceiling and grab the wall. Climb it up (unmarked)
and collect SECRET #4 (Rocket Launcher). Climb back down and pick up the large
Medi pack to open the door. More monks to deal with. One of them will drop
a STAR KEY, dive and pick up a second STAR KEY underwater. Return
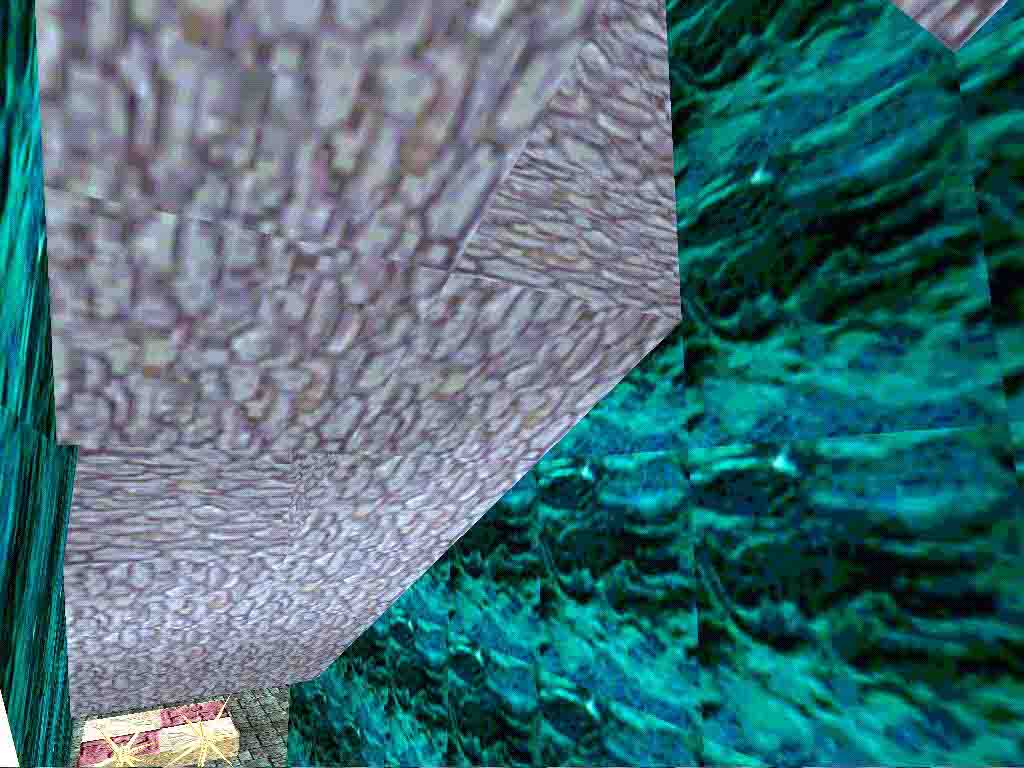
to the crossed catwalk and use them both - move the block to reach the higher
one. This will open the underwater trapdoor. Dive and swim through the passage.
As soon as you get out of the water, in the very first hexagon area, pull
the block on the right wall twice to find a hidden chamber and collect SECRET #5 (Revolver). Get back and head through
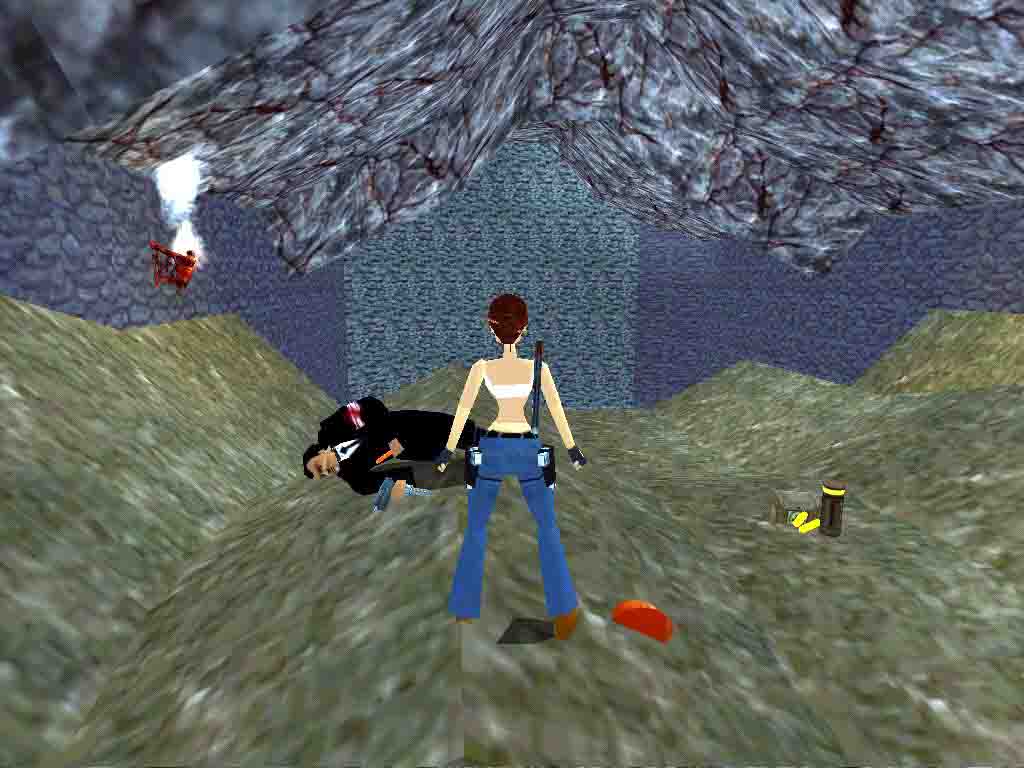
the crawlspace. Deal with the stone warriors once again and, eventually, Frost.
Pick up from his dead cold body the two LIGHT STONE PIECES and dive
down the cliff. Strong water currents will get you... And this is the end
of another Lara Croft's globe-trotting adventure.
End of Level.
Secrets: 5 of 5
Az oldalon közölt képek, a szöveges tartalom, illetve minden sajátkészítésû anyag, a © TR Editor.hu tulajdonát képezi. Azokat semmilyen formában nem lehet reprodukálni, másolni, terjeszteni, csak a szerkesztõség engedélyével.