TR3 Test He's is Back Again v2.0
Download:Here...
Walkthrough by Harry Laudie
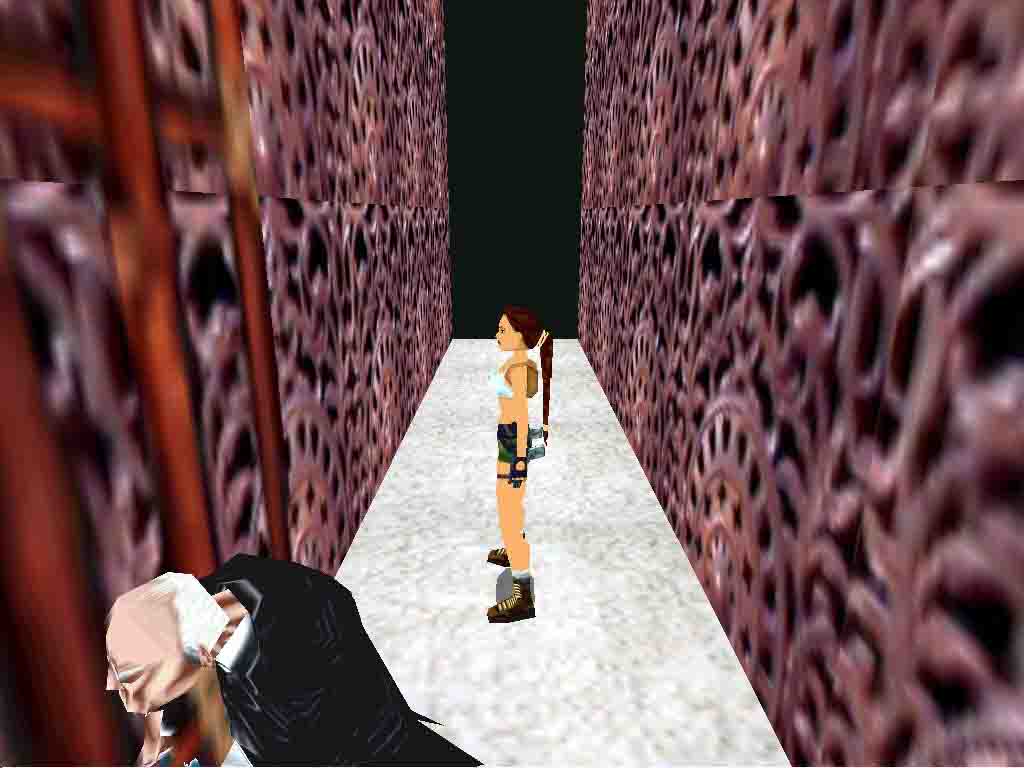
Turn around and run to the water pool. Dive into the water and pick up Uzi's (1) from the bottom corner. You can climb the ladder on the back wall but it seems to go nowhere. Turn around and be careful of the fires as you go to the door. Go to the left side and press the wall button to open the door. Hop onto the block and more fires start. Kill the native (1) inside the door and hopefully before he shoots you with a poison dart. Enter the corridor and look left to see a trap door and a key lock. Follow the corridor and kill a native (2). Go to the end of the corridor and drop into a hole for the Skull's Key (2). Return back in the direction of the key lock.
Look for an opening in an upper wall. Stand on the left block and jump to pull up into the opening. There is series of six slopes that you have to jump, as the floor is deadly. You land on a trap door over a water hole and next to a closed gate. That closed gate is timed by a switch near the key lock. We will come back to it later. Press the button on the wall and the trap door opens beneath you.
You drop into an underwater maze. Take the left most tunnel and follow it until you have a choice of directions. Take the right tunnel and swim down a vertical shaft. Follow the tunnel at the bottom and surface. Pull up to a ledge for secret #1 and a small medipack (3). Swim back to the trap door for air.
Dive in again and take the tunnel in the right side corner. Follow the tunnel to a large room with columns. The red spots on the floor are deadly. Climb the ladder in front of you. Slide down the slope and jump to the next slope. Slide and jump again. Then slide and jump into an alcove at the wall. You get secret #2 and a large medipack (4). Drop back and grab the edge. Shimmy to the right before you drop to the floor. Go to the two sloped columns. Pull up to the shorter slope, back flip and jump forward to grab a floating bridge. Turn to your left and jump to another bridge. Jump to grab the ceiling and monkey swing to the crawl space at the far wall. Get into the crawl space for secret #3 and flares (5). Climb back out and drop onto the slope. Near the bottom back flip over the deadly red tile. Return to the water maze and swim back to the trap door for air.
Take the left most tunnel again and follow it to you have a choice of directions. Take the left tunnel and continue to a T-junction. Take the left tunnel and continue to pull up into a blue room. Pull up and press the wall button to open the grate in the wall. Go left and climb the ladder on the wall. Last time there was nothing. This time you pull up into a tunnel. Go into a crawl space for secret #4 and a second Skull's Key (6). Go back to the wall grate and get back into the water. At the T-junction go straight and around the corner you will pull up into trap door next to the key lock.
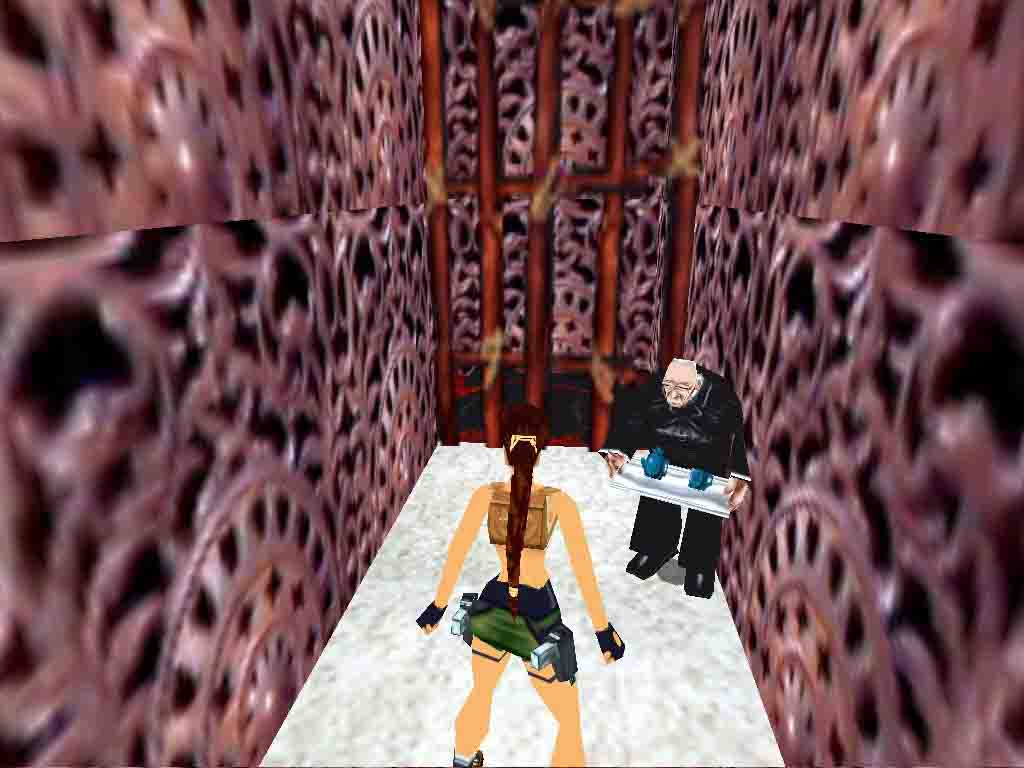
Go to the key lock and use a Skull's Key. The gate opens in the right alcove. Go there and save the game for a timed run. Press a wall button. You get a cut scene of a gate opening next to a water hole. Now return to the opening in the wall. Jump to grab the opening and jump the slopes again. At the end, jump into the open gate. The trap door over the water has closed again, which is very helpful. If you do not make it, reload and try again. You see Winston at the end of the corridor.
Go to the key lock in the left alcove and use a Skull's Key. The trap door opens in the floor in the corridor. Drop into the water and the central current carries you to a flooded room. Swim to the bottom to pick up secret #5 and the rocket launcher (7). Avoid the crocodiles and swim back next to the blue side wall. The current is in the middle of the tunnel. The trap door opens and you can surface and pull up. Run down the corridor and jump over the two blue tiles. If you land on the tiles, the level ends.
Go around Winston and hop up onto a block around the corner. Press a wall button and the metal door opens in the hole beside you. Exit the door and find a motorcycle and some ramps. Take note of the warning not to save on the deadly red tiles. You can search the area and find a large medipack (8) on the ground in an inside corner of gray walls.
You cannot save on the red tiles. You use CTRL for forward and ALT to reverse. There are no brakes and you have to roll to a stop or hit something. Get on the motorcycle and start to drive over the red tiles. Go up the ramp, jump a gap, and turn to the right. Do not hit the wall or you will not make the next jump. Turn right and go up the hill to another jump. Turn right and keep close to the wall but do not hit it. Make the jump and release CTRL. You should jump the gap and hit a bump to stop. Use ALT and CTRL to maneuver the motorcycle for the right turn. Keep to the left side where the bump is higher and you should make it over the first gap. Tap the CTRL key so that you do not get too much speed. Keep going and at the top and turn to the right but still keep to the left side of the slope. You should jump the gap and hit a bump to stop. Maneuver the motorcycle to the left side of the next slope. I found it best to just tap the CTRL key so that you get to the top very slowly. At the top, get ready for a hairpin right turn. You drive up a brown ramp and hit a wall to stop. Use END and the left/right arrow to get off the motorcycle onto the safe brown tiles. Save a few times in different slots. [Option] This course took hours to do and just sucked the fun out of the game. There is a big difference between difficult course and a perverse and mean course. [End opinion]
Pull up to a large area and kill two natives (3,4). They shoot poison darts, so if you are shot, wait until they are both dead before taking a medipack to heal yourself. Pick up two small medipacks (9,10) from the dead bodies. In one corner of the platform is a button. Press the button and you are sucked up into some water. You bounce on a water hole and use jump to land in a small room. Jump into the tunnel in the wall and you are swimming. At the end of the tunnel you are back in the air and sliding down a slope. Jump up and roll so you slide down backwards. You should save at this point. Guess when you are near the end and back flip over a deadly red tile. Land on another slope and slide down backwards to grab the edge. Then shimmy to the left and pull up into an opening. You can see many raptors below you. In my case, a raptor died for some reason. I guess that the raptors attacked each other.
There is a triangular crawl space in the right wall but I found nothing inside it. Follow the tunnel and get secret #6 as you drop onto a plateau. Get on the motorcycle and drive down the slope into the pit. Run over thirteen raptors (5-17). Then pick up two Bloody Stones (11,12) from among their corpses. On one wall is a picture of a girl with a camera. Place the Bloody Stones in the holders on the right wall and the doors opens. Get on the motorcycle and drive up the slopes. You can also run up the slopes as well. As you approach the top, you see Winston with his tea tray and the level ends.
[Note] If you run over the raptors with the motorcycle, the kills are not counted and the total kills are four. If you do not use the motorcycle to kill the raptors and just stand on one the blocks to shoot them, there seems to be only eight raptors. The total kills include them and the total kills are twelve. [End note]
End of the level.
Pickups: 12
Kills: 17 (counting run-overs)
Secrets: 6 out of 6
Az oldalon közölt képek, a szöveges tartalom, illetve minden sajátkészítésû anyag, a © TR Editor.hu tulajdonát képezi. Azokat semmilyen formában nem lehet reprodukálni, másolni, terjeszteni, csak a szerkesztõség engedélyével.