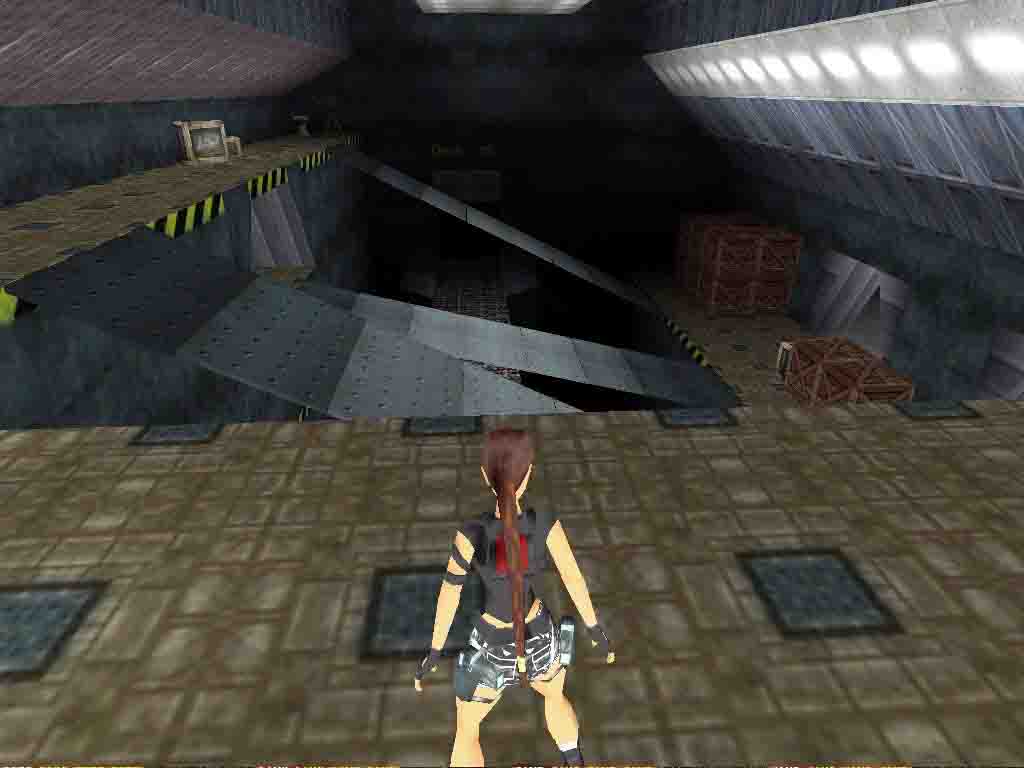
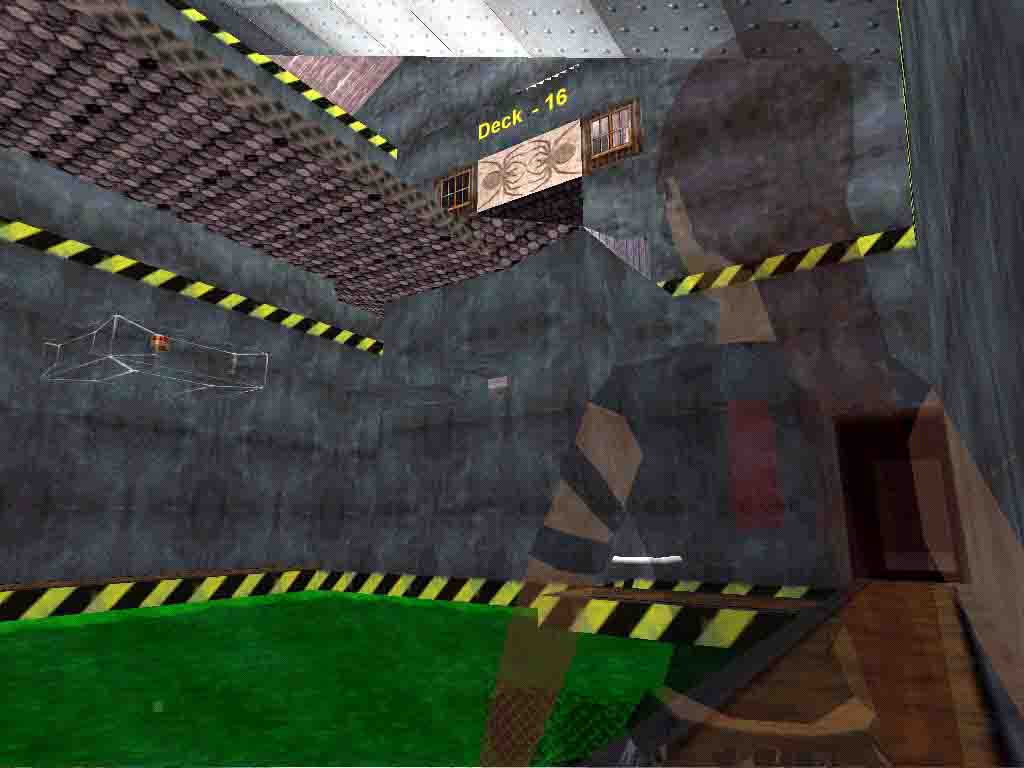
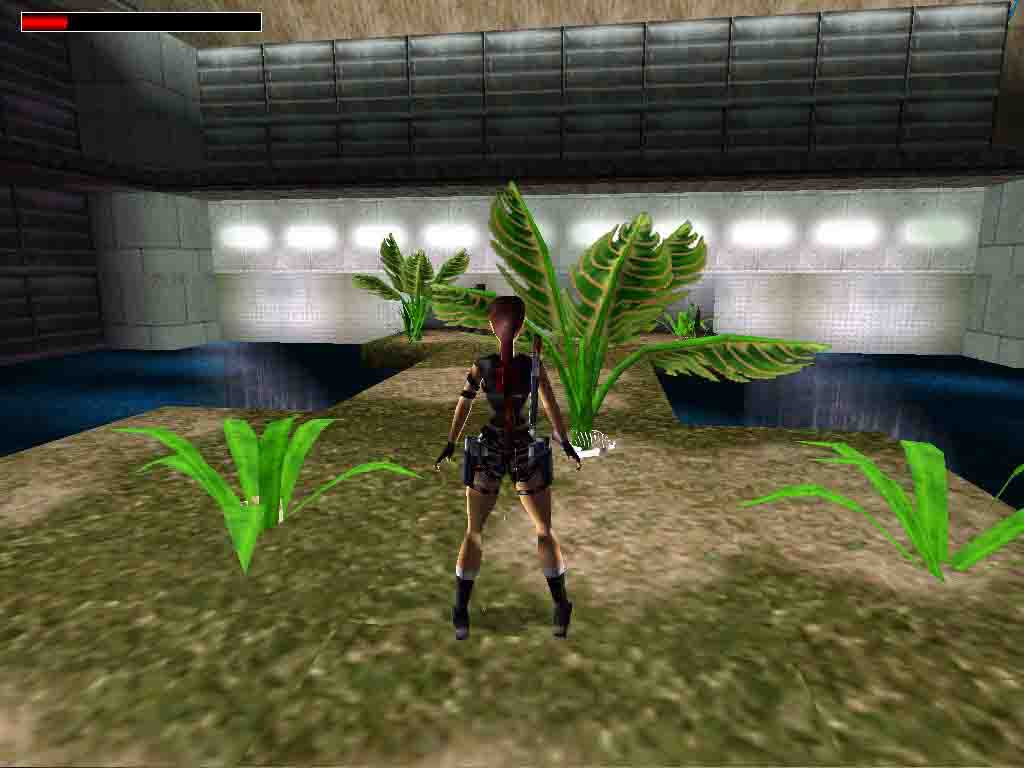
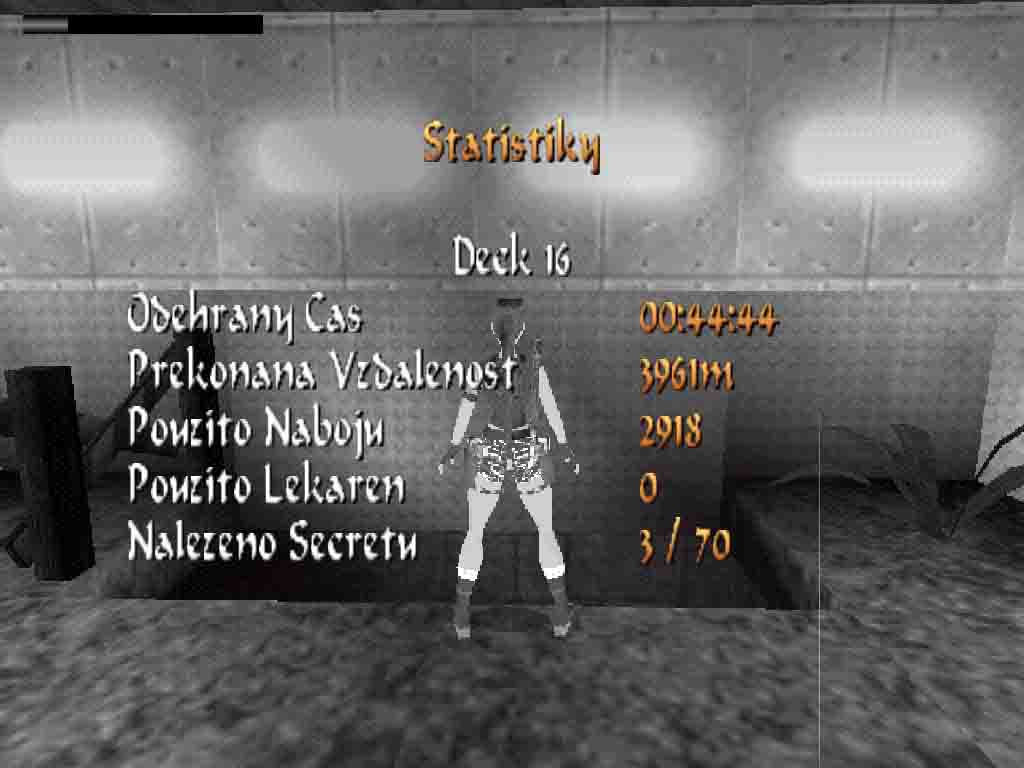
Deck 16
Author: Lukas Liban (Sakul) Website
Download:Here....
 Secret 1-2-3:
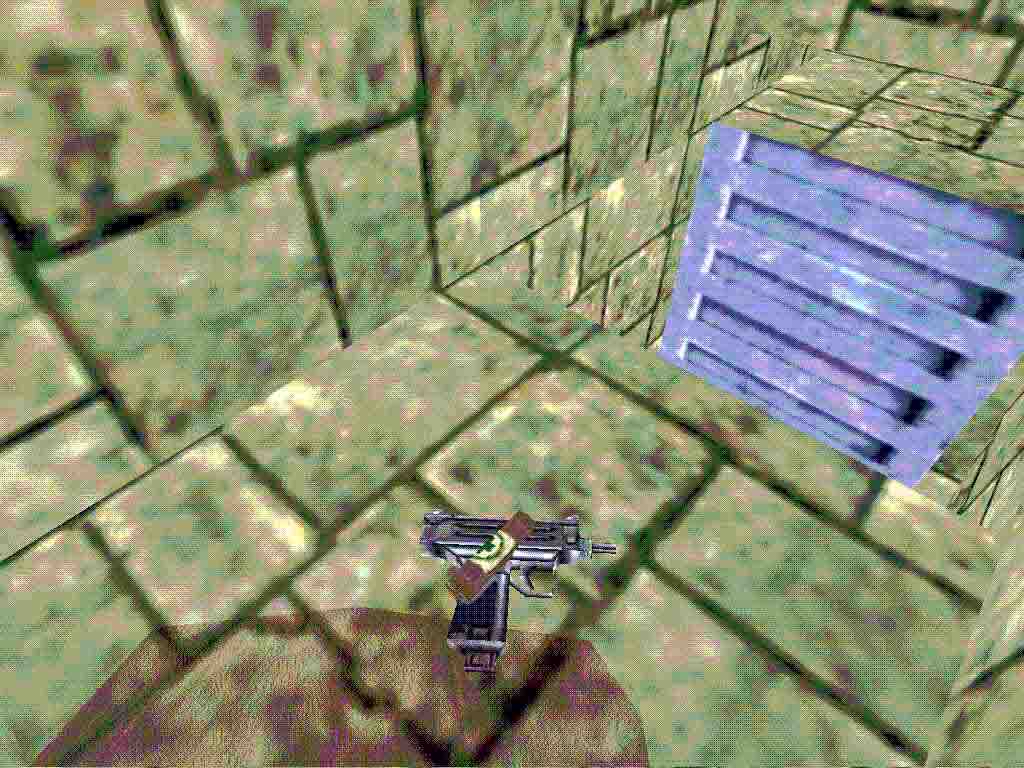
Walkthrough by Jose Boo
N, S, E, W -> Cardinal points. CS -> Crawlspace. RJ -> Running Jump.
MP -> Medipack. Have fun!
NOTE: This level is no-lineal so, most of the tasks in this game you can do
in any order. This is only how I did it.
FIRST GUARDIAN KEY & FIRST SECRET
Slide down the ramp, jump and grab the ladder. Climb to the top, slide again,
jump and grab the next ladder, climb and move yourself left around the corner
to the E ladder, climb a little till you can backflip into an alcove in N
side to get SECRET#1: the uzis and ?MP.
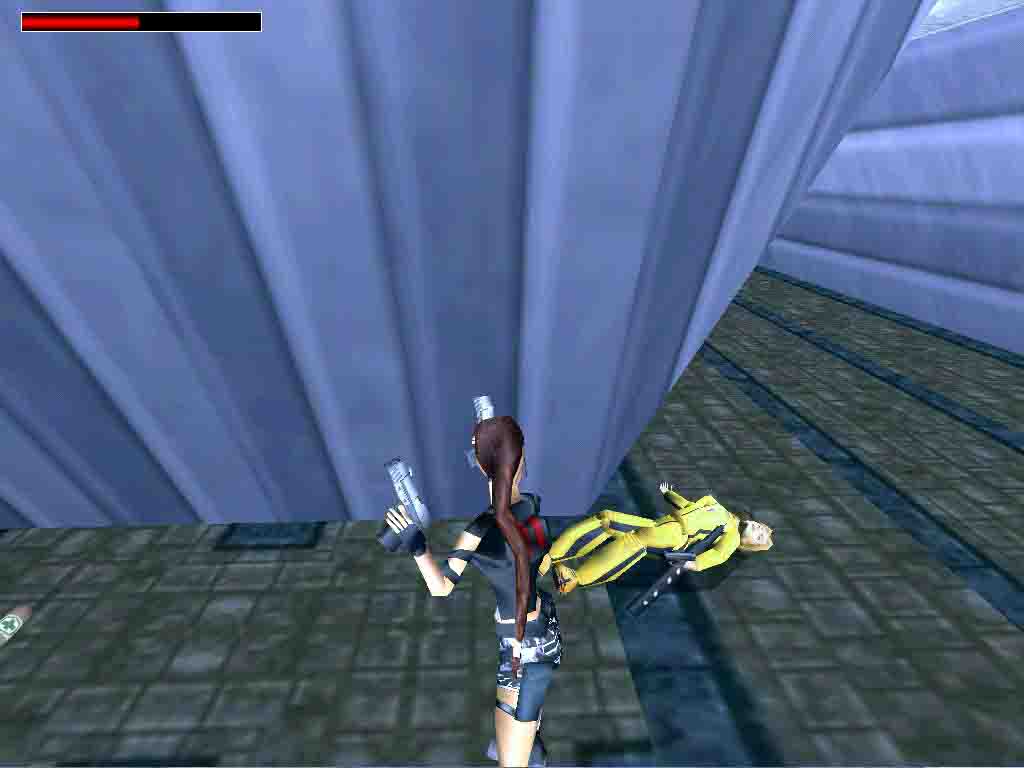
Climb down the ladder and shoot the guard who's waiting for you. Pick up the
ammo in the S behind the dead soldier and take a look E, I'll call this big
room the "main room". Go to the N ledge, push the left moveable
crate and pick up the first GUARDIAN KEY. At the end of the ledge there is
a Golden Vraeus, but it's protected by a machine gun, so go down the ramp
to the lower level.
FIRST GOLDEN VRAEUS
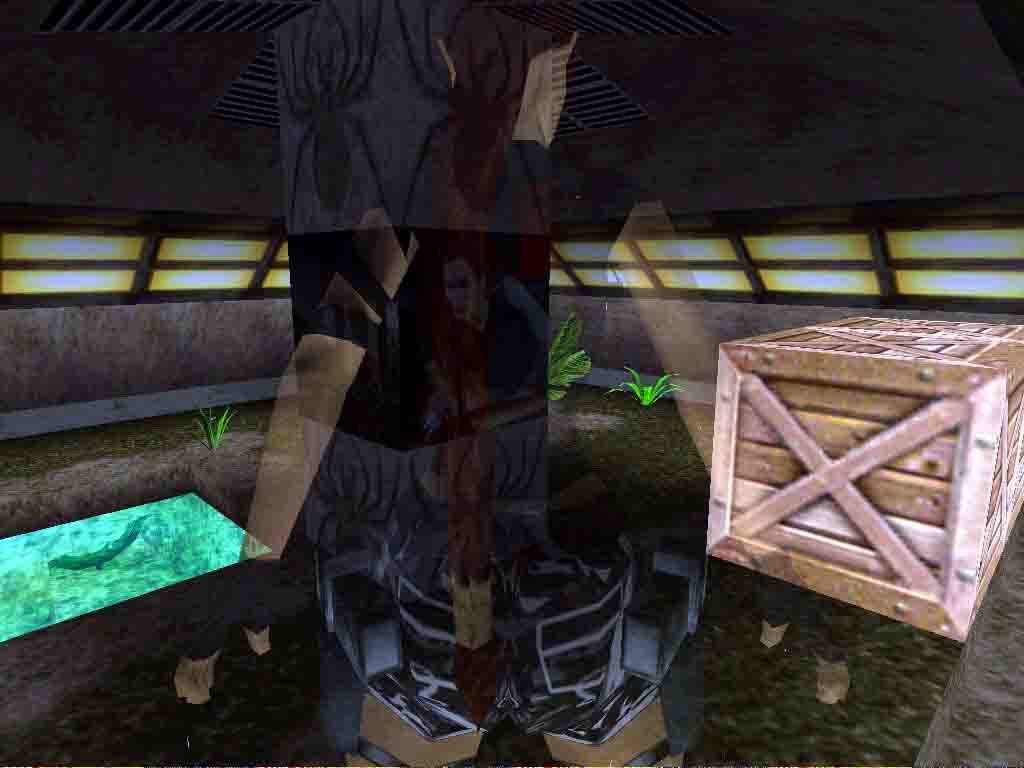
Shoot the wooden box at the SW corner and pull the left moveable crate to
get the LASERSIGHT. There is another box near behind a crate with uzi clips.
Go S into the corridor and turn right (W). Pass the door with the keyhole
and enter into a dark area. Move the dead soldier to get some ammo, pick up
the ?MP over the nearby crates before the ninja do it for you. Go N into the
room with the crates. If you go to the very S side of this room, you'll trigger
an ahmet and a giant wasp, so climb the first of the three crates where the
dead soldier is and face N, do a RJ and grab the high crates in the dark.
Light a flare to pick up the ammo and discover an opening in the ceiling.
Jump there and go through the CS to get the first GOLDEN VRAEUS and some ammo
in the next room. Go back to the crates.
SECOND SECRET
Go down and S to the area with water and pick up the shotgun over the metallic
tiles (this wakes up an skelleton). This time the water isn't poisonous. Jump
and swim into the opening in W wall, dive till the end picking up some ammo
on your way and go right through the circle blades. In the next room is SECRET#2:
some goodies behind the crates and some enemies: bats, dogs and an ahmet.
You can avoid the dogs if you don't touch the tiles behind the SW crates and
the ahmet too if you don't touch the tile near the spider texture. Jump into
the water, pass the circle blades again and dive straight ahead to the air
hole, go into the CS, grab the left ladder and shimmy all the way right, around
the NW corner and up into another CS, crawl all the way to the end and drop
in the same place you've pick up the shotgun.
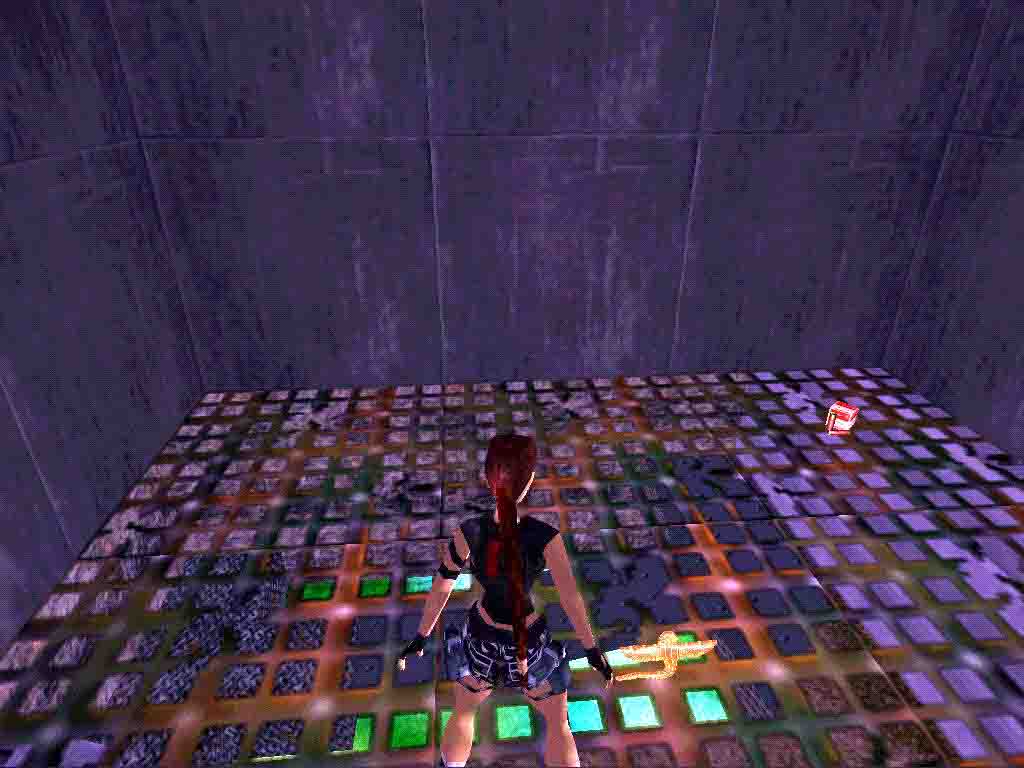
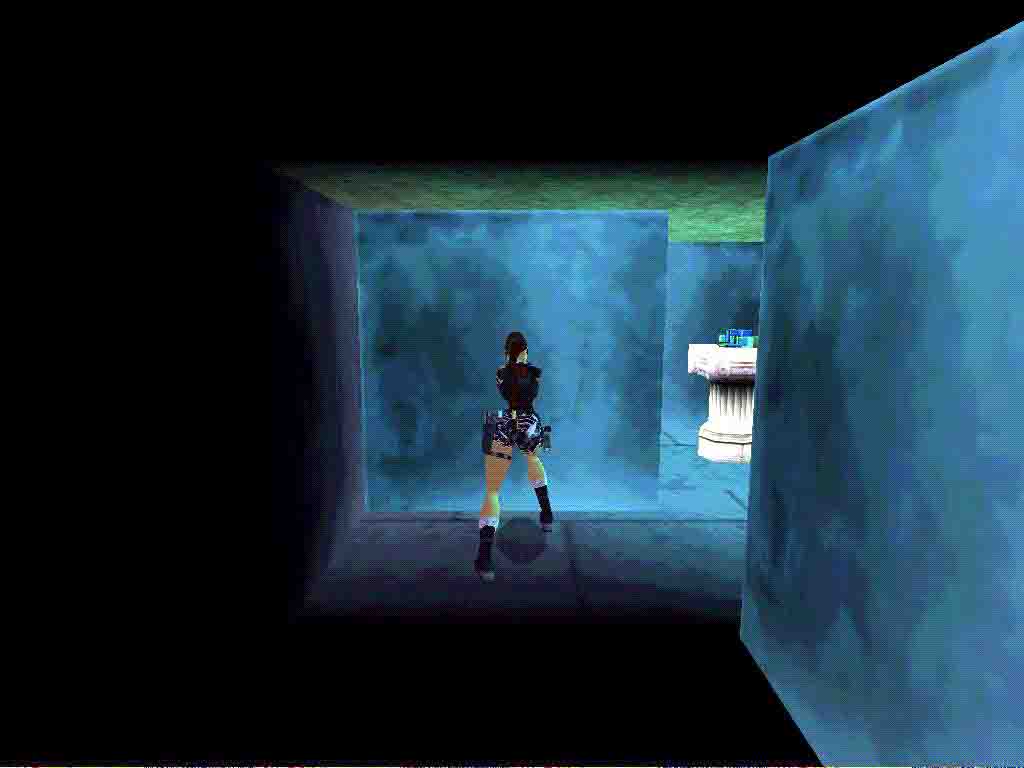
CROWBAR & THIRD SECRET
Shoot the skelleton into the water and go back to the main room. Go over the
central ledge with grey hexagonal texture, drop and grab the N edge and down
over a half-transparent tile. Beware, some tiles are mortal. Go jumping over
the safe tiles under the ledge to the E side and from the last, grab the ammo
and a RJ to the CS. Pick up flares to the left and use the right ladder to
go down and grab the crowbar. Return to the CS grab the edge and shimmy left
along the crack to land over a sloped tile which takes you over a safe position.
Turn left and light a flare to see a different block near in the right wall.
Push it two times and push another block left one time. Pick up SECRET#3:
some ammo over the pedestal.
DECK KEY & SECOND GUARDIAN KEY
Go out of this small room and right into the darkness. Dispatch the ahmet
who appears and use flares in this dark place. To your left (N wall) is a
switch, pull it to take up the NE elevator and pick up ammo at the bottom
of it. Pick up the flares between the crates and the ammo in the W alcove
in front of the machine shooting some bats. Pull the switch in S wall to take
up another elevator and pick up the DECK KEY in the hole. Climb the nearby
ladder, at the top is the place where you will put the Golden Vraeus. Turn
180º and spot the CS in the corner. Do an angled RJ with a curve to the
left to grab the edge of the CS. Go in and pick up the second GUARDIAN KEY.
Jump to the upper opening and safety drop from the other side in front of
the yellow receptacles.
REVOLVER & MACHINE GUN
Go to the NW corner and look for the jumpswitch near the right window (you
can access it from the lower floor too). Pull it to open a nearby door behind
the ramp in the right (N) but it's for later. Go up this ramp and then left
through the long corridor till the end (a dog and a ninja-woman will attack);
use the crowbar to open the door and the switch to raise a block in the main
room. Go to the main room and find the raised block in the SE corner. Use
it to climb the crates and pick up the revolver into the hole (a ninja appears
in the N corridor). Go out and down the crates. Go up the nearby ramp so the
machine gun "see" you and begin to shoot you; at half way turn right
and go down over the lower platform, run quickly through the right side of
the door with the spiders texture above so the machine gun turns and be prepared
so you can shoot it later from the other side.
DECK KEY ROOM
Go right now and all the way along the S corridor to the door with the keyhole
(ninjas and dogs attack). Use the Deck Key to open the door and shoot the
soldier and the wasp. Situate Lara at the right side of the door and do a
RJ with a left curve to land and slide over the second slope facing the E
wall, jump at last moment and grab the crack in the wall. Shimmy right around
the corners till you have another slope under your feet. Drop (facing W),
slide and jump to grab another crack in S wall. Shimmy left to the end, drop,
slide and backflip to land over a flat ledge. Jump many times to avoid the
locusts and pick up the ammo and ?MP. Use the revolver+lasersight to shoot
two swinging balls through the opening in the N wall; this raise two blocks
in the poisonous pool so you can access the door behind the ramp you opened
before with the jumpswitch. Use the jumpswitch in E wall to raise a block
near the entrance slopes. Now face W ad do a single jump to grab the crack
and shimmy all the way left till you can drop over the raised block near the
entrance slopes. From here a RJ to get out of this room.
SECOND GOLDEN VRAEUS
Now you are prepared to collect the rest of the Golden Vraeus' you need. Go
straigh ahead to the main room and go up over the left ramp to the upper ledge
where you picked up the first Guardian Key. From here put Lara's left shoulder
near the N wall and use revolver+lasersight to shoot the machine gun. Shoot
the boxes to get some ammo on your way and pick up the second GOLDEN VRAEUS
at the end of the ledge. Two selletons appear; you can shoot them with your
shotgun if you want, but if you go down one of the ramps they won't follow
you.
THIRD GOLDEN VRAEUS
Go back to the other side of this ledge (where the two crates are) and down
the ramp you went up minutes ago. At the end of the ramp, face S, grab the
edge and drop down to the lowest level of this area (taking some damage, if
you don't want take damage, go over the central ledge with hexagonal texture
and drop over the half-transparent ledge which you used before to get the
crowbar and from here drop to the lowest level). Go to the W and pick up the
?MP in the SW corner (ninja and dog attack). You can pick up uzi clips under
the grey structure near the pool. Left are some burning tiles and a metal
closed door behind them. Near this tiles face E, light a flare and look up.
There is a sloped edge. Jump, grab the edge and go up; backflip before you
drop to land over an upper ledge (a skelleton awakes somewhere) where you
can pick up flares and place the Guardian Keys to open the door behind the
burning tiles. Go there (be careful jumping the burning tiles and make a diagonal
jump or Lara will burn if she steps on the borders of this tiles), shoot the
soldier and pick up the third GOLDEN VRAEUS. When you go out another soldier
attacks, this will give you a big MP.
FOURTH GOLDEN VRAEUS
Make your way to go to the door behind the ramp you've open time ago with
the jumpswitch: all the way E, (shoot the skelleton if you want), to the ladder
near the elevators, climb the ladder and right (N) to that ramp. Use the tiles
you raised before shooting the swinging balls in the deck key room to get
through the door in the other side of the mortal pool and get there the fourth
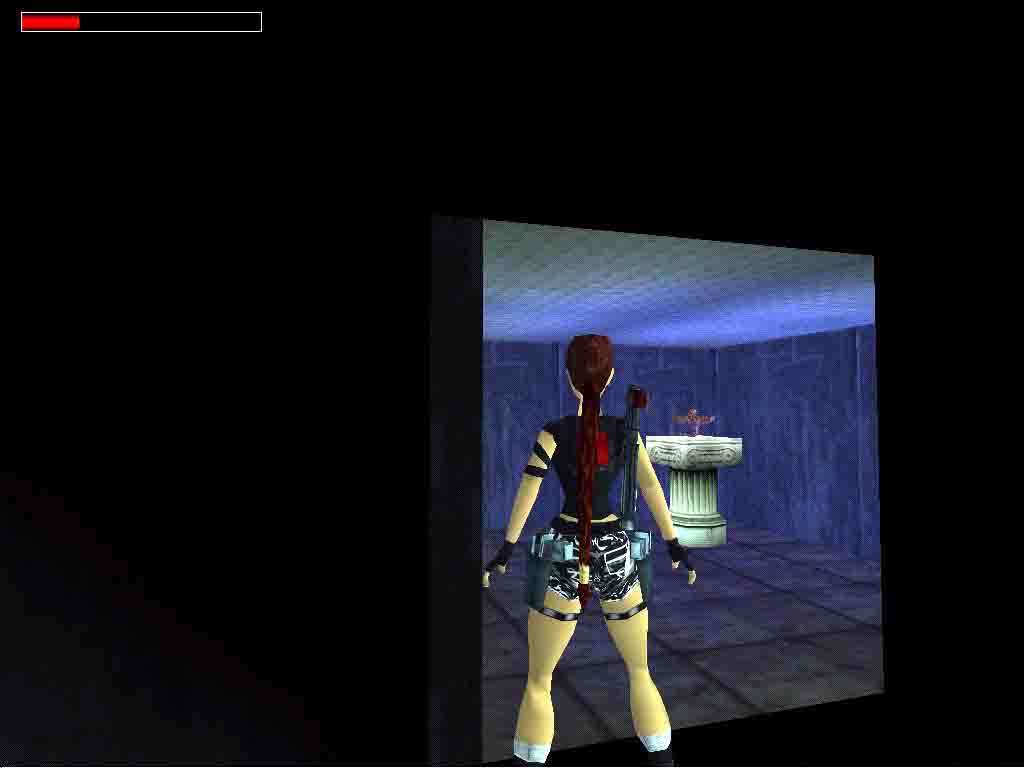
GOLDEN VRAEUS and some goodies. Go back to the place where the three receptacles
are and place three Golden Vraeus to open the nearby S door.
SPIKEBALLS
Go through this door and place the last Golden Vraeus. A trapdoor opens under
your feet and you fall over a ramp and slide with a spikeball behind you.
The way I avoid it was jump before the slope ends to land on a flat ledge
before the opening in the floor and immediately jump over the hole to the
other side. The spikeball will fall into the hole and you'll be safe... at
the moment, 'cause if you look up you can see another spikeball to smash Lara.
To avoid it, drop into the hole at the very left or very right side and at
the end of the slide (camera changes) jump with a curve to the left or right
to splash into the water.
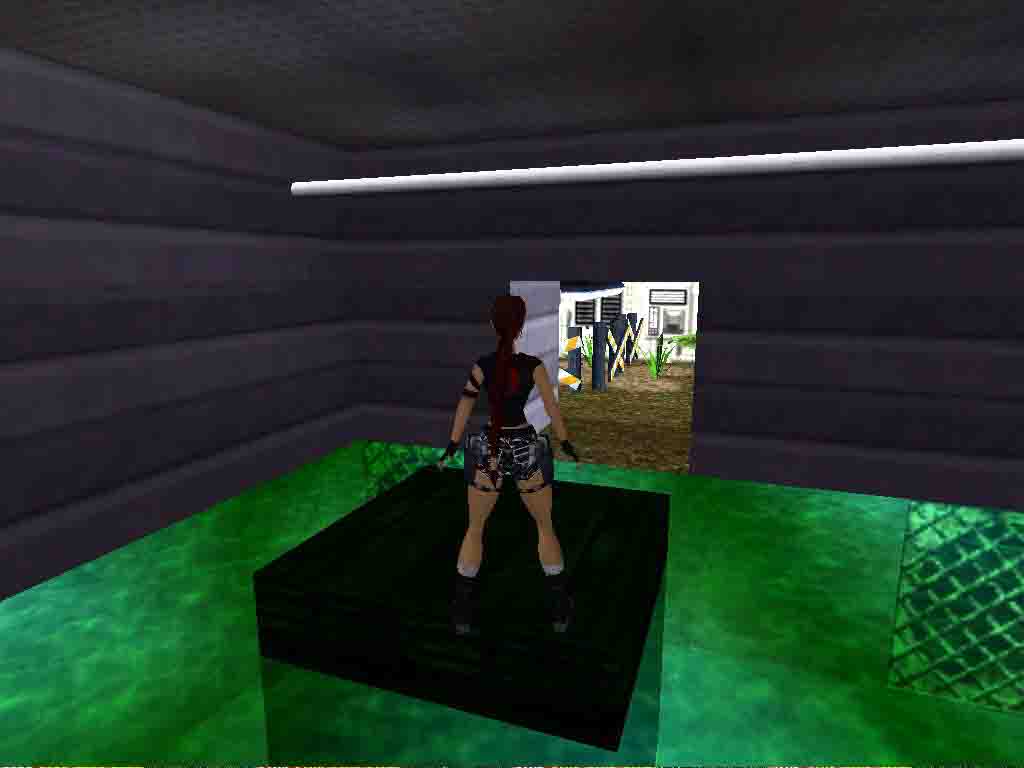
FINAL ROOM
Dive E and at the bottom of the central structure there is an underwater passage
where you can pick up another uzis and some ammo, but if you do so, you'll
trigger three giant wasps waiting for you over the surface, it's your choice.
When you go out of the water two skelletons awake, you can shoot them if you
want and pick up the ammo, if not, shoot the barriers in S wall and dive through
the tunnel wich collapses behind you to finish the level.
Az oldalon közölt képek, a szöveges tartalom, illetve minden sajátkészítésû anyag, a © TR Editor.hu tulajdonát képezi. Azokat semmilyen formában nem lehet reprodukálni, másolni, terjeszteni, csak a szerkesztõség engedélyével.