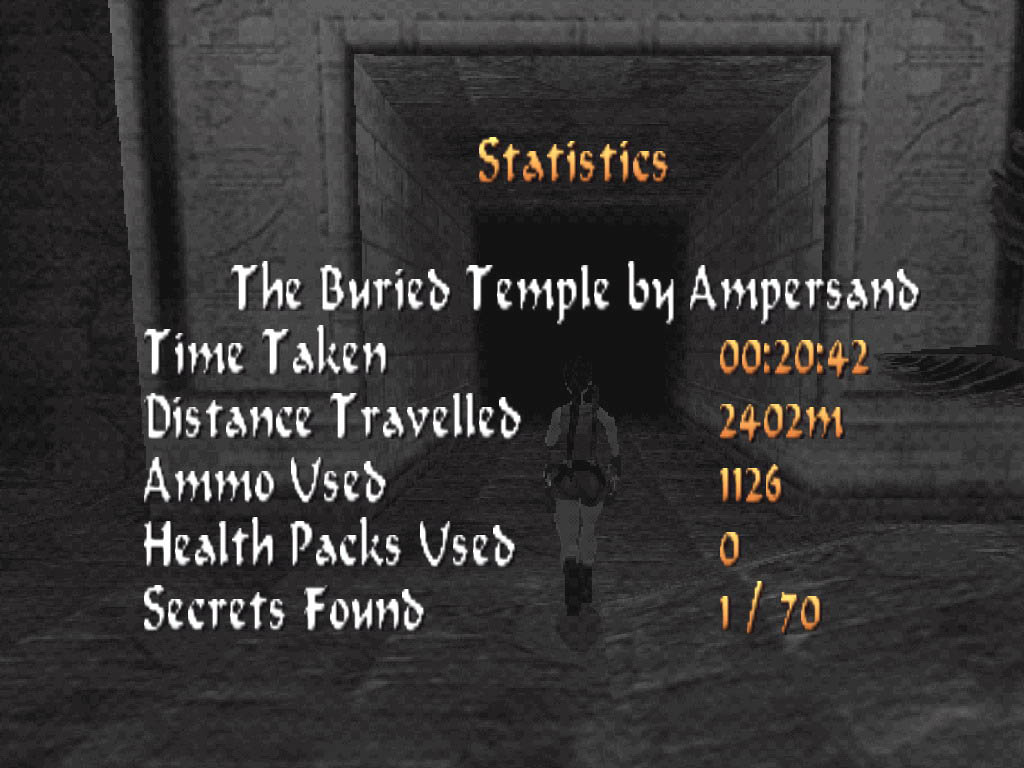
Baptism of Fire 1
Author: Ampersand Baslakor Bedazzled Homepage
Download: Here
Walkthrough:
1. The Buried Temple:

 Secret:
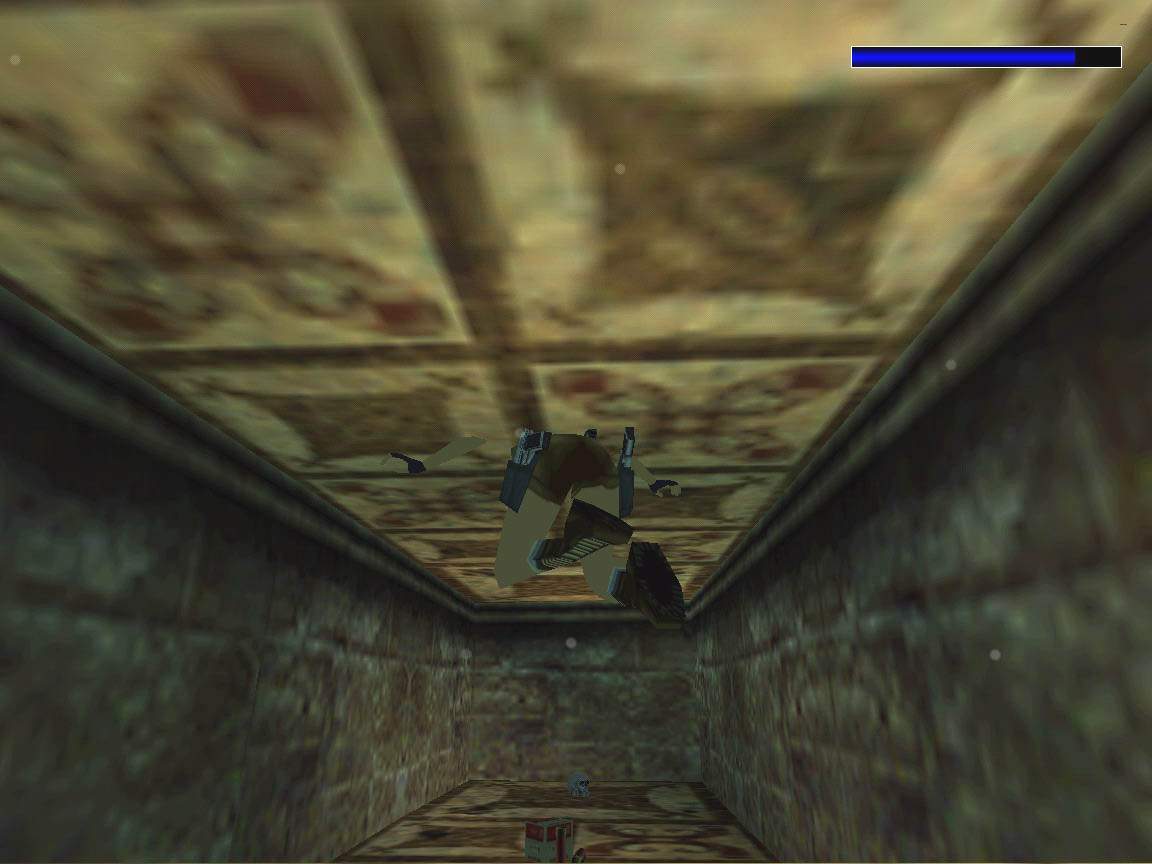
Story:
Lara finds herself lost in some subterranean ruins, and must, well, get out of them.
Level
by Ampersand (October, 2006)
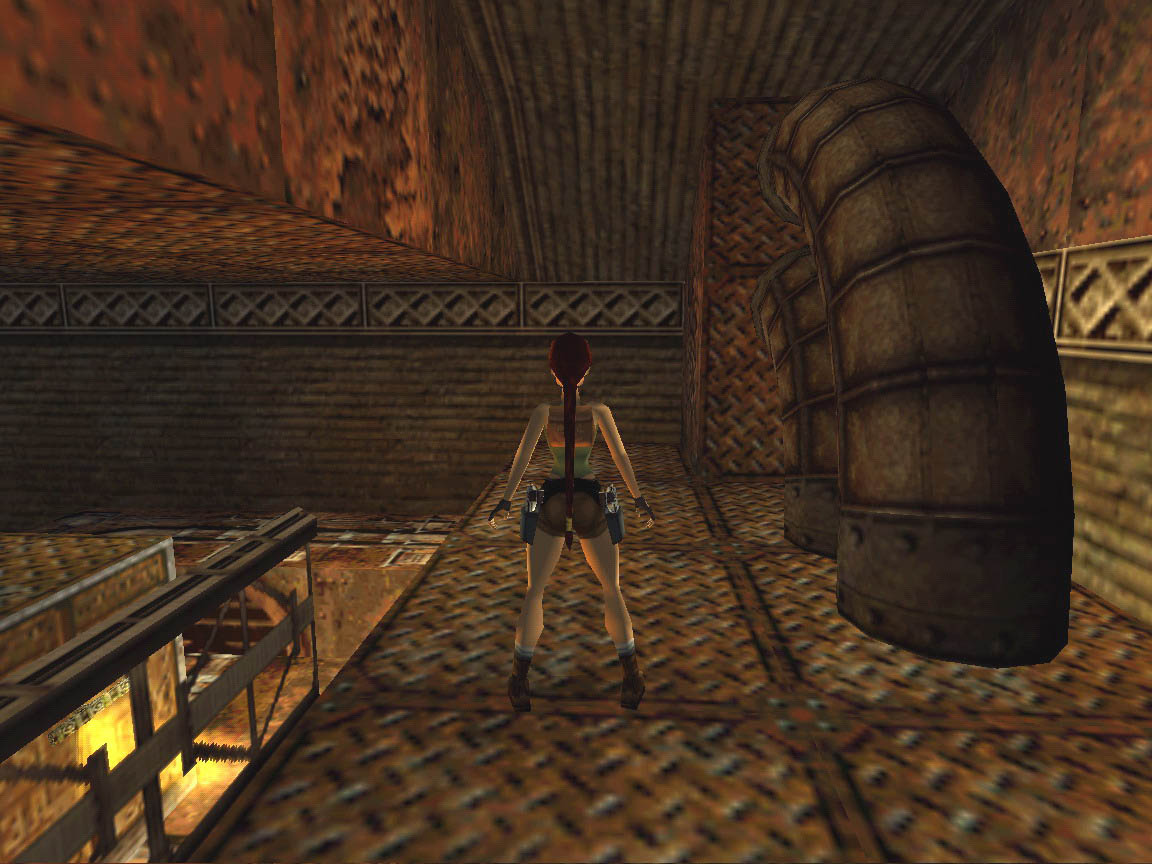
You start
in a room and you seem to be standing on a rusty ledge. There is a switch
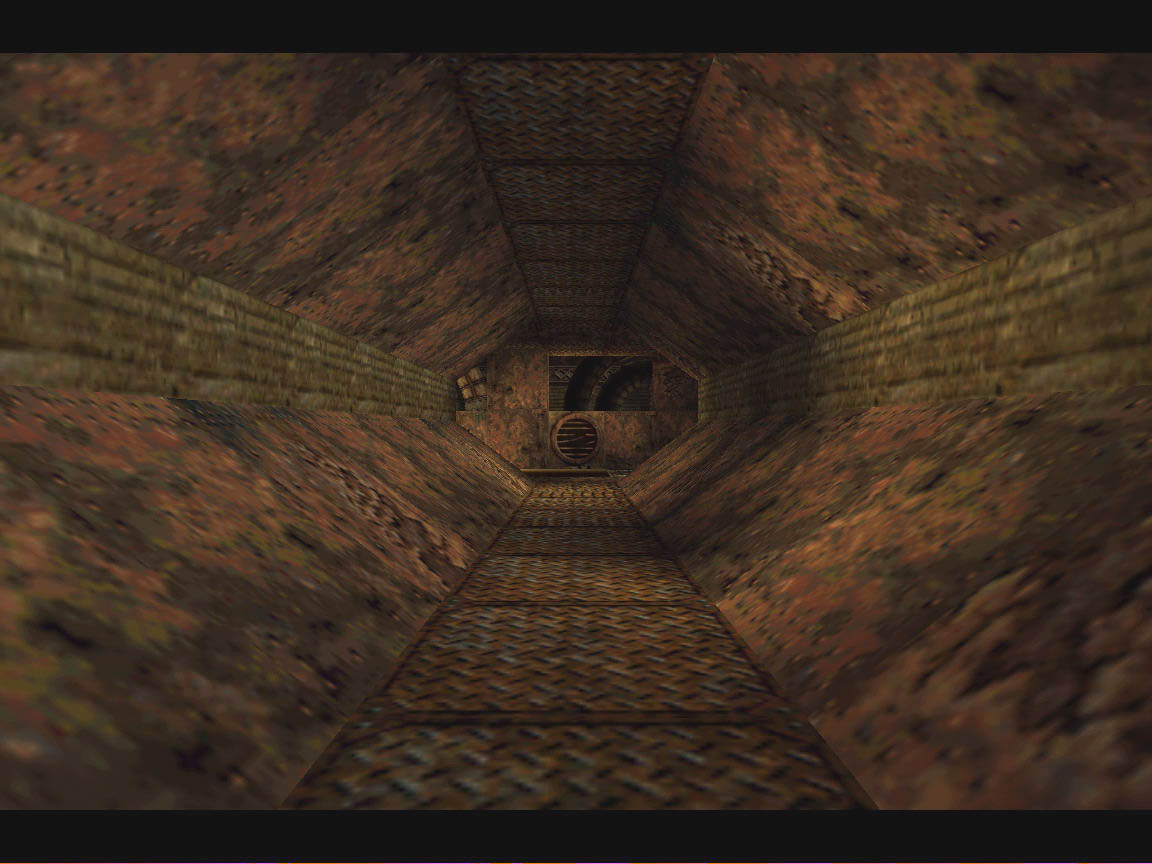
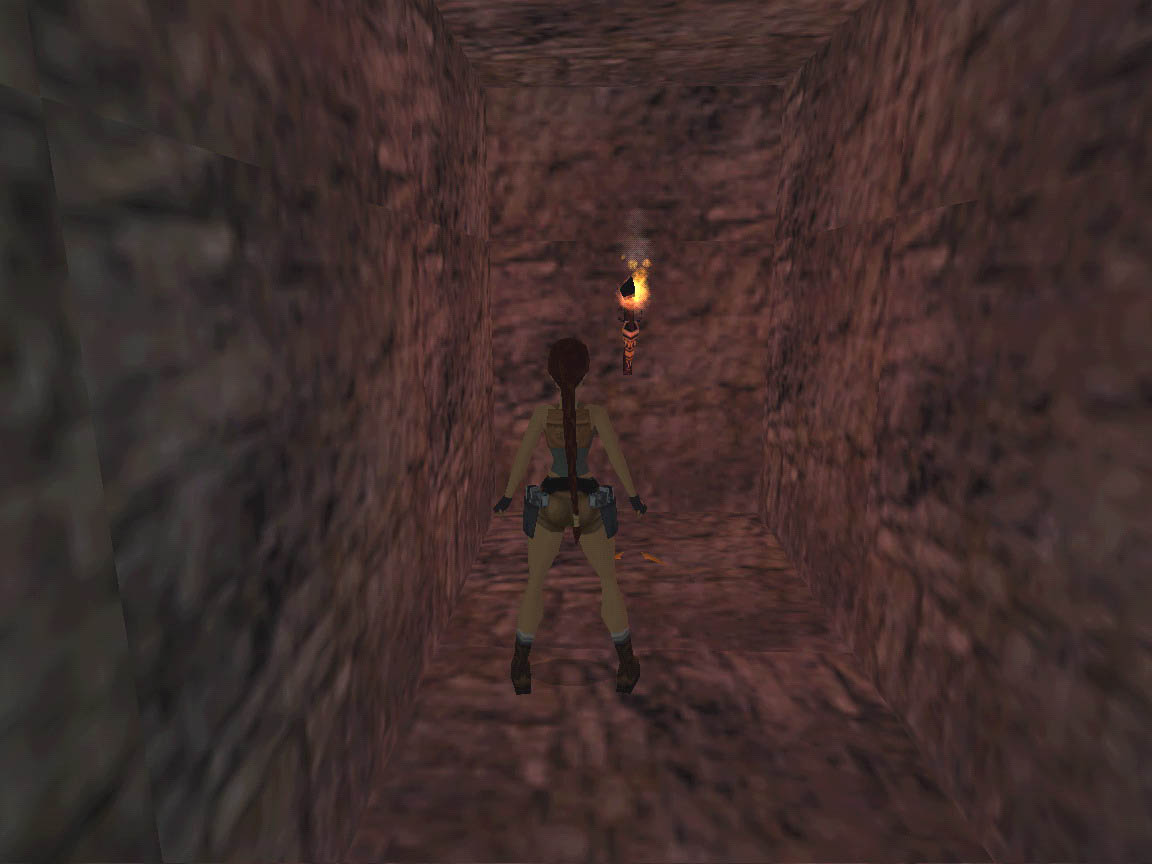
with a fire emitter below you. Go north and follow the tunnel to the end into
another room. Pull up onto the west ledge for flares.
Go north onto the ledge and look for a wall switch behind the column. Pull
the wall switch and return to the first room. The fire is out, so pull down
the wall switch on the block. You get a cut scene of a fire and explosion
in the second room. Return down the tunnel to the second room and see a hole
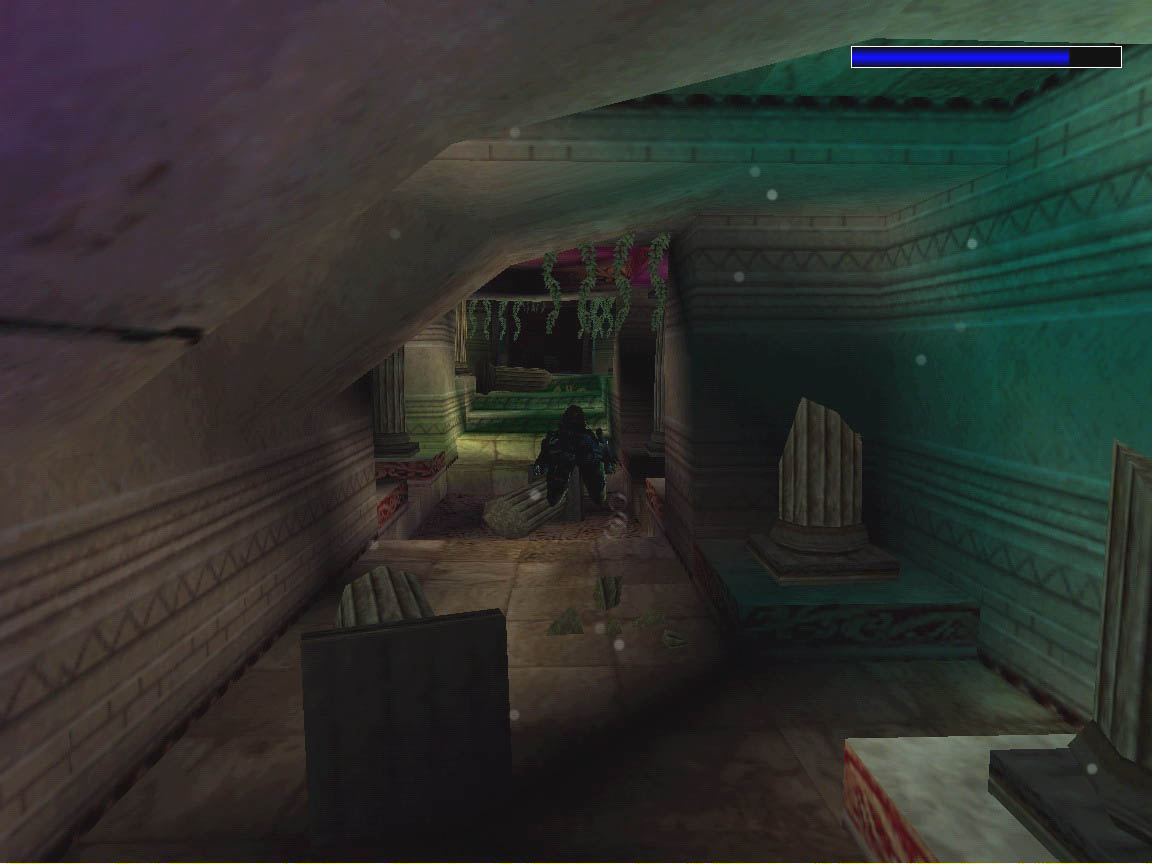
in the floor. Safety drop into the room below and fall into a pool of water.
Pick up a shotgun from the bottom of the
pool.
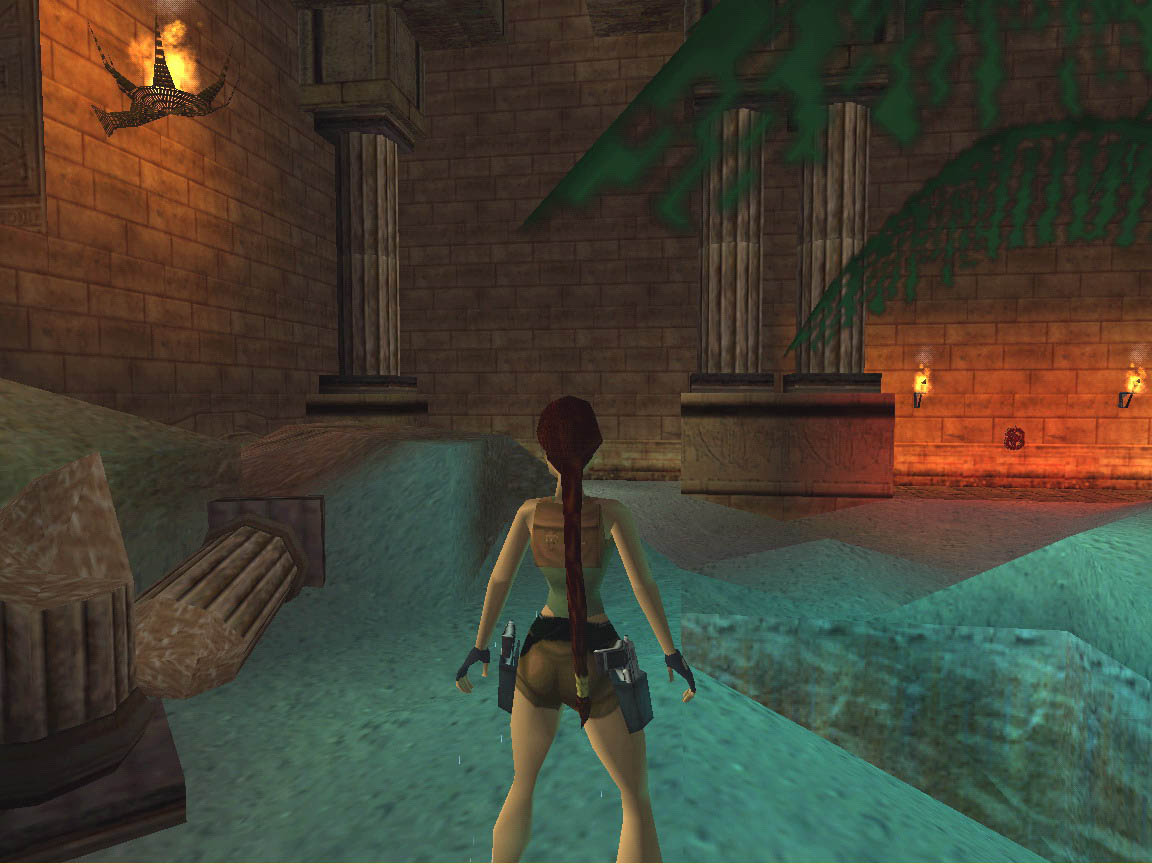
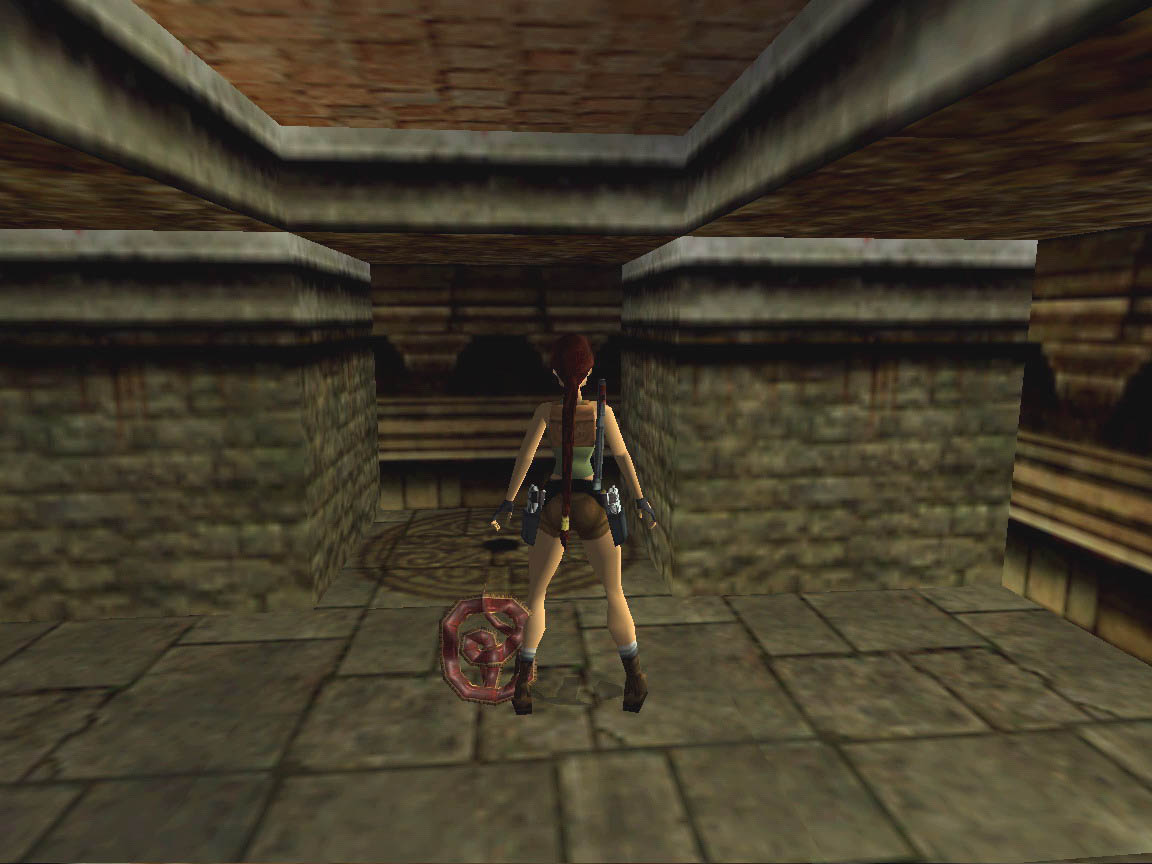
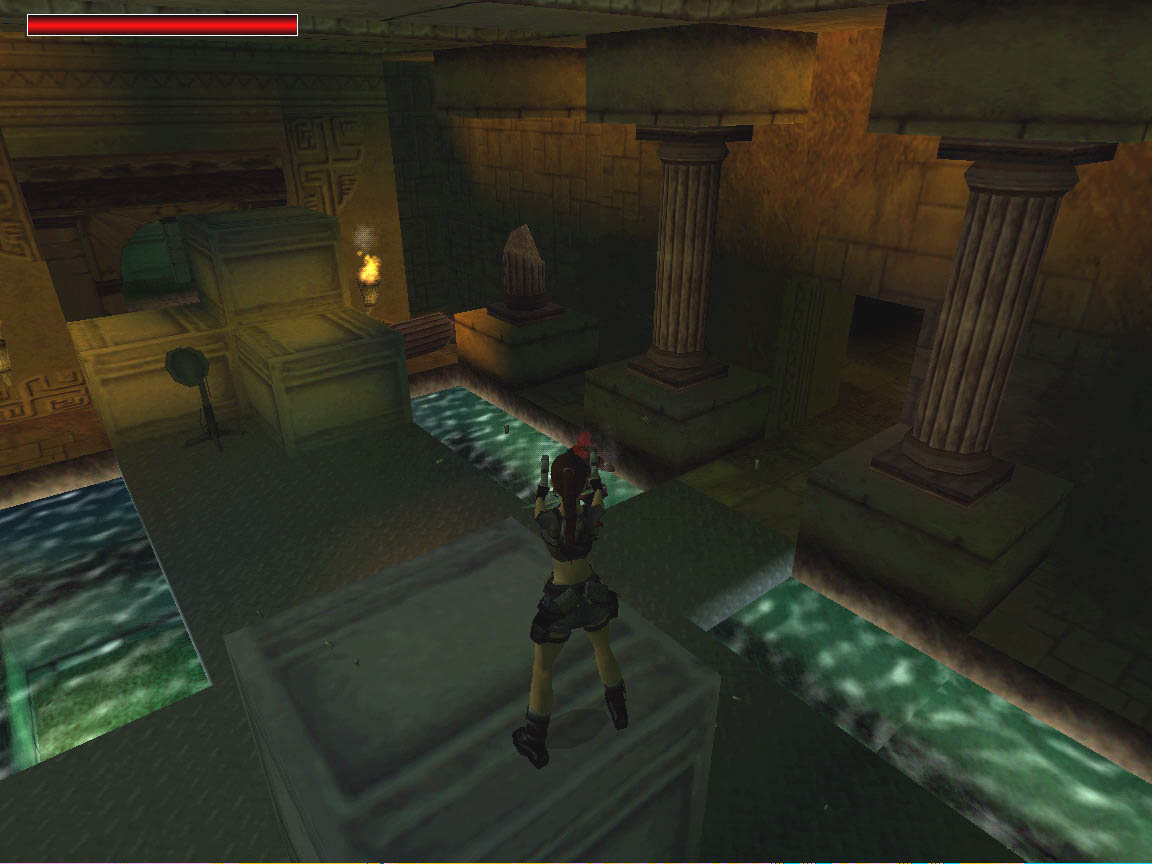
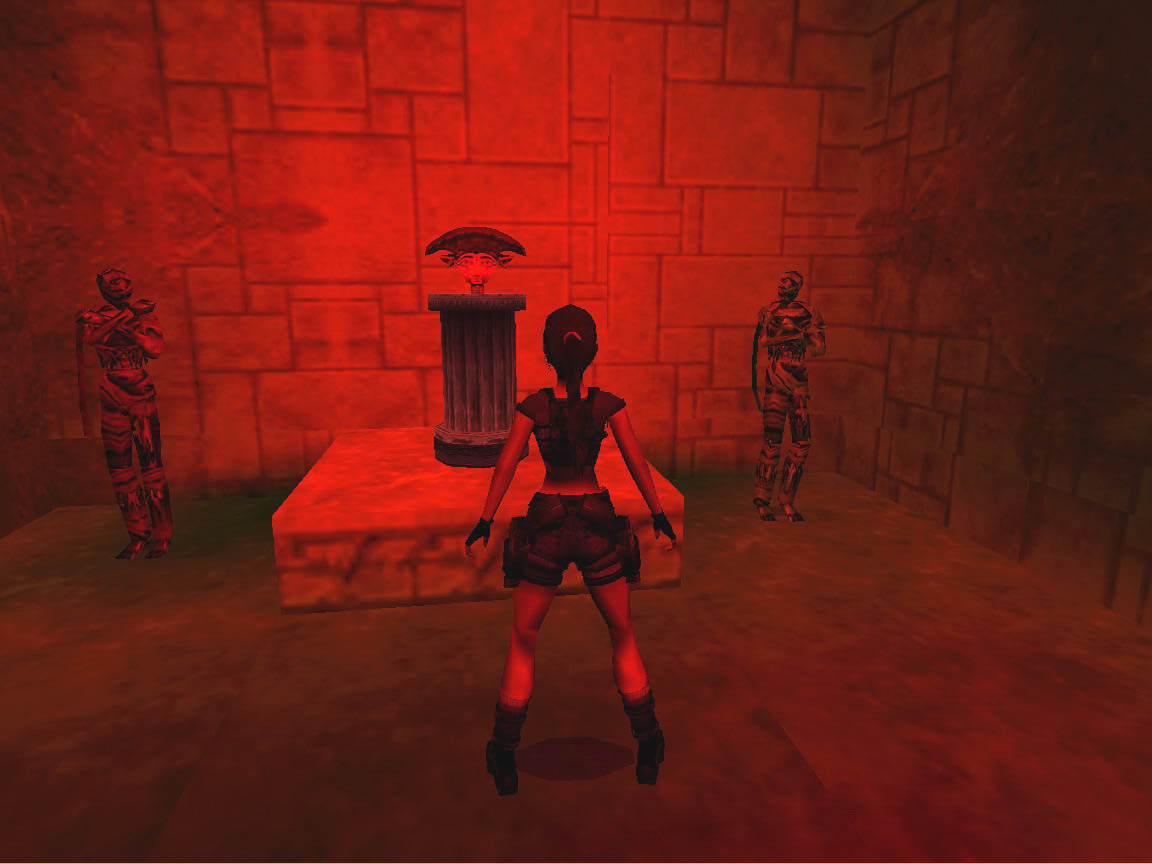
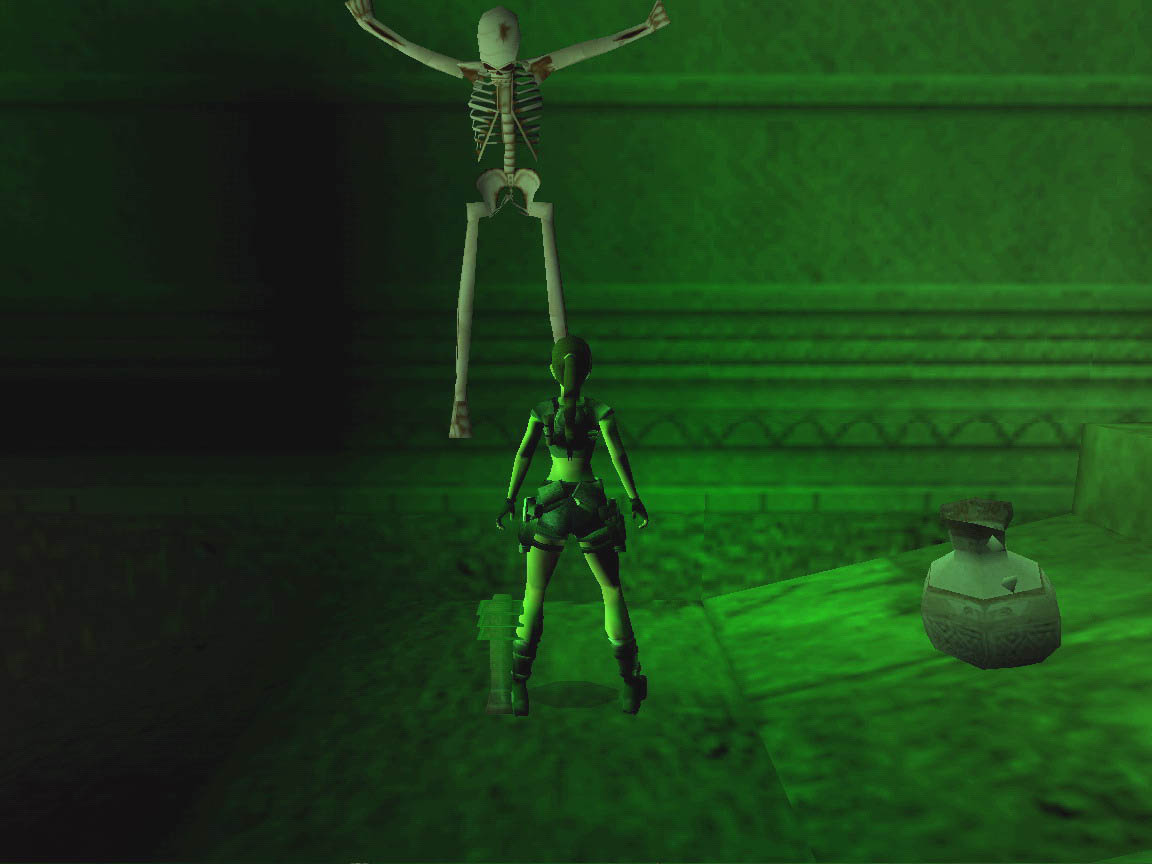
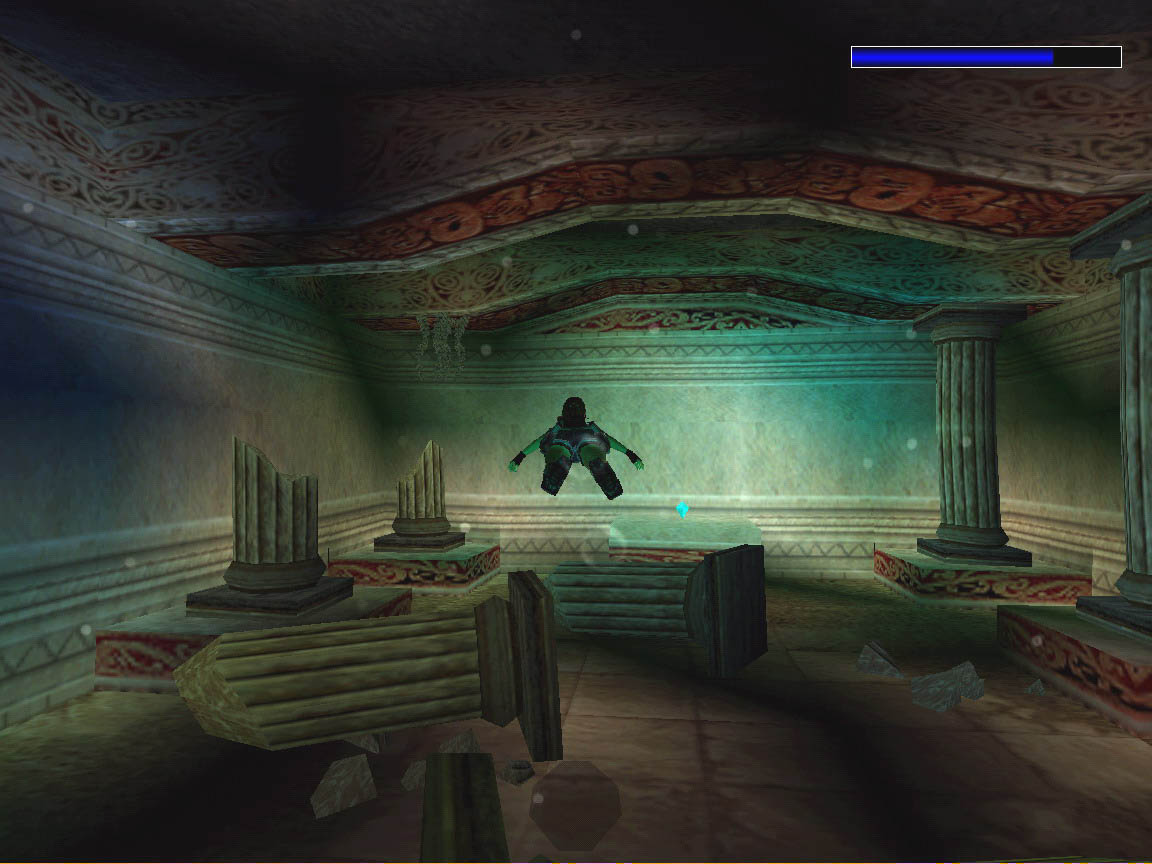
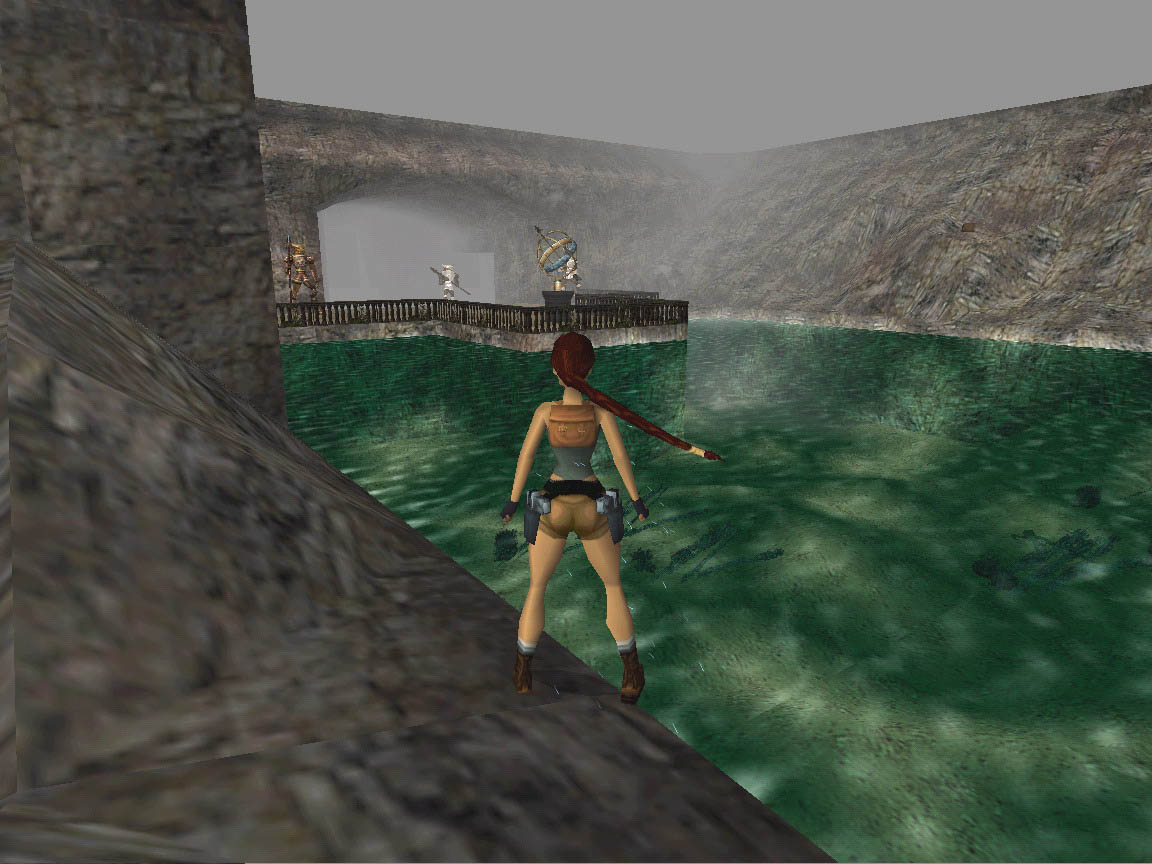
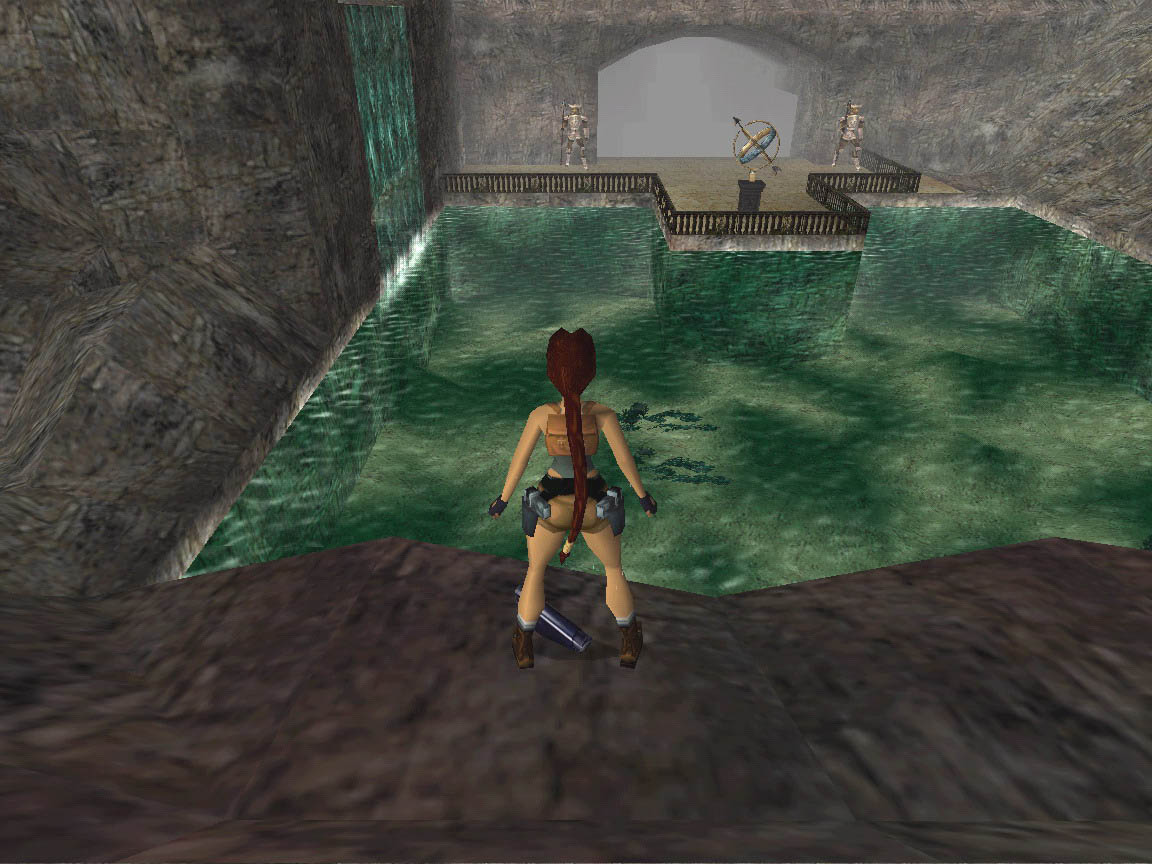
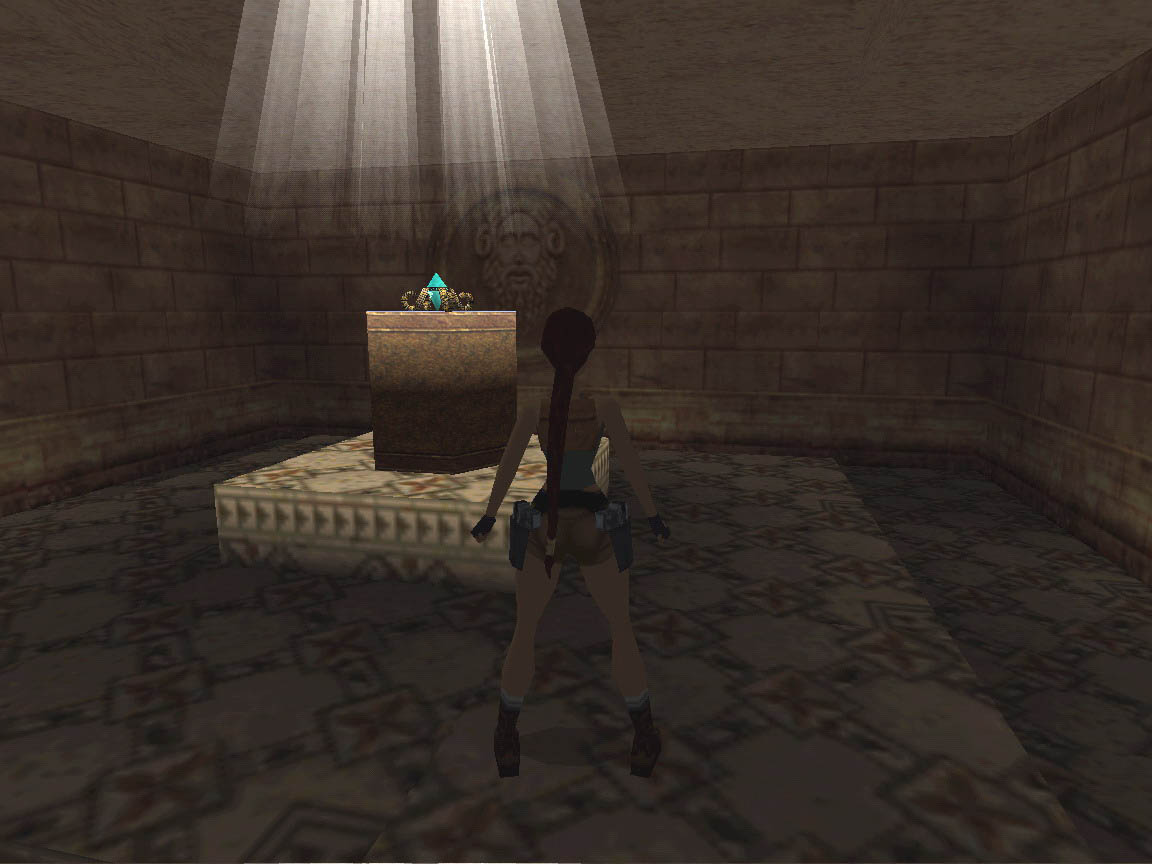
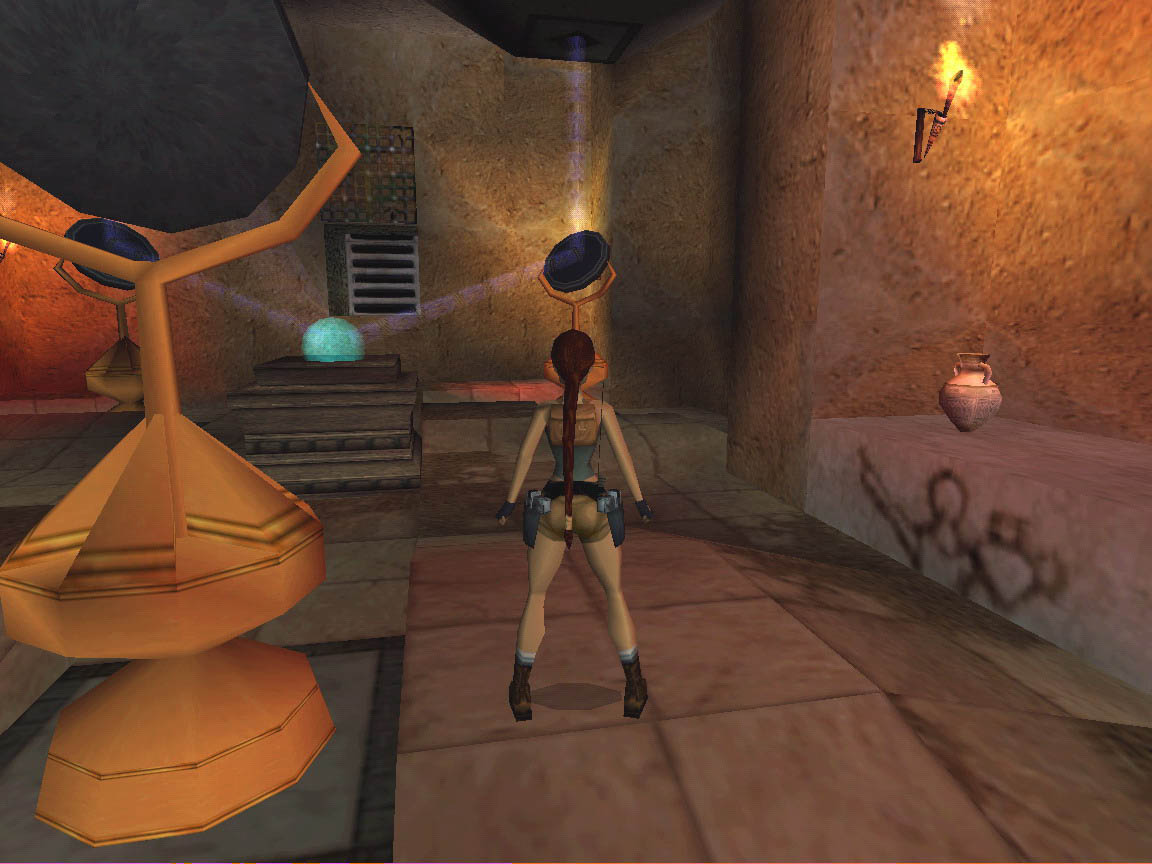
Pull up into the room and see three receptacles in the south-west corner. There is a closed gate in the west wall. There is an open area in the east wall. Go north and grab the edge of a brown slope to the right of a higher pedestal. Shimmy to the right and stand up. You can stand jump and jump again with a right curve to get to the pedestal. Or you can jump towards the closed gate, pull up to grab a crevice on the column and shimmy left around to the pedestal. Pick up the Hand of Orion from the pedestal.
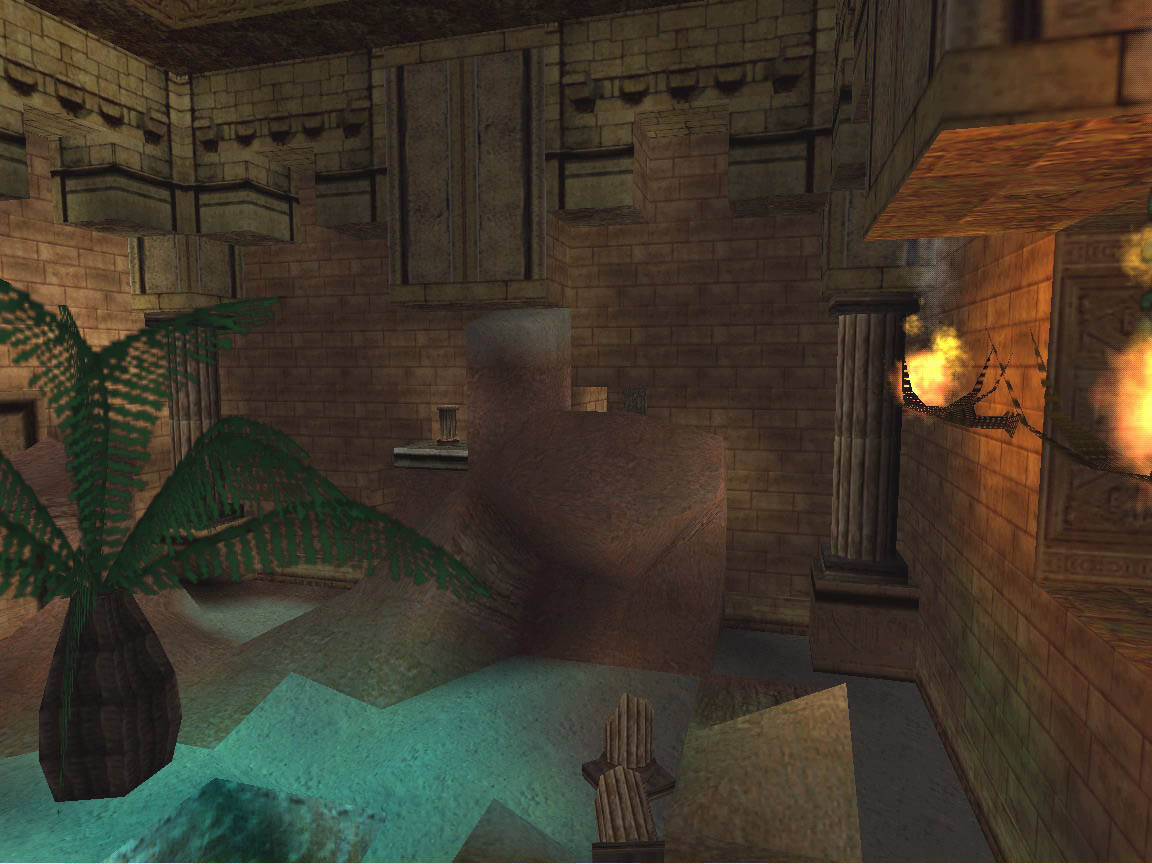
Go to the south side of the wall near the west gate. Climb up the wall ladder and use the floor lever on the ledge. You get a cut scene of the gate opening at the north wall. Climb up there again and jump over the slope and into the gate. Follow the gate to a dark room. Pick up red shotgun shells from behind a pillar. Hop up onto a block with the steam and pick up Ornate Serpent #1. Exit and slide down into the main room again.
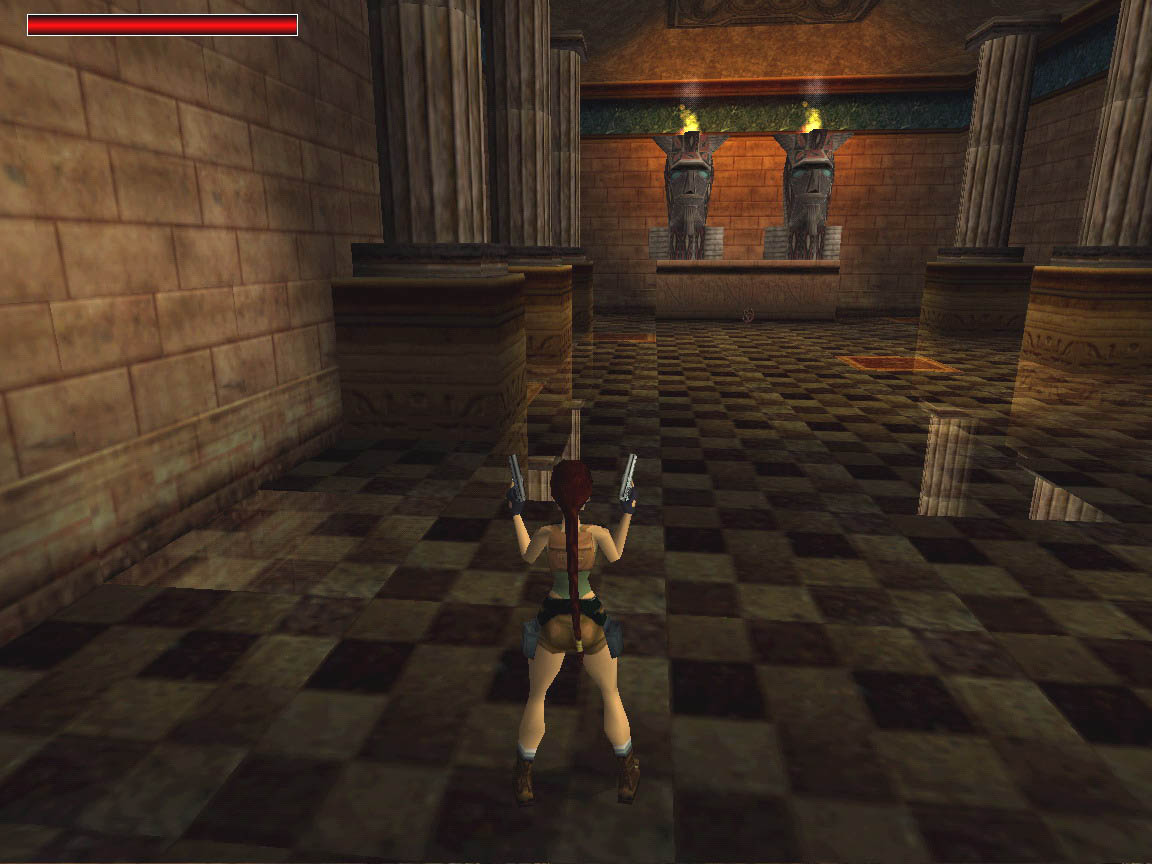
Go east and pick up red shotgun shells on the floor just before the east wall opening. Jump up into the opening and follow the wide tunnel to a T-junction. Go east up the slope and then descend some large steps into a room with highly reflective floors. There is an altar with statues at the east wall. Kill two green dinosaurs that attack from the sides. On the floor you see five brown tiles. There is one hidden in the dark south-east corner. Step on the five tiles and an explosion occurs. Go to the front of the altar and pick up Ornate Serpent #2. Turn and kill two harpies. Return west up the steps to the T-junction.
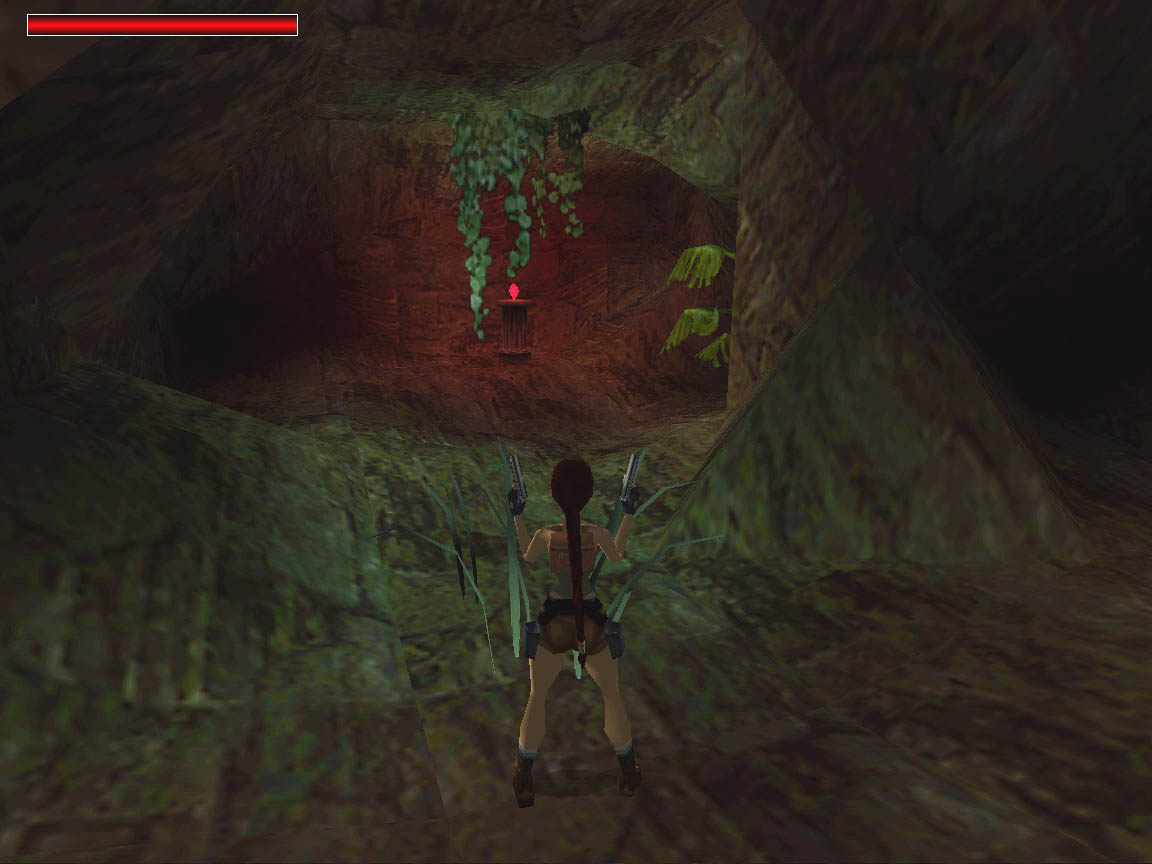
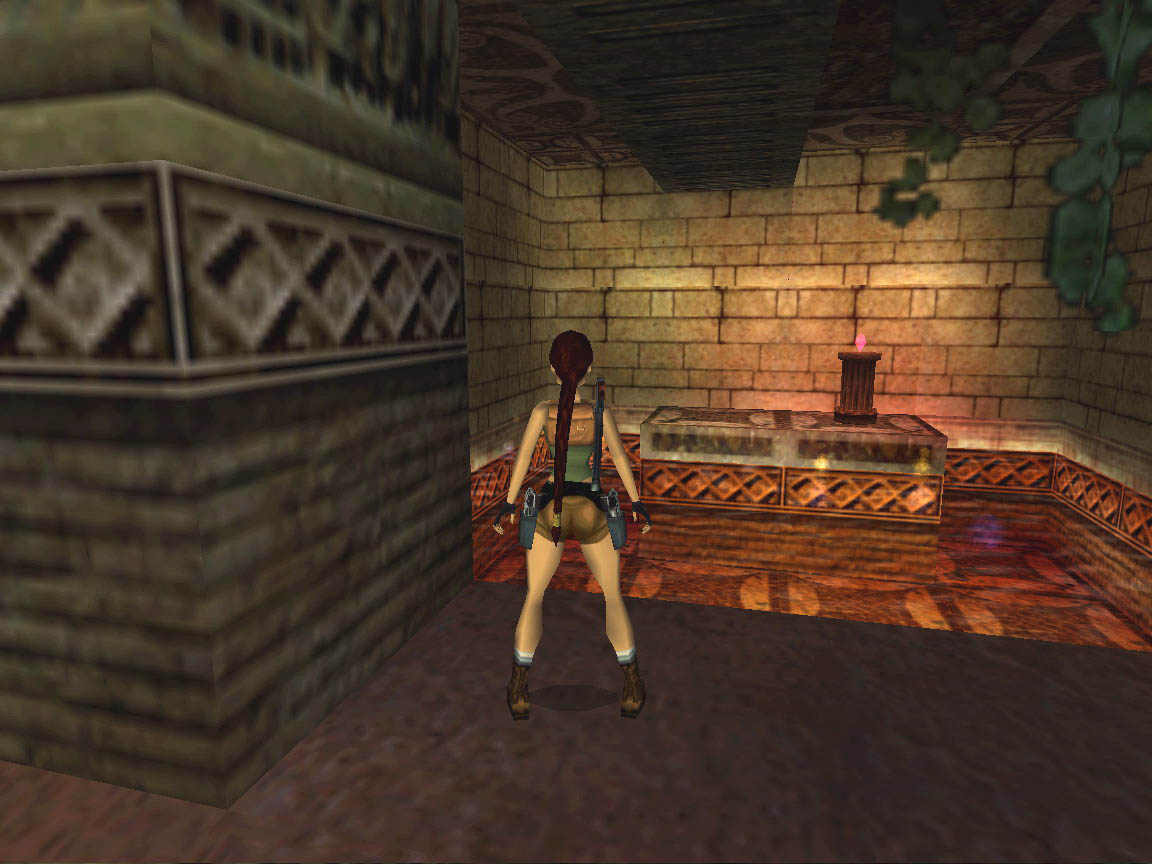
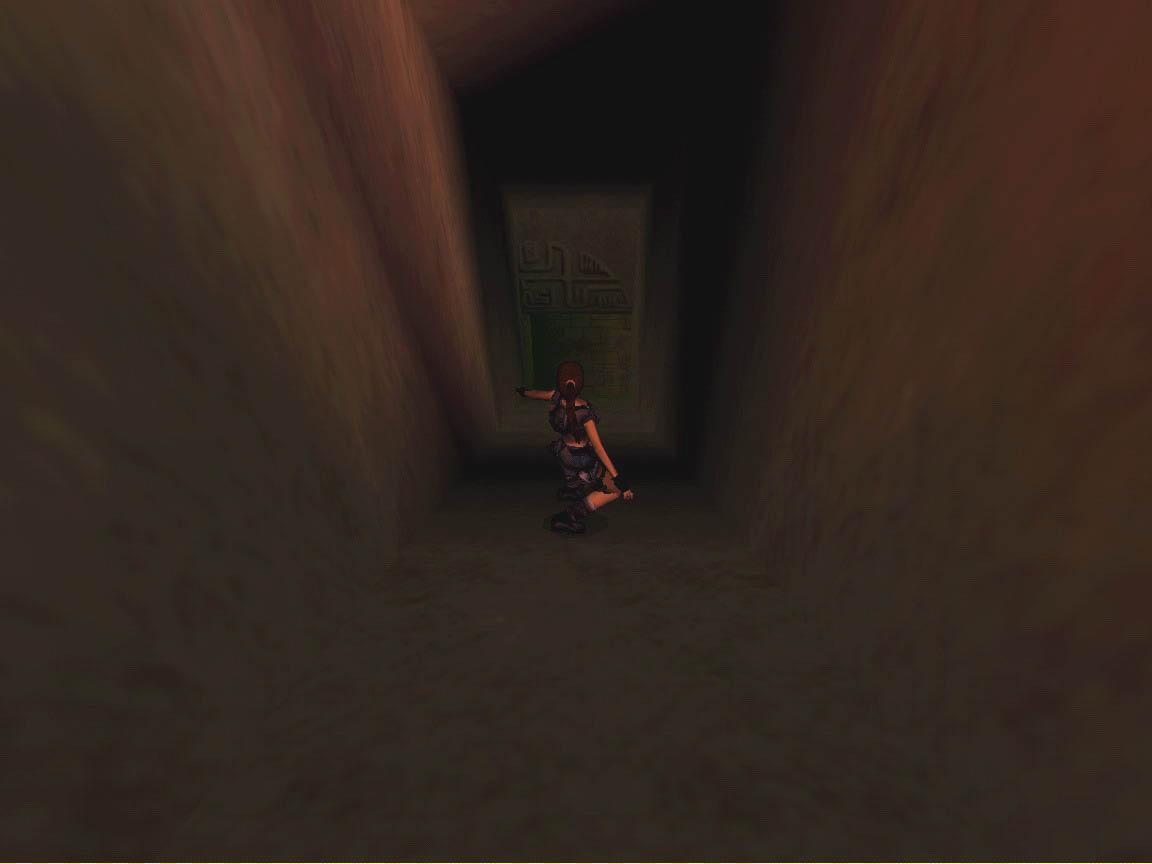
Go west down the slope and use the Hand of Orion to open a gate. Enter the gate and follow the tunnel to another gate that opens as you approach. Enter the gate and it closes behind you. You can pick up a small medipack from the block in front of the gate. You are in an underground cave. There is an empty pedestal to the east. Go west and kill a lizard. Go east and pick up the Blood Crystal that has magically appeared on the pedestal. I think it appears when the lizard is dead. Go west and look to the south wall for an alcove with a trap door above it. Go to the far south-west corner and place the Blood Crystal to open that trap door.
Go to the trap door and pull up to the west side. The north side is a spike trap. Notice the fancy tile on the floor. Follow the tunnel towards the east for a large medipack. Return to the fancy tile and jump over the spike trap and grab a crawl space in the east wall. Drop on the other side and pull up into another crawl space. Be careful of the steam and you stand up in a small room. Kill two green dinosaurs and go to the south-west corner. Pull down a wall switch to open a trap door in the south-west corner. Go there and climb the wall ladder to back flip into a small room. The trap door will close behind you.
Go and walk on the tile with the fire at the north wall. The fire stops and a lizard appears. Kill the lizard and Ornate Serpent #3 appears on the floor. The trap door opens so exit the room. Go back through the crawl spaces and the spike trap is gone. Drop through the trap door into the cave. Go to the entrance and the door opens for you. Go back up the ramp and return to the main room with the water hole. Use the three Ornate Serpents and the gate opens in the west wall.
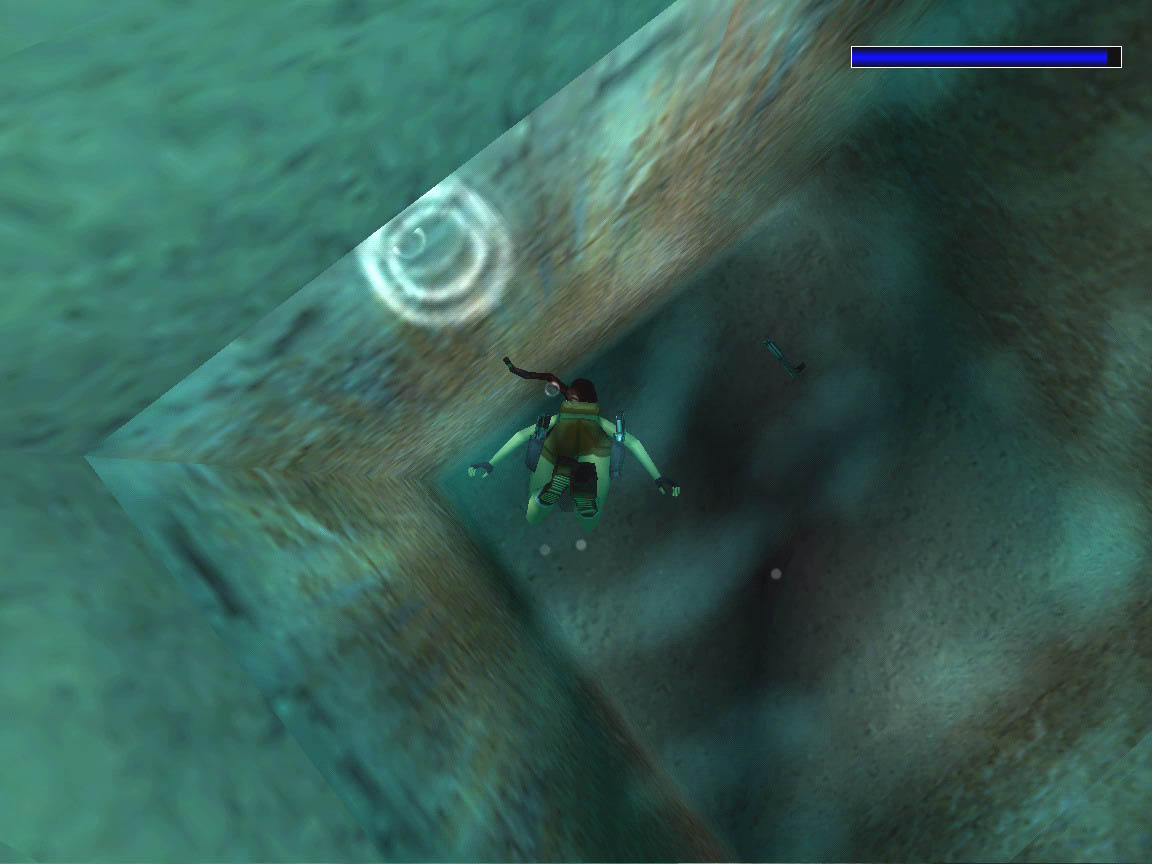
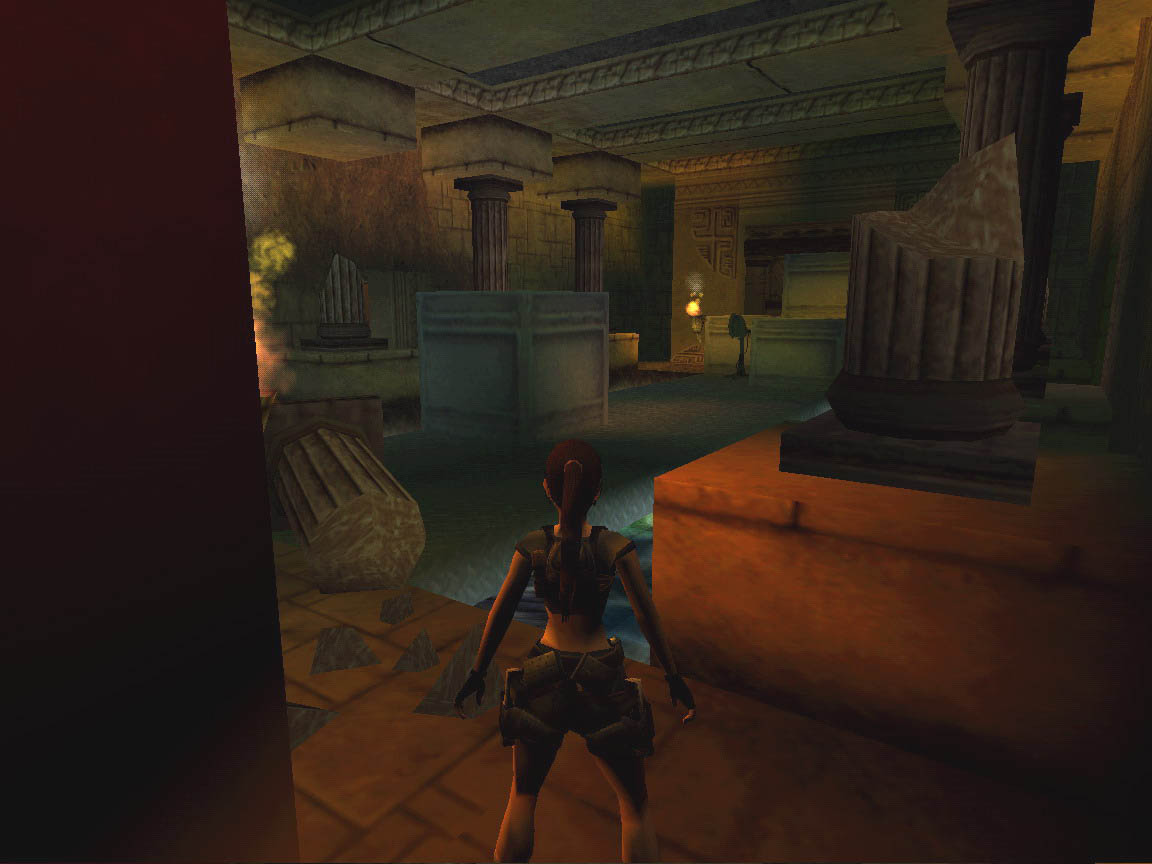
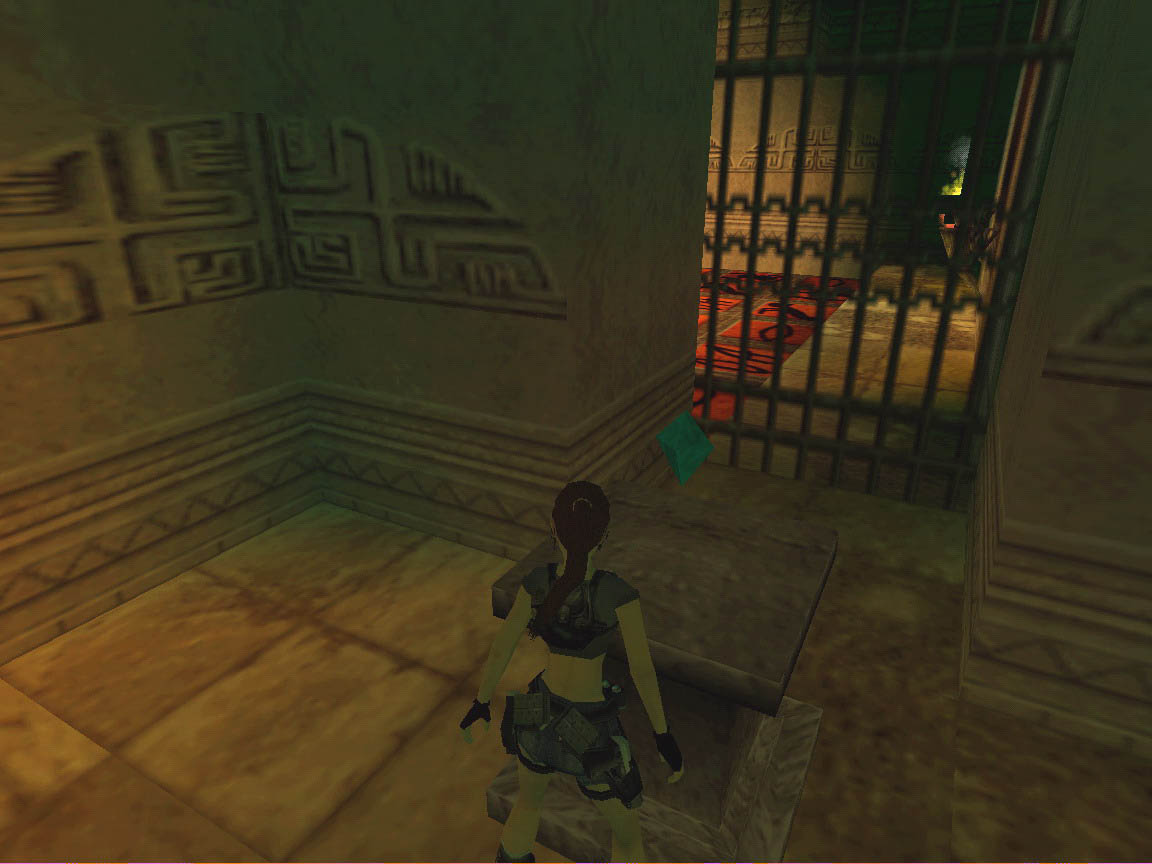
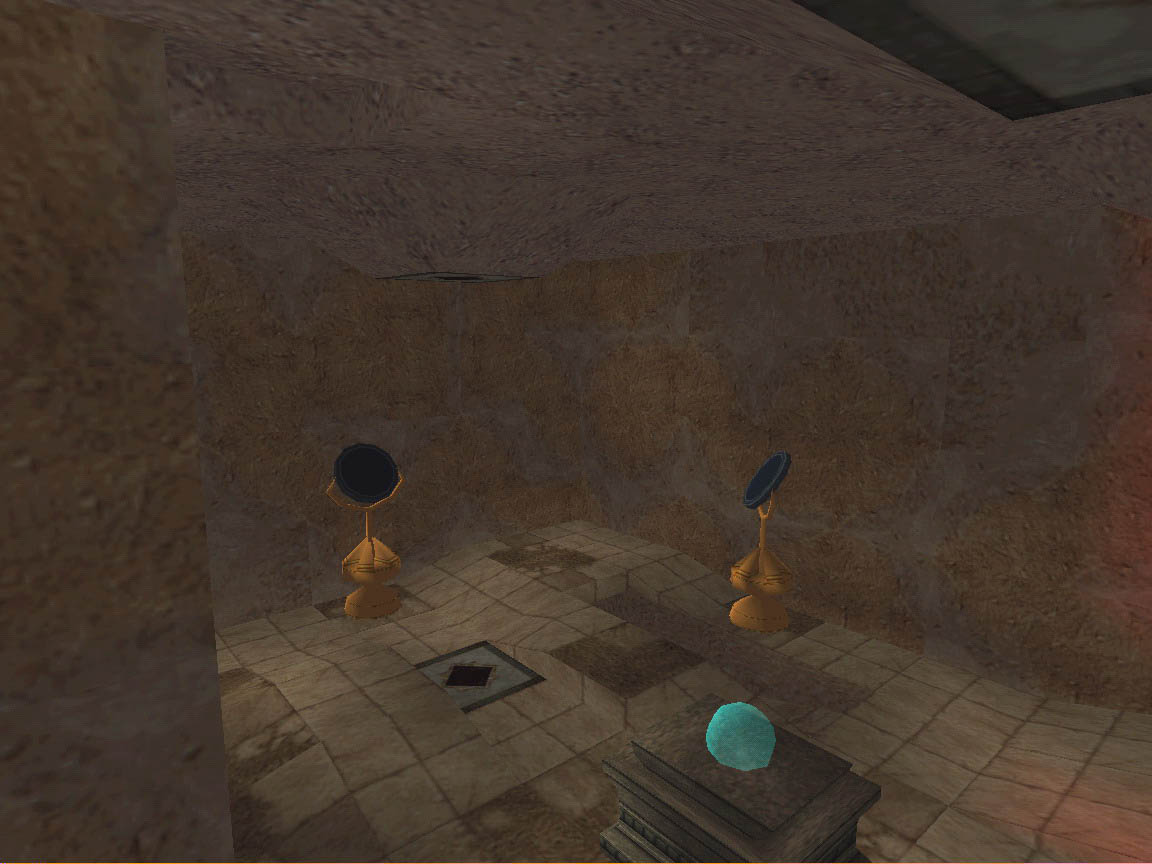
Go through the gate and go west up a ramp. Go to the west and see a pedestal on a platform. Grab the ceiling to monkey swing over the deadly water. Pick up the Blood Crystal from the pedestal and monkey swing back to safety. Go back to the ramp and go to the south-west corner. Place the Blood Crystal and the gate opens. Enter and follow the tunnel. You will go south and emerge into a room with a pool and platforms with fire emitters. Dive into the pool and swim through the floor tiles in the middle of the floor. Swim into an underwater trench for Uzi ammo, Uzi's, and red shotgun shells. At the west end pick up secret #1 and a Silver Skull. Then surface and pull up into the room.
Go to the north-east block and stand on the corner where it is safe from the fire emitter. Stand jump to grab the higher platform to the south-east. When it is safe, run and jump to grab the ledge at the south wall. Pick up the Hand of Orion and kill a harpy that appears. Exit the area completely and go back to the room with the ramp. Go to the north-west corner and use the Hand of Orion to open the gate.
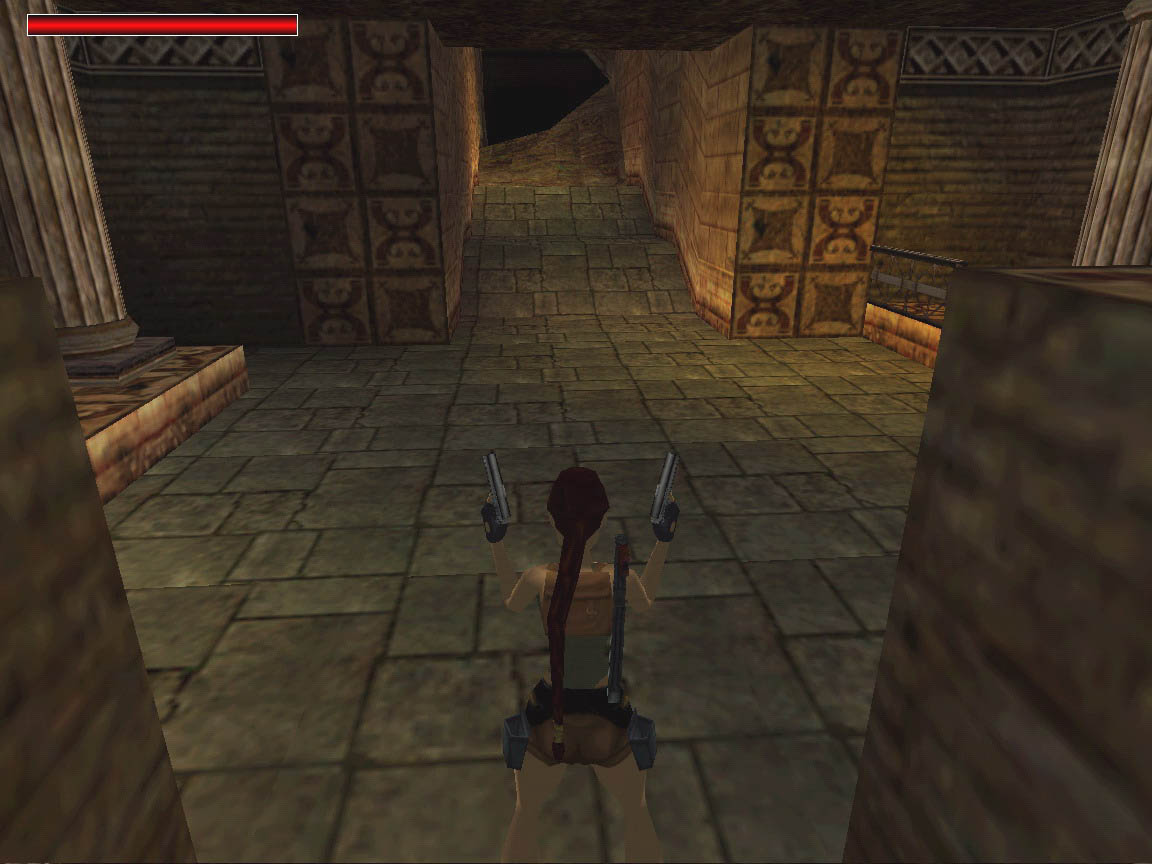
Follow the tunnel and stop in the first small room. Go to the north-east corner for red shotgun shells. Then run up the tunnel to the north. Enter the large room and kill two lizards. Go north and run down the dark tunnel and the level ends.
08-oct-2006
Walkthrough by Harry Laudie
2.Assyrian Secrets:
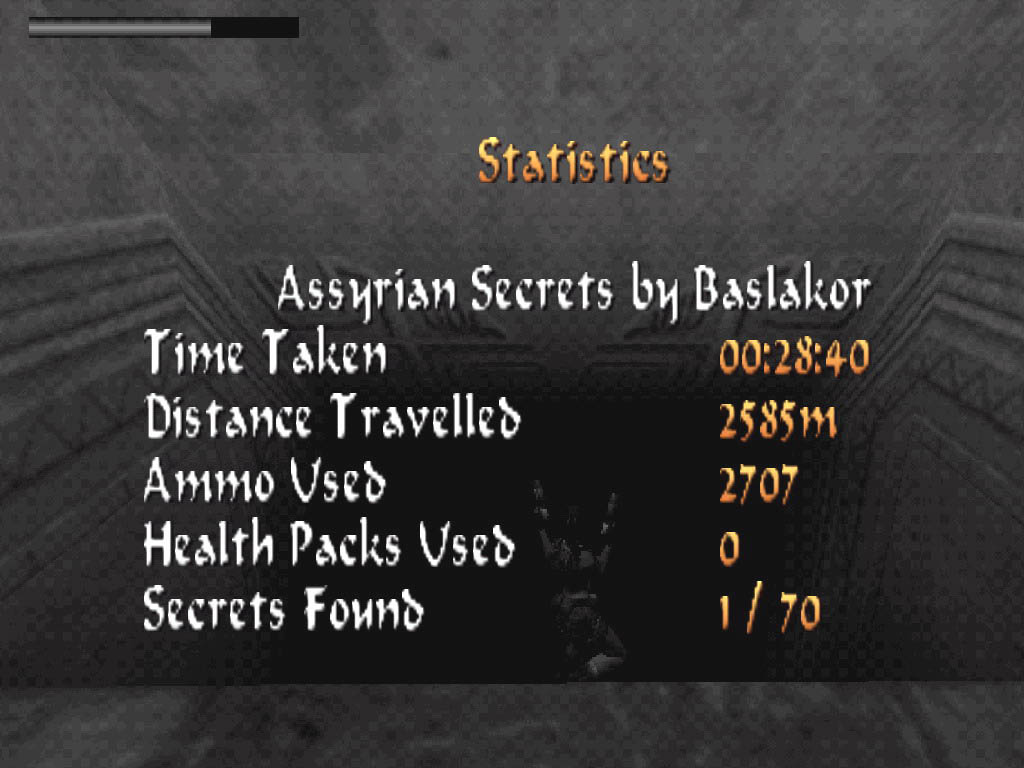 Secret:
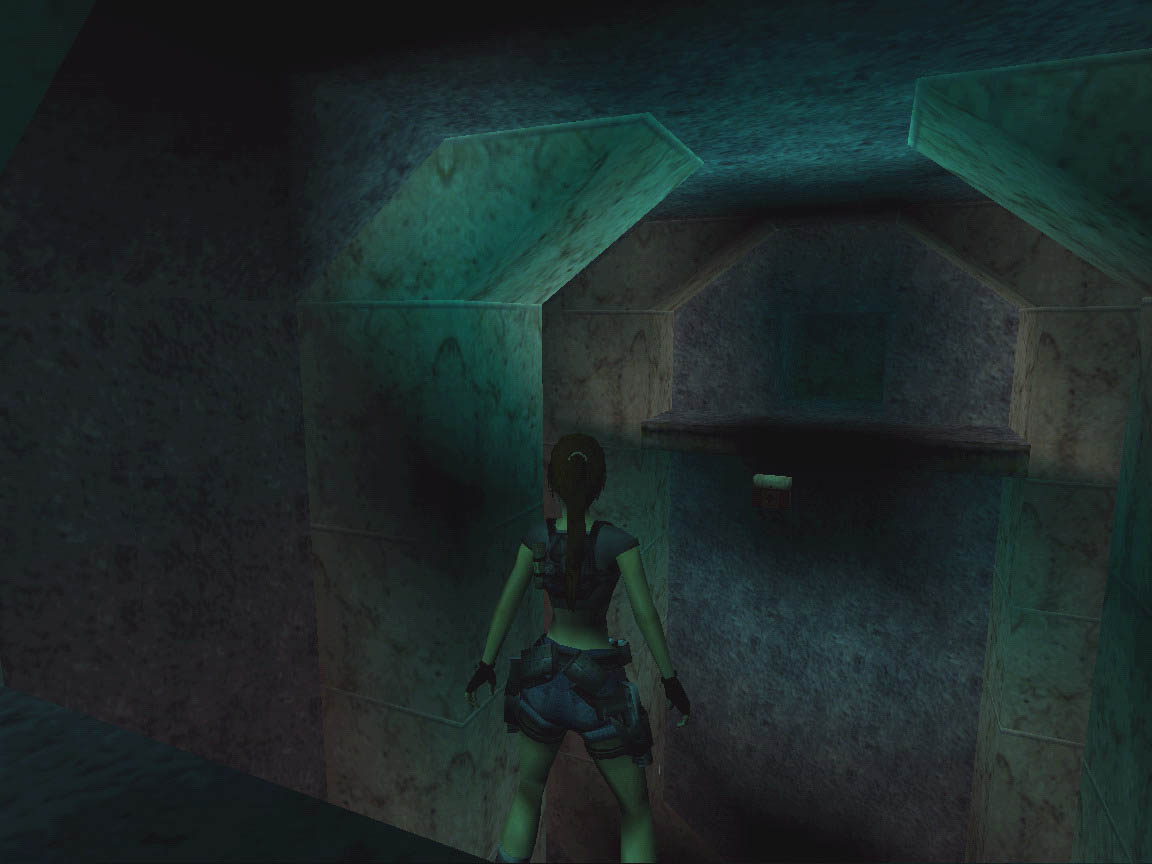
Story:
About 5 months ago the famous German archaeologist, Dr Braun, discovered some ancient Greek scrolls. While translating them, Dr Braun was amazed to discover information that the Great Library of Alexandria had not been destroyed during the Roman invasion, but had been removed to an ancient fortress hidden under the sands of Assyria, somewhere in present day Turkey.
Dr. Braun later discovered the location of the ancient fortress, but went missing soon afterwards. The mercenaries he hired to protect him have never been seen again either.
Level
by Baslakor (October, 2006)
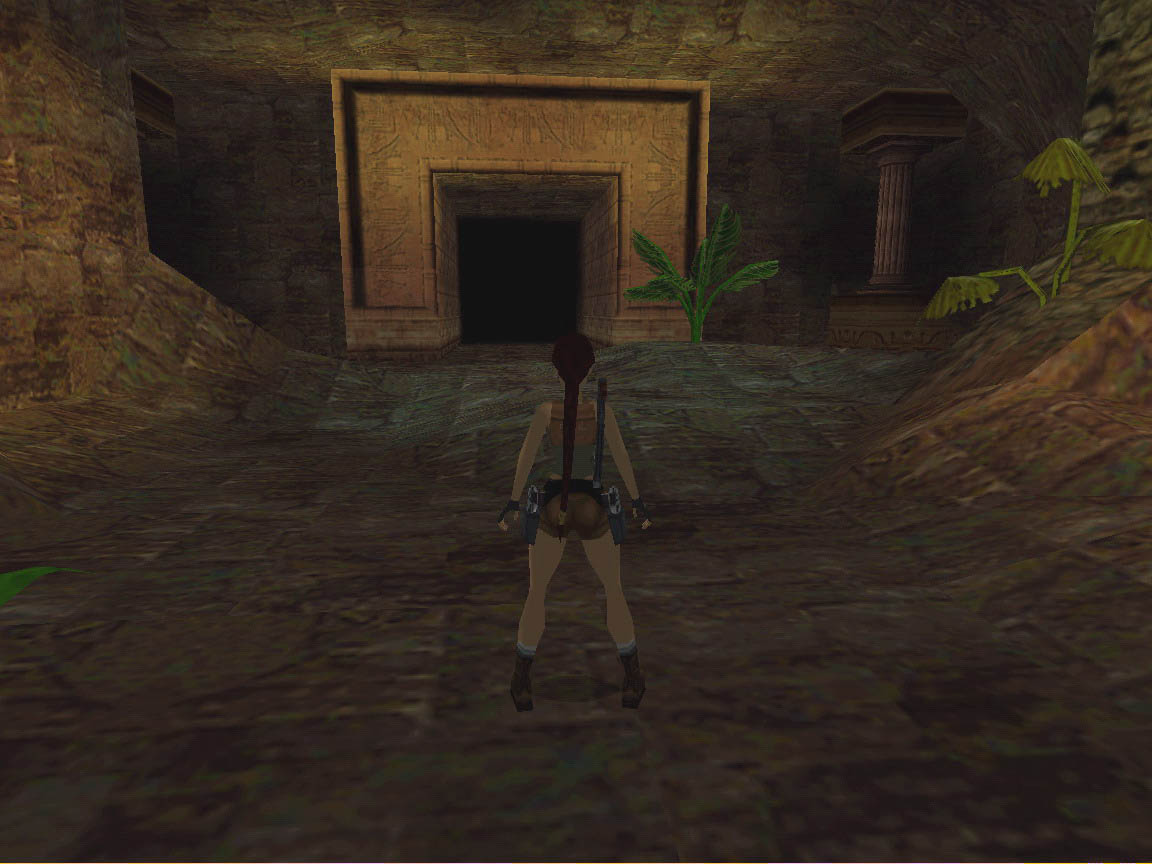
Slide
down a long slope and drop into a room. Lara will give a speech about the
ruins. Go to the north-east corner and hop into a dark alcove for flares.
Go east and crawl under a blade ball trap for red
shotgun shells. Go east and hop onto a block. Kill the red
ninja that appears and pick up flares.
In my case, the ninja fell into the water and I found the flares at the bottom.
There is a vertical shaft in the water pit for later. There are two tunnels
in the north and south walls for later.
Go to the south-west corner and get into a lower crawl space. Follow the crawl space to a small room. Pick up a Secret Guardian from the pedestal. Avoid the two mummies and the blade ball trap from the ceiling. Go back to the crawl space and exit the room.
Go east and climb onto the highest box. Turn around and pull up into a west tunnel. Follow the tunnel to a room with a spike floor. A gate closes behind you. Jump to the east alcove. Get into the crawl space and drop down into a room. Pick up a large medipack from a pedestal and kill two bats. Then return to the spike floor room. You cannot reach the monkey swing. Just run and jump to the side alcoves to get to the east side. Pick up the Secret Guardian and use the alcoves to return to the entrance. The gate is open so enter the gate and kill a blue ninja as you exit.
Now dive into the water and swim down the vertical shaft. Swim north into a side tunnel and pull up into a room. You get secret #1 as you go north onto the floor. Place the Secret Guardians on the stands in the north-east and north-west alcoves. You hear the door open in the north wall. Enter the door and go north to see a bird statue and three mummies in wall alcoves. Go to the east alcove and get into the tunnel behind the mummy. Follow the tunnel to a ledge and pick up flares and revolver ammo. Jump east to an invisible ledge for a large medipack. Jump east to a platform and enter the tunnel. Follow the tunnel and watch out for deep pits. At the end, climb a block and enter a room with a broken pillar. The wall closes behind you so you cannot return the same way. Notice a receptacle on the east wall. You can enter a hole by a gate in the south wall for a small medipack.
Go west and exit the room. Go pass the skeleton on the wall and a blade ball trap drops from the ceiling. Enter the west room and see a receptacle in the north-west corner. Turn and kill two blue ninjas that followed you into the room. Exit the room and crawl under the blade ball trap. Go south and follow the tunnel back to the room where you started. Go south into the next room and go east to see another receptacle on the south wall. Now just return back to the starting room.
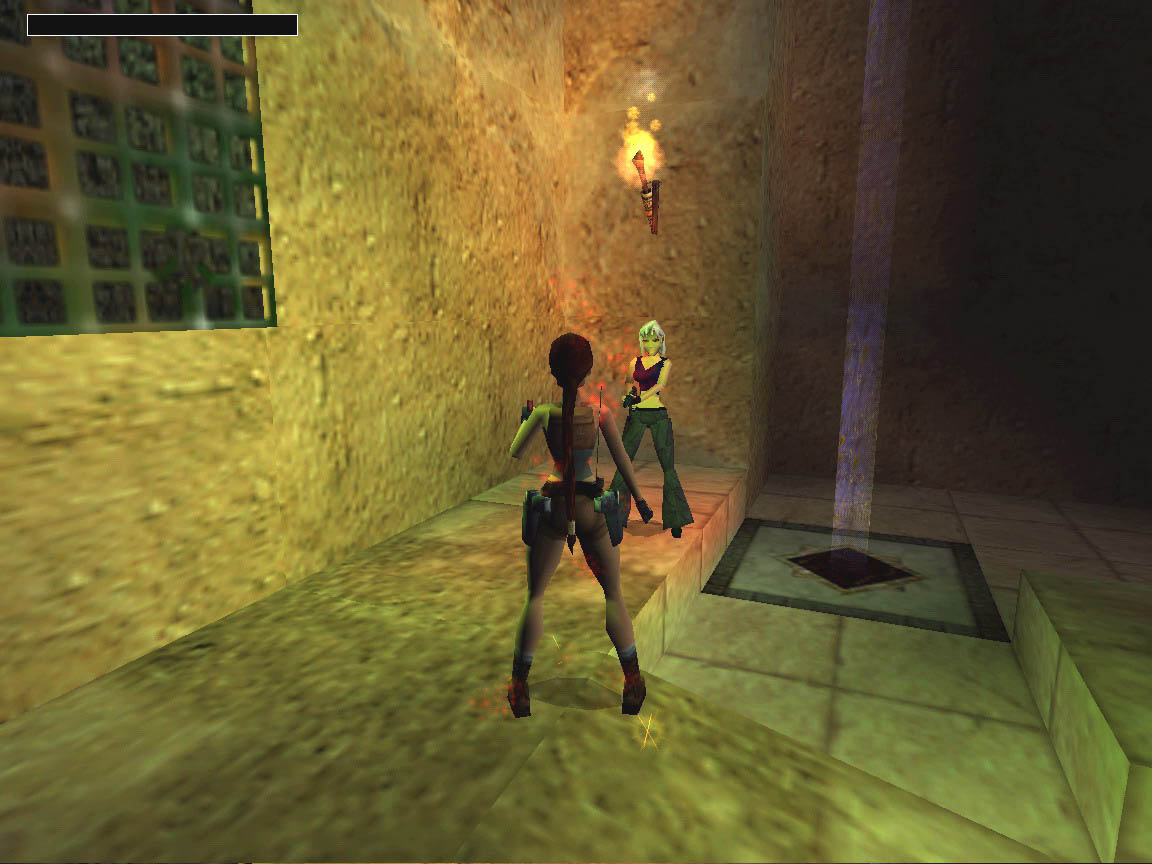
Go east and climb the boxes. Drop into the corridor on the other side and continue east. Climb the boxes and drop into the next room. You have a firefight with two red ninjas and two blue ninjas. One of them will drop flares. Go south into a room with vases. Look to the right of the entrance for flares on the floor. Climb the boxes in the south-east corner for a small medipack unless a ninja stole it first. Go west and watch out for the fake floor over a deep pit. You can see items and a tunnel at the bottom of the pit. Run and jump to the pedestal. Pick up a Guardian Key and get a flyby to a room with a deadly floor.
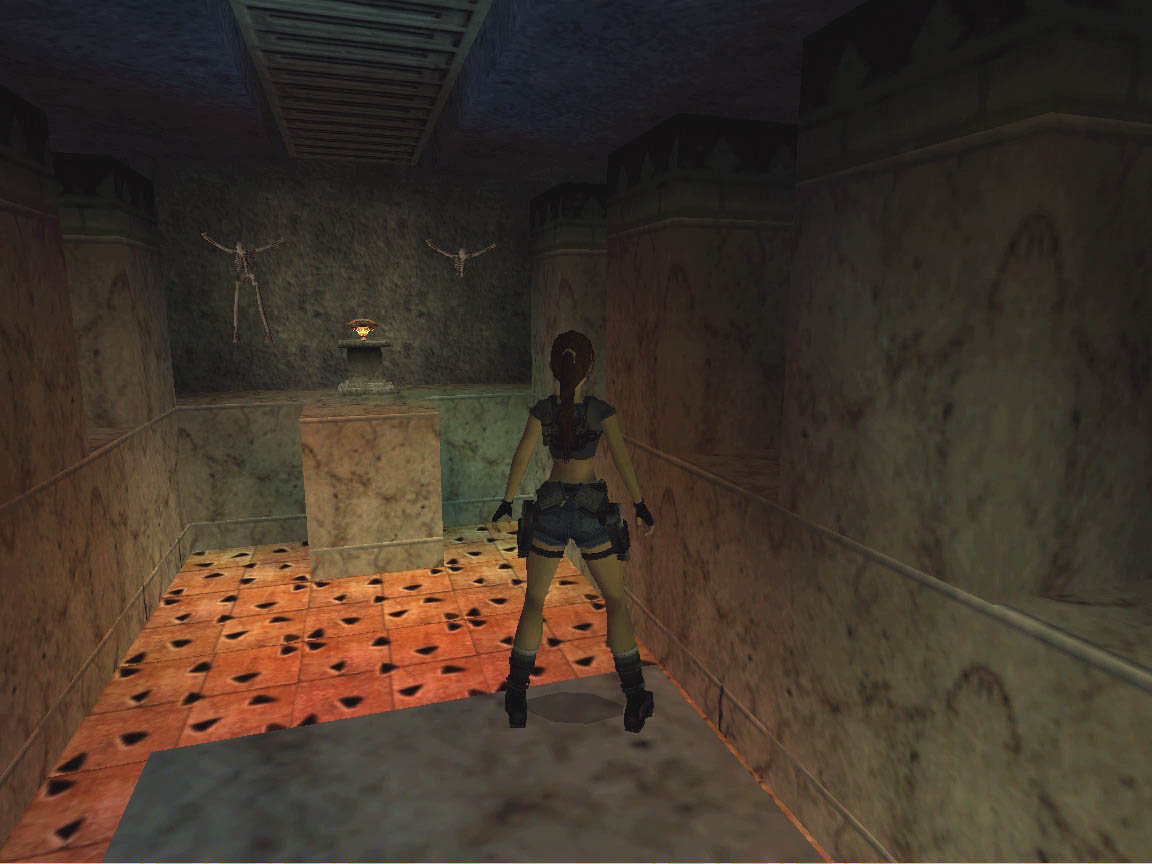
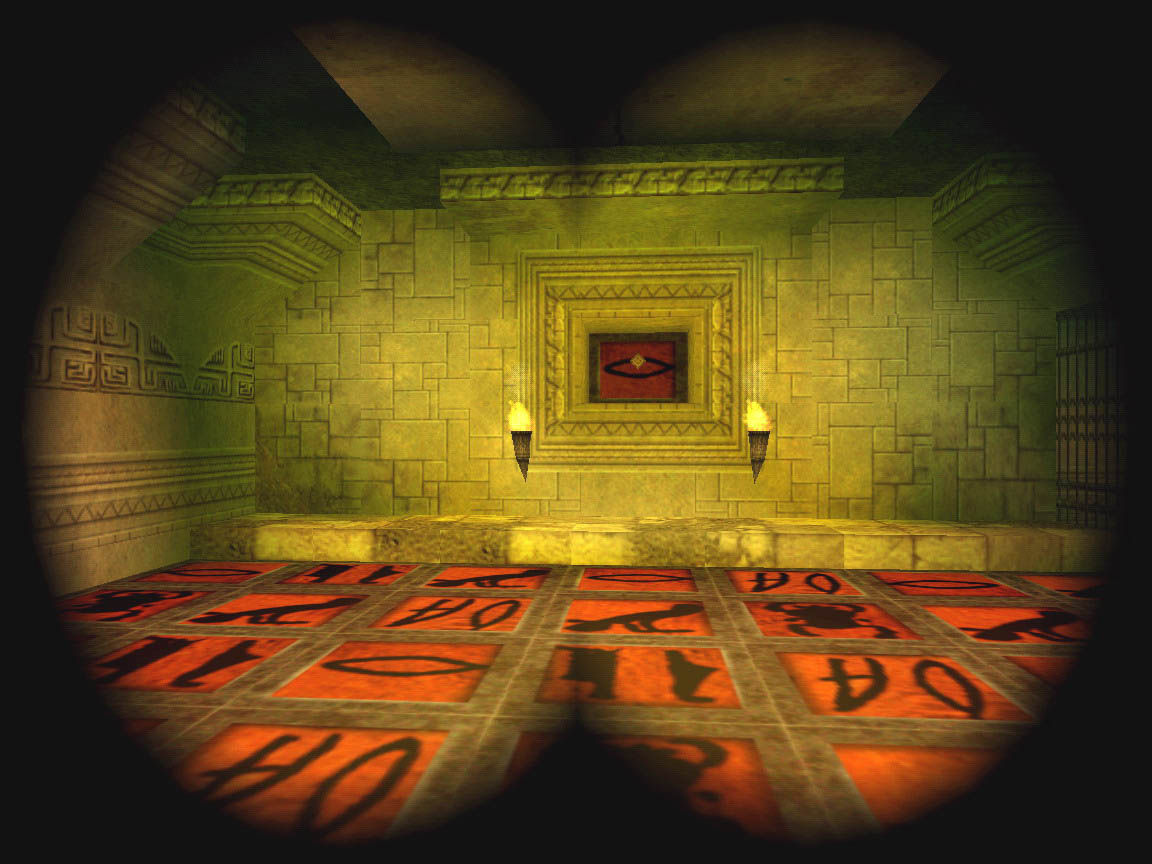
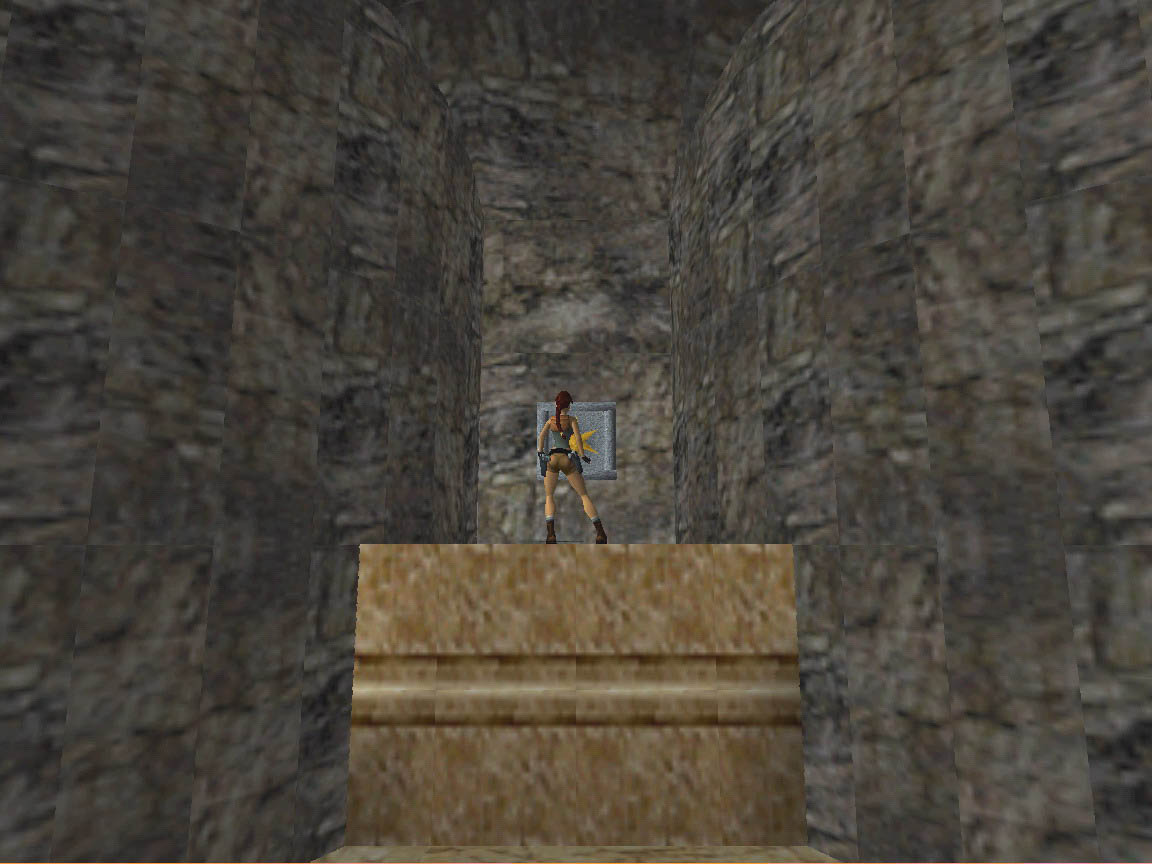
Exit the room and go north towards the deadly floor. After the first archway, where you see a mound of earth to the right, there is a hole in the floor to the left. The hole has a spike trap at the bottom. Continue and after the second archway, go to the west into a room. Pick up the revolver ammo and the revolver off the ledges. Turn around and kill two red ninjas. To the east is the way to two closed doors. Go north to pick up flares and notice the deadly floor. Use the binoculars and look to the north wall. You see an eye-shaped symbol on the wall with the receptacle. The eye-shaped floor tiles are safe. Use the safe tiles to get to the north alcove and place the Guardian Key. You get a cut scene of a door opening. Notice the item behind the closed gate in the east wall.
Jump back to the corridor and take the first left turn. Go east and turn left again and go through an open door. Follow the corridor to a room with a hole in the middle. Get into the crawl space in the north wall and shimmy around a deep pit into another crawl space. Continue to drop into a room and pick up the Gem of Assur from a pedestal. Exit back to the room and return to the main corridor. The narrow corridor to the south is the closed door needing the items. Go west and turn around to shoot a red ninja.
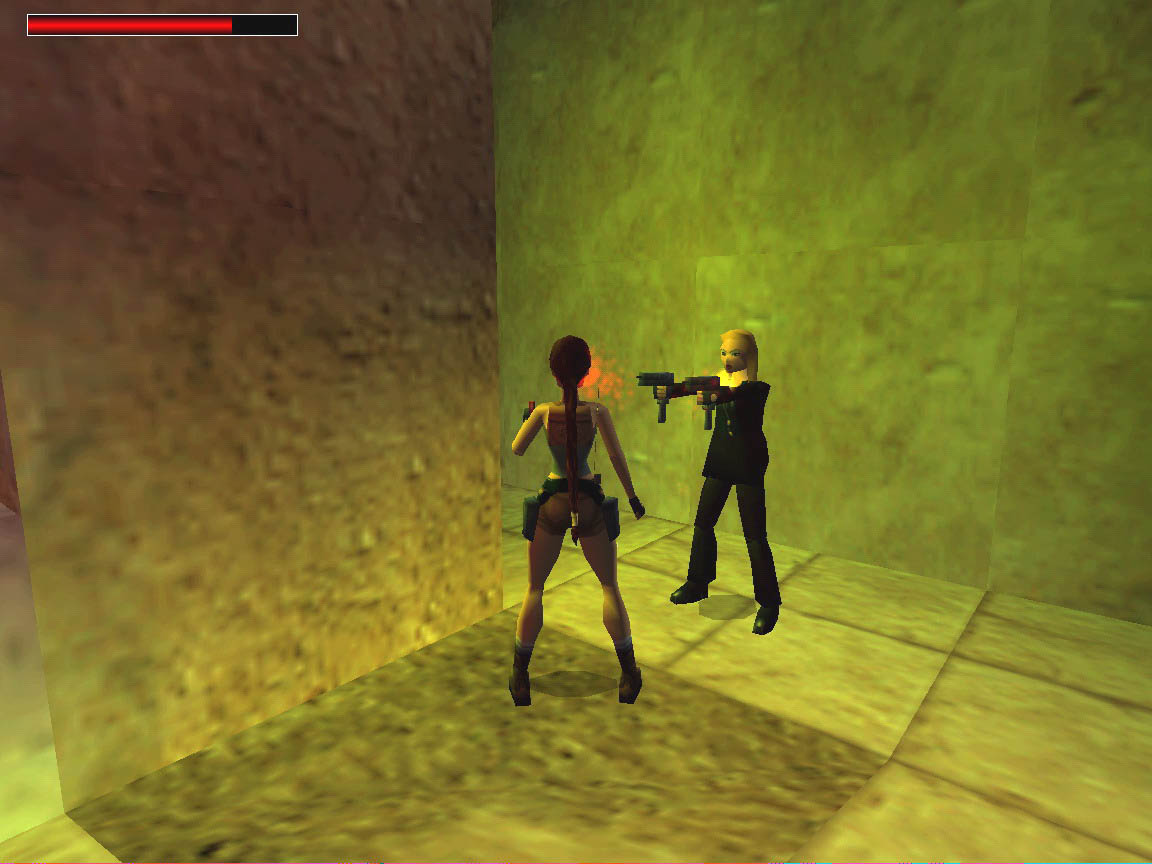
Go south to the main room area and go to the south-west corner where you see a wall torch. Go down the steps in that corner of the room. You enter a tunnel and hear a door open. You reach a T-junction. First go to the west and climb down a ladder. Go south into the pit you saw from above. Pick up red shotgun shells and the shotgun. Quickly jump back to avoid a falling ball. Climb the ladder back to the T-junction. Go east into the room and kill a blue ninja. Pick up the Glowing Pillar off the floor. Lara gives a speech about the skeleton on the wall and a missing page in a journal. Then the gate closes in the entrance tunnel.
Get into the crawl space in the lower north-east corner. Drop into a room and hear a blade ball trap drop from the ceiling. Look east up the hill and see three balls. Face the balls and step on the plate in the tunnel to trigger the balls. When the left ball rolls into a hole, jump with a left curve behind the left ball to avoid the rolling ball in the center. Now go into the tunnel and crawl under the blade ball trap. Follow the tunnel north and get a cut scene of a broken pillar in a colorful room. Enter a room with spikes under a hole with ladders. Turn around and pull down the jump switch on the south wall just above the entrance. The spikes are down so grab a ladder and climb out of the hole.
Go south and climb the boxes to the west to exit this area. Continue west over the boxes into an earlier room. Go north and enter the doorway in the north wall. Follow the north tunnel and go through the rooms and into a tunnel. Crawl under the blade ball trap and go east into a room. Place the Glowing Pillar in the south wall and get a cut scene of an underwater door opening. By the way, you may have seen other receptacles for the Glowing Pillar but they are deadly spike traps. Return back to the room with the water and boxes. Dive into the water and go down the vertical shaft. This time continue to the bottom and enter the open door in the south wall. Swim south and at a T-junction swim to the east. At the next T-junction swim to the south and surface for air. Then swim north into a room to pick up a second Gem of Assur at the back of the room. Then swim back south to surface for air.
Before you leave, you can swim west and go to the last rooms with a few ledges. Swim to the top ledge for a small medipack in the south-east corner. Swim to the east side of the ledge above the entrance for revolver ammo. Then swim back and up the vertical shaft and into the starting room. Go east over the boxes again and return to the second room. Go north and then east and south to the tunnel with the closed doors. Jump over the pit in the floor. Use the two gems to open the doors. Enter the doors and slide down the slope to end the level.
08-oct-2006
Walkthrough by Harry Laudie
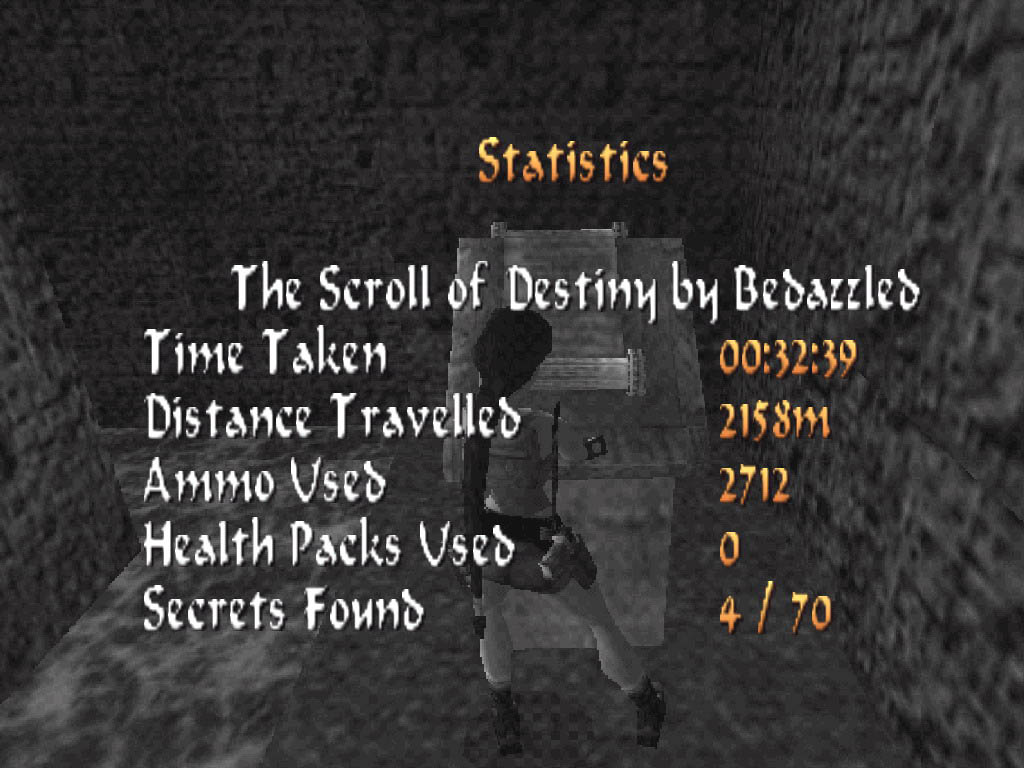
3. The Scroll of Destiny:

Secret 1-2-3-4: 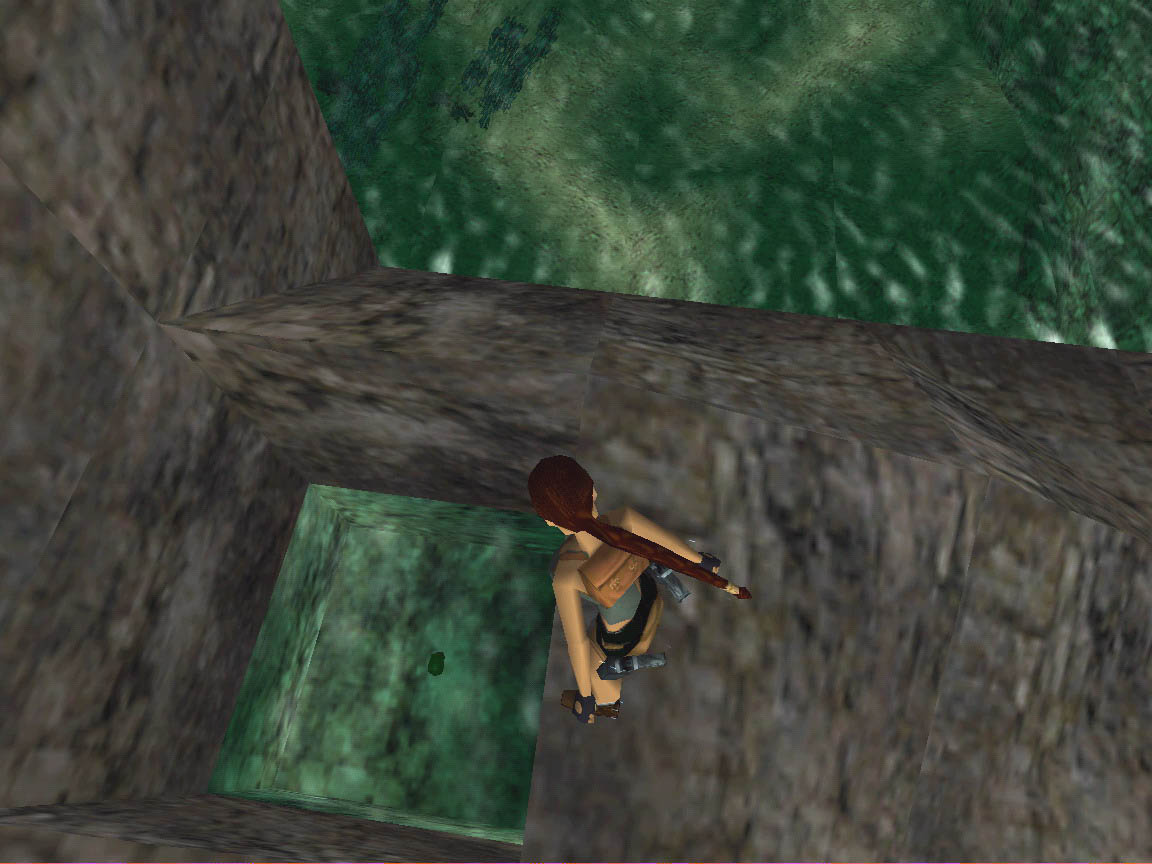

Story:
Lara finds a weird lake with some dude in strange garb patrolling it and who grunts in a most disconcerting manner.
Level by Bedazzled (October, 2006)
You start by sliding down a small slope and landing in a tunnel. Go forward and get a flyby of the next area showing a receptacle and a demigod. Go forward to a T-junction. Go west into the dark tunnel and pick up flares. Climb a ladder and back flip into another tunnel. Turn around and pick up Sun Key Piece 1 from the floor. Return to the T-junction and go east. Follow the tunnel to a ledge overlooking a lake of water. You can kill the demigod with pistols from the ledge but it will take time.
Dive into the water and swim to the right to pull up to the south ledge. Go to the west wall and drop into a hole. You get secret #1 and a Golden Skull. Get out and climb the hills on the east wall. In about the middle area, you can pick up the laser sight. Slide down into the water and look for a tunnel in the lower east wall. It is very well hidden by seaweeds. Swim into that east underwater tunnel. Just follow the tunnel to see an east branch. The current is too strong, so go south to surface for air near some branch tunnels. Dive again and follow the west tunnel. Follow the tunnel to a room and pick up Sun Key Piece 2. The south tunnel is a dead-end so just swim back to the lake.
Swim to the middle of the north ledge and pull up. You can stand jump to an upper ledge and pick up a large medipack. Go west to the platform with the two demigod statues. Go to the south-west corner and push a block into the south wall. Turn east and push in another block and pick up two red shotgun shells. Then go west and see a jump switch. Pull down a jump switch. You get a cut scene of a block rising under the receptacle. Go to the lake area ledge again and climb the block by the receptacle. Combine the two pieces to make the Sun Key. Place it in the receptacle and the gate opens in the north wall.
Enter the gate and look west see a wall switch behind a spike trap. Go east and jump behind the demigod statue for secret #2 and a Golden Skull. Take the north branch tunnel and at the first turn look above your head. You should see a ladder on the west wall of a hole. Follow the tunnel and pass a large gate. Continue to the left to get to the wall switch. You will get a cut scene of a closed gate. Pull the wall switch and return to that hole with the ladder. Remember the wall switch for later.
Jump up to grab the ladder. Climb the ladder and shimmy left into a tunnel. Jump a floor blade and slide down a slope. Jump two more floor blades and land into a tunnel. Walk to the west and get a cut scene of a room with movable mirrors. You enter a room with a pedestal and some water. Dive into the water and swim under the pedestal for secret #3 and a Golden Skull. Pull back up and go down the east tunnel. Follow the tunnel to a closed gate. Enter a branch tunnel and go to the end. Pull down a jump switch and get a cut scene of a large gate opening. Pull up into a crawl space at the east wall. Follow the crawl space to pick up a shotgun and drop back into the tunnel with the large gate.
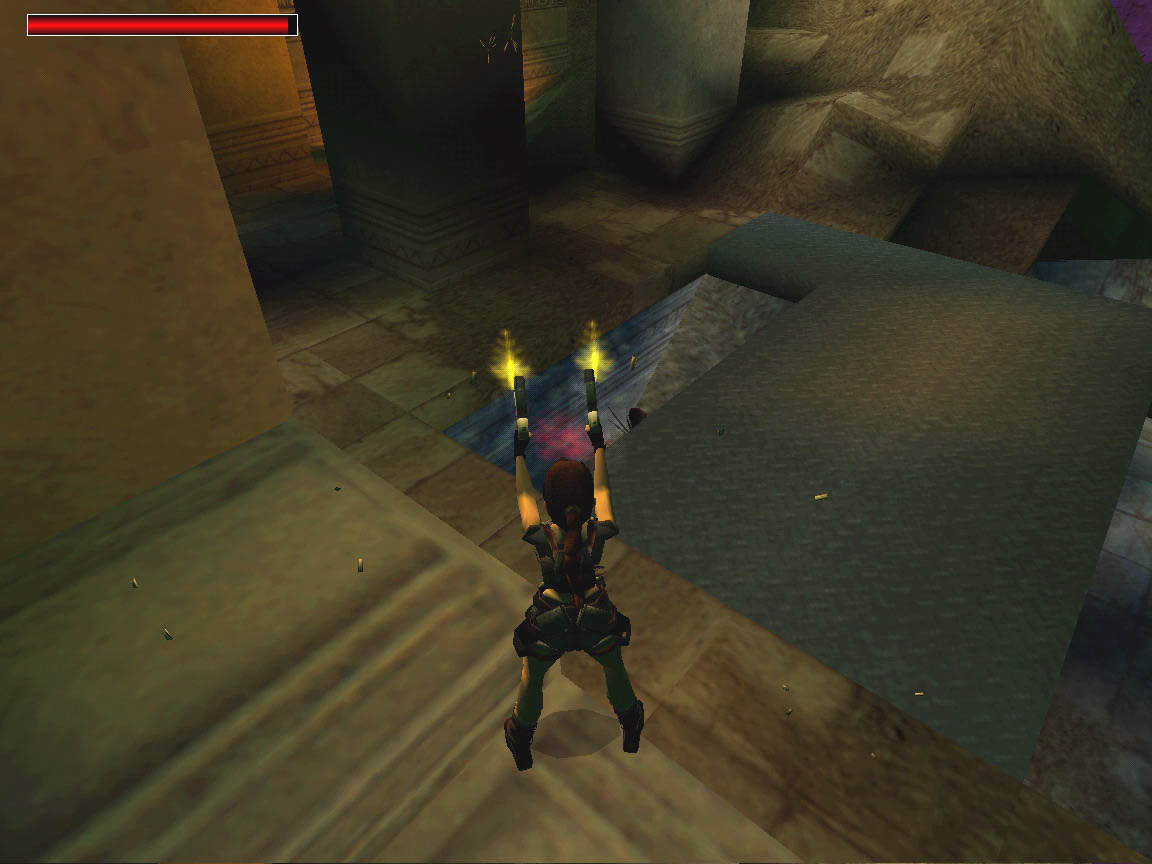
Go west and enter the open gate. Hop onto a block and jump to a platform. Jump to the higher platform and shoot the skeleton off the edge. Jump to a south-east alcove for the revolver. Jump to the west platform and go north to a closed gate. The switch was timed. Safety drop to the ground and go back to the wall switch for this timed gate. Pull the wall switch and go back to jump the platforms to the timed gate. Enter the room and pick up the Crystal of Light from the pedestal. Pick up two revolver ammo from the west wall corners. Exit the room and get down to the first block. From there you can use the revolver and laser sight to shoot the heads off the two skeletons so that they ignore you.
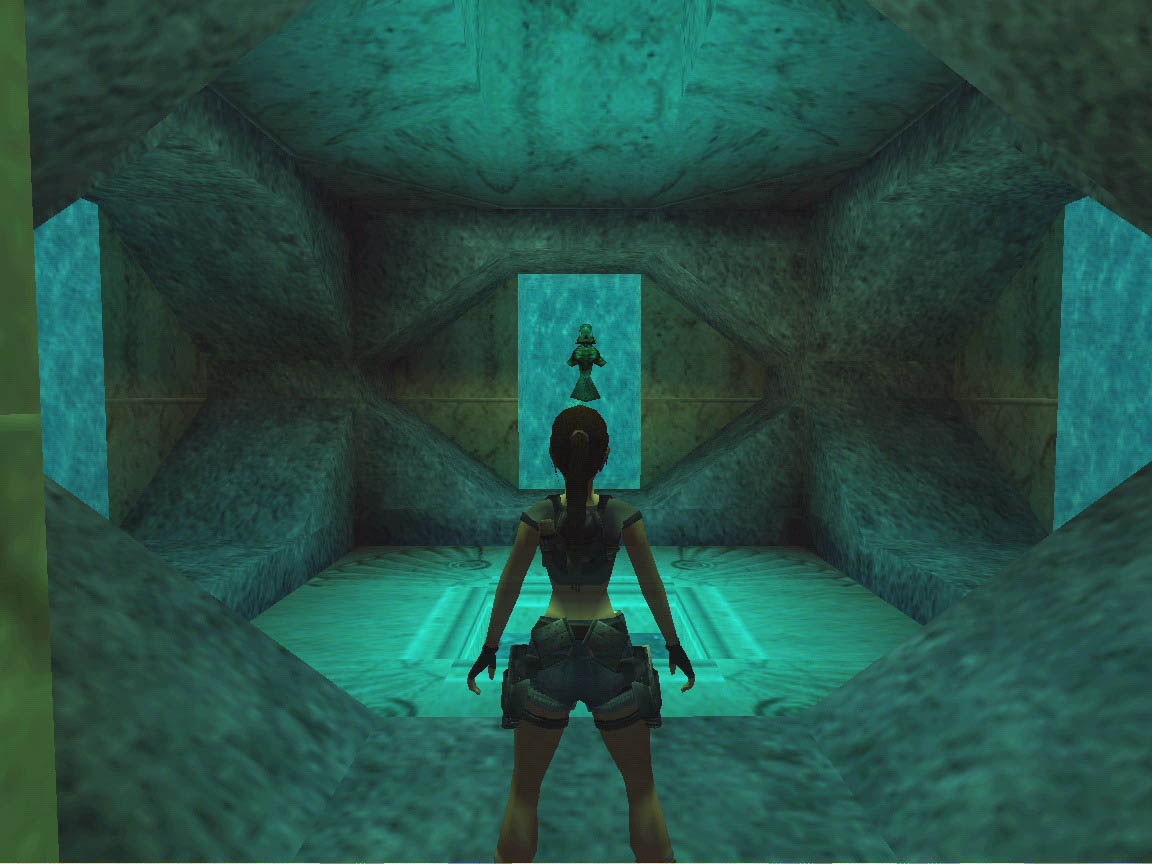
Exit and go back to climb the ladder in the hole and slide down the slope over the three floor blades again. Go west and place the Crystal of Light on the pedestal. You get a cut scene of a gate opening and a room with the movable mirrors. Go east and through the open gate. Follow the tunnel into the room and shoot the two women in the corners of the room. Move the three movable mirrors into the three light beams. They only fit one way. When all three are moved, the gate opens in the north wall. Go to the ledge at the east wall and pick up the Vase of Oil. It is the left vase as you look at the ledge.
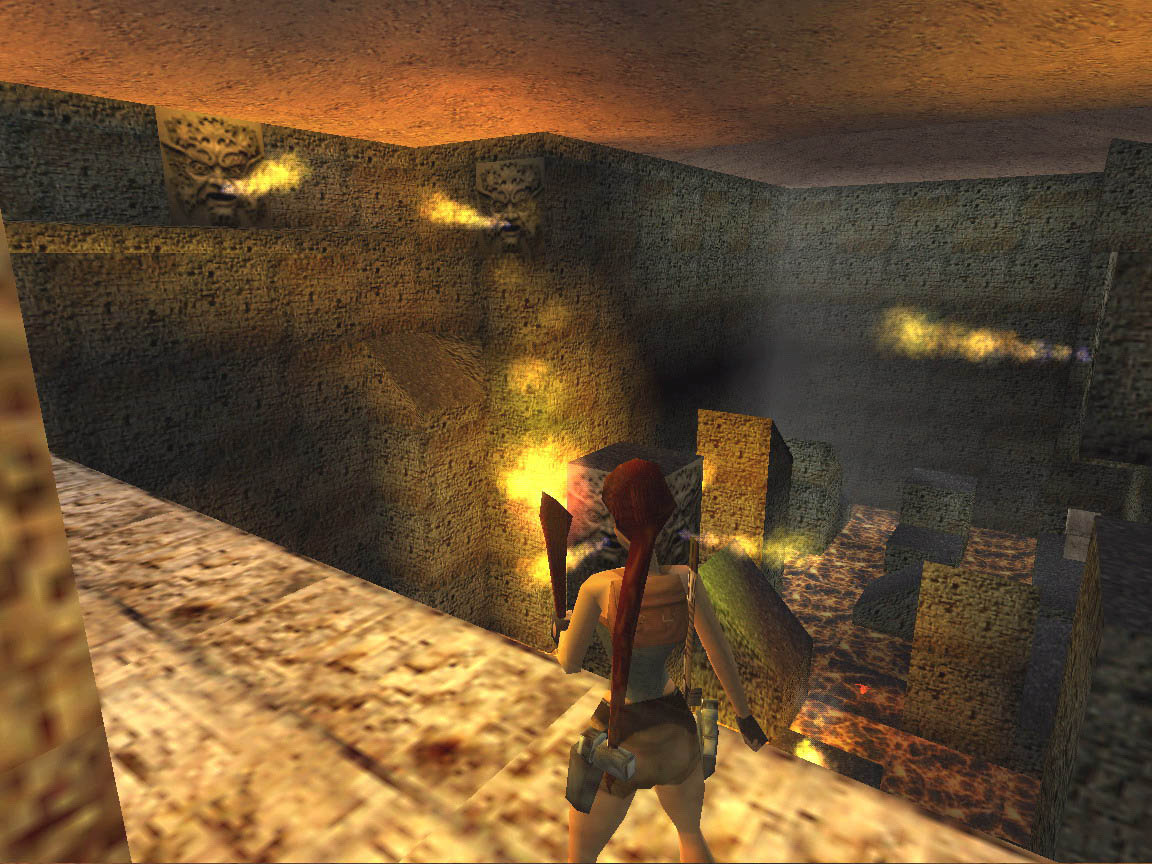
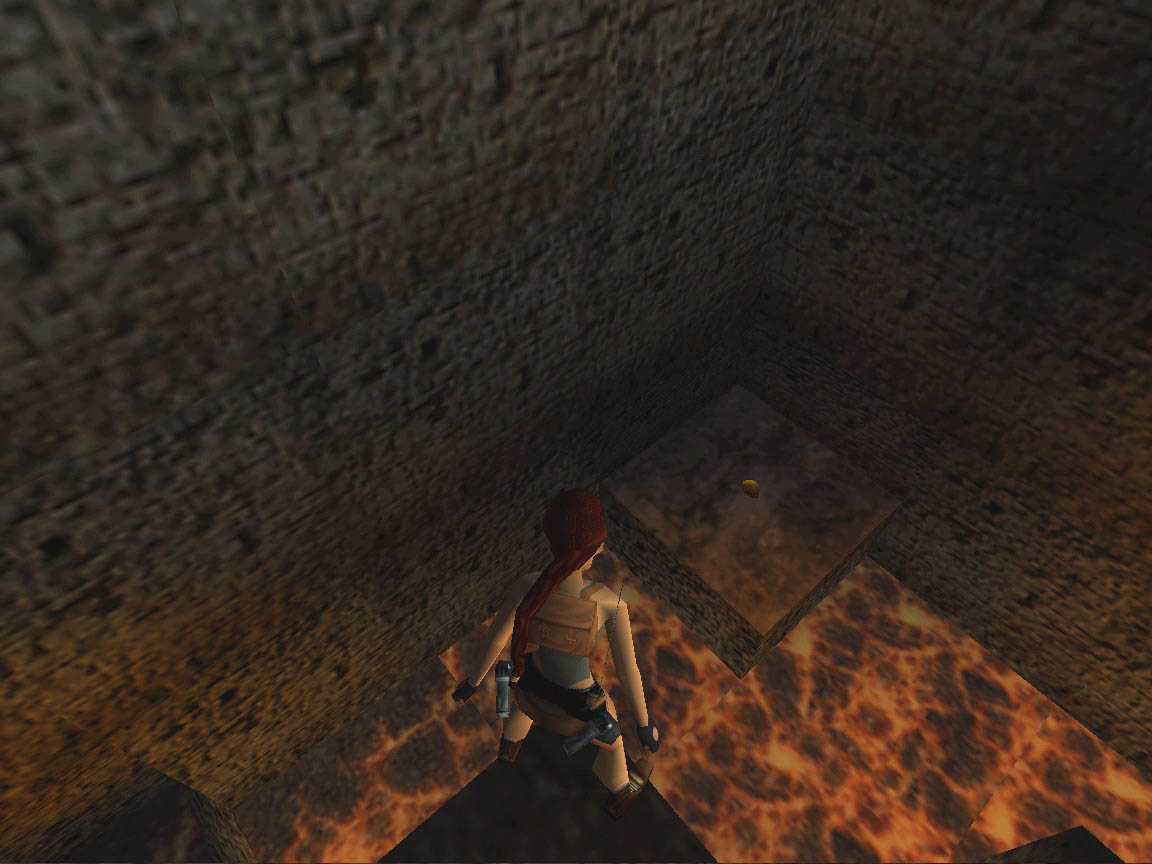
Enter the north wall tunnel and climb the ladder. Follow the tunnel and get a flyby of room with a lava pit and many flame emitters. First, turn around and go back down the ladder. Run back to the room with the water to get rid of a fire wraith. Then return up the ladder to the ledge over the lava pit. Jump north and enter a tunnel in the east wall. Get into a crawl space and pick up a torch. Use the space bar to throw the torch a few times until it is clear of the crawl space. Pick it up and light it on the fire on the pedestal in a north branch tunnel. Go back to the starting ledge and drop the torch next to the balance.
Select the Vase of Oil from the menu and use CTRL to pour the Vase of Oil onto the balance. It is not selected automatically. Use the torch to ignite the oil and you hear a gate open. Pull the wall switch on the south wall. This turns off a fire on a column below you. Drop to that column and jump onto a platform in the south-west corner. You get secret #4 and a Golden Skull. Run and jump to grab the column and work you way to the east wall. Go east and enter the open gate. Pick up the Scroll of Destiny and exit the opening. Jump back to the platform and then jump to the north-east to a ledge. You can also see another fire wraith in waiting. Climb the ladder back to the ledge.
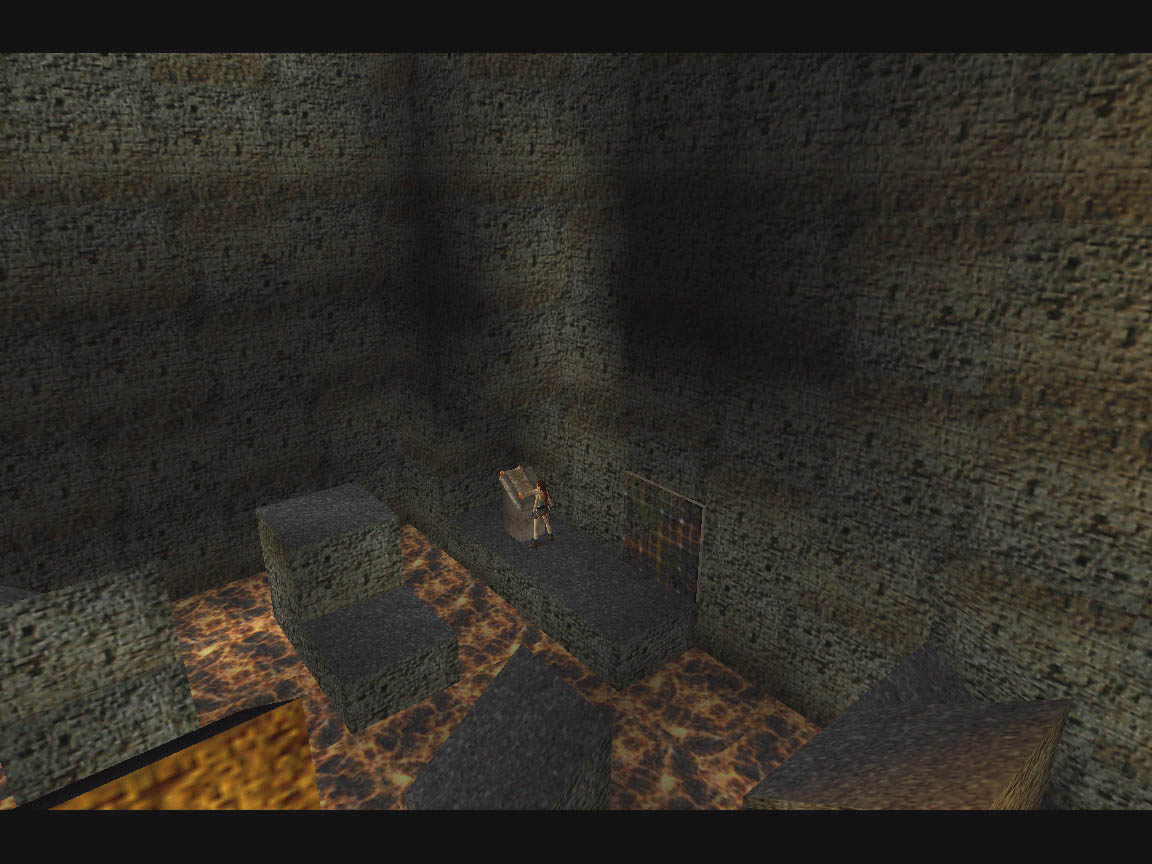
Go back to the ledge with the balance. Jump to the west wall and grab a crevice. Shimmy to the far right and drop. Slide a bit and back flip onto the column behind you. If you roll and grab the column, you will catch fire. Turn to the north and see the next sloped columns. Jump and grab the first column. Pull up, slide and grab the next column. Pull up, slide and jump to the ledge with the pedestal. Place the Scroll of Density on the pedestal. You get a long flyby of the lava room. The gate opens and the flyby enters the tunnel there as the level ends.
08-oct-2006
Walkthrough by Harry Laudie
Az oldalon közölt képek, a szöveges tartalom, illetve minden sajátkészítésû anyag, a © TR Editor.hu tulajdonát képezi. Azokat semmilyen formában nem lehet reprodukálni, másolni, terjeszteni, csak a szerkesztõség engedélyével.