Midas Tribute
Author: Aza
Download: Here
Story:
Years have passed since Lara was in Palace Midas; and now she has started having disturbing dreams. In her dreams something has gone terribly wrong in the palace. She realises that placing the gold bars in the wall has somehow weakened the magic that was holding the palace together. So once again she dons the backpack and makes her way to Greece; this time to undo her work from her first visit.
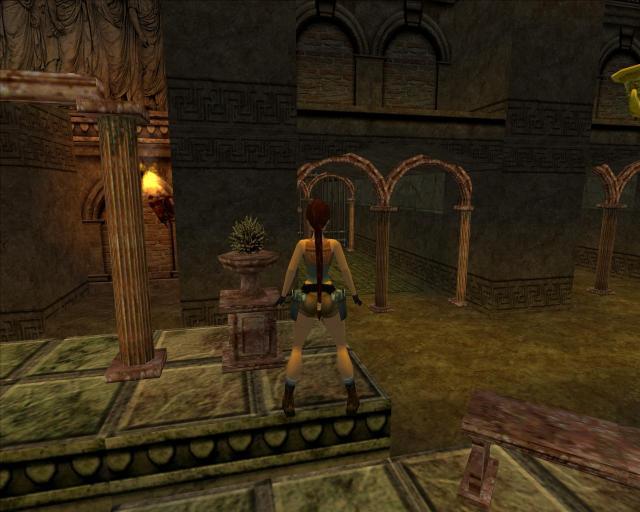
Notice the sign over the receptacle alcoves S, it says you need 3 x Au. Go N and left up the stairs through the opening. Go to the right, crawl out backwards and shimmy around the corner.
Hall of Broken Levers.
From a spot under the highest ceiling, take a running jump/grab to the crack in the opposite wall (E). Shimmy left, pull up and jump to grab a crawlspace (E). Pull the lever around the corner, crawl out and look W, there is the gate you just opened.
Right
below the ledge is a block where you can drop down to the ground floor (close
to a door E) Go straight W from here and turn right at the W wall. Head into
a small opening under a grey overhang. Heres a broken lever, just go up the
steps and climb up onto the ledge with all the broken levers. Jump onto the
grey block SW for a Large Medipack. Then jump into that small
triangle opening SW and get in (hard to see, light a flare).
Before you can get the Small Medipack, Lara gets transported to another area.
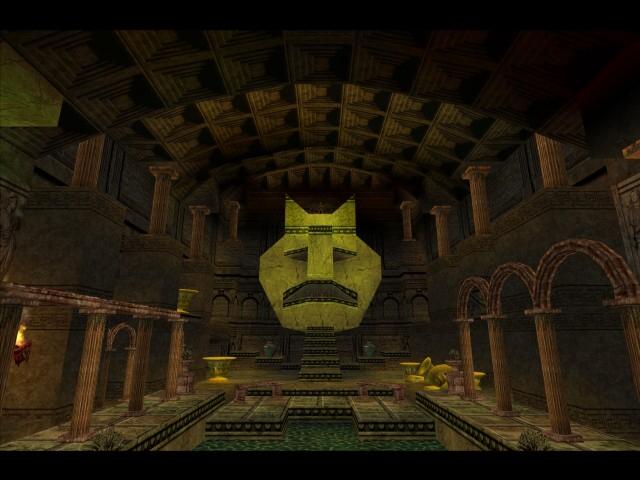
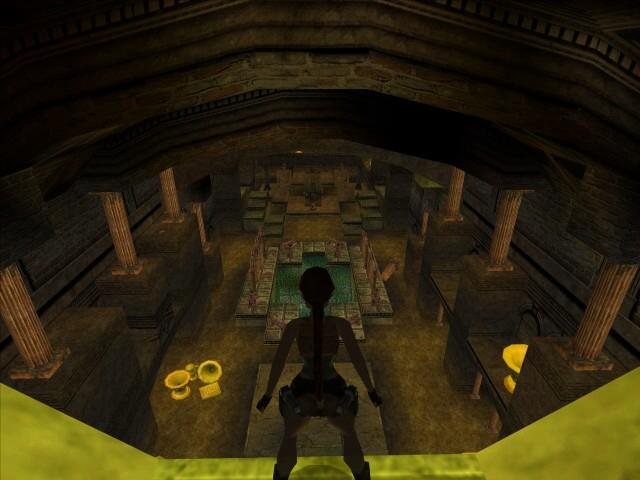
The Hall of the Golden Vases.
Pick up the Flares, and enter this big hall. On the ground floor E is a Small Medipack on a sun dial.
Go W to the pool and from the ledge next to the pool a jump to the first (low) pillar S and grab the crack there. Shimmy right and pull up at the higher pillar. Jump the pillars to the end (W). Face N and jump to the huge mask there with a bit of a curve to the left and back flip higher. Jump N to get on top of the mask and use the lever there, a gate opens up. Walk to the front of the mask and watch the fly by, spot a Small Medipack on a ledge down NE and then get to the ground floor (you can slide down via the nose).
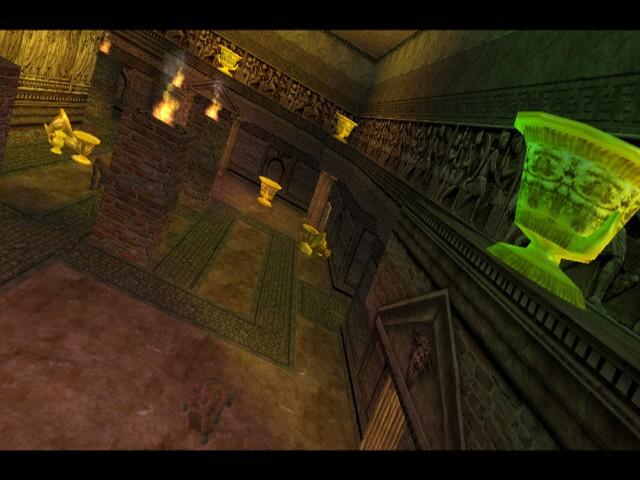
***Walk down the steps towards that pool and turn left at the end of the steps, there are some golden vases on the floor, stand right of them and grab up to the ledge above, climb up W and turn around to jump to the ledge E and get Secret #1, a Small Medipack. Drop down to the floor.
***
The First Au to Pb.
Go into the passage NW and up the stairs to where that gate opened. On the right hand side of the block there and run-jump over to the burning tile. You can stand safe on a corner, youll hear the gate closing behind you. Jump NE to the flat part on the right of that block and pull up the burning one on the utmost right corner. Wait a bit after the burner goes down and run-jump NW onto a flatter part of the slope. Next two a jumps NW again, and then one to the NE, hop up N to get the First Au to Pb, a gate opens up. Jump to the block at the wall E and use the jump lever you see down below. Fall into water and quickly swim S and climb out to shoot the croc (only out of revenge).
The Second Au to Pb.
Leave and down the steps to the Hall, to the left a bit and over to the S wall. Take the Arched passage on the left, thats where the gate opened. Go to the room in the back and shoot two Lions.
In the NW is a Large Medipack on the corner post of the fence.
Jump over the chain, go to the E side of the pool and jump to grab the slanted block W. Hang right and pull up over, slide and jump till you are on the highest block on a trigger tile, and watch the fly by. Save as this is a timed trigger tile. Jump to the ground and make your way to the previous room and jump on the block SW and then climb one higher. Jump to the NE (no Ctrl) and stand on the highest point and grab the monkey swing to the next. Jump/grab the one S, turn around and grab the ledge on the other side. Shimmy left and when you are past that low part, pull up. Jump/roll/grab the ladder, climb up (till there are no runs anymore). Climb right around the corner and again jump/roll/grab. Slide and jump, slide and jump to the corner ledge. Jump E and then up NE into that opening. Get the Second Au to Pb. Get through the gate and jump in the pool.
The Third Au to Pb.
Go to the passage SW and up the stairs, go all the way to the W and in the second room go SW into an opening S there. Next room into the opening W and go down some slopes to end up in a big crypt. Go down the steps and to the left, when the camera angle changes use the binoculars to look SE and spot a jump lever there. Face S standing against that slanted block, pull up and immediately jump to grab the jump lever (first trigger for some gates). Go to the N side of the crypt, and jump up S and go in to use the lever in the back. Get out and into the open right hand gate N.
Two Jump Levers.
Follow through and at the first opening right stand against the edge, jump in with a grab to use the first jump lever. Once down climb up at the other side and go back to the slide with the jump lever as there is a second jump lever a bit further down the slide, slide and jump at the right moment to use it (its possible to do both levers in one go, just slide a bit after the first and jump again for the second one).
Back up again and go W and you get back at the crypt. The entrance door S has also opened again. Go up the slopes and in the room with the big stone pillar, go left to the opening to the second room, keep along the left wall and climb the block that appeared near a wall torch at the N wall.
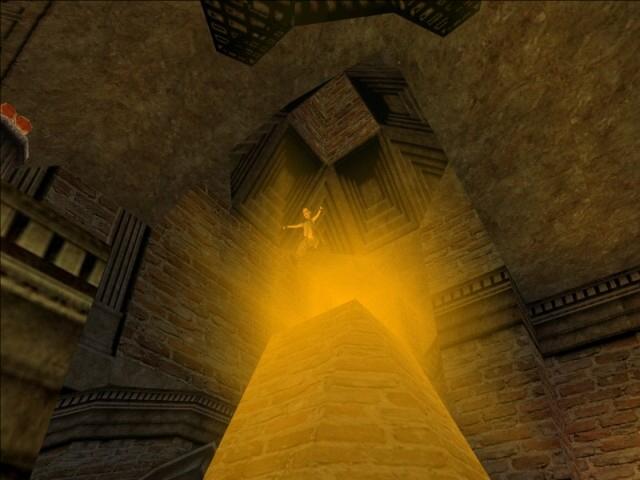
The Wind Pillars.
Face S and take a running jump through the light of that cone shaped pillar and the strong wind will carry you to a pillar S (Dont use CTRL). Next is again a running jump but angle Lara a bit to the left (SE) and she will again land on a pillar. Now jump E (mind the low ceiling) and then again through the light N. Last jump through the light, angle Lara a bit to the right (NE) and get the Third Au to Pb and watch the flyby. Drop down and leave through the gate E. Once on the ground floor go into the arch on your right and down the stairs.
Midas Block Push.
Push the pedestal S on the Omega tile in the alcove (also part of the puzzle and gives you more room to move around). The whole wall with the MIDAS word blocks is push able. On top of the blocks are also letters, but not like on the front. So you will have to move the blocks around till they have the word MIDAS written on top. You can see the result if you go outside and left and look down through the glass floor next to the steps in front of the face (S side).
From left to right count 1 4
Block 1 has to go on place 4 / Block 3 on place 2 / Block 2 on place 3 and Block 4 on place 1.
When you did it correct, the result will be shown. Go outside and to the mask, the spikes lowered so you can now enter.
The Au to Pb Room.
There are two crocs down on the ground floor, try to shoot them. Jump W to the pillar with the emitter and drop down on the ledge and get to the ground floor. In the NW pool is an opening in the floor, swim in and climb out, use the lever, this lowers the spikes at one of the receptacles. Go back to the ground floor, go to the S wall and crawl into the right hand crawlspace.
Lower yourself down and use the lever for the second spikes tile. Go back out, to the N wall right hand opening. Run up the slope, at the end the camera is fixed so use the lever on the left. You are back at the top of the room. I jumped to the pillar with the emitter; stand in the corner and time the next jump to the block W. Hop onto the receptacle ledge S and place the First Au to Pb.
Drop down on the arch S and from there jump on the ledge SE. Then jump to the lever E and the last spikes are gone. Go back the way you came to that arch S, from there to the SW and pick up the Large Medipack from the pedestal W. Now jump to the arch NE and go up to place the Second Au to Pb. Jump over to the N receptacle.
***If you like the last Secret, do not place the Au yet, but jump over to the alcove E and left of the entrance. Get into a tiny opening to the right of that vase and get Secret #2, a Large Medipack. Get back to the N receptacle.
***
Place the Third Au to Pb and watch the flyby in which you can see the levers in the Hall of Broken Levers are all fixed now, so maybe we go there next time?
25-04-2010.
Beta walkthrough by G&D Productions.
![]()
Az oldalon közölt képek, a szöveges tartalom, illetve minden sajátkészítésû anyag, a © TR Editor.hu tulajdonát képezi. Azokat semmilyen formában nem lehet reprodukálni, másolni, terjeszteni, csak a szerkesztõség engedélyével.