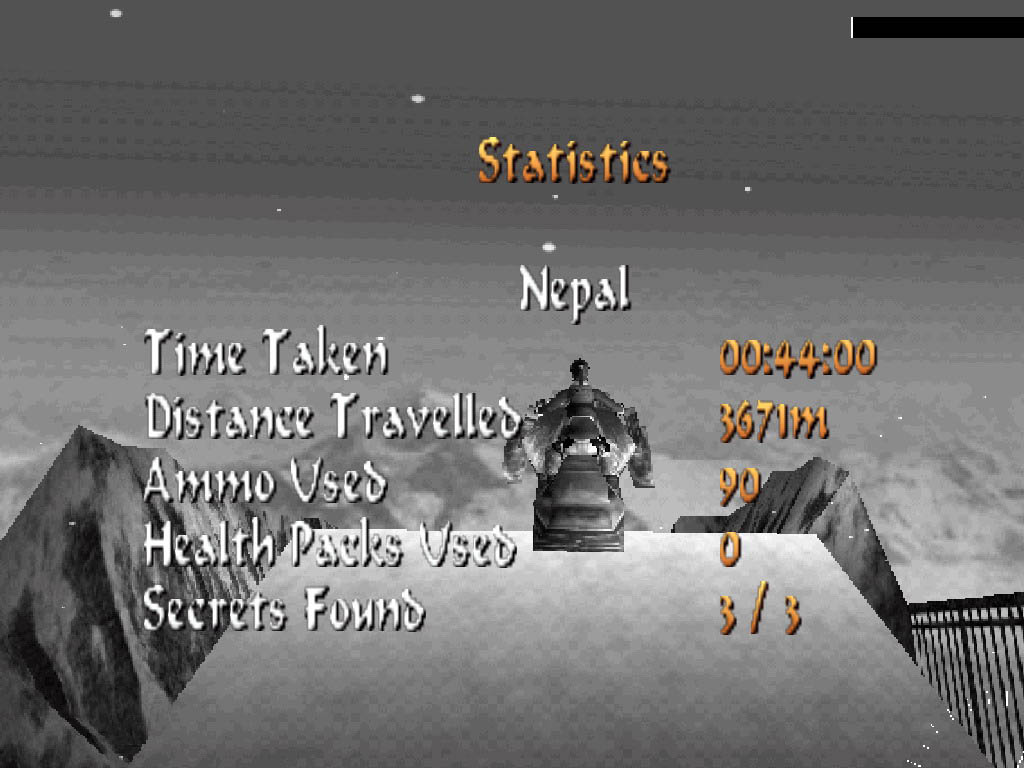
Nepal (Levelbase Advent Calendar 2006)
Authors: Team Christmas: (BaGi, [christoph], Miss Kroft, Codo, Karlo002, Masha, Sweet, Hochgiftig, Lumina Artis Coloris, Ufo)
Download: Here
Team Projekt of the Levelbase for December 24, 2006.

 Secret 1-2-3:
Walkthrough:
NOTE: The compass in this level is out of whack, but I'll nevertheless give directions in accordance with the information indicated on the compass.
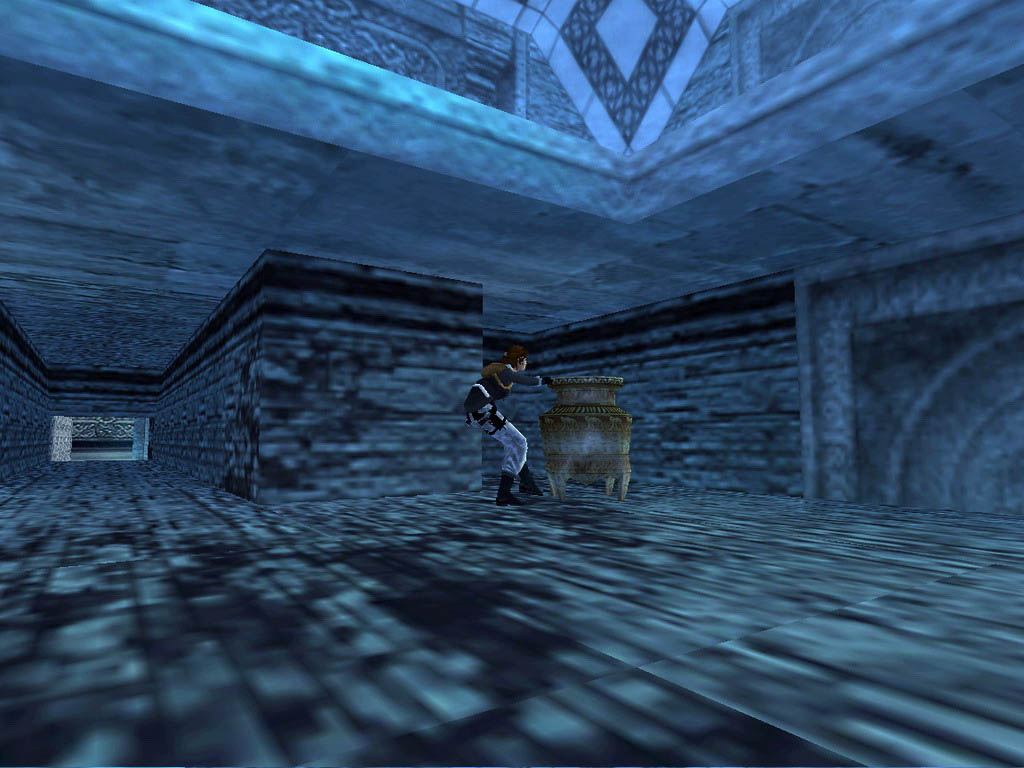
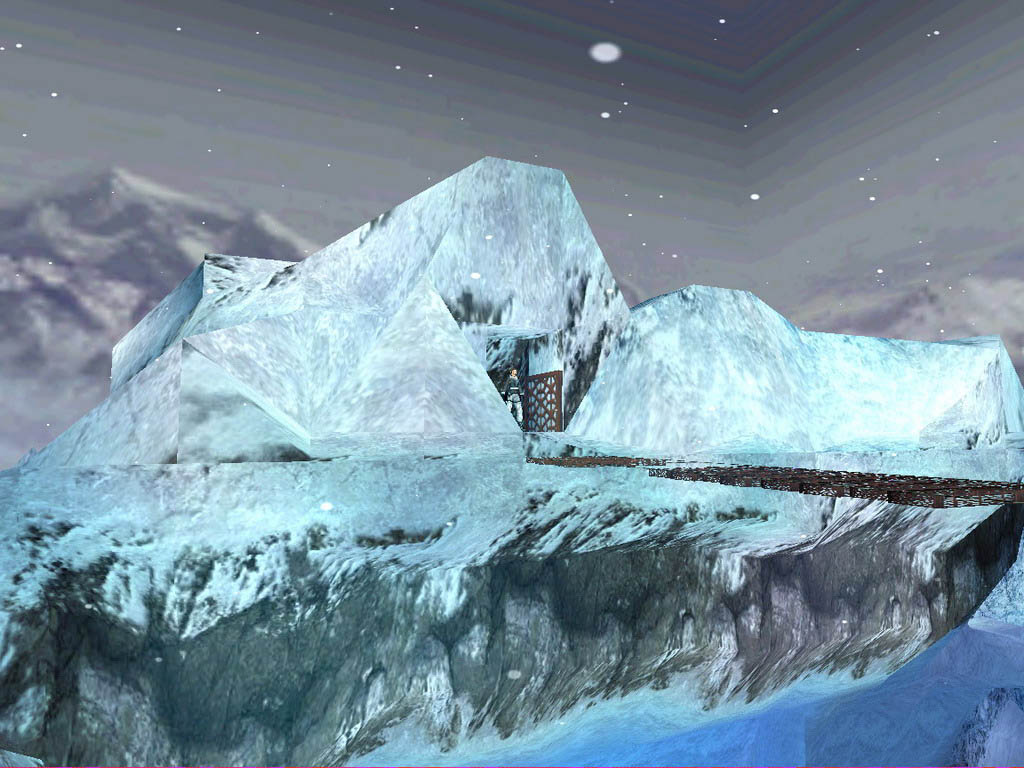
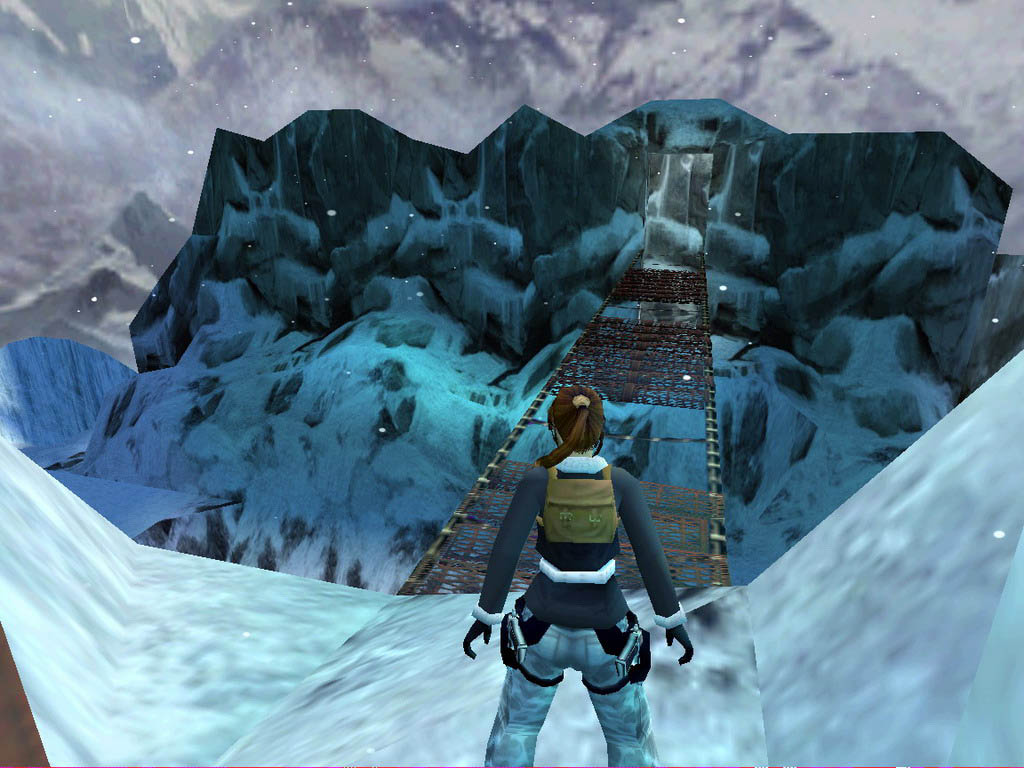
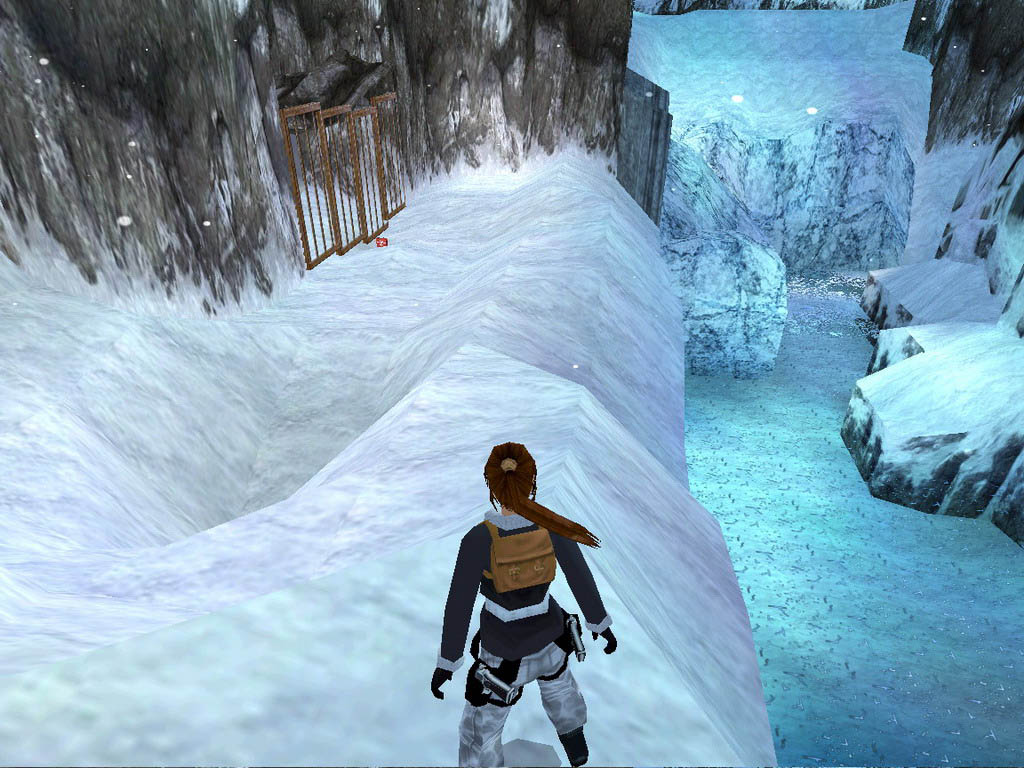
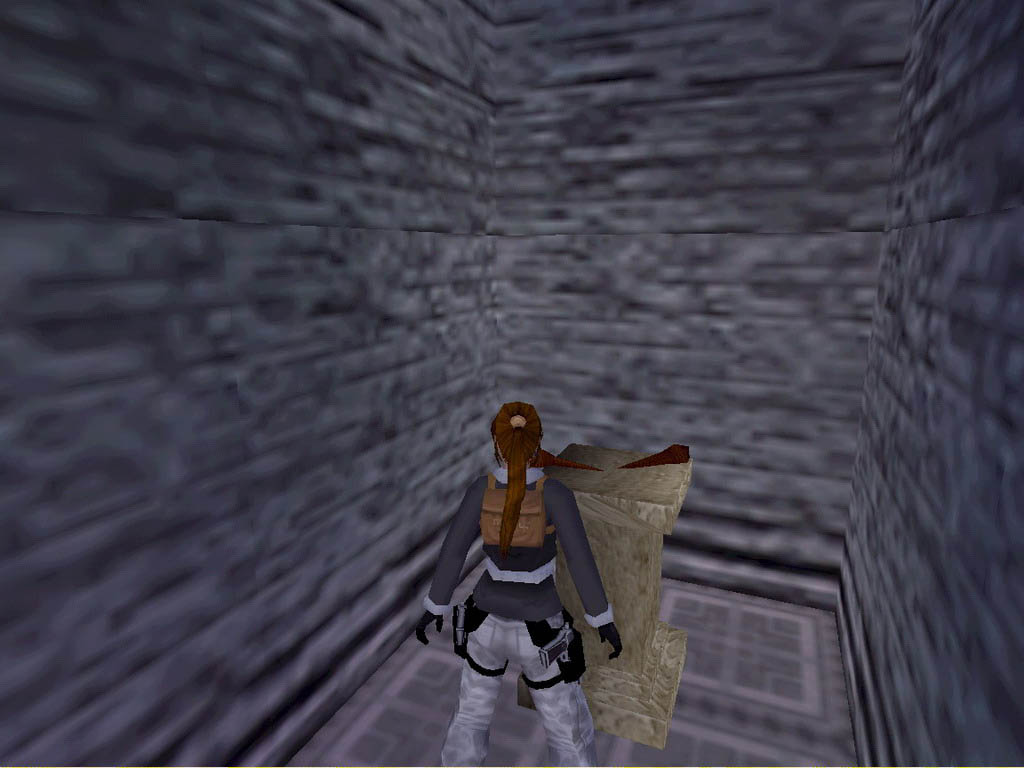
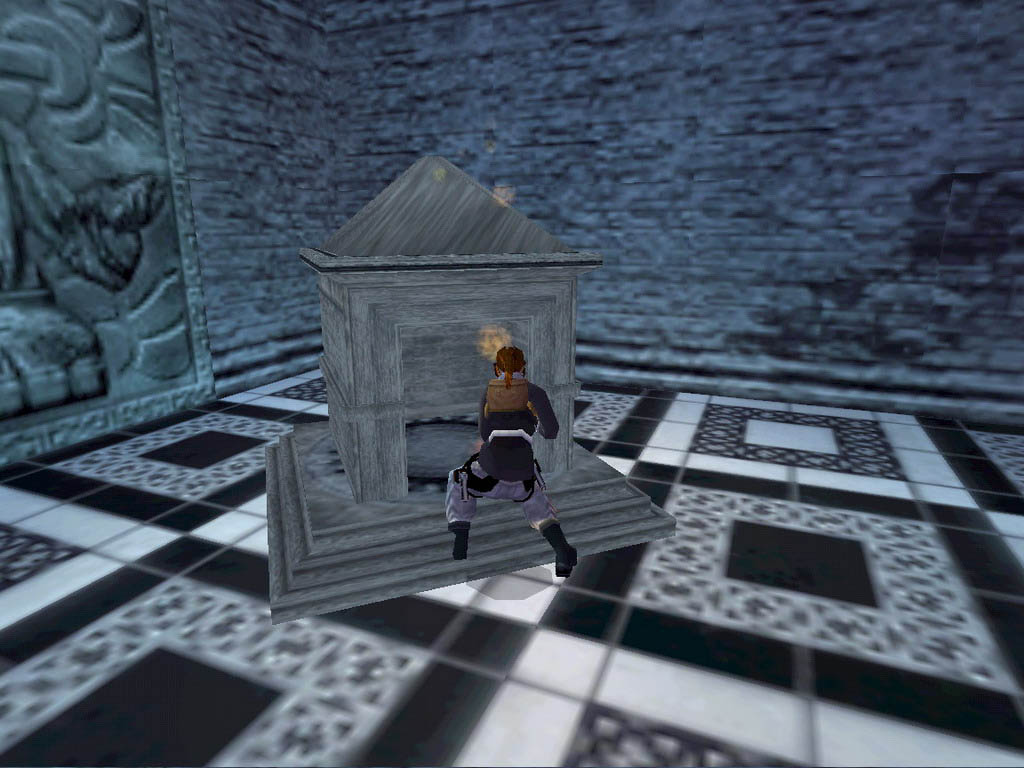
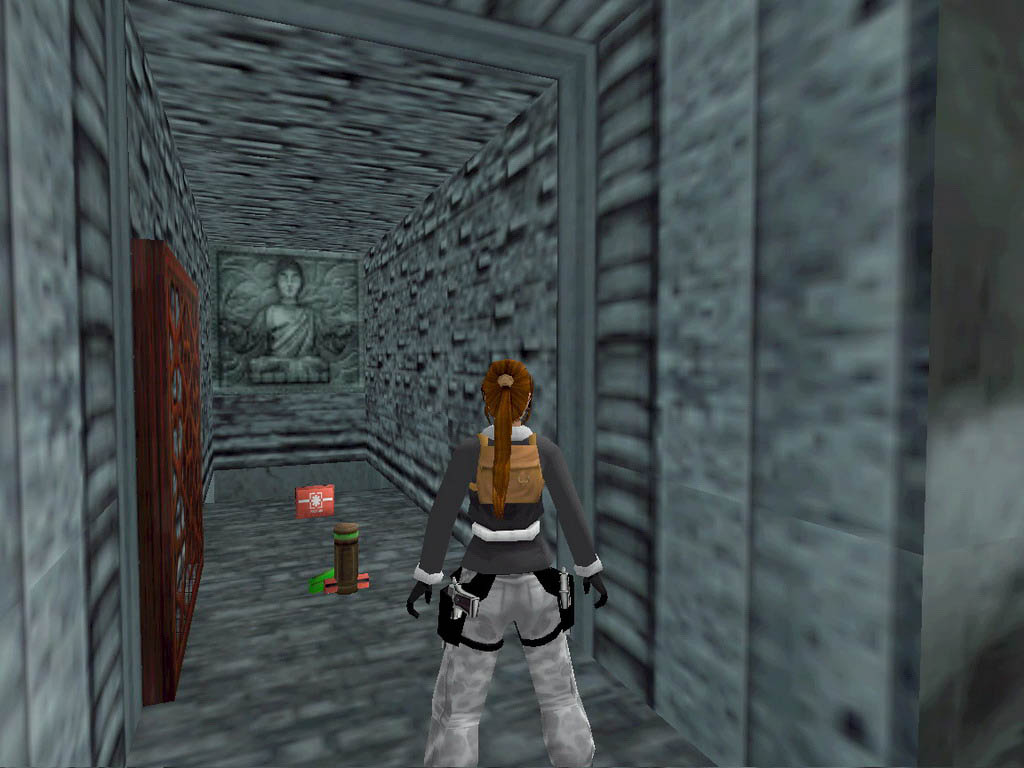
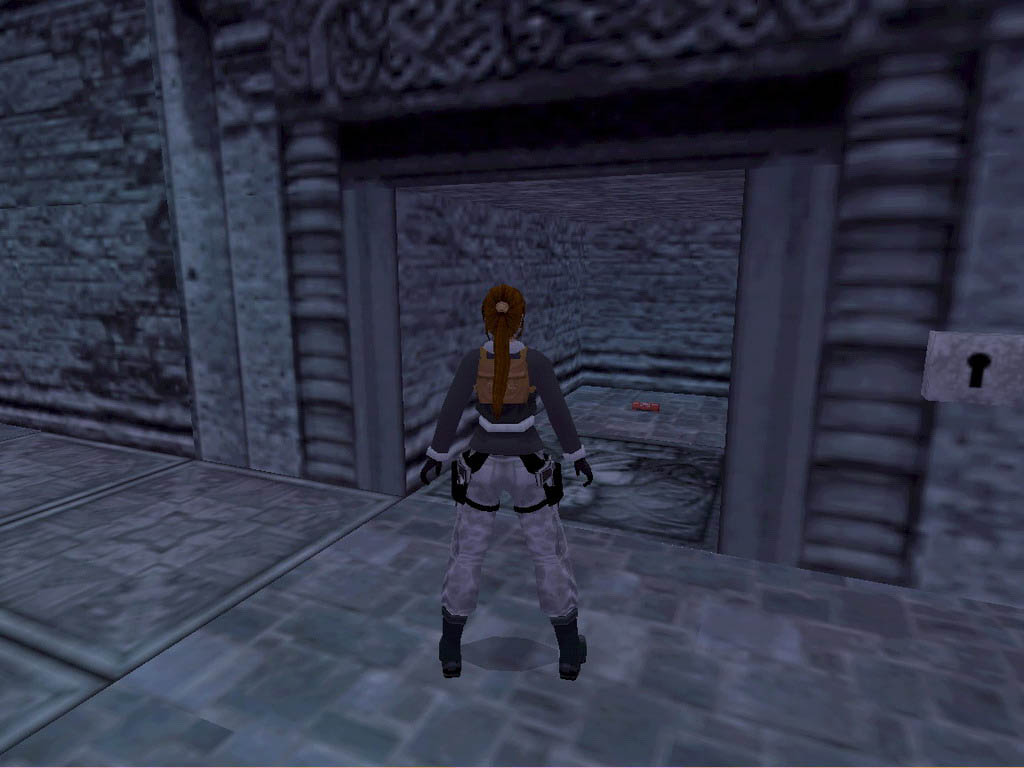
Lara begins by sliding down onto a ledge overlooking a snowy landscape. The only enemy you'll encounter in this level, a snow leopard, prowls about below. Kill it with your pistols, then slide down to the ground. Leave the large open area to the west for later, and proceed east toward an arched temple. Before reaching the arches, look to your left for a gray block in the south ice wall. Pull it out three times, then go around it into the passage and turn right once inside. Follow the passage until you emerge in a large underground area with a central square structure.
Go to the NE (that's what my compass indicates, anyway, although all logic says it should be NW) corner of this area and locate another gray block in the east wall. Pull it back twice to provide access to a ladder. Jump up, grab the ladder and climb to the top of the column. Pull up and walk forward to the south edge. Take a running jump slightly SW to a stable ledge. Turn to your left and take a running jump onto the icy roof of the central structure. Go to the south edge and take a standing jump onto the ledge jutting out of the wall. Sidestep to the left as far as you can, draw your pistols and jump straight up. Fire at the top of your jump to shatter the ice barrier that was holding a boulder in place. Immediately back flip to the central structure and take a side flip to your left before the boulder rolls down and crushes you while it's knocking a hole in the icy ceiling. If you're less adventuresome, you can shatter the ice barrier from the central structure and thus eliminate the need for the back flip.
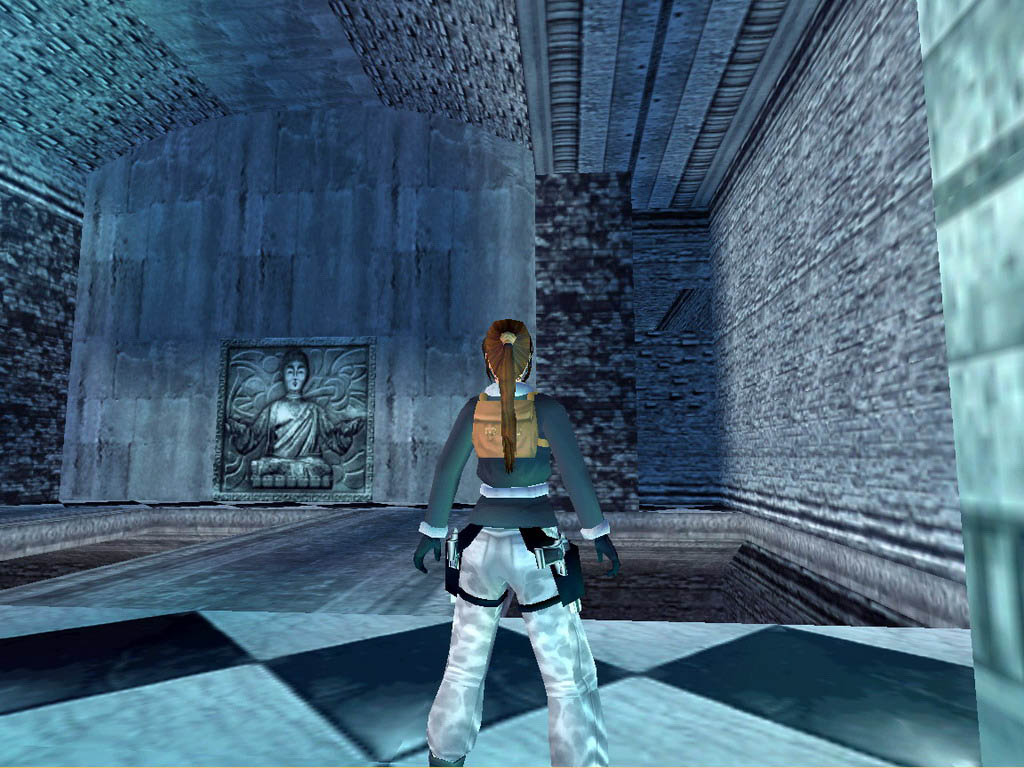
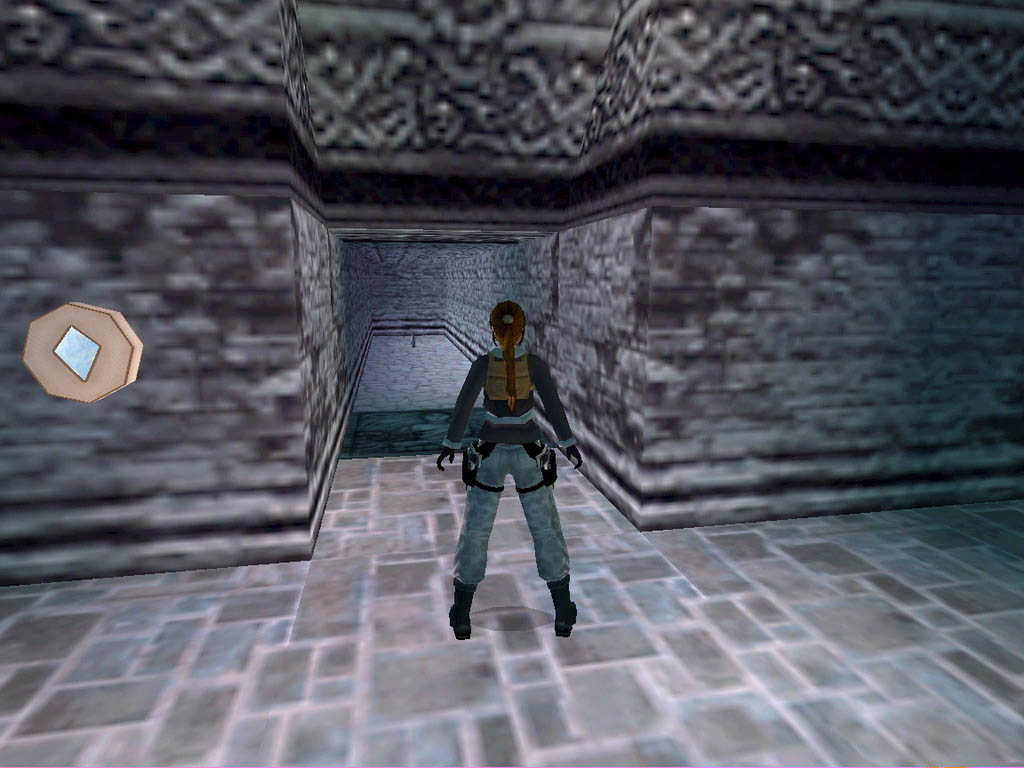
Safety drop through the hole and follow the trench around to the west to find the KEY. Picking it up lowers a block in the passage below. Drop down at the NE corner into the mouth of the passage, and follow it until you reach an opening. Pull out on the left side and follow the tunnel back to the opening you created near the arched temple. Enter the temple through the right arch and watch out for the deadly pits inside. Take a running jump into the NE alcove and climb the east wall. Pull up into the crawl space and follow the tunnel into another room. Climb out through a layer of fog into the upper portion of the room. Push and pull the brass spitoon located against the south wall over onto the ornate blue-green tile near the west wall. Then hop down and move the next brass spitoon from the SW alcove onto a similar tile in the NW alcove. The door behind you opens, so reverse roll and run forward to take the second KEY from the pedestal
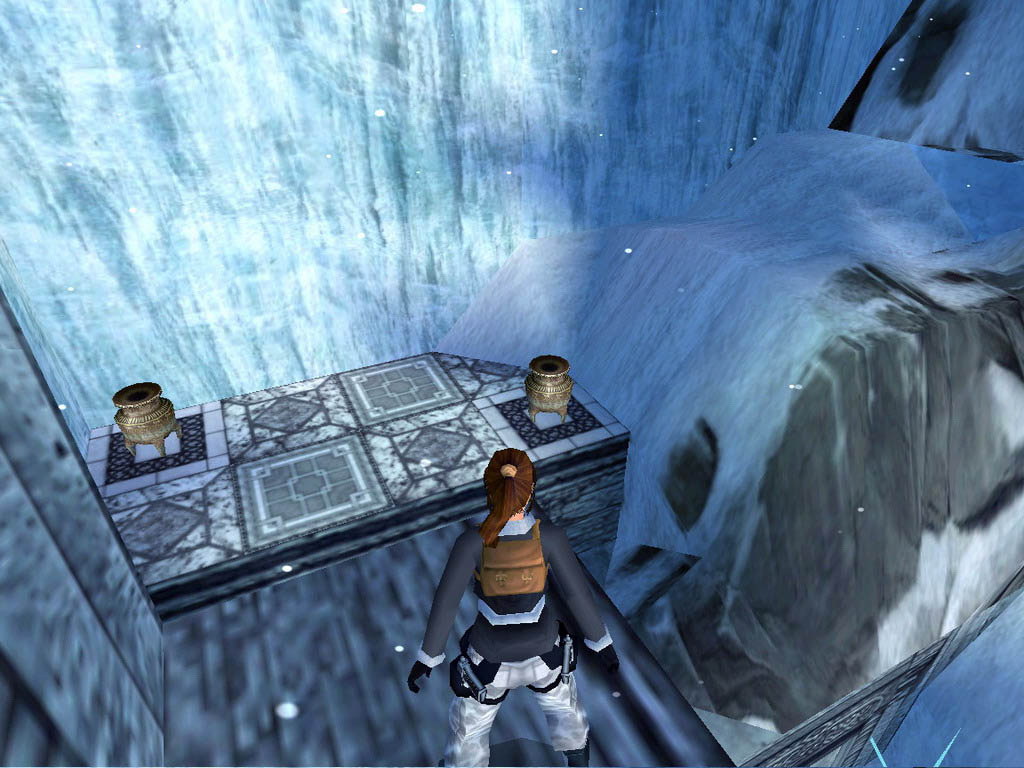
Go back through the west tunnel and turn Lara around at the crawl space. Lower her down into the NE alcove, turn around and take an angled running jump back to the ledge. Go to the SW corner of this room and use your two keys in the receptacles on either side of the blocks against the south wall. The door above opens, so pull yourself up and follow the tunnel as it winds its way up to an outside area. When you reach the long ledge, look to your right and you'll see a decorated block in the ice wall with a small pickup on the ice just below it. Follow the ledge to the north edge and look down. You'll see two brass spitoons on tiles of the same pattern. There are five unoccupied tiles, three having one pattern and two having another pattern. Take a running jump down to that area and move the spitoons onto the two matching tiles. To say it much more simply, just pull each spitoon back twice. You'll be rewarded with a cut scene showing that decorated block being lowered.
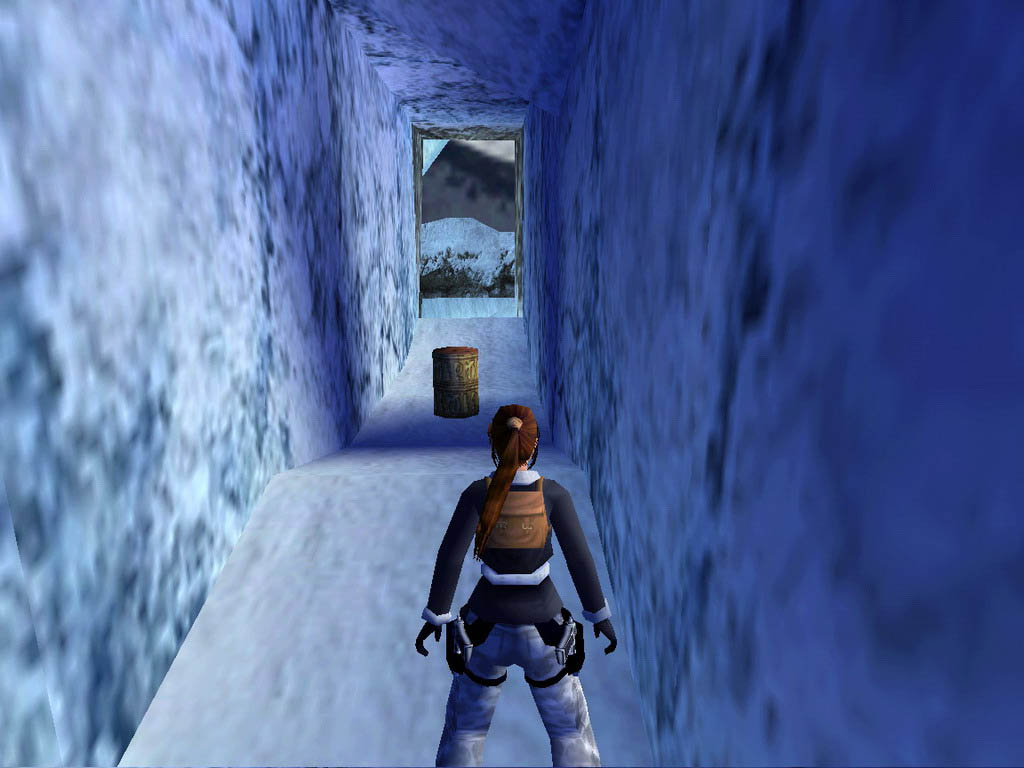
Get down to the icy ground next to the temple entrance, negotiating an illegal slope on the intermediate ledge. Go back into the temple, climb up onto the SW blocks and go up the tunnel a second time. This time, when you reach the outside ledge, turn to your right and take a running jump and grab to the ice ledge. Pull up, run forward and pick up the small medi-pack. Continue forward and take two zig-zag standing jumps to reach the mouth of the west tunnel. Go to the other end and pick up the PRAYER WHEEL (first of two). Just beyond the tunnel is a triangular opening to your right. The most efficient way of getting past it is by taking a side flip. Enjoy the grand vistas below before proceeding, if you wish.
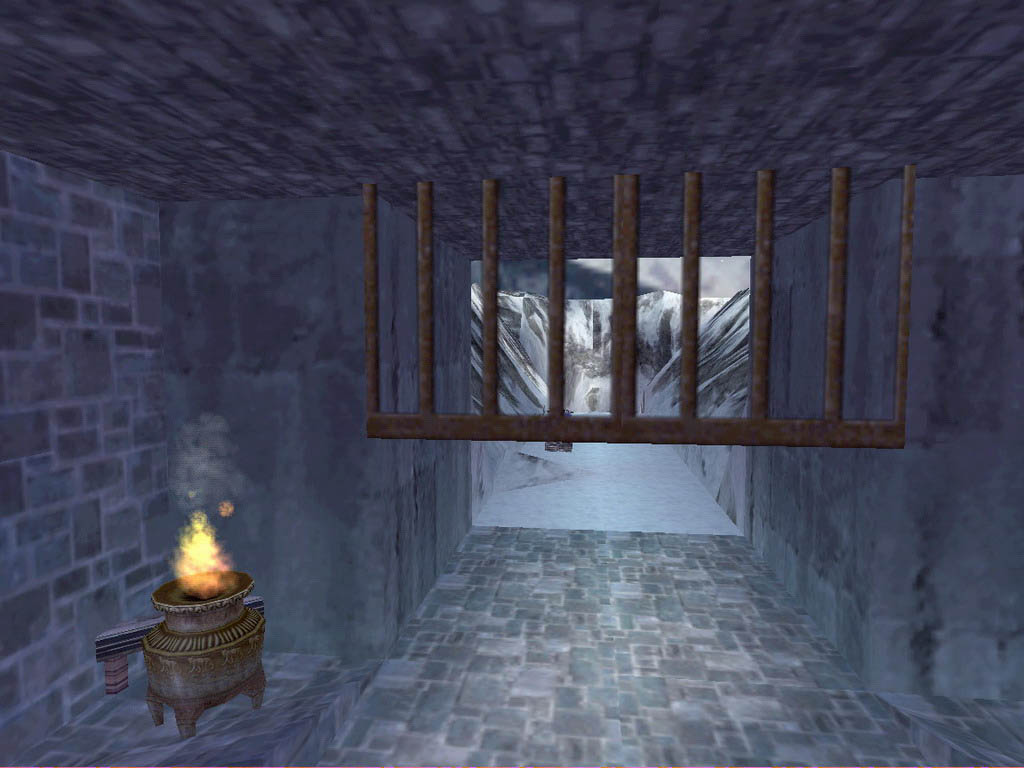
Once on the other side of the gap, face the south wall a couple of steps back from it and take a standing jump and grab slightly SW to the crack in the wall. Shimmy to your left and around the corner, and drop down onto an ice ledge. Turn to your right and slide south down the hill into an enclosed area that was hitherto inaccessible. Locate the opening in the east wall and take a standing jump up into it. Follow the passage into a small underground room with a frozen floor, a frozen ceiling and two central columns. Go to the east ramp and stand with your back to the wall. Jump up to grab the overhead bars and monkey swing across the room. When you reach the crawl space in the west wall, Lara will stand up inside the cramped passage. Hit the duck key and crawl to the other end of the passage. Pull out on either side, but leave the north wall switch alone for now. As you approach the east opening, spikes shoot down to block your way. Oh, well, that's why you have medi-packs. Dart past them into the next room and note that there are artifacts on the top of both columns. Unfortunately, they're both guarded by flames. Note also the two boulders suspended from the ceiling.
Run forward atop the monkey swing bridge into the next room. Follow the ice tunnel to the east wall and turn around. Take a standing jump onto the top of the ice tunnel and run back along it to a switch in the west wall. Pull it down to turn off the flames below, then run back to the east wall and hop down to the ledge. Get back into the ice tunnel and return to the previous room west. Turn to your left once inside and locate the crawl space in the NE corner. Crawl inside for SECRET #1. Pick up the flares and the large medi-pack, and return to the room with the columns. Pull up onto each one for the CROWBAR and another KEY. Hop down and endure another pass through the spike curtain west. Pull down the NW wall switch to release the boulders in the previous room. Go back there through the spikes (for the last time, thankfully) and find that the ice floor/ceiling in the previous room has been shattered by the falling boulders. Go through the ice tunnel and safety drop from the east ledge into the room below.
Take a standing jump to the top of the rubble in the middle of the room. Jump up to grab the monkey bars and swing over to the west wall. Release and immediately hit the control key again to grab and activate the jump switch. This lowers a block in the north wall, so go to the opening and slide down into a passage. Follow the passage, ignoring the turn to the left (a barrier ahead is conveniently lowered as you climb the blocks, but it leads to a previously explored area), and enter a new room east.
Stand on the ramp of the south ice column with your back against the ice, and take a standing jump and grab to the thin ledge jutting from the north ice column. Pull up onto the ledge and jump up to grab the ladder in the face of the column ahead. Climb up as high as you can and shift to your left around two corners above the spike fields. Climb as high as you can once more and shift to your right around two more corners. Drop down onto a safe icy surface and stand with your back to the ice column. Jump up to grab the ceiling and follow the bars to the NW opening in the wall. Release into the passage and run to the other end for a lingering flyby through the next area.
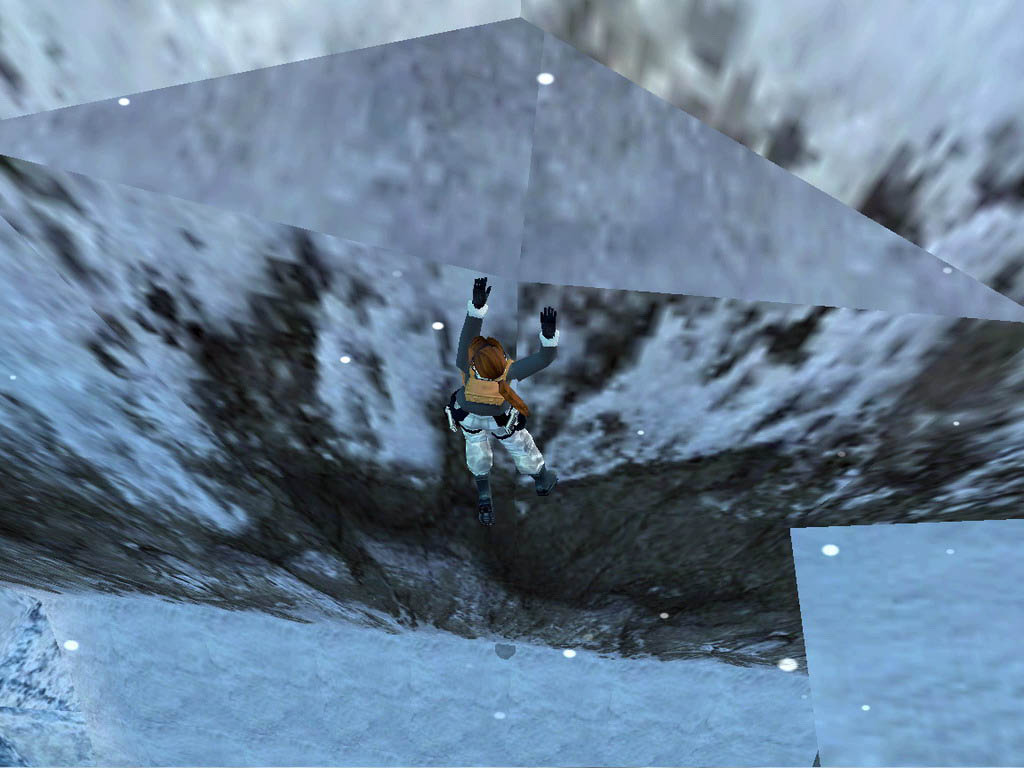
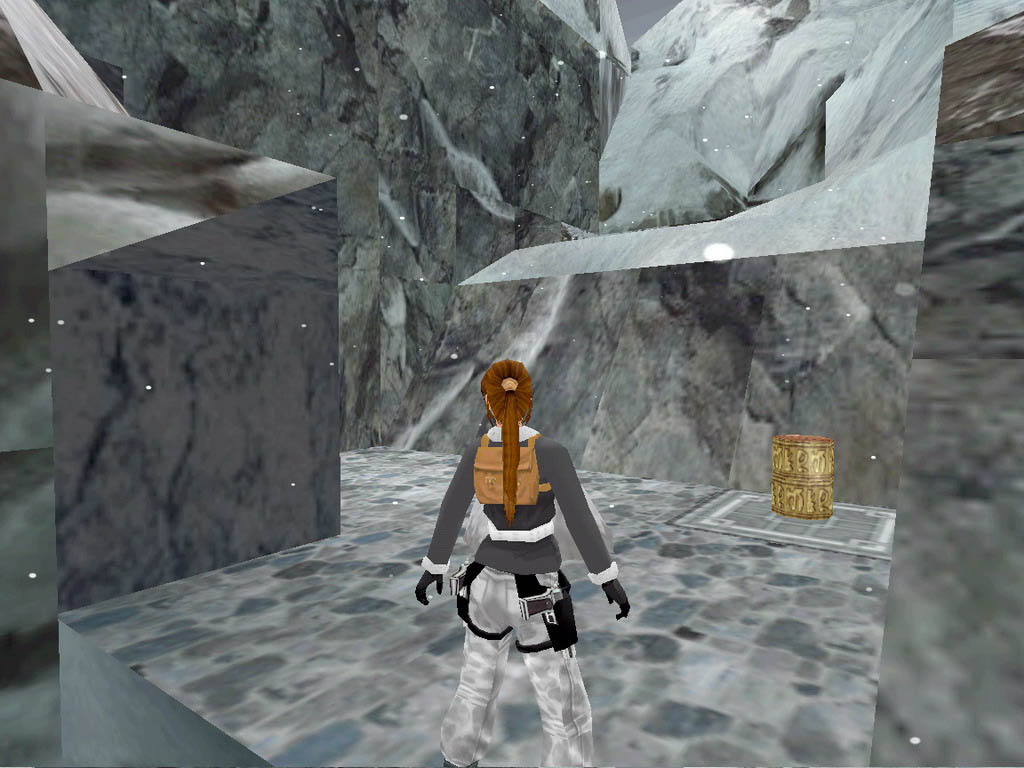
Turn around and hop back to grab the edge, then shift to your left along the climbable wall until you're able to pull up into a small area. Run forward and pick up the second PRAYER WHEEL in the corner. There's a moveable block near the opposite corner. I have absolutely no idea what its purpose may be, as moving it or not moving it (to the tile previously occupied by the Prayer Wheel) seems to have no effect upon your progress in the level. Anyway, pull up onto the triangular ledge above the moveable block and turn to face west. I had no problem doing this whether the block was there or not. Take a standing jump over the slope and run forward to the corner. Hop back to grab the edge and shimmy to your left and around the corner. Lara's feet will find an invisible ladder, so climb down a long distance and release at the bottom to slide to the canyon floor.
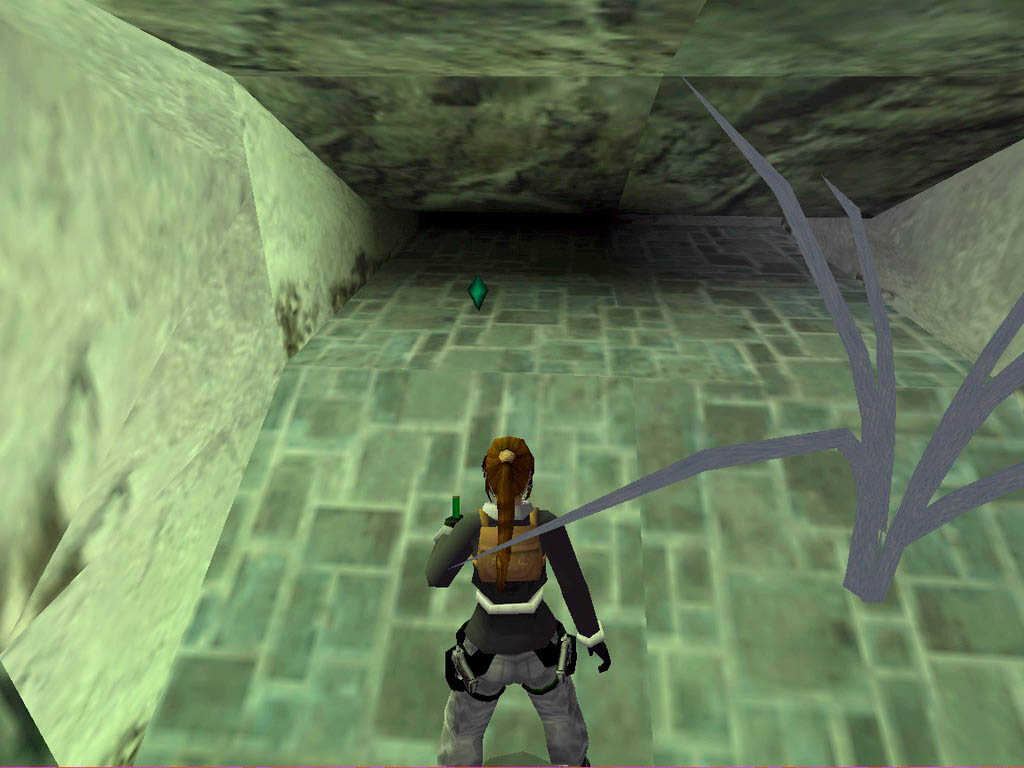
Locate the hole next to the column near the west wall and safety drop down into it. Take a running jump east across the gap and run forward until you reach a crawl space near a plant. Crawl inside a short distance on the left side and pick up the BLUE GEM, then back out and return to the column. Climb up the east face and shift left around two corners to get to the other side. Climb up a short distance and back flip to the outside area. Go to the ladder in the south wall and climb back up. Near the top you'll see a jump switch to your left, so when you're just above it shift to your left, around the corner, and release to activate it. A door opens, giving you access to the next secret. Slide back down to the ice floor and climb up the same south ladder again. This time, shift to your right around the corner and continue climbing all the way up until you reach the alcove in the west wall. Pull up into it, turn slightly to your left and back flip to the south ledge.
Step up to the edge of the ledge and face the horizontal pole. Take a running jump and grab the pole to swing around and fly across the gap to the ledge in front of the gem receptacle. Before proceeding, however, turn to your left and note another horizontal pole. Just beyond it is a small medi-pack. You don't have to go over and get it in order to progress in the level, but it's a nice test of your playing skills. Stand on the back edge of the ledge, facing east, and take a standing jump to the left side of the next ledge east that's slightly below you. As soon as you land, take a running jump in one flowing movement so you'll be able to grab the edge of the next ledge ahead (if you come to a dead stop in the process, you're dead meat). Pull up, take a standing jump NE to the adjacent triangular ledge, and face the horizontal pole with your right arm against the wall. Sidestep once to your left and take one step back. From there, take a standing jump and grab the horizontal pole. Swing around and release to land on a slope. Grab the edge as you slide down and shimmy to your left. Pull up and claim the small medi-pack as your reward.
To get back, you can safety drop to the icy canyon floor and climb up as you did before (easier, but takes much longer), or you can take a running jump back to the pole and swing to the previous ledge. To make the grab successfully, you must be standing ever so slightly away from the ice ramp with your back to the wall, angled slightly to your left so you won't miss the pole to your right. Wait until the last instant before trying to make the grab. When you've made the jump successfully, take a standing jump and grab to the top of the ice tunnel south, pull up and take a running jump NW to the ledge there. A final standing jump will bring you to the ledge in front of the gem receptacle.
Don't use the gem yet, however. Stand at the SW corner of the ledge facing west and turn ever so slightly to your right. Take a running jump with a slight midair curve to the right (using the action key at the end also helps) and you should land safely within the passage. Turn to your right and go into the open doorway for SECRET #2. Pick up the flares and the large and small medi-packs, then hang from the edge of the hole in the floor ahead until Lara's feet find the ladder. Climb down until you're hanging by your fingers, then release to drop down a fair distance before you slide to the canyon floor. Climb back up, using the ladder in the south wall, and use the horizontal pole to get back to the ledge in front of the gem receptacle. Pull up and run forward as the camera angle changes. Insert the Blue Gem in its receptacle, and the door ahead and above you will open. Sidestep to your left or right, climb up, draw your pistols and jump straight up to shoot the boxes that are in your way.
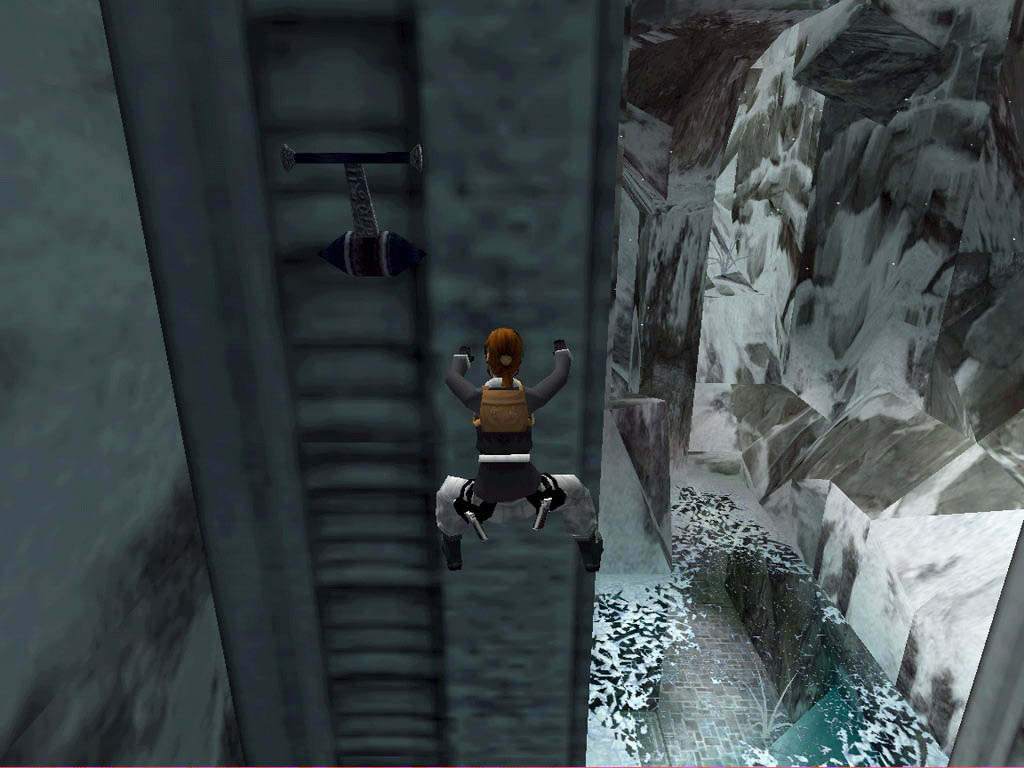
Vault up into the opening, step forward a bit and just stand there as the camera angle changes amidst a brief burst of action music. Once the music stops, camera control will be returned to you, and you're going to need it. The bridge ahead has several pieces missing, and the pieces that are still there are extremely rotten. As you run across them they collapse, so save your game here and take a running jump, a standing jump and another running jump to reach an alcove across the canyon. There's no point in trying to crawl through the triangular hole ahead, and the limited area you can explore nearby is vacant. So just step up onto the west ledge and turn around to face the wall. Hop back, slide and grab, release and slide, and all of a sudden you find yourself near the point where you began this level. Now it's time to explore that area to the west.
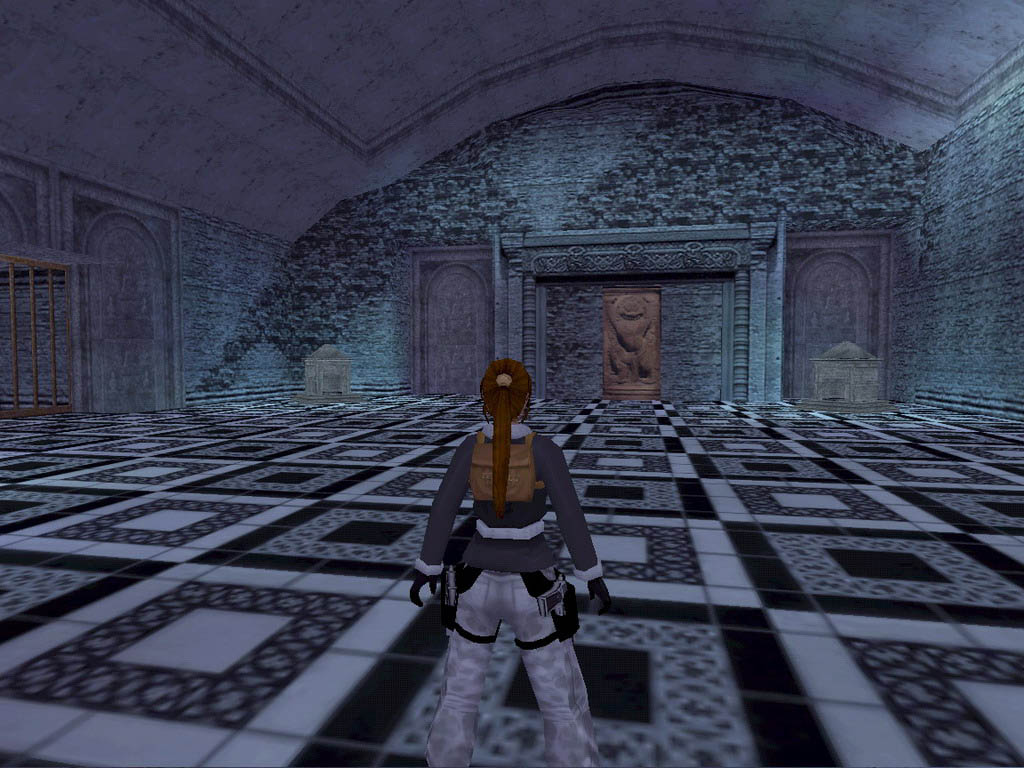
Slide down to the frozen lake and head over to the NW corner. Locate the ladder in the north wall and climb up onto the ledge. Locate another climbable surface in the west wall. Jump up to grab it and shift to your left, climbing up as necessary until you reach the end. Pull up onto a triangular ledge and turn slightly to your right. Take a standing jump to clear the slope and slide down SW toward the closed gates. Pick up the large medi-pack near the gates and go over to the south wall. There's a hard-to-see VALVE PIPE imbedded in the wall. Use your crowbar to pry it loose and return to the triangular ledge where you pulled up. Take a standing jump into the opening in the north wall and follow the passage into a clearing. Continue through the north opening and follow the enclosed passage into a large room. Ahead and to either side are closed portals, and in each corner is a shrine of sorts. The one in the NW corner is aflame, so go to the alcove there and locate the nearby climbable surface in the east wall.
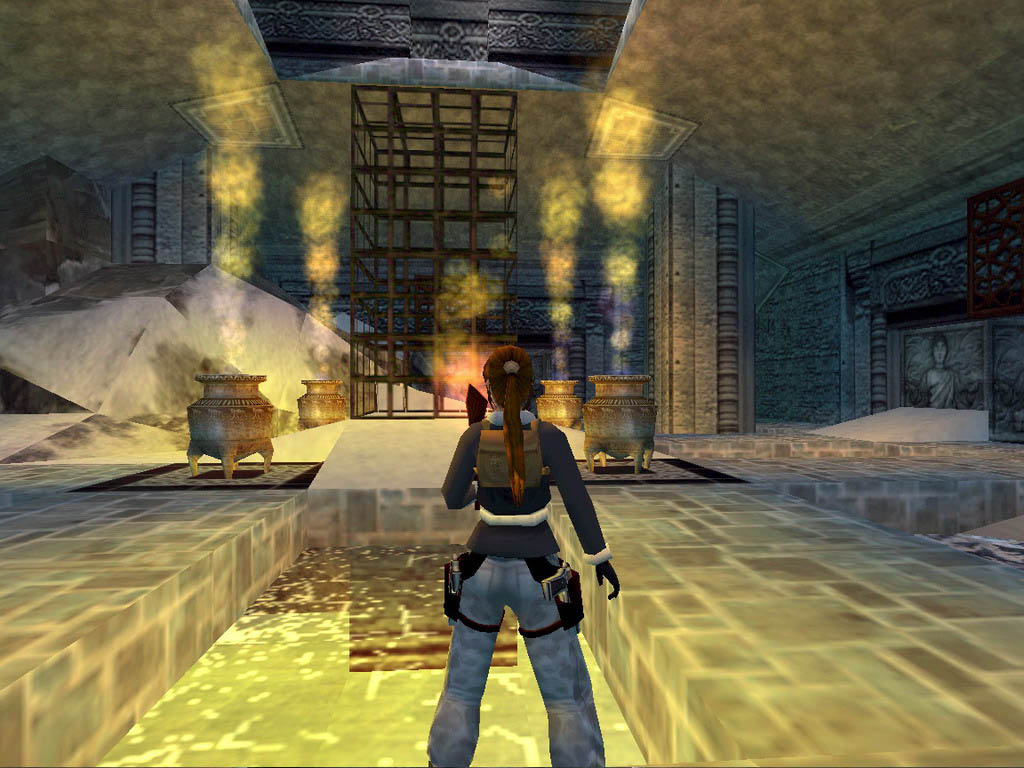
Climb the wall and pull into the crawl space at the top (as far to the left as possible, where you have more room). When you reach the end of the crawl space you'll hit a trigger that opens the door below in the east wall. Crawl back out and climb down the wall. Go to the open east doorway and cross the anteroom into a larger room. You see a brass spitton near a central square that appears to require a raised cage. In three of the walls are closed gates with a brass spitoon behind each one. Go to the NE column and locate the jump switch in the north face. Activate it to open the nearby north gate. Go there, go around the spitoon and push it out into the room. Reverse roll and pull down the wall switch to open the gate in the south wall. Go there and push that spitoon into the room, then reverse roll and pull down the wall switch to open the final gate in the east wall. Run into the cramped quarters and push the south block twice to reveal a passage. Follow the passage to a room with a wall switch. Pull it down to lower a block next to the third spitoon and give yourself a little working room.
Go out and move the spitoon to the nearest decorated tile. Do the same with the other two spitoons (the first one being a freebie), and when the last one is placed you get a flyby that shows, not the cage rising nearby, but a block lowering in the north wall of the large room. Go there and enter the passage. Just inside and to your left, push the block once, reverse roll and take a standing jump to grab and activate the jump switch. A cage lowers at the end of the passage, so run there and take one of the two TORCHES from the pedestal. Return to the large room and light the torch with the flame in the NW shrine. Then go around the room and light the other three corner shrines. The gate lifts in the south wall, but don't go there yet. Return with the lighted torch to the small room east and light all four spitoons. Flames begin to spew out of each one, and when the fourth one is lit (be sure to position yourself so you won't get burned during the ensuing flyby) the frozen ceiling melts and the central cage rises.
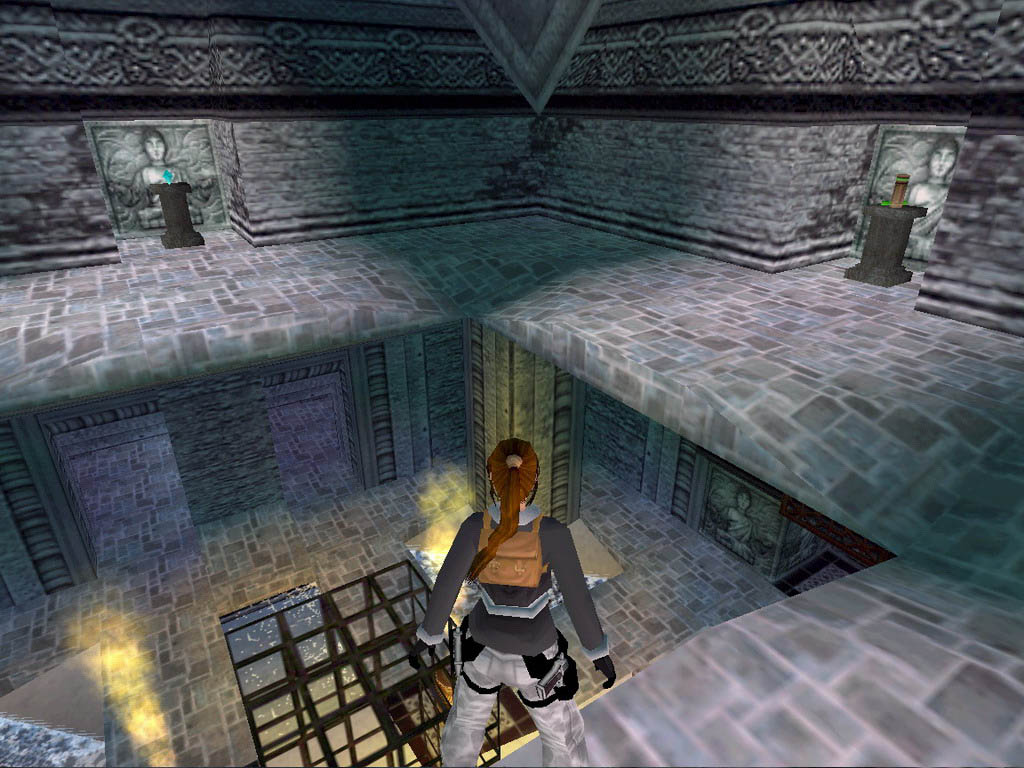
You don't need the torch any more, so toss it and go to the raised portion at the right corner of the central cage's east face. Use the control and action keys only to jump up and grab the top of the cage. Don't pull up here because of the nearby flame pot. Instead, shimmy to the left until you're at the middle of the cage, then pull up. Turn around and take a standing jump and grab to the upper ledge. Pull up into the higher room and collect the flares, the small medi-pack and the BLUE GEM from the alcove pedestals. Go to the east alcove and insert the Blue Gem in the receptacle to lower the block. Enter the passage and pick up the NITROUS OXIDE CANNISTER near the other end. Reverse roll and run back the other way without stopping, and you'll land on top of the cage below. Safety drop to the floor and return to the large room.
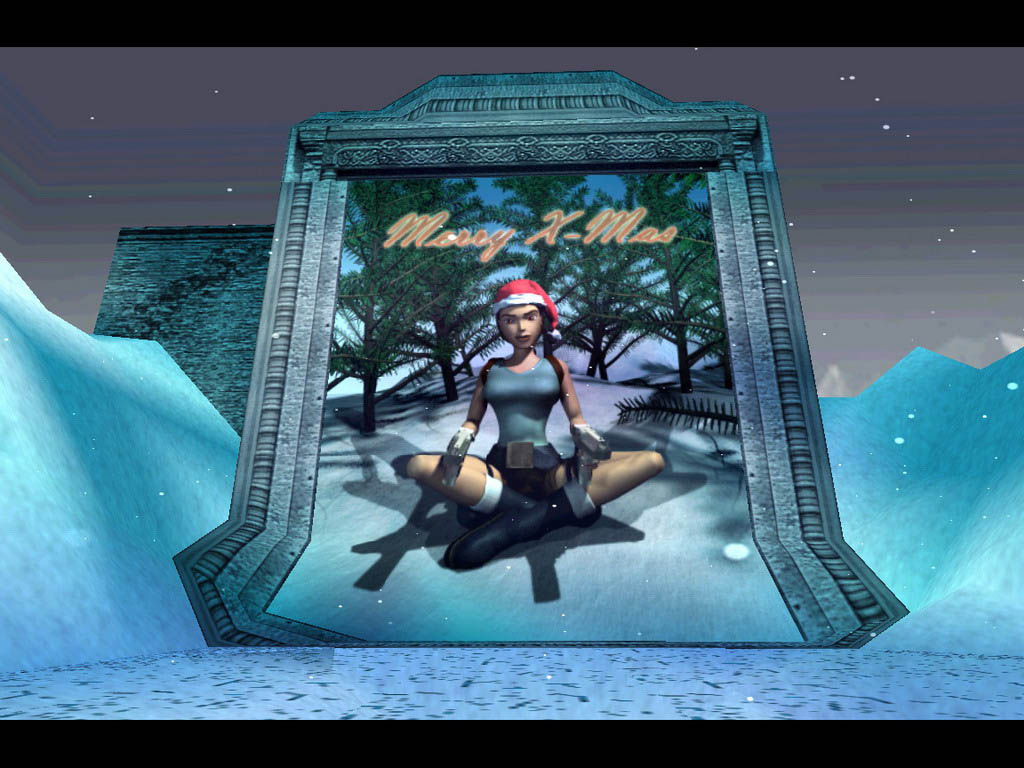
Go underneath the lifted gate in the south wall and enter another room. Go to your right and use one of your Prayer Wheels in the receptacle to the right of the closed gate to lift it. Go inside and follow the passage until you reach the keyhole to your right. Use your Key there to lower the block to your left. Enter the alcove for a small medi-pack and SECRET #3. Reverse roll and cross the passage. Pull the block from the south wall and push it to one side. Enter the passage and use your other Prayer Wheel in the receptacle to lift the exit gate. Go outside, stand facing the right side of the Snowmobile and combine the Valve Pipe and Nitrous Oxide Cannister to form the NITROUS OXIDE FEEDER. Use it to start up the Snowmobile and drive forward. As you turn the corner to your right, rev up your engine by using the sprint key and glide across the gap ahead. When you land on the other side you'll trigger a closing flyby that features a giant mural of Lara sitting bare-legged in the snow as she wishes you Seasons Greetings.
Walkthrough by Phil Lambeth
Az oldalon közölt képek, a szöveges tartalom, illetve minden sajátkészítésû anyag, a © TR Editor.hu tulajdonát képezi. Azokat semmilyen formában nem lehet reprodukálni, másolni, terjeszteni, csak a szerkesztõség engedélyével.