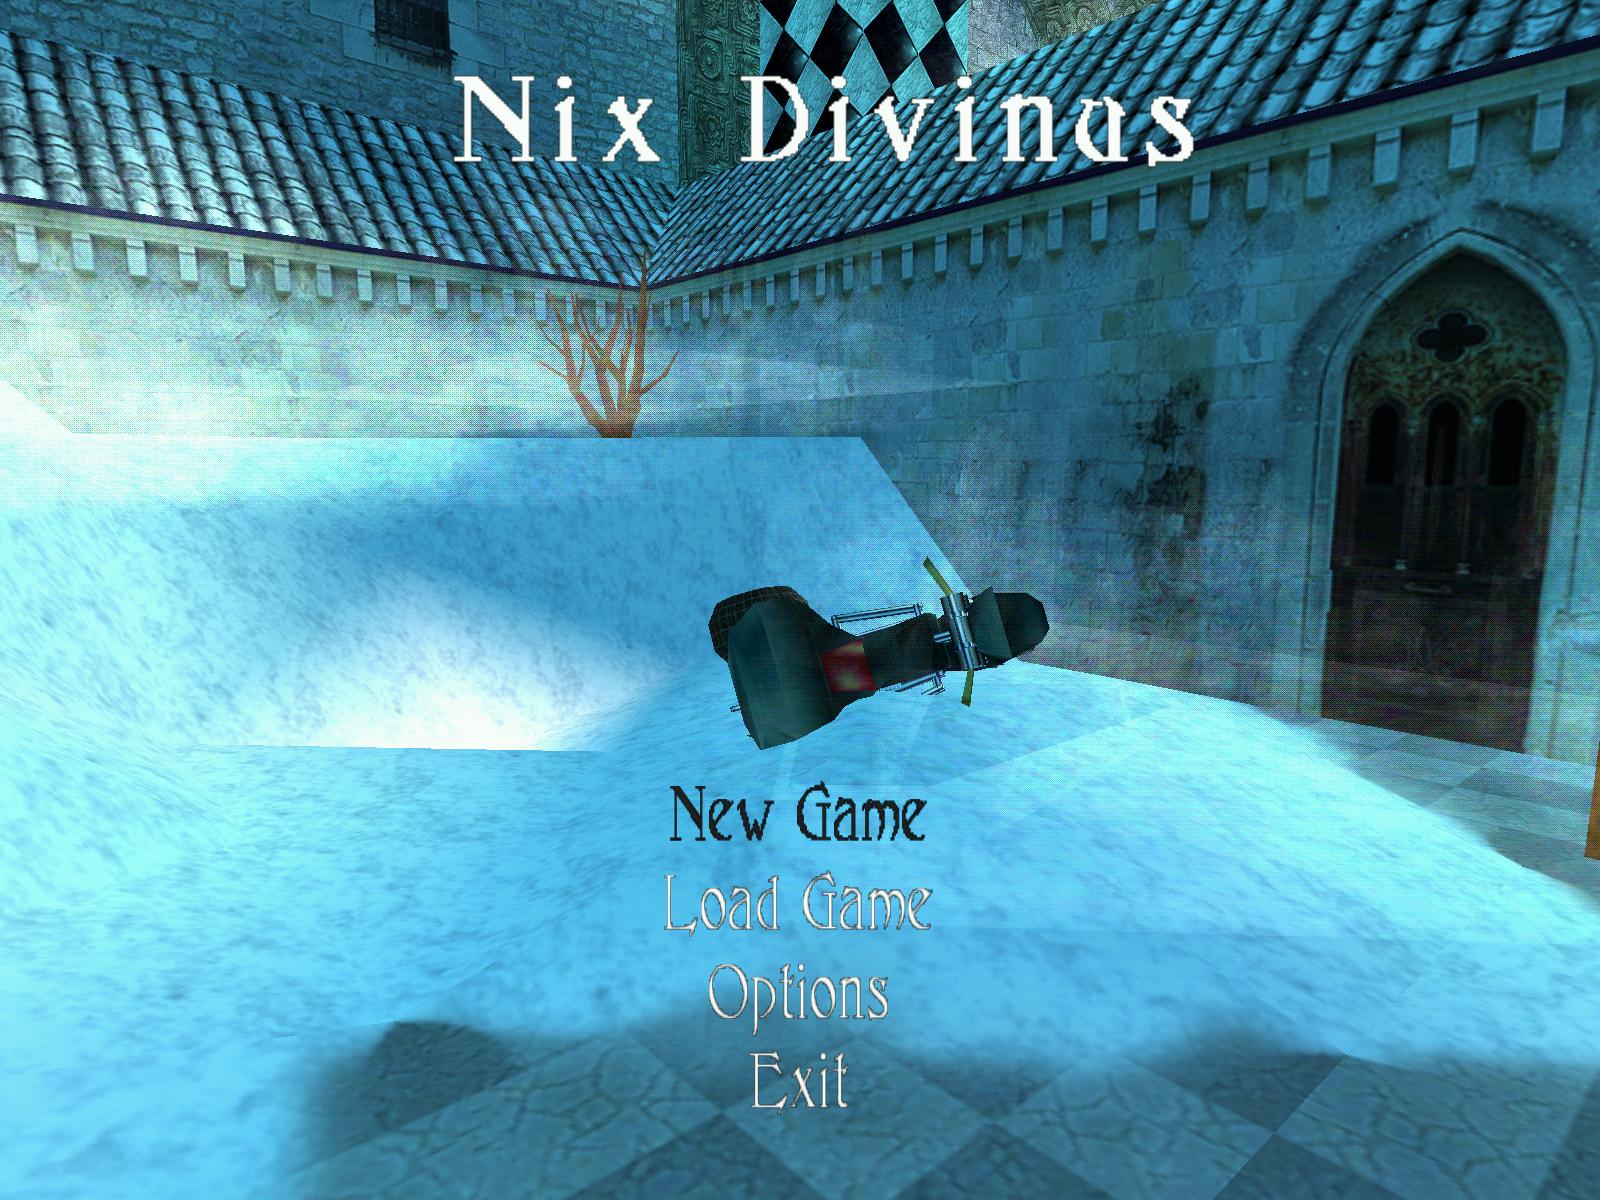
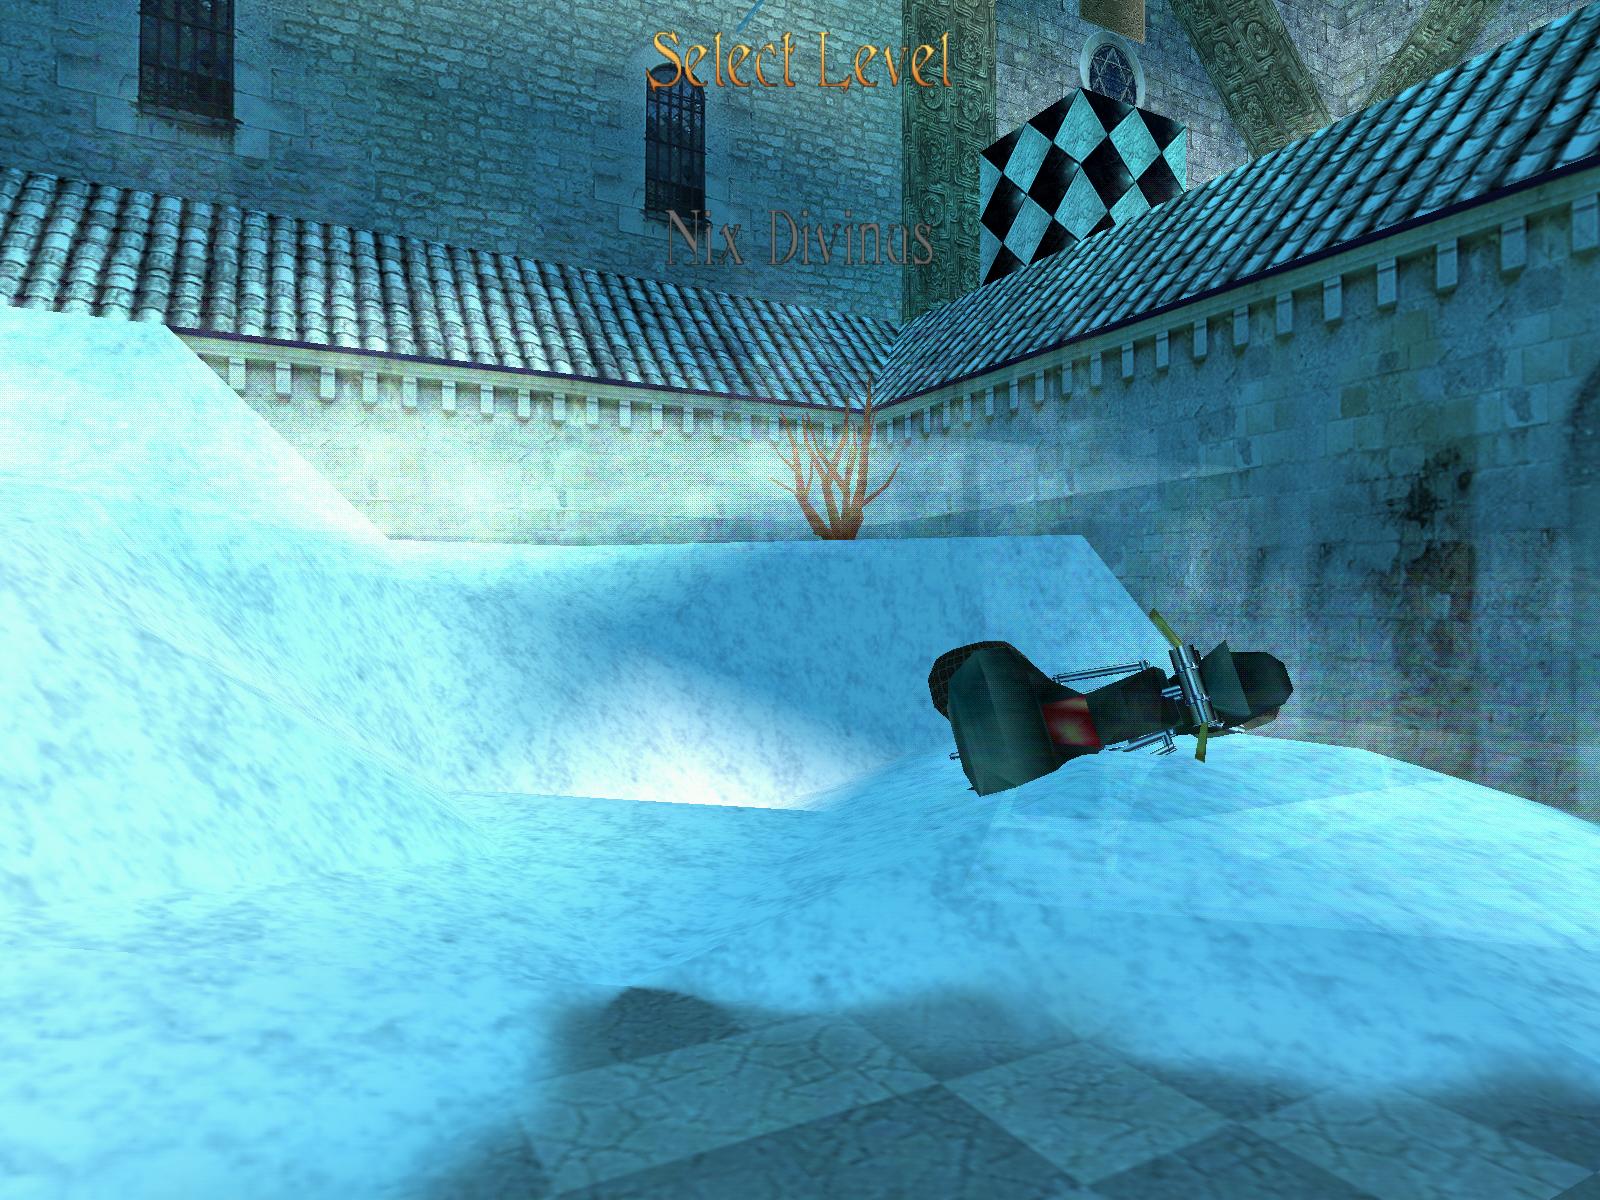
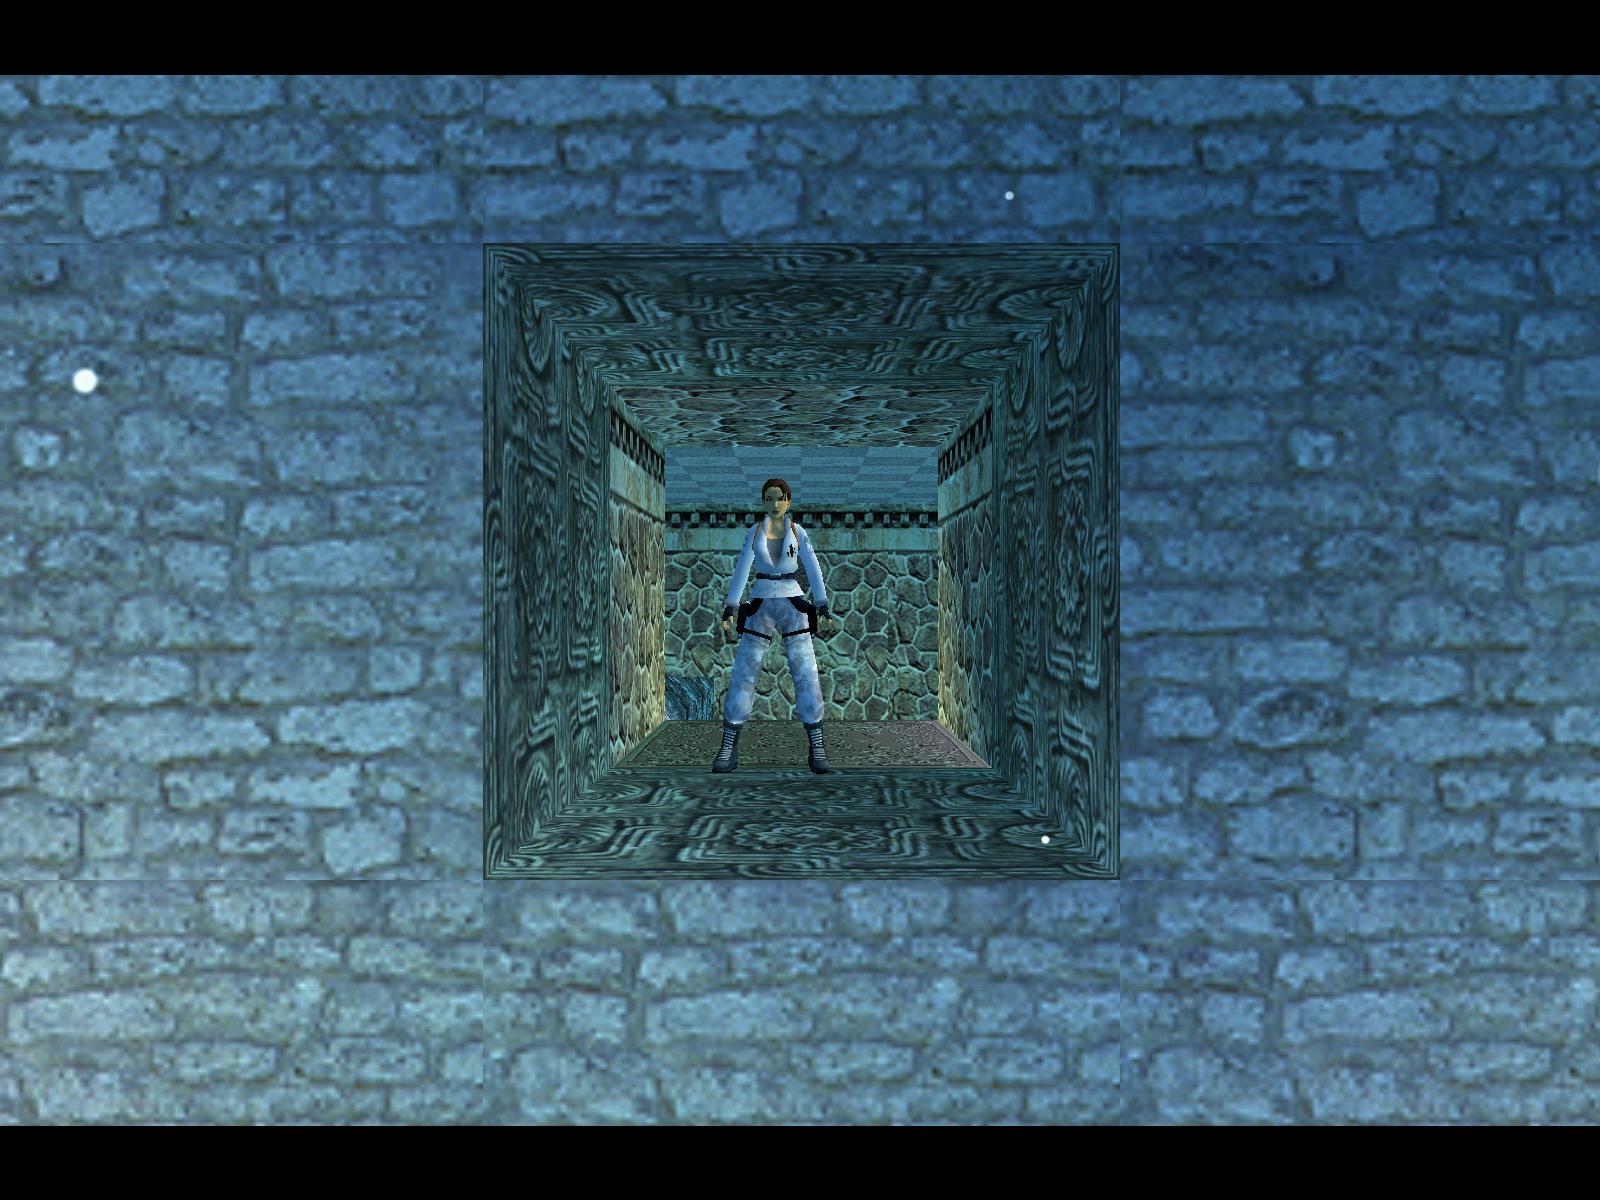
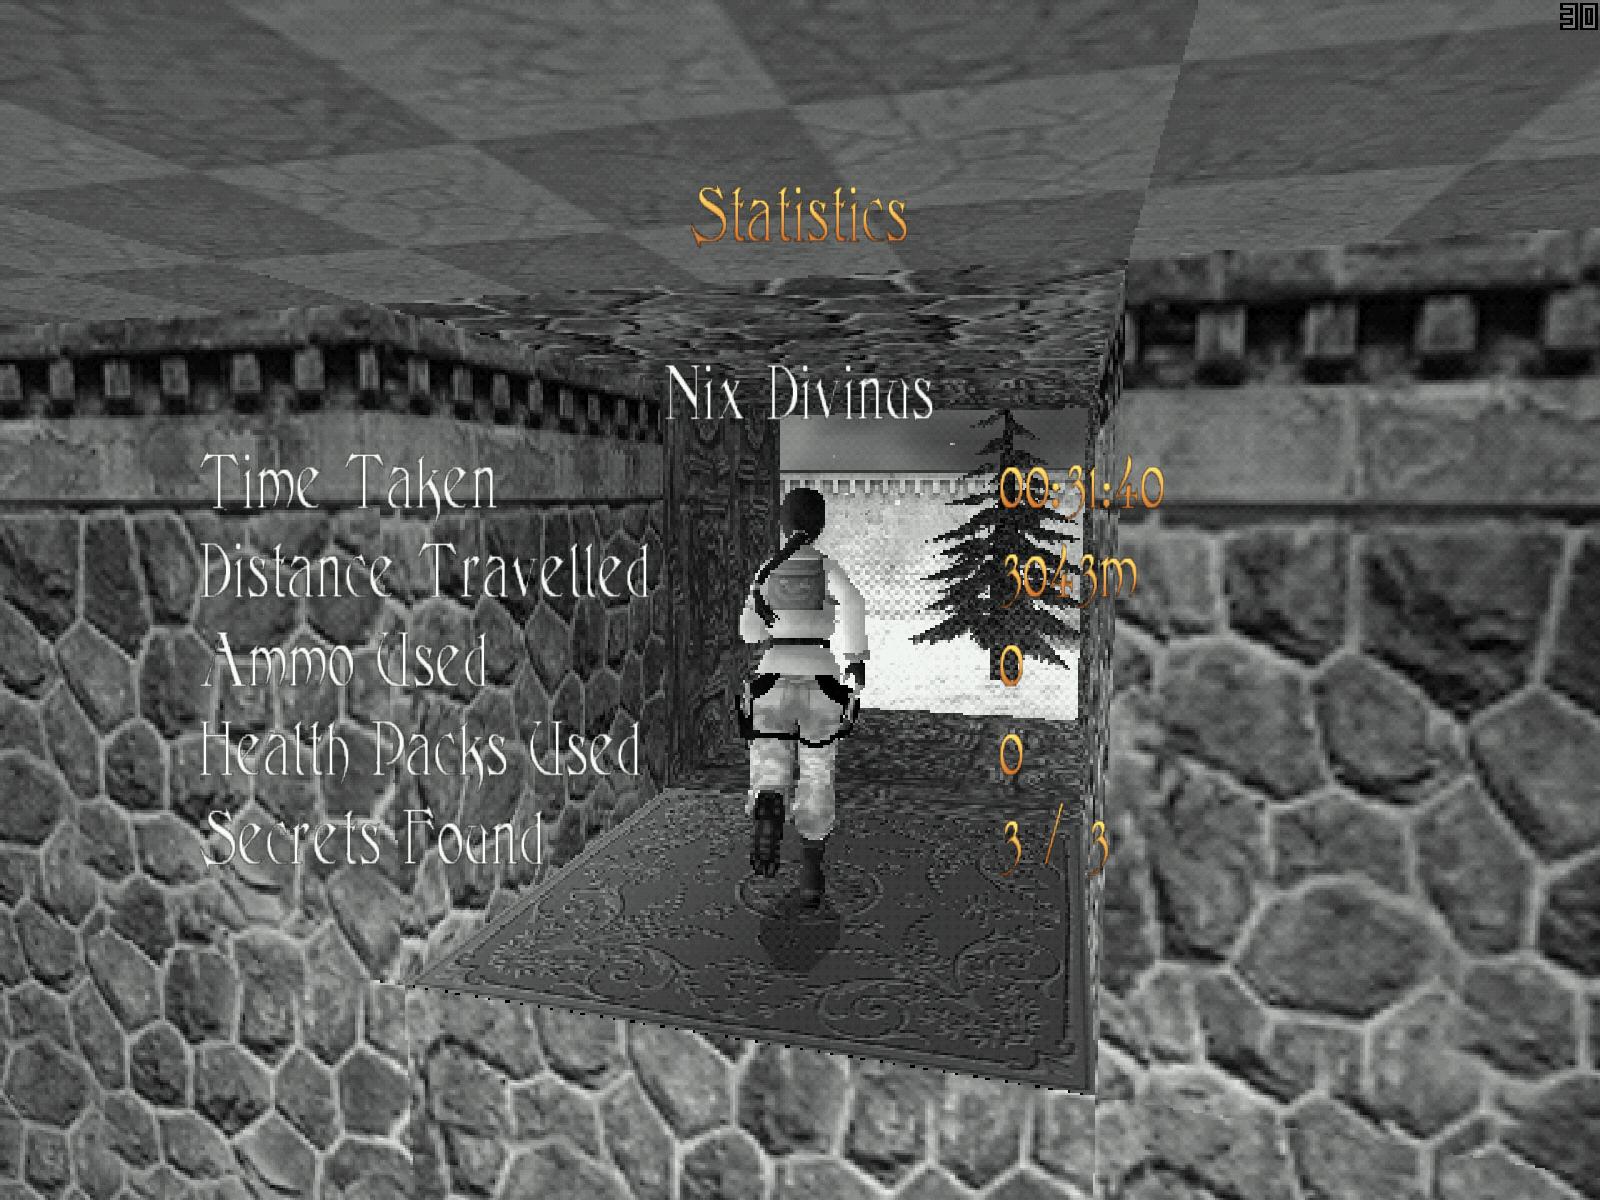
Nix Divinus (TR FORGE ADVENT CALENDAR 2009)
Author: illyaine Christoph Summerer ([christoph]) Homepage
Download: Here
Story:
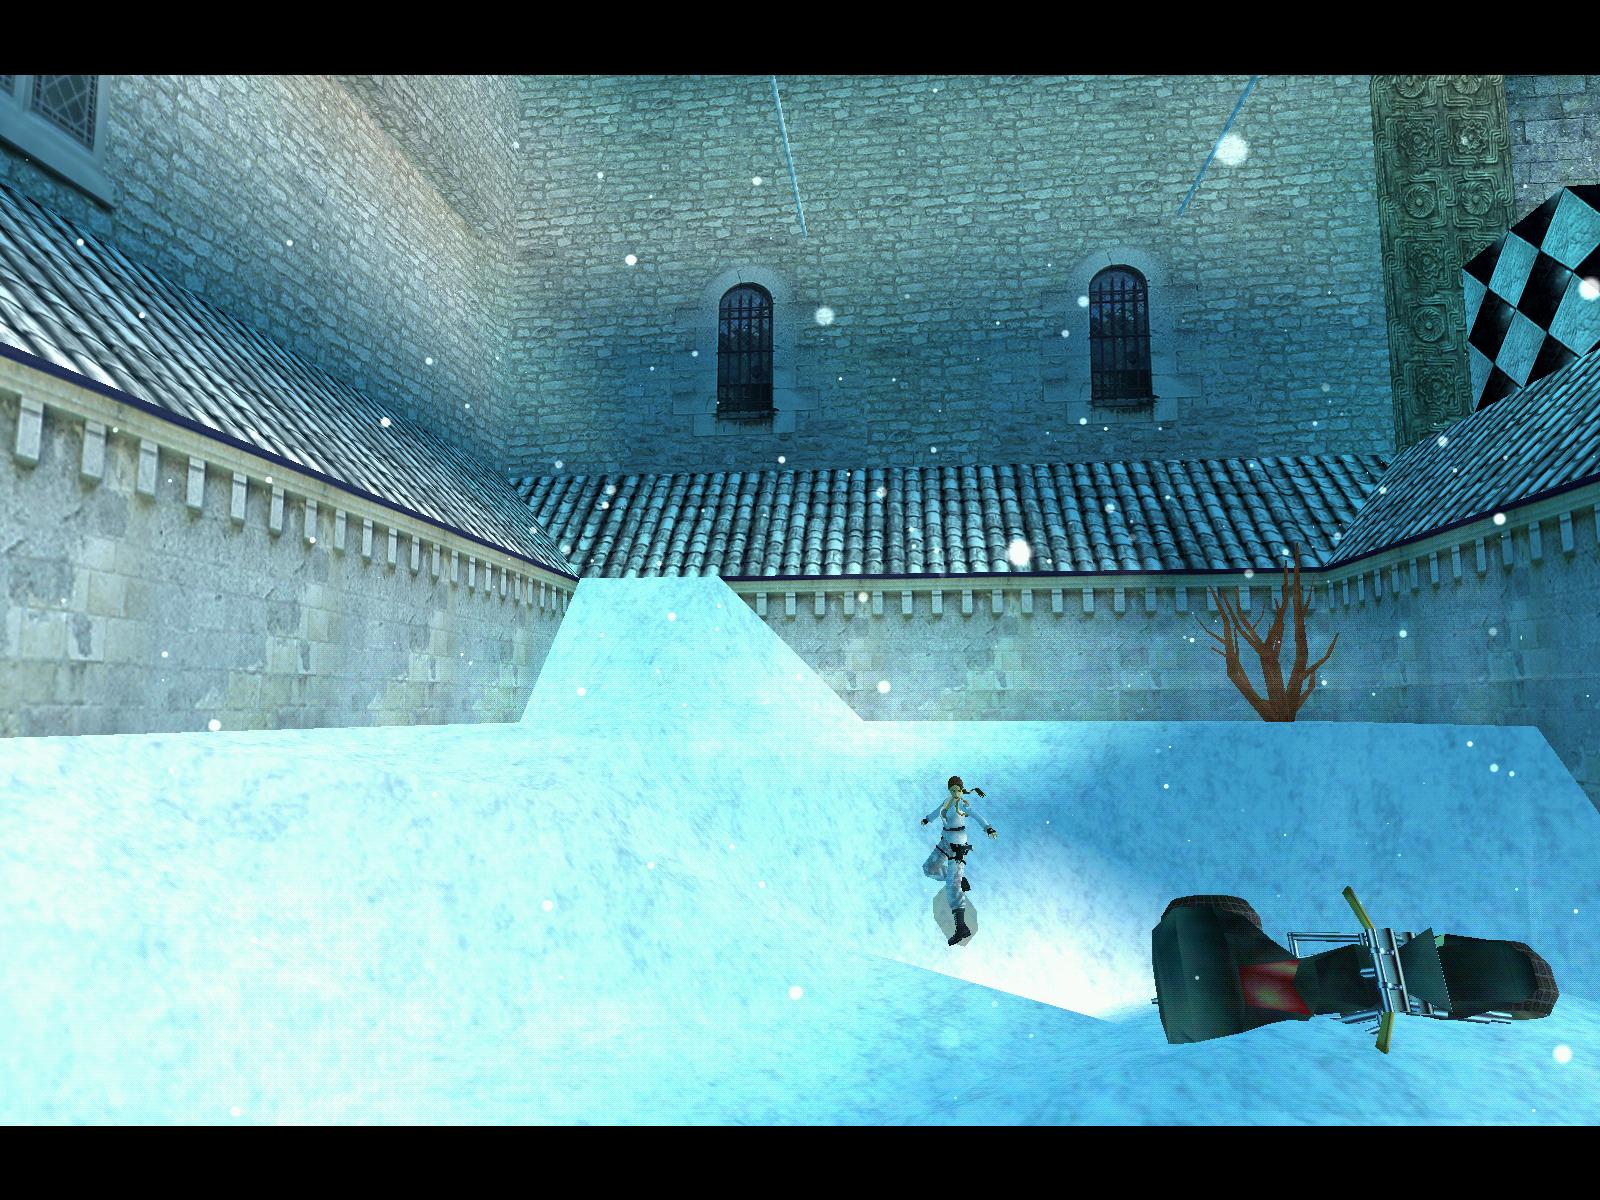
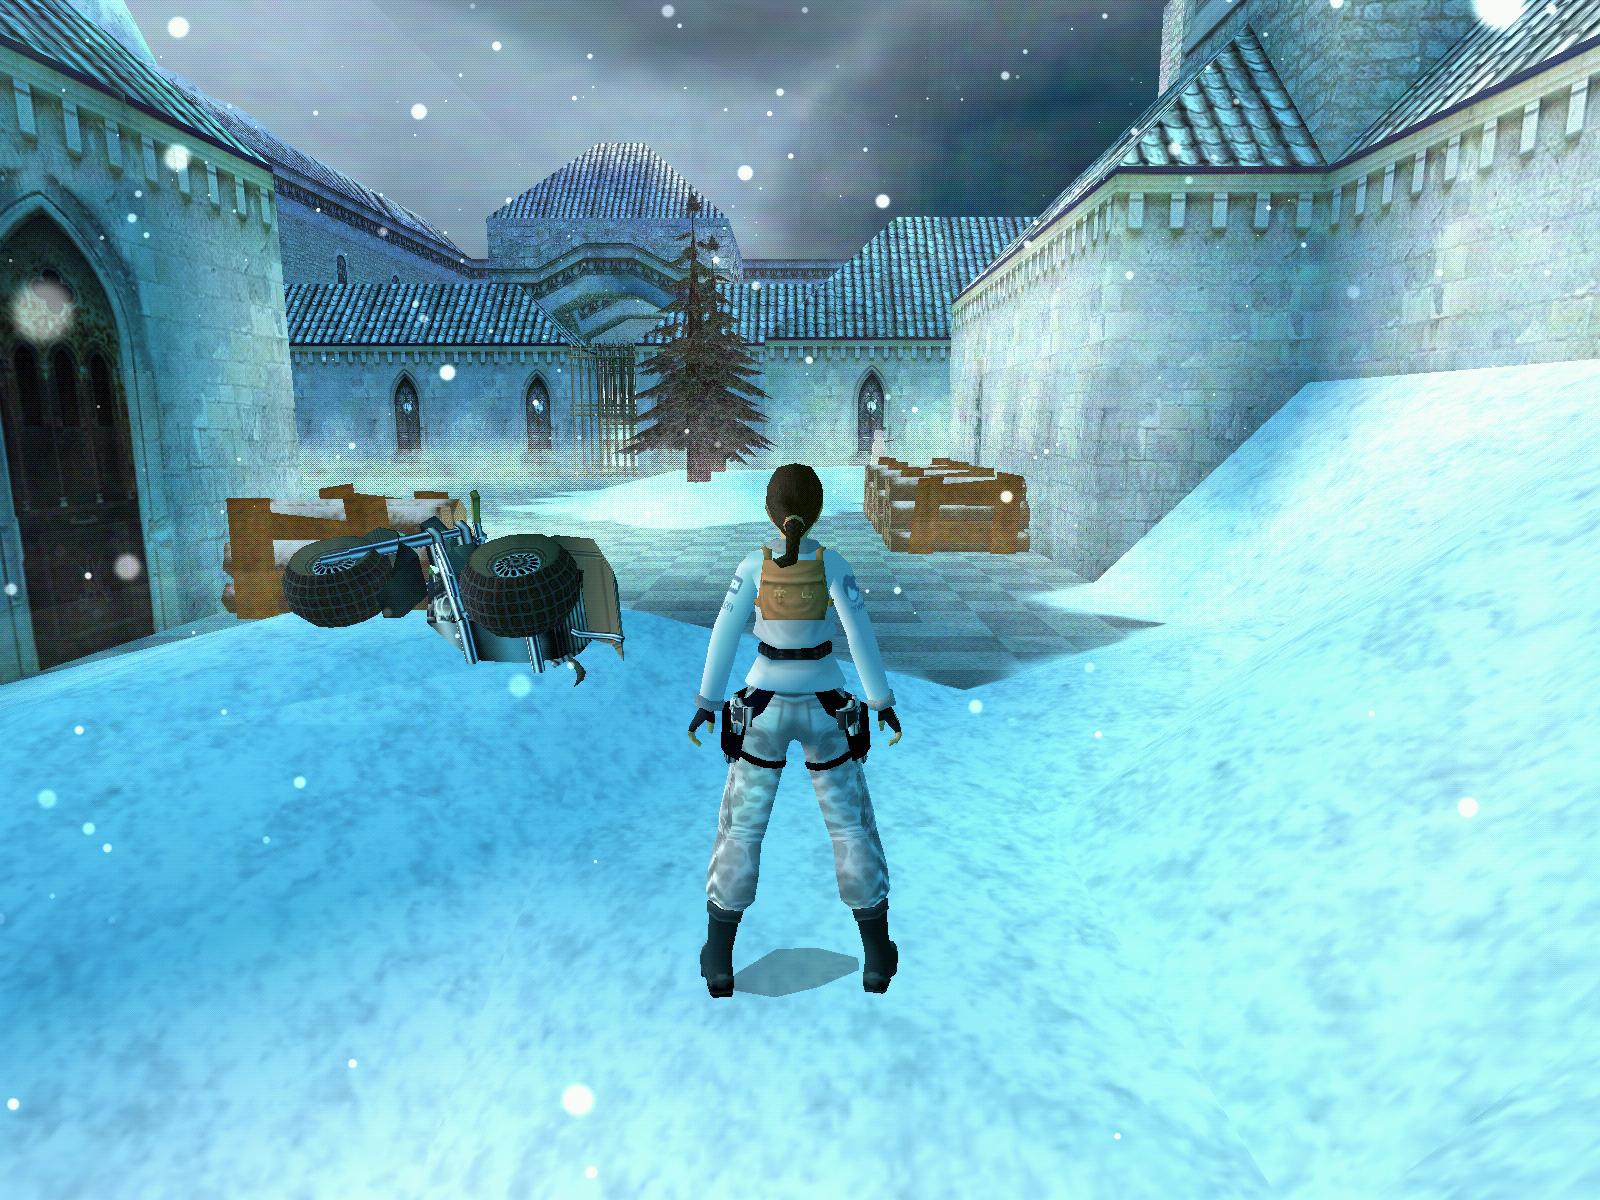
Nix Divinus plays after Dijon. After a slippy snow path Lara has an accident and sleighs with her motorbike down a snow hill. She lands in an abandoned village (?).


Secret 1:
Secret 2:
Secret 3:
Walkthrough:
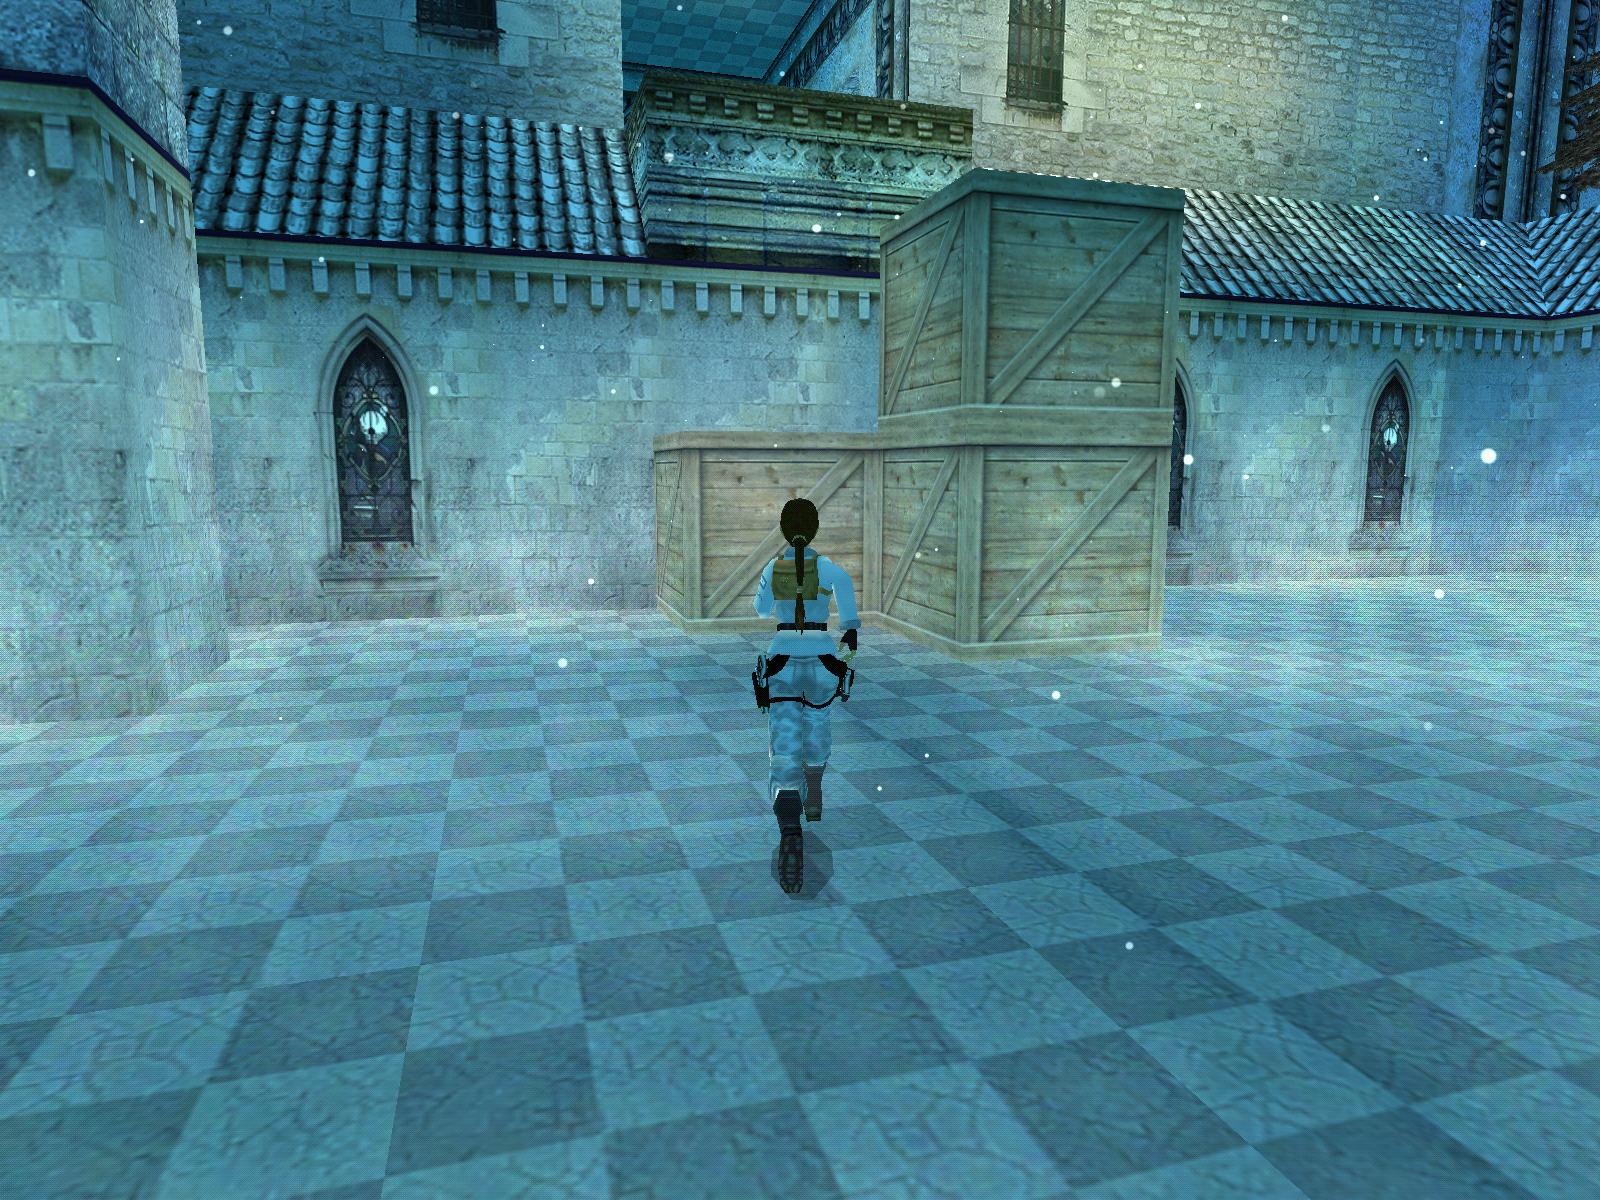
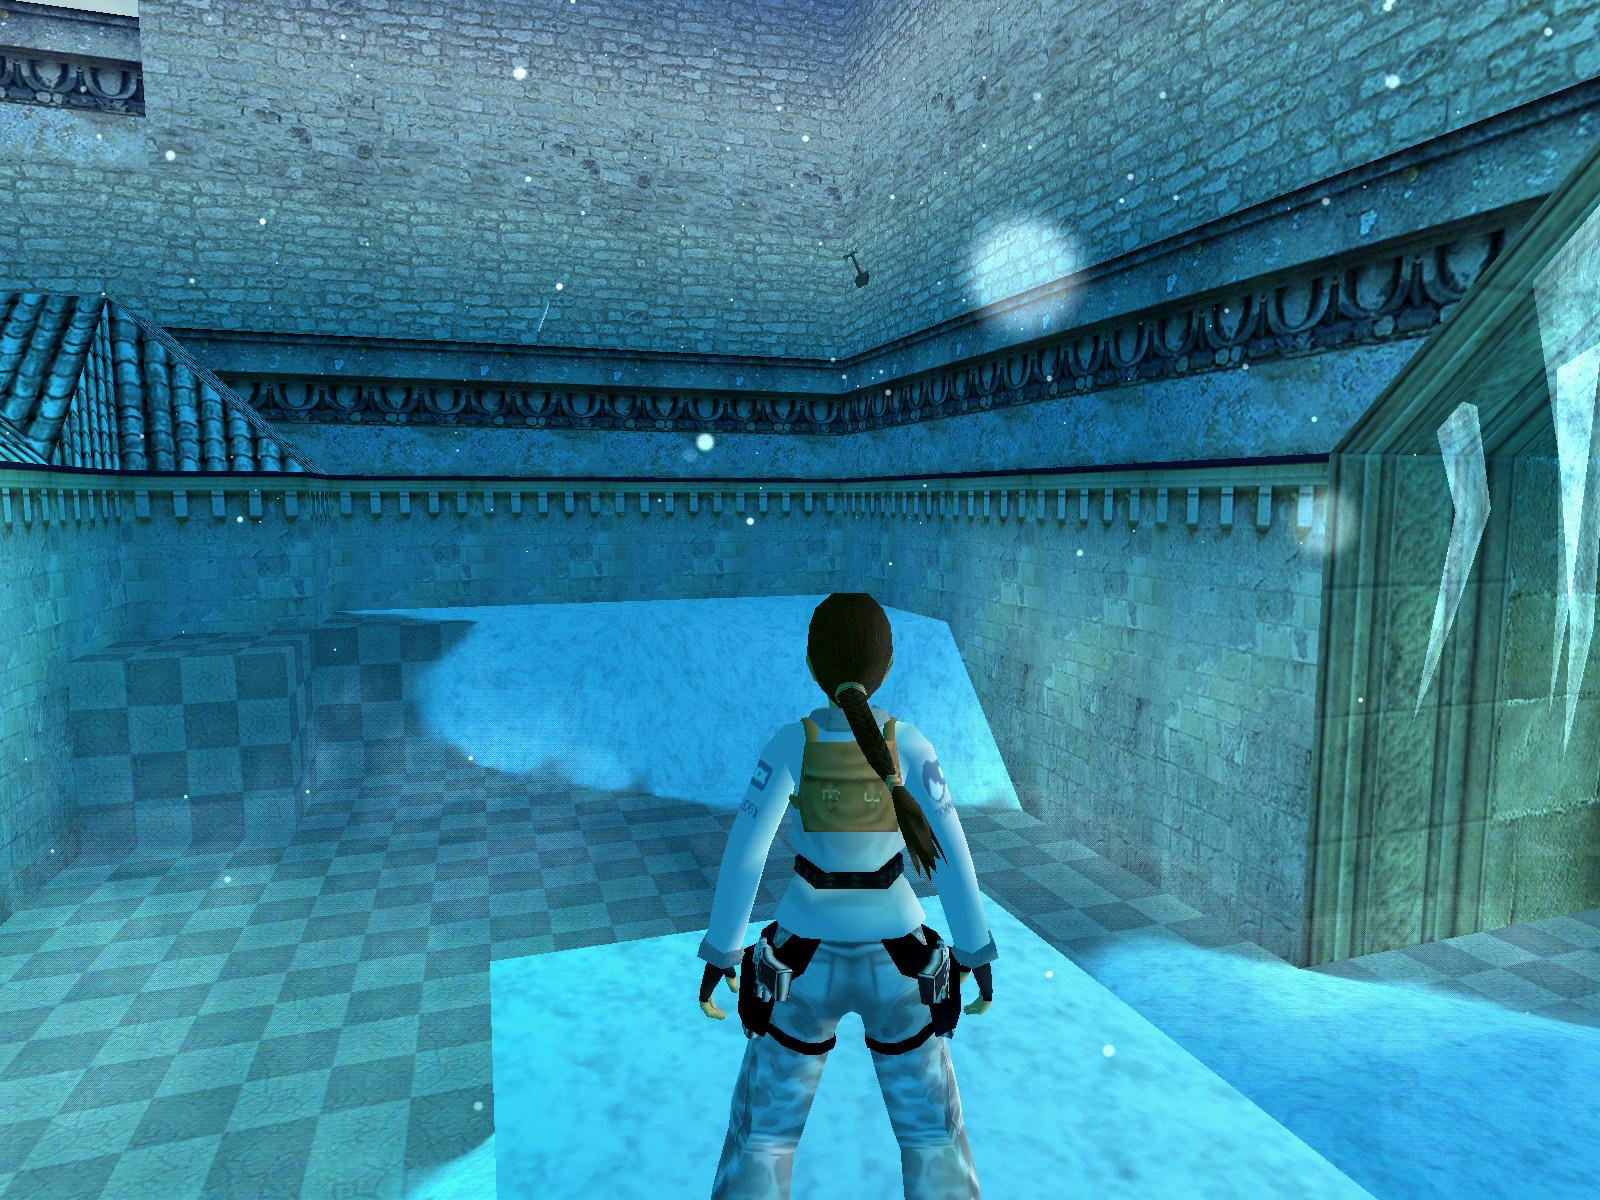
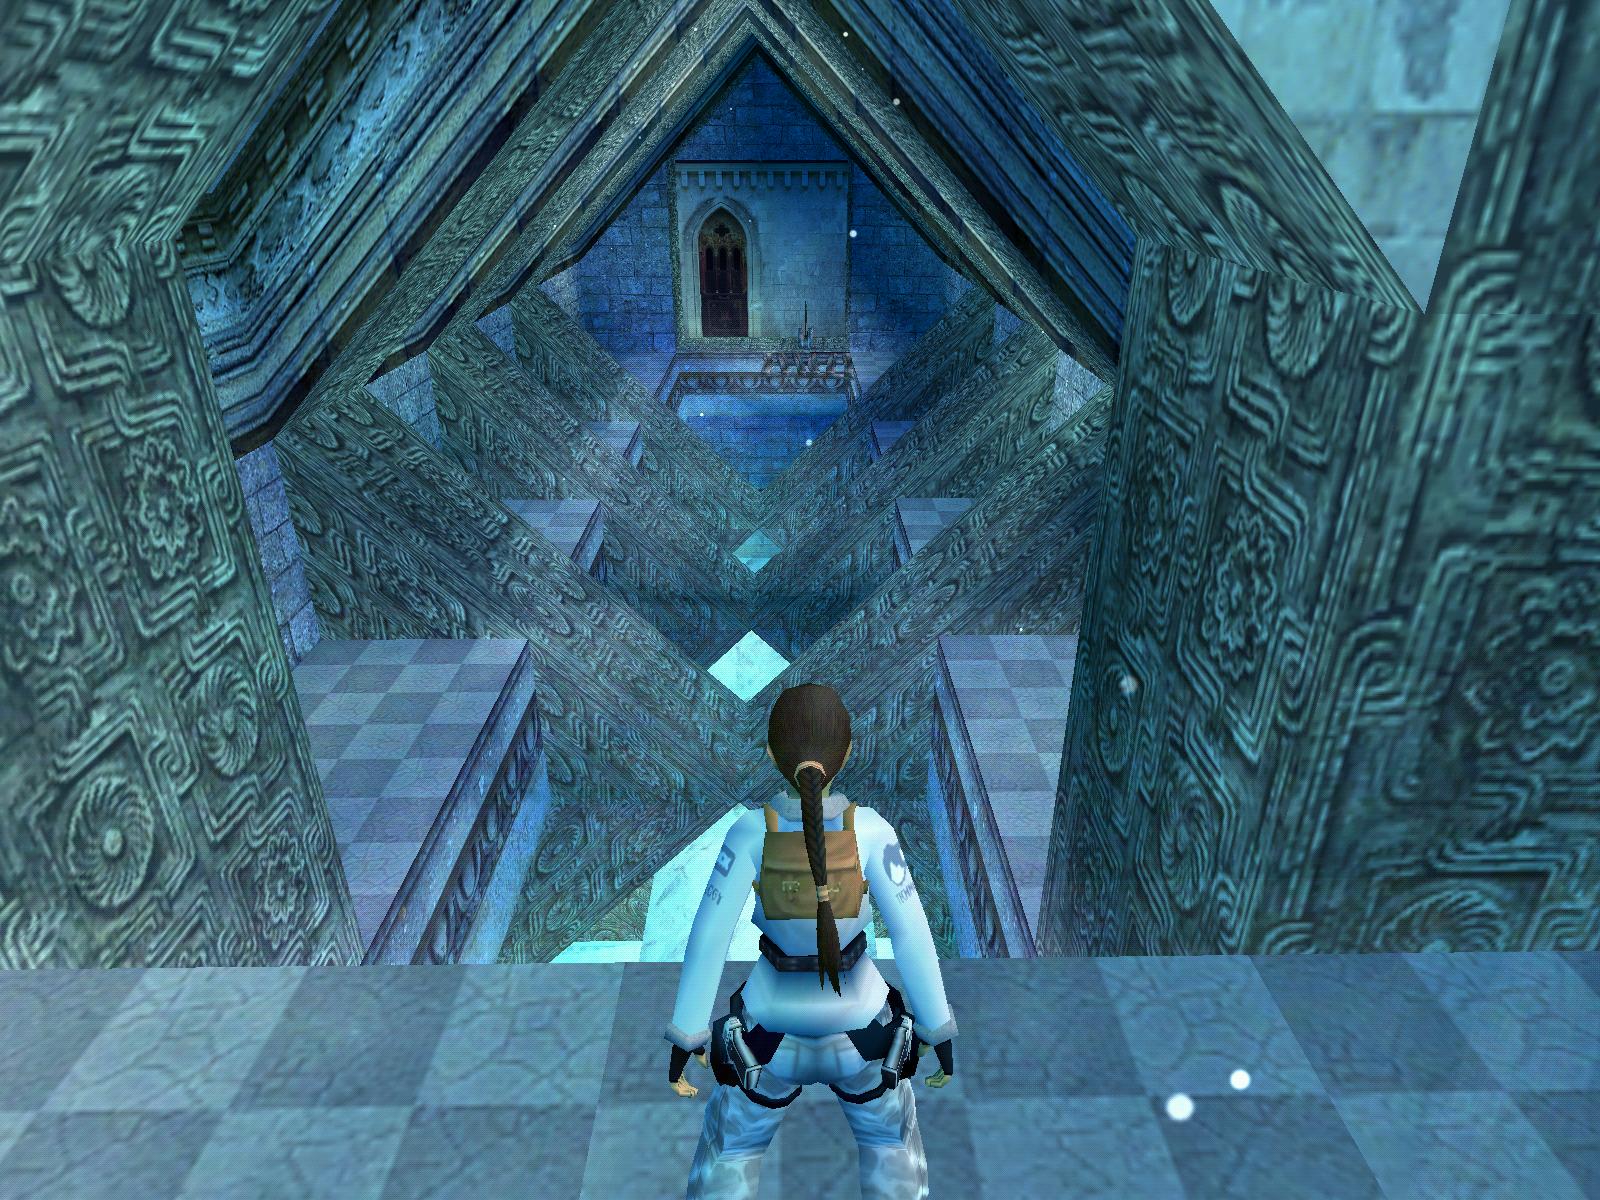
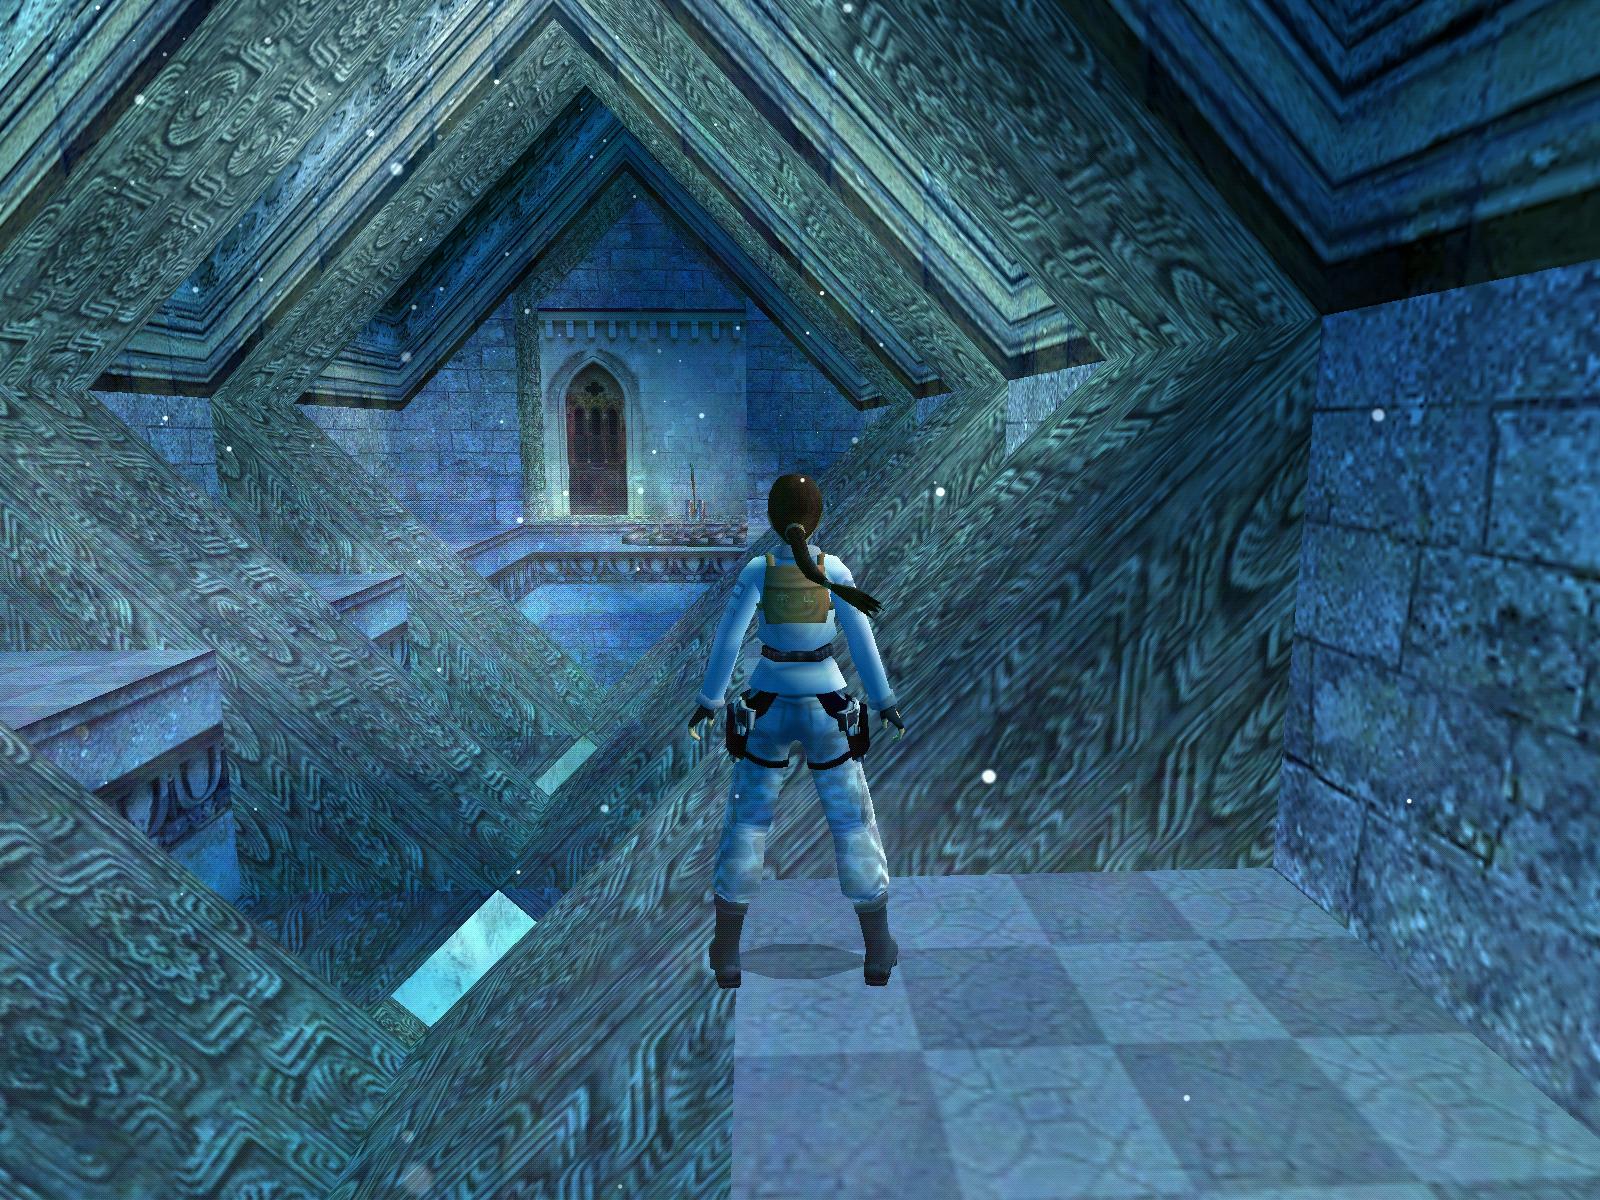
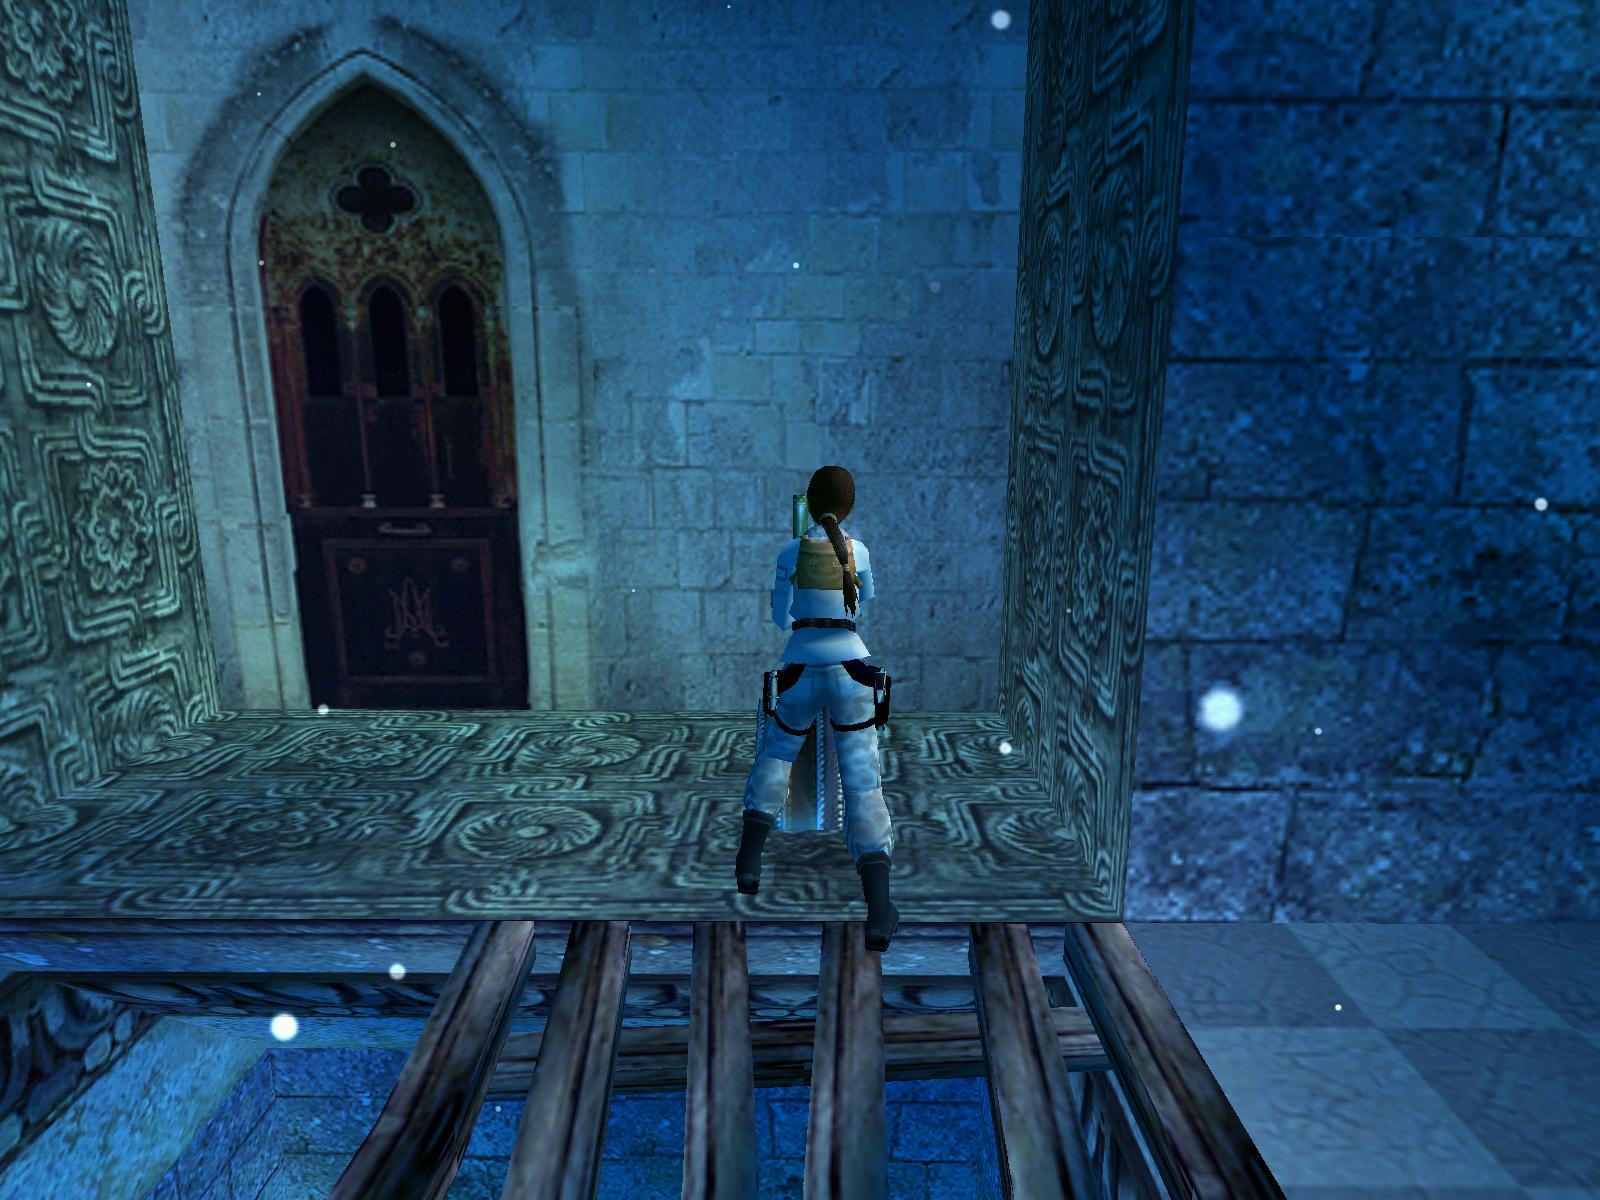
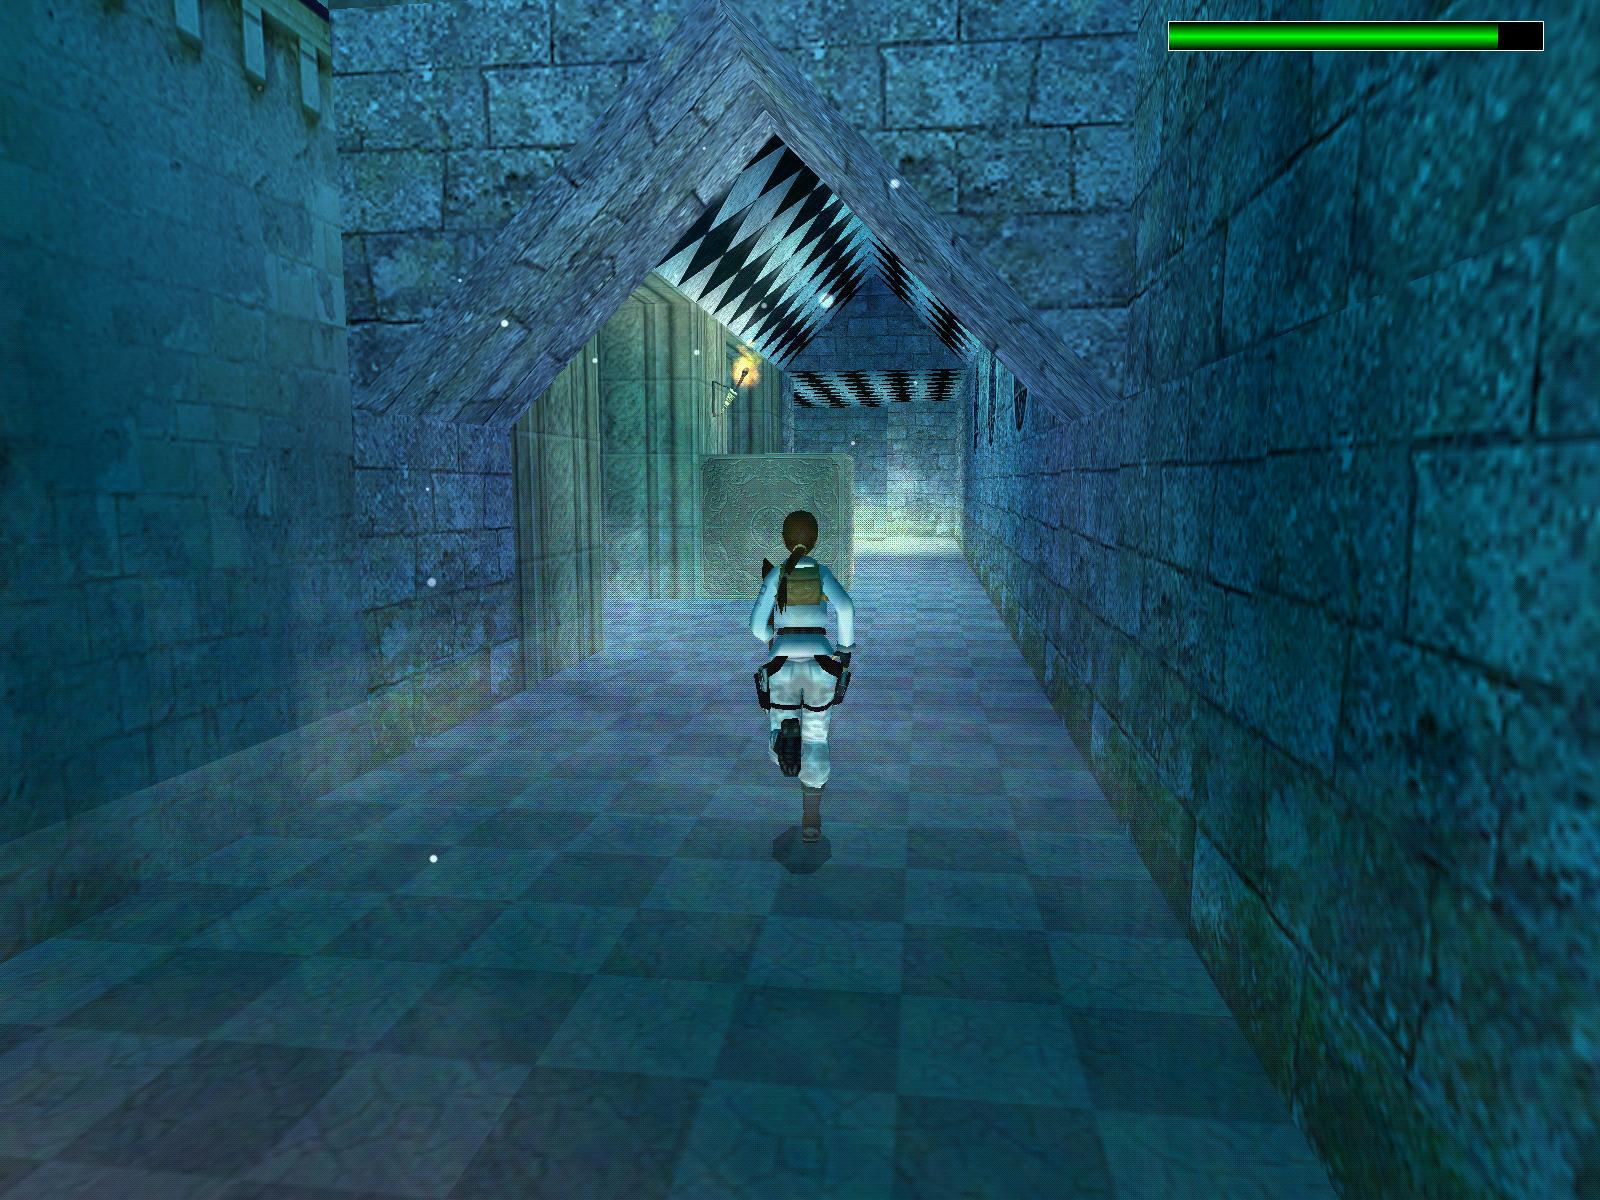
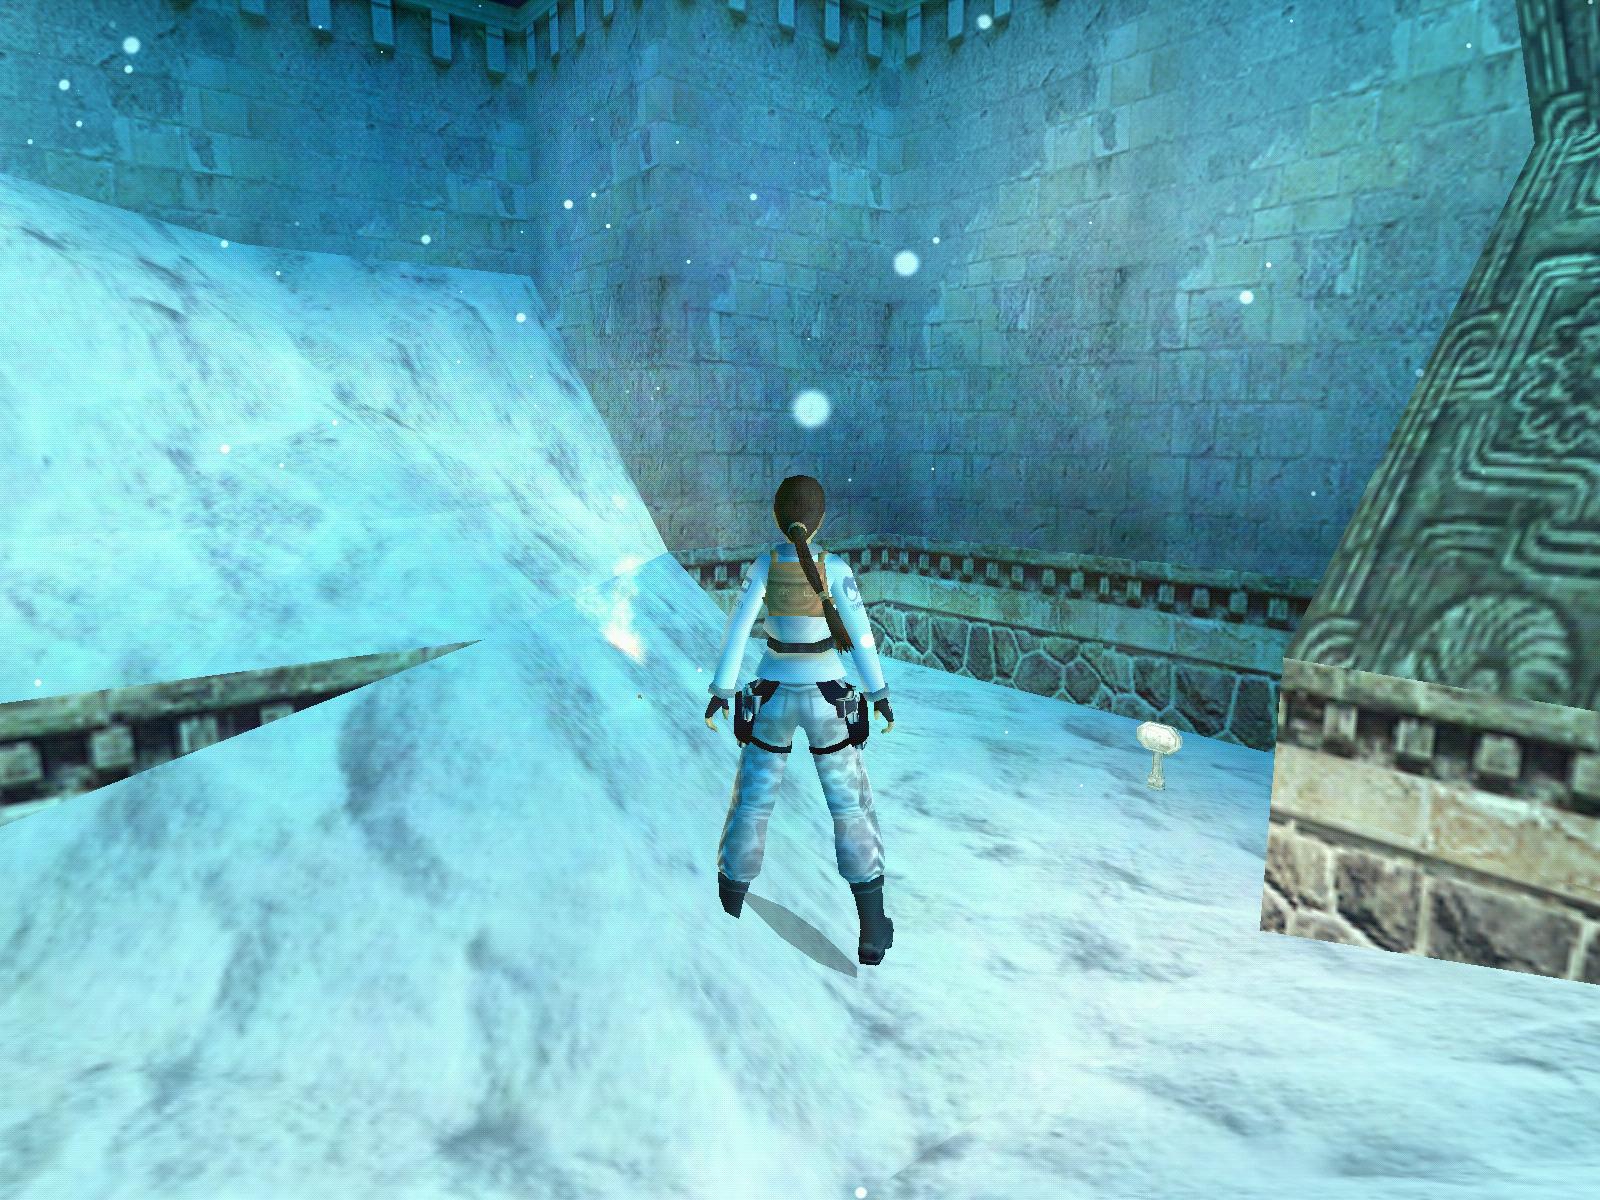
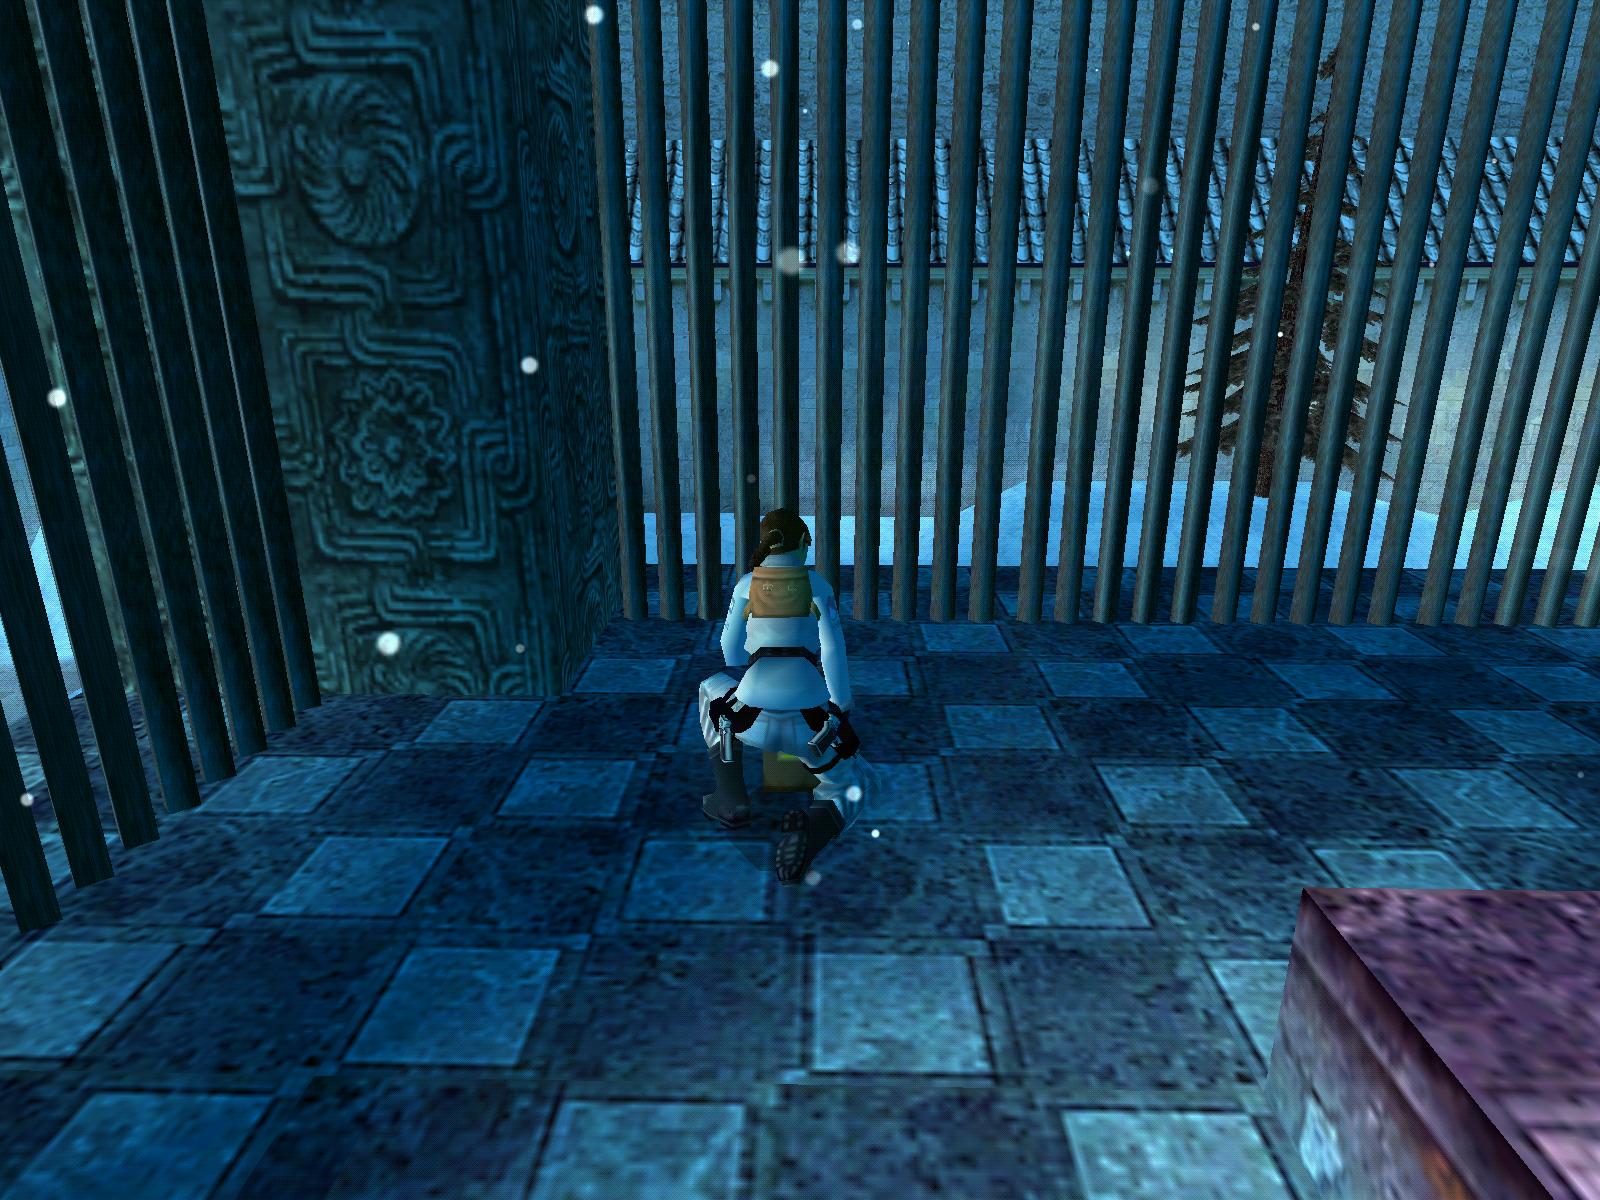
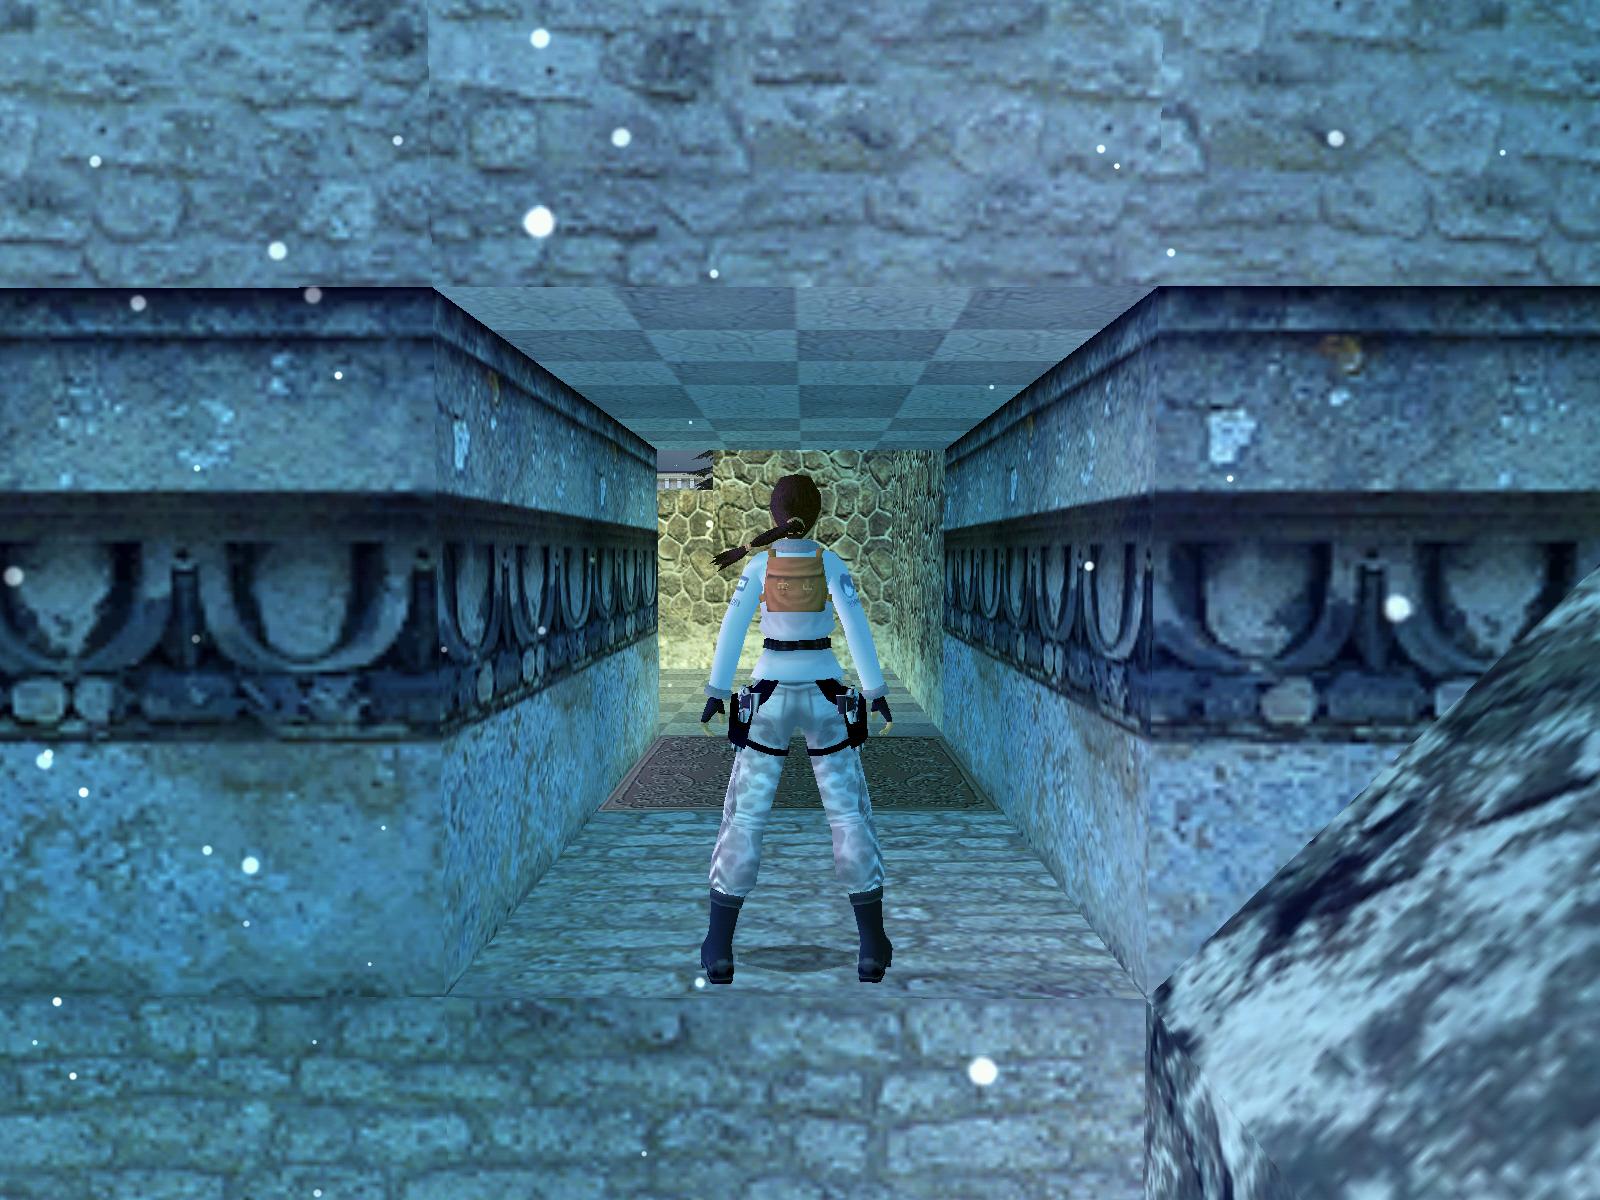
After the opening flyby, run past the wrecked motorbike and turn left. Climb the crates and hop up onto the N balcony. Pick up the small medipack in the left alcove and enter the far right alcove. Climb up left and pull up into the passage. Pull down the wall switch to lower a block elsewhere. Return to the balcony.
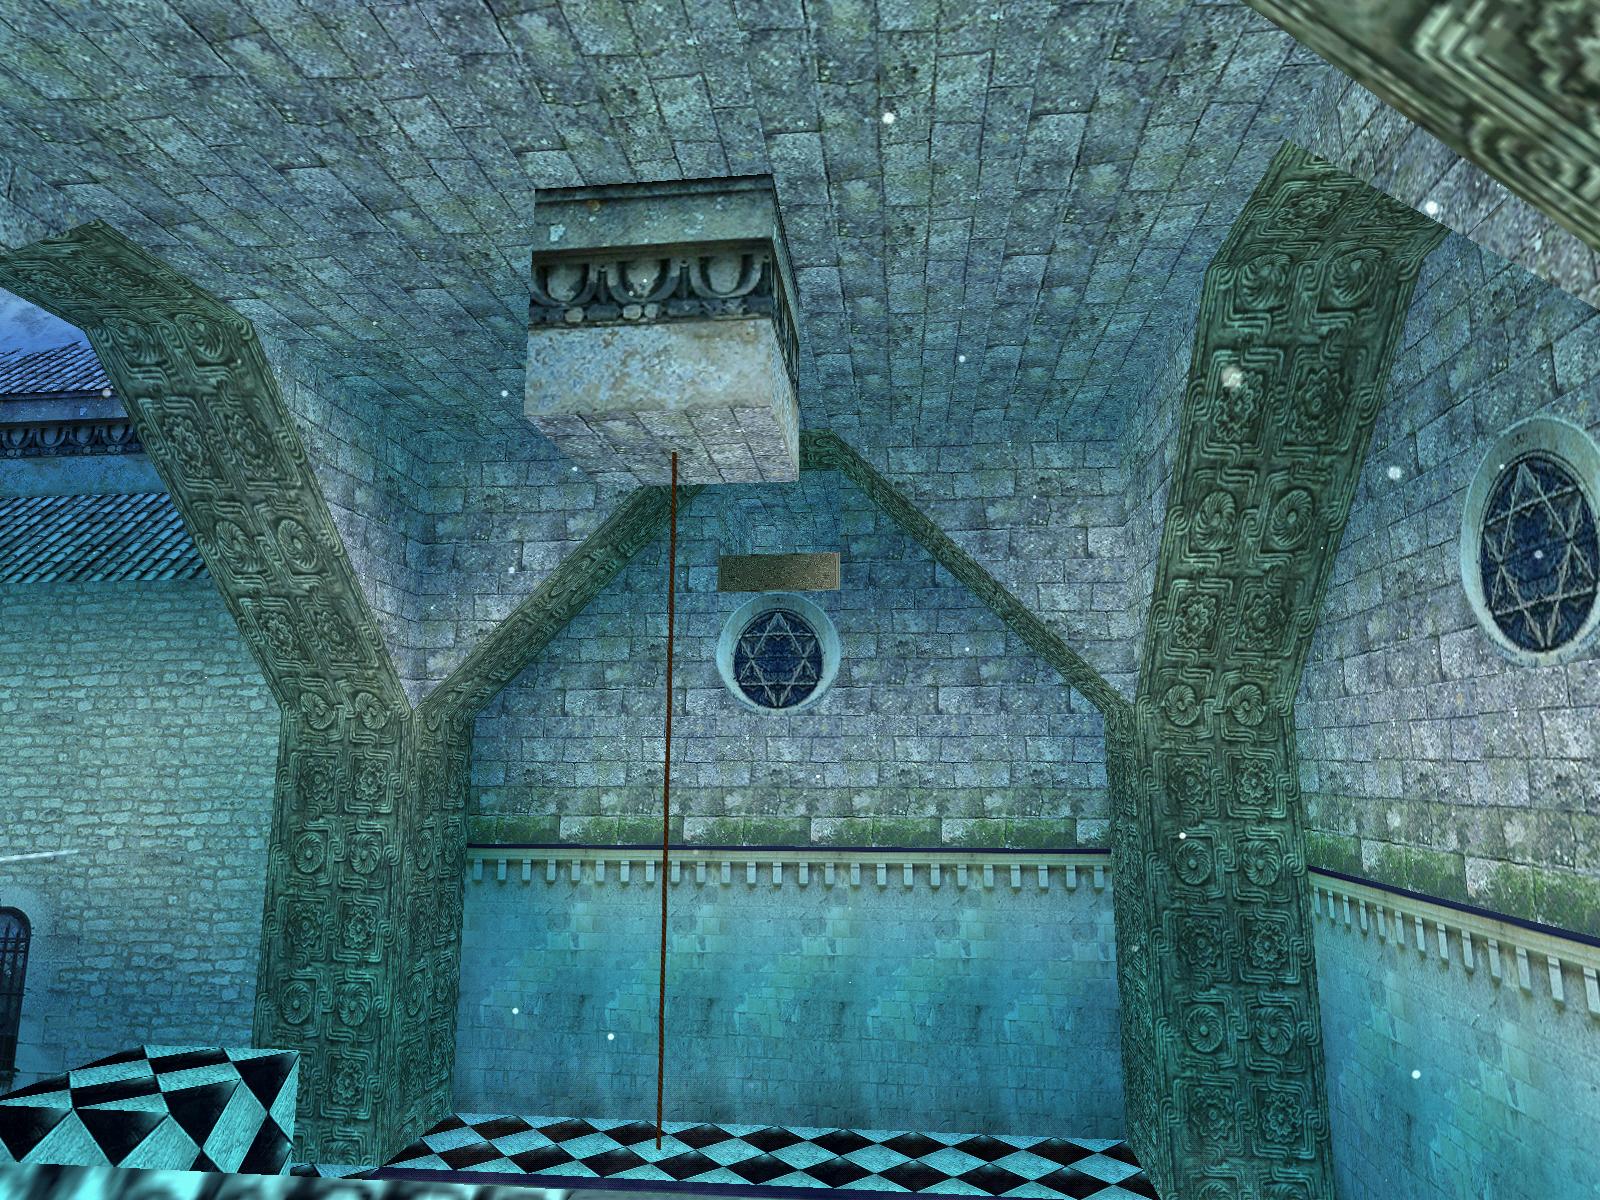
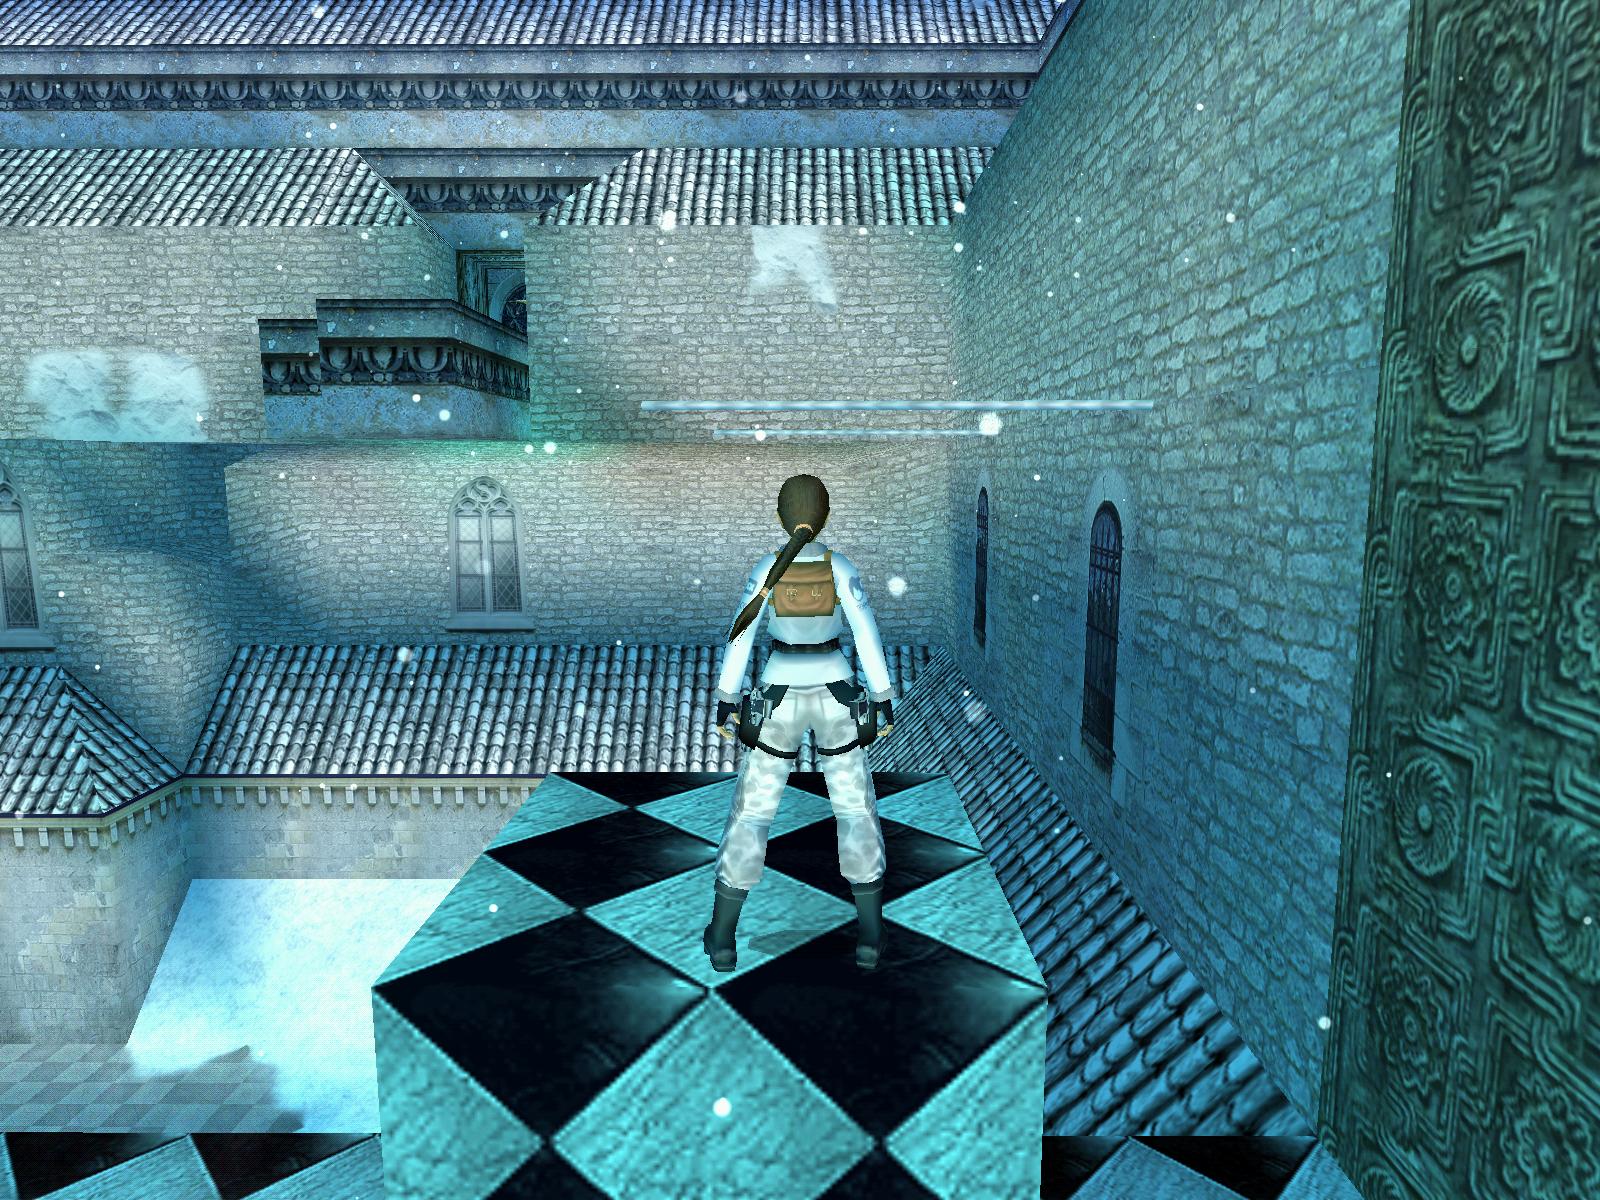
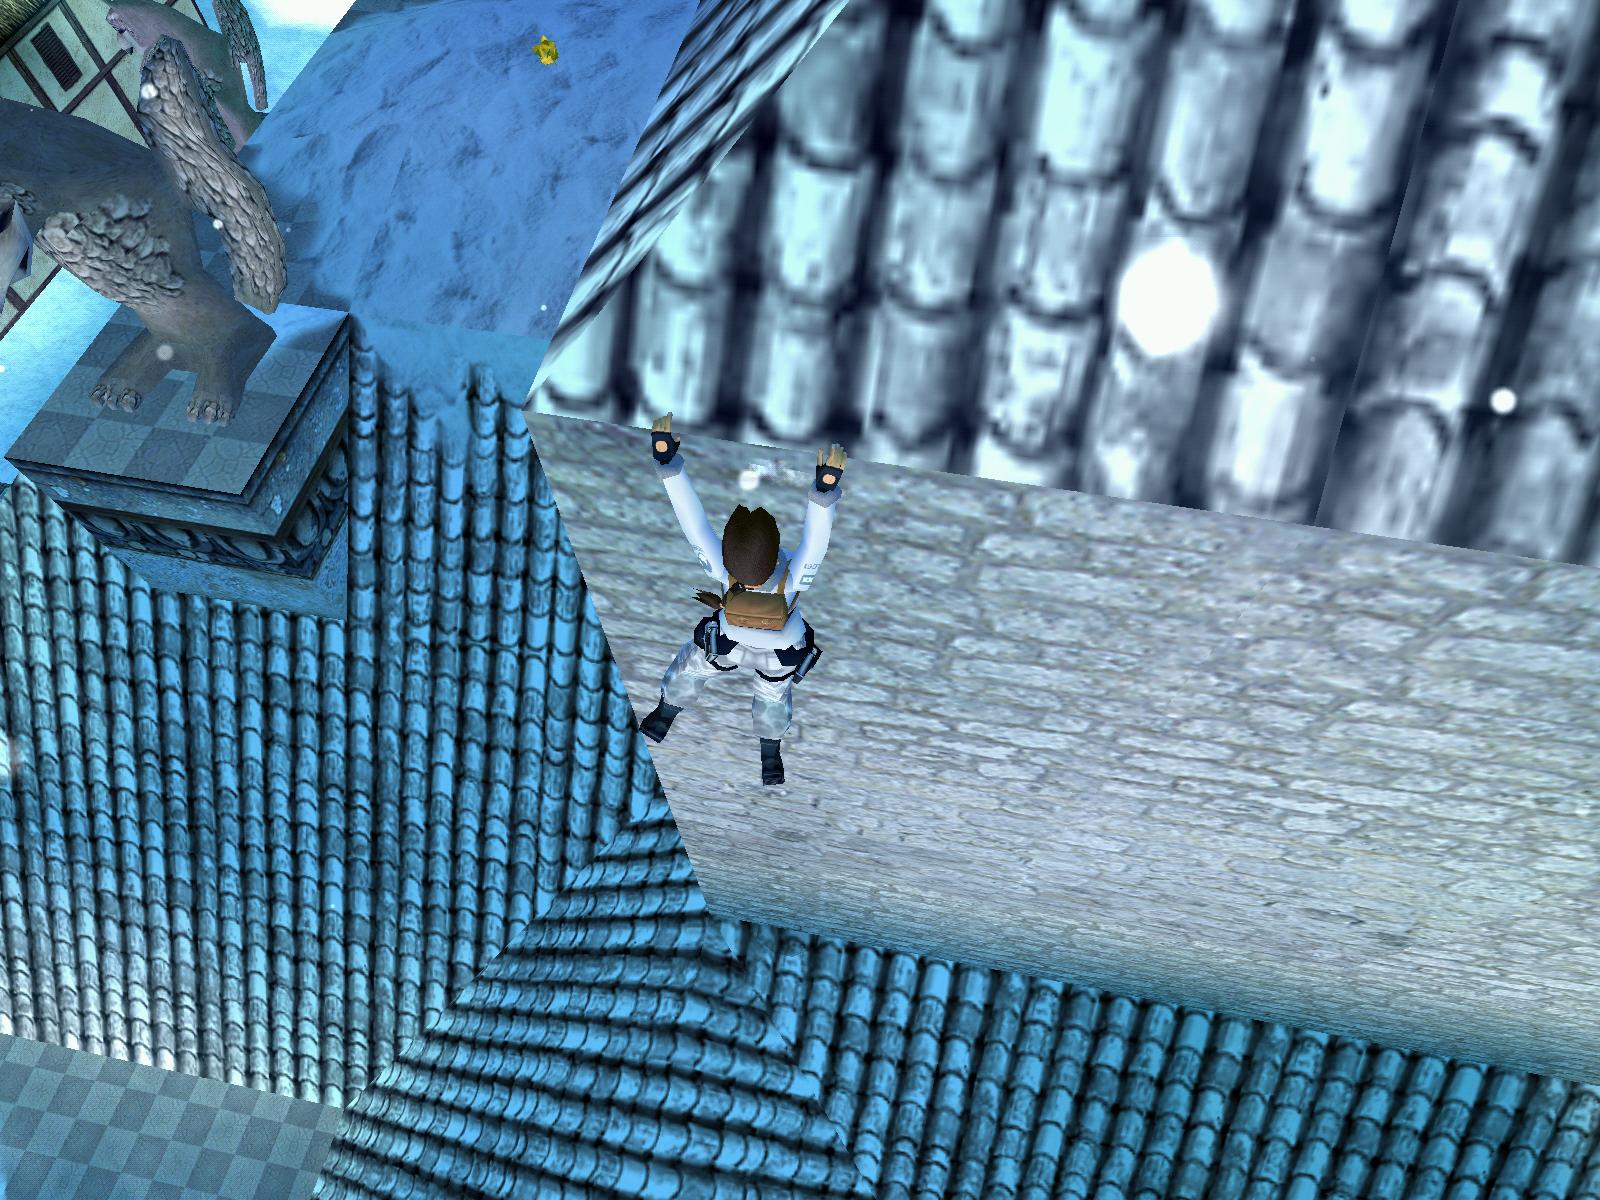
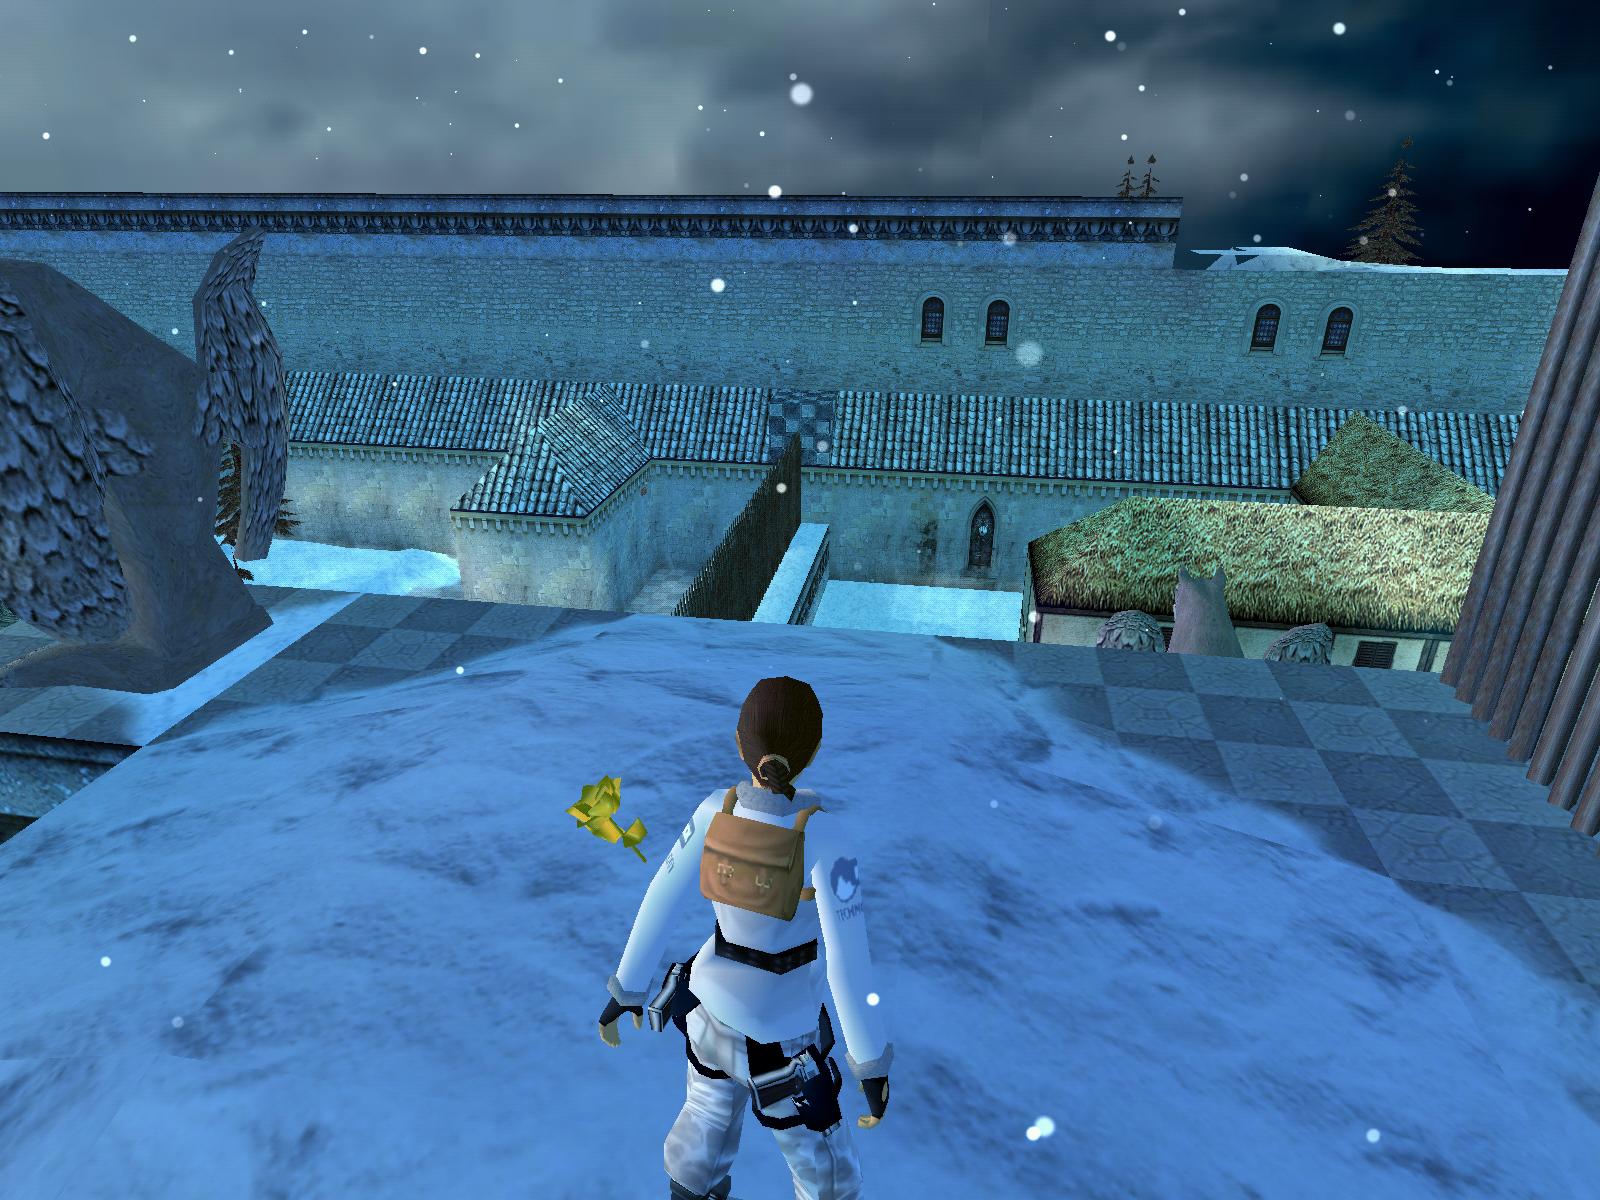
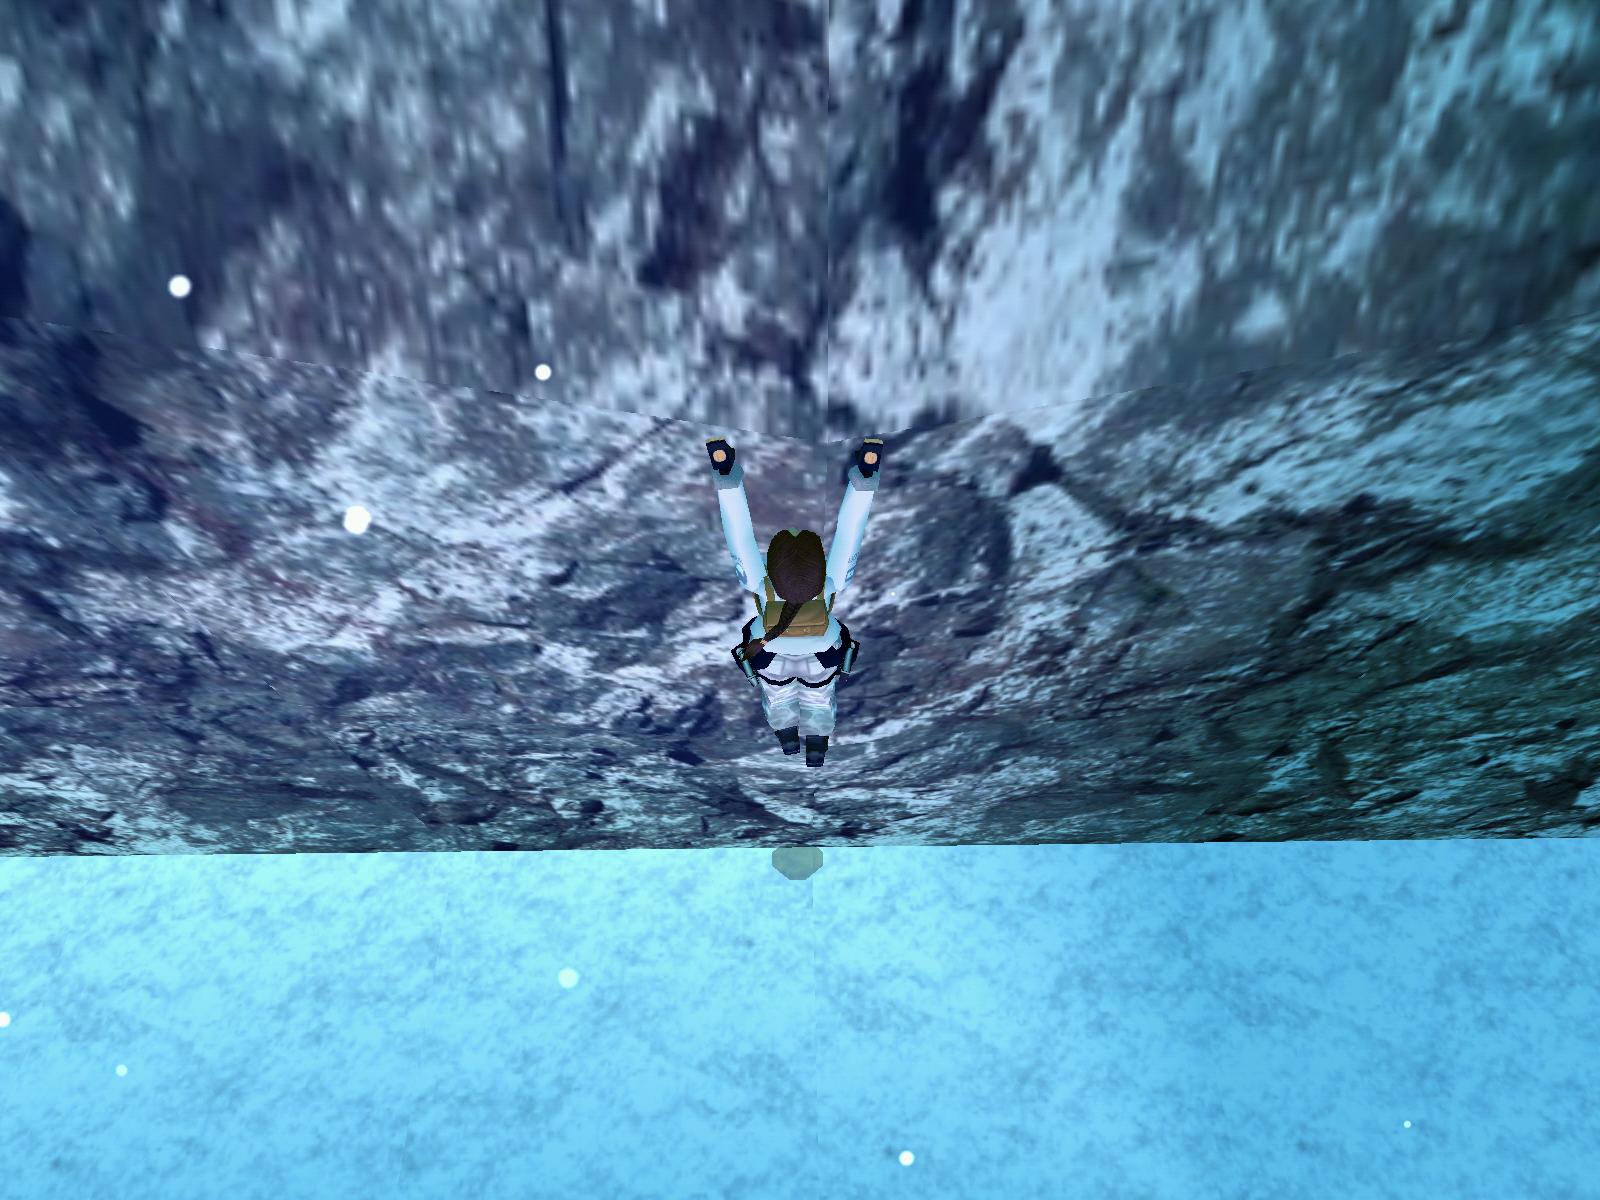
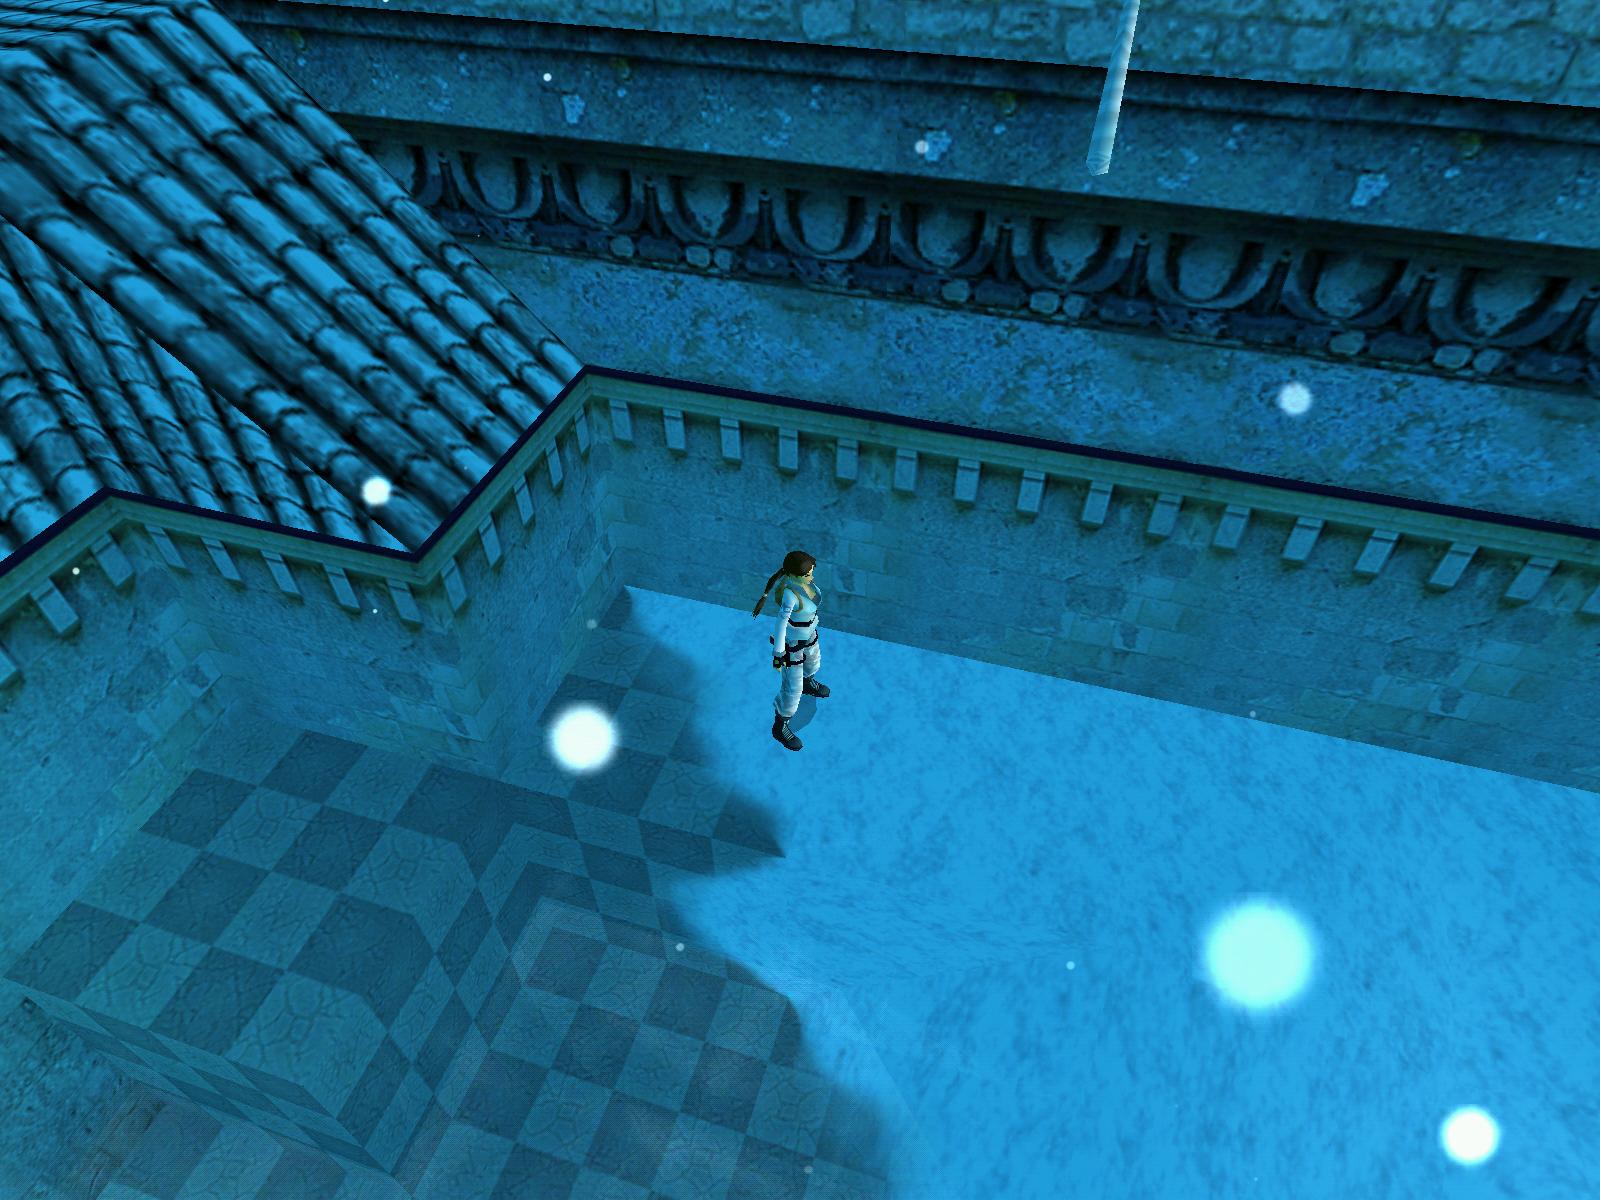
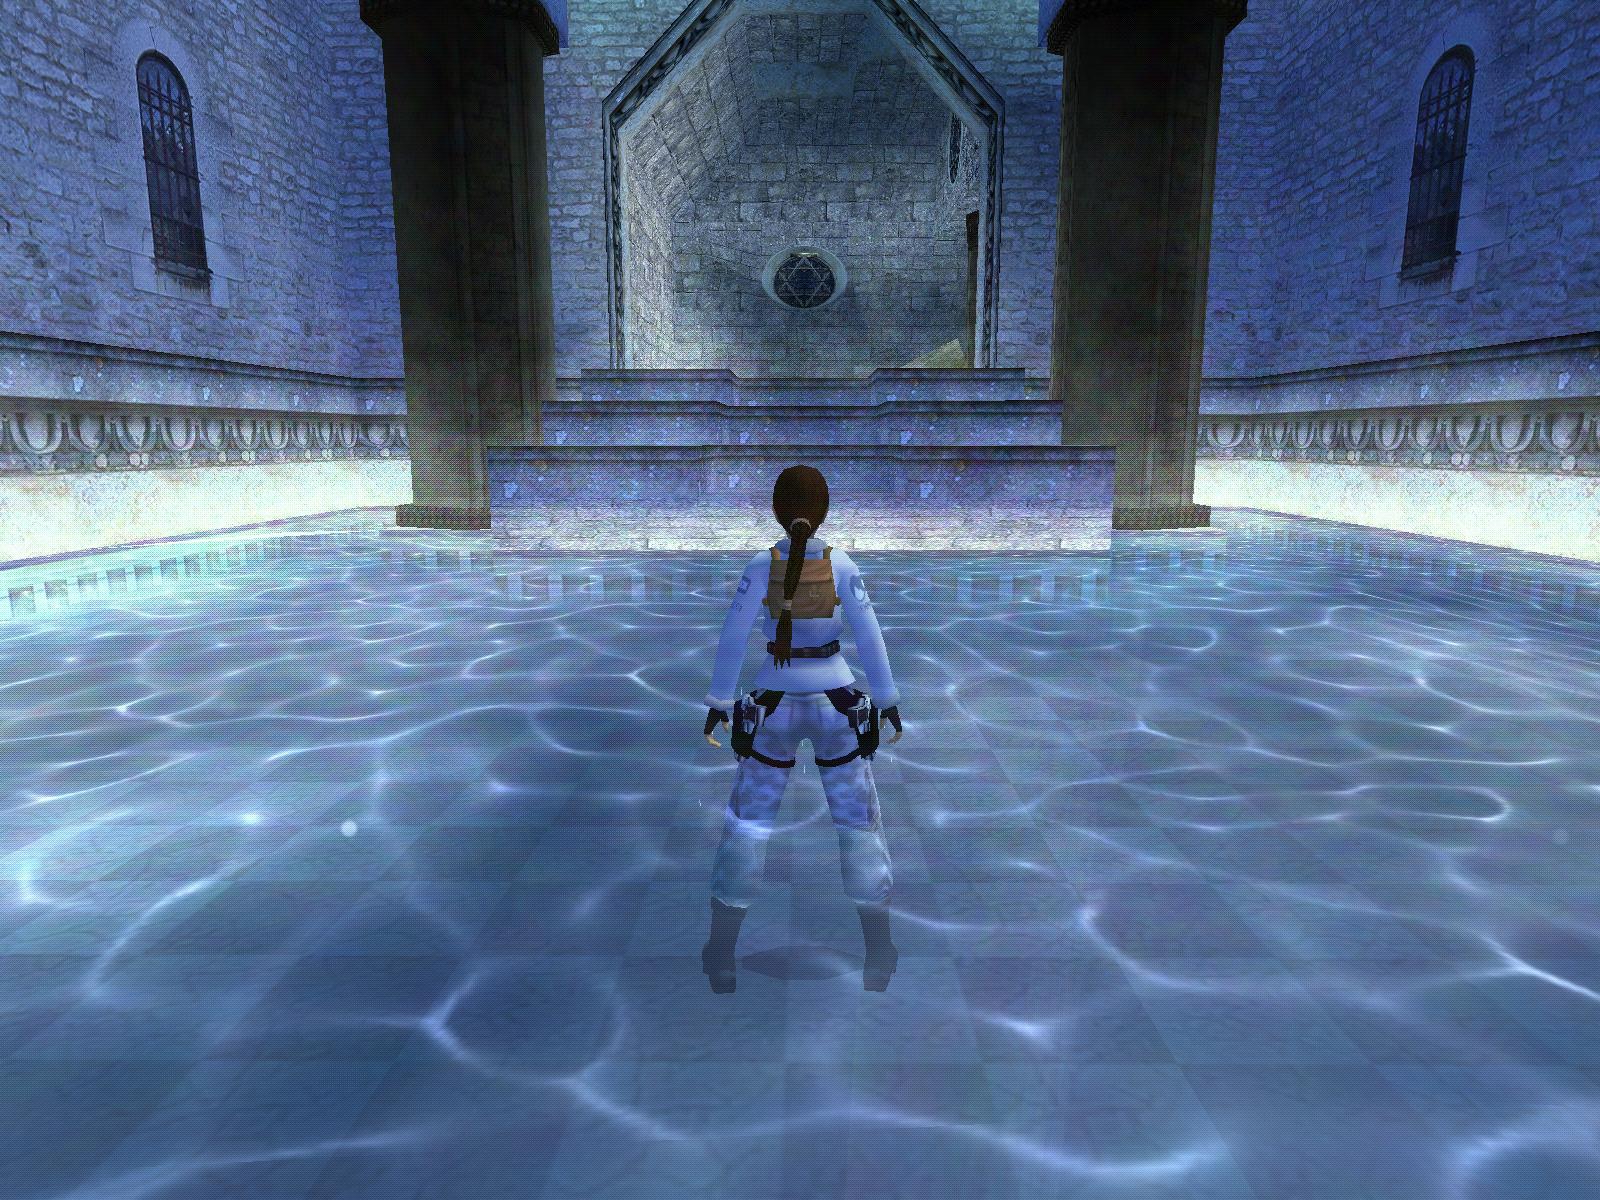
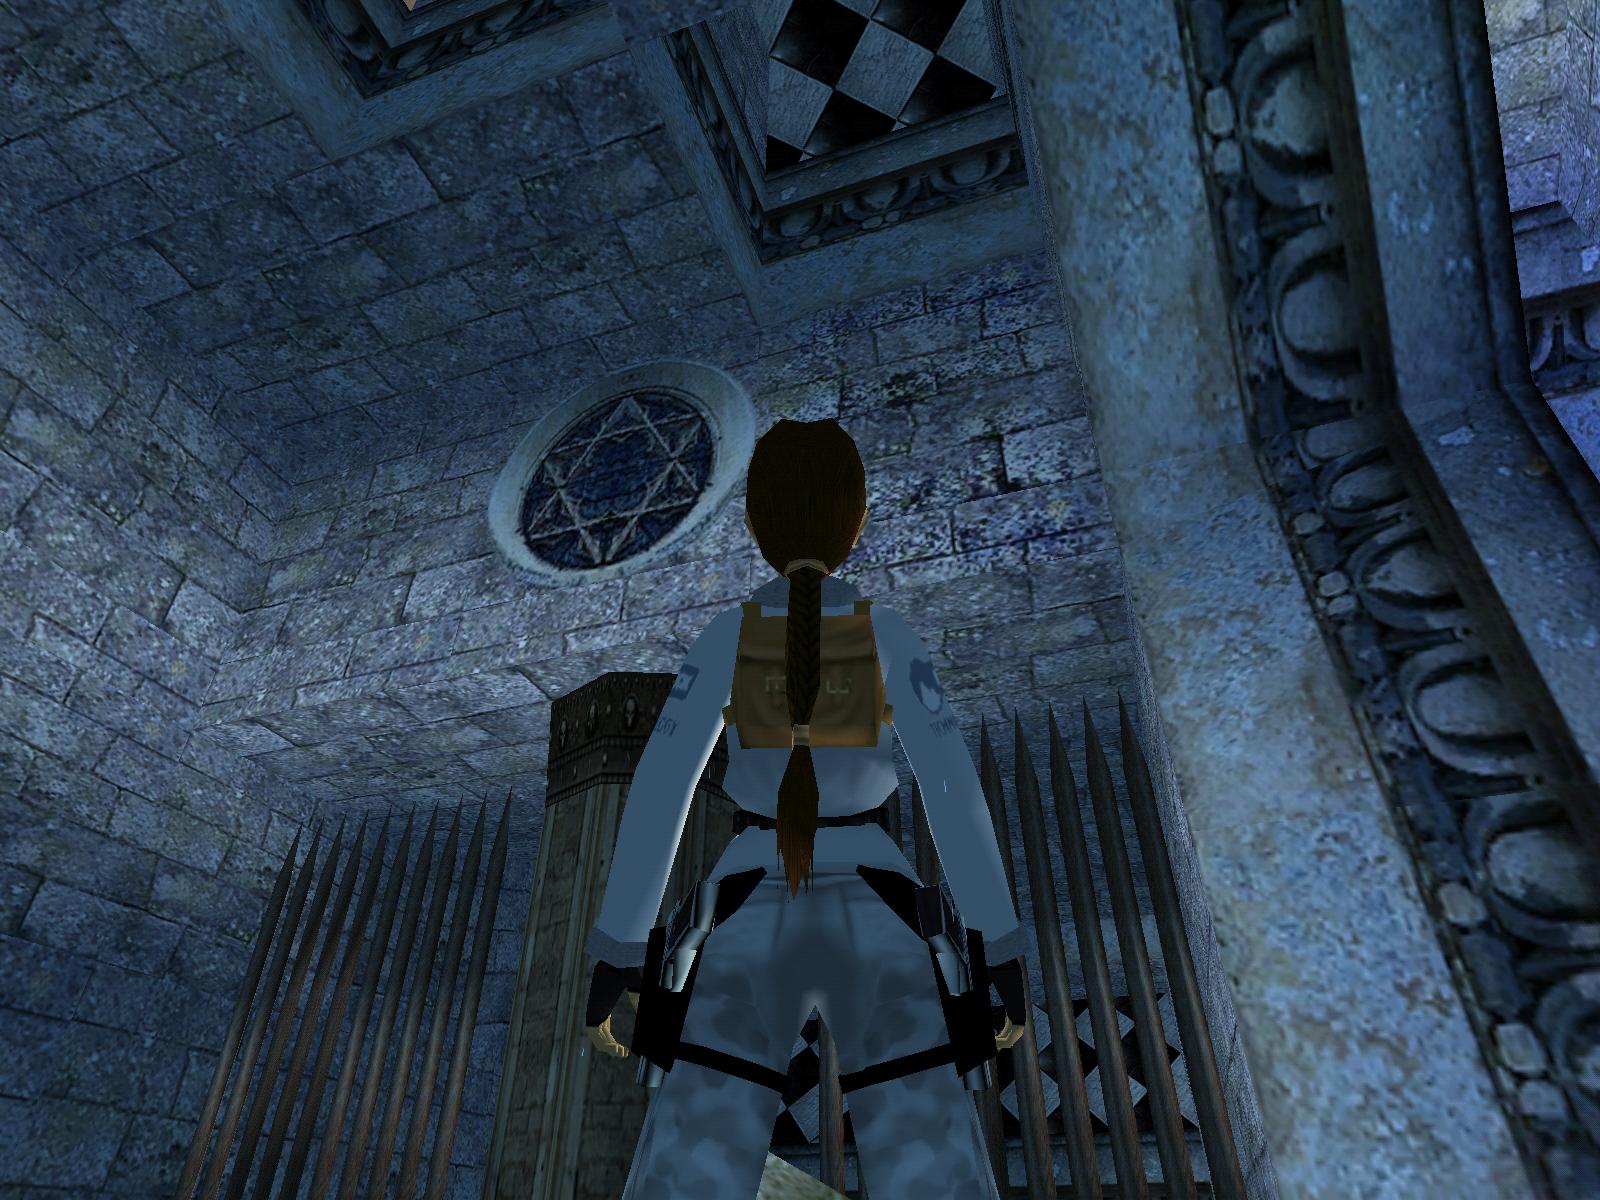
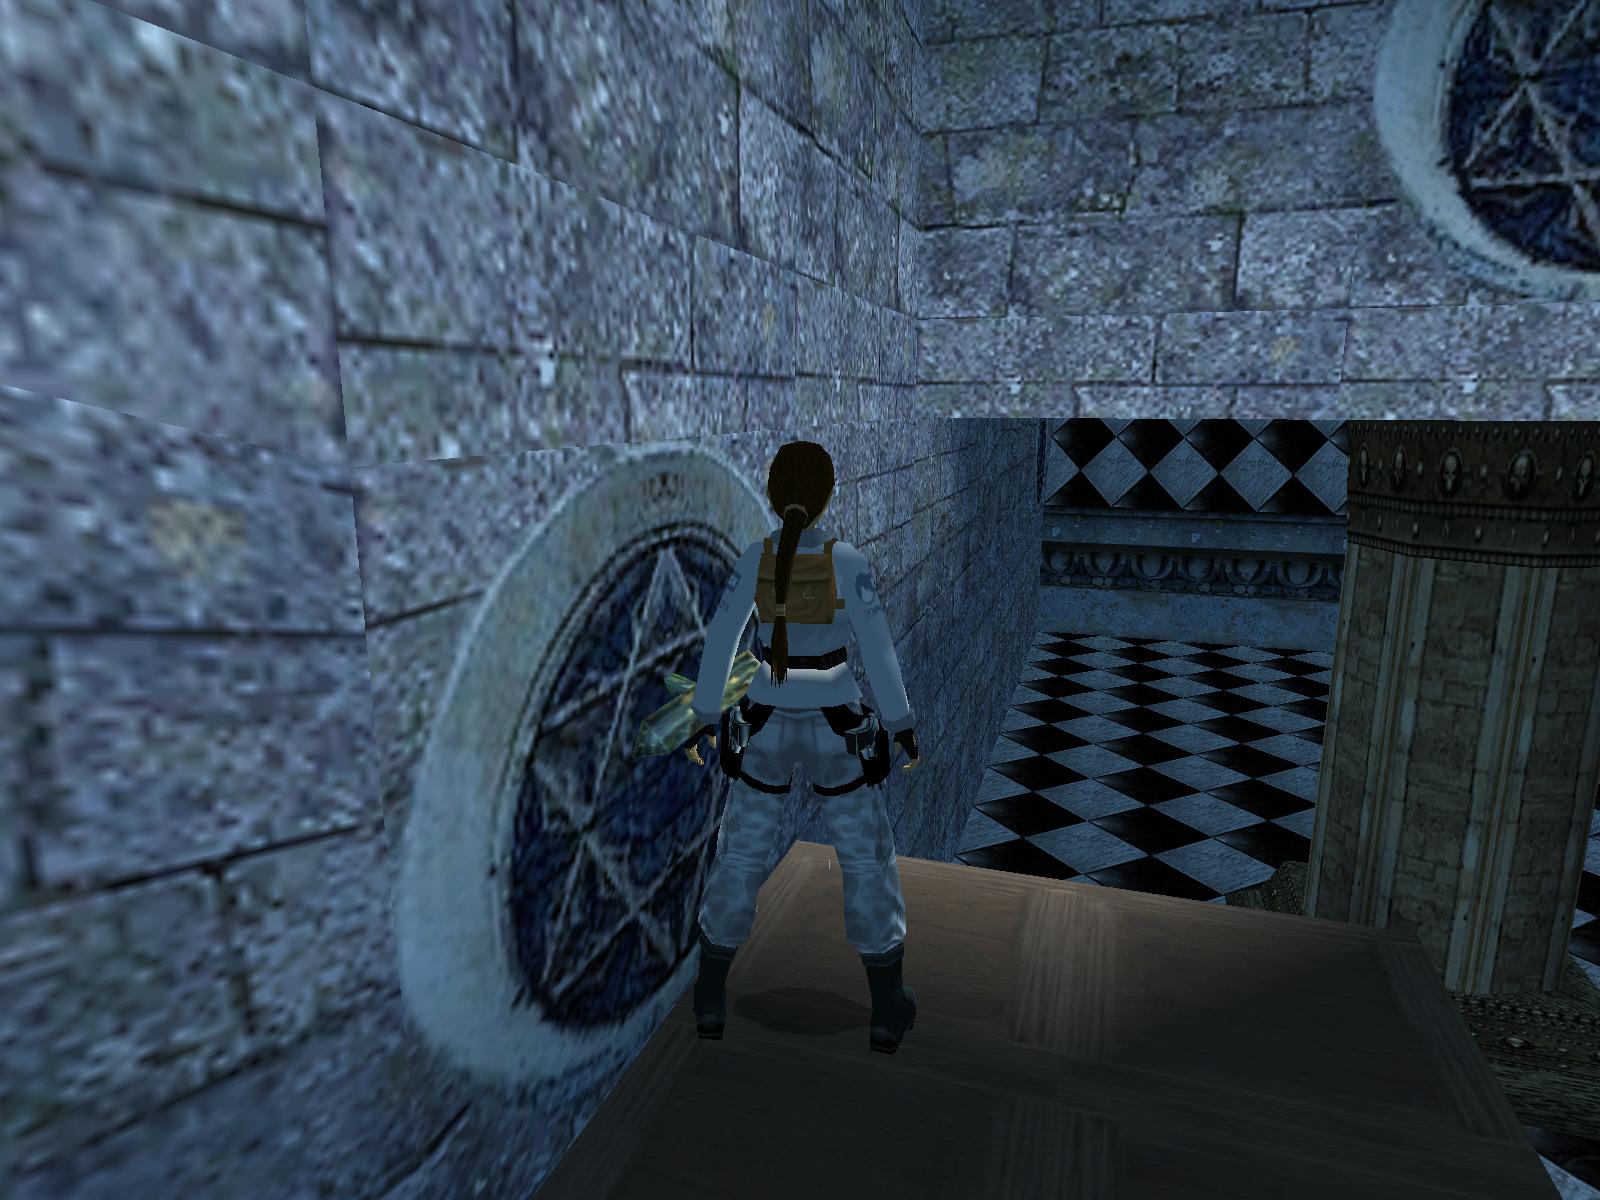
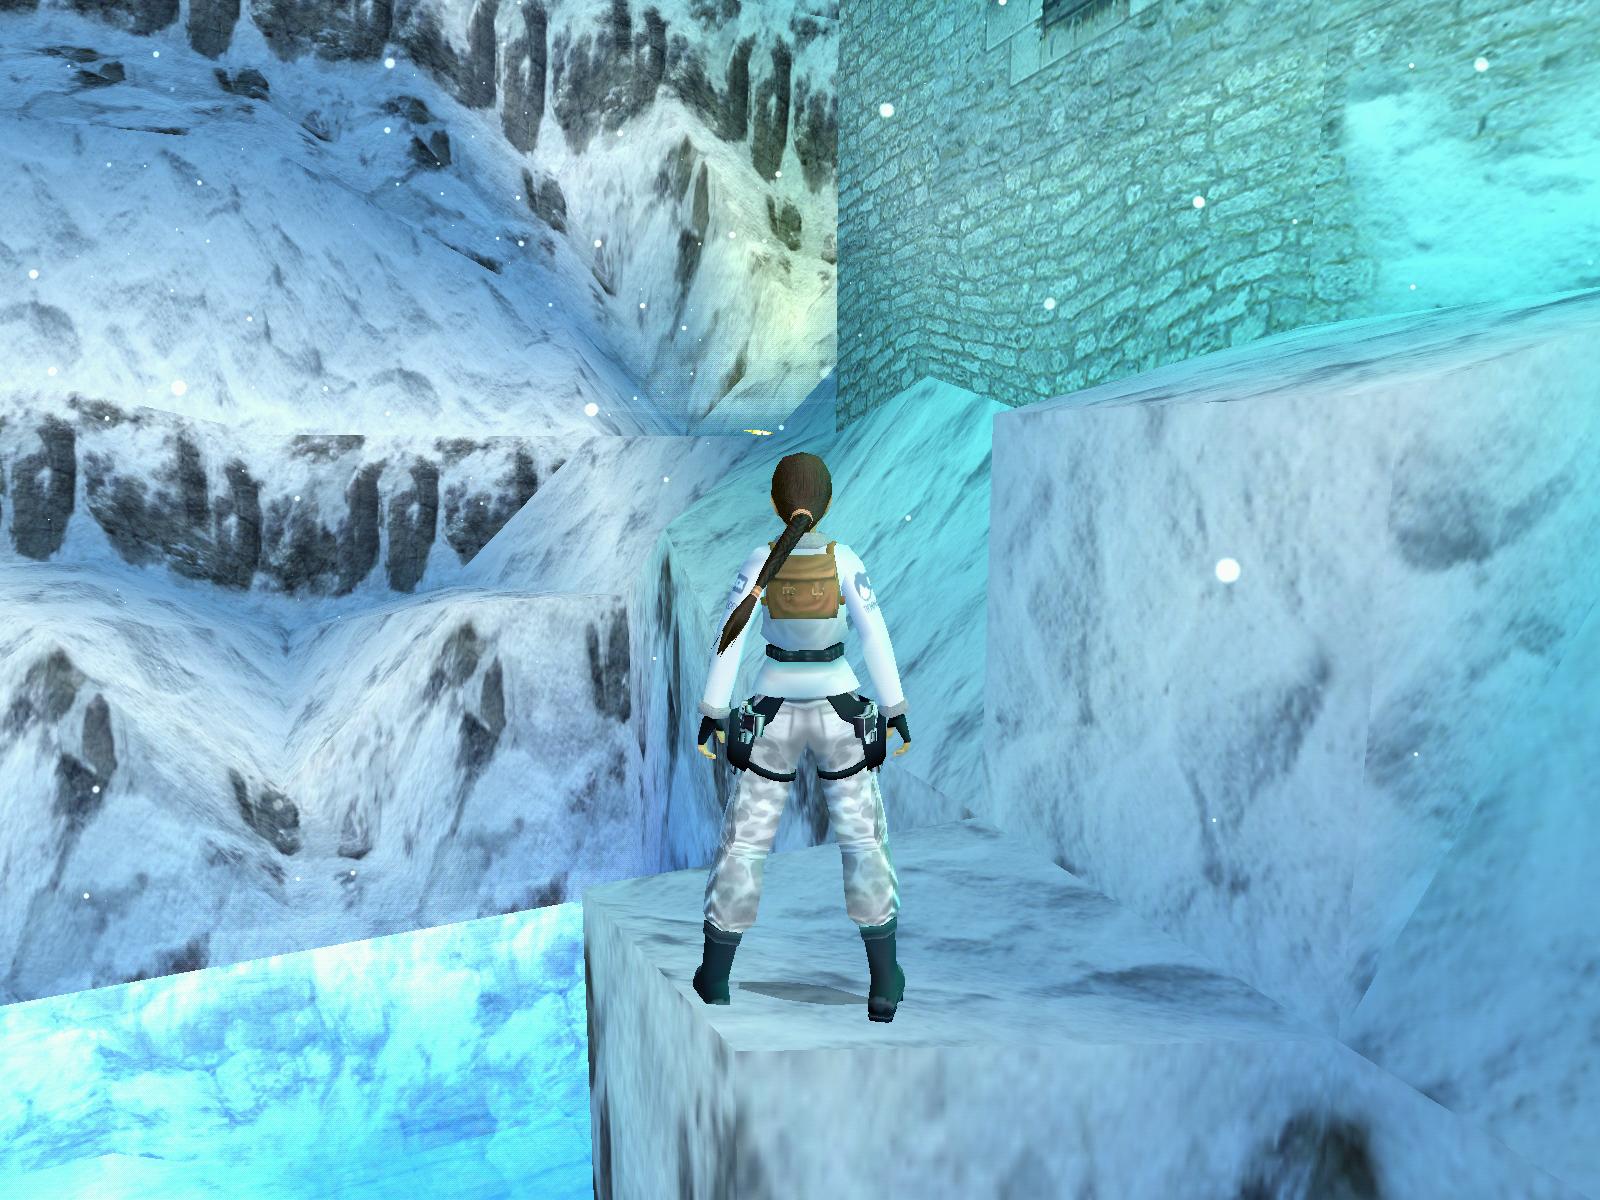
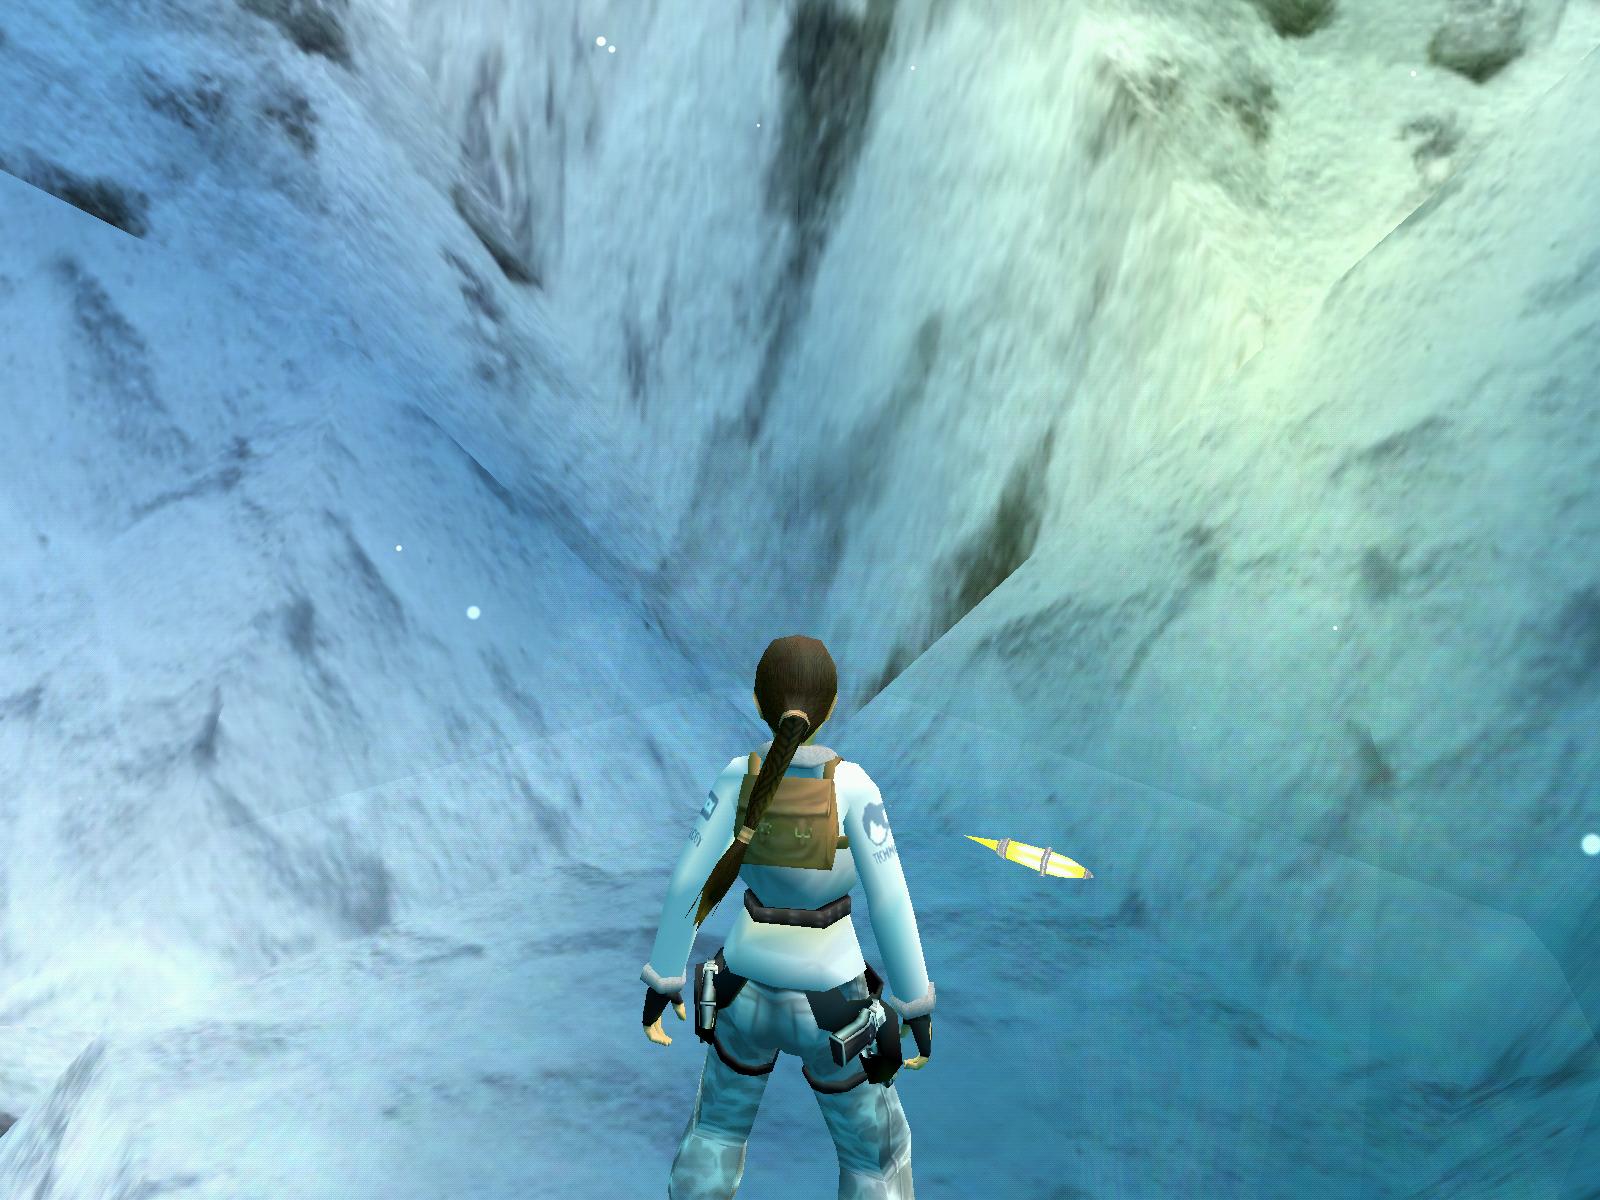
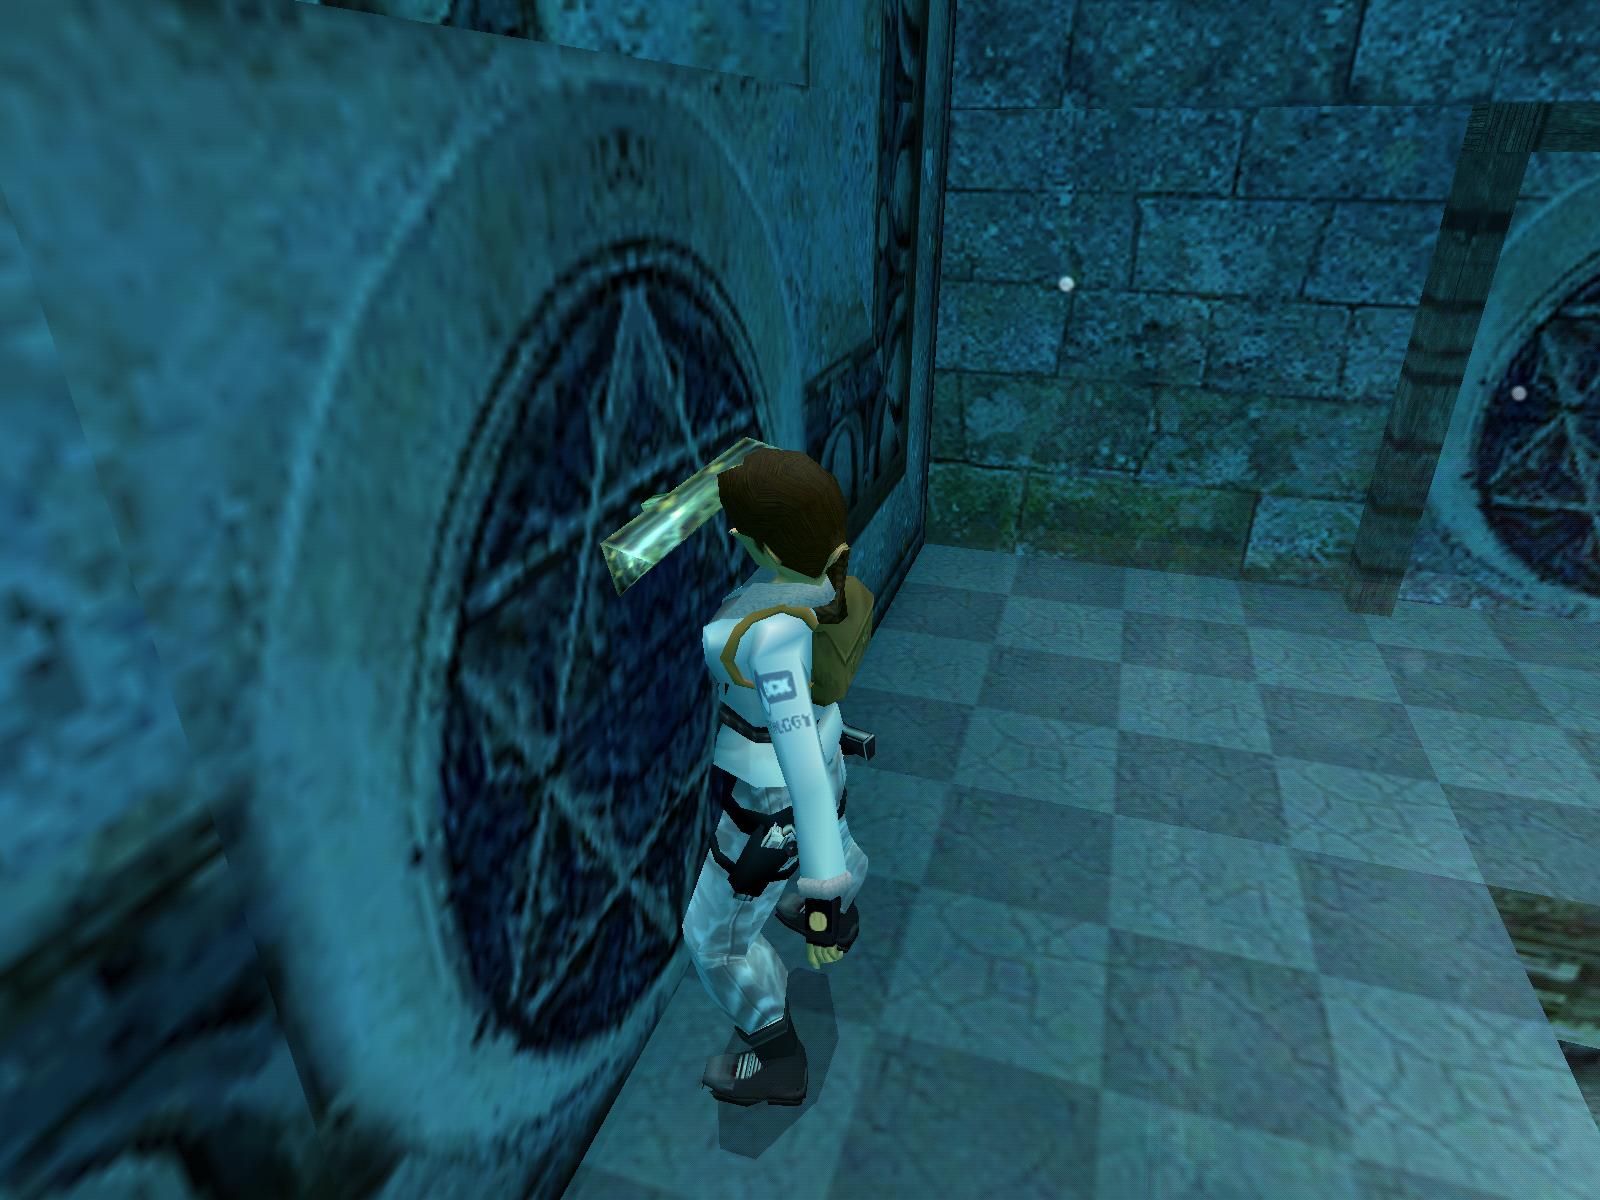
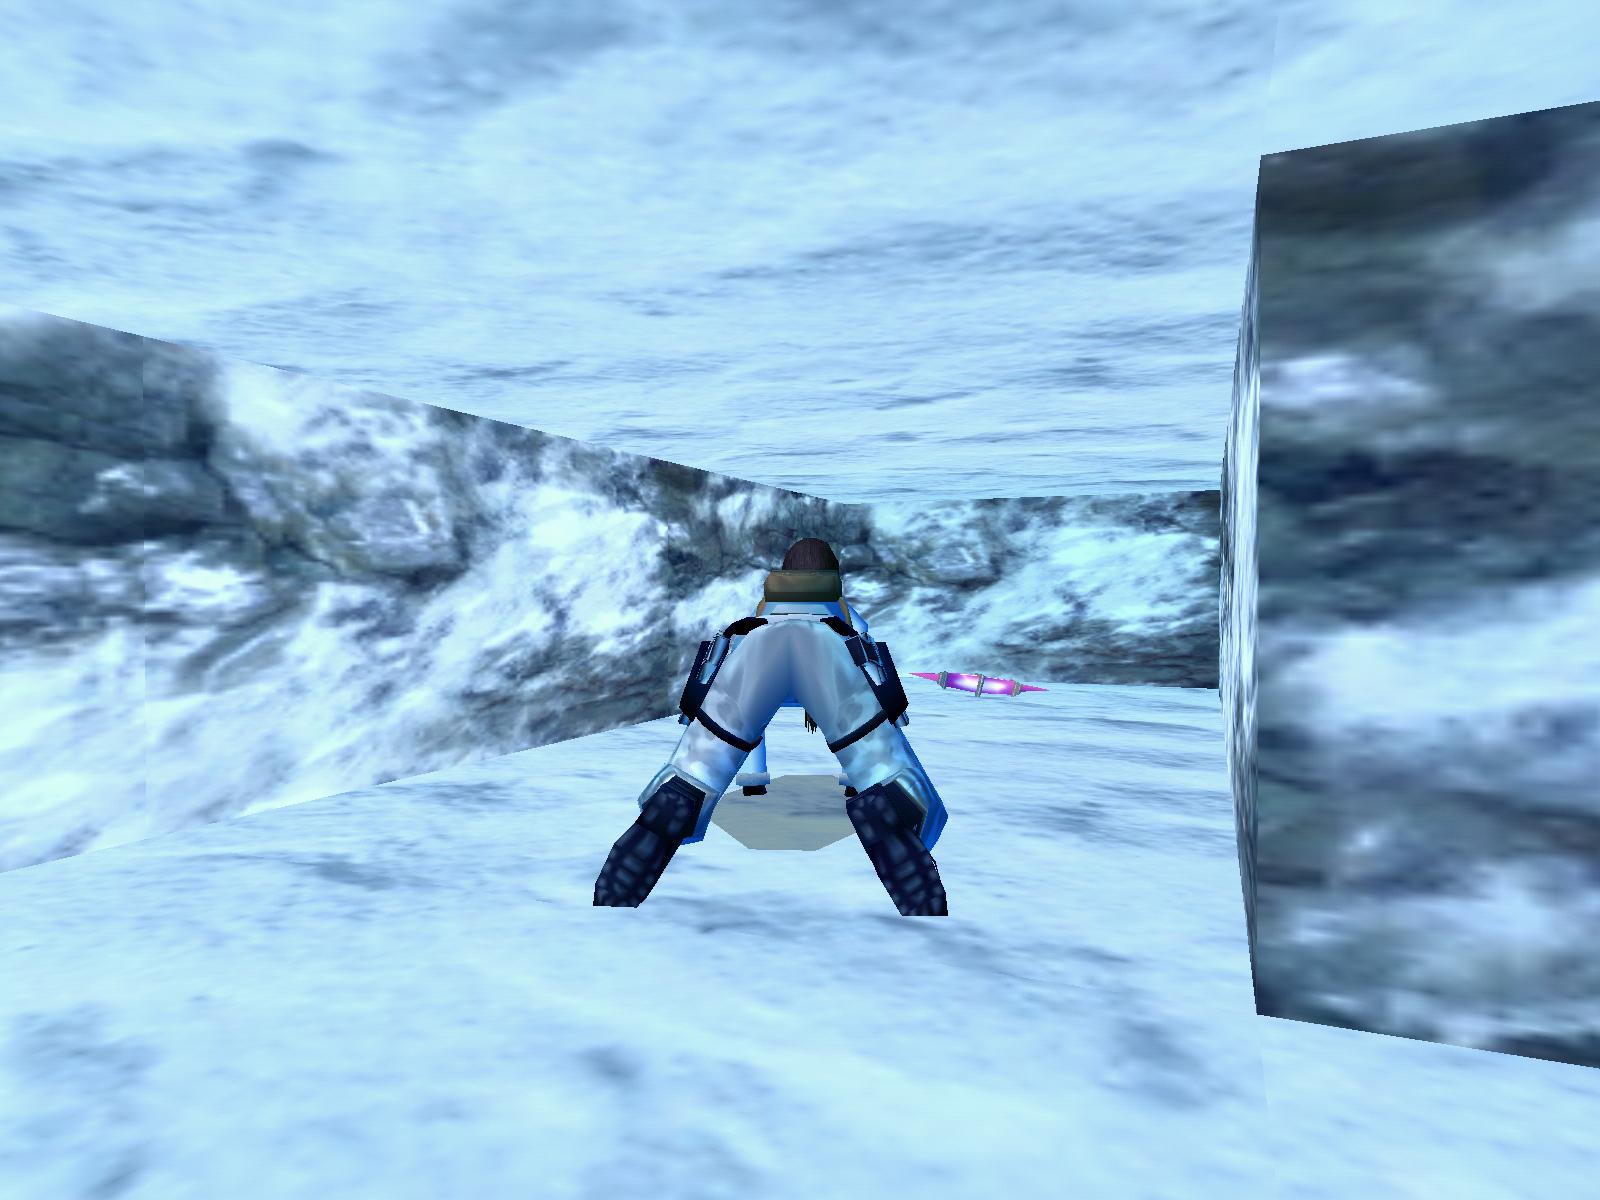
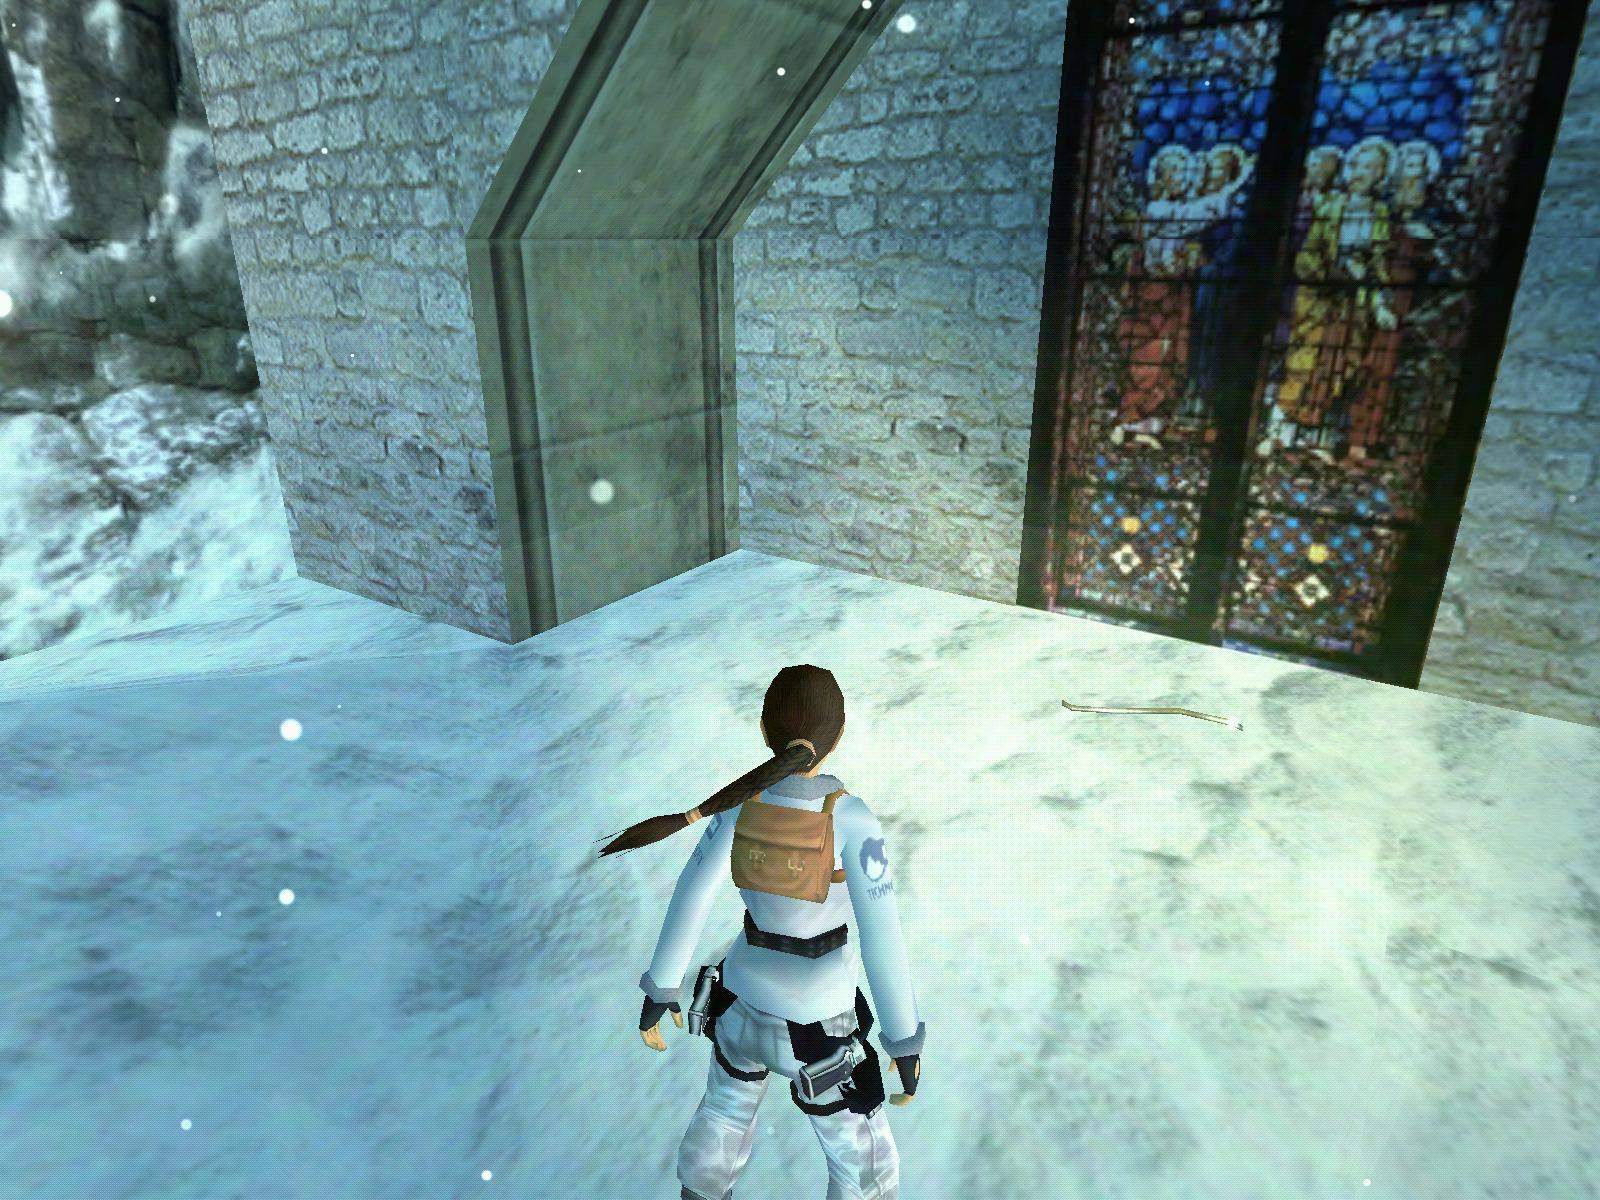
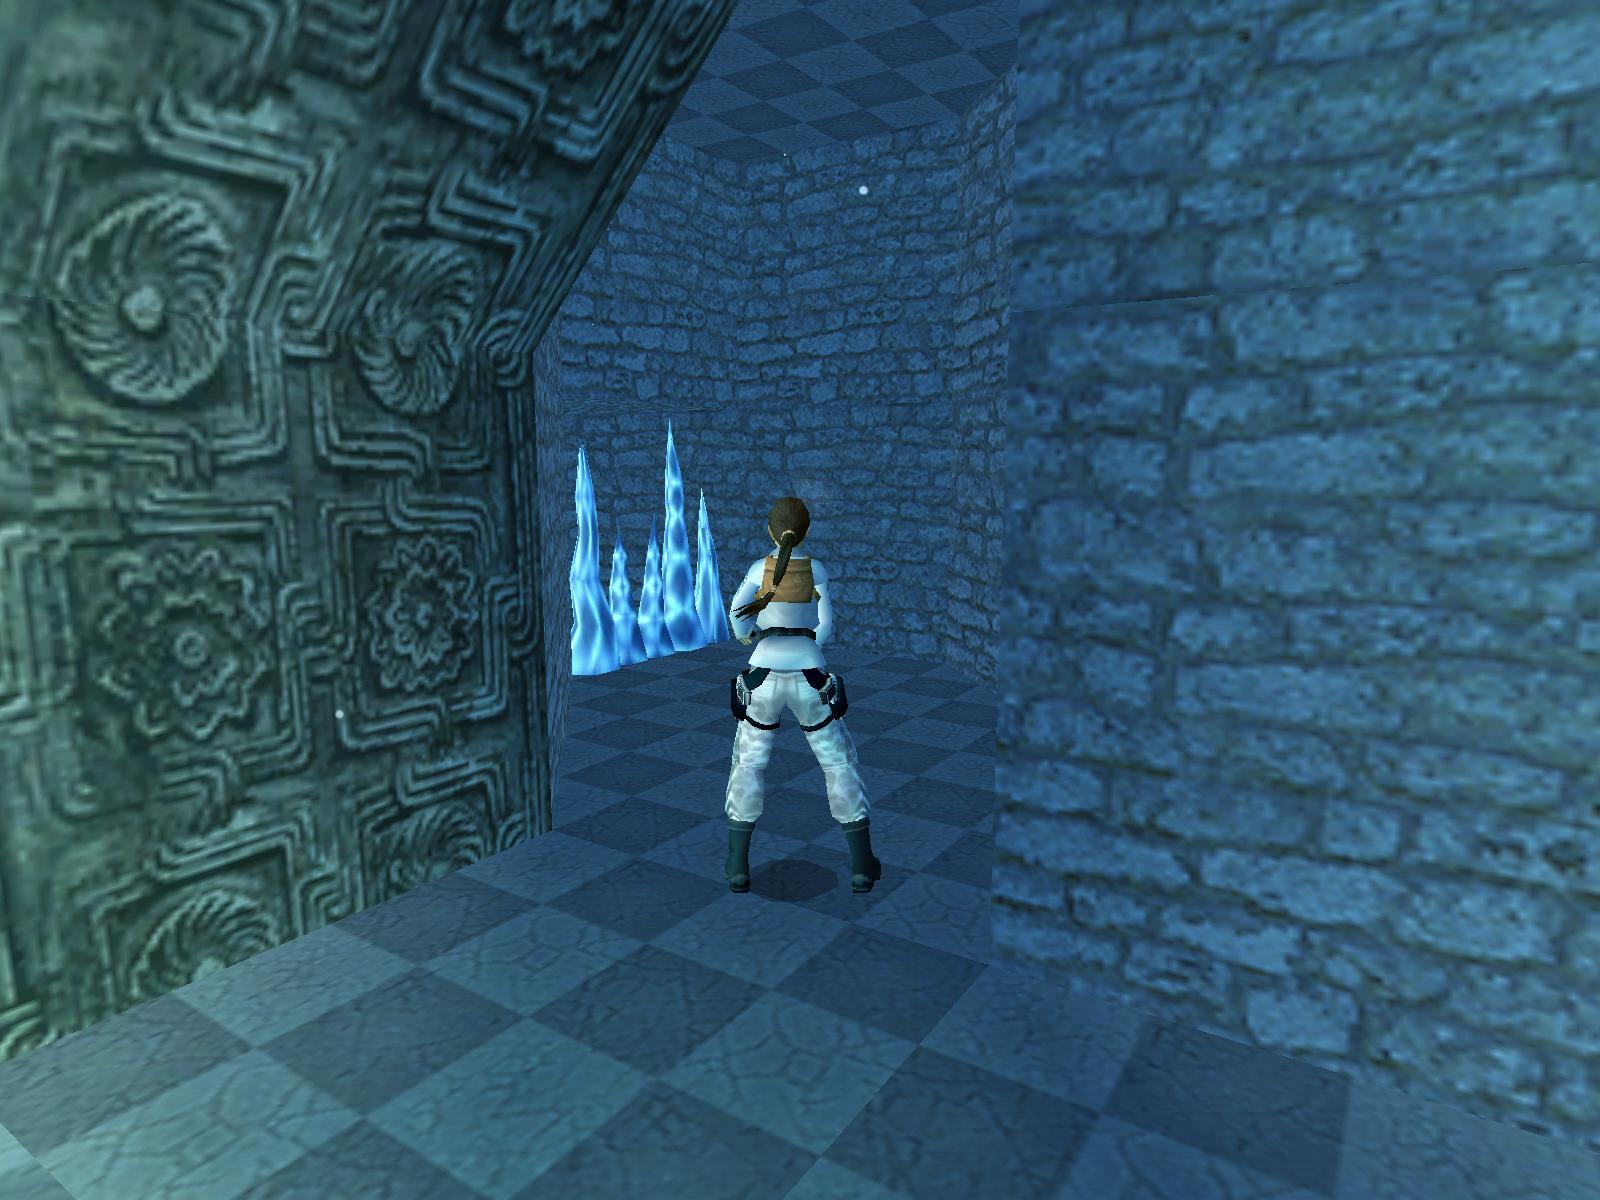
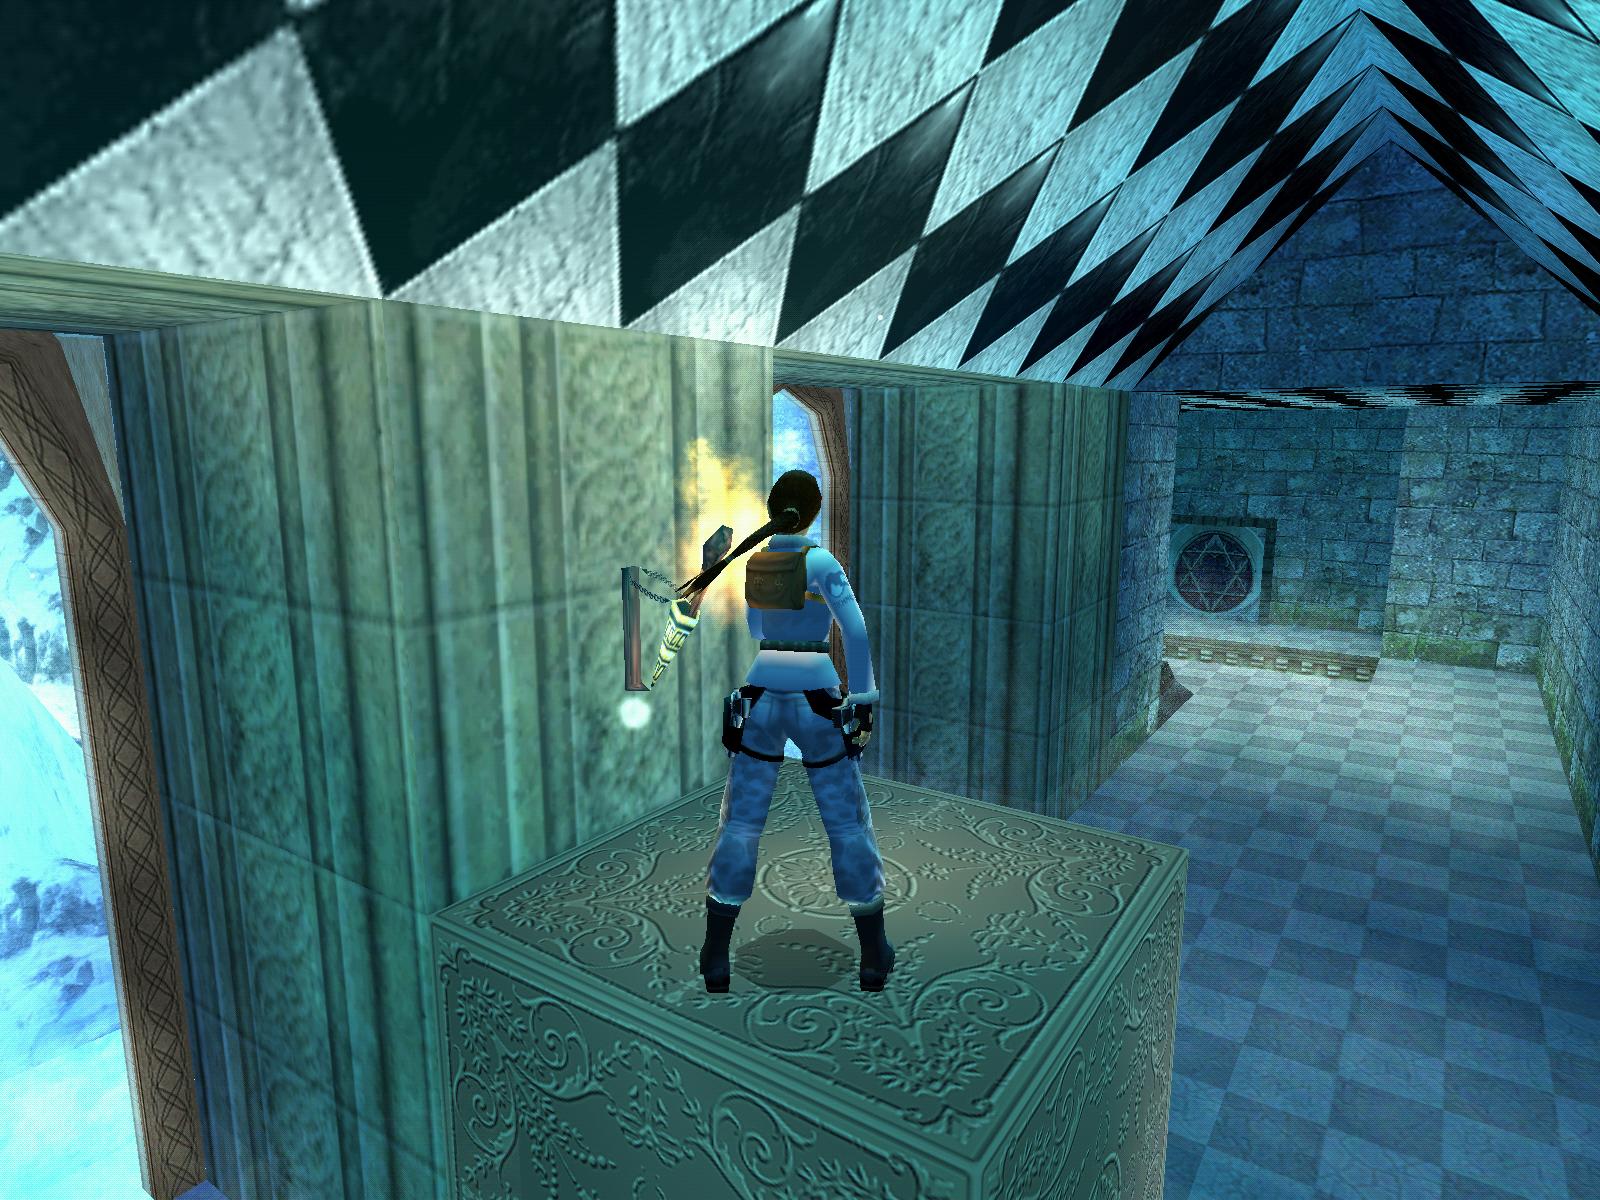
Walk to the W edge, take one step back and from there take a running jump to grab the swingpole. Swing around, release and land on a ledge. Climb up higher to your left and face the rope. Take a running jump and grab the rope, then turn slightly to face the Star of David in the W wall. Swing forward, and when Lara is at the peak of her swing, wait for her to start going back the other way before jumping off to land in an upper alcove. Step forward and pick up the GOLDEN ROSE for SECRET #1.
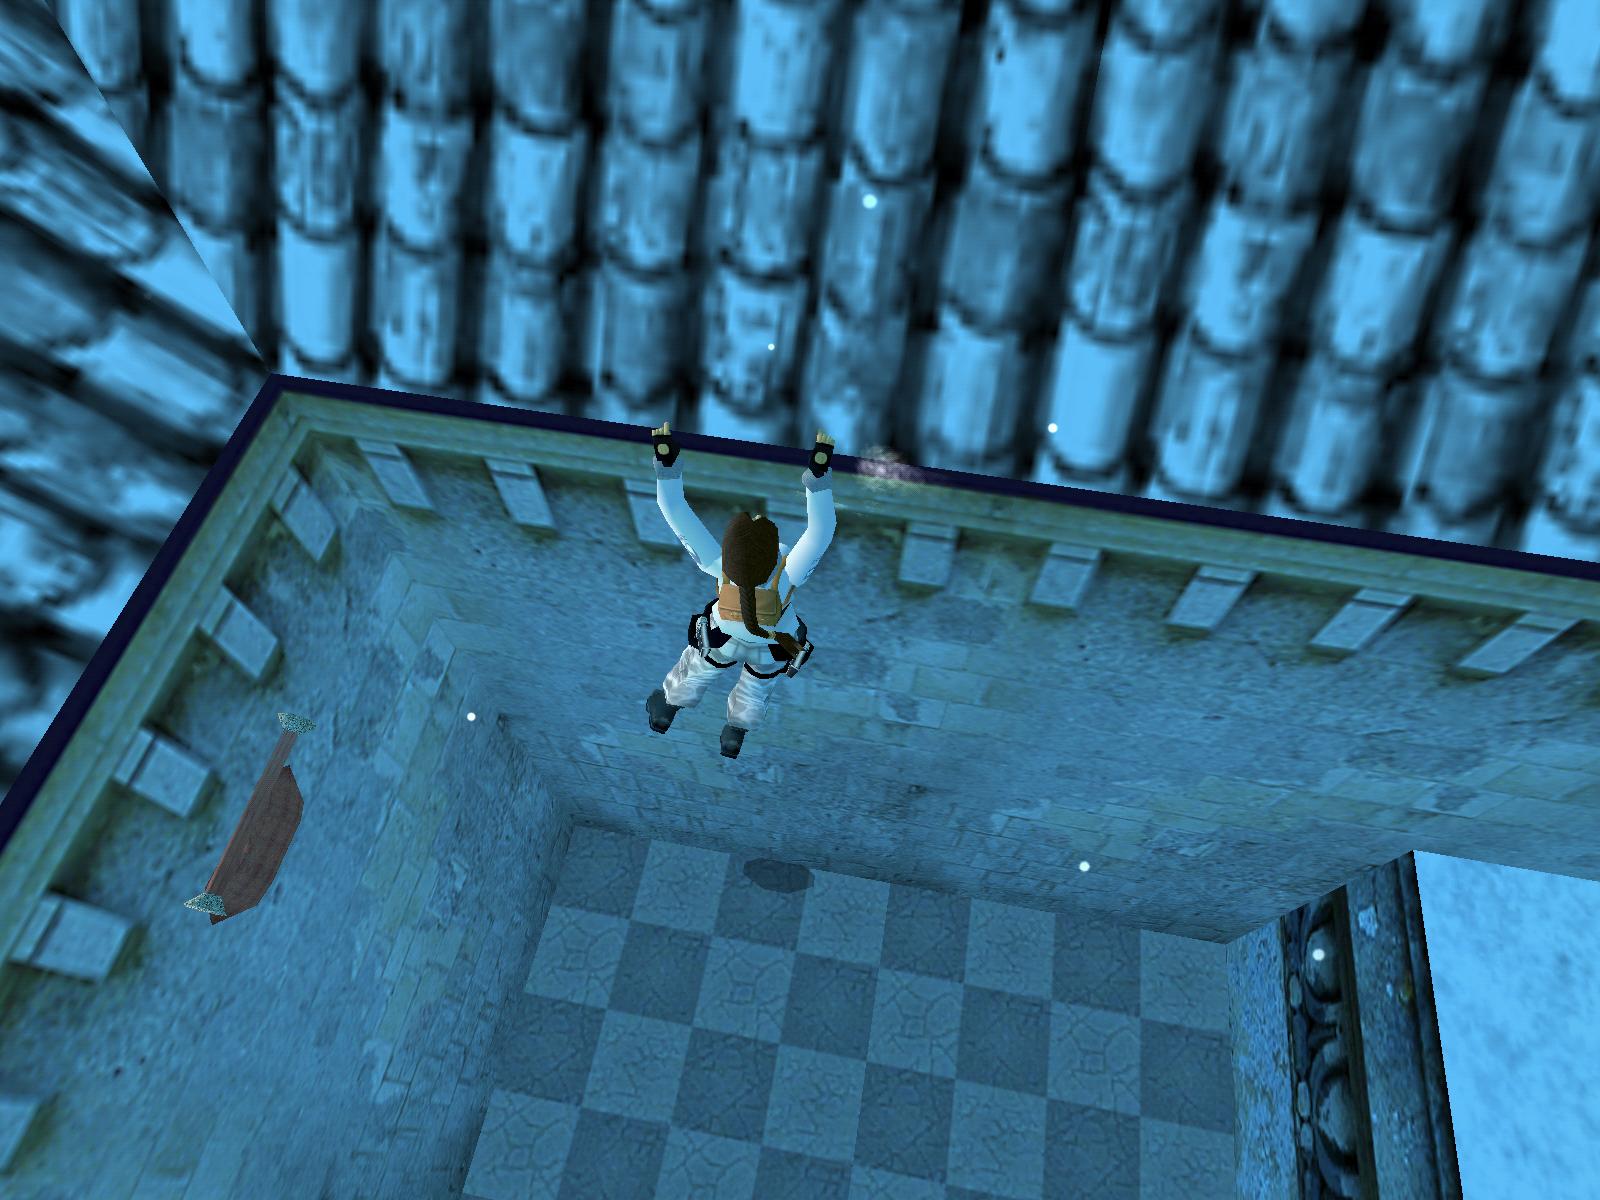
Safety drop to the floor below (losing a small amount of health) and climb the S block. Take a running jump to grab the first swingpole, swing around and release to grab the second swingpole, swing around and release to grab a crack in the S wall. Shimmy left and around the corner, and release to drop down onto a ledge. Pull up onto the nearby E block, face W and take a running jump and grab to the higher block. Pull up and turn left to enter a passage. Pull down the wall switch at the end. The E gate opens down in the courtyard below, but don't go there yet.
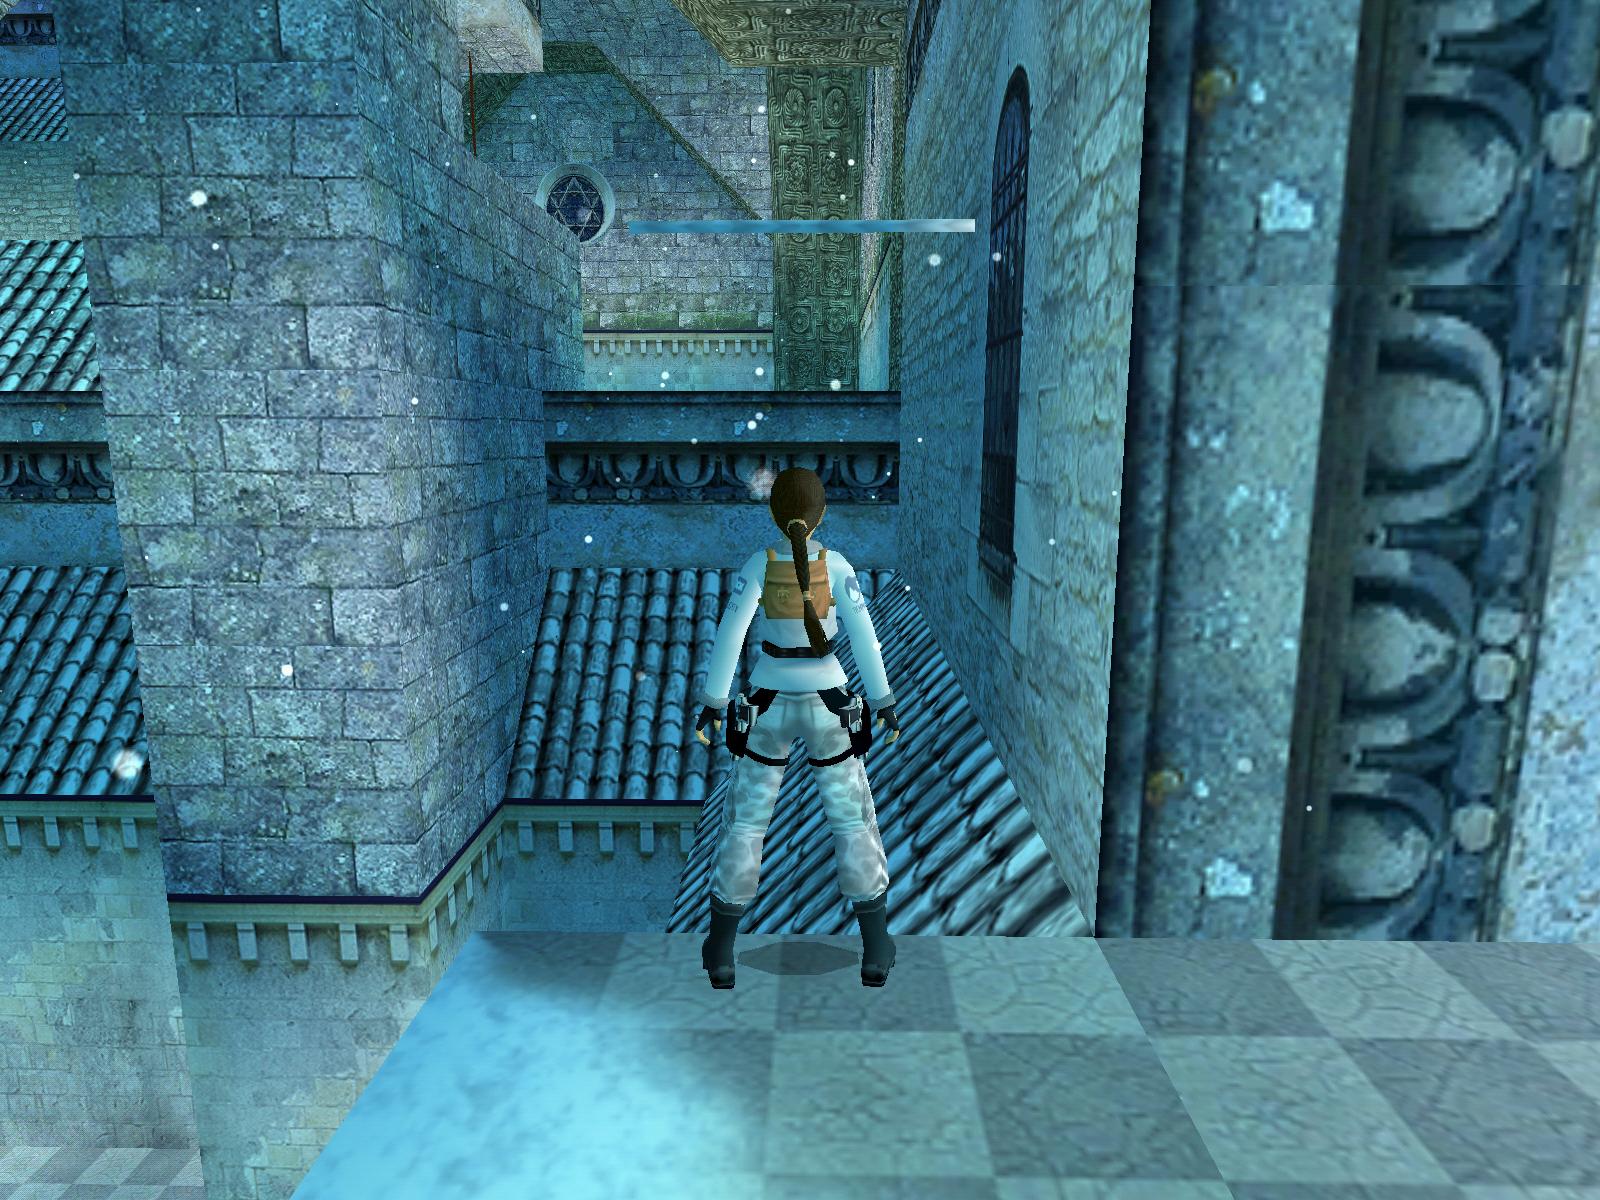
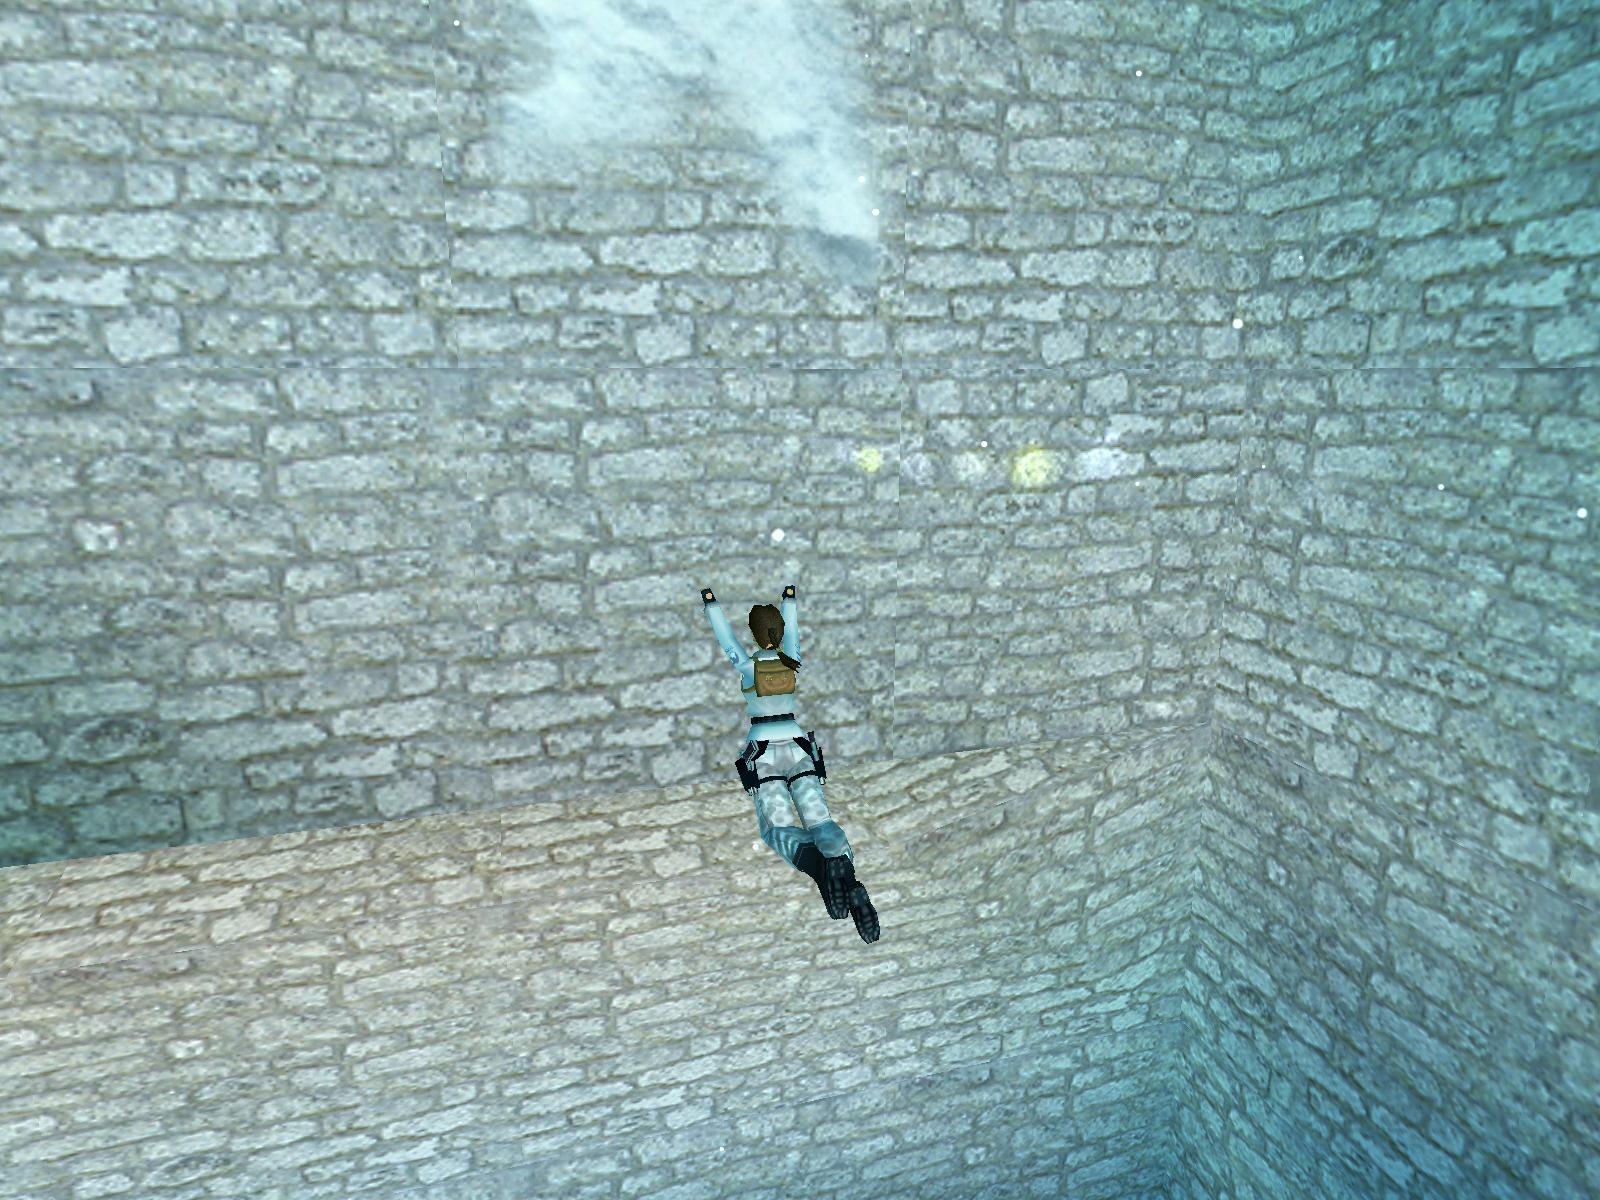
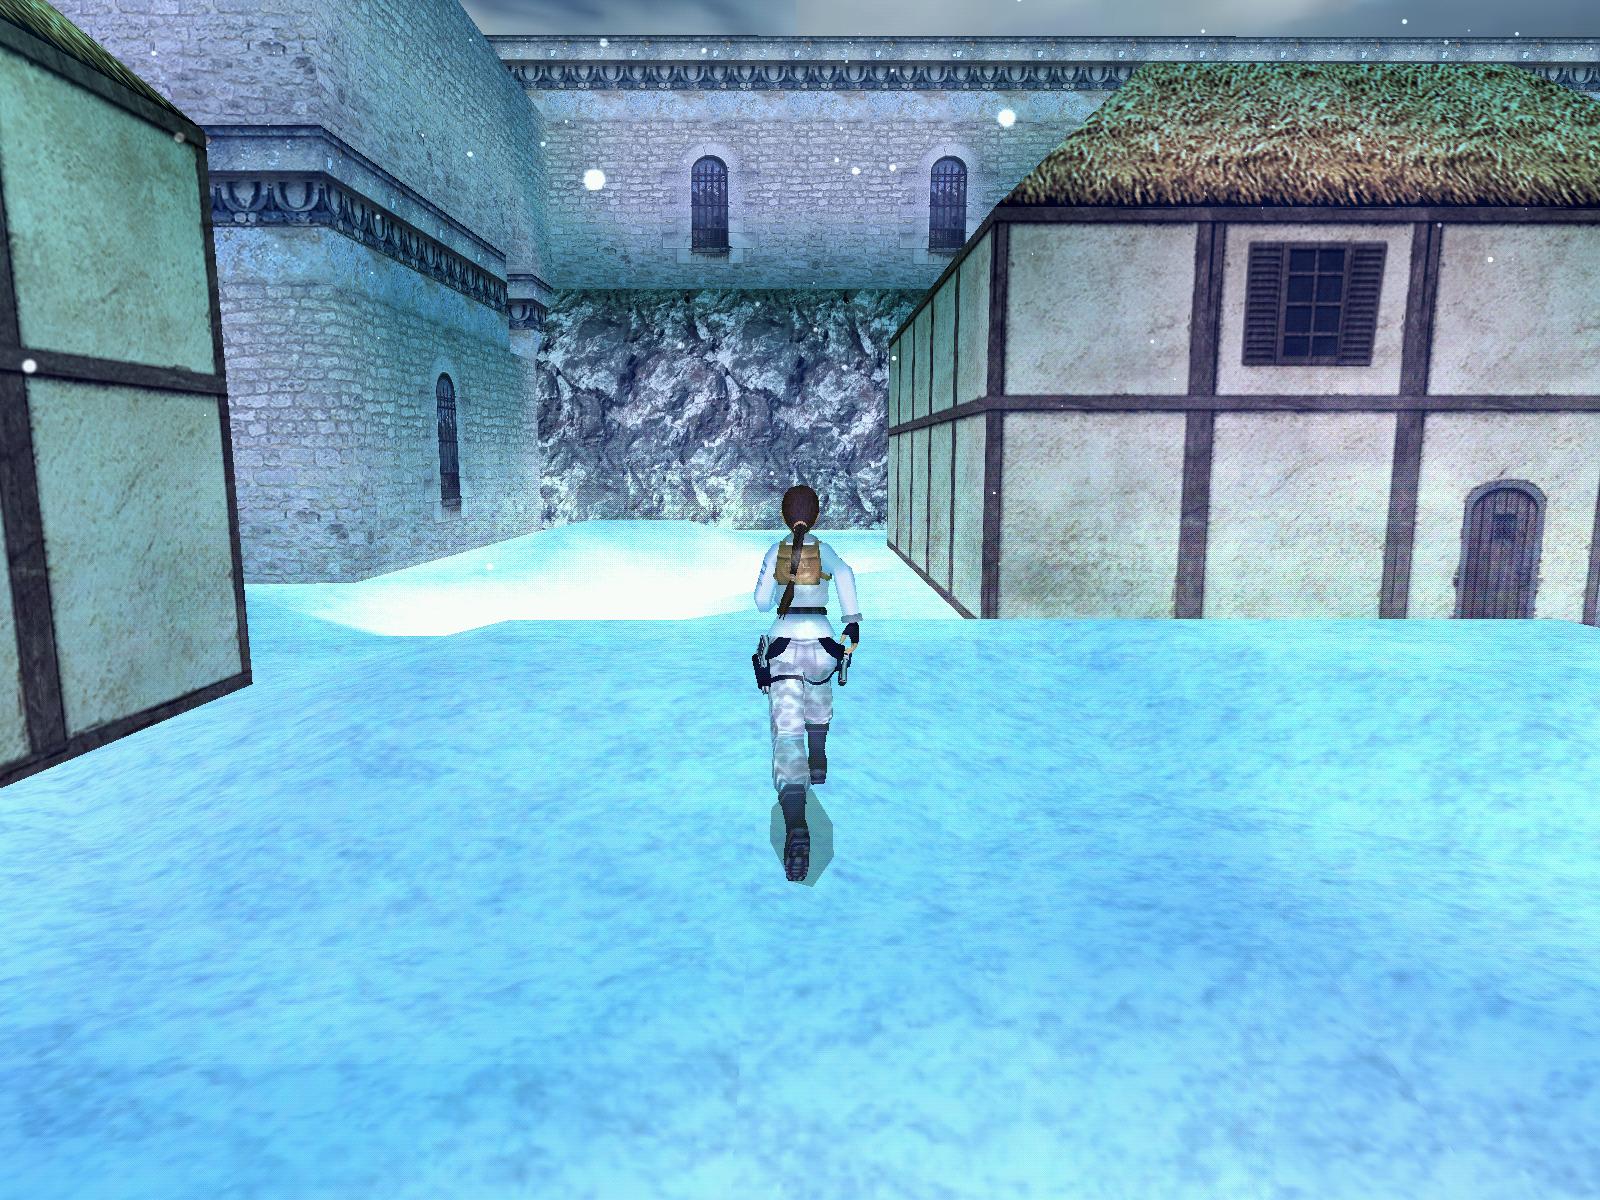
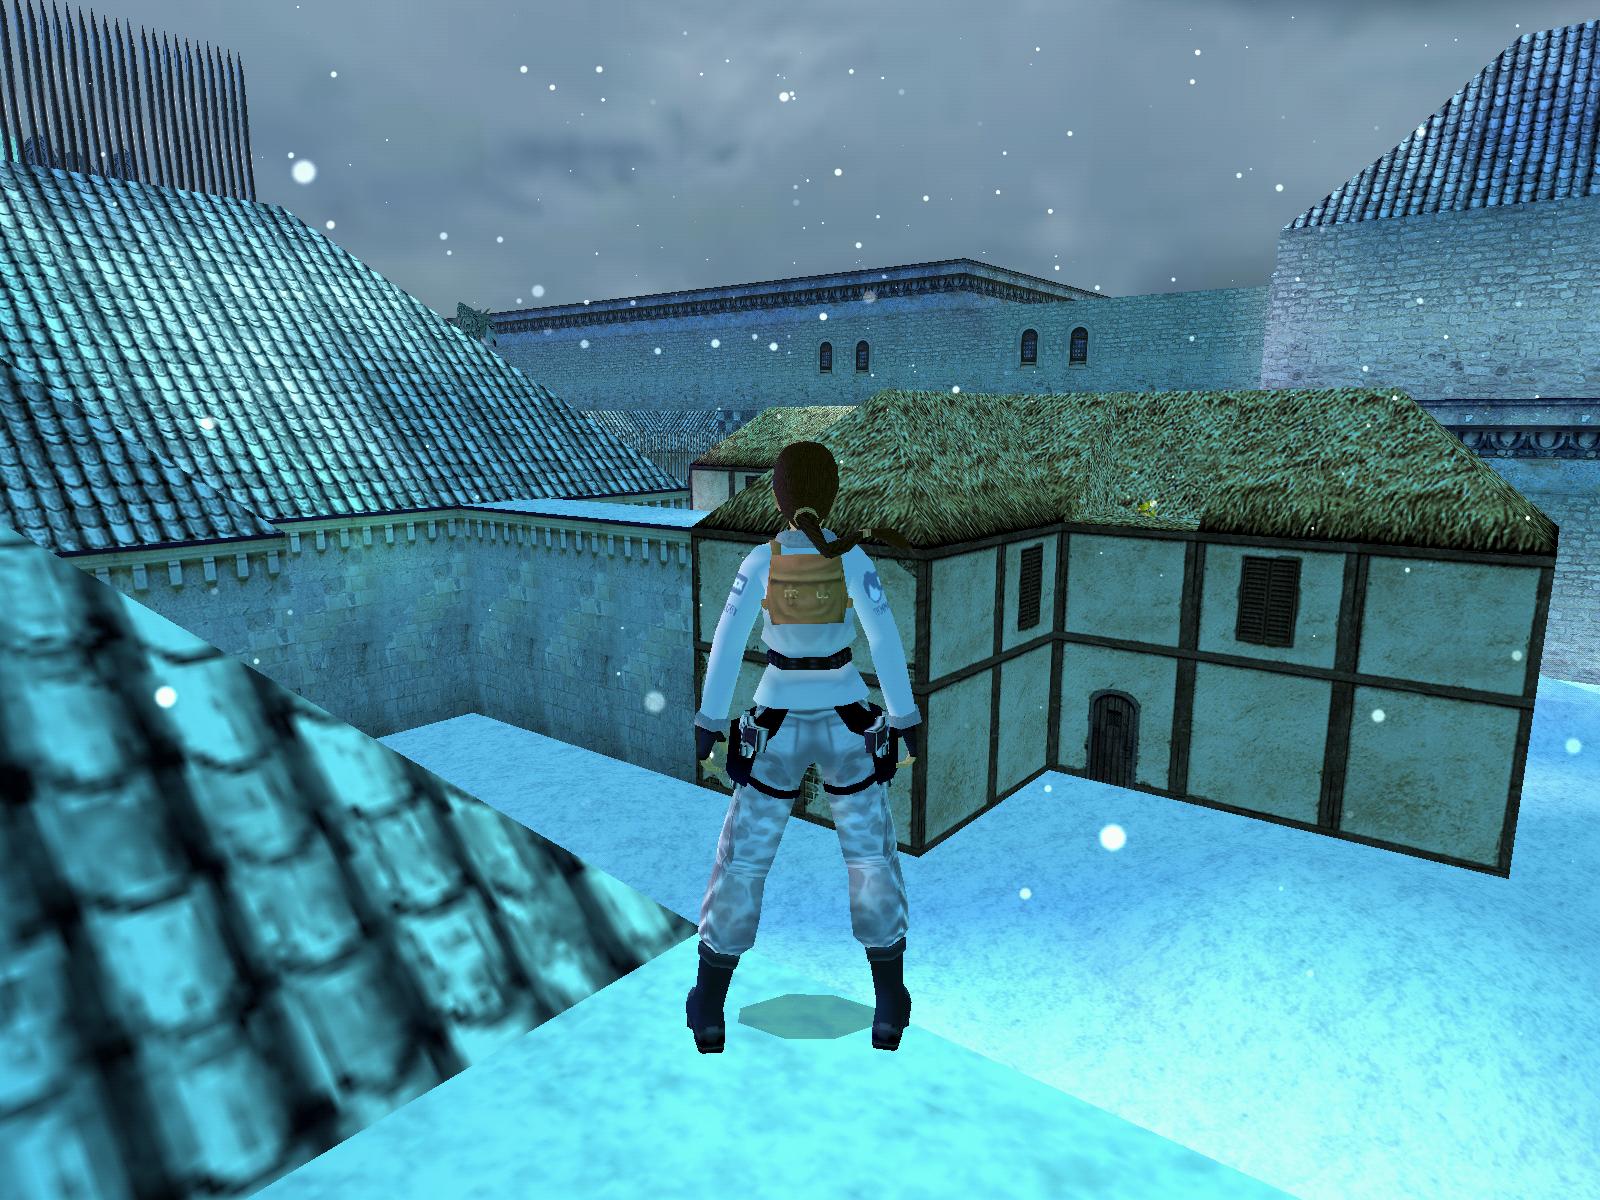
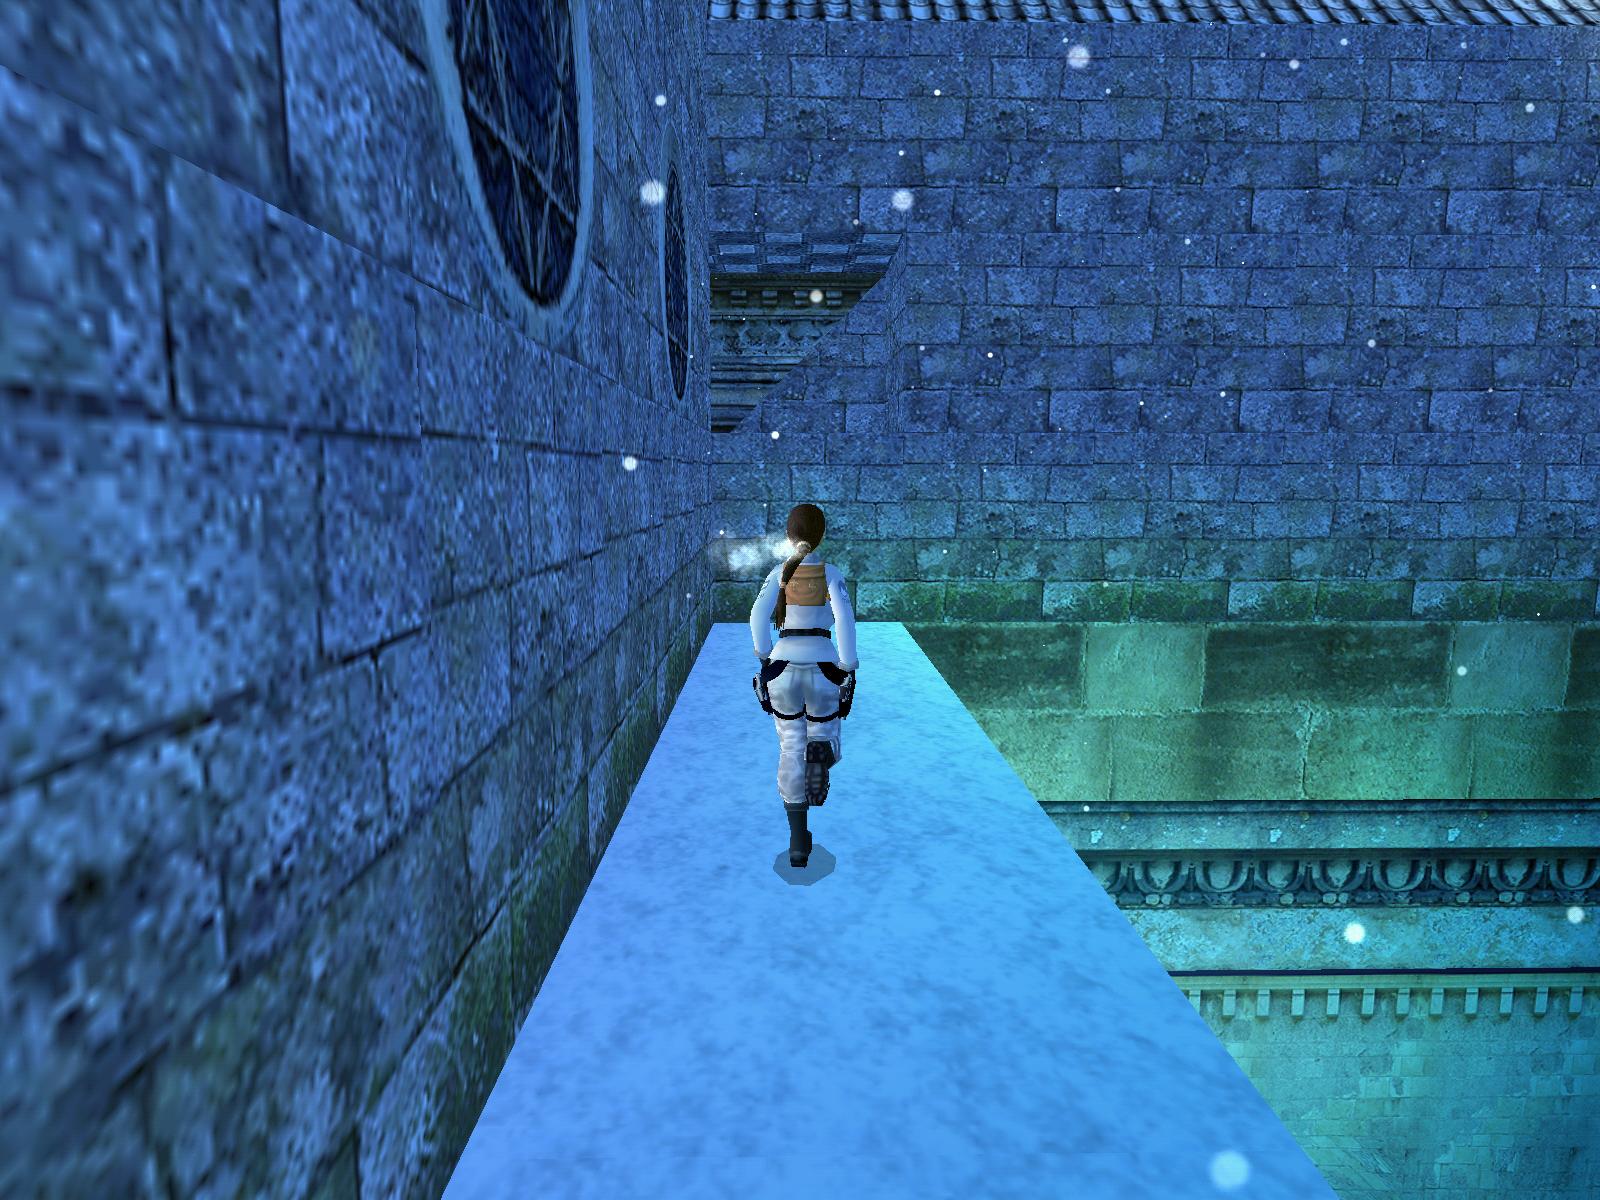
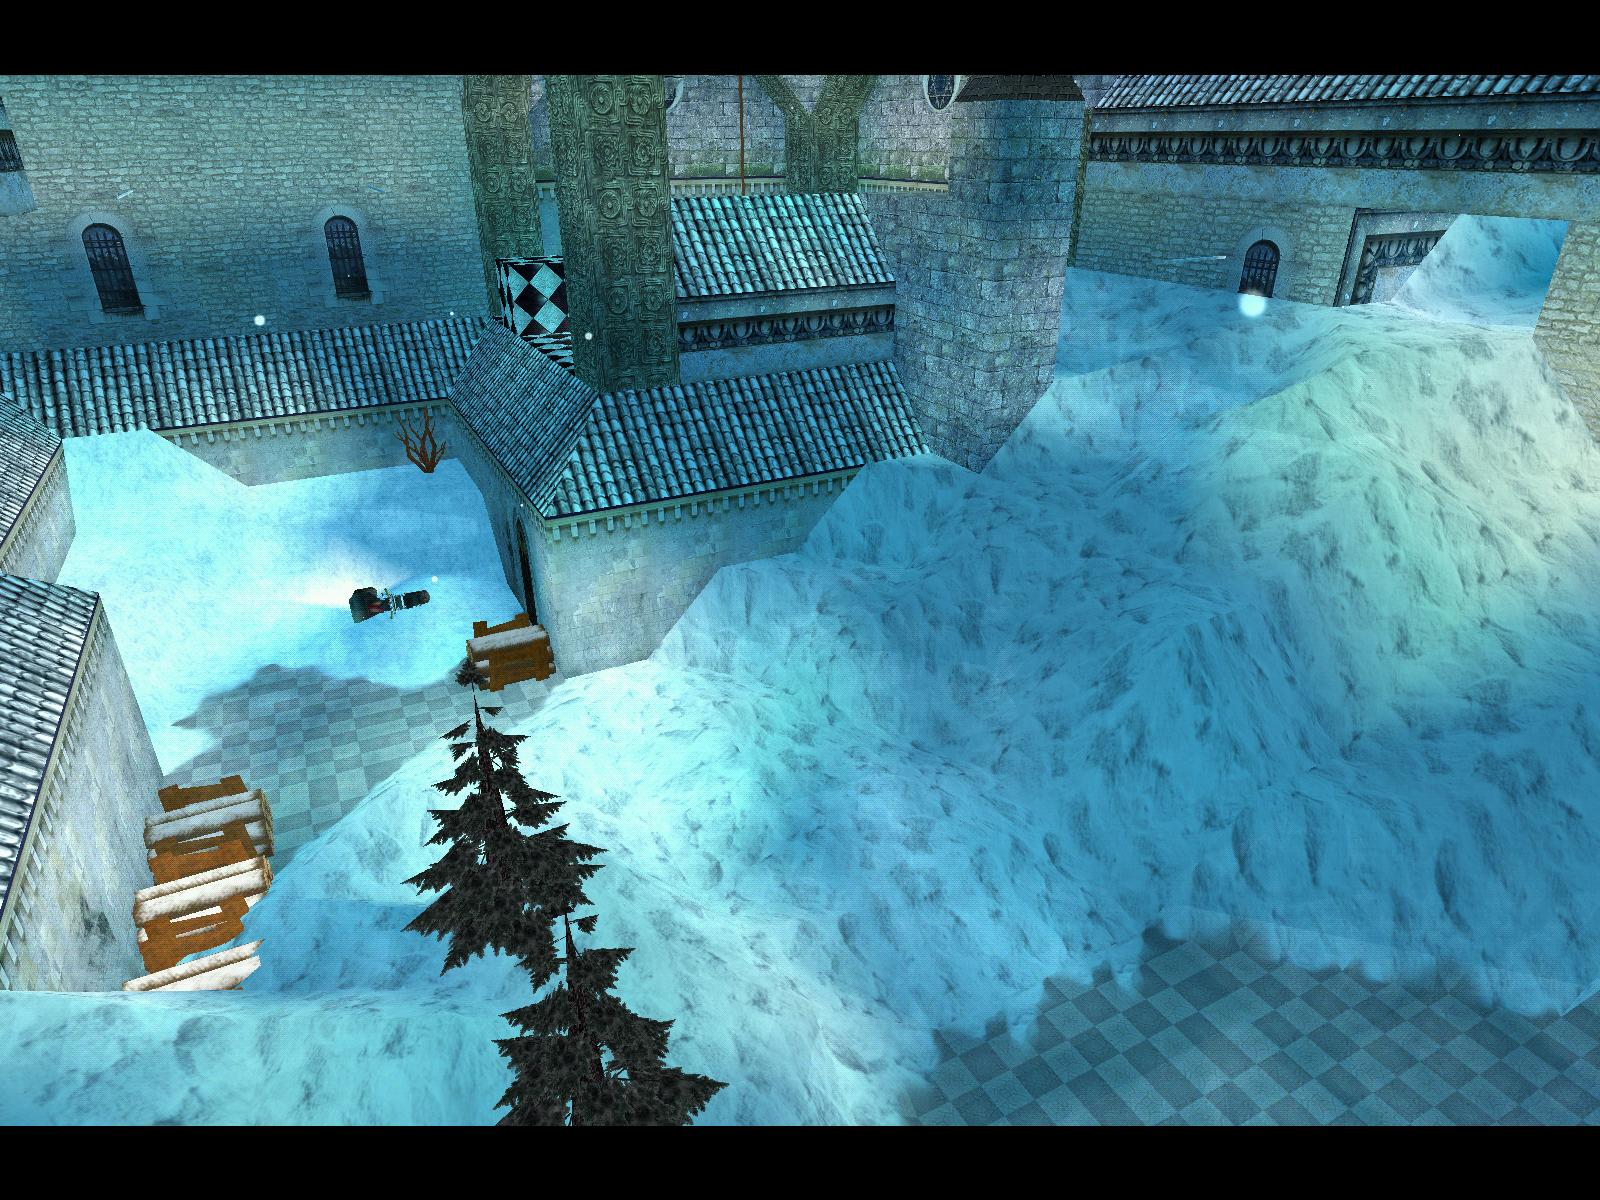
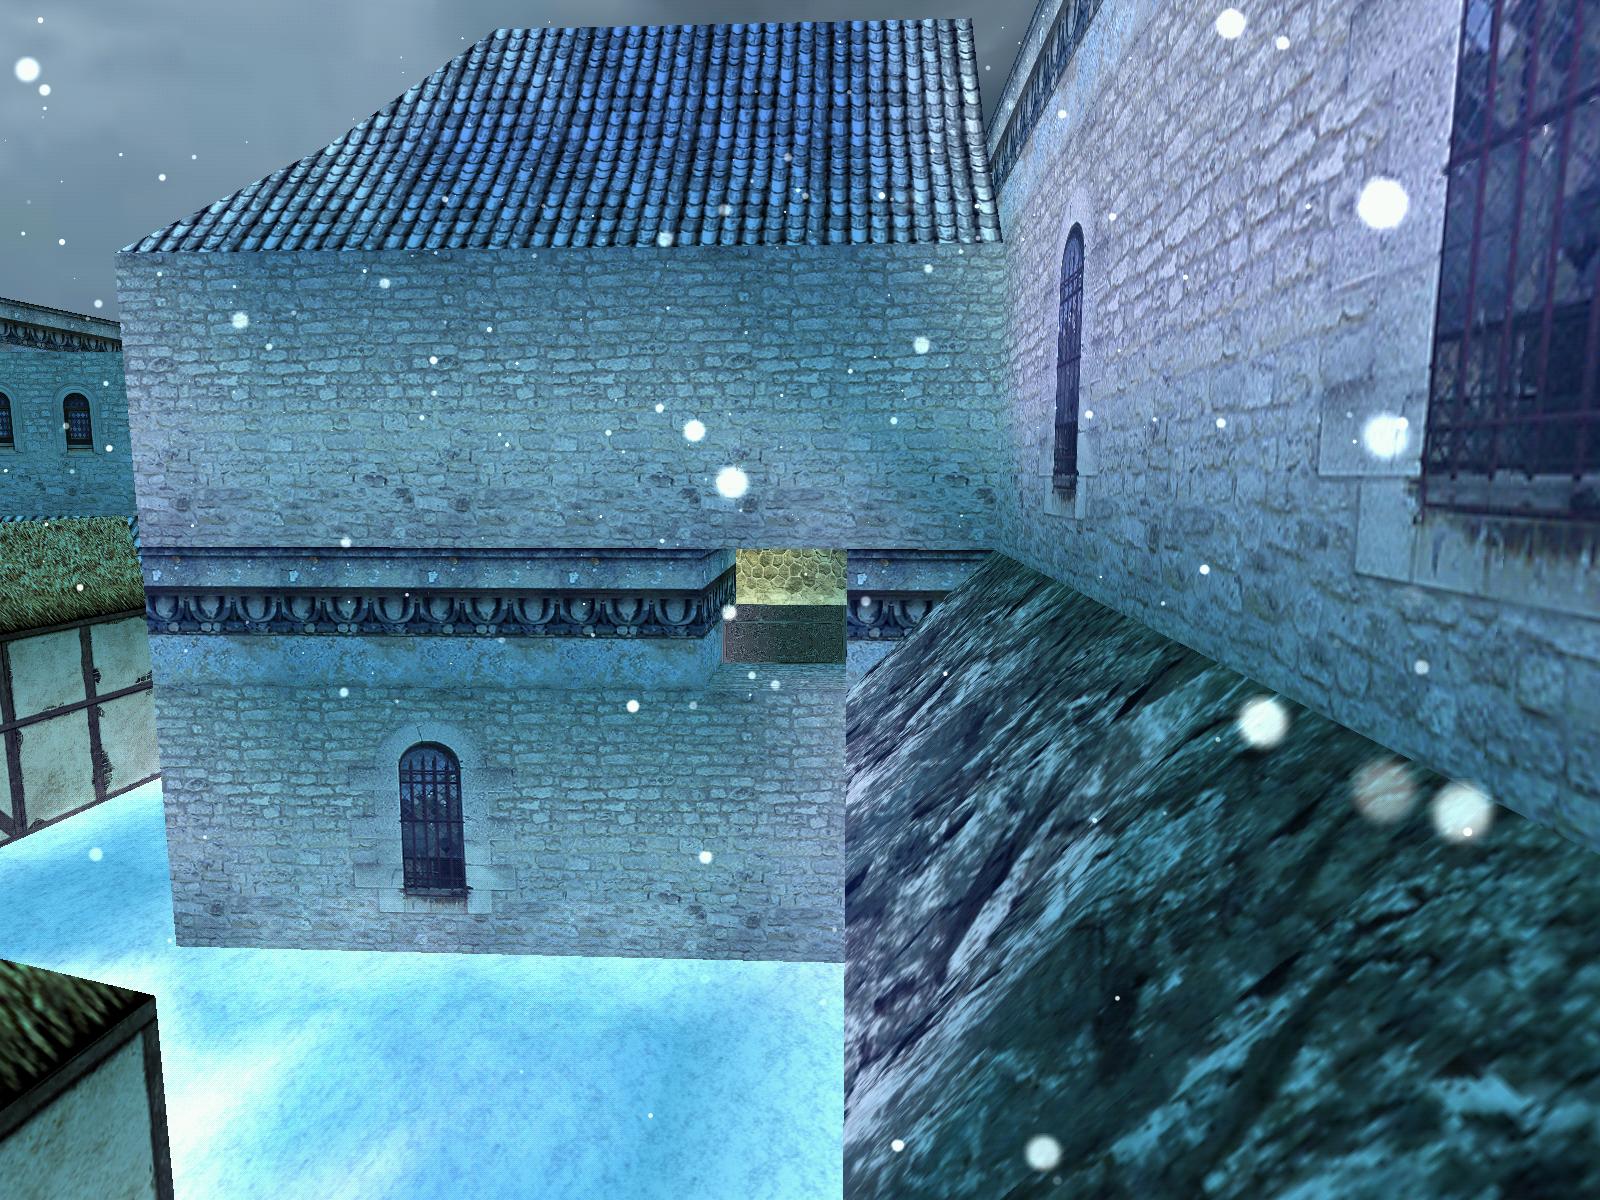
Go back around the corner where you pulled up, face the S wall and jump up to grab the roof line. Shimmy left a long distance, around three corners (passing an opening beneath you along the way), until you're able to drop down onto a snow-covered roof to claim another GOLDEN ROSE for SECRET #2. You could now slide down the E slope of the roof and enter a fenced area with thatched-roofed houses, but don't do that. Instead, slide down N into the adjacent area and pull up onto the S ledge in front of the pole fence. Run to the E side of the ledge and note the jump switch. Jump NE and grab the roof, shimmy to the left and around the corner, and release to grab the jump switch. A section of the pole fence has lowered at the W end, so go there and enter the next courtyard.
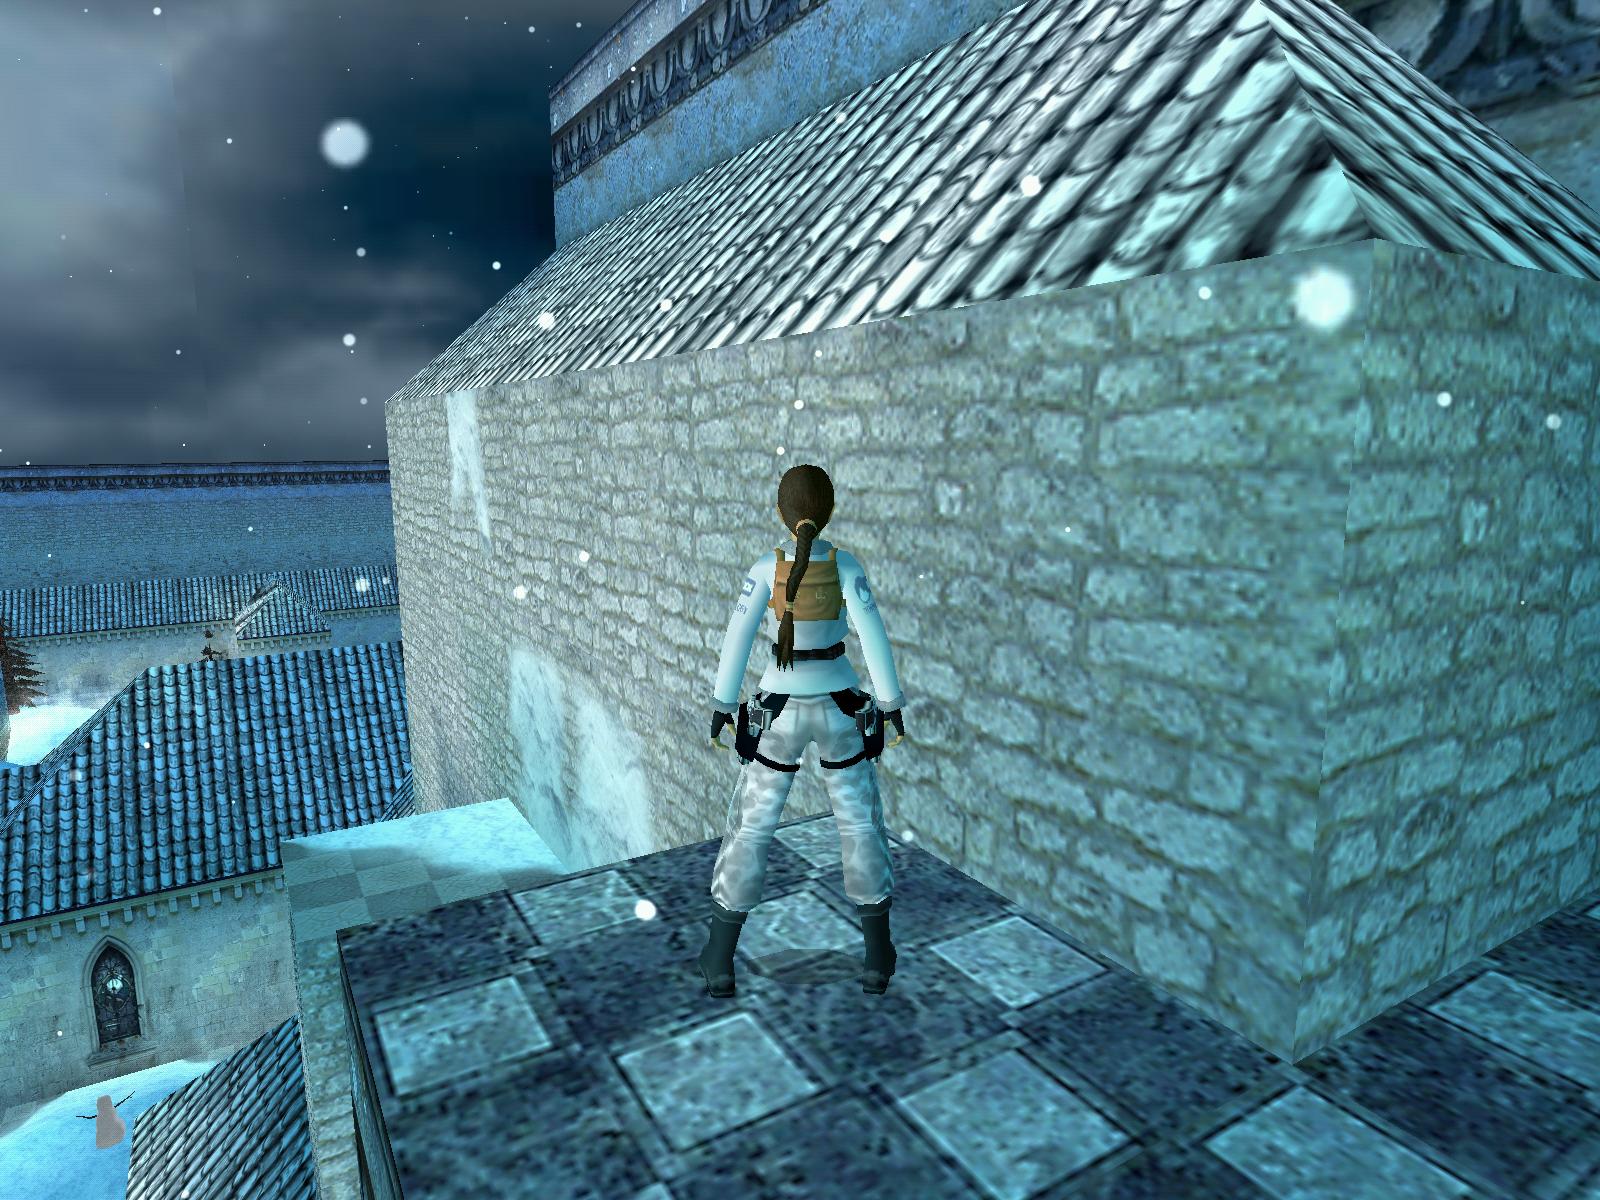
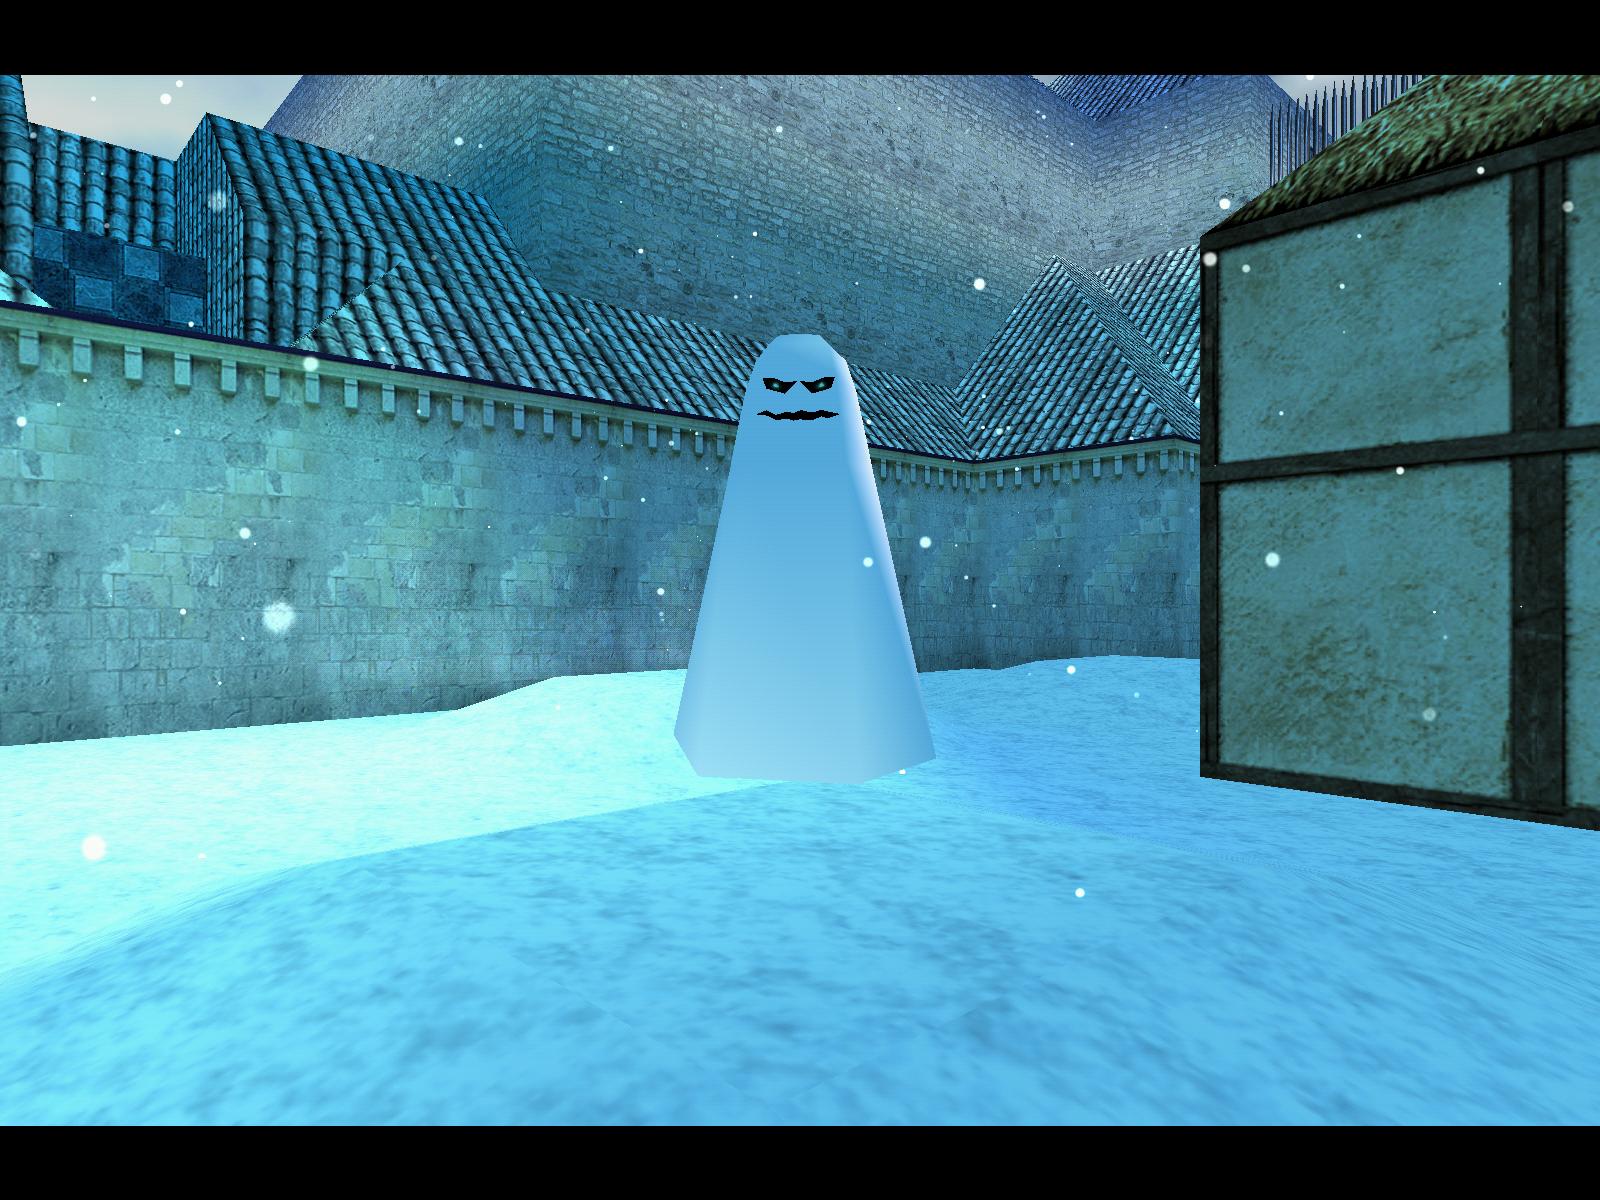
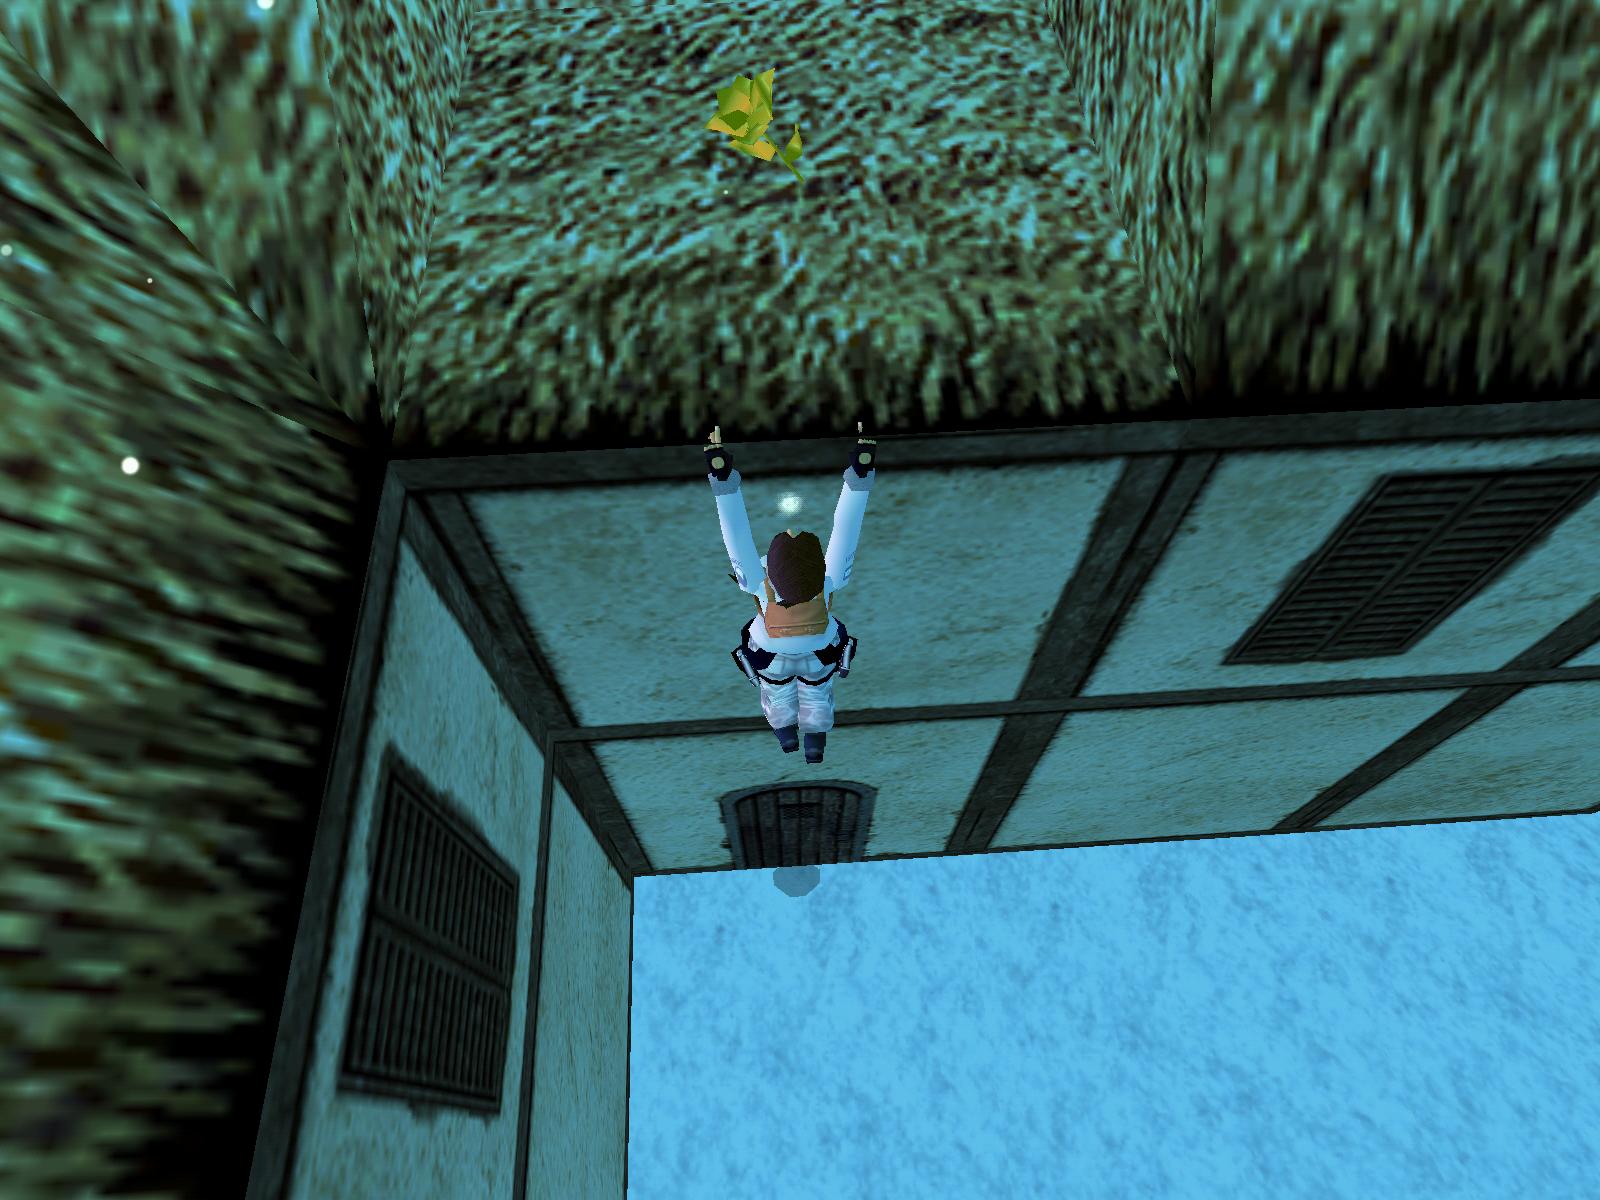
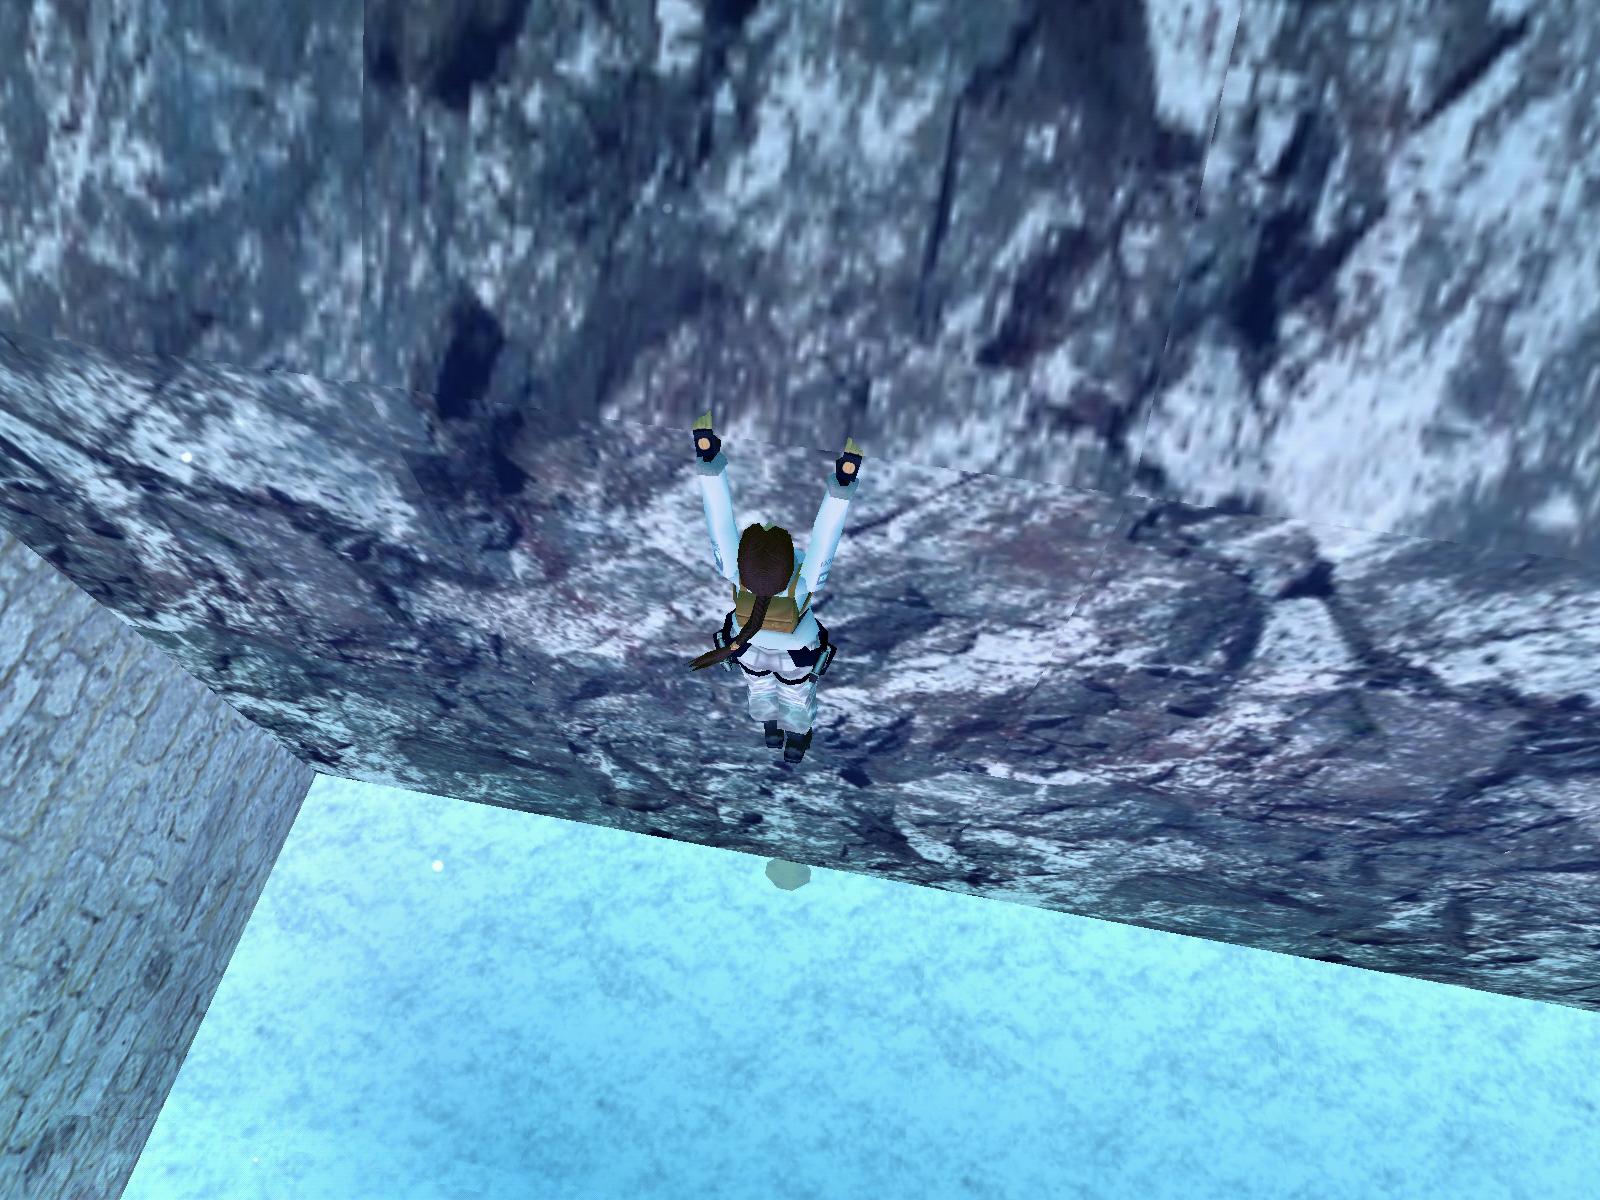
Run past the thatched-roofed buildings to the S wall, where you'll trigger a cut scene of a German-speaking ghost. Stand at the SE corner of the nearest building, facing the S wall. Run straight forward to the S wall, and you should be able to jump up and grab the notched edge at that spot. Pull up, shimmy to the right a bit and take a rolling back flip to grab the roof. Shimmy to the left and around the corner, and pull up at the flat spot for SECRET #3. Pick up the GOLDEN ROSE and continue shimmying left along the roof line until you reach a ledge. In the alternative, you can hop down and return to the notched edge in the wall, and this time shimmy to your right until you reach the flat spot in the wall. You can pull up and rest a bit if you wish, or you can continue shimmying around a number of corners to your left until you reach a flat spot in the W wall.
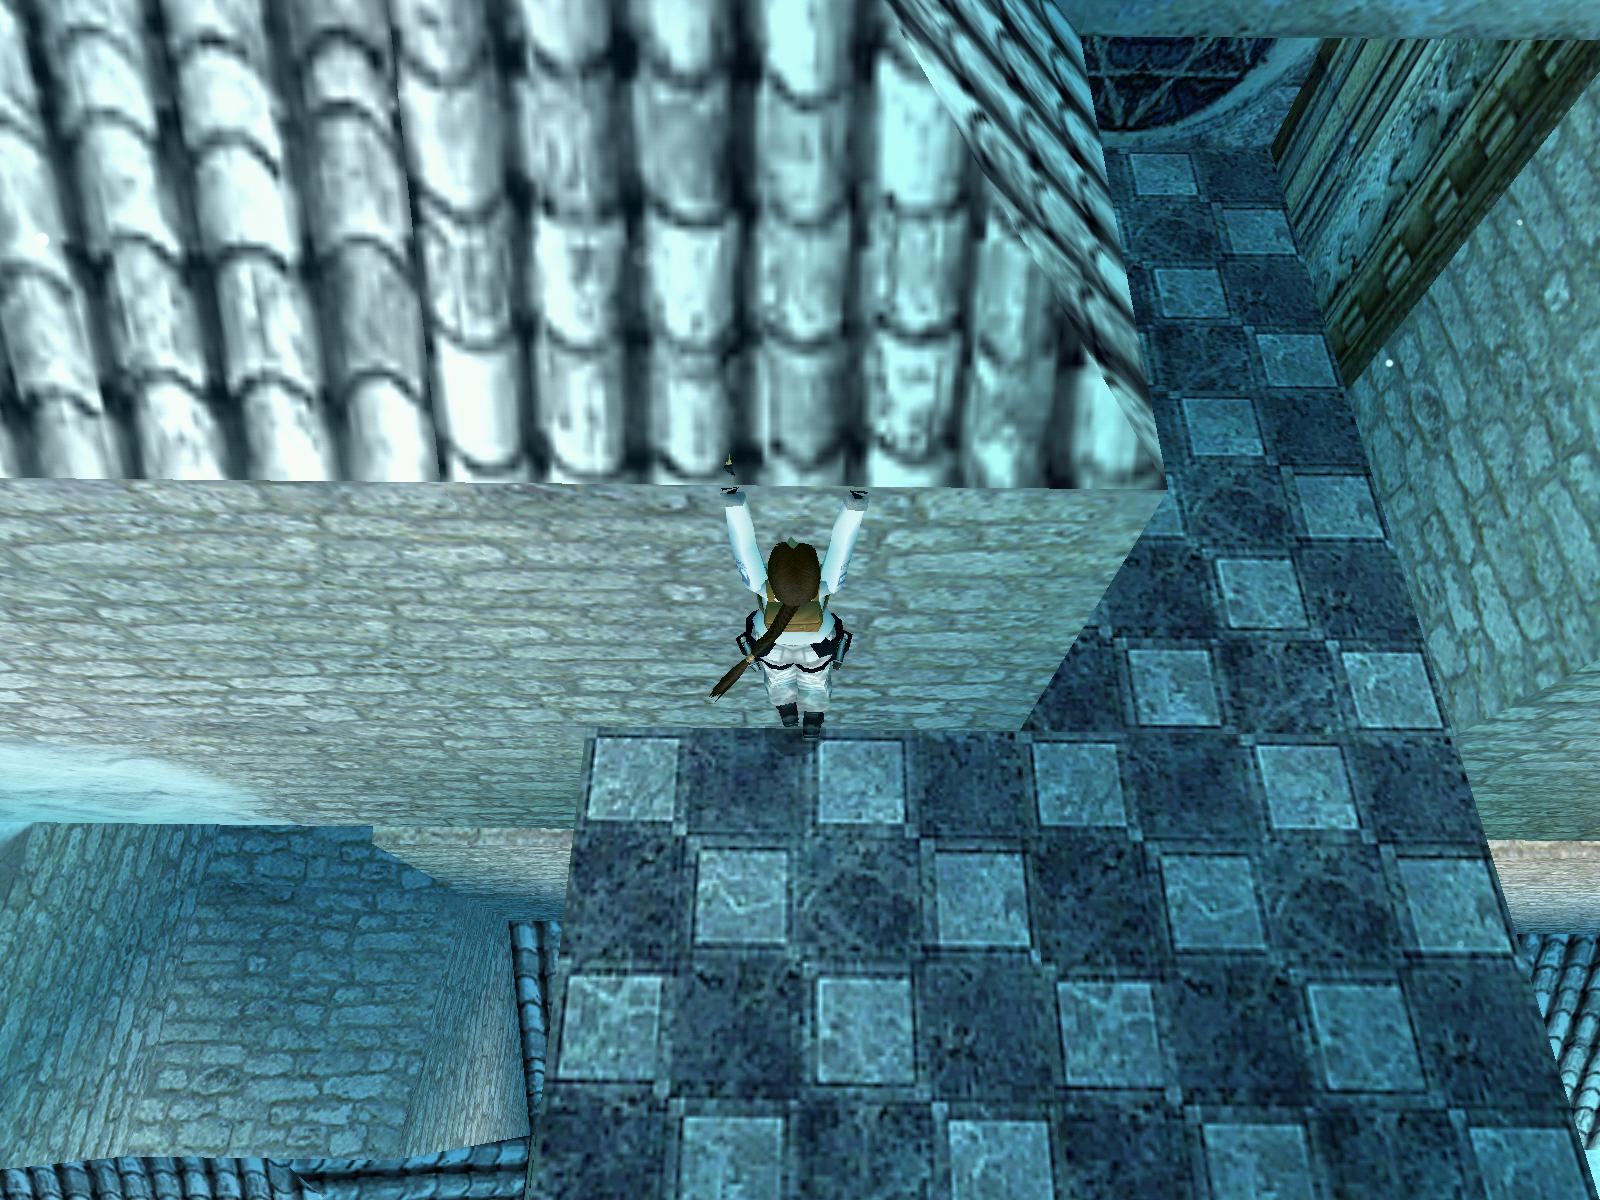
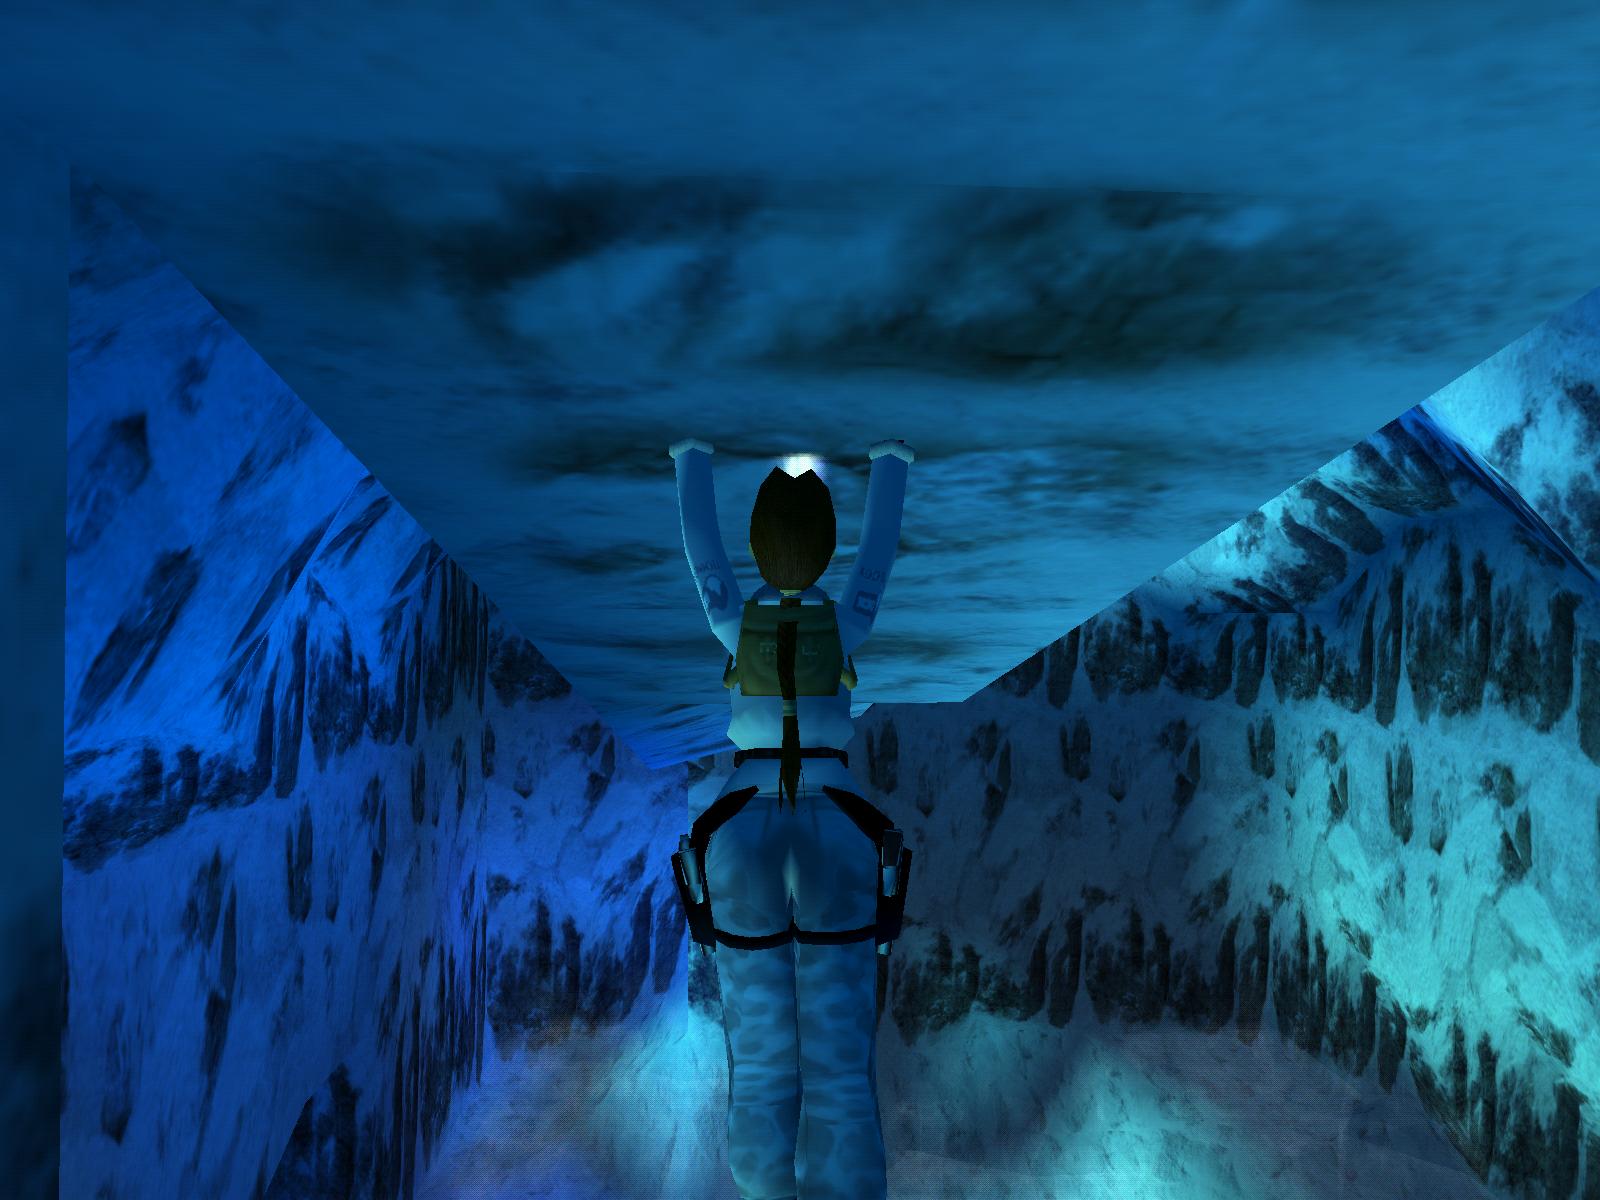
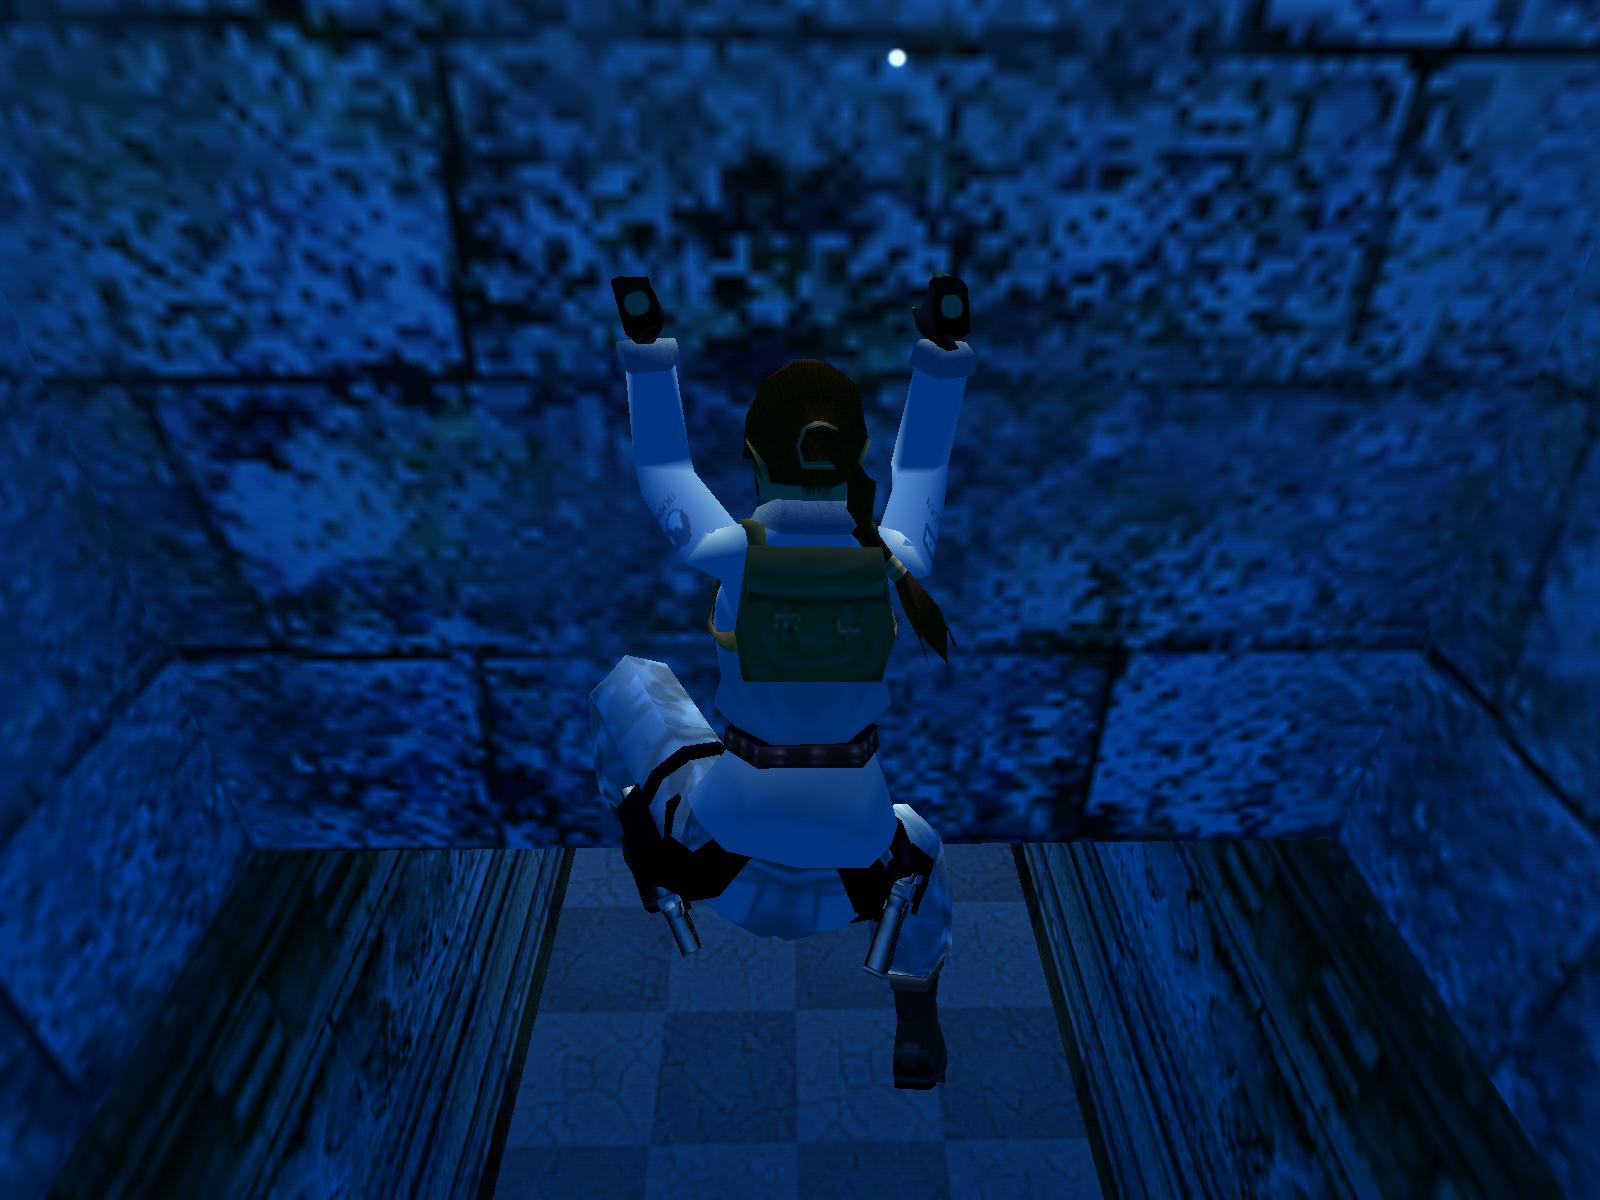
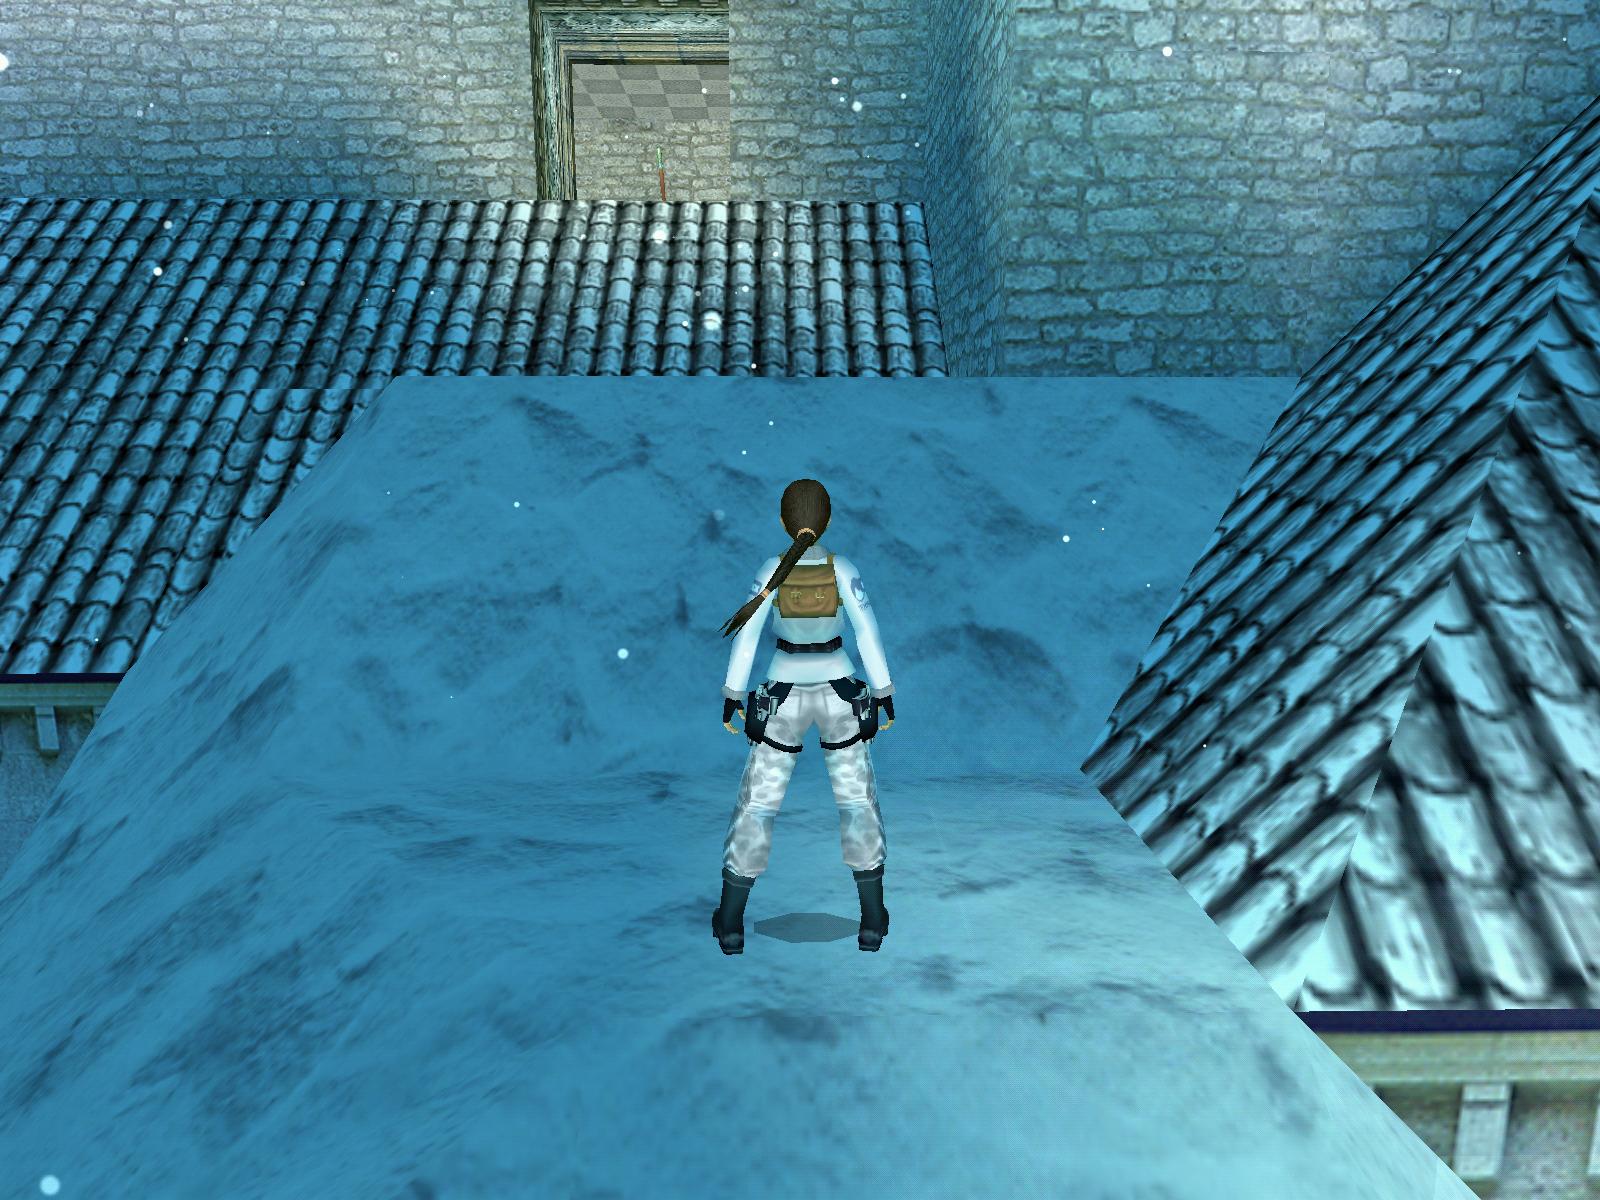
Pull up there and climb the block ahead. Climb another block and allow Lara to slide down the other side into a courtyard. Run across to the W side and pull up onto the ledge, where the camera angle changes. Stand facing N with your back against the wall, take four steps forward and back flip to jump off the slope behind you. Grab the swingpole, swing around and release to grab the jump switch high up in the N wall. The NE gate down below opens, so go there and enter a new courtyard.
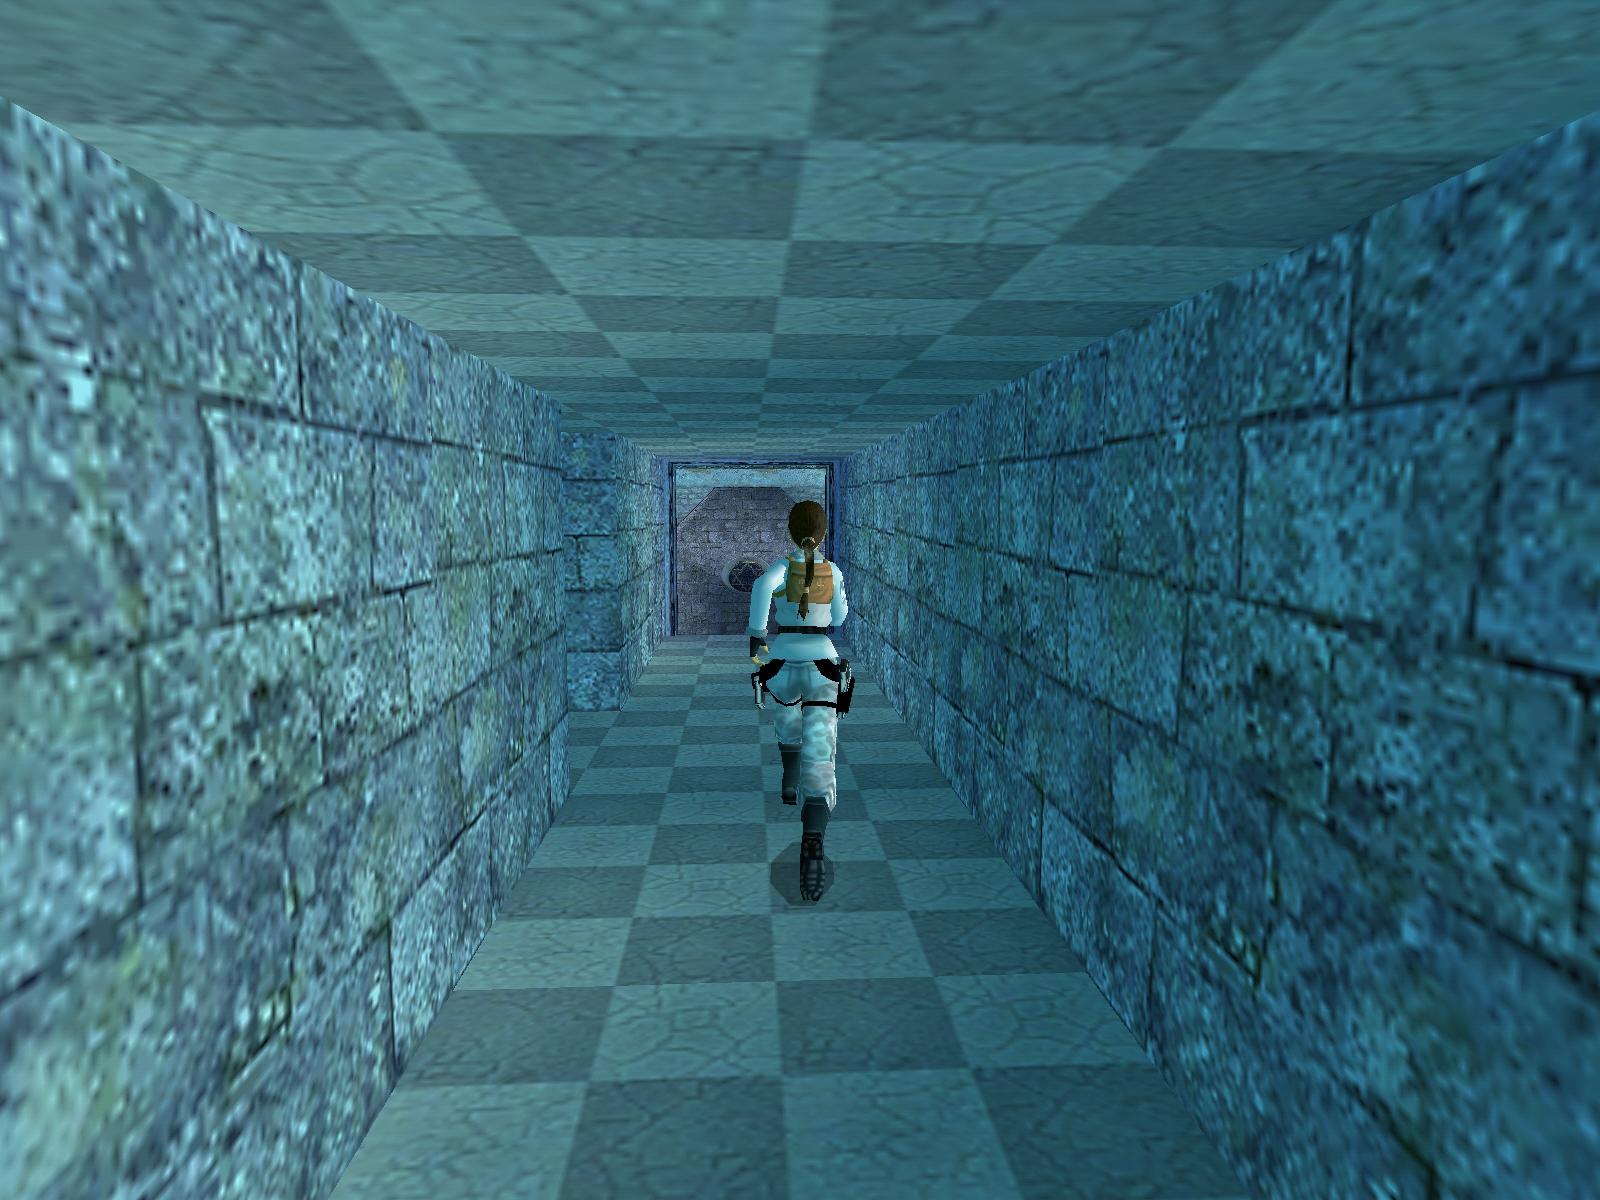
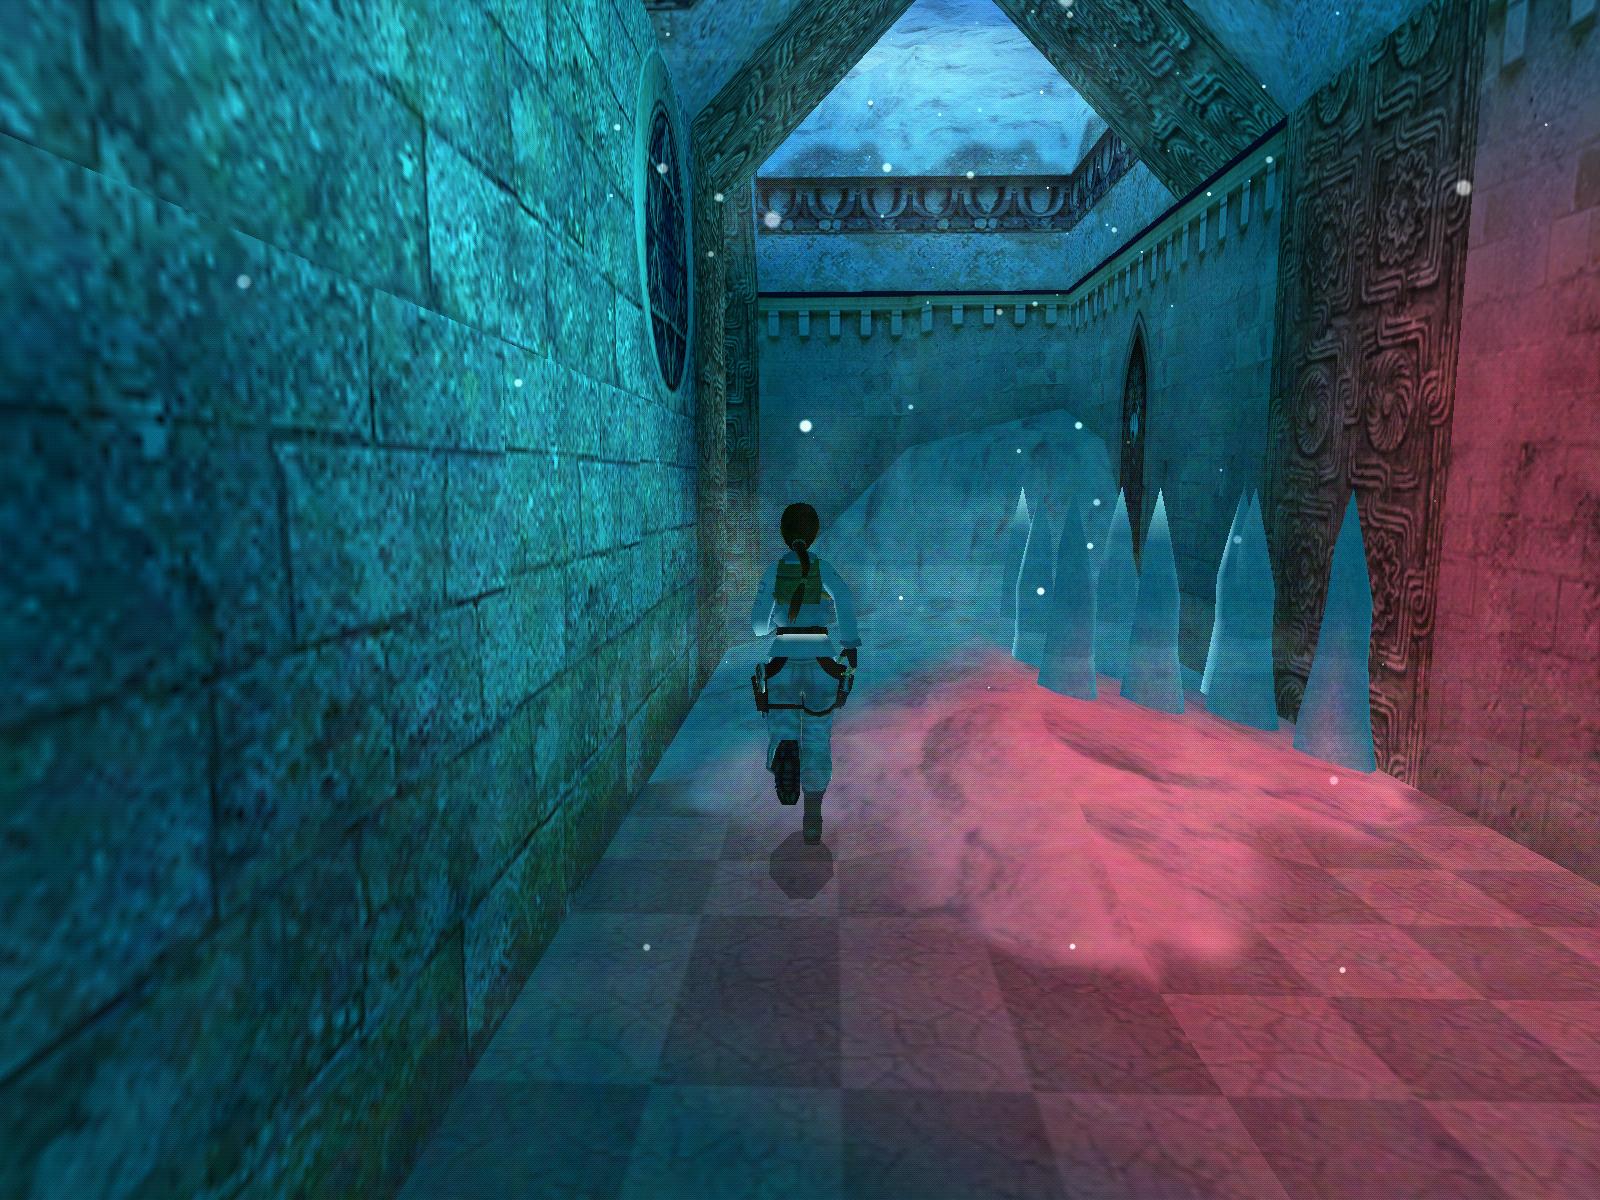
Run to the opposite corner and take standing jumps up the snow banks until you reach a flat spot in the NW corner. Face the N wall in the corner and back up as far as you can. Take a curved running jump to the swingpole. Swing around and release, then hold down the action key. You should land safely on the E ledge. Run forward and jump through the crack in the E wall. You're now inside the main building, so loop around to the left and follow the passage to an opening. Slide down to a lower passage and continue W until you reach an opening (just past a sloped side opening) that overlooks a partially flooded room.
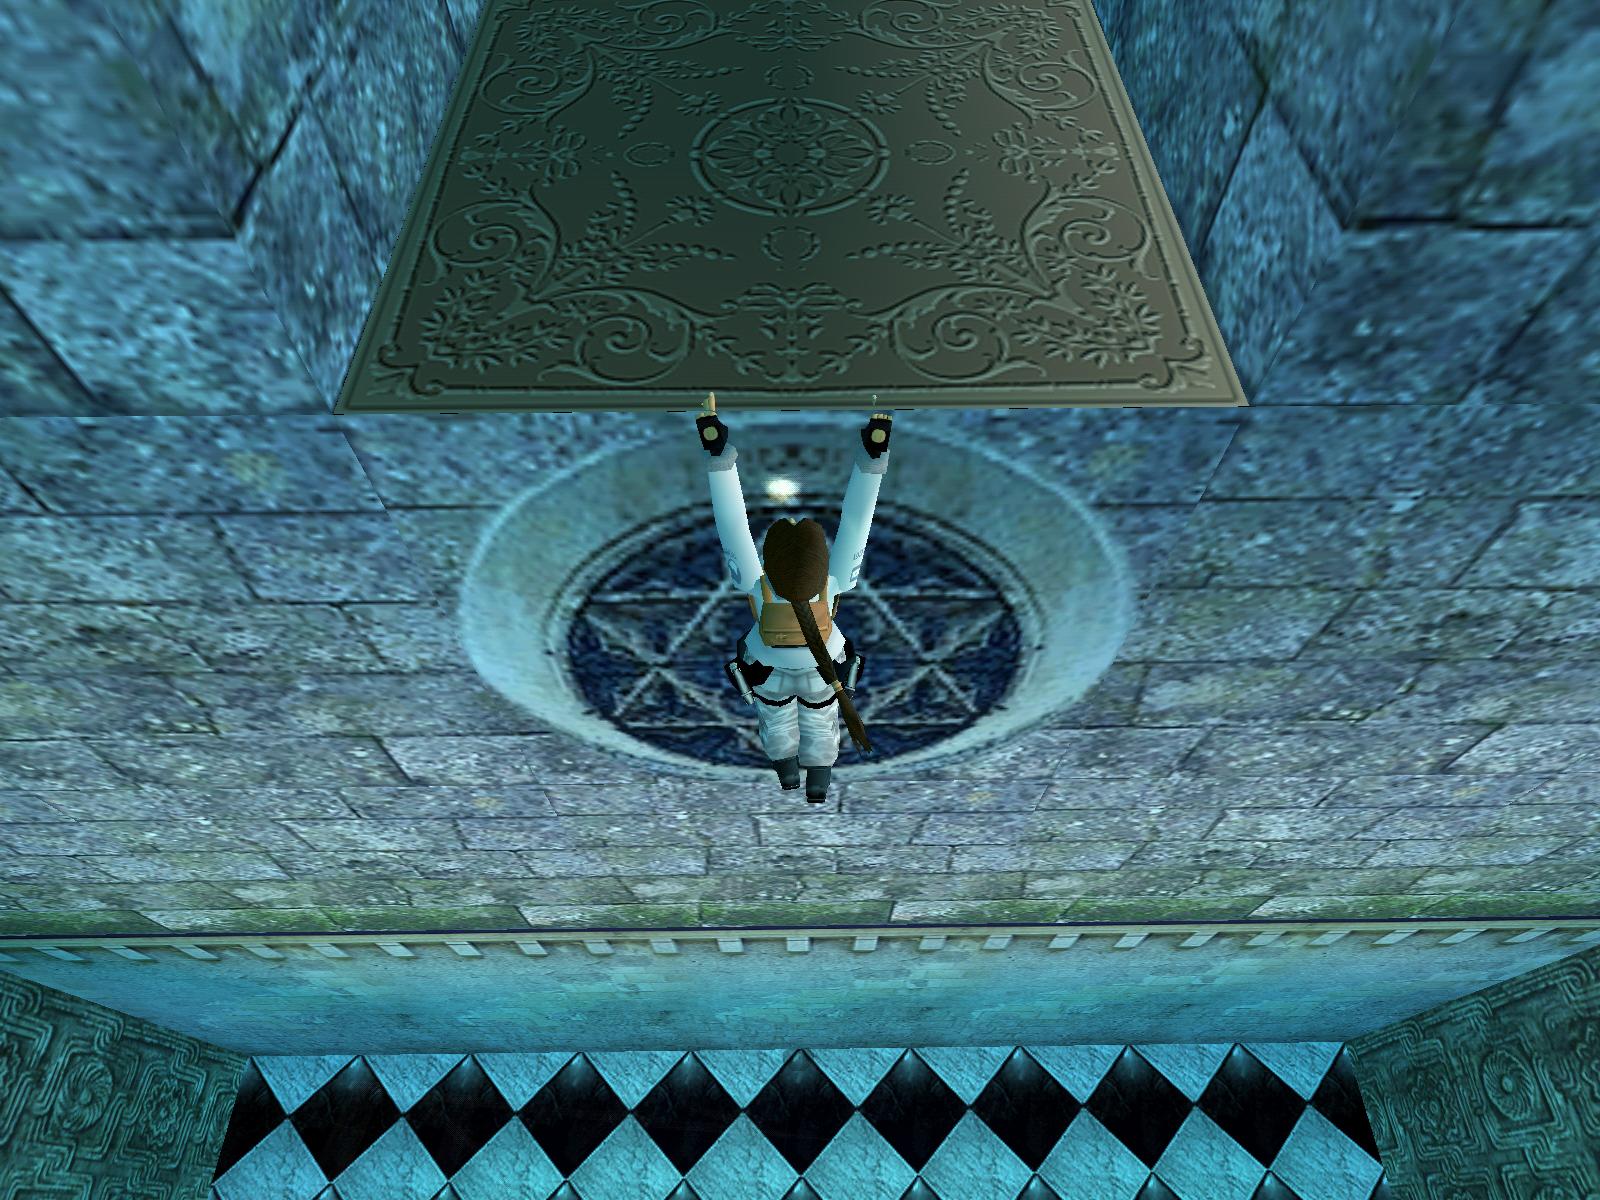
Slide down backwards, safety drop into the shallow water, turn around and vault up onto the steps. Run forward onto a floor with a checkered pattern. Stand on the highest tip of the rock and face the N pole fence. Jump up to grab the wall above, shift right a bit and climb up through a hole in the ceiling. Follow the passage around to a pushblock. Push the block forward and it will drop down through a hole to the room below. Safety drop onto the block, hop back onto the floor and push the block against the wall. Get up on the block and pull down the W wall switch. A section of the pole fence to your right lowers, so hop down and go through the opening.
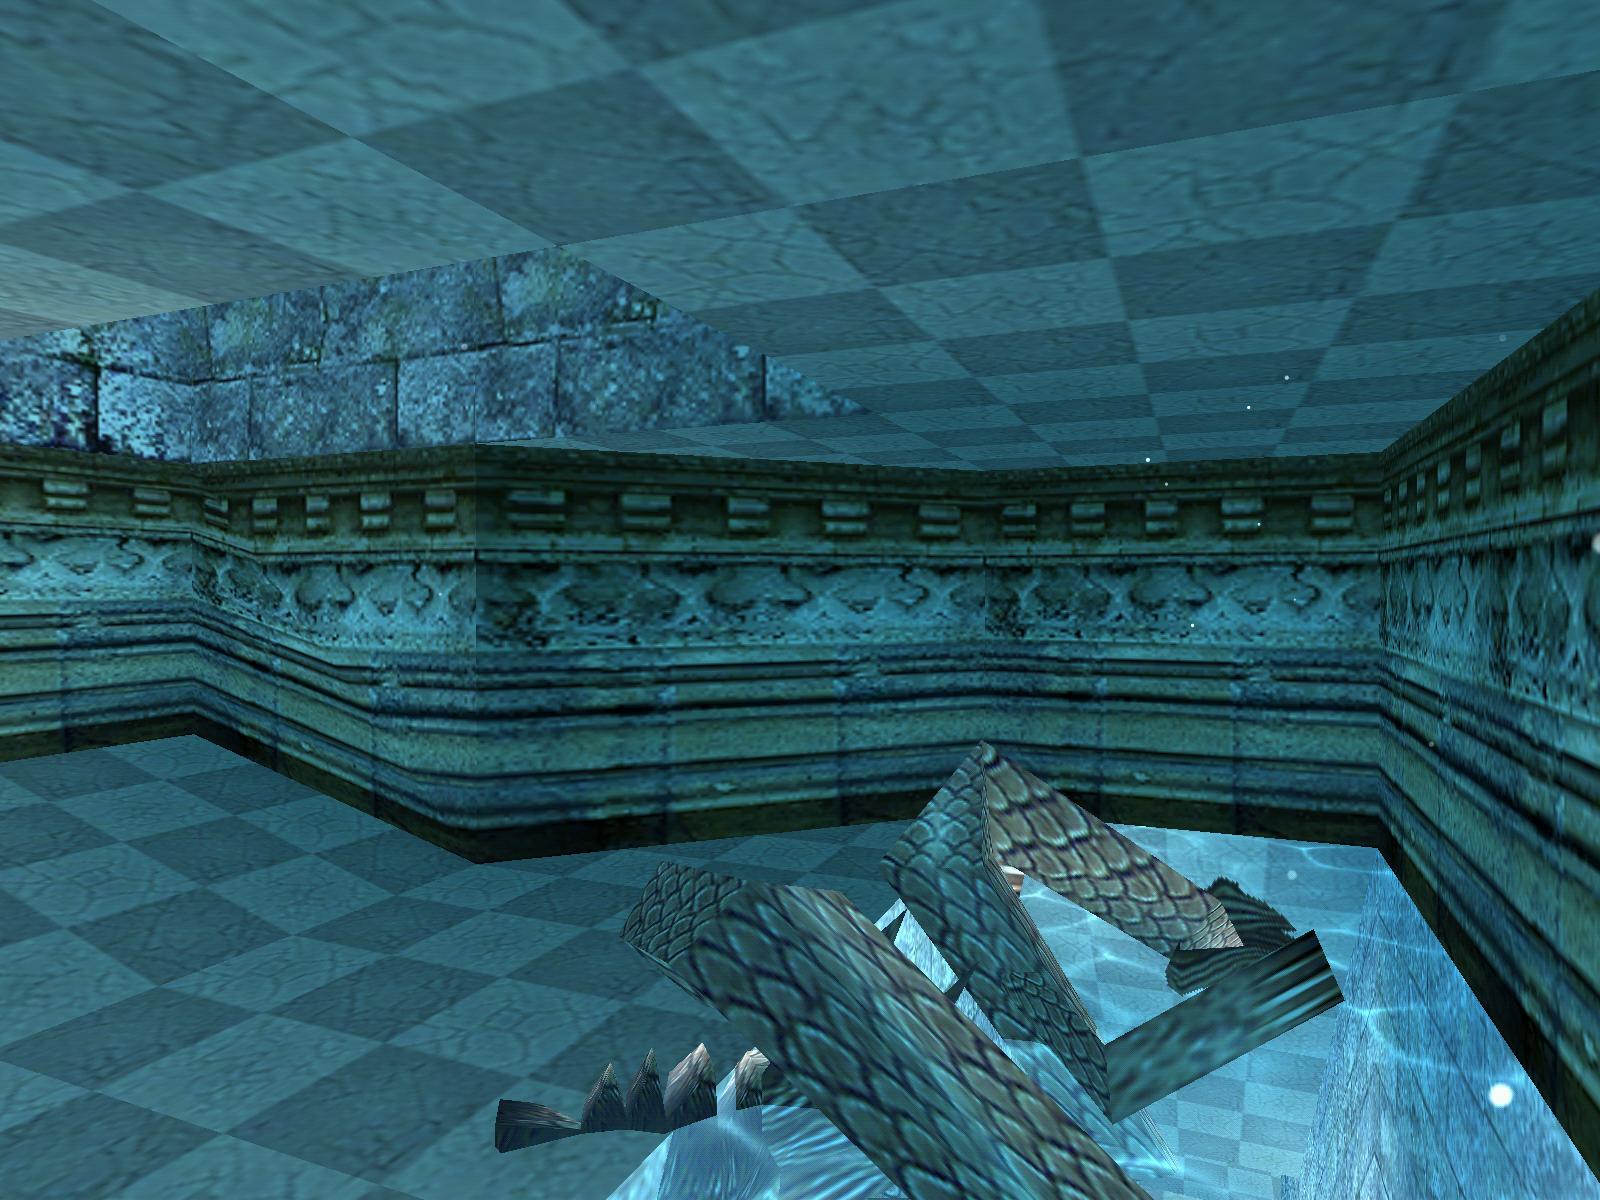
Run forward and push your nose against the N wall, as close to the middle as possible. Reverse roll and take four steps forward. Back flip against the slope and jump off to grab the sloped ledge ahead. Pull up and back flip into an alcove. Turn around and pull down the wall switch to flood the area even more. Drop down into the water and swim back the way you came and through the E opening. Turn right and swim up the ramp through the opening you noted earlier. The water turns icy cold here, so make haste. Pull out at the end and save your game before picking up the small medipack. A snake ball rolls down from the W shaft, so quickly get out of its path.
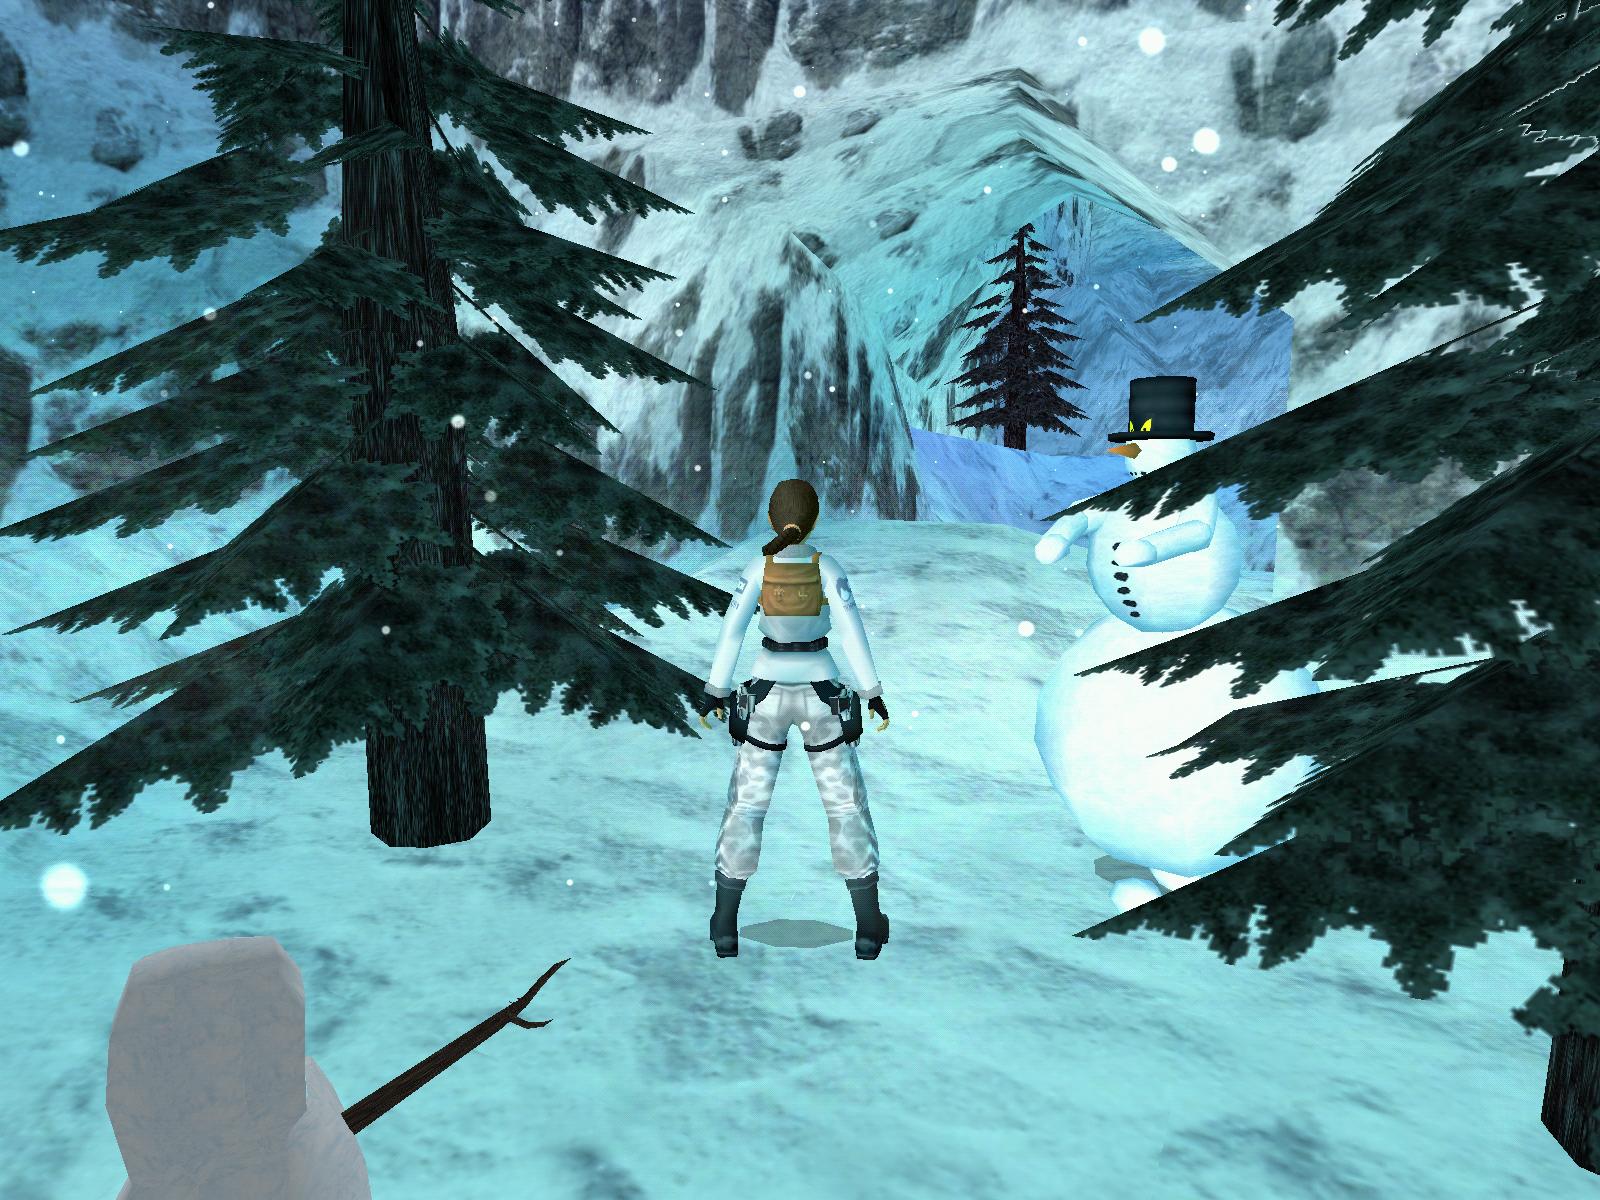
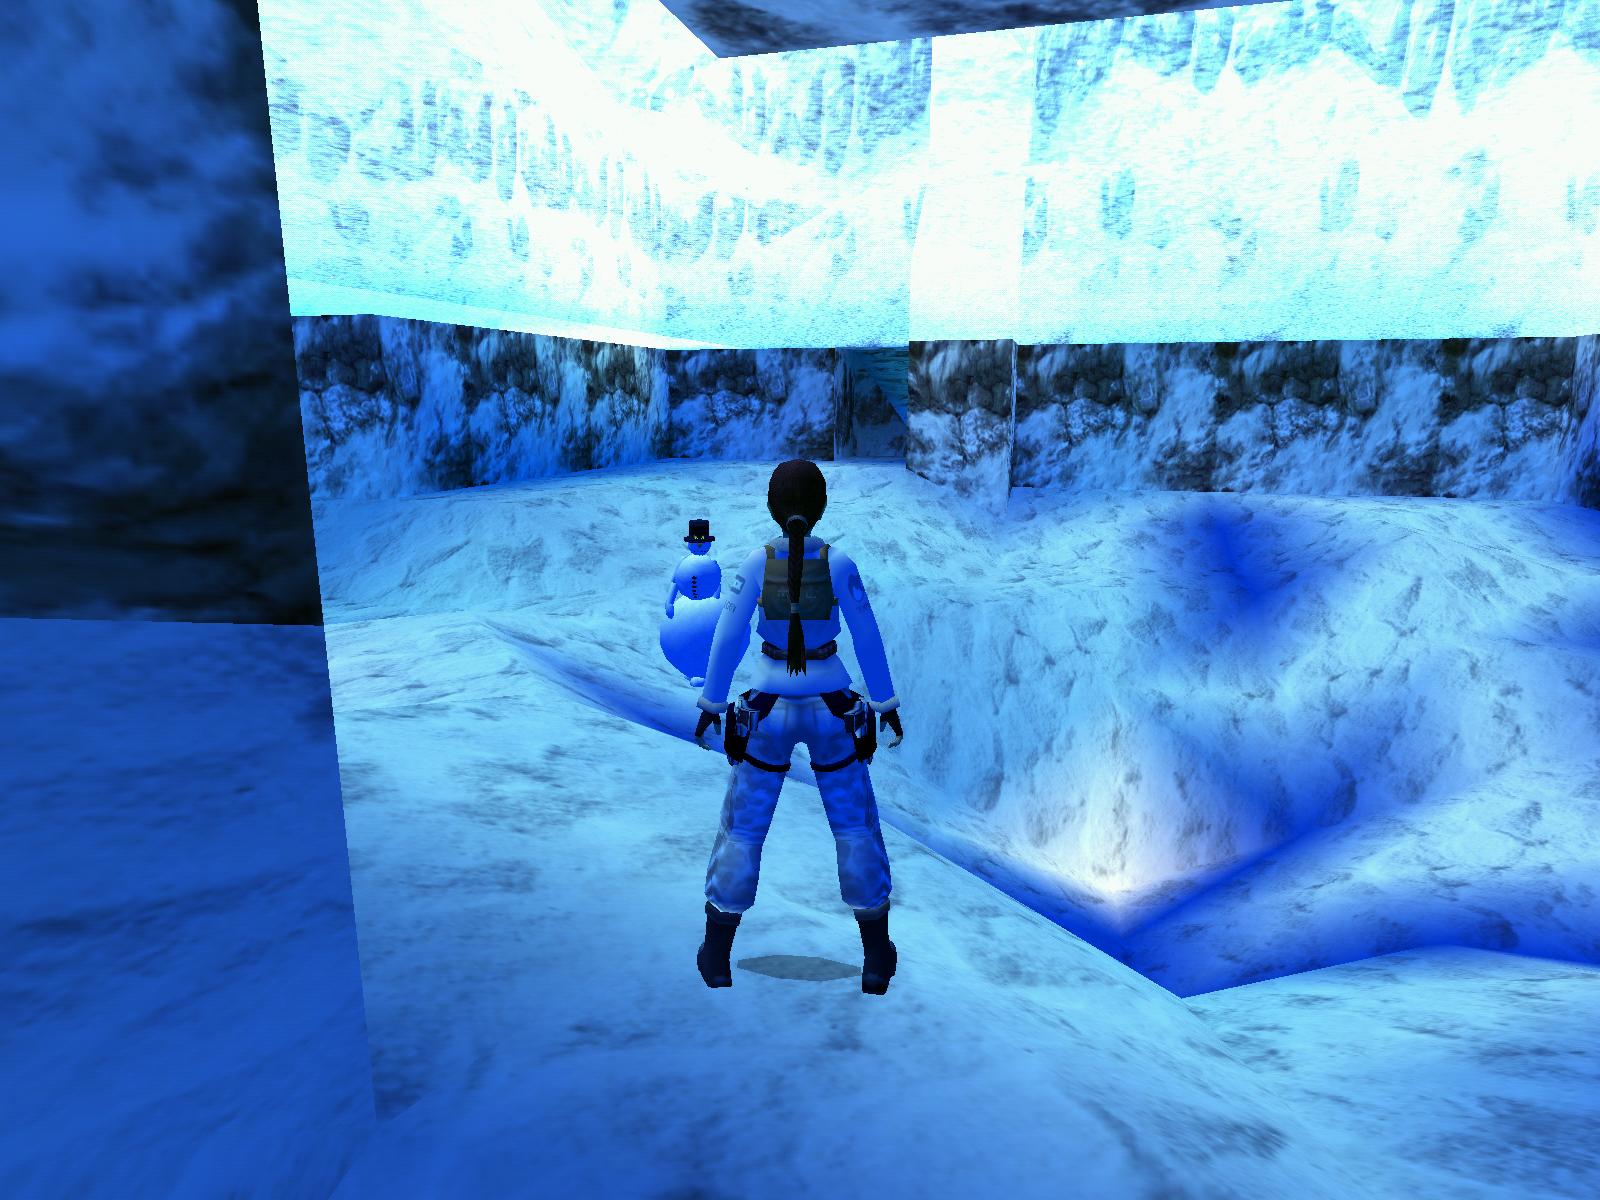
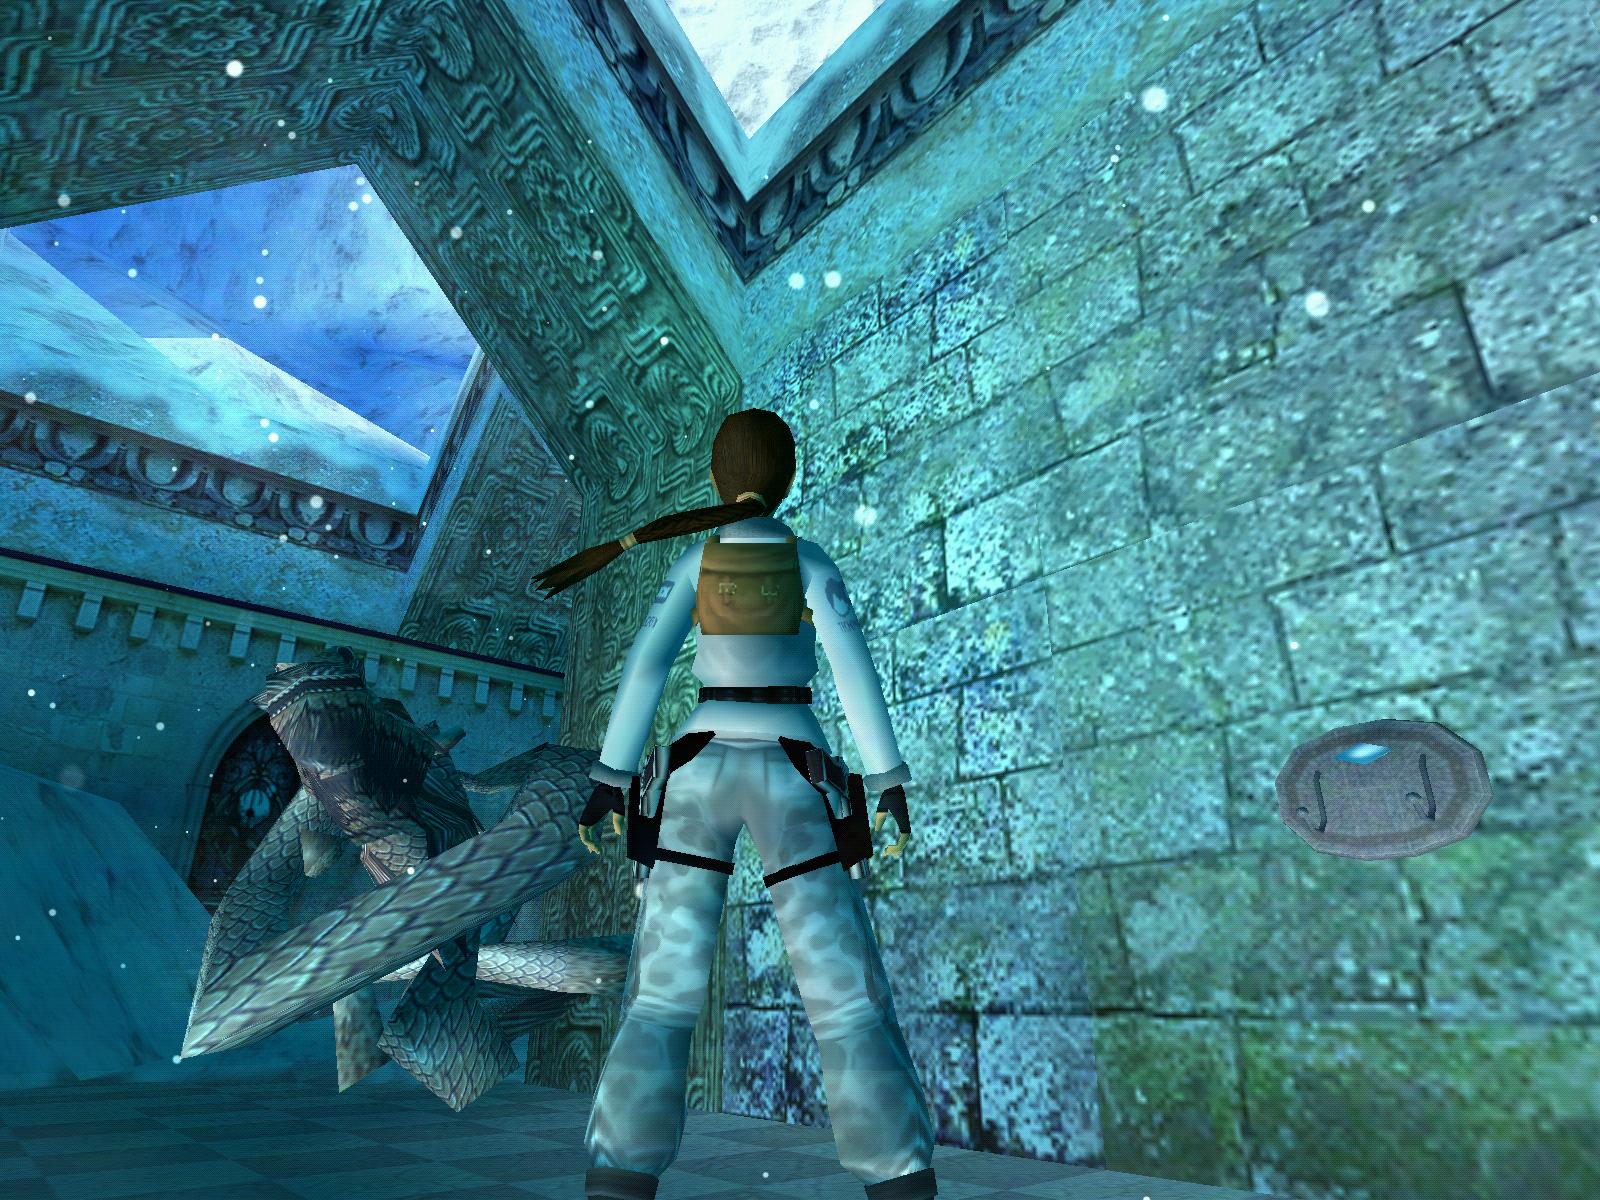
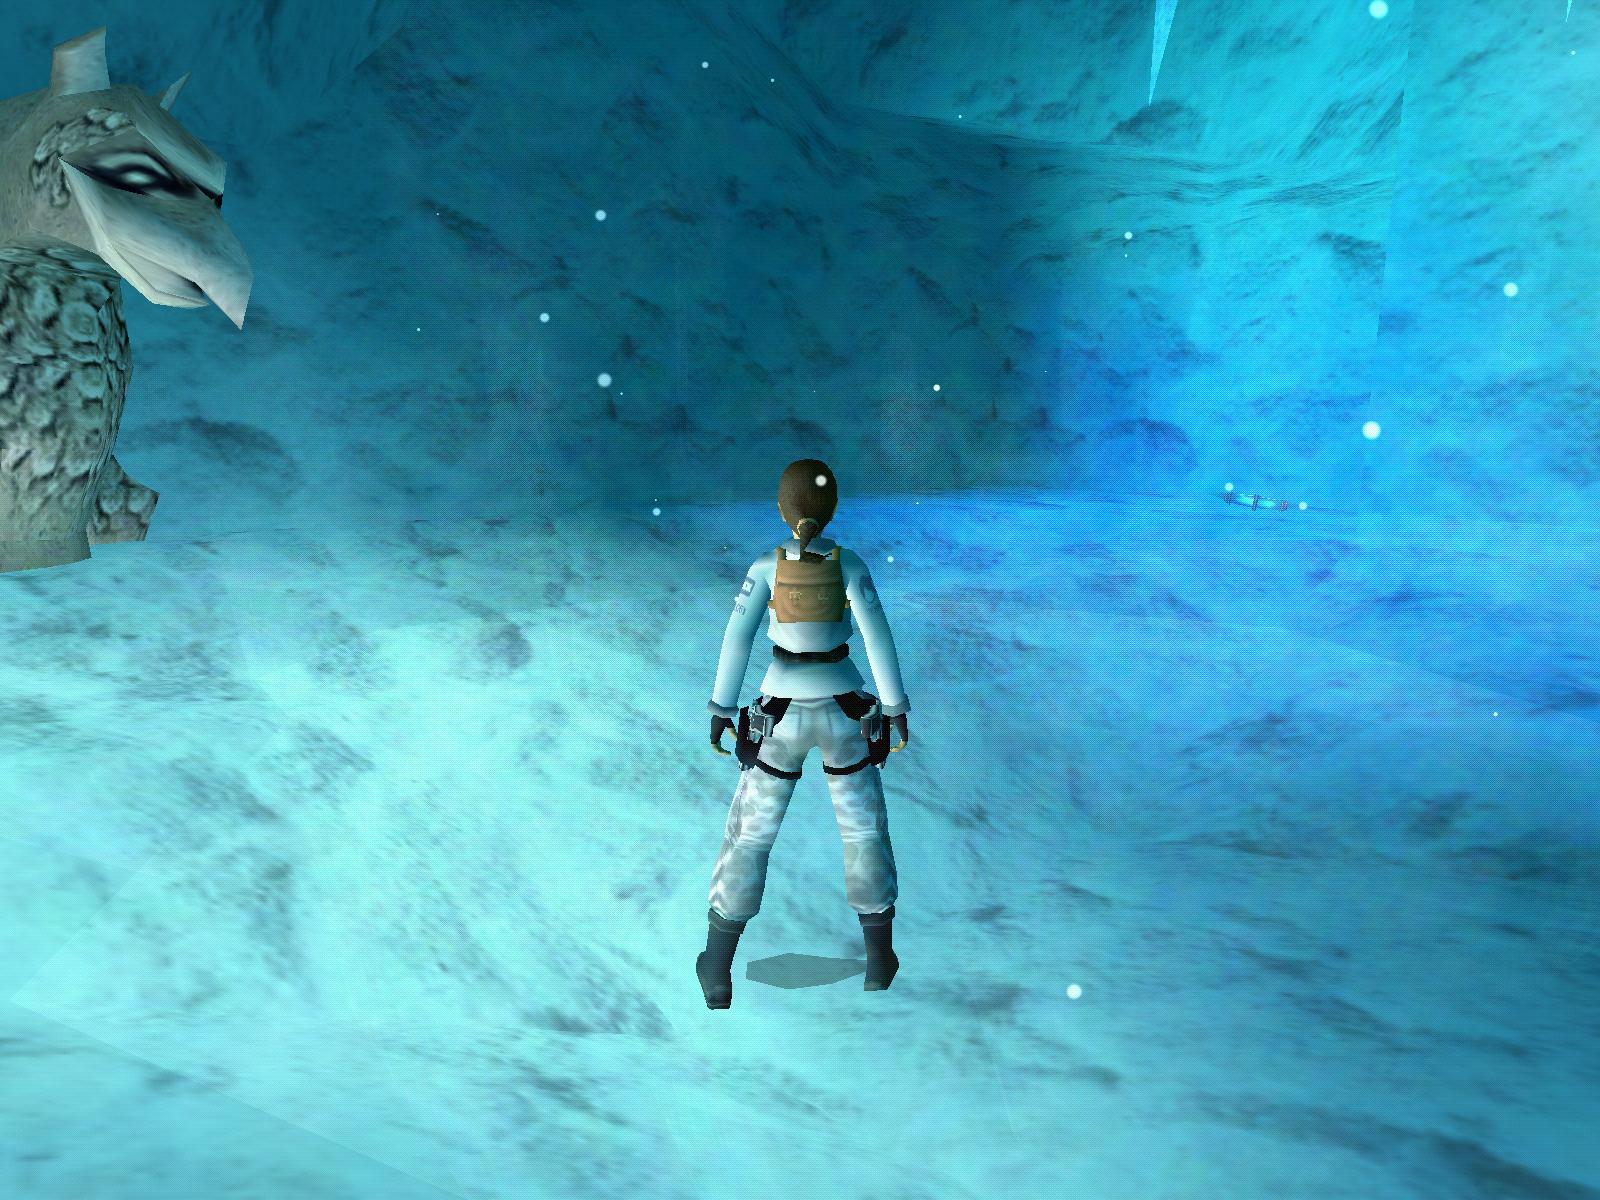
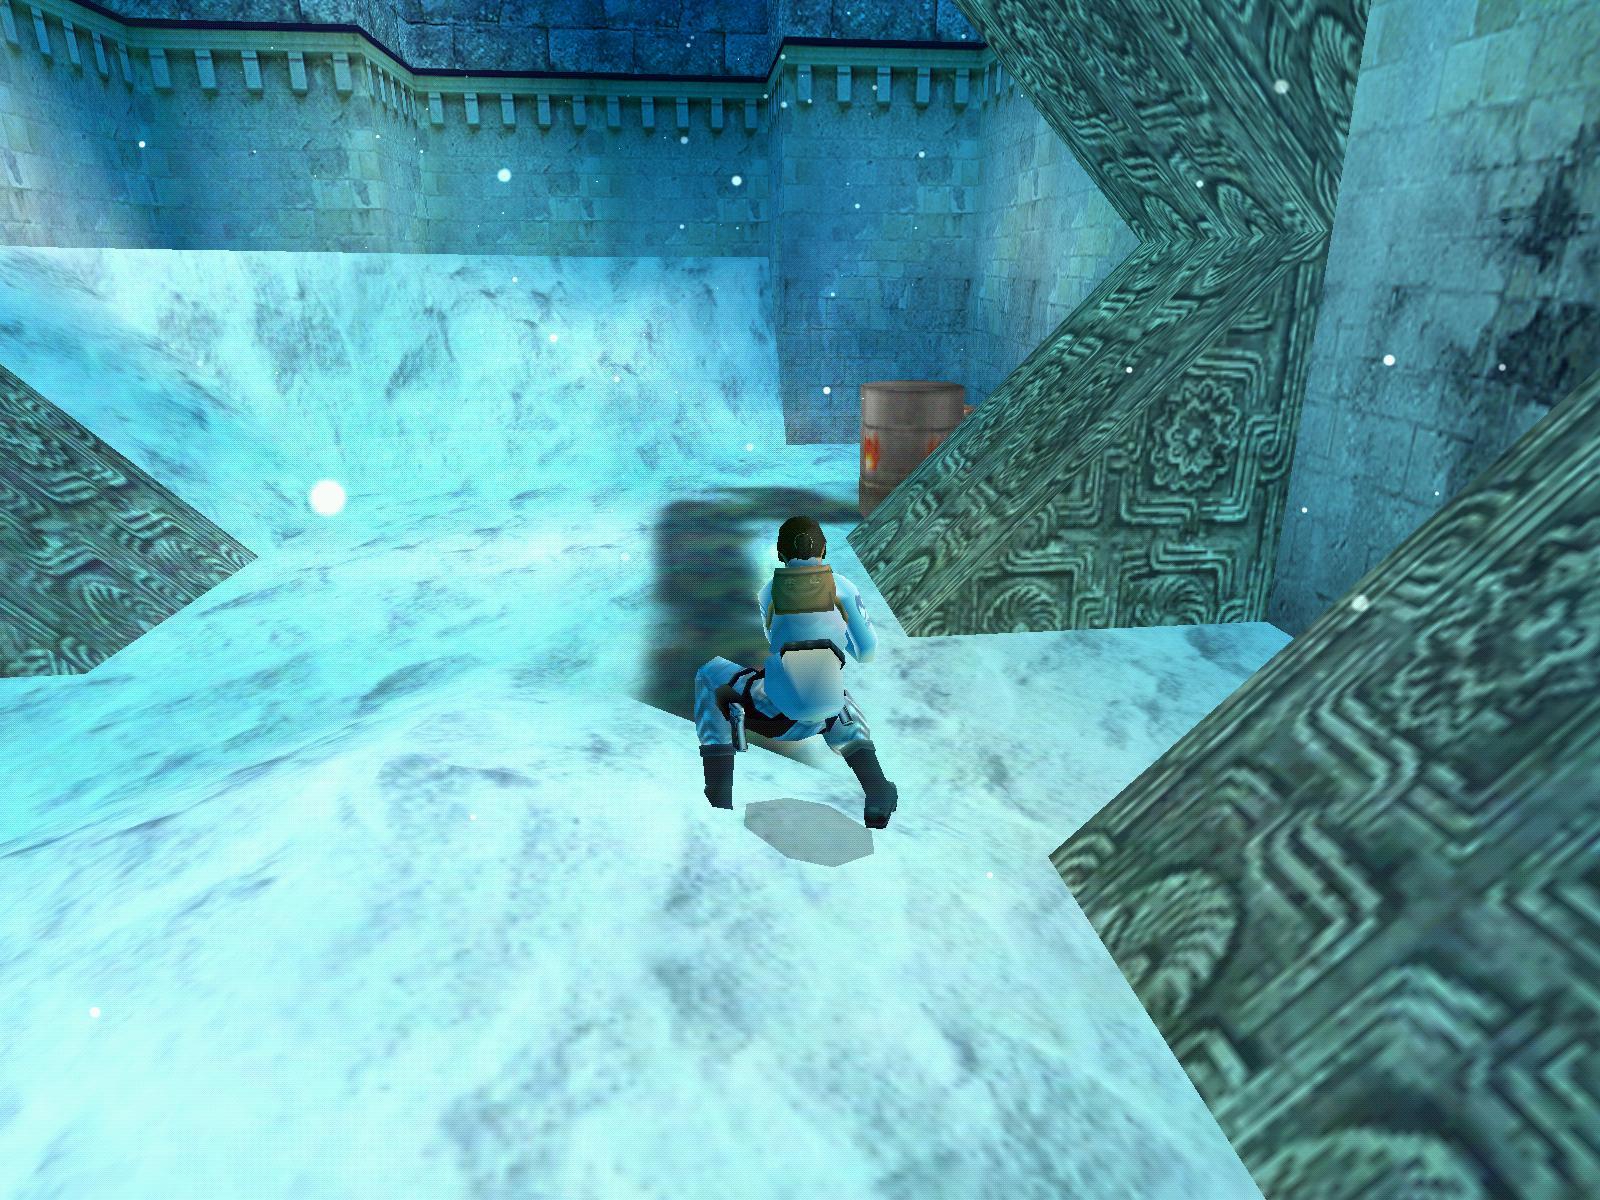
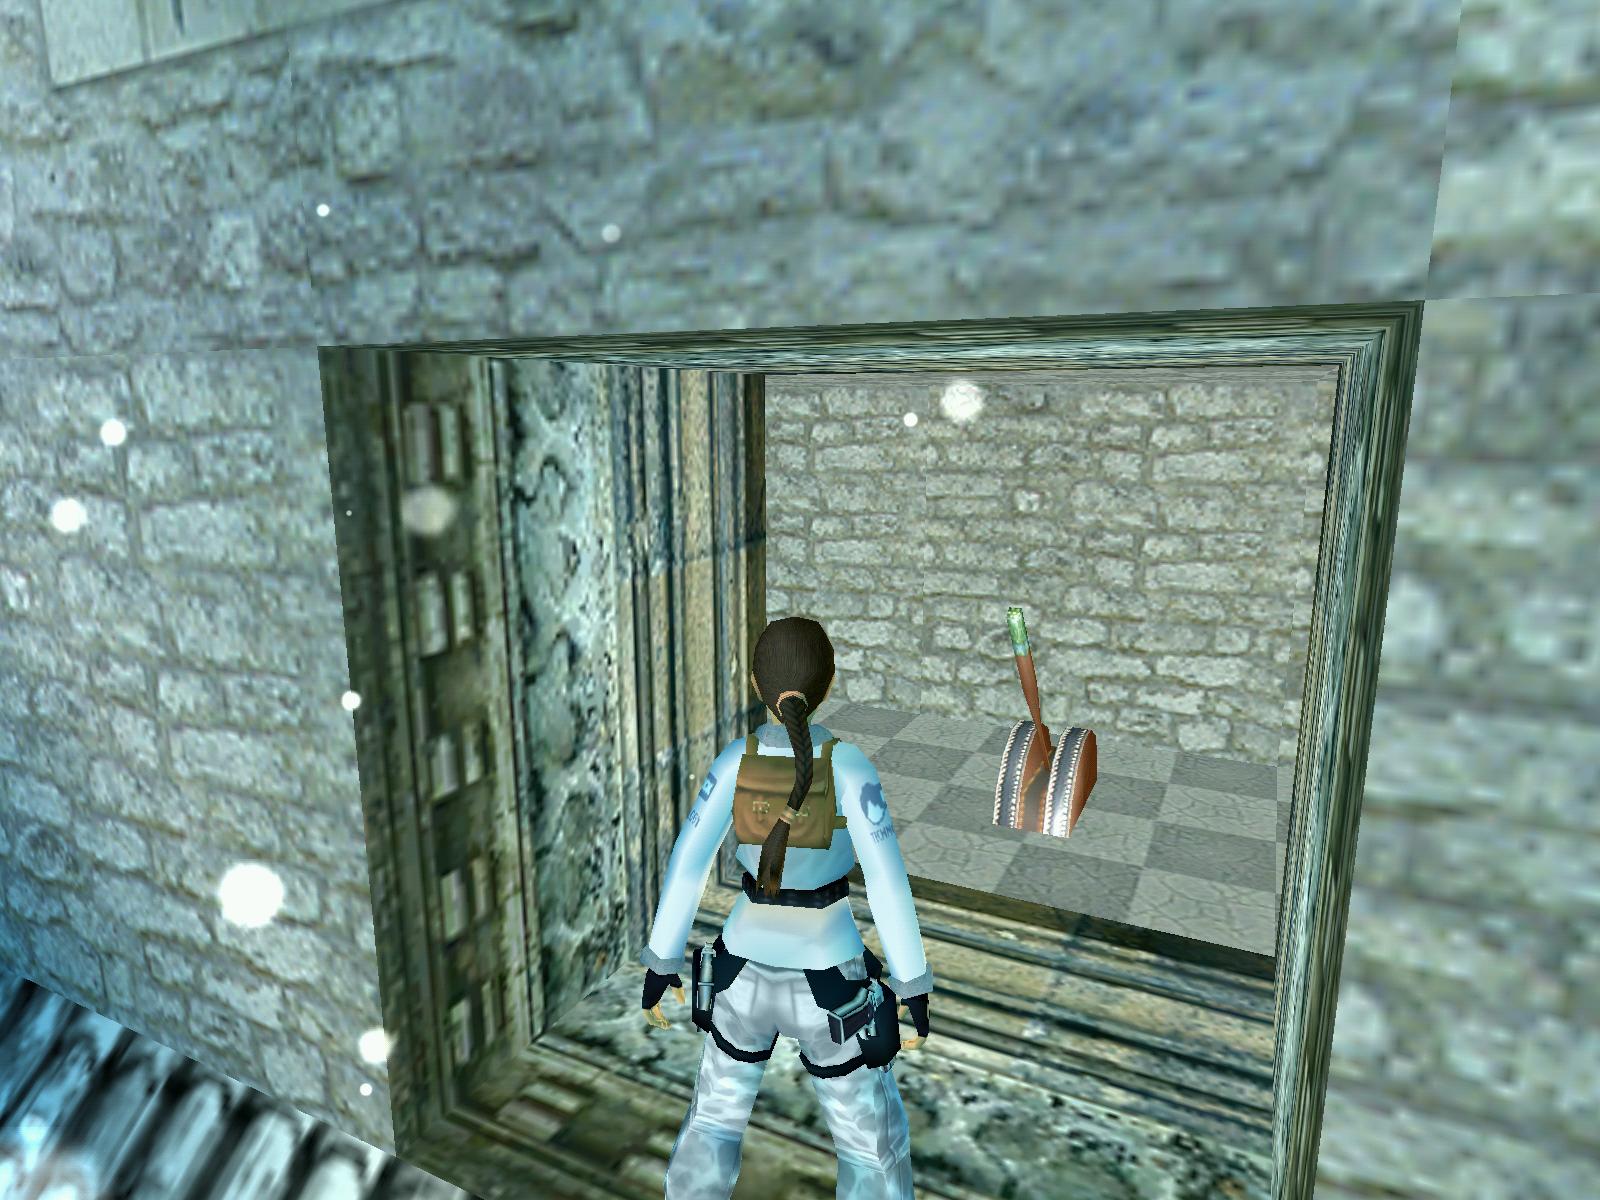
Climb the W wall and pull out into an outdoor area. Turn left and avoid the clutches of an unfriendly zombie snowman. Slide down S and follow the path to a frozen lake. Drop down onto the ice and loop around to the E wall. Climb up onto the block just to the right of the ice column, turn around and locate the first of two swingpoles. Use the swingpoles to get to the pillar against the W wall. Pull up onto the block ahead, turn left and take a running jump S. Take a standing jump up into the SW corner and pick up the YELLOW CRYSTAL. Return to the block and jump up to grab the opening in the W castle wall. Pull up inside and hop down into a room with a hole in the floor and a nearby wall switch.
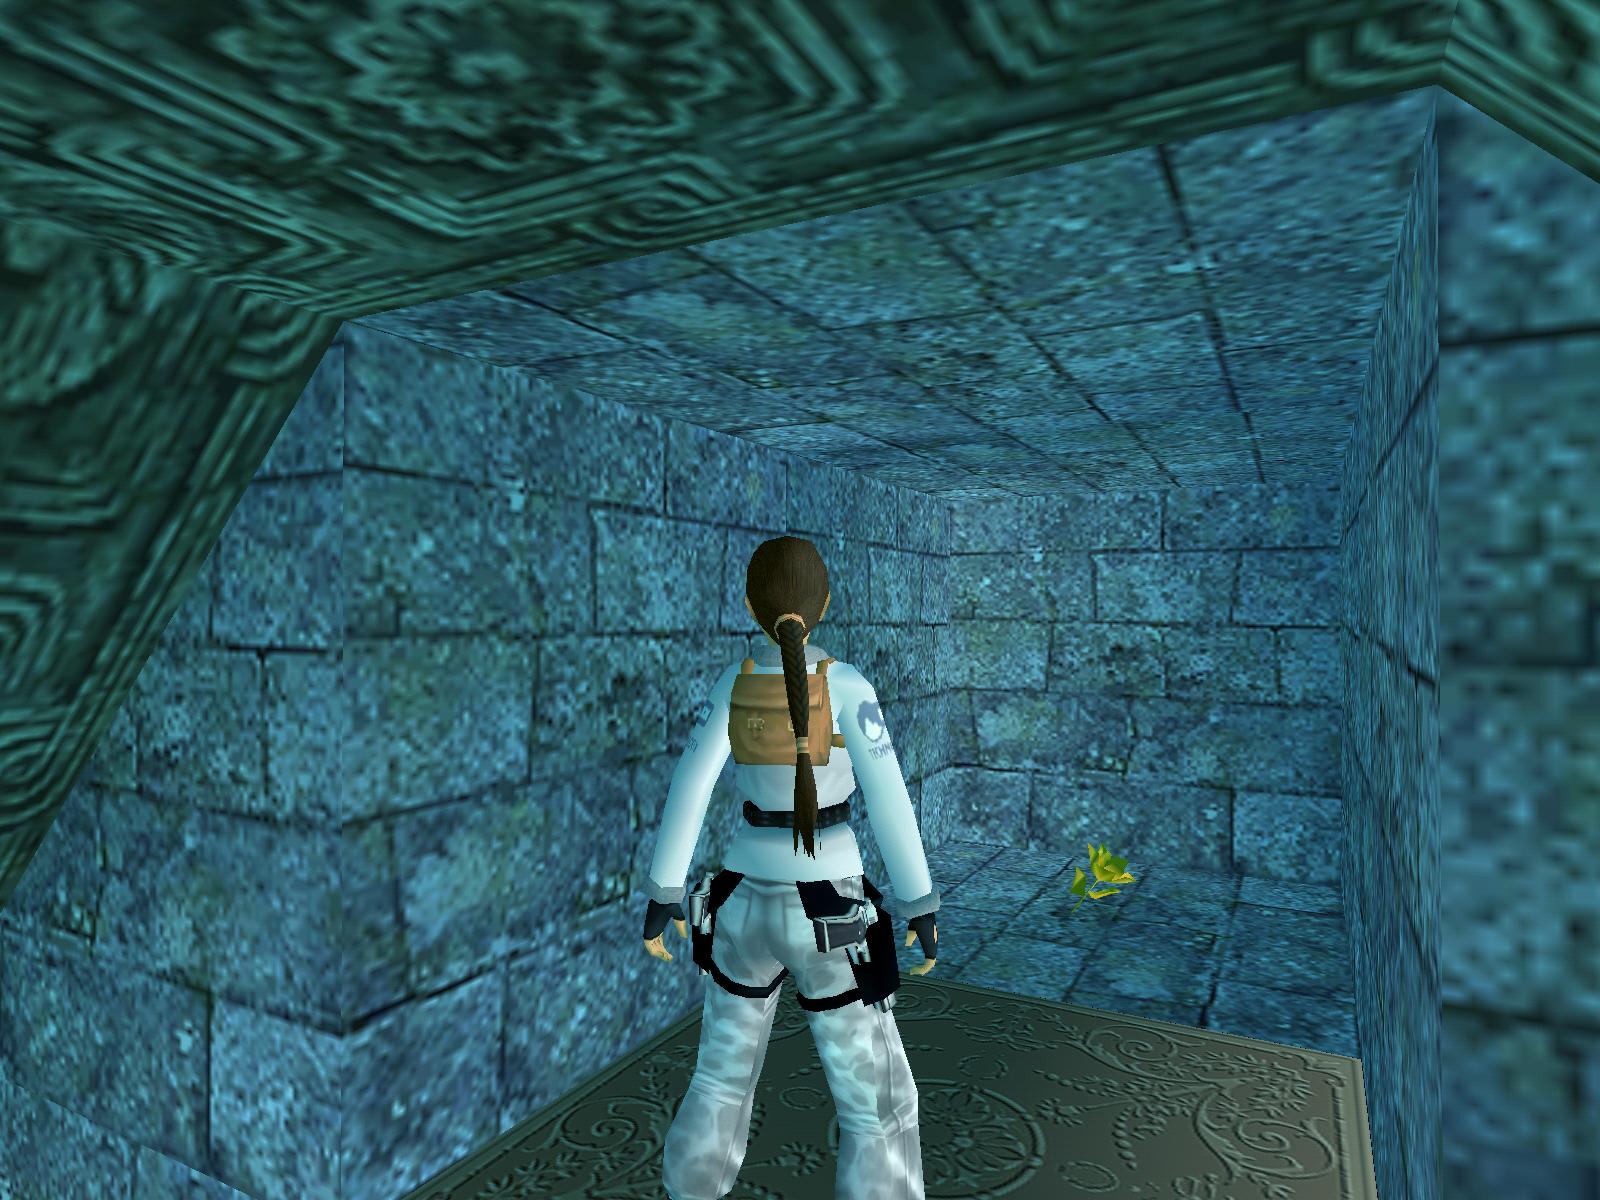
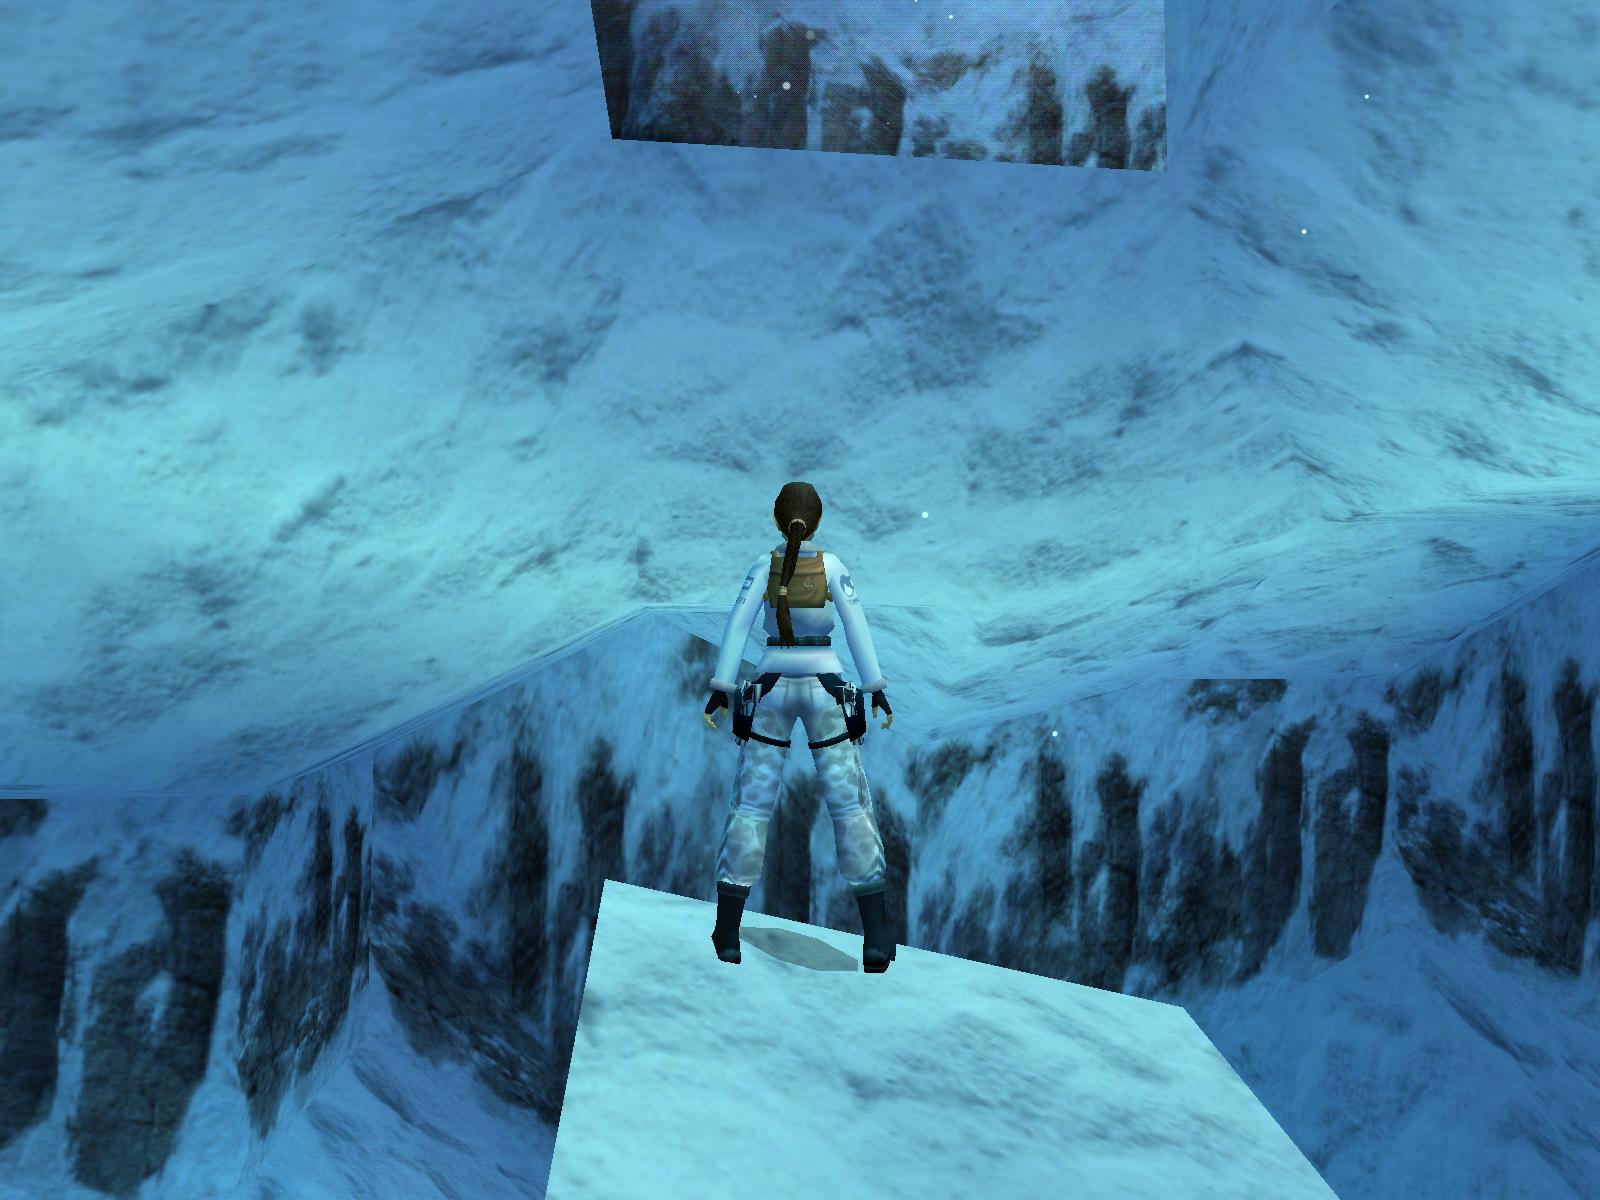
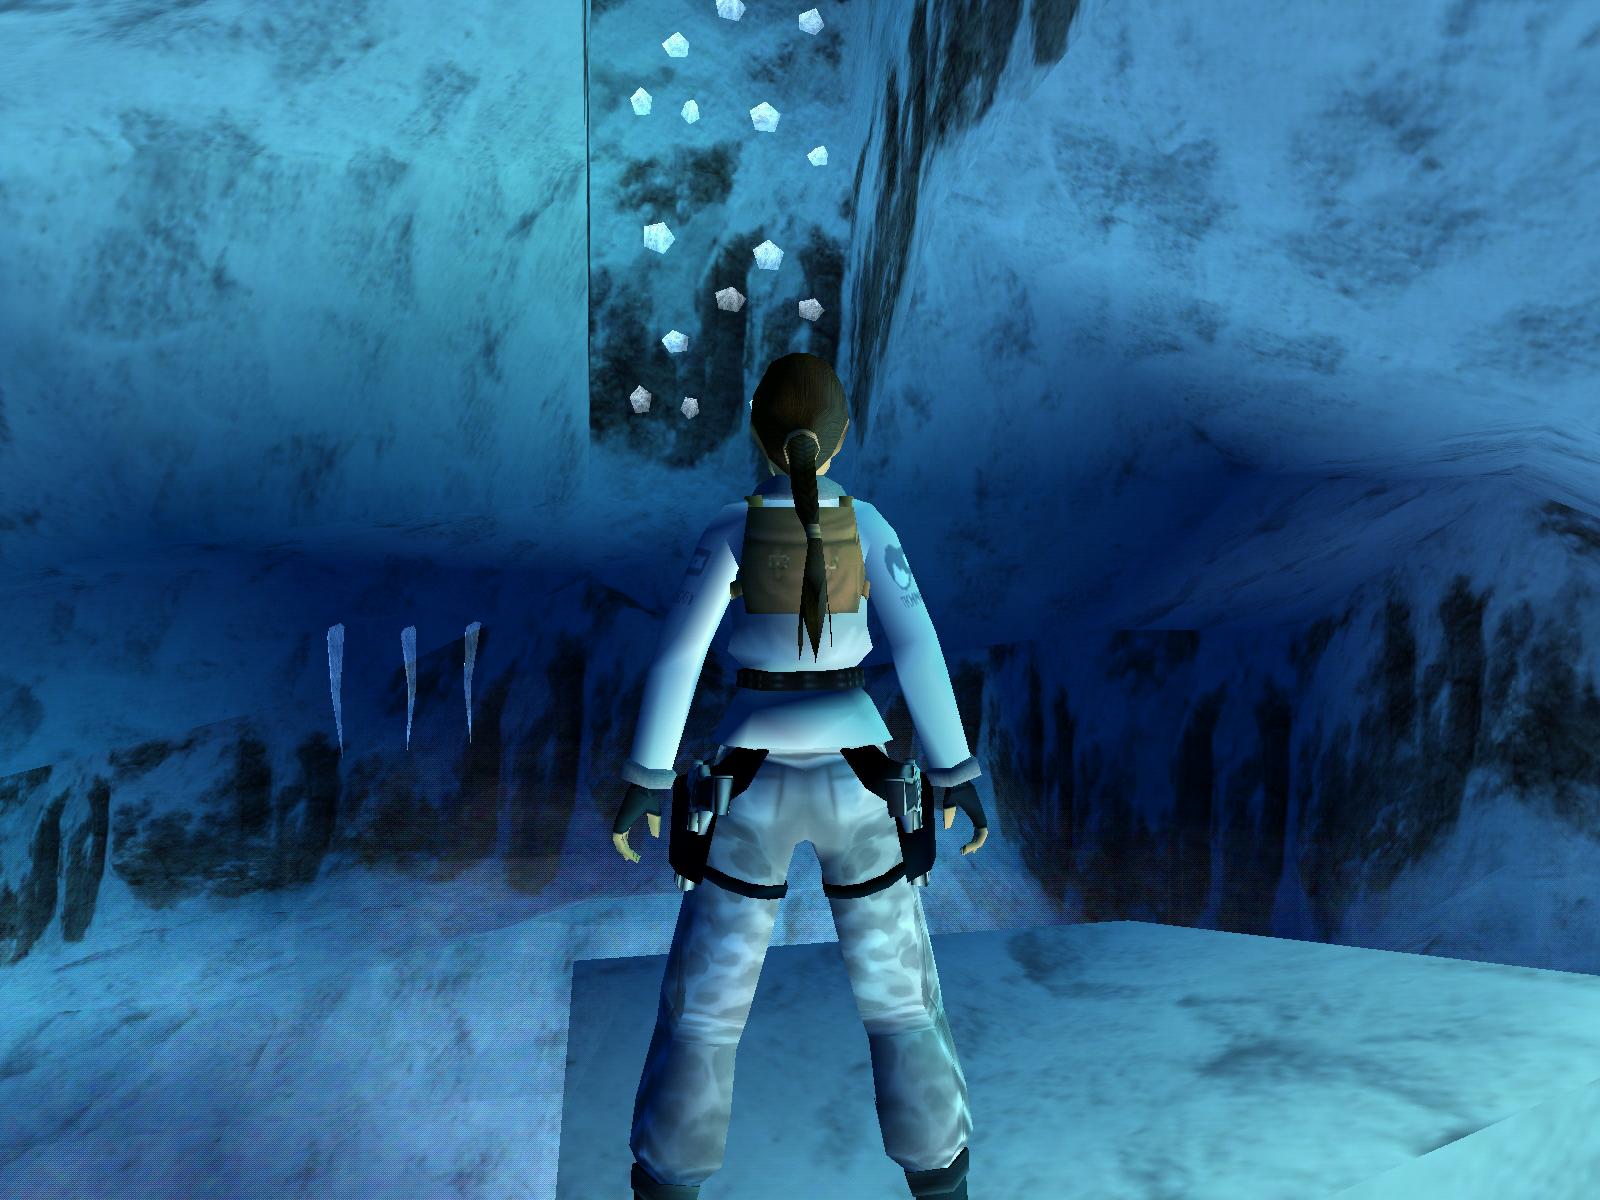
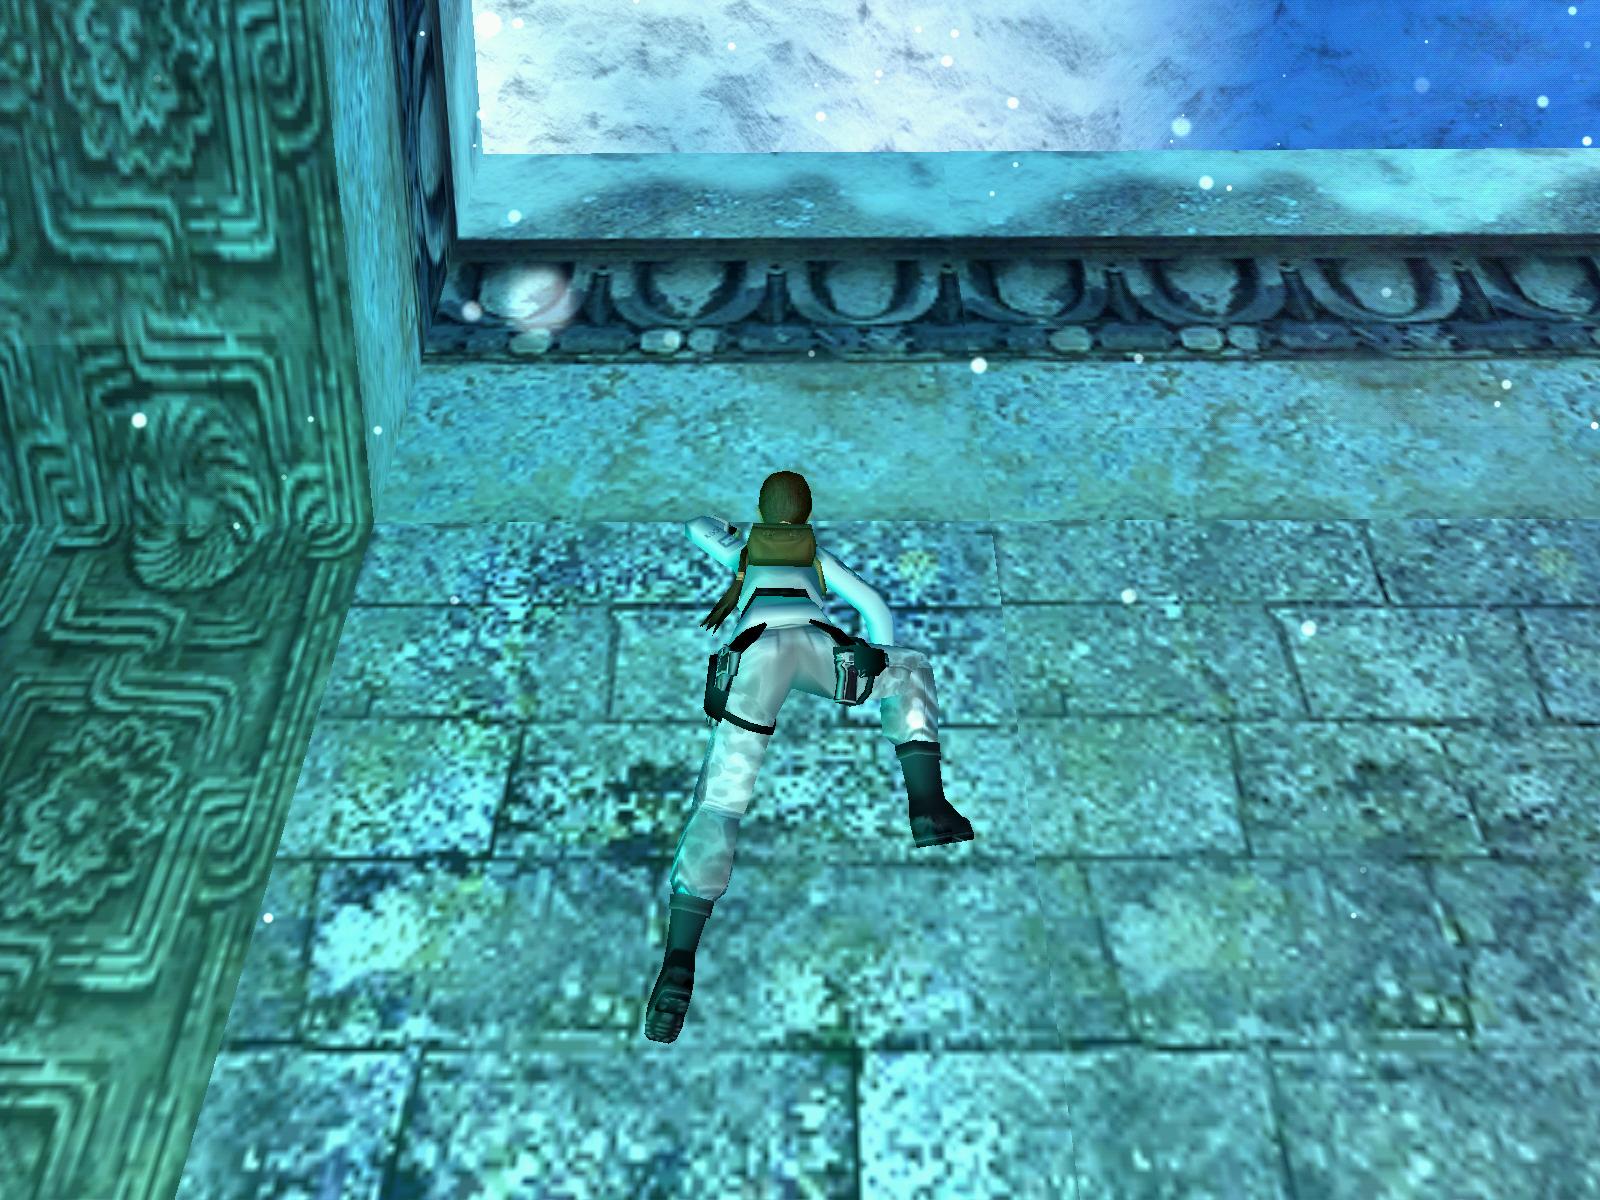
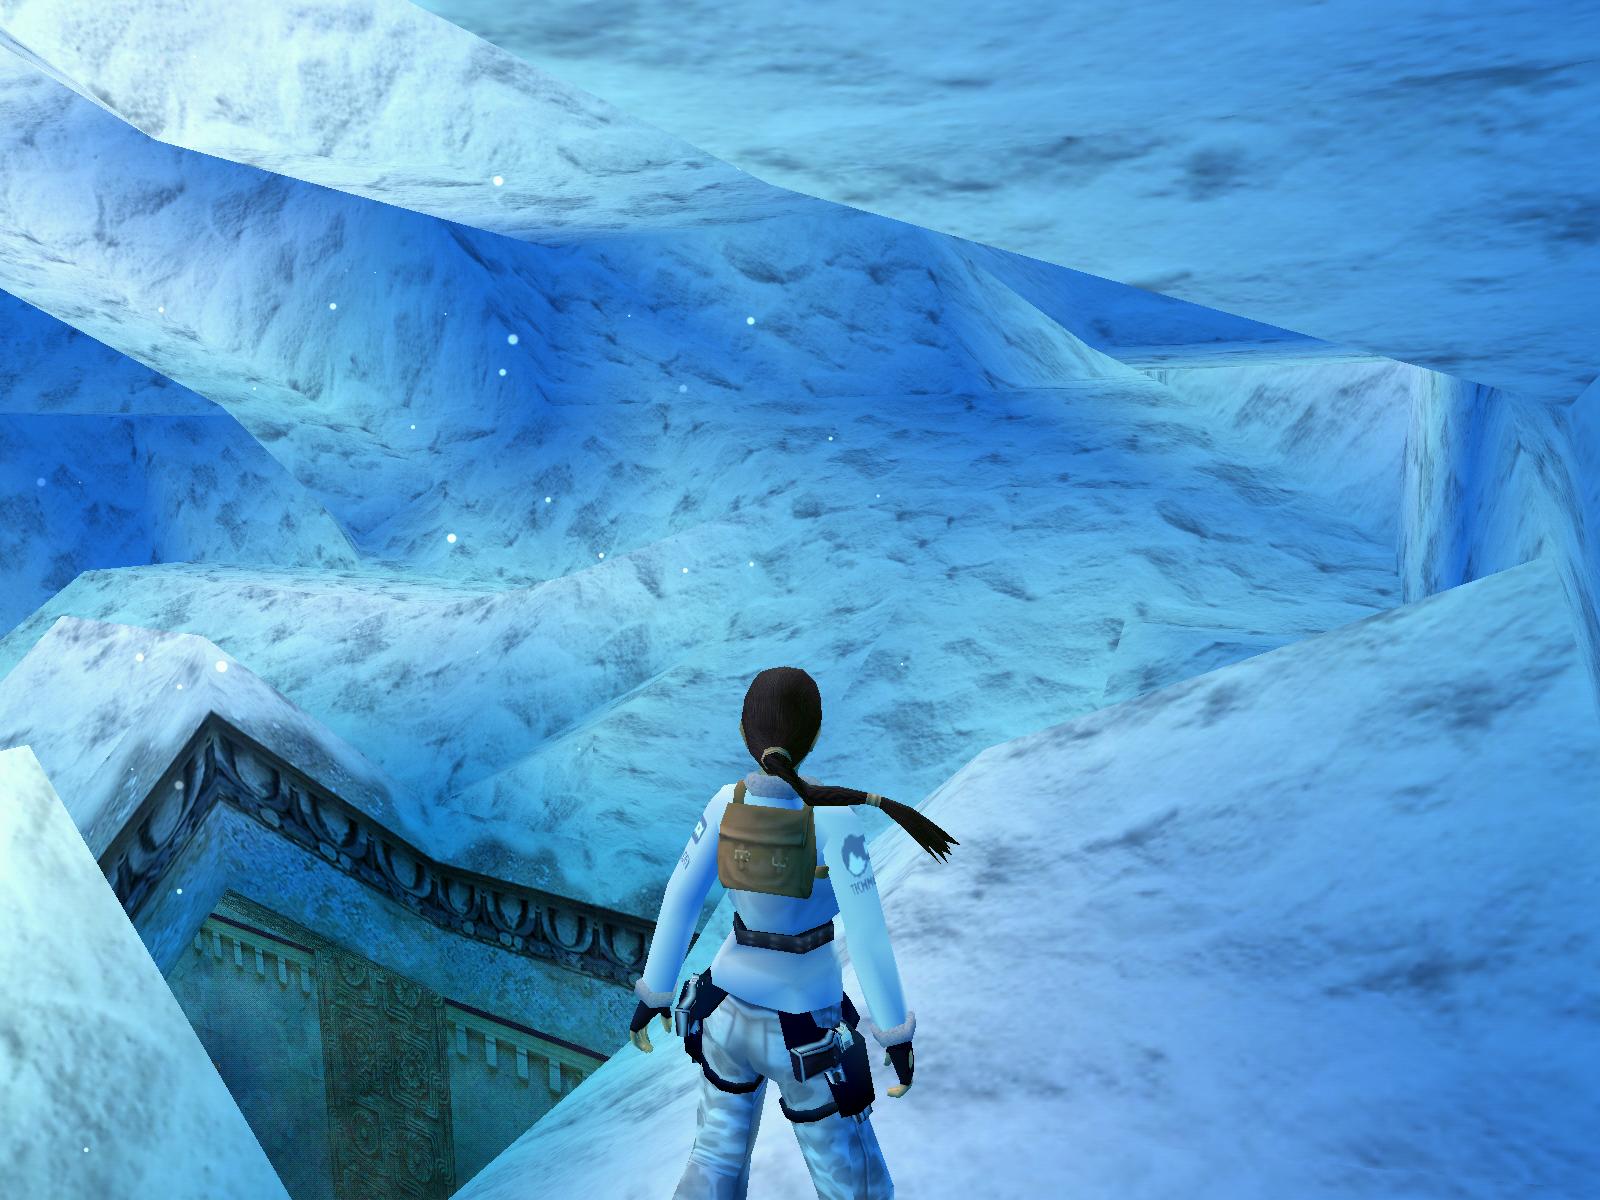
Pull down the wall switch to open the trap door behind you, hop back and drop down to a block staircase. Go on down and crawl past the tight opening to arrive at a snowy valley patrolled by a zombie snowman. Squeeze carefully past it and the scooped-out center of the valley and go to the NE crawl space. Crawl along the passage until you reach the PINK CRYSTAL. Go back to where the zombie snowman waits and go left past it. Locate the opening in the N wall and step out onto a ledge overlooking an immense cave. Take a standing jump forward and grab the ceiling strip, then monkey swing across the cave to the pillar in the N wall. Release and grab the crack in the pillar, then drop down onto an ice block. Turn left and take a running jump toward the W opening.
Follow the underground tunnel to a N wall. Climb up from ledge to ledge, staying to your left and using only the up arrow and action keys. When you reach the top, climb up onto the central pillar and face W, standing at the W end. Jump up to grab the opening above. Pull up to a higher area and back flip to the block behind you. Take a running jump forward and grab the ladder. Climb up the shaft, step forward toward the stained glass window and pick up the CROWBAR. Climb back down the ladder and drop down to the next level. Drop through the hole onto the pillar below. Hop down and loop around to the SE to find an opening. Step out onto the snowy mountainside as the camera angle changes. Slide backwards down the sloped roof and safety drop to the ground, where a familiar zombie snowman awaits you. Go S and slide down to the path. Drop down to the frozen lake and make your way back to the castle by using the swingpoles as you did earlier.
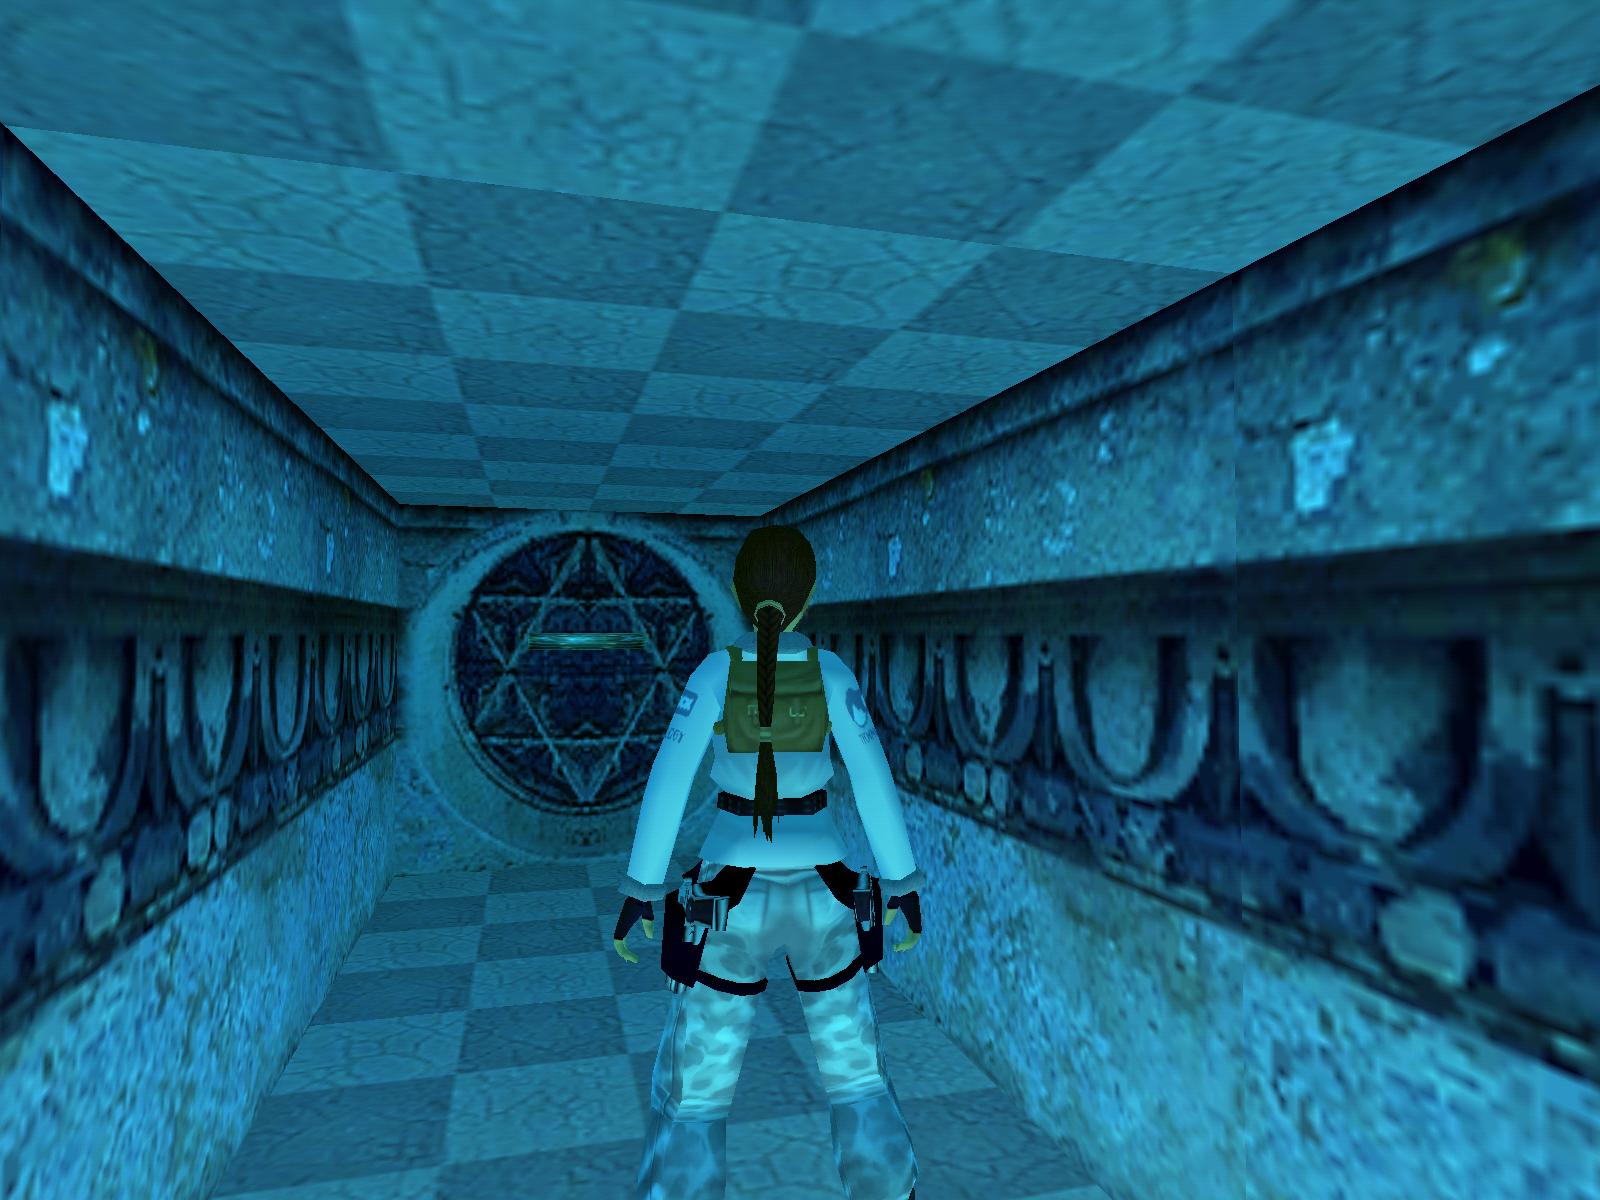
Once back inside, go around the hole in the floor and follow the N hallway. Pass a wall torch and keep to your left to avoid the spikes that spring up without warning out of the snow. Stop briefly when the spikes are triggered, to allow the snake ball to drop down from the corner ahead and roll to a full stop. Turn left at the corner and note receptacles for three crystals in the S wall, which means that you still have one to find. There's a passage in the N wall, but leave that for later. Between the snake ball and the leftmost receptacle is a section of the S wall that you can climb. Do so and pull up at the top.
Turn to your right, hop over the snow mound and go around and behind the building to your left. Face E, jump to the slope and slide down to grab the ladder. Climb down to the bottom and loop around to the right for the BLUE CRYSTAL. Climb back up the ladder and back flip to the ledge running along the back of the building. Go around to where you pulled up, jump over the snow mound and take a standing jump over the E platform. Jump off as you slide down the other side, so you won't get stuck in an illegal slope. Walk over to the NE corner, turn to face S and take a standing jump forward to grab the ladder in the shaft. Climb up to a bright enclosed area where you see a floor lever. Push it to open a trap door somewhere. You also get a cut scene of a torch.
Climb back down to the snow ledge, drop onto the snow drift at the NE corner and slide down to the hallway below. Insert the three crystals in their receptacles to open the gate to your right. Enter to find a collection of torches on the snow mound. Leave them alone for now. Continue past them and turn left under the archway. You can see a floor lever blocked by ice stalagmites. Use the crowbar to open the ice door. Push the floor lever to raise a trap door in an area you haven't yet visited. Exit this area and go to the N opening. Hop down a couple of ledges and look W. You're still a long way up, but you can see in the distance the trap door you raised just now. Make your way to the other end of the room by jumping down either left or right and hopping over the sloped rafters. Use the raised trap door to push the floor lever. This raises a block back in the hallway, so head back to the other end of the room, take a running jump to grab the E wall (note the ladder there) and pull up.
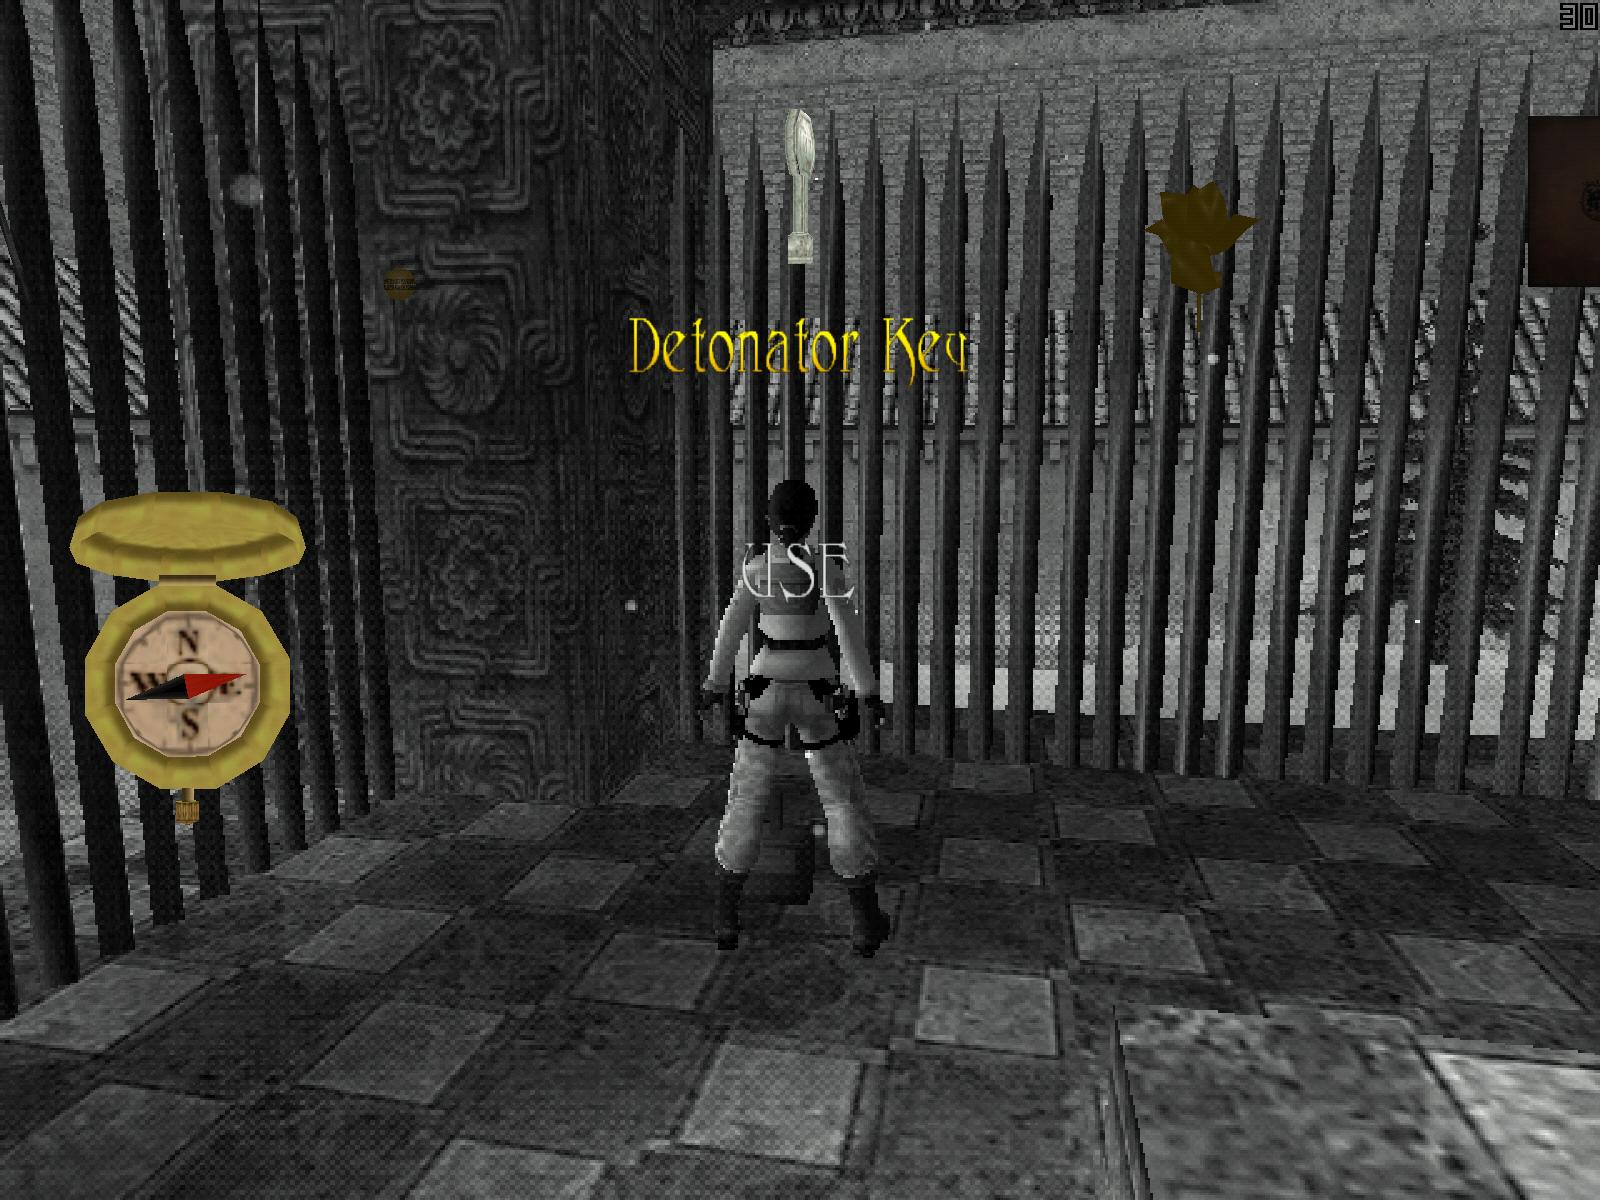
Pull up on the ledges to your right and pause to pick up a TORCH on your way back along the hallway. Hop up onto the raised block and use the flame to light your torch. Go back to where you jumped across to the raised trap door. Throw your torch to the floor far below, then use the ladder to get down there yourself. Pick up your torch and locate the black line on the floor leading to a couple of barrels. Stand at the end of the black line and stoop down to light it. After the flyby, drop your torch (you no longer need it) and go pick up the DETONATOR KEY where the barrels used to be.
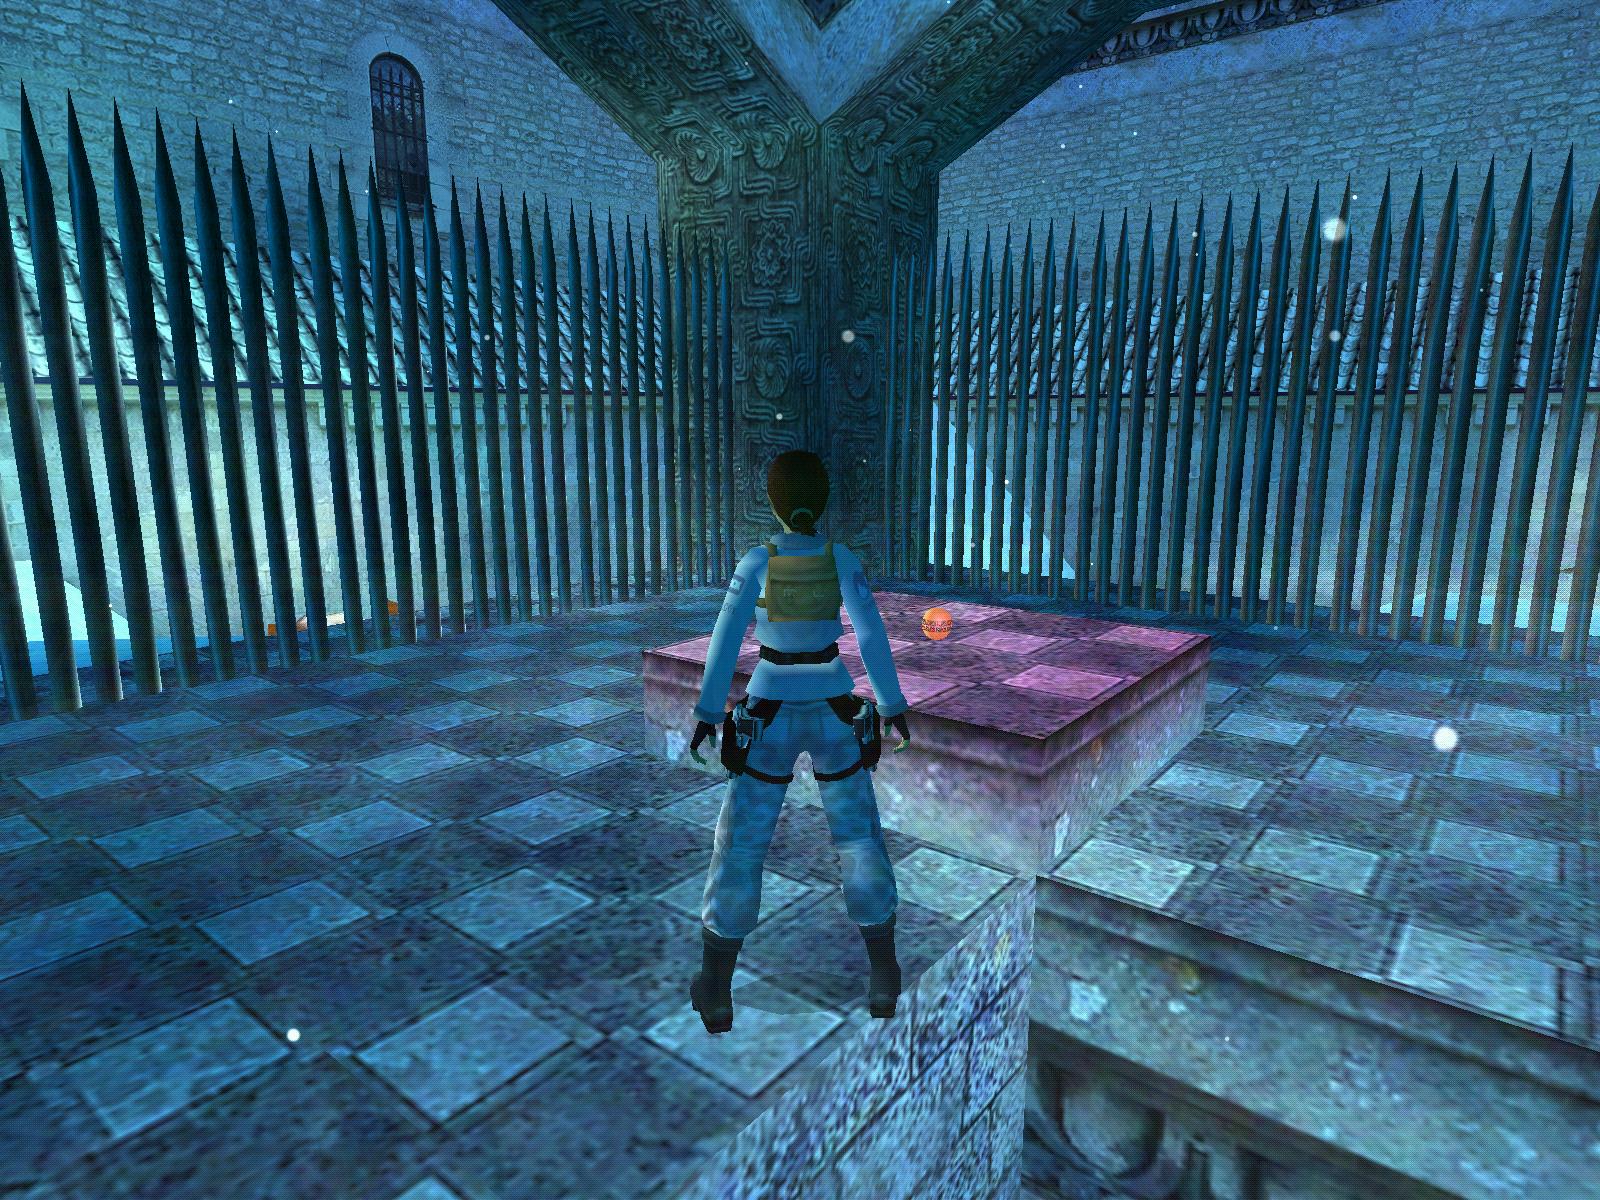
Climb back up the ladder, return to the crystal receptacles and enter the nearby N passage. Jump up the slope as the camera angle changes and slide down the other side. Turn around at the end of the passage and take a standing jump to grab the S ladder. Climb up into a caged area you probably noticed near the very beginning of this level. Pick up the GOLDEN BALL lying on the raised platform, then stand next to the detonator facing E and apply the Detonator Key. A hole is blown in the pole fence and a flyby gives you a quick view of the area where you began this level.
Head W through the hole in the fence and continue through the open W gateway. Turn left once inside the beginning courtyard and take standing jumps up the piled snow S and past a couple of trees until you reach an opening in the castle wall. You may recall that you shimmied over it much earlier on your way to the second secret. Jump inside and push the floor lever to lower a block in the courtyard with the thatched-roof buildings. Slide back down to the courtyard floor, exit E through the gateway and work your way to the S opening in the pole fence. Go all the way to the S wall, where you met the German-speaking ghost earlier, pull up onto the wall at the same spot you did before, and shimmy left until you're able to pull up into the opening created by the lowered block.
Go through the empty room and pull up into the opening in the far wall. A cut scene shows an inappropriately dressed woman saying something to you in German. Immediately thereafter, a close-up of the wrecked motorbike marks the end of the level.
Walkthrough by Phil Lambeth
Az oldalon közölt képek, a szöveges tartalom, illetve minden sajátkészítésû anyag, a © TR Editor.hu tulajdonát képezi. Azokat semmilyen formában nem lehet reprodukálni, másolni, terjeszteni, csak a szerkesztõség engedélyével.