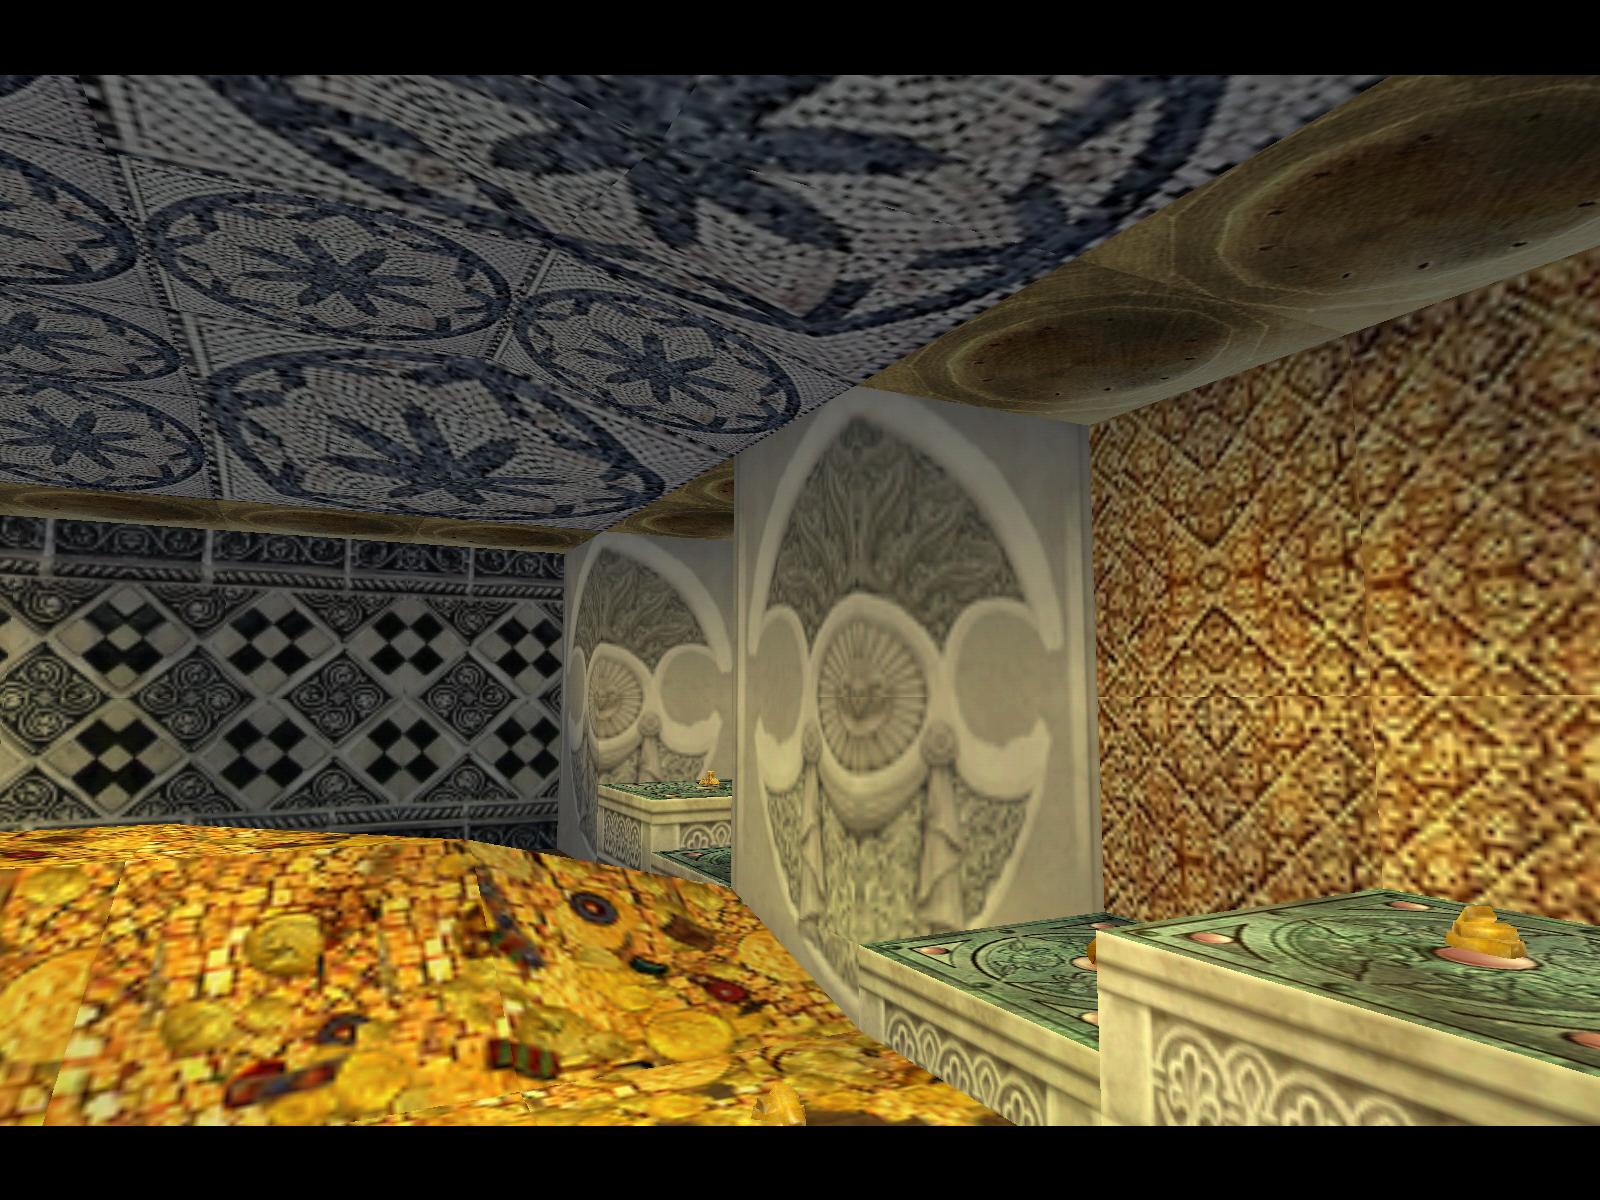
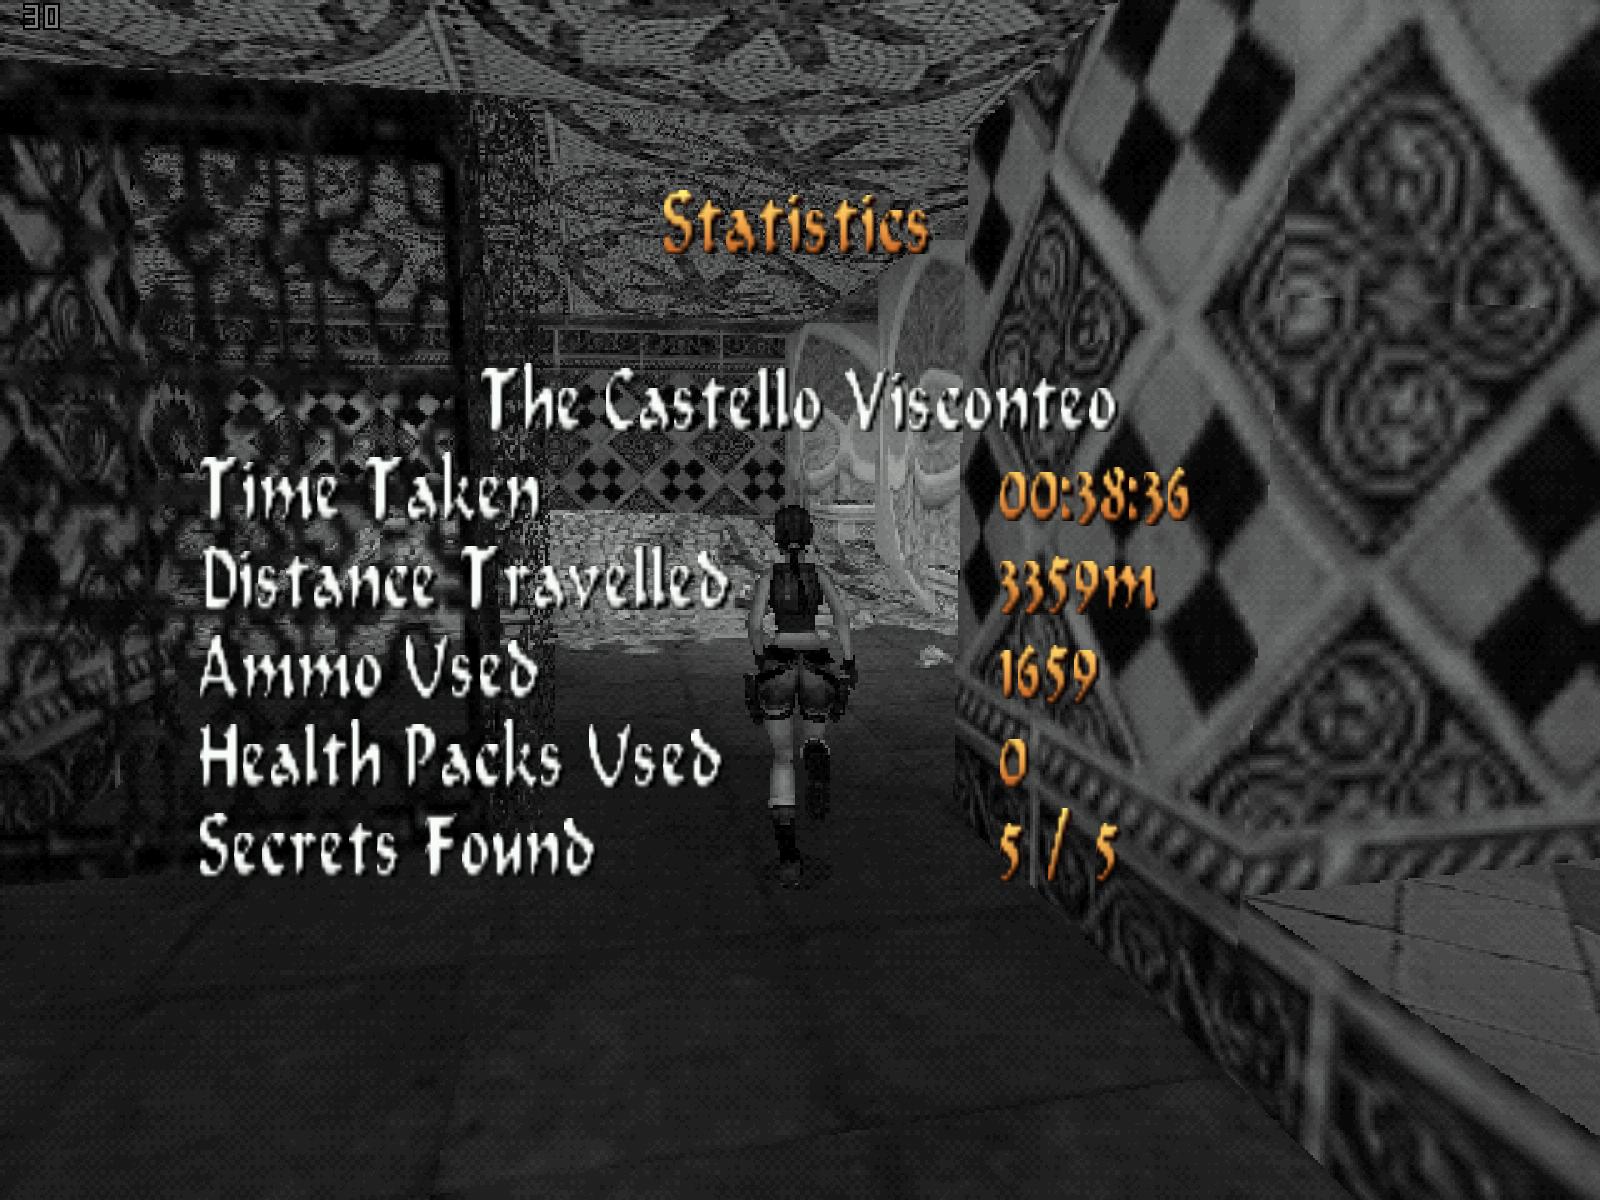
The Castello Visconteo
Download: Here
Story:
Locarno 2007, Lara is looking for an old treasure, hidden under the old walls of the Castello Visconteo.
In 13th century, when the family of Visconti (Milan) spread its influence till Lake Maggiore, were in charge asked an architect to build a castle in Locarno. The inhabitants - of the fortress - had their own private port, protection walls were well fortified and plenty guard towers. The palace was employed like a house for the soldiers and gave them prestige and power. The Visconti were definitely pulled out from the region about in 1513 by their successors, the bailiffs of the confederation, who impose their law for the subsequent 300 years. The castle was destroyed and rebuild several times but it was always considered the centre of city life. In 1803, when Ticino entered the Swiss confederation and the bailiffs leaved, the castle (or better its ruins) belonged to Canton Ticino.
Walkthrough:


Secret 1-2-3-4-5: 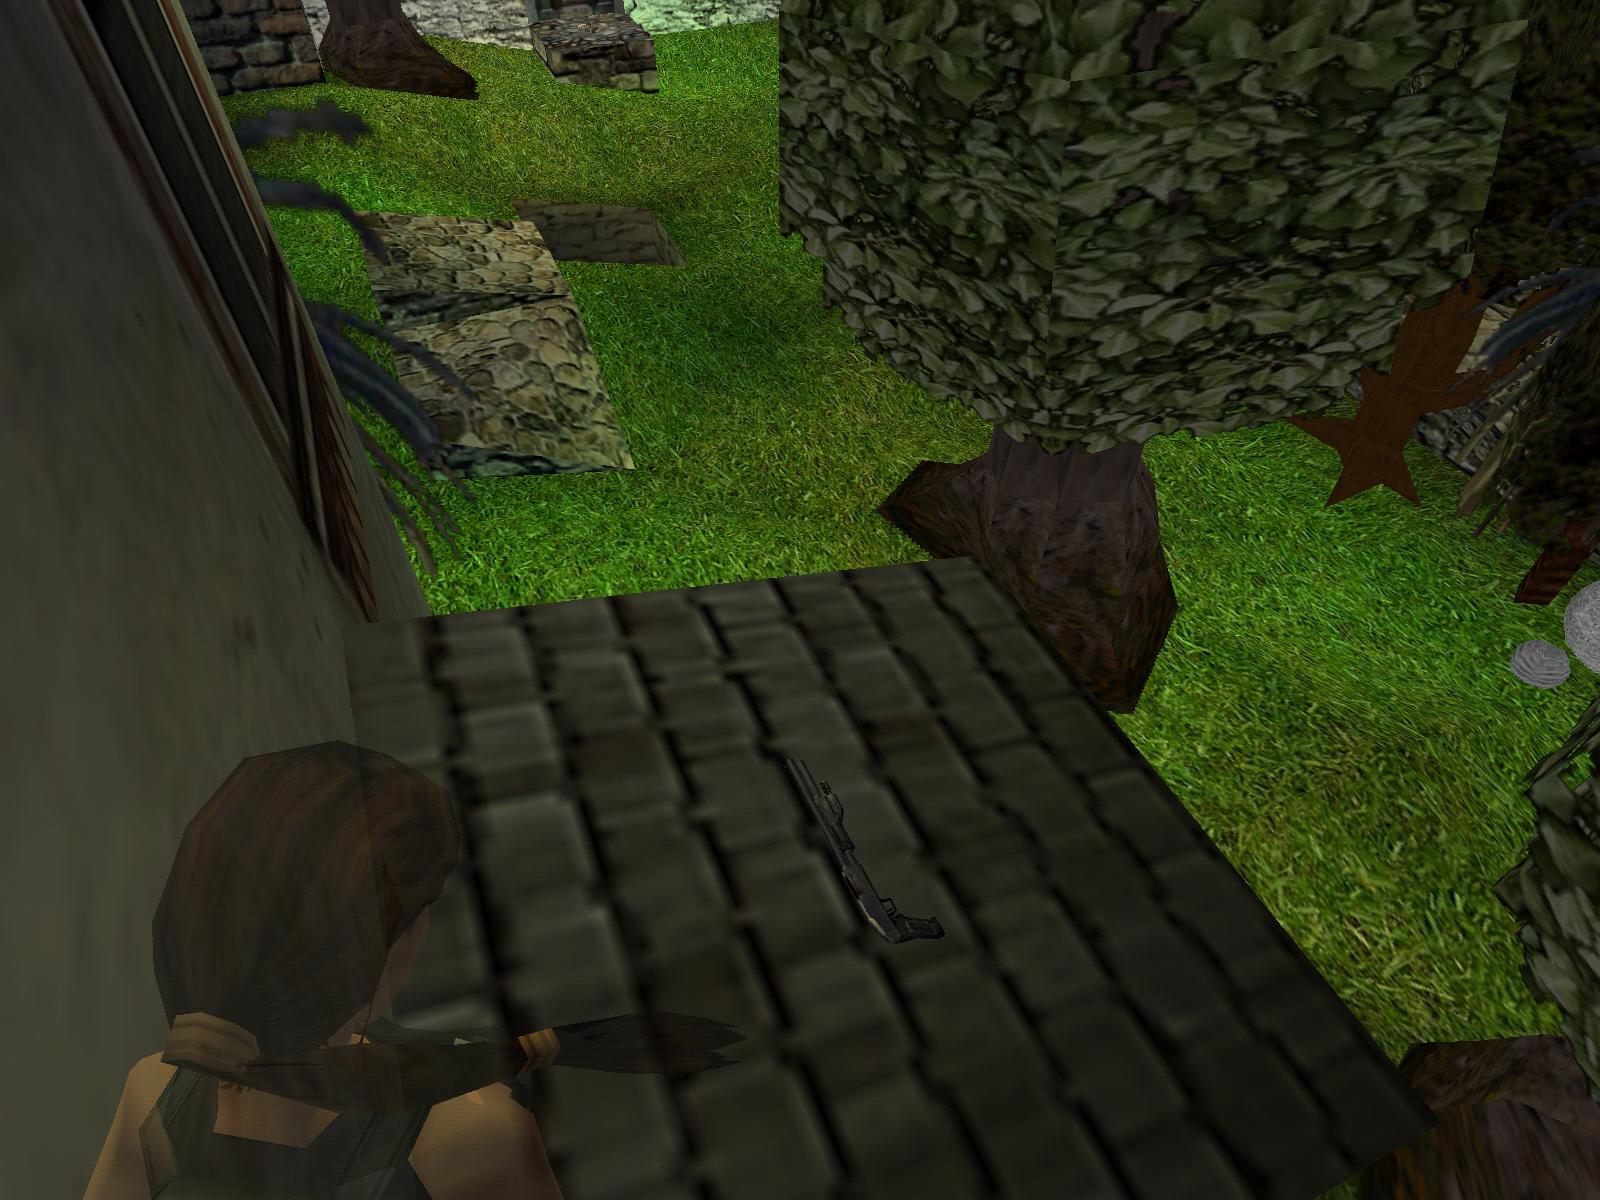
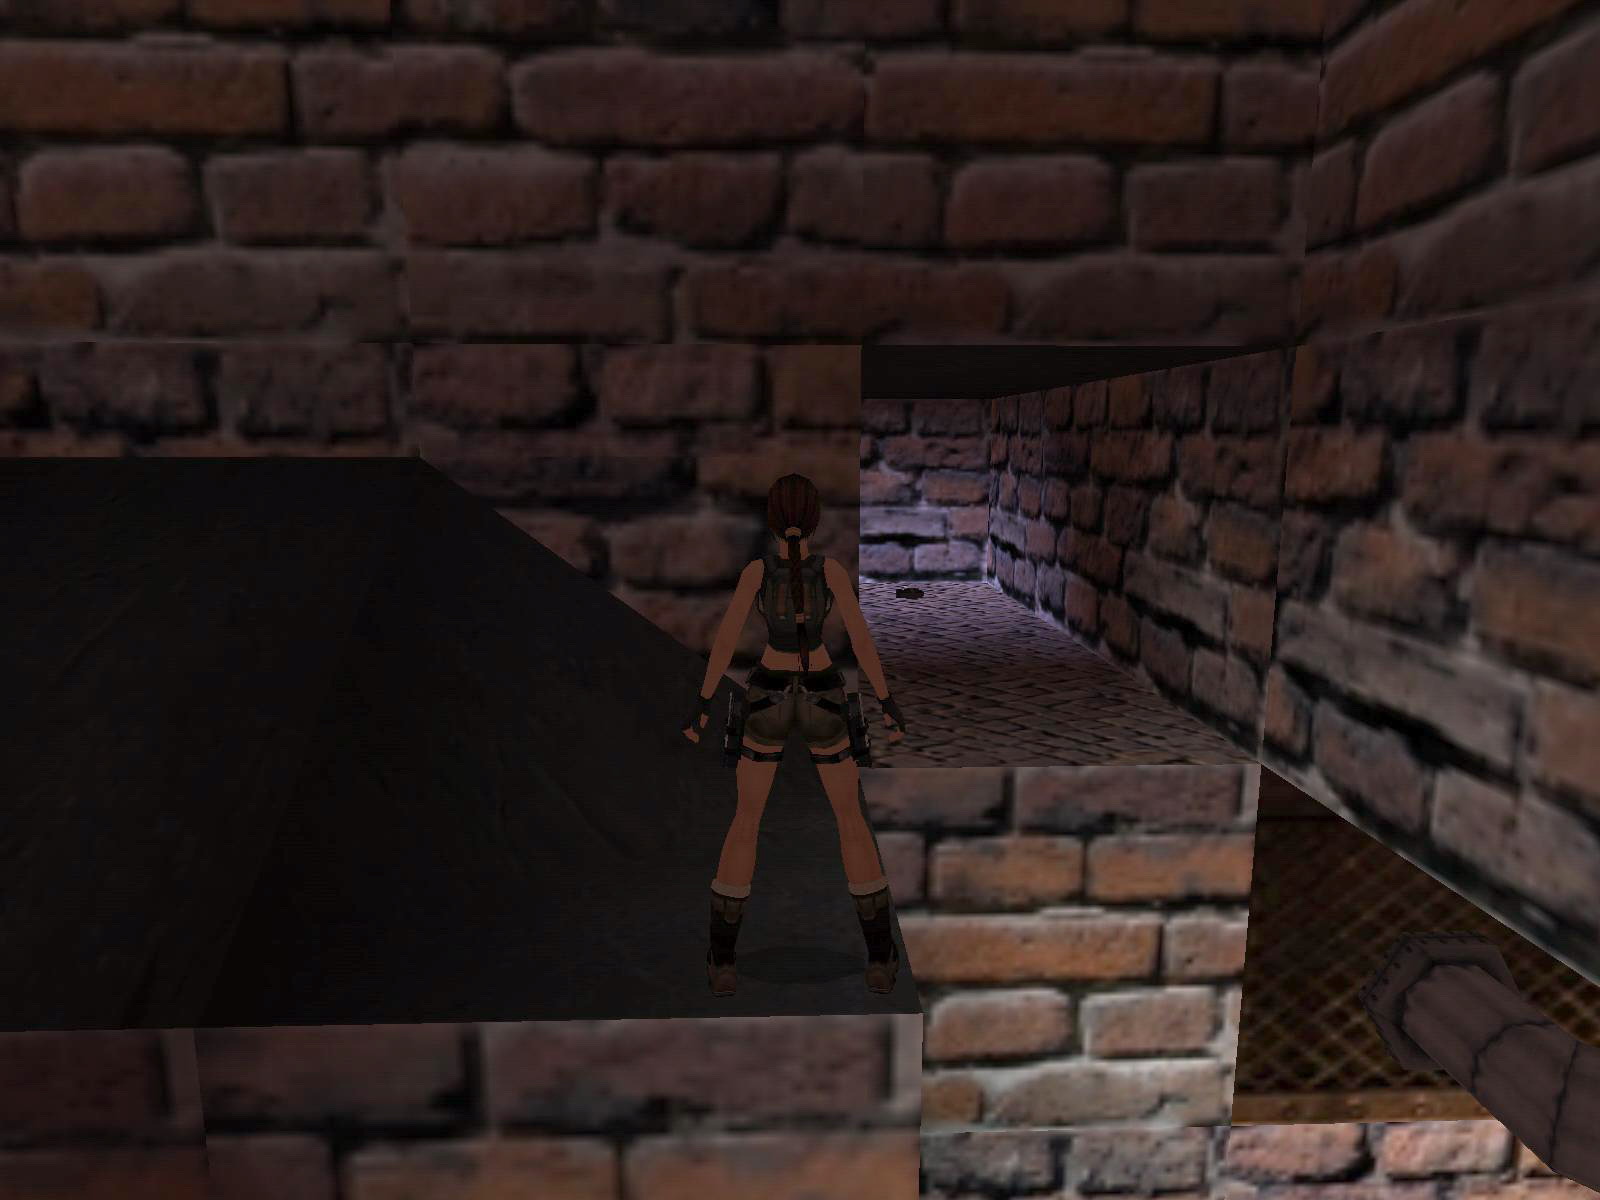
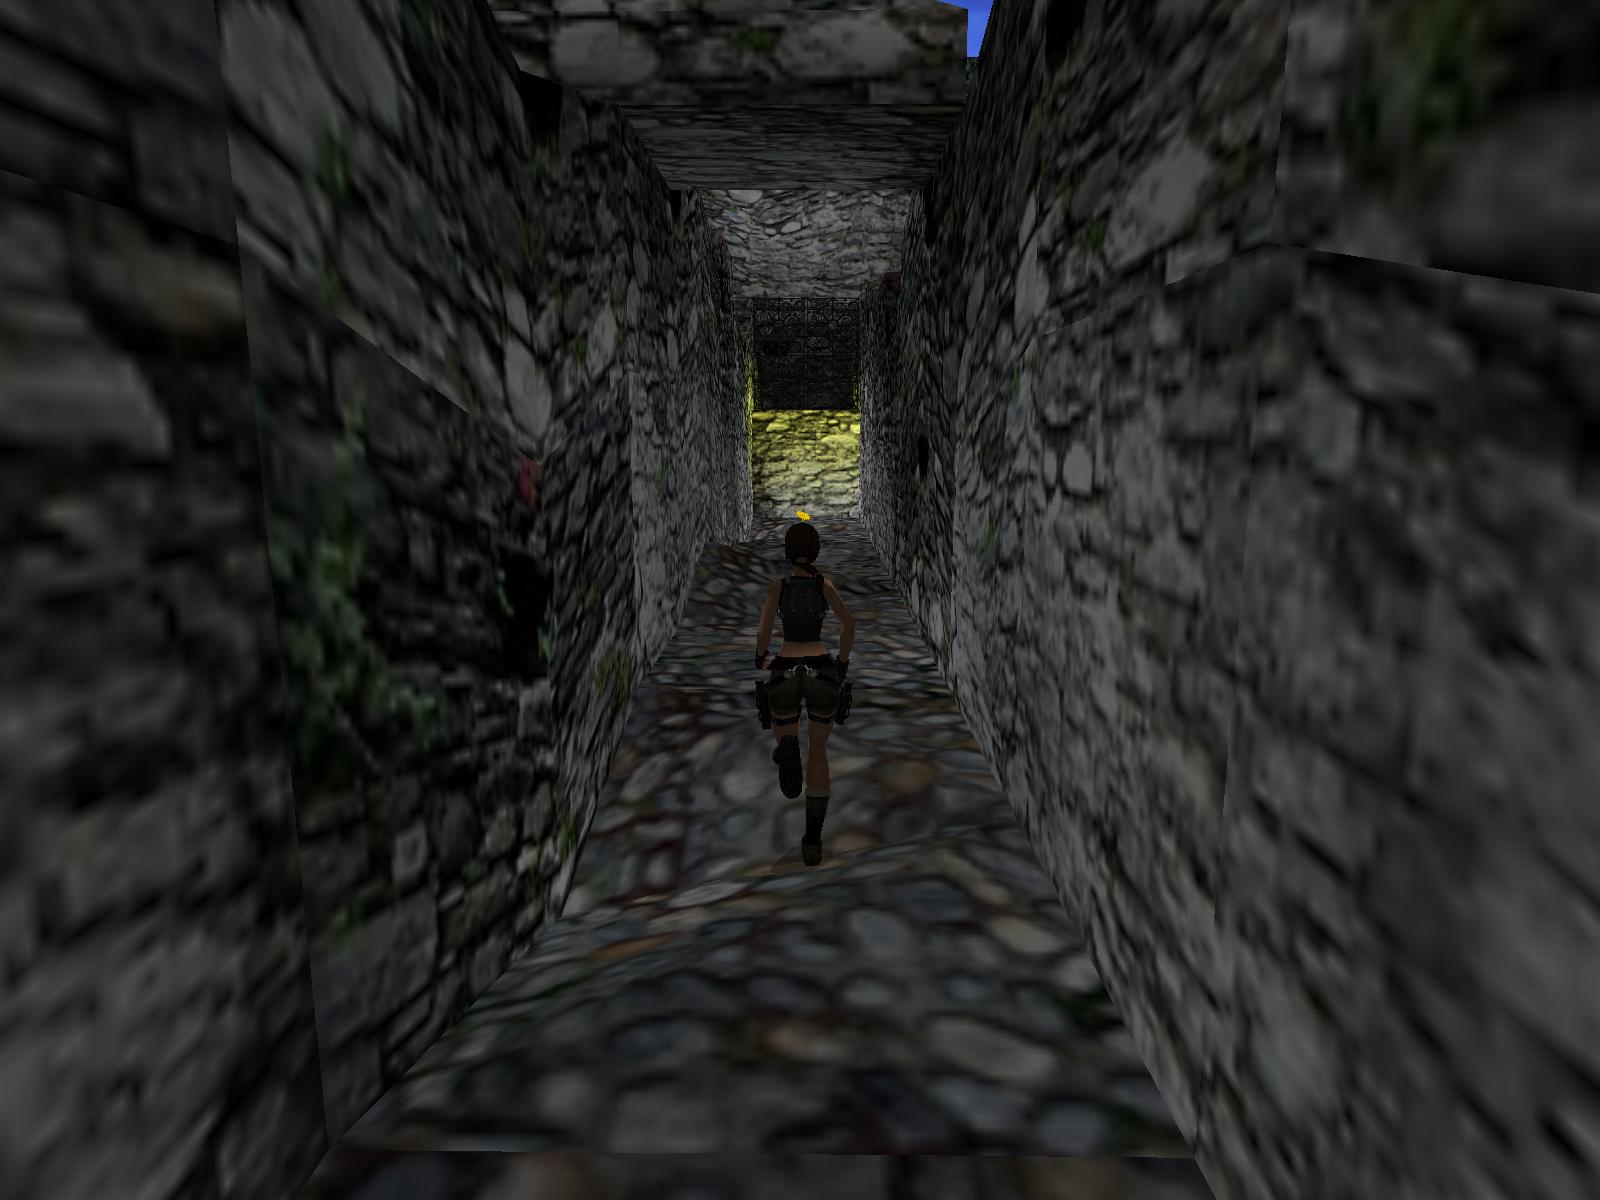
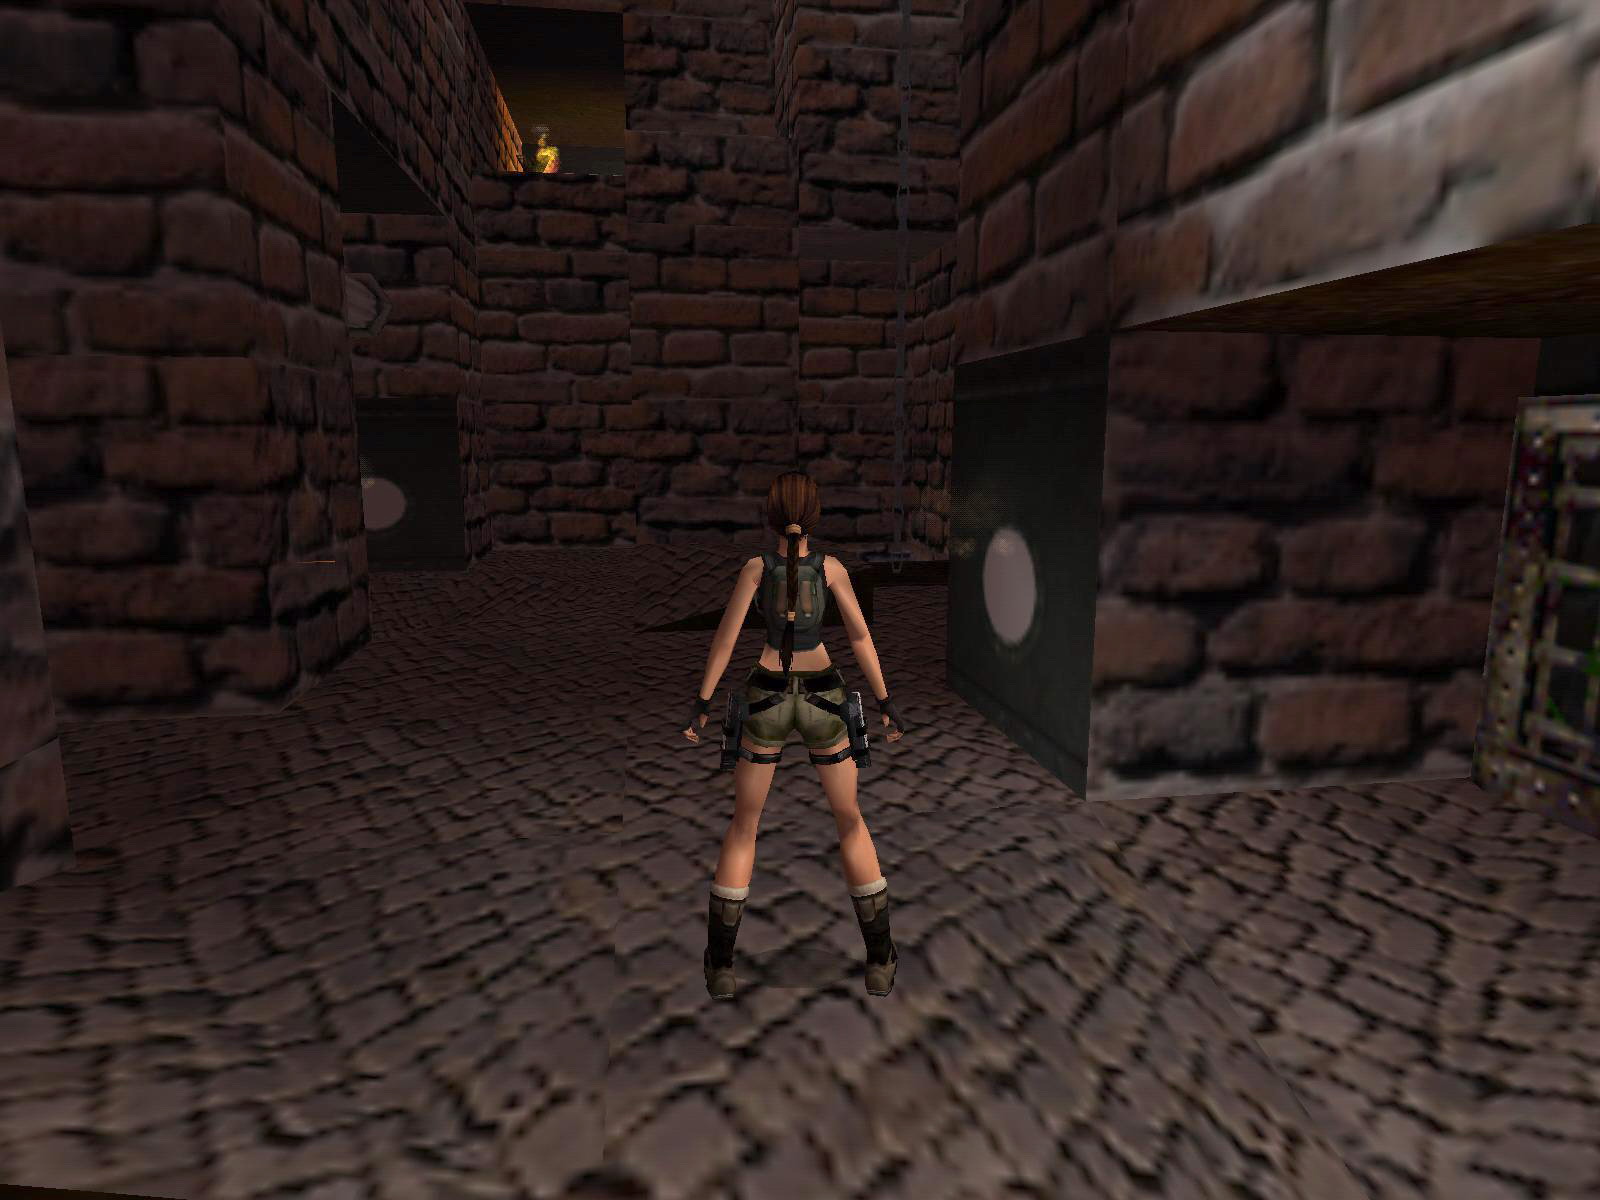
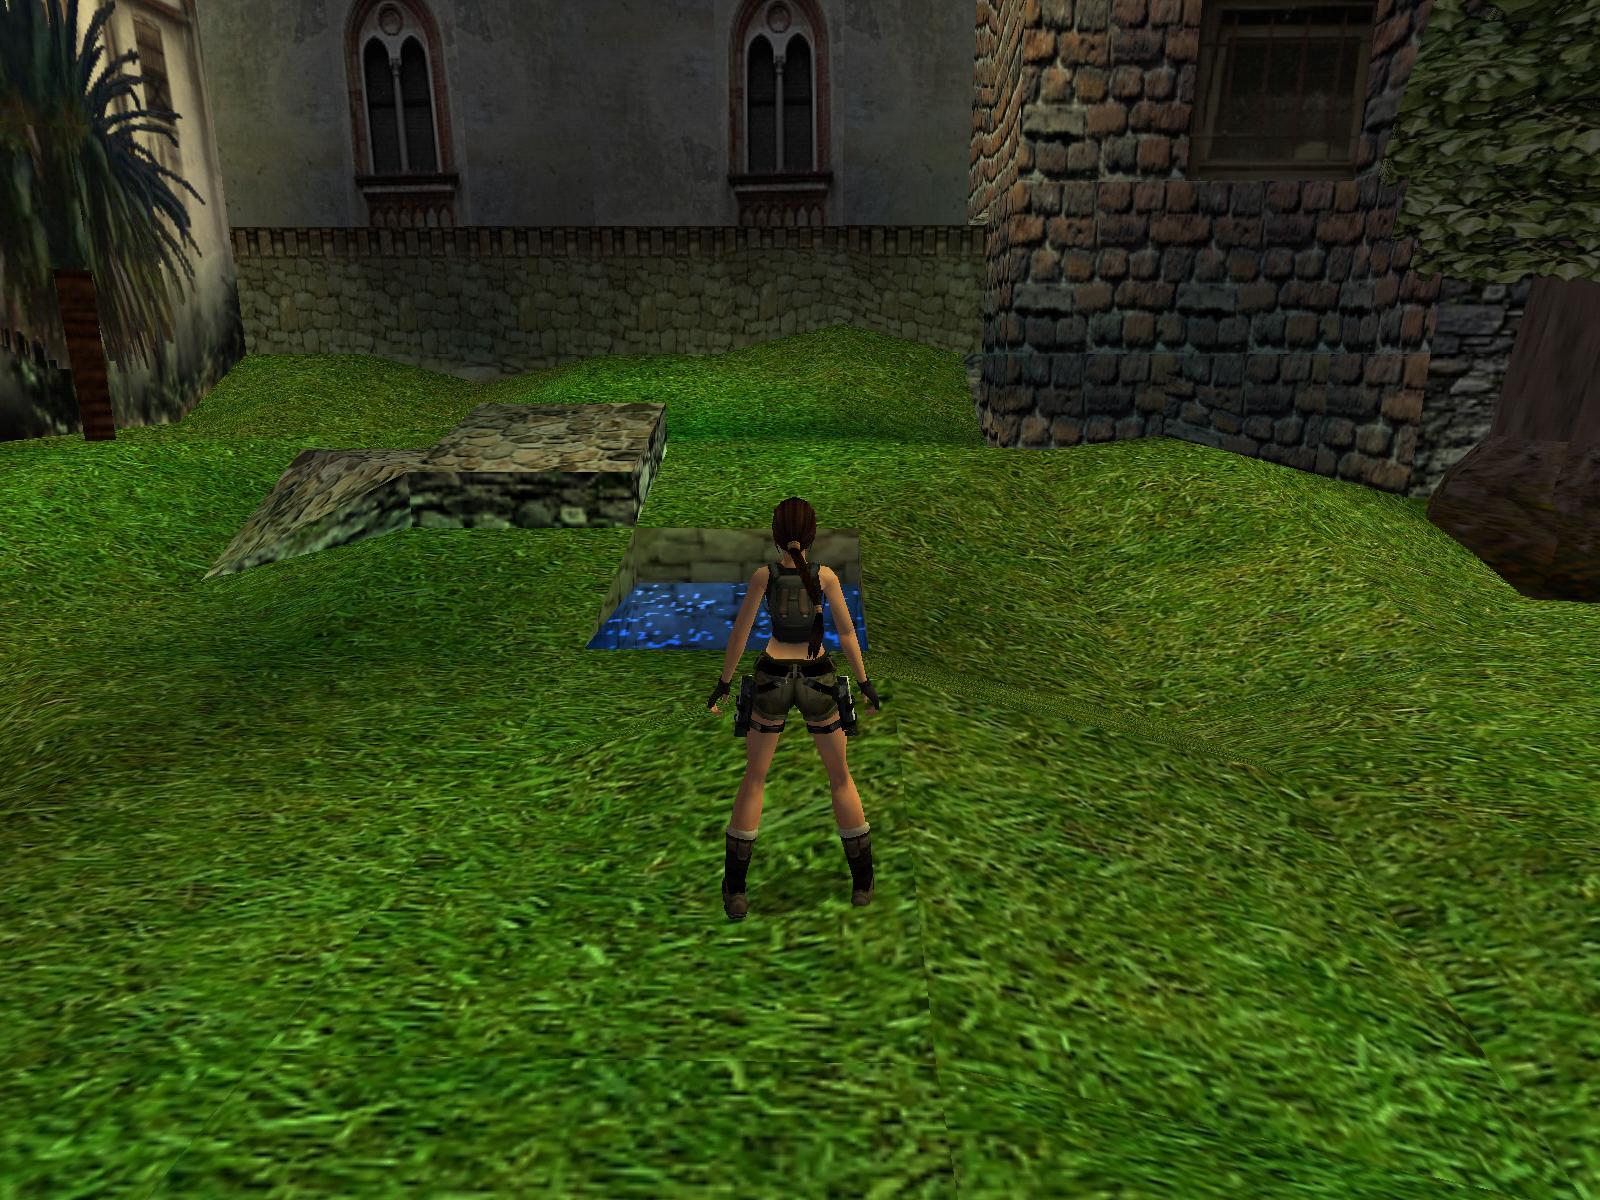
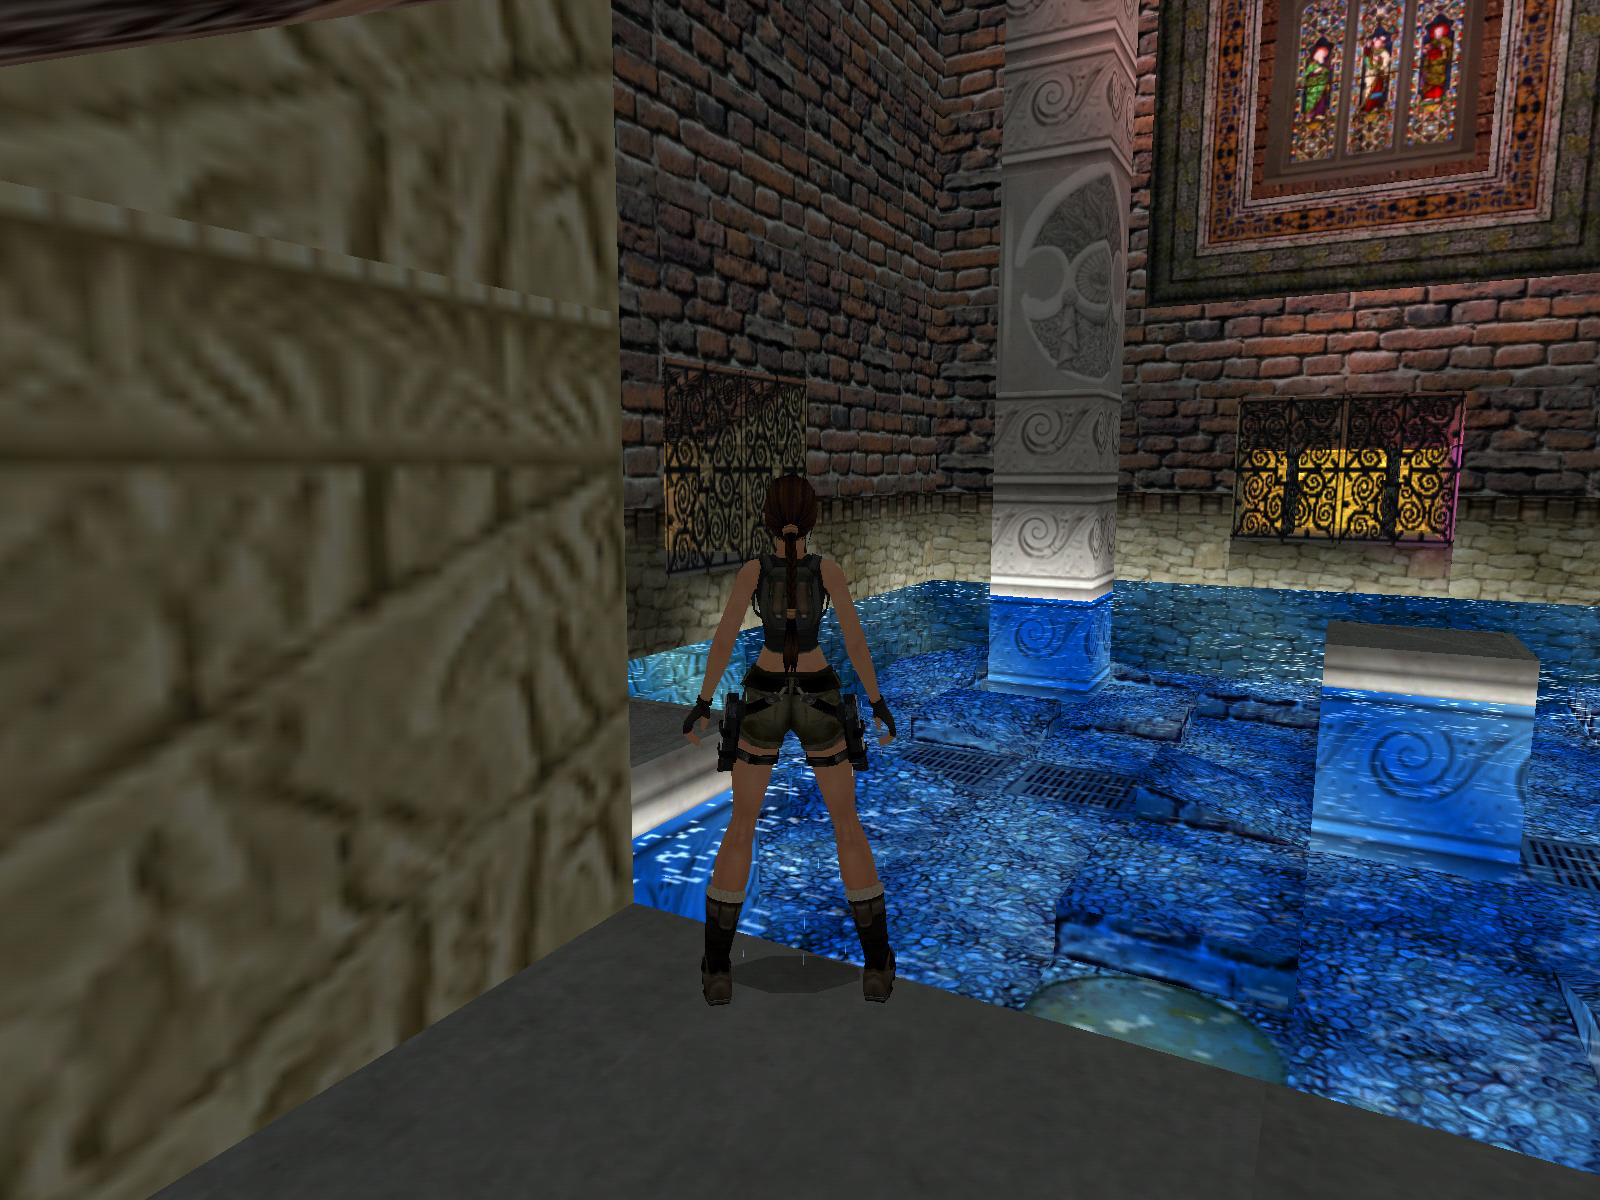
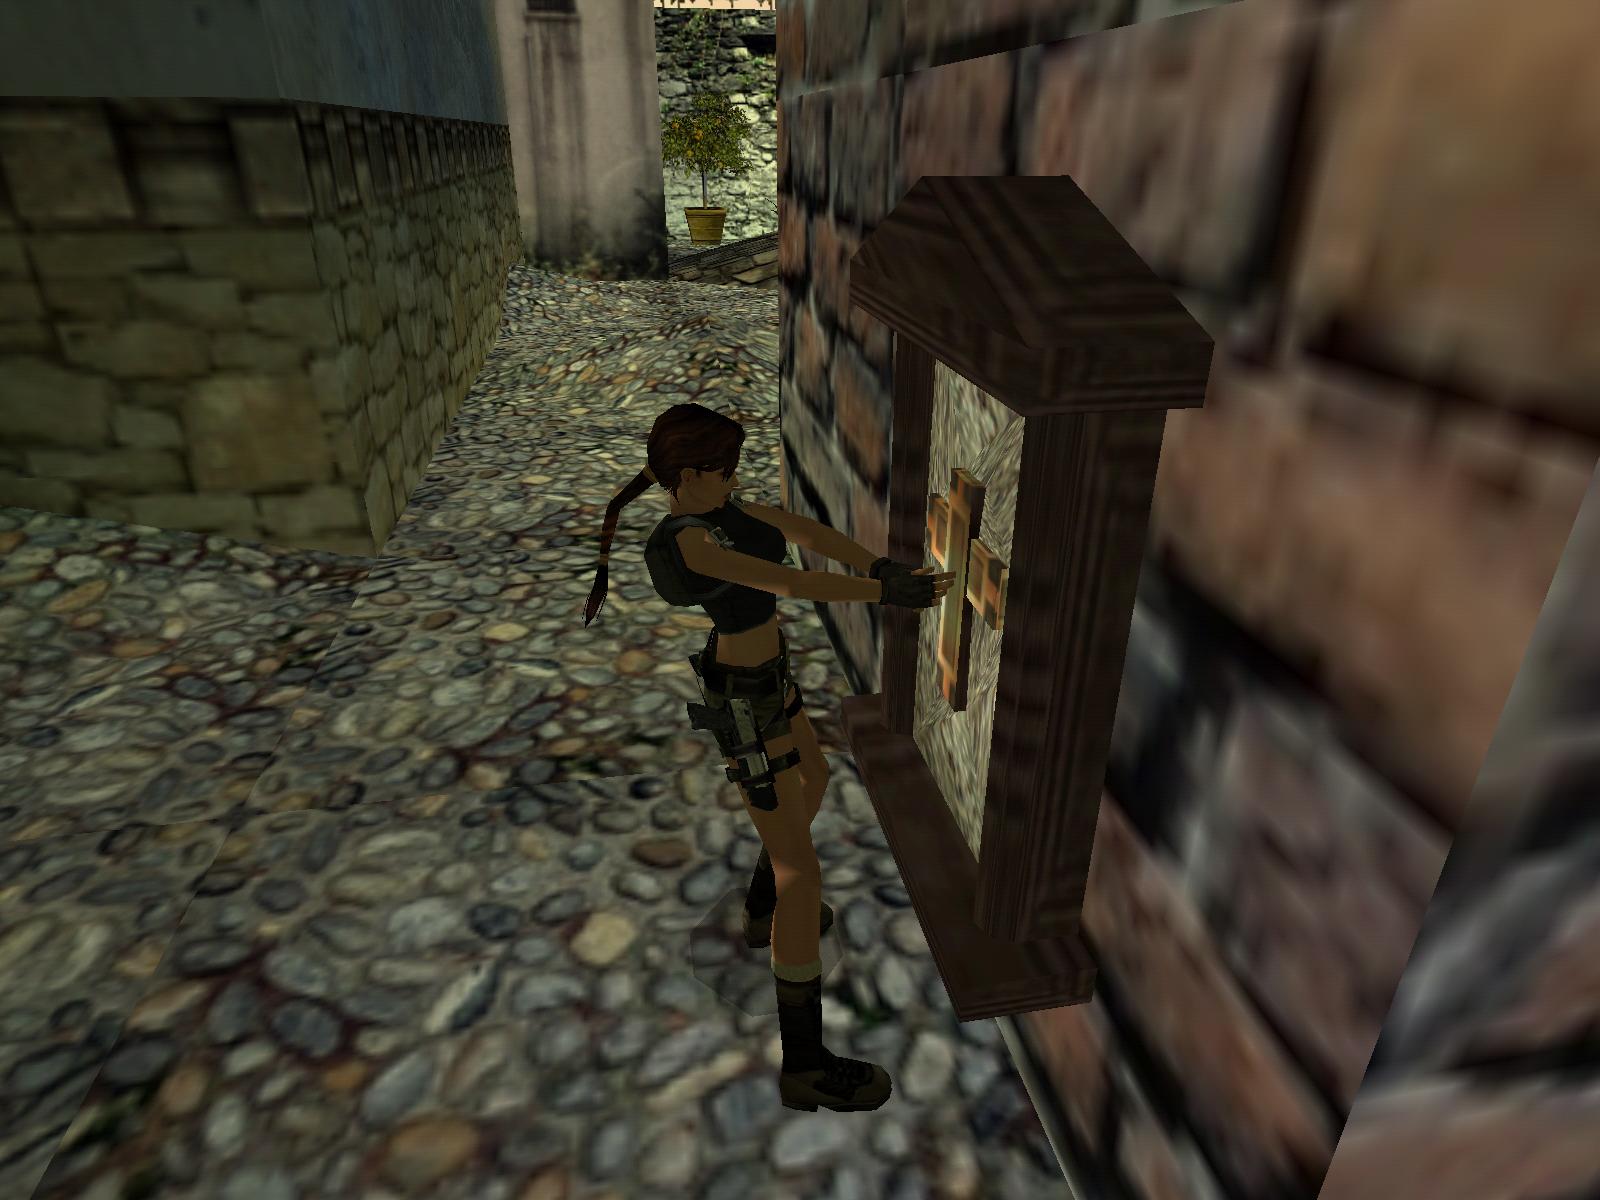
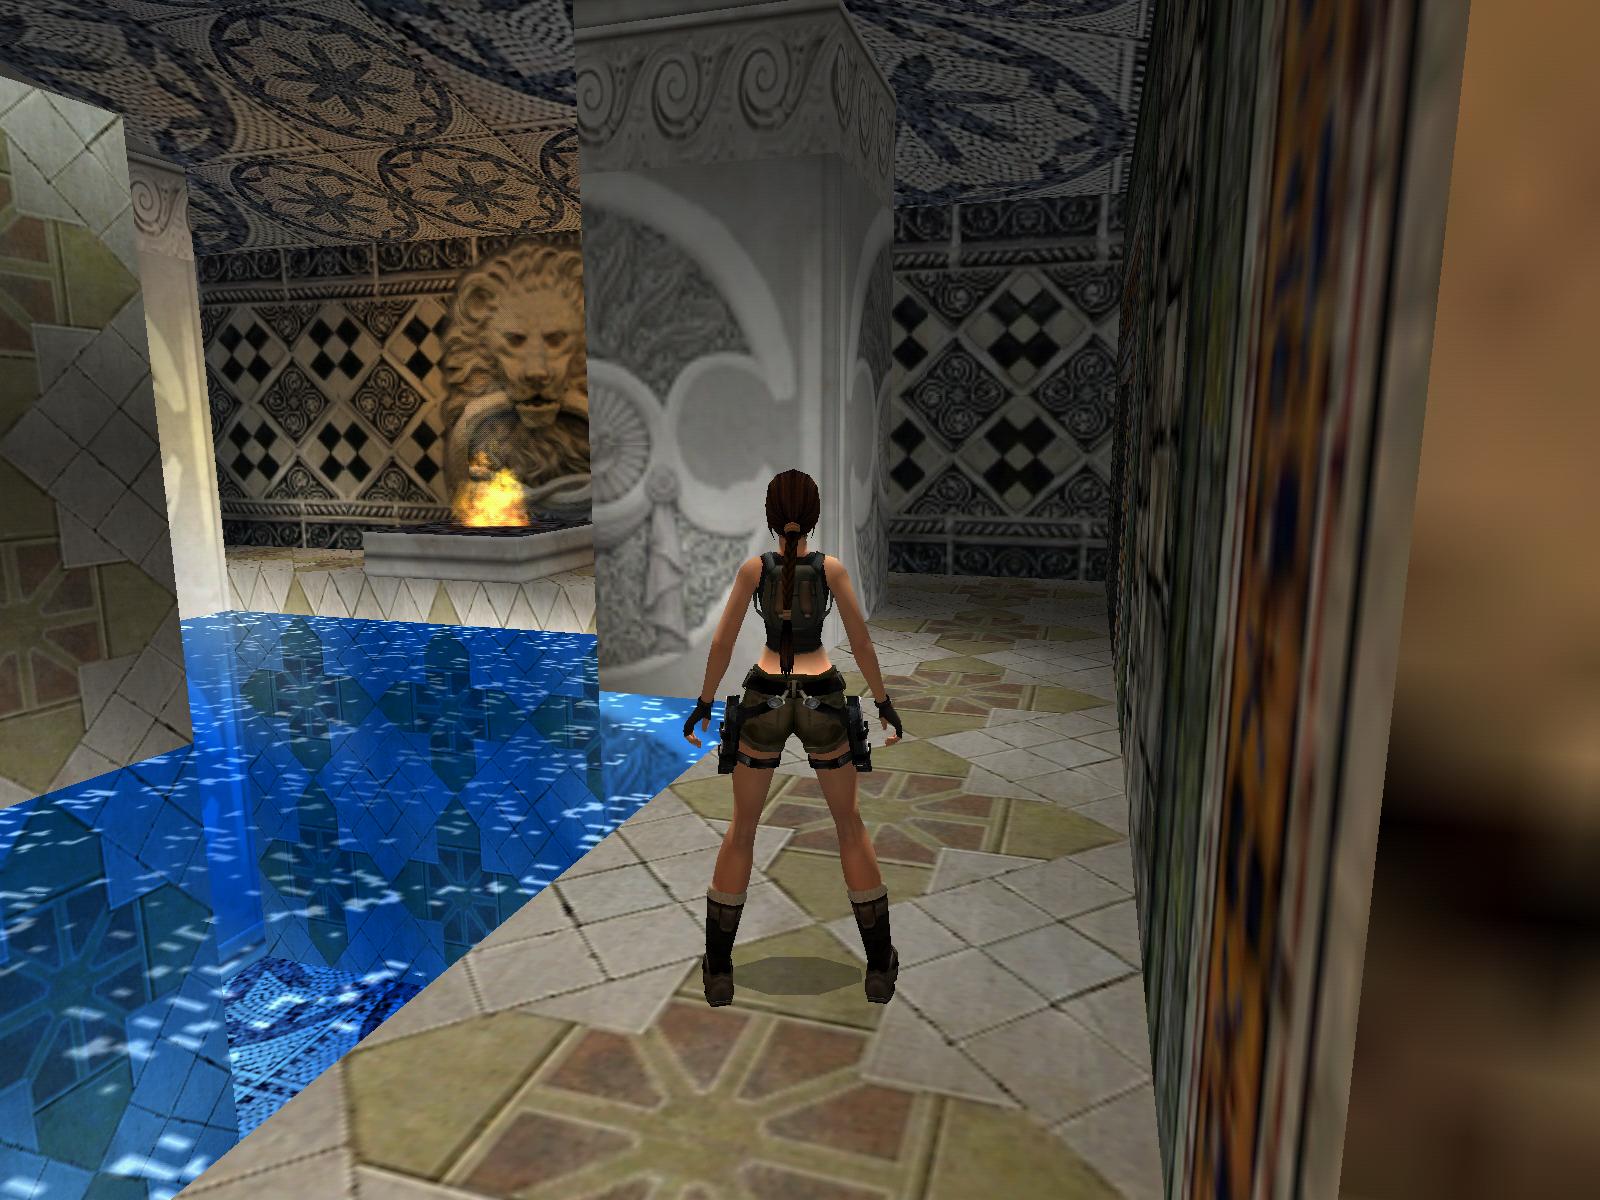
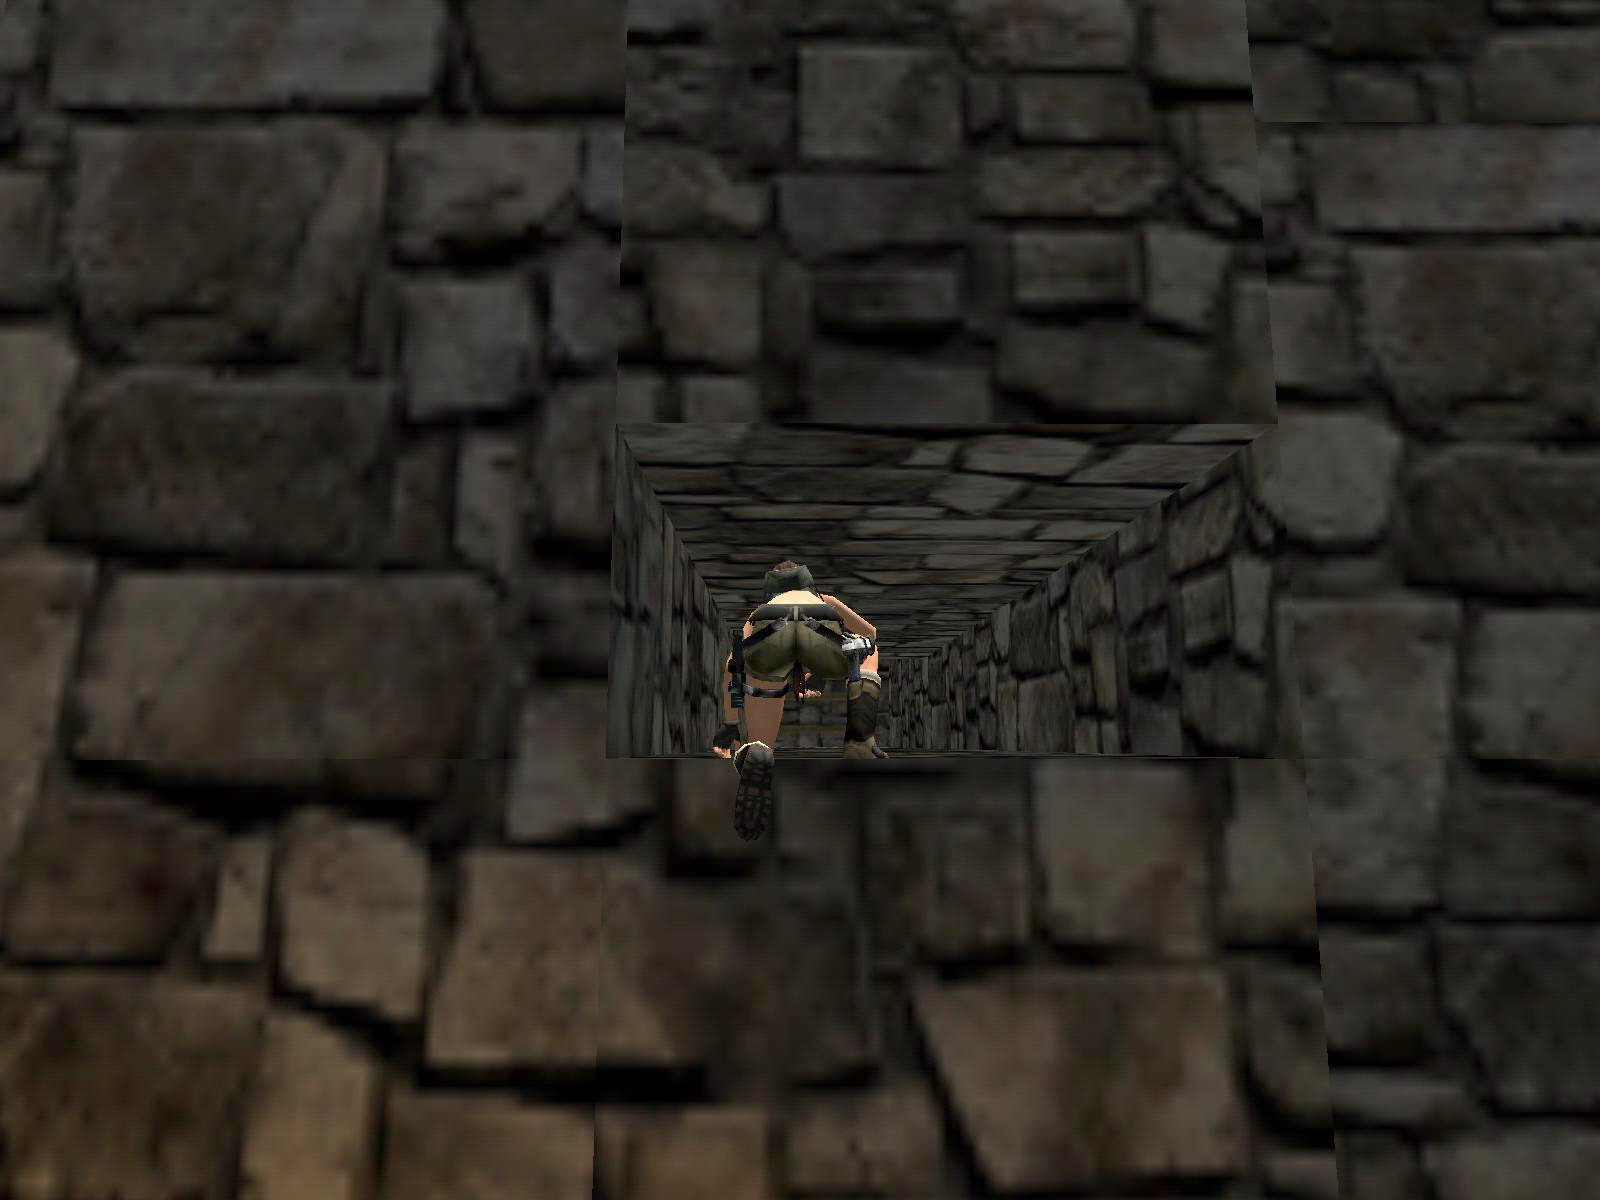
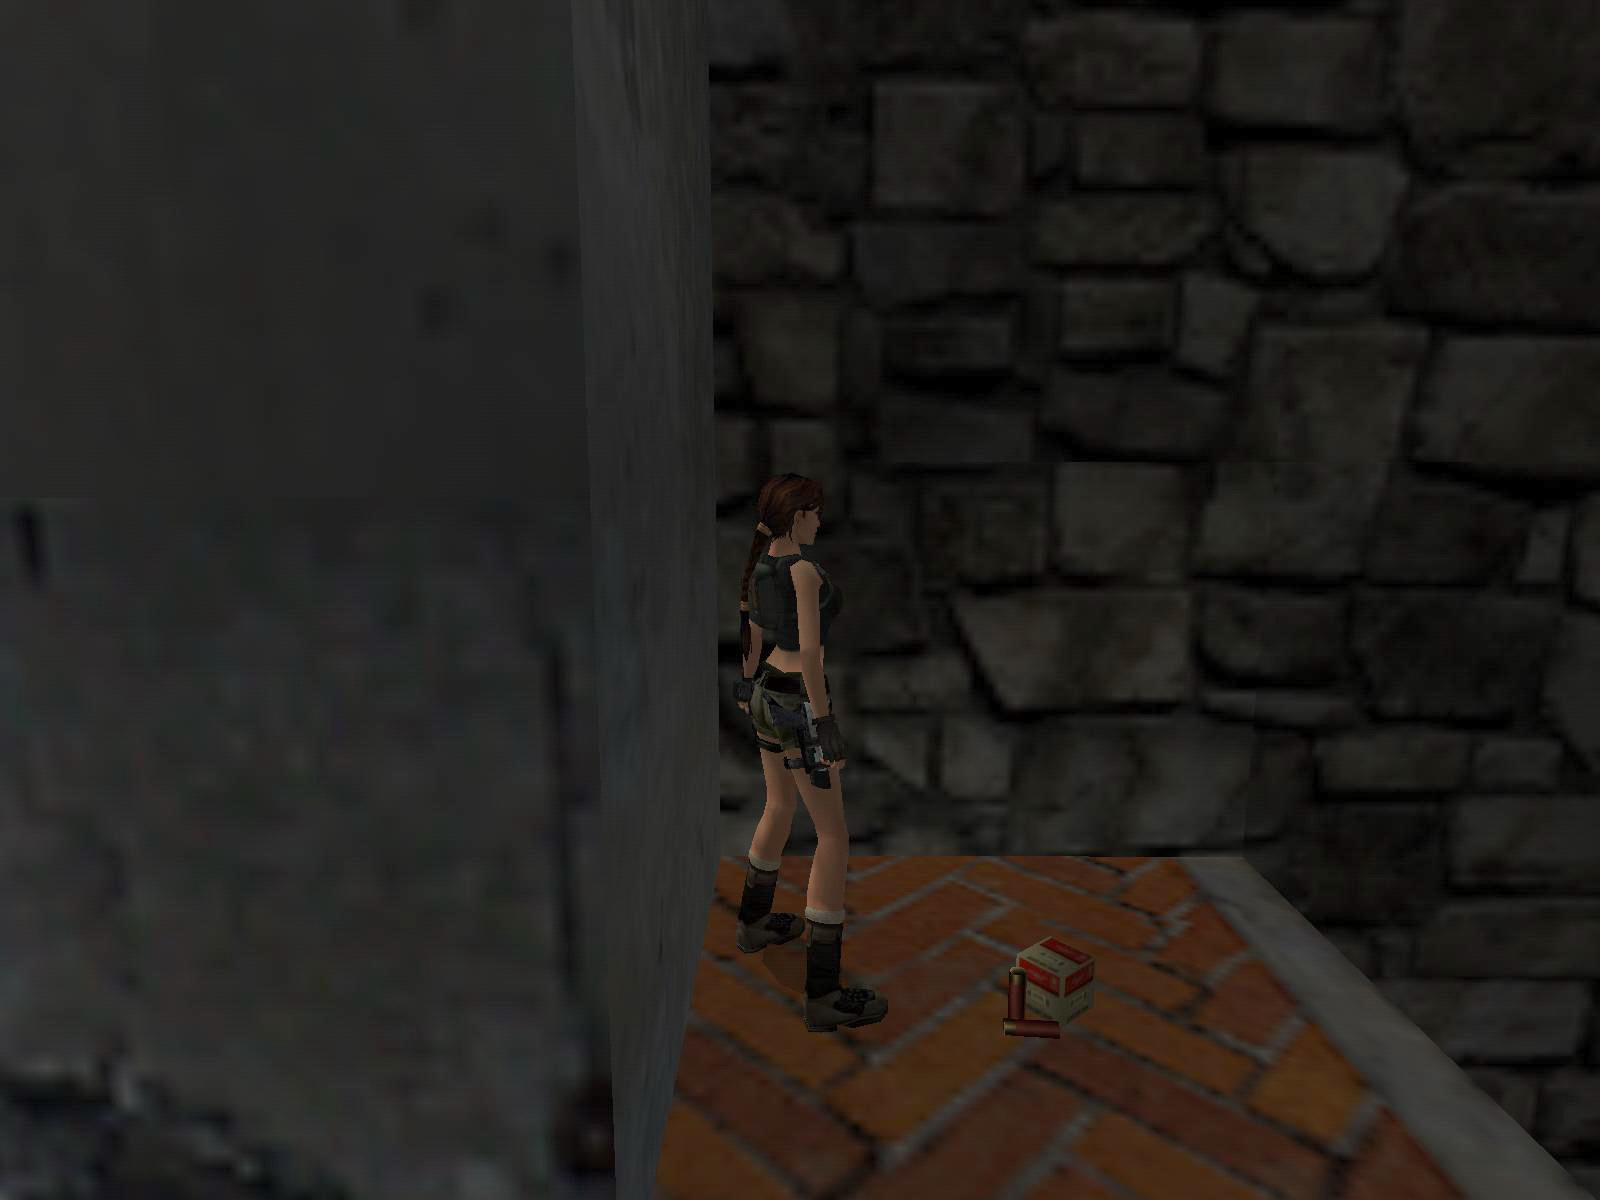
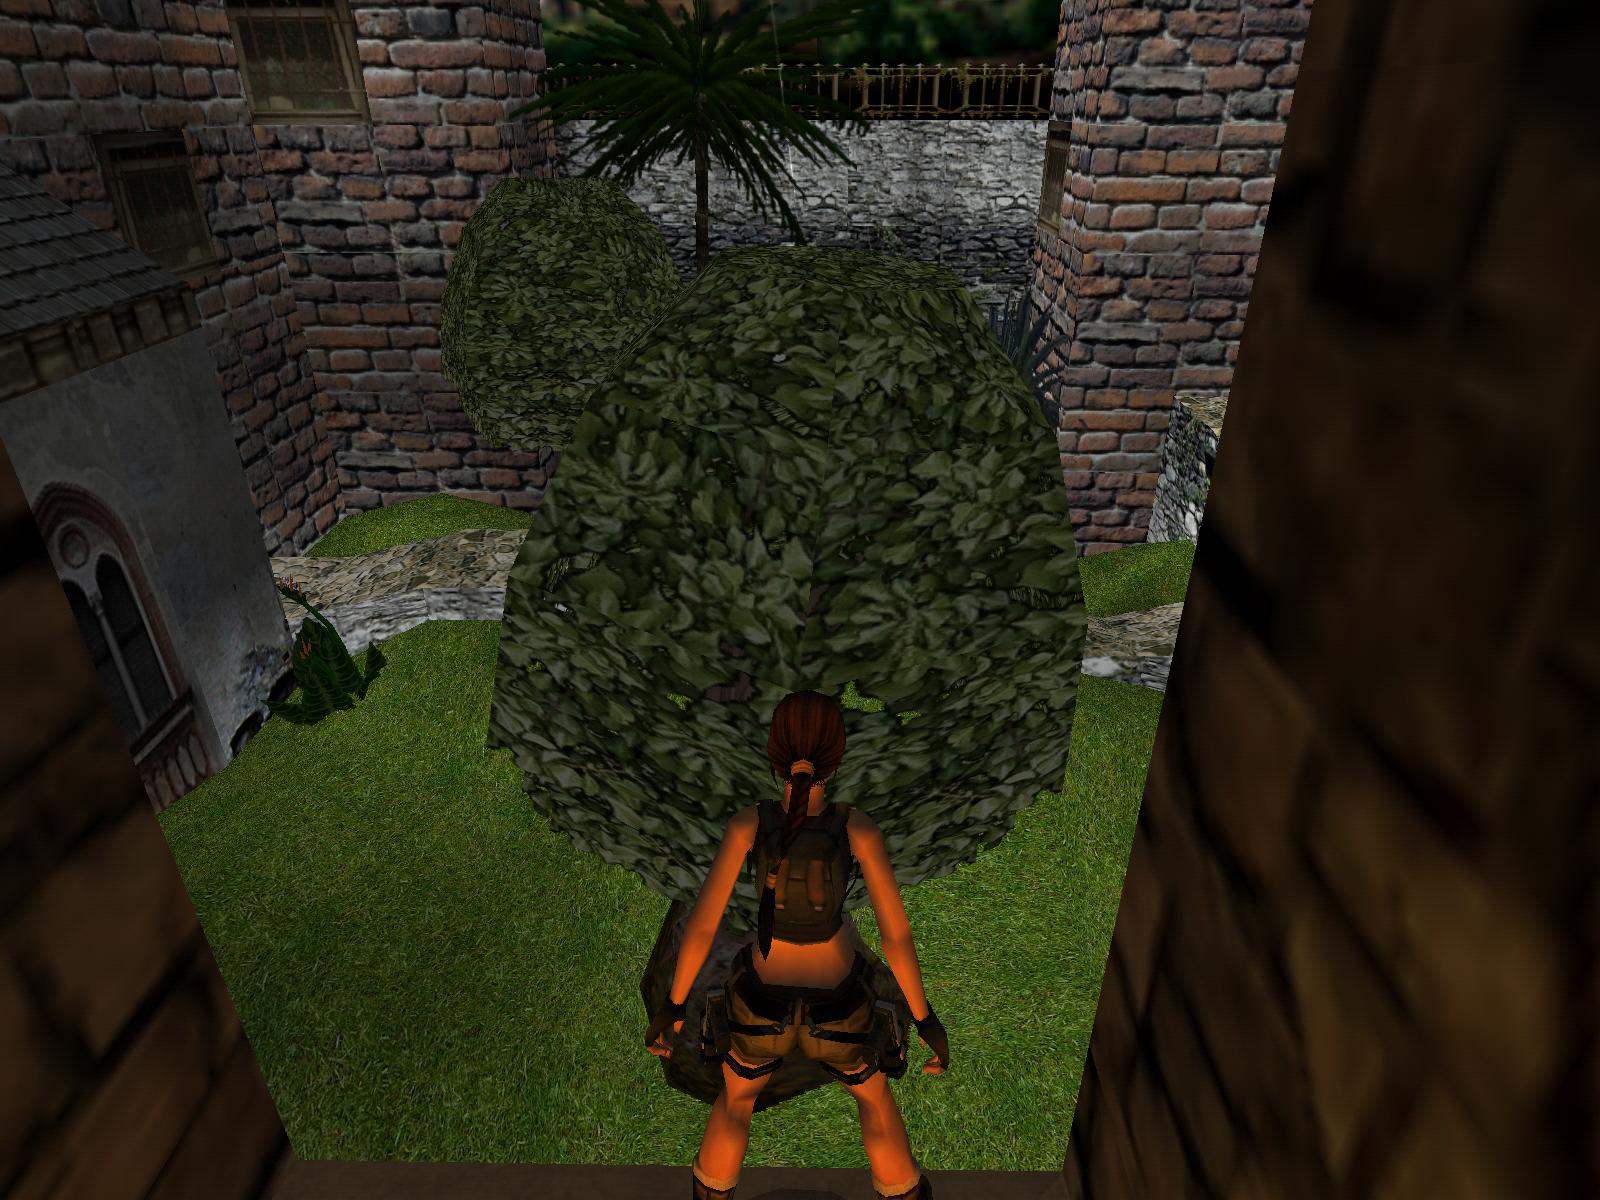
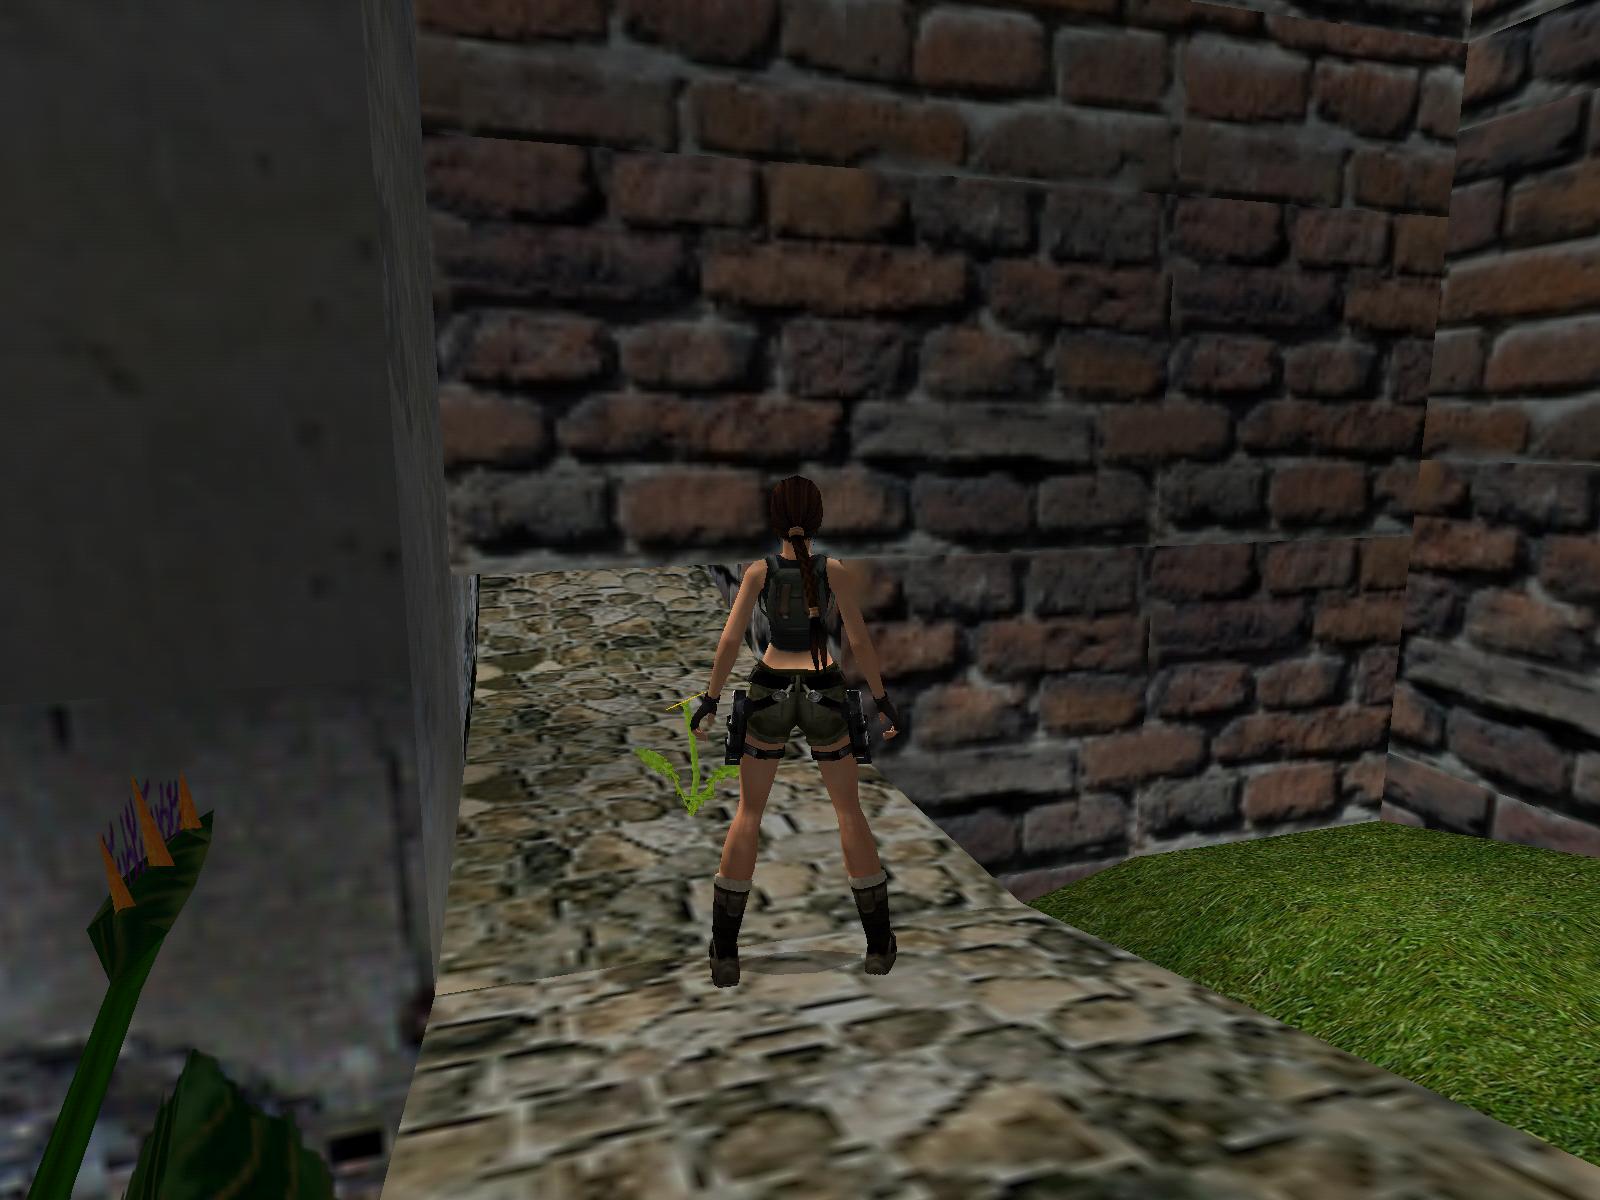
You start outside between two short stone walls and facing the VIA AL CASTELLO sign on a wall. Go west over the a short wall. Stop at the deep hole in the ground and go north to pick up revolver ammo. Avoid the deep hole and go south to the ledge over a dark door in a building. Pull up onto the ledge and pick up a shotgun for secret #1. There was no secret sound. I had to check the statistics after every pickup to see if I got a secret. Return to the starting point and go east to climb onto a wall and pick up flares. You can pull up onto the higher wall section and look north-west to see a key lock on a wall for later. Jump down and go north in a trench and see a closed gate at the end. Stop at the yellow flower (dandelion) in the trench. Turn left and push in a moveable block in the west wall. Push the block as far as possible to reveal another dark tunnel to the north.
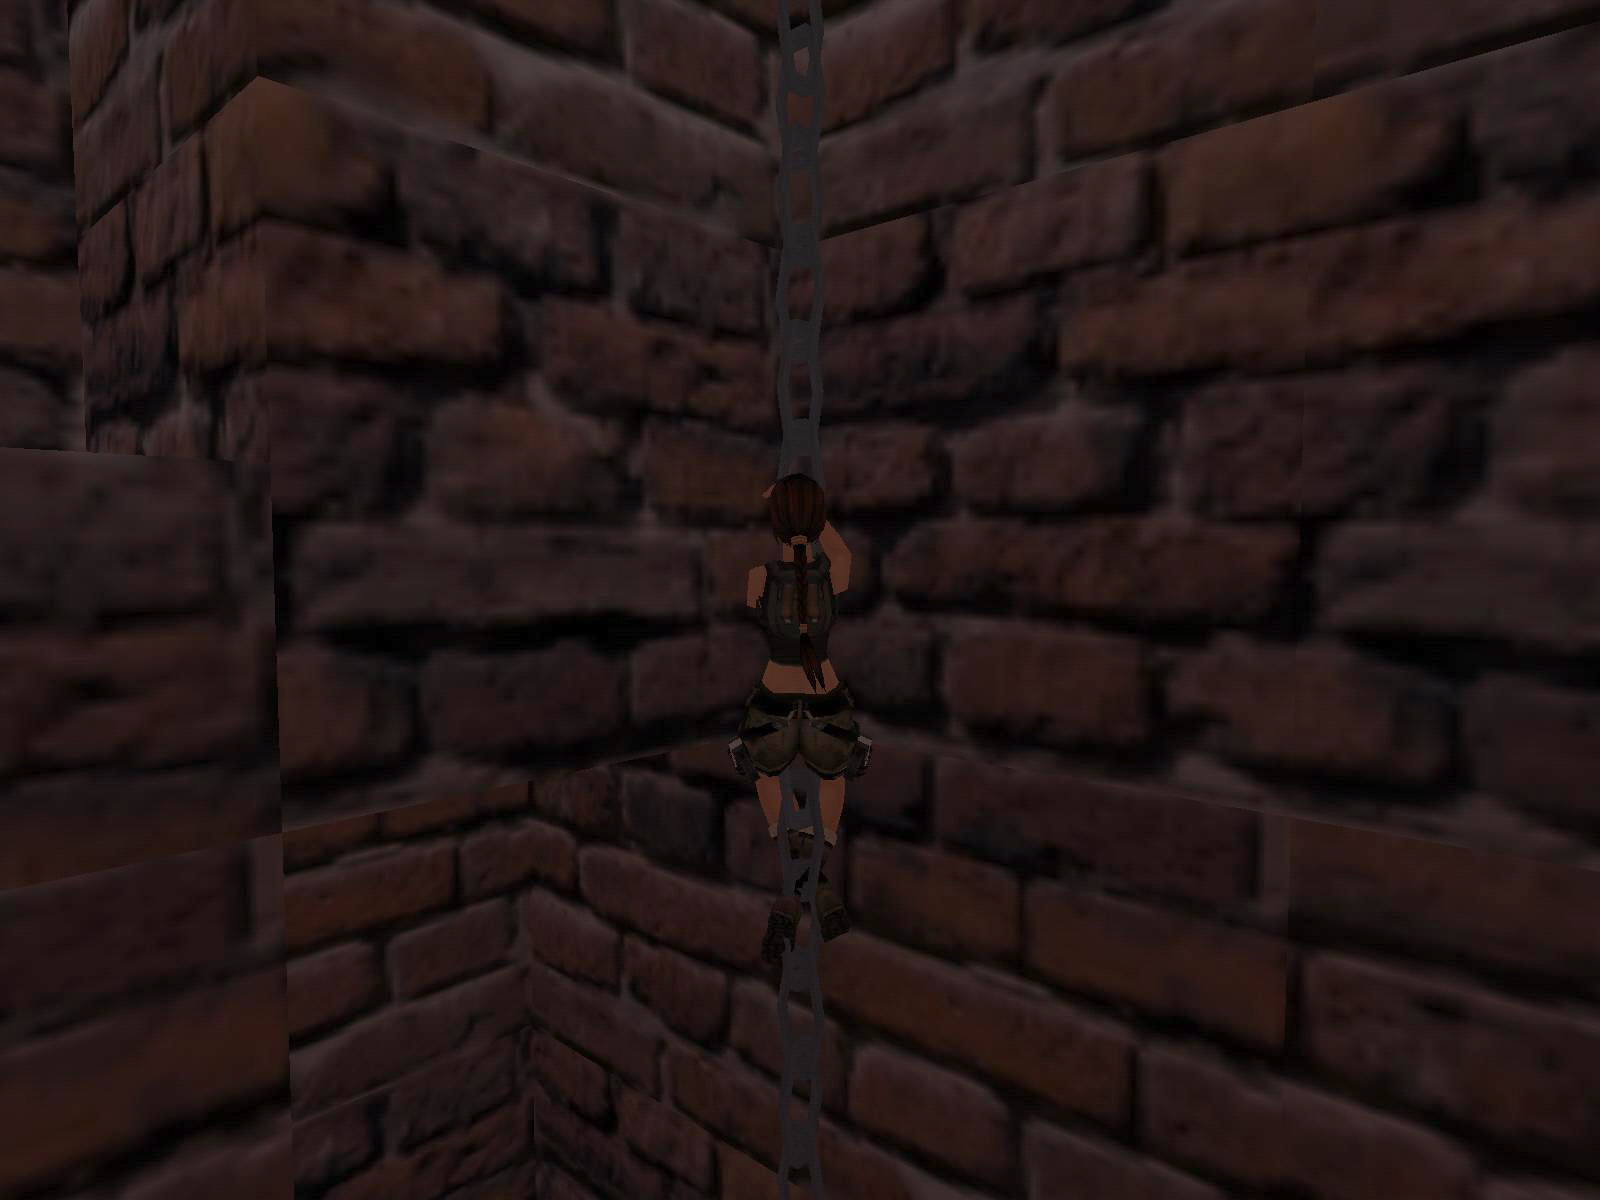
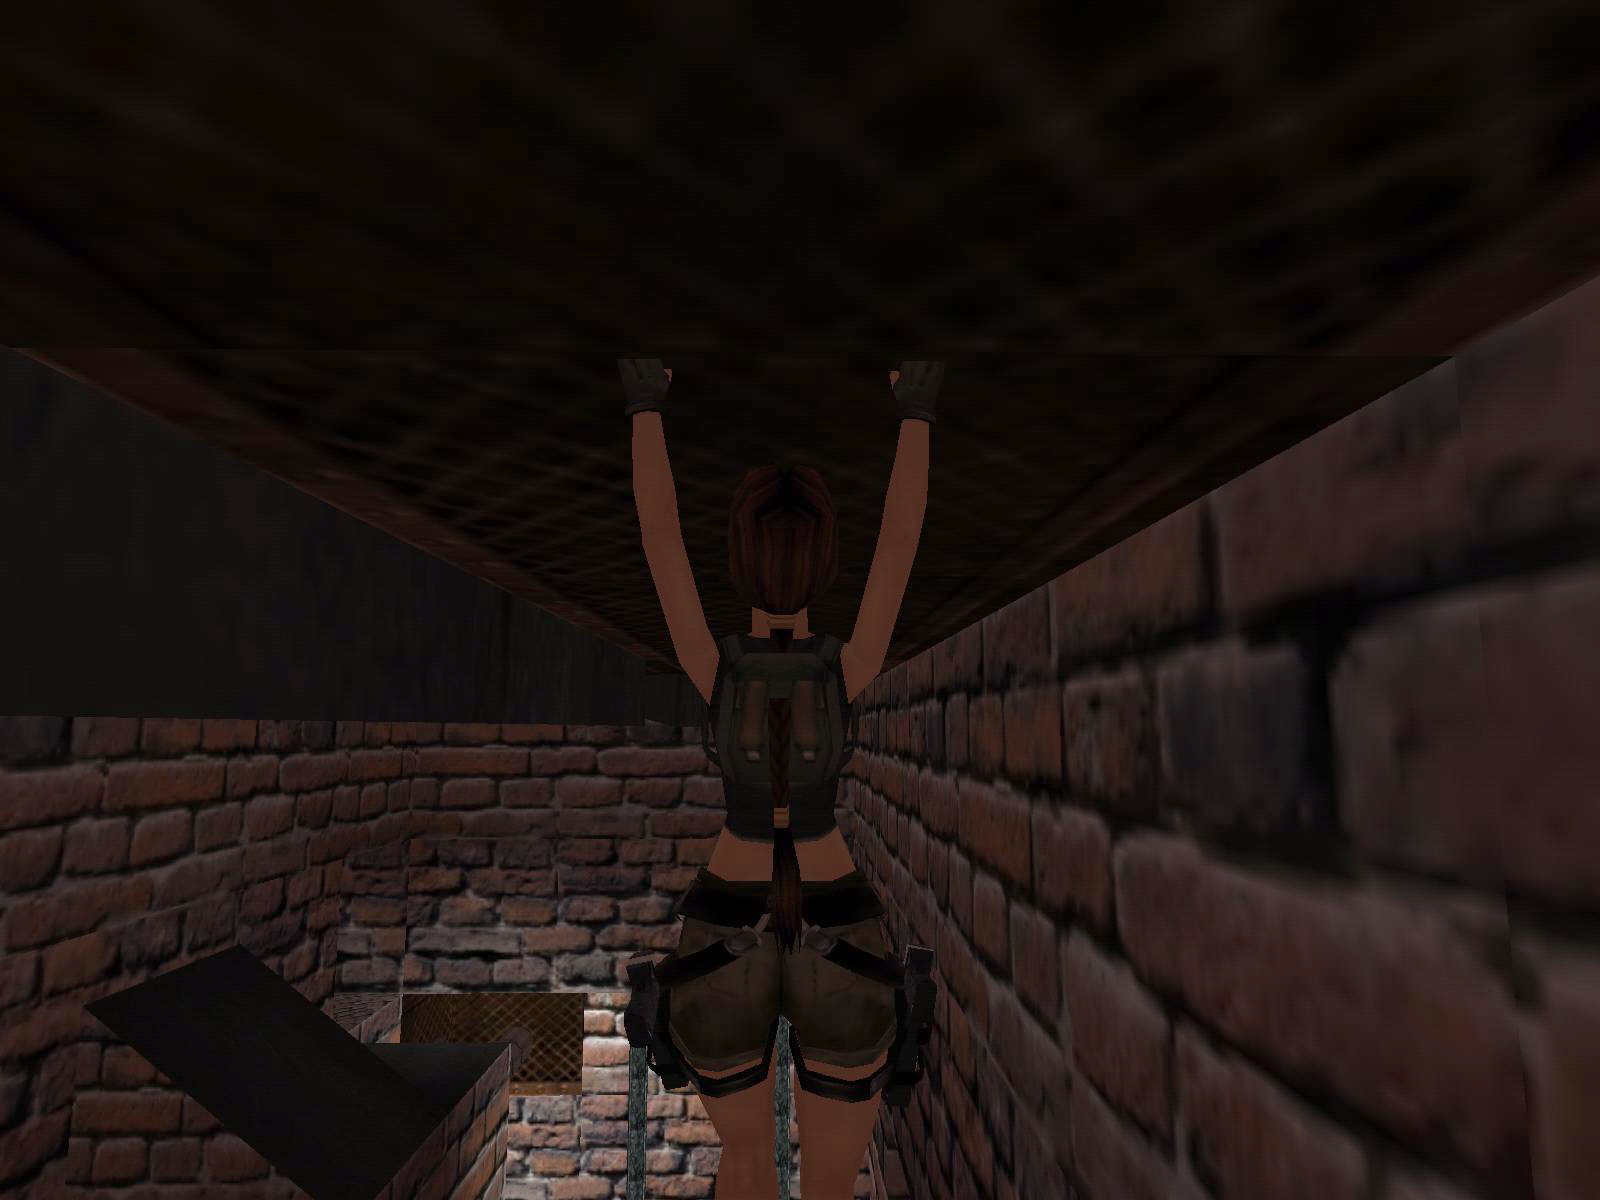
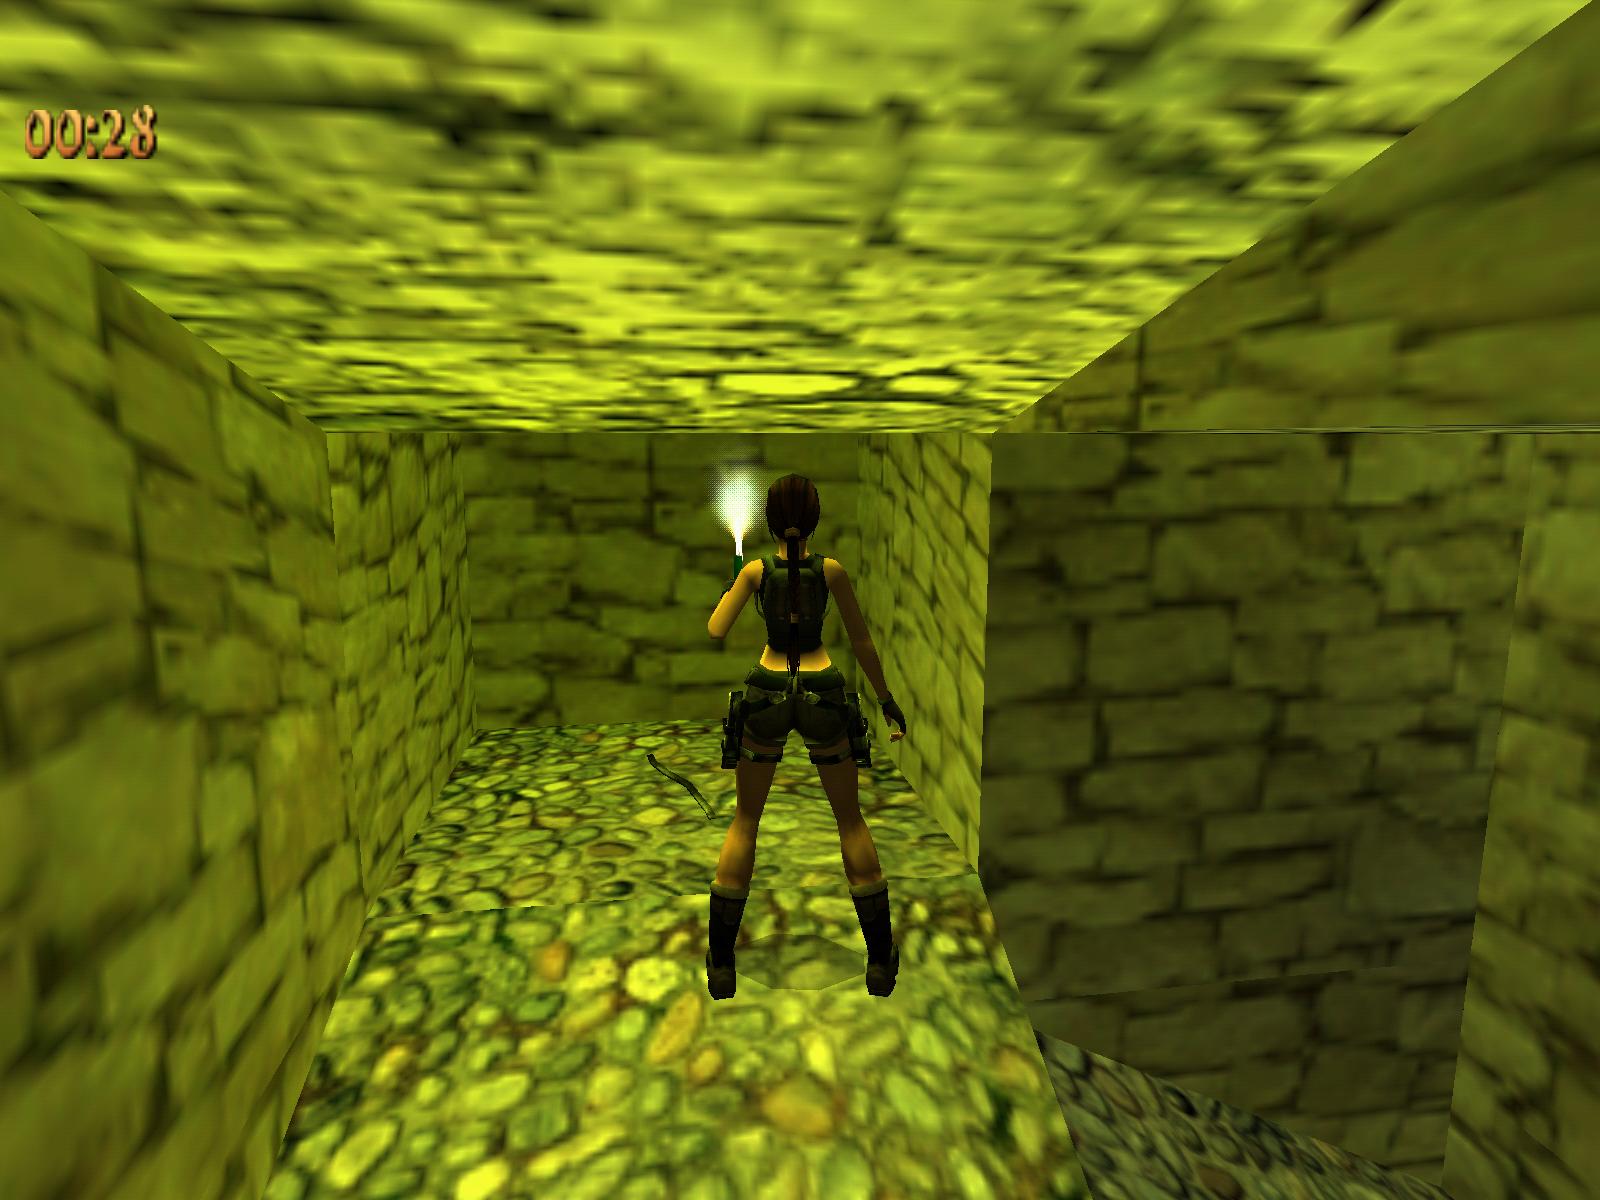
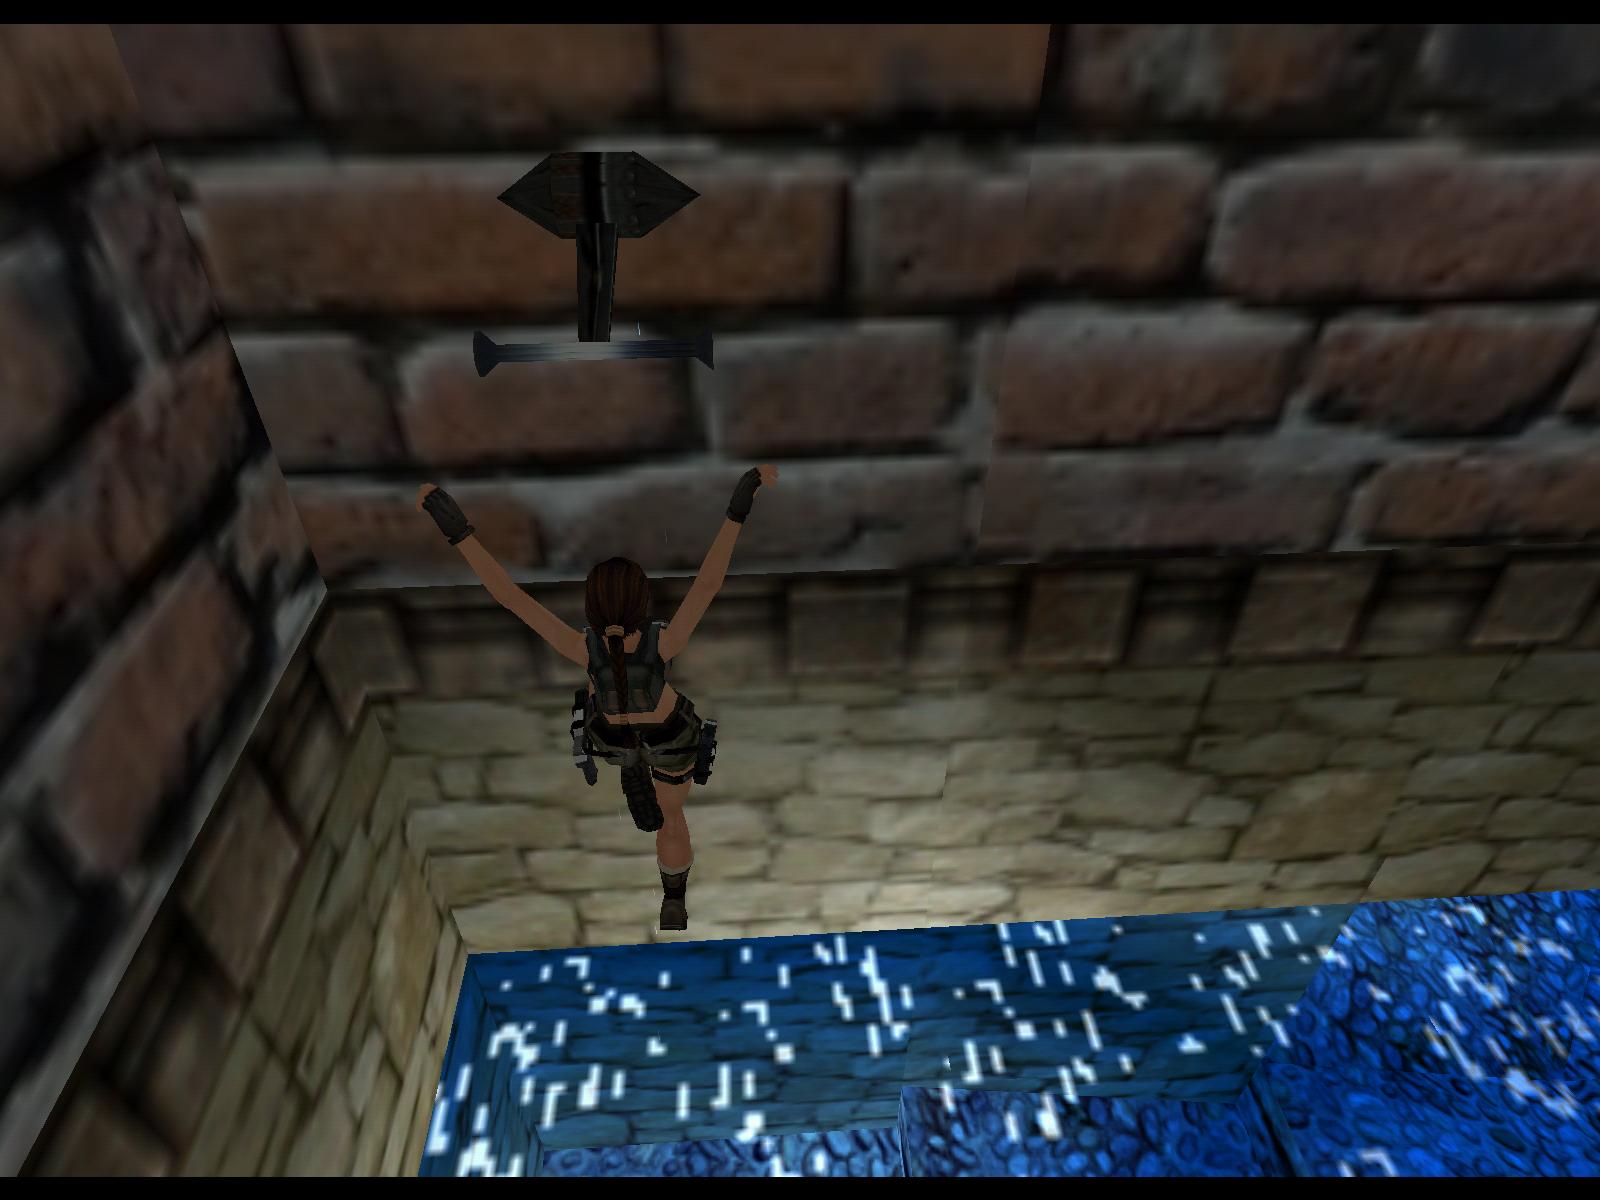
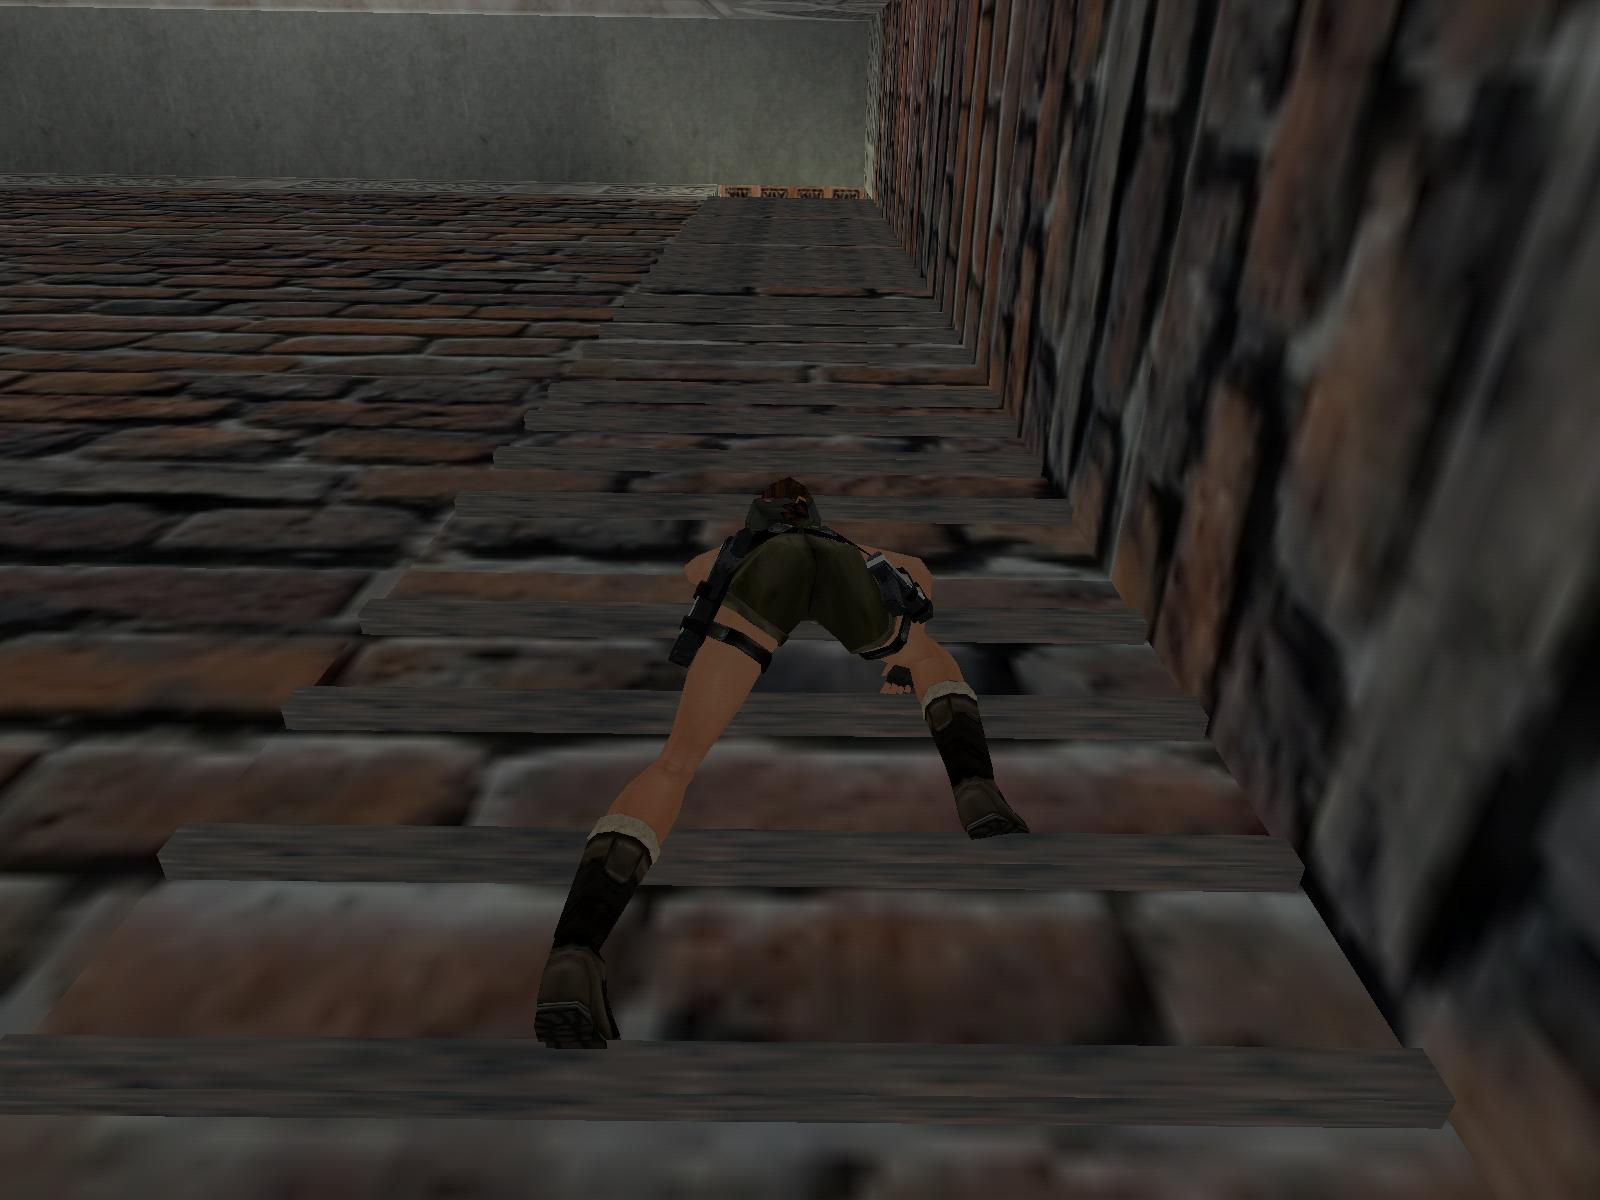
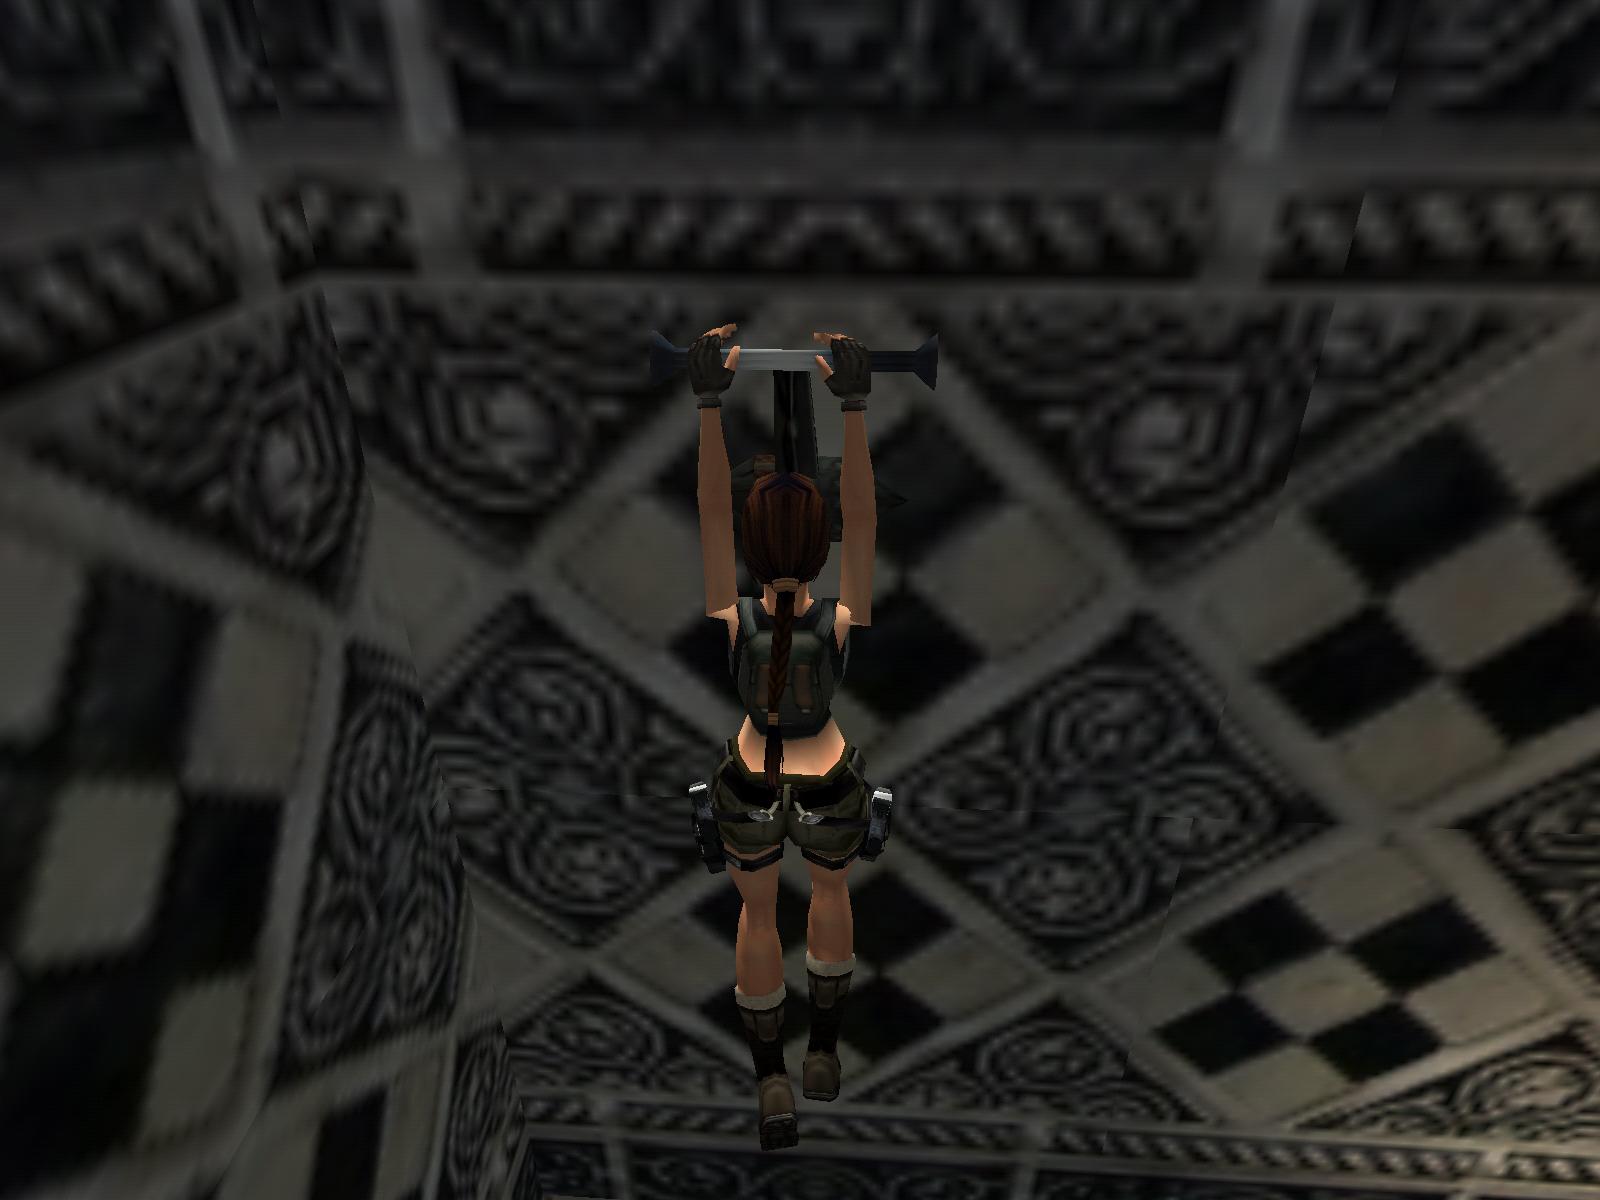
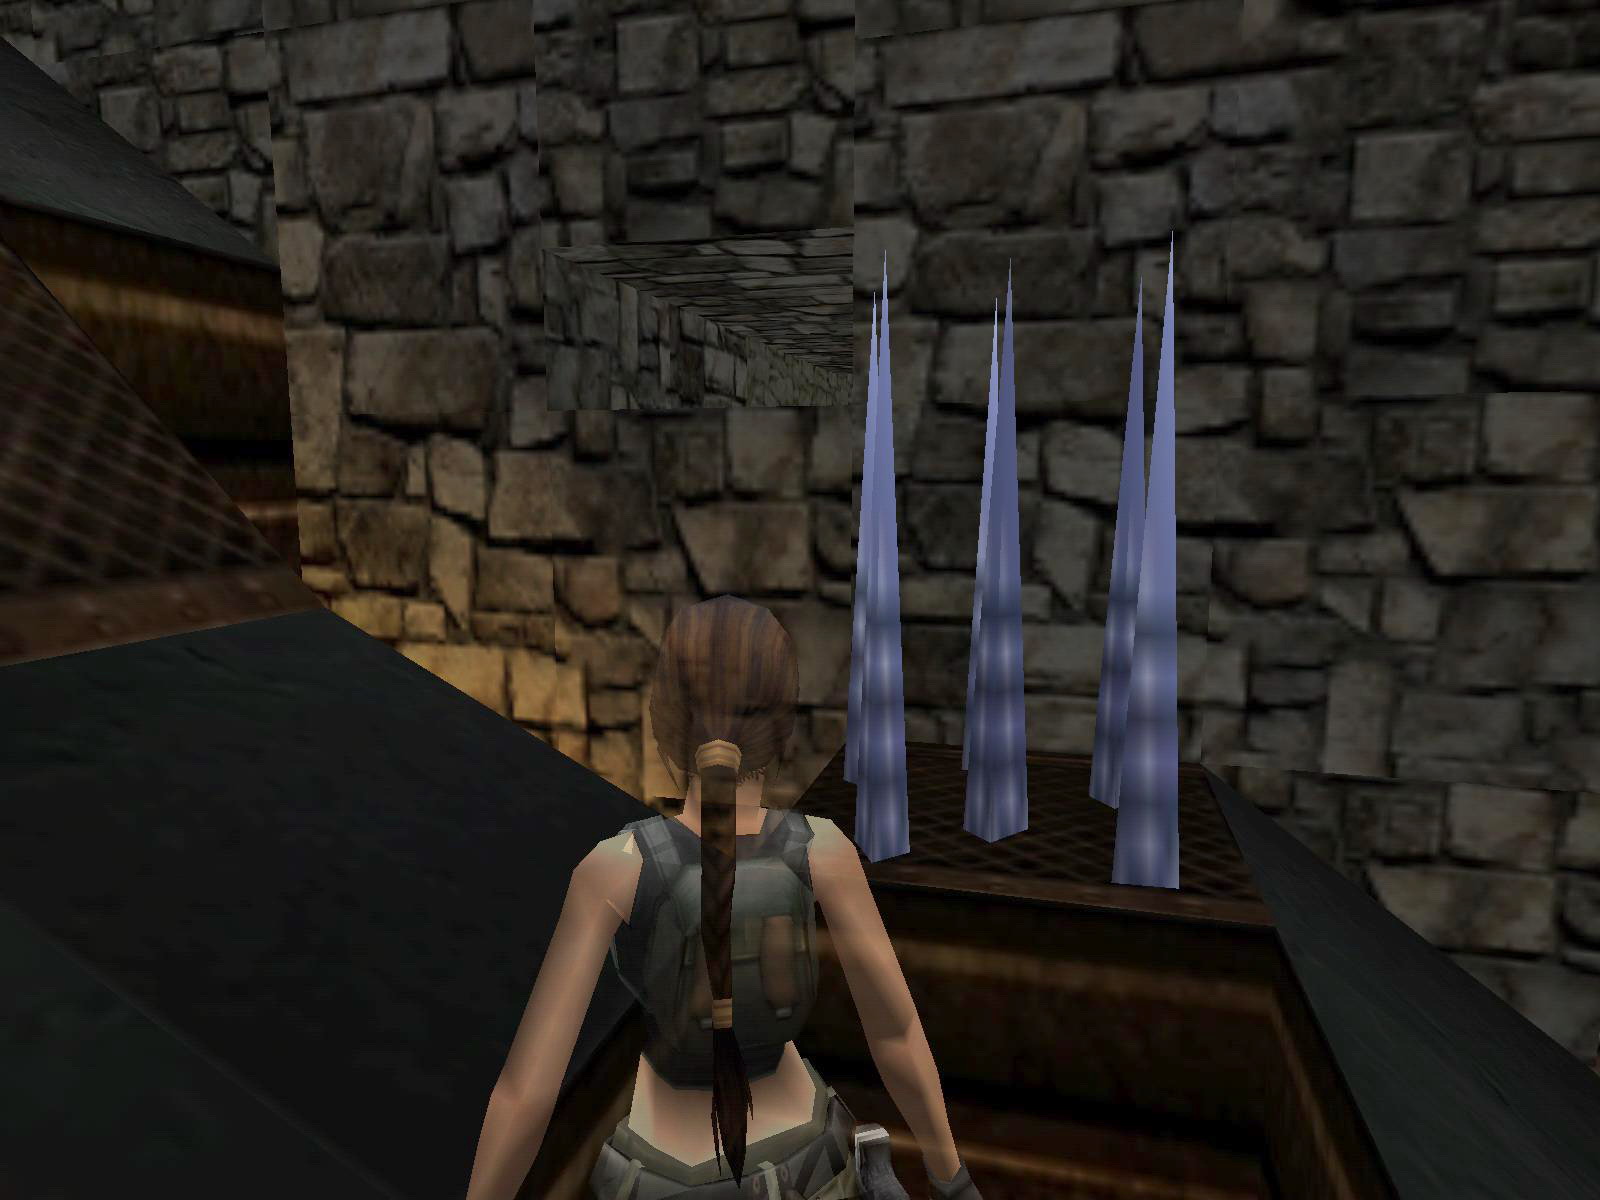
Follow the steps down and enter a room and a gate closes behind you. The white circles on the wall are dart emitters. Crawl under them. If you get hit the poison stays working until you use a medipack. Jump over the floor spikes and go into the north-east corner alcove. Pick up a large medipack from the floor. Stand on the higher floor section near the spikes. Jump and grab the chain above the spikes. Climb up, face the south-east and back flip onto a ledge behind you. You can see a tunnel in the far south-east corner of the room. Carefully jump north-west into a short tunnel. Light a flare and jump up to grab the ceiling in the room. Monkey swing south and turn to the east when you see a gap in the ceiling path. Go east to the wall and drop onto a slope. Grab the edge and shimmy to the right. Get into the corner tunnel and go to the end. Pick up a small medipack for secret #2. The small medipack appears bigger than the large medipack in the inventory. Drop to the floor and use the pole in the spikes to back flip onto the ledge again.
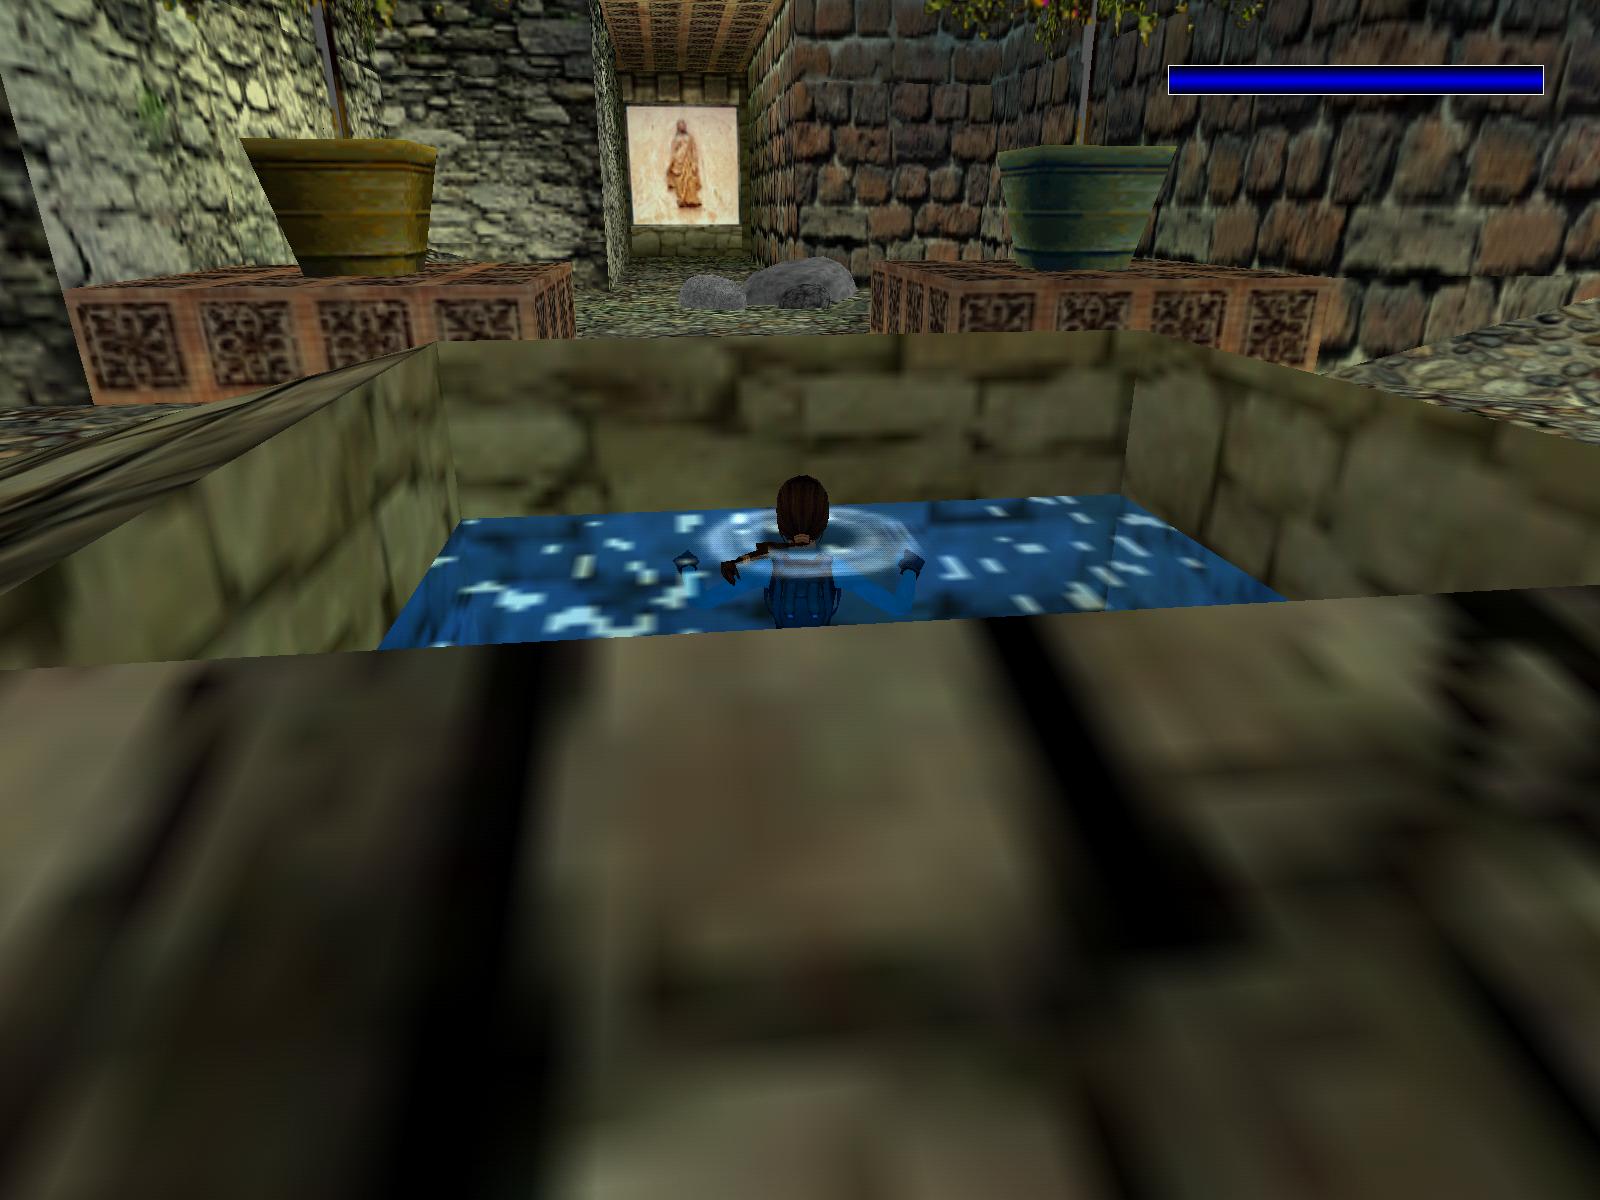
Carefully jump north-west into a short tunnel again. Go north and follow the short tunnel to a T-junction. Go west and follow the tunnel to a T-junction. Loop around to the right into a short tunnel and pick up flares. The other branch tunnel is a dead-end. Return again to the first T-junction. Go east and follow the tunnel to the end and see a closed gate. The gate does not open. Drop into a hole and pull up onto a west ledge. Pick up Waterholekey off the floor. Pull down the wall switch on the very dark east wall to open the gate over the trench. Jump onto the outside ledge at the west wall. Go south to the end and use the key in the key lock. Drop to the ground and go west to the deep hole. The deep hole is now filled with water.
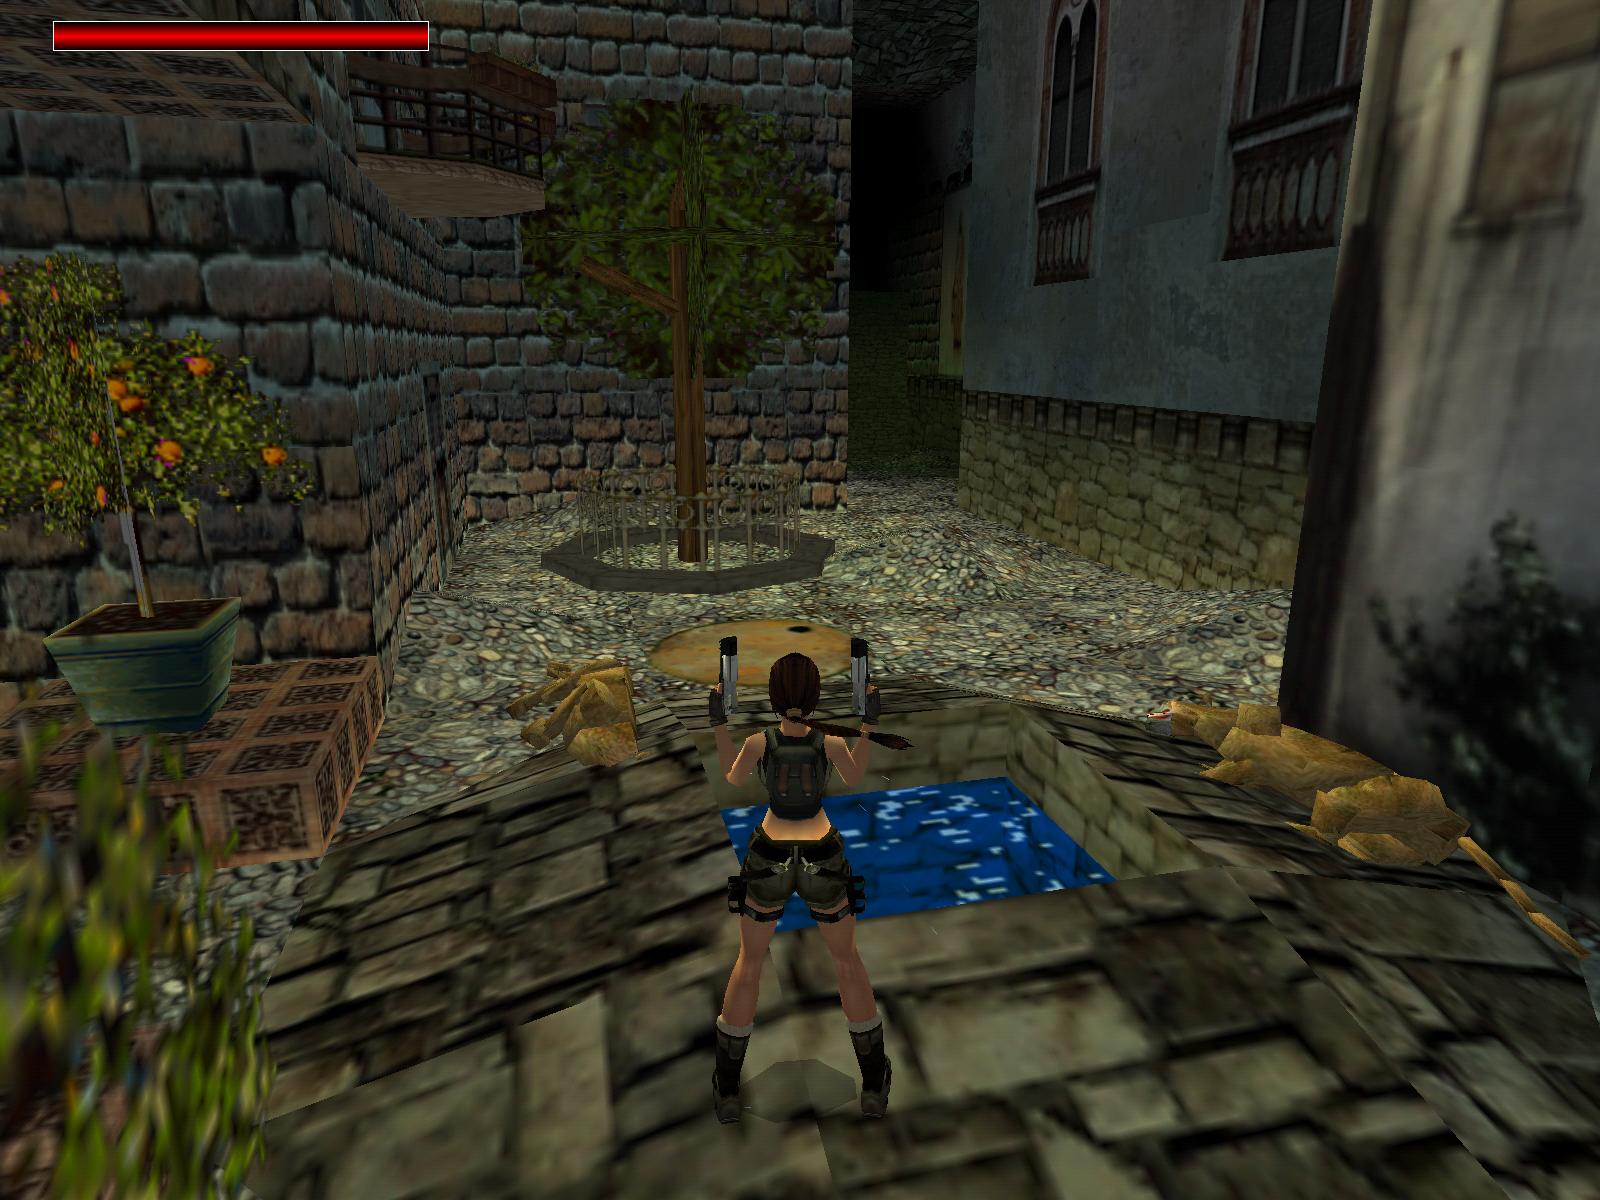
Dive into the water and swim down to the bottom. Go west and swim to a T-junction. Take the right branch tunnel. Follow the tunnel and swim up into another tunnel. Follow the tunnel and swim to pull up into a small outdoor area. Shoot a lioness that emerges from the north-east alcove. Shoot two lionesses that attack from the west corridor. Go into the north-east alcove and see a receptacle for a cross. Go to the north wall and pull up onto the column to the east. Pick up a small medipack for secret #3. Safety drop to the ground and return to the water hole area.
Follow the west corridor to a T-junction. Go south to the end and you hear a gate open. Run north and turn the corner to enter the open gate. Follow the tunnel and notice ammo behind a gate. Continue until the tunnel branches. Go south into a dark alcove to pick up the crowbar. Now hop backwards up the east sloping tunnel. When you hear something drop, run down the slope and into the side tunnel to avoid a rolling rock. Then return up the sloping tunnel to the top. Follow the next tunnel and you reach a ledge over a deep room. There is a water pool at the bottom. Climb down a ladder or just run off the ledge and fall into the water.
There is an underwater tunnel in the east wall. It ends with a closed gate. Pull up onto a north-east platform. Run and jump into the north wall opening to pick up flares. Jump back to the platform. Stand jump to pull down the jump switch on the east wall. You get a flyby showing gates opening in the alcoves and the underwater gate opening in the east tunnel. Swim into that open gate and follow the underwater tunnel. Pull up into a dark room with several pipes. Stand next to the east wall to pull up onto the north-east column. Pull down the wall switch and get a cut scene of a dry room. Safety drop to the floor. Now follow the dry tunnel back to the room with the alcoves.
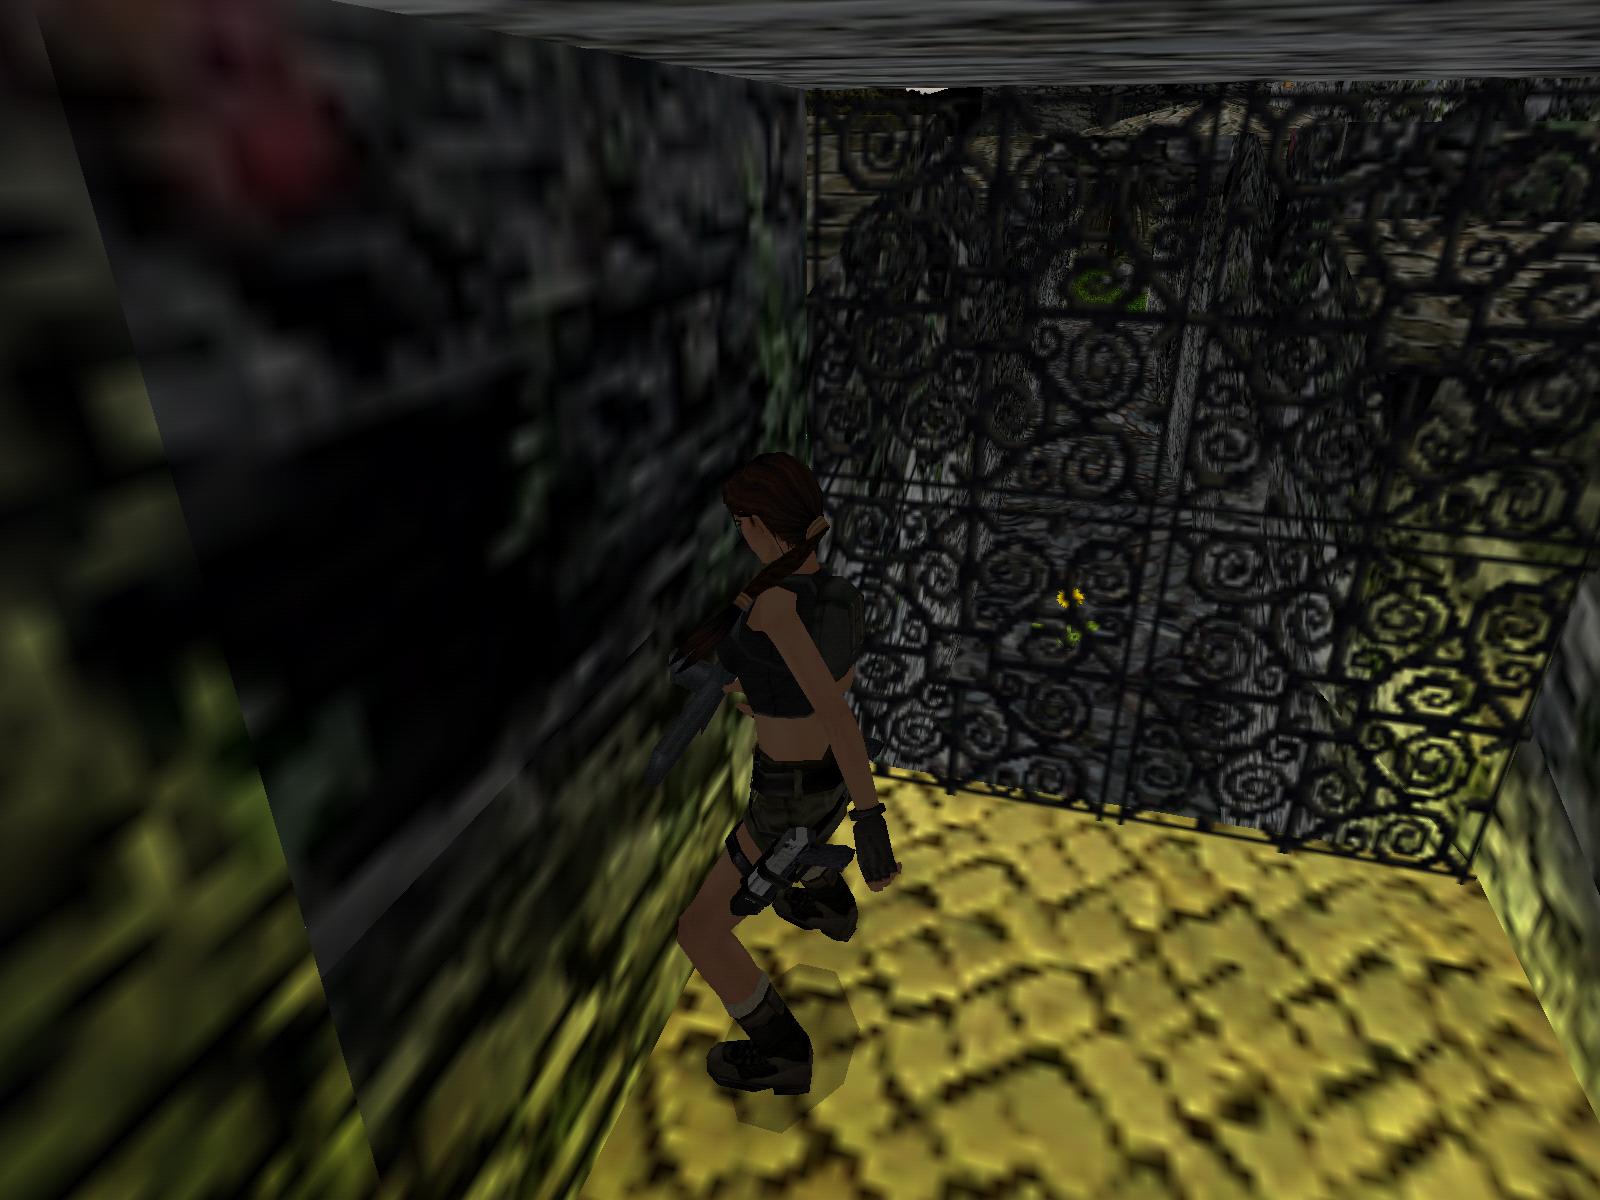
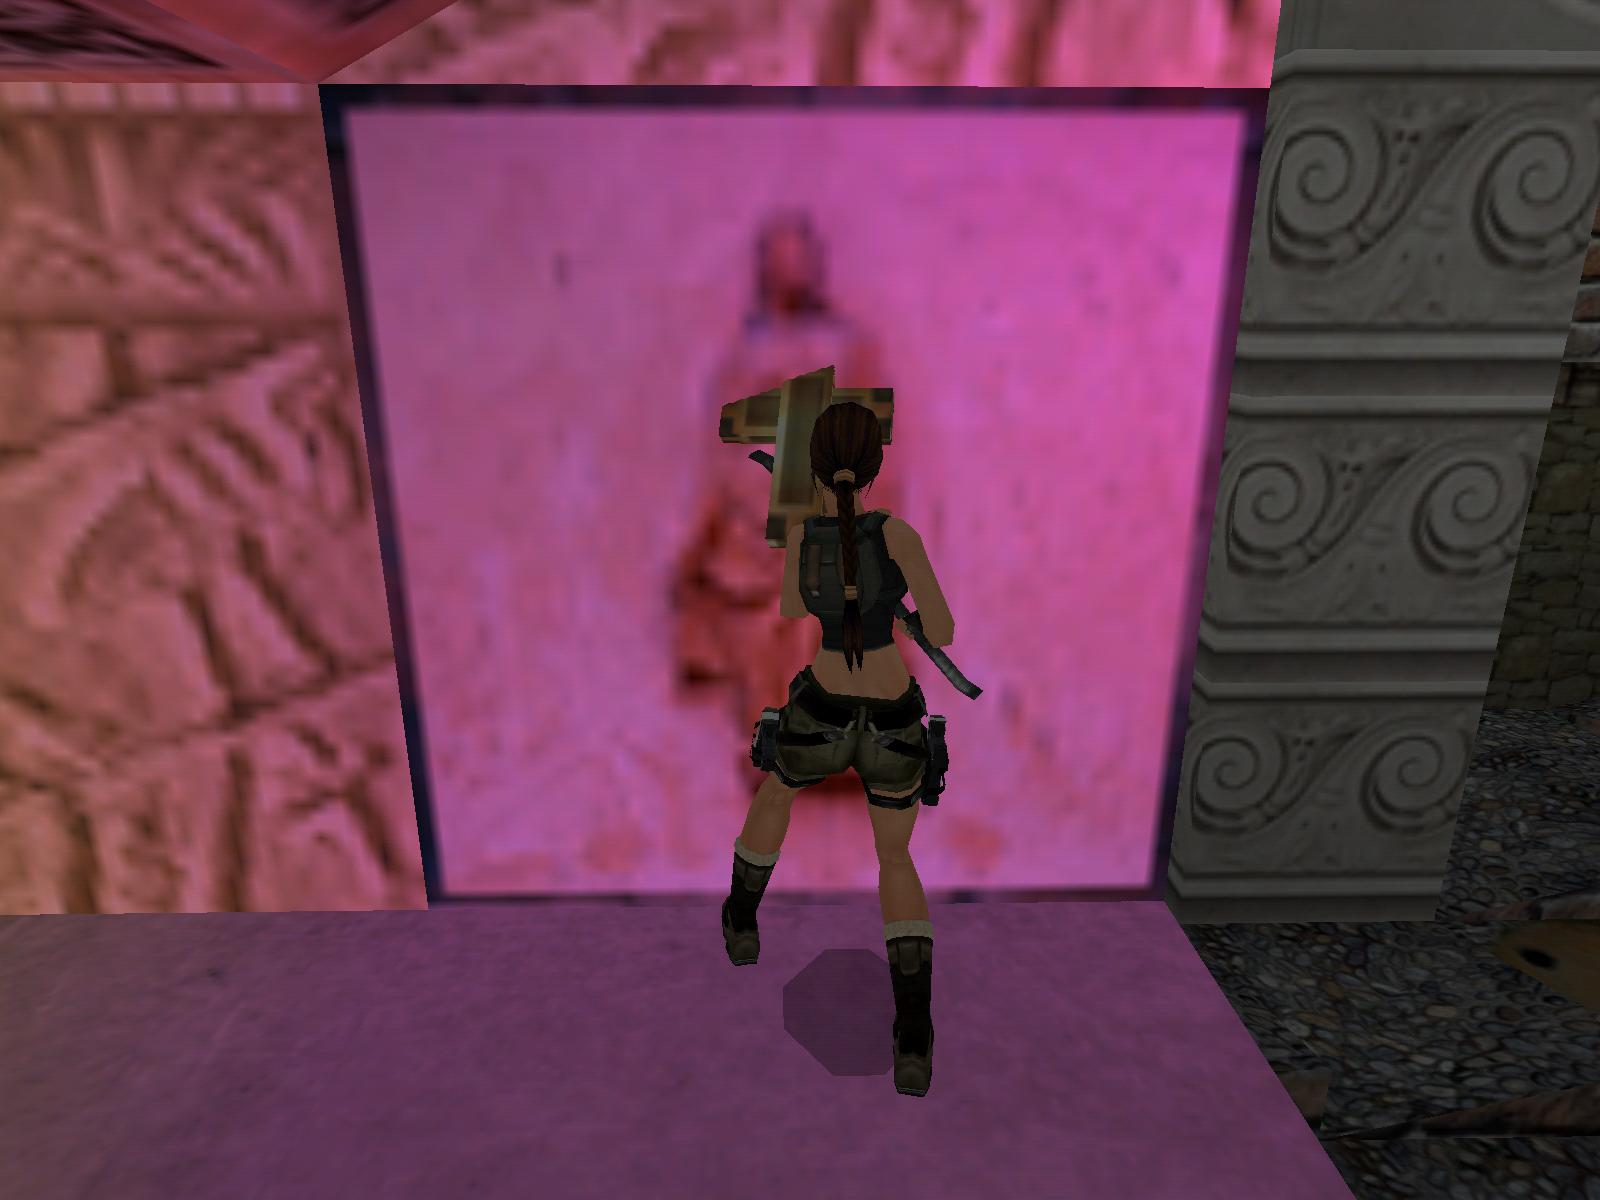
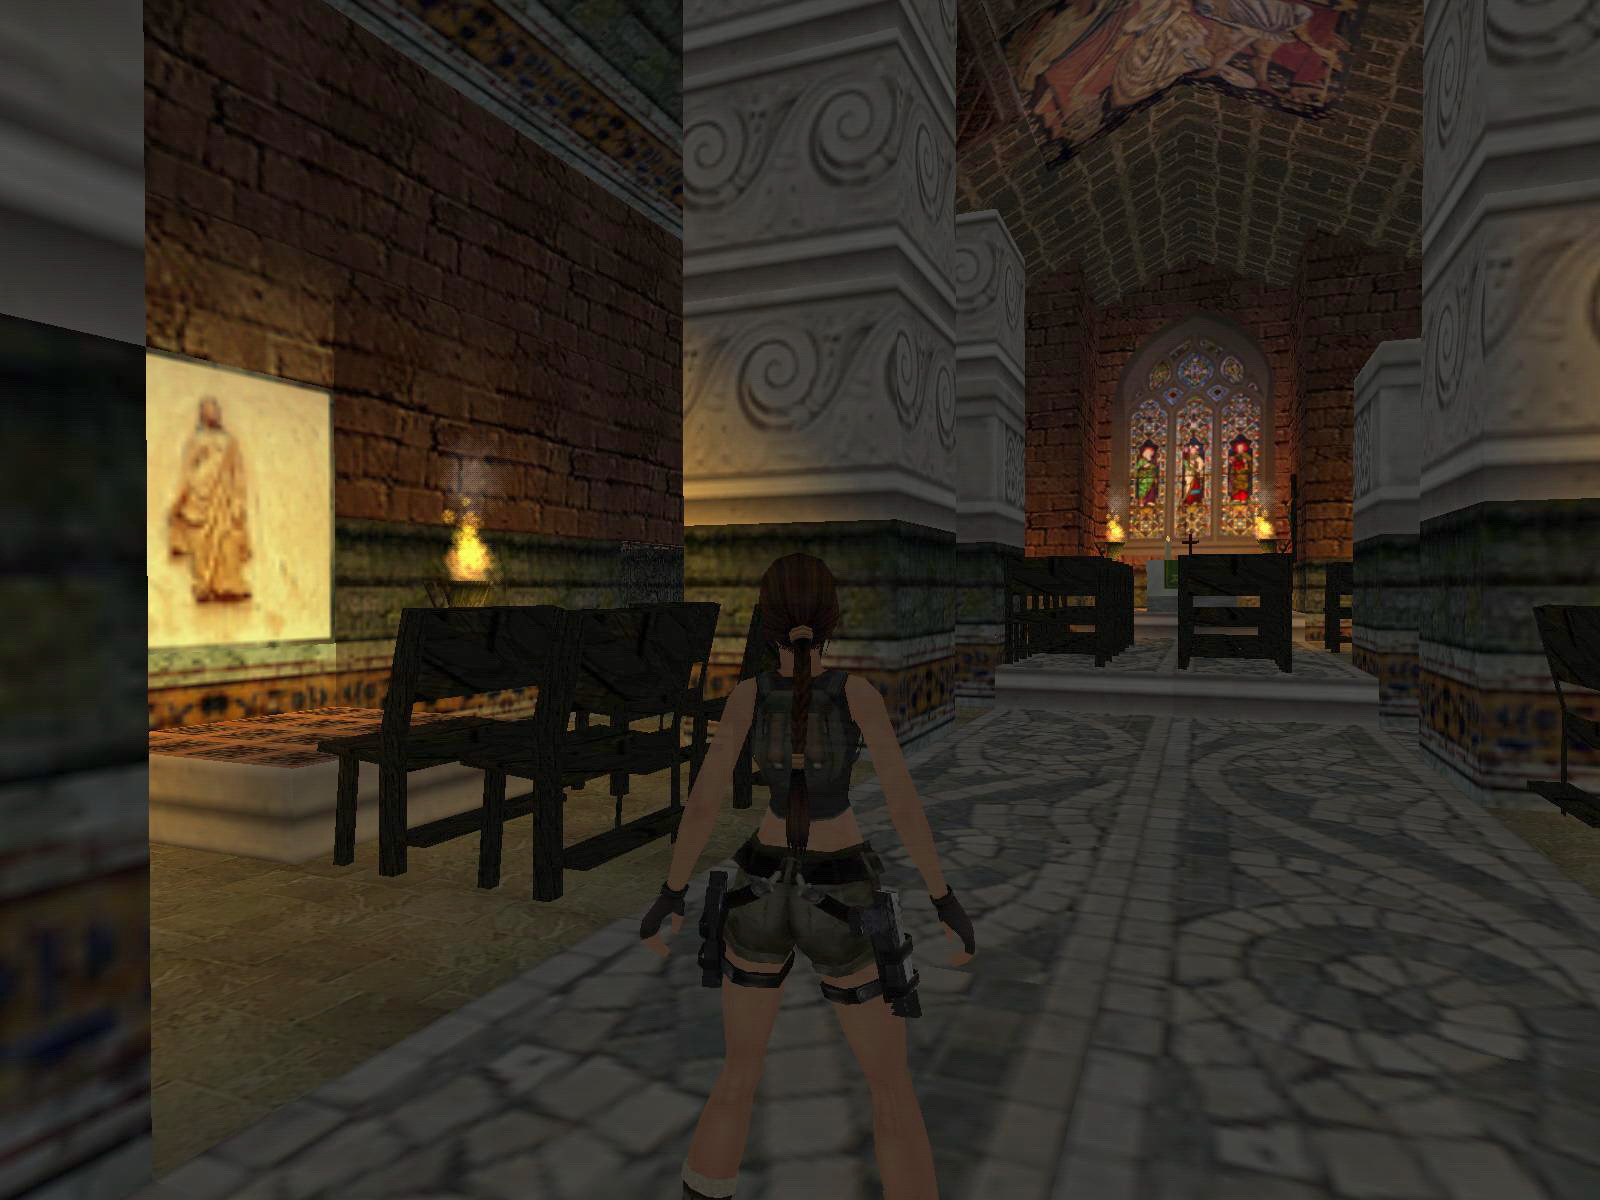
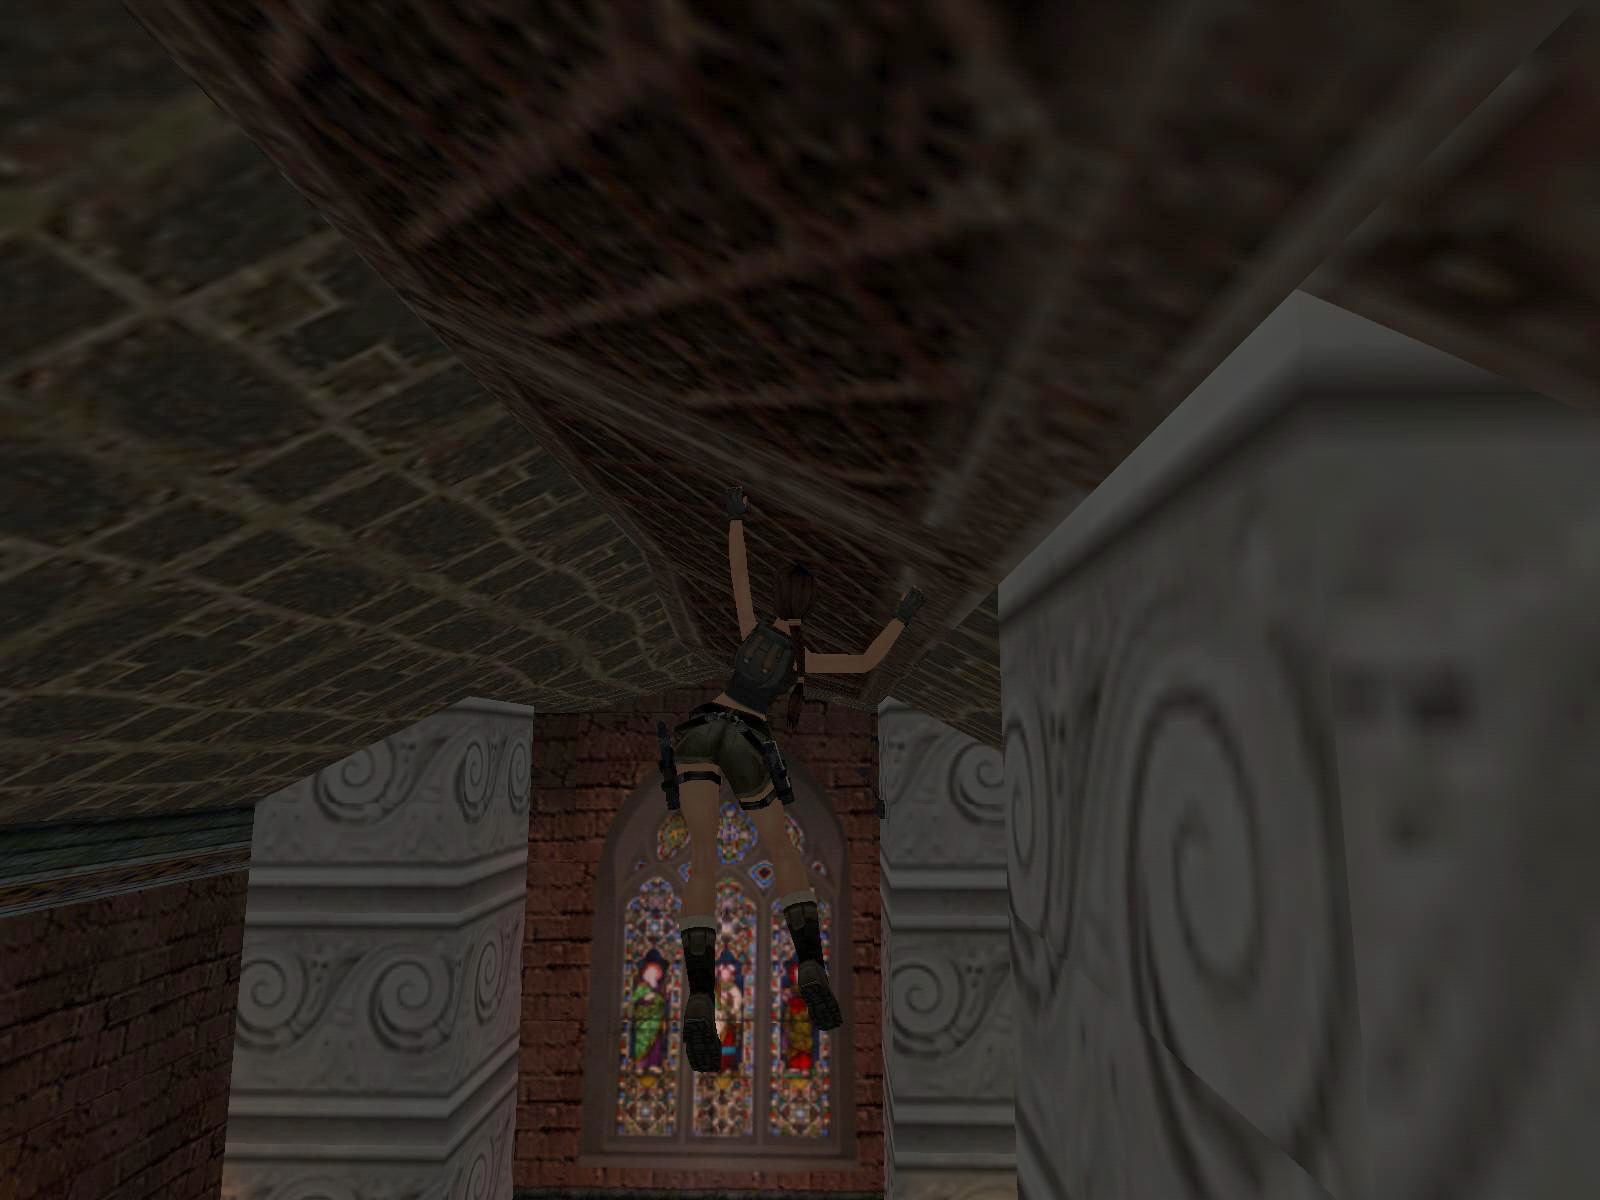
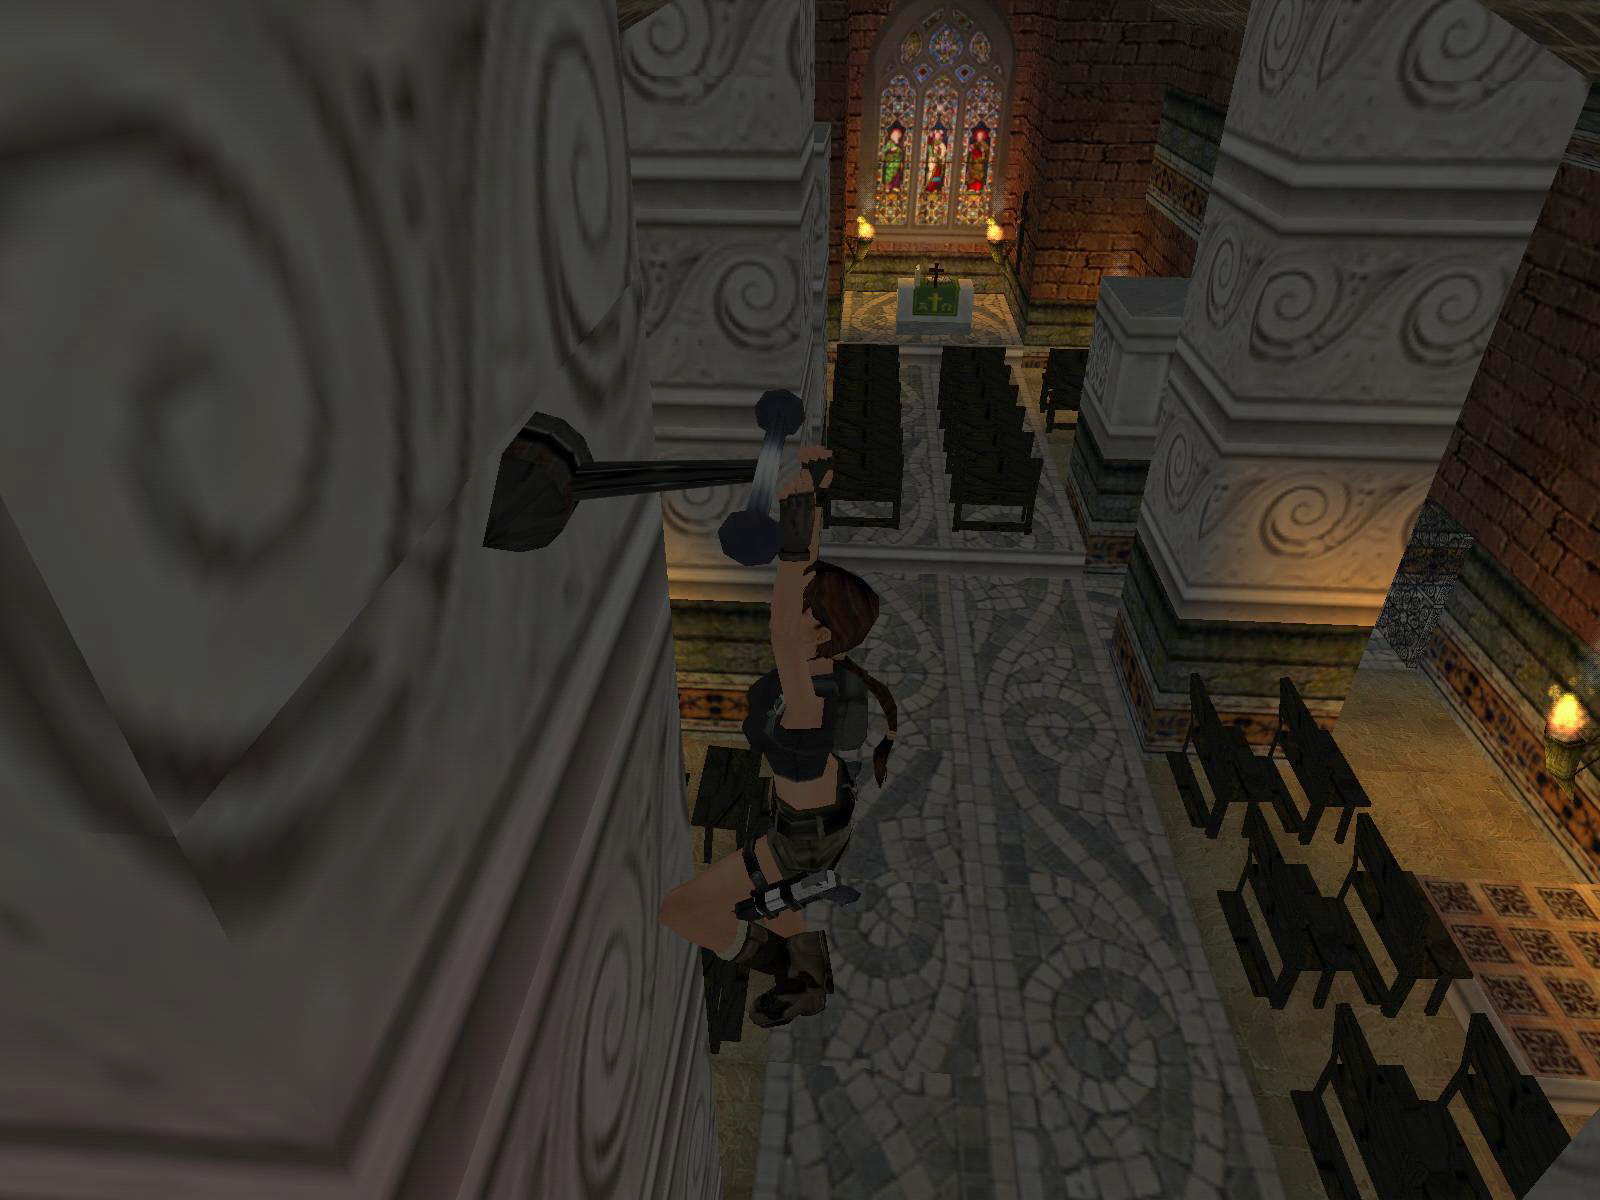
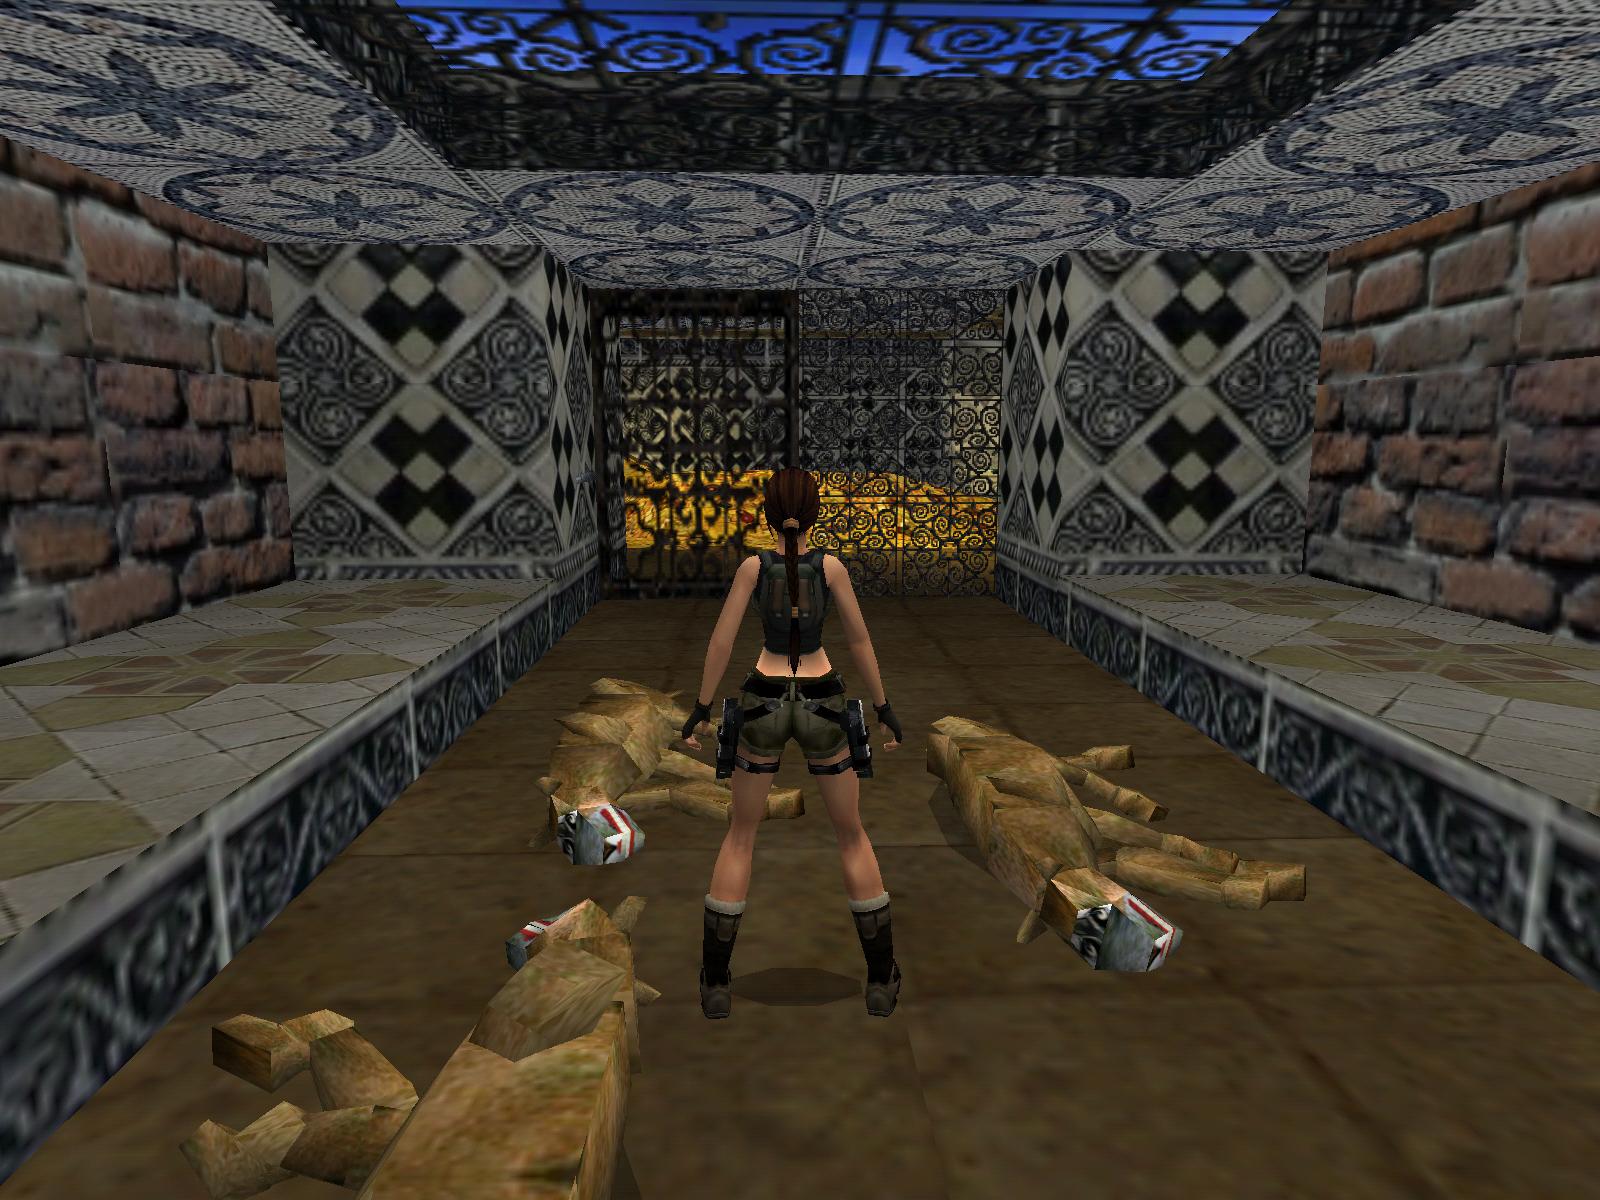
Pull up into the south wall alcove and use the crowbar to remove the Golden Cross from the wall. Drop down and pull up into the east wall alcove for the revolver. Get down and go to the north-west corner and climb the ladder back into the tunnel. Just follow the tunnel back to the water hole area. Return to the north-east alcove and place the cross in the receptacle. The gate opens in the west wall beside you. Follow the new tunnel and enter a church. The camera view changes to make it difficult. Go west and pass lionesses behind closed gates in the side walls. Go west to the pews and use the binoculars to see an upper crawl space next to a tall column at the south wall. Pull up into the crawl space and drop down to the other end. Follow the tunnel to the end and pull up into another south tunnel. Go forward and pick up revolver ammo for secret #4. Follow the tunnel back to return to the church again.
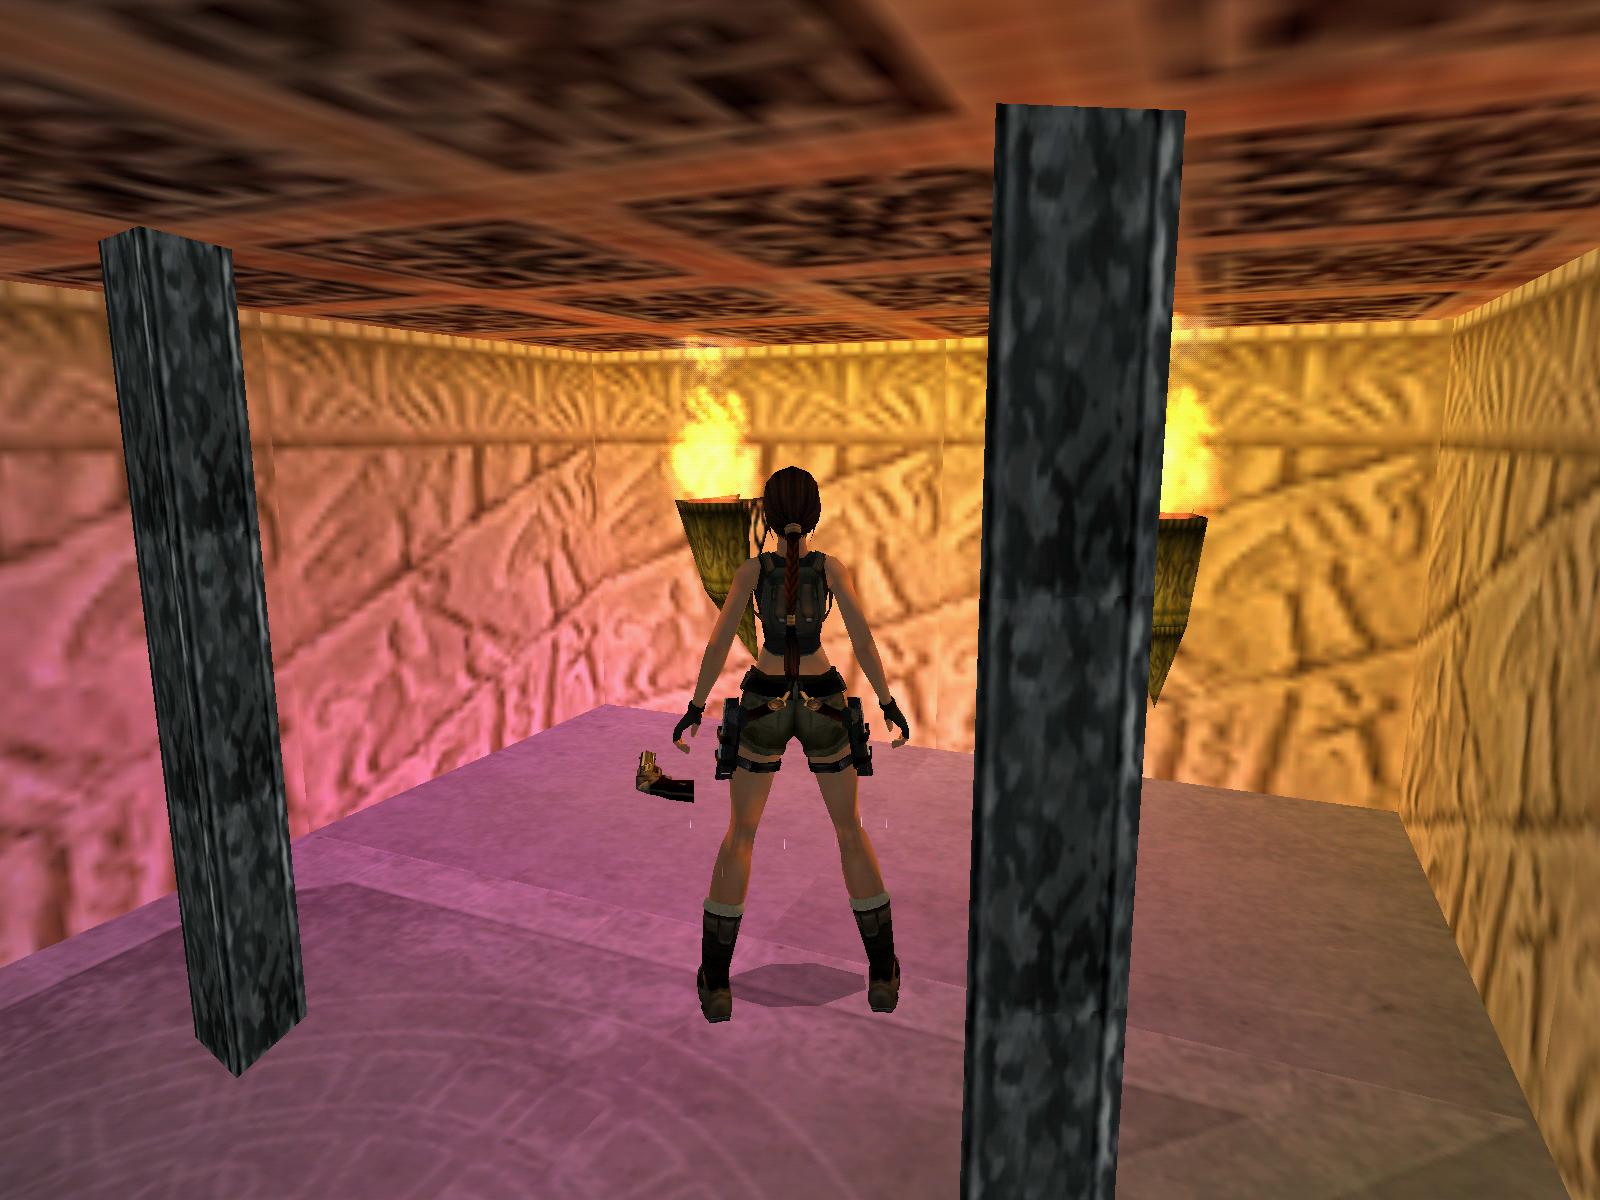
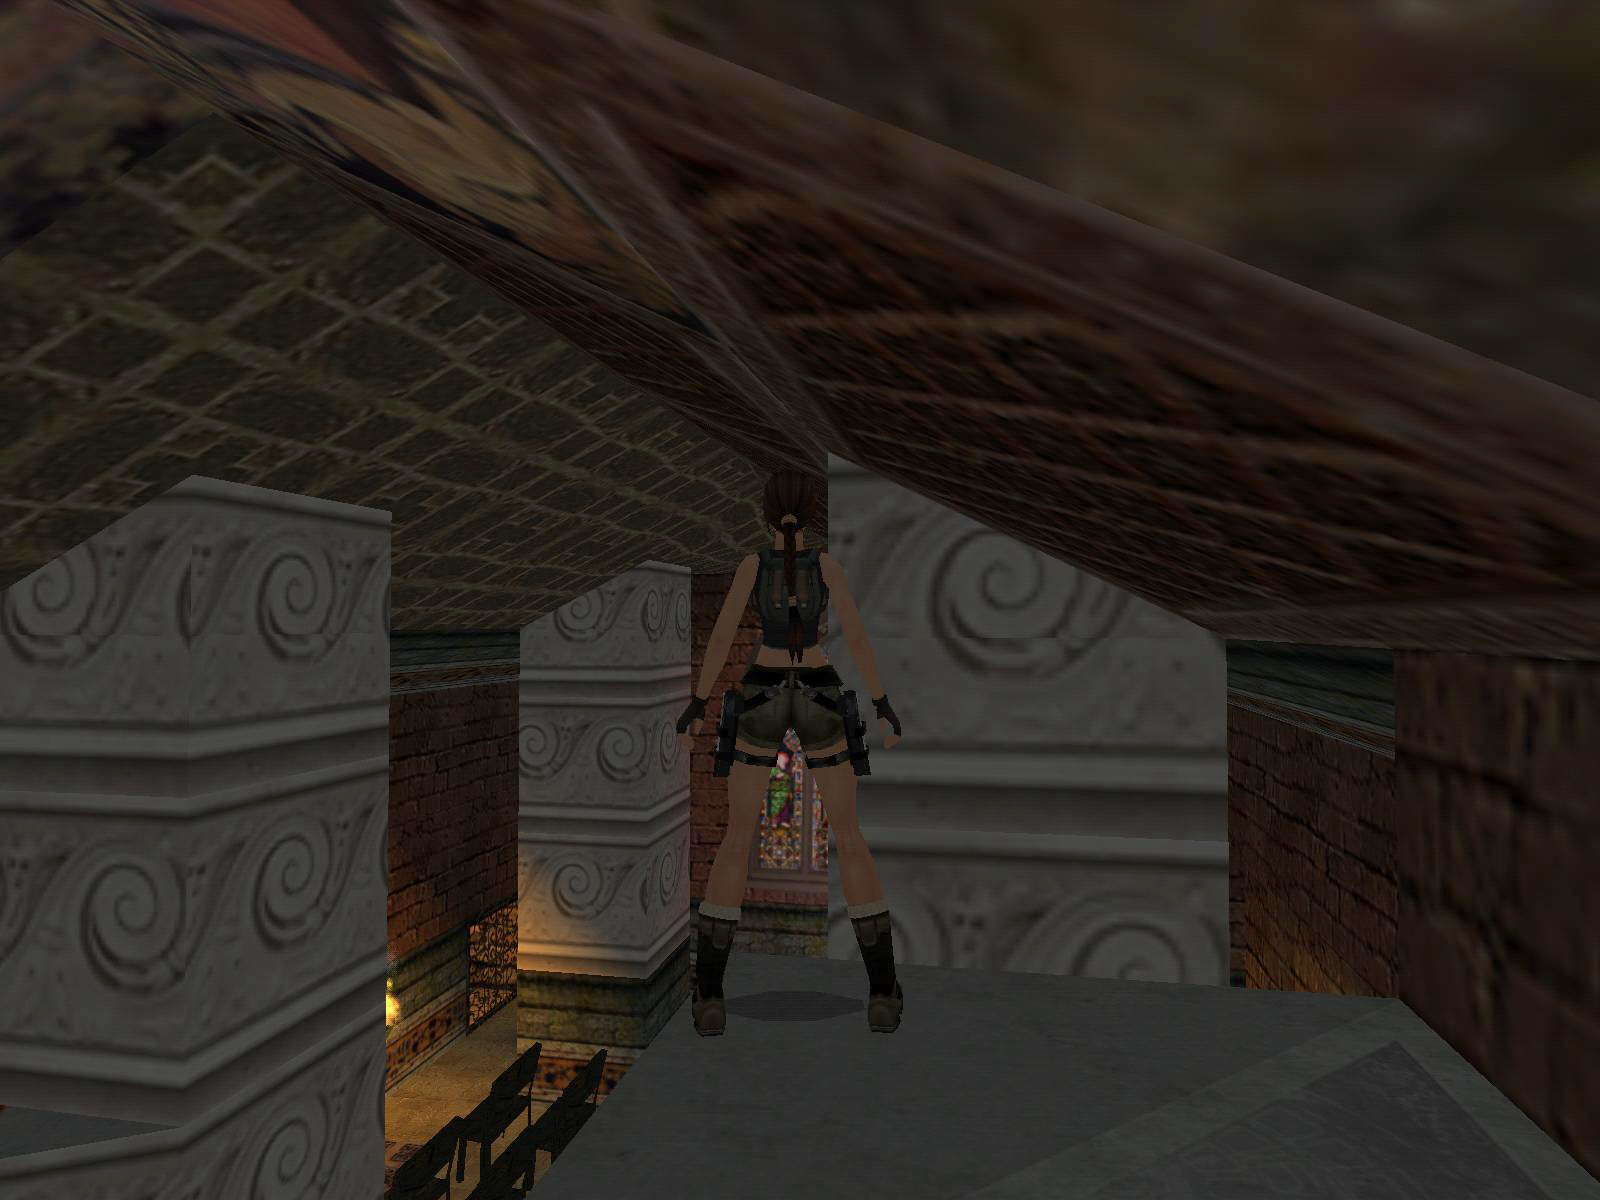
Go towards the alter and loop around the pews to the right. Pull up onto the short column at the north wall. Run and jump to the higher column at the south wall. Grab the ceiling and monkey swing to the east. Turn to the right and pull down the jump switch on the last column. Go east to the open gates and shoot the two lionesses. The south tunnel is empty. Follow the north tunnel to a ledge. You get a flyby of a slope with many traps. Stand on the left side of the slope. Stand jump forward and land on a slope. Slide down and jump with a right curve and you should land on a flat tile in front of a fire pit. Notice the crawl space in the south wall for later.
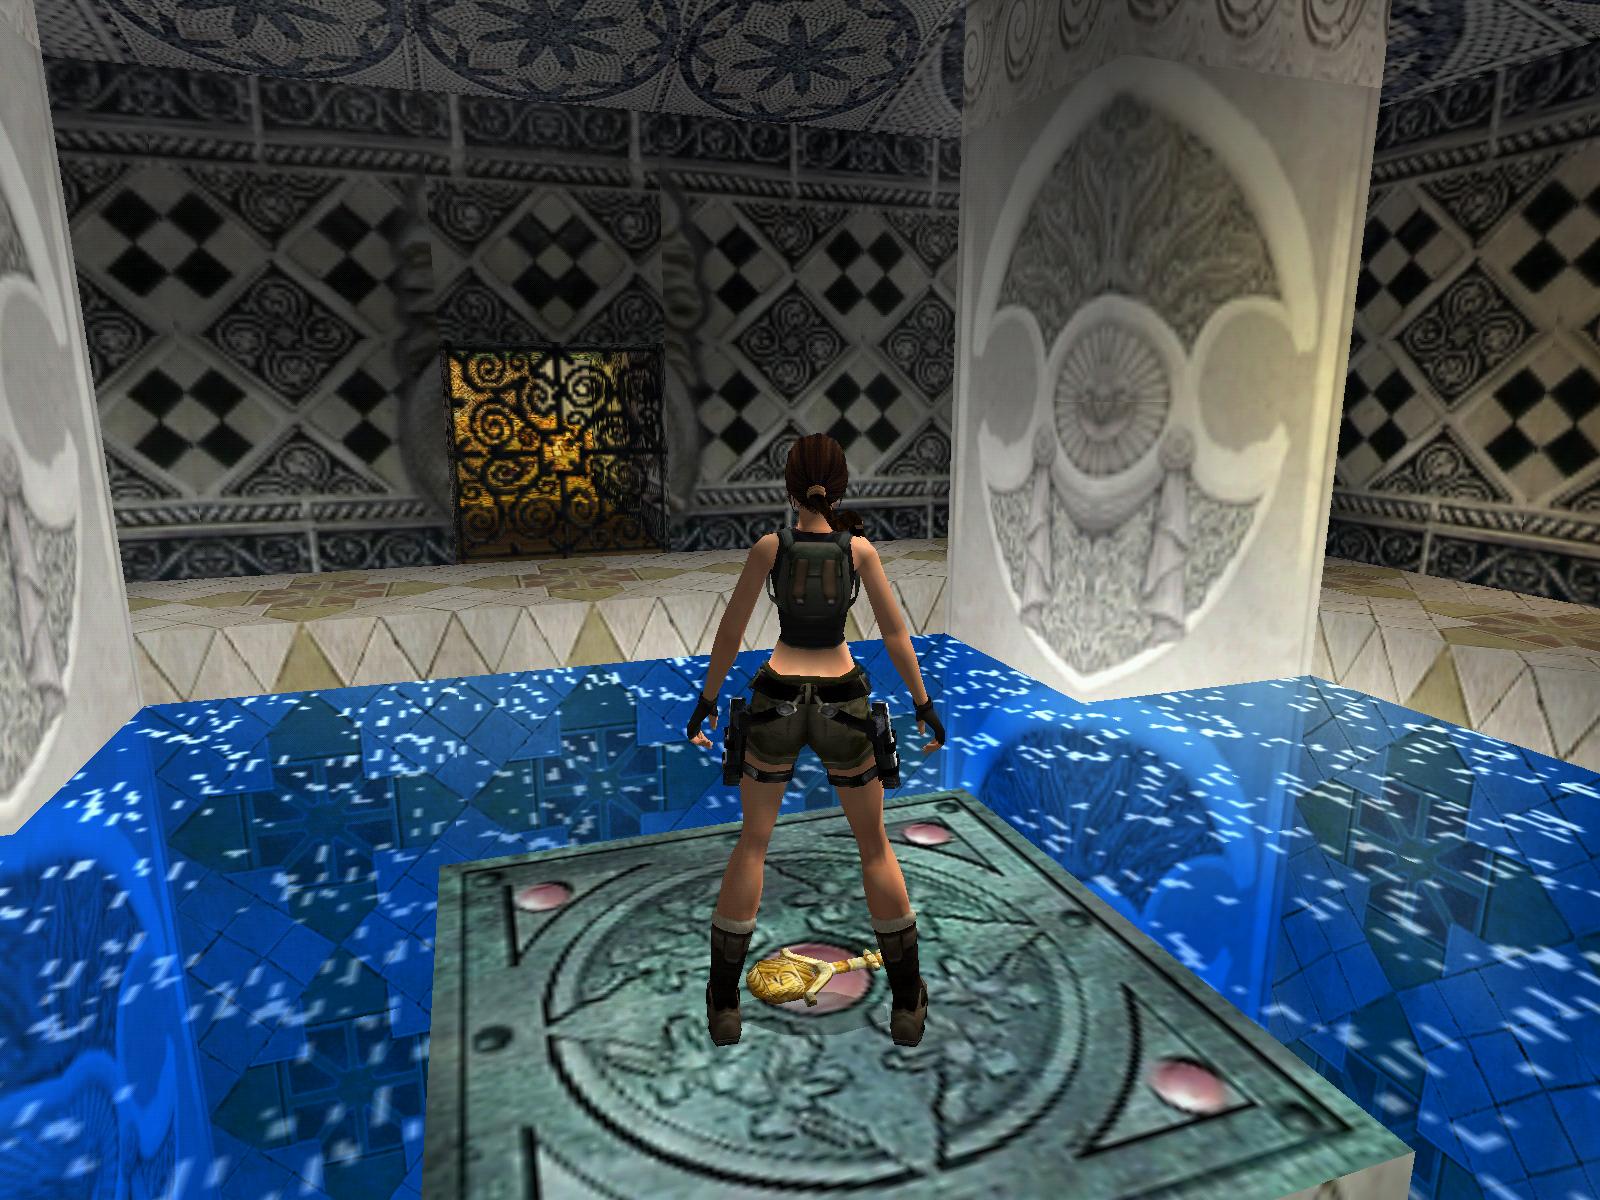
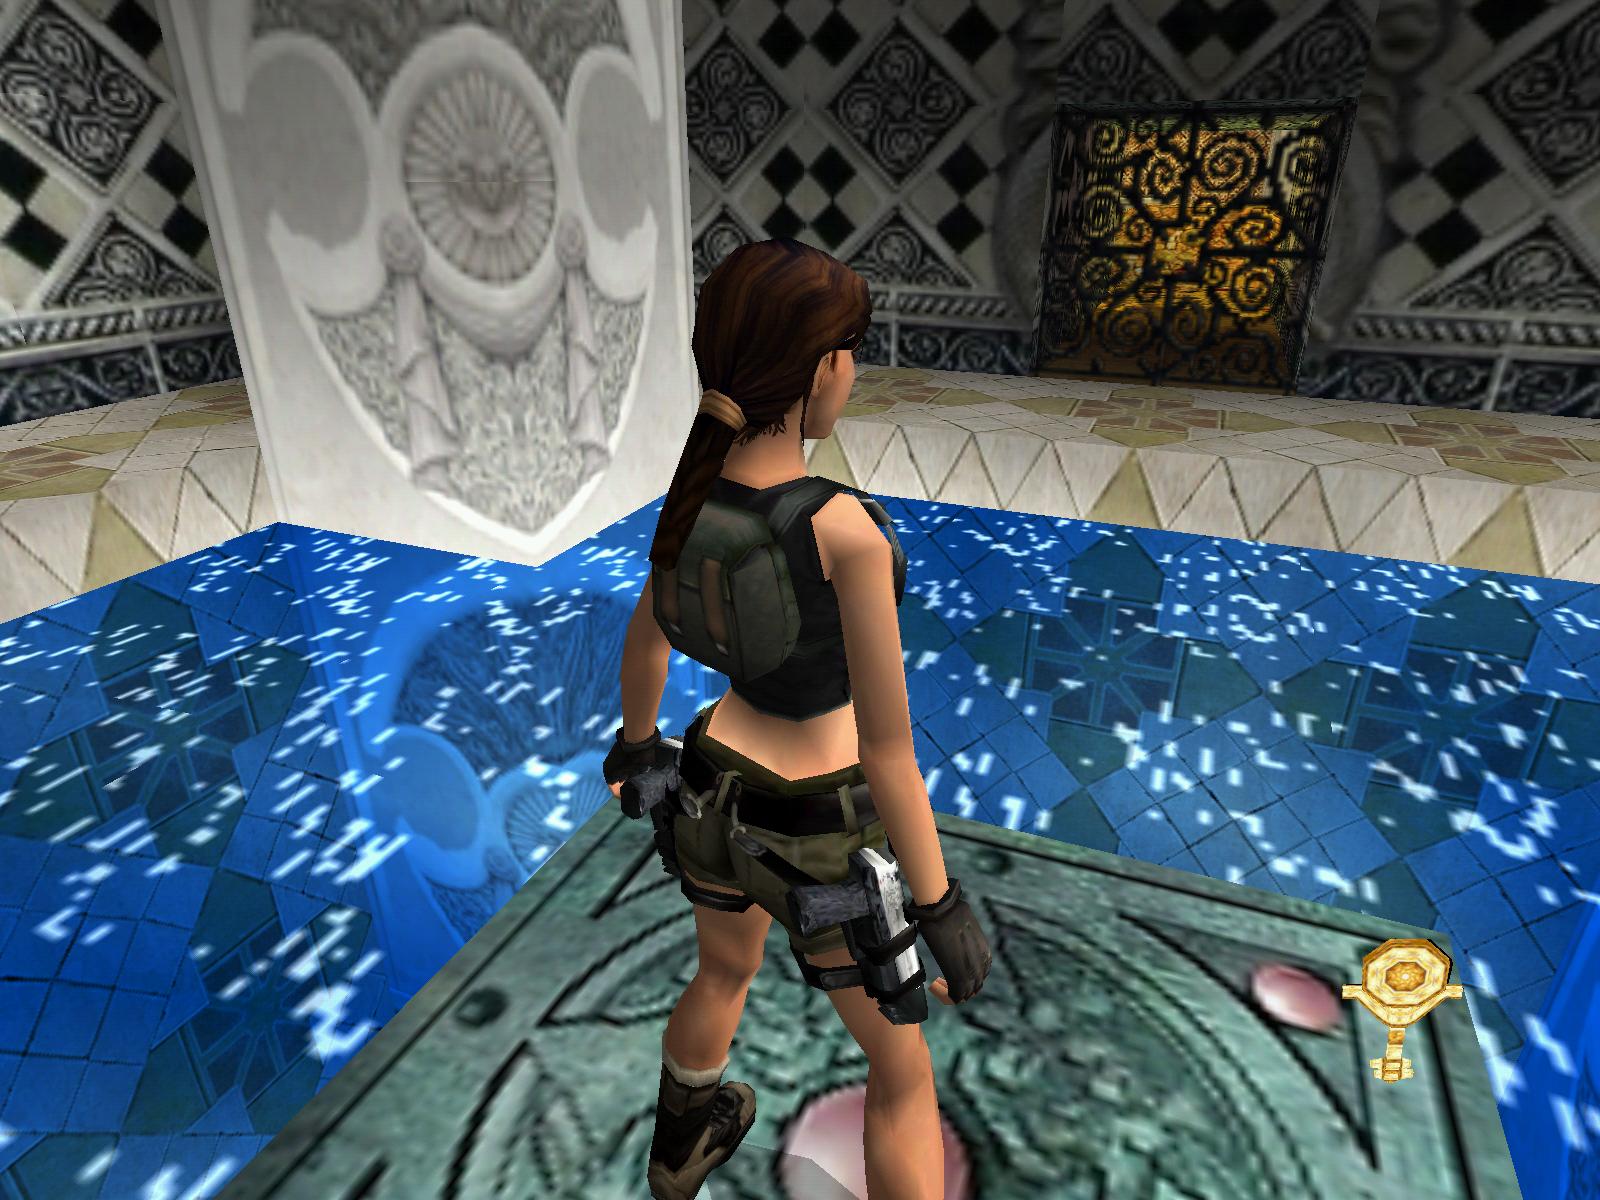
Get onto the north-west flat tile and slide down the slope. Jump forwards over a fire pit and land on a ledge in front of a doorway. Enter the doorway and find a T-junction. The right branch tunnel is a dead-end. Take the left branch tunnel and enter a room with a pool. Dive into the pool and swim behind the column to pick up a large medipack from the pool floor. Pull up on the west ledge and see a closed gate. Go to the north-west corner and pull down a jump switch on the north wall. This turns off a fire in the opposite corner. Go to the south-east corner and hop onto the block. Pull down the wall switch on the east wall. A column has lowered in the pool. Hop onto the platform in the pool and pick up the Gate Key. Return through the tunnel to the room with the slopes.
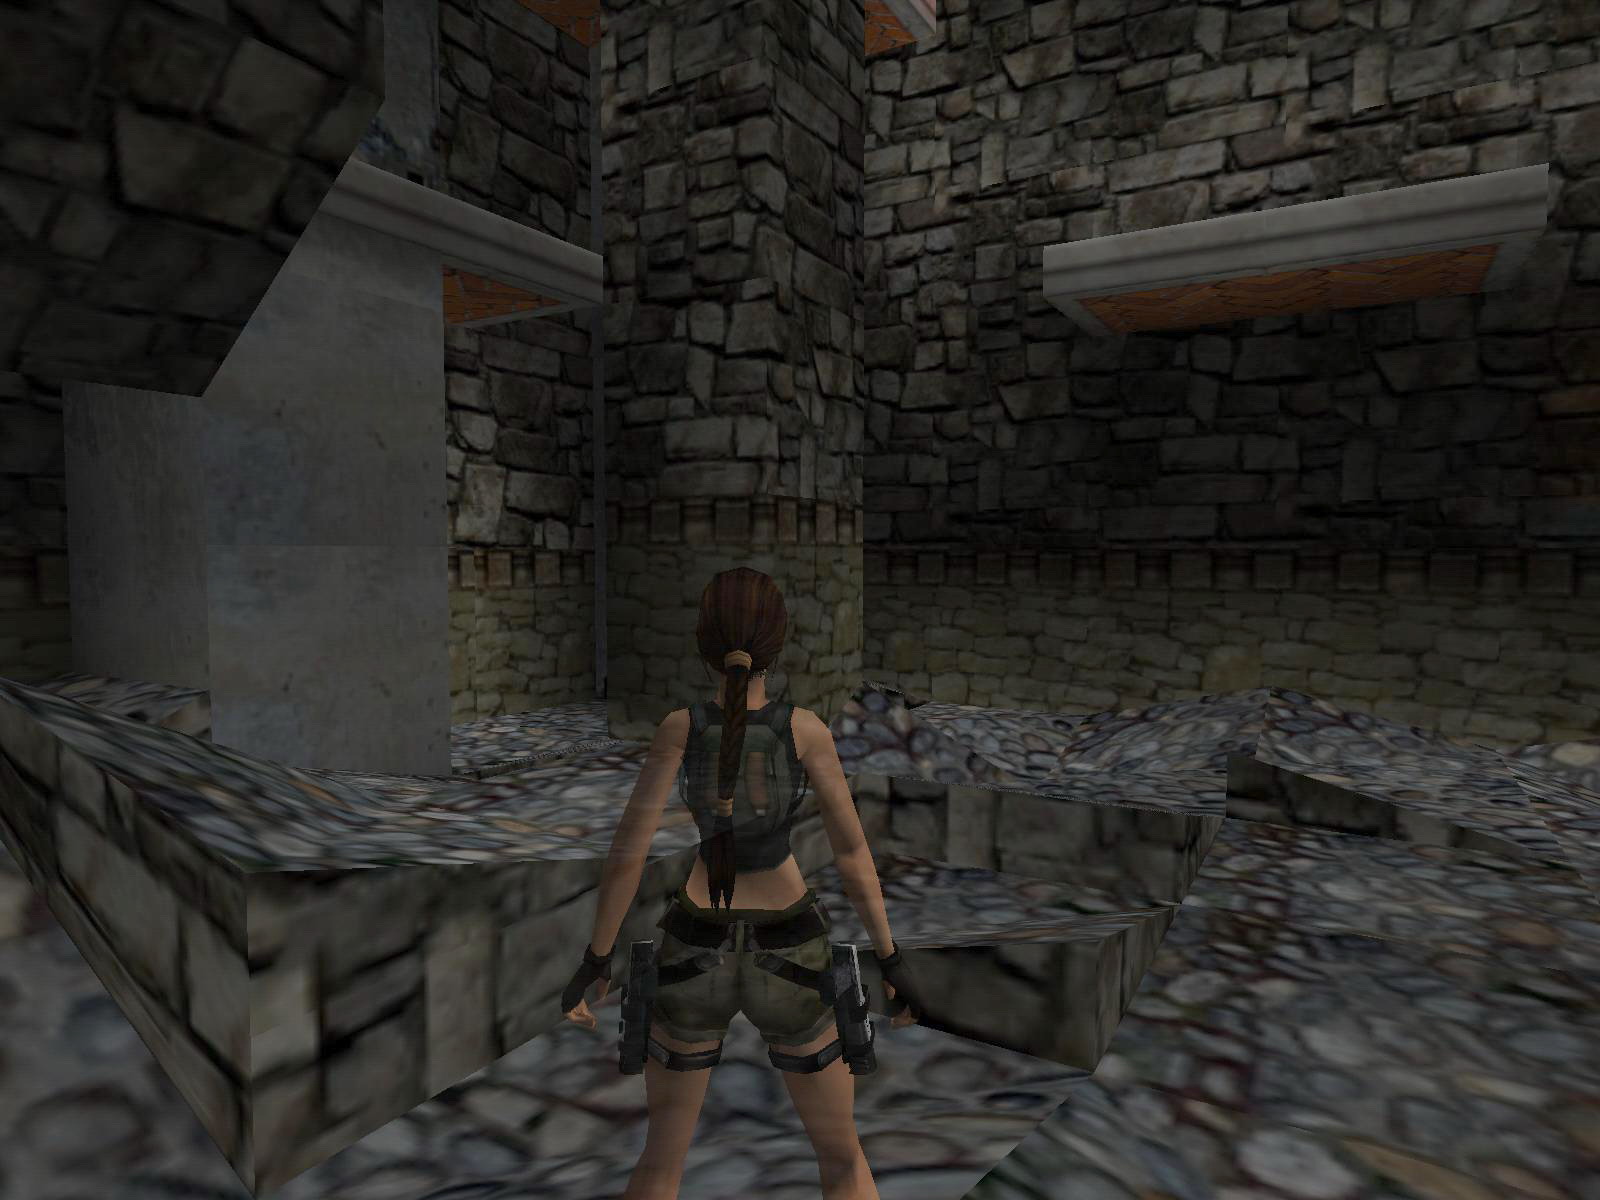
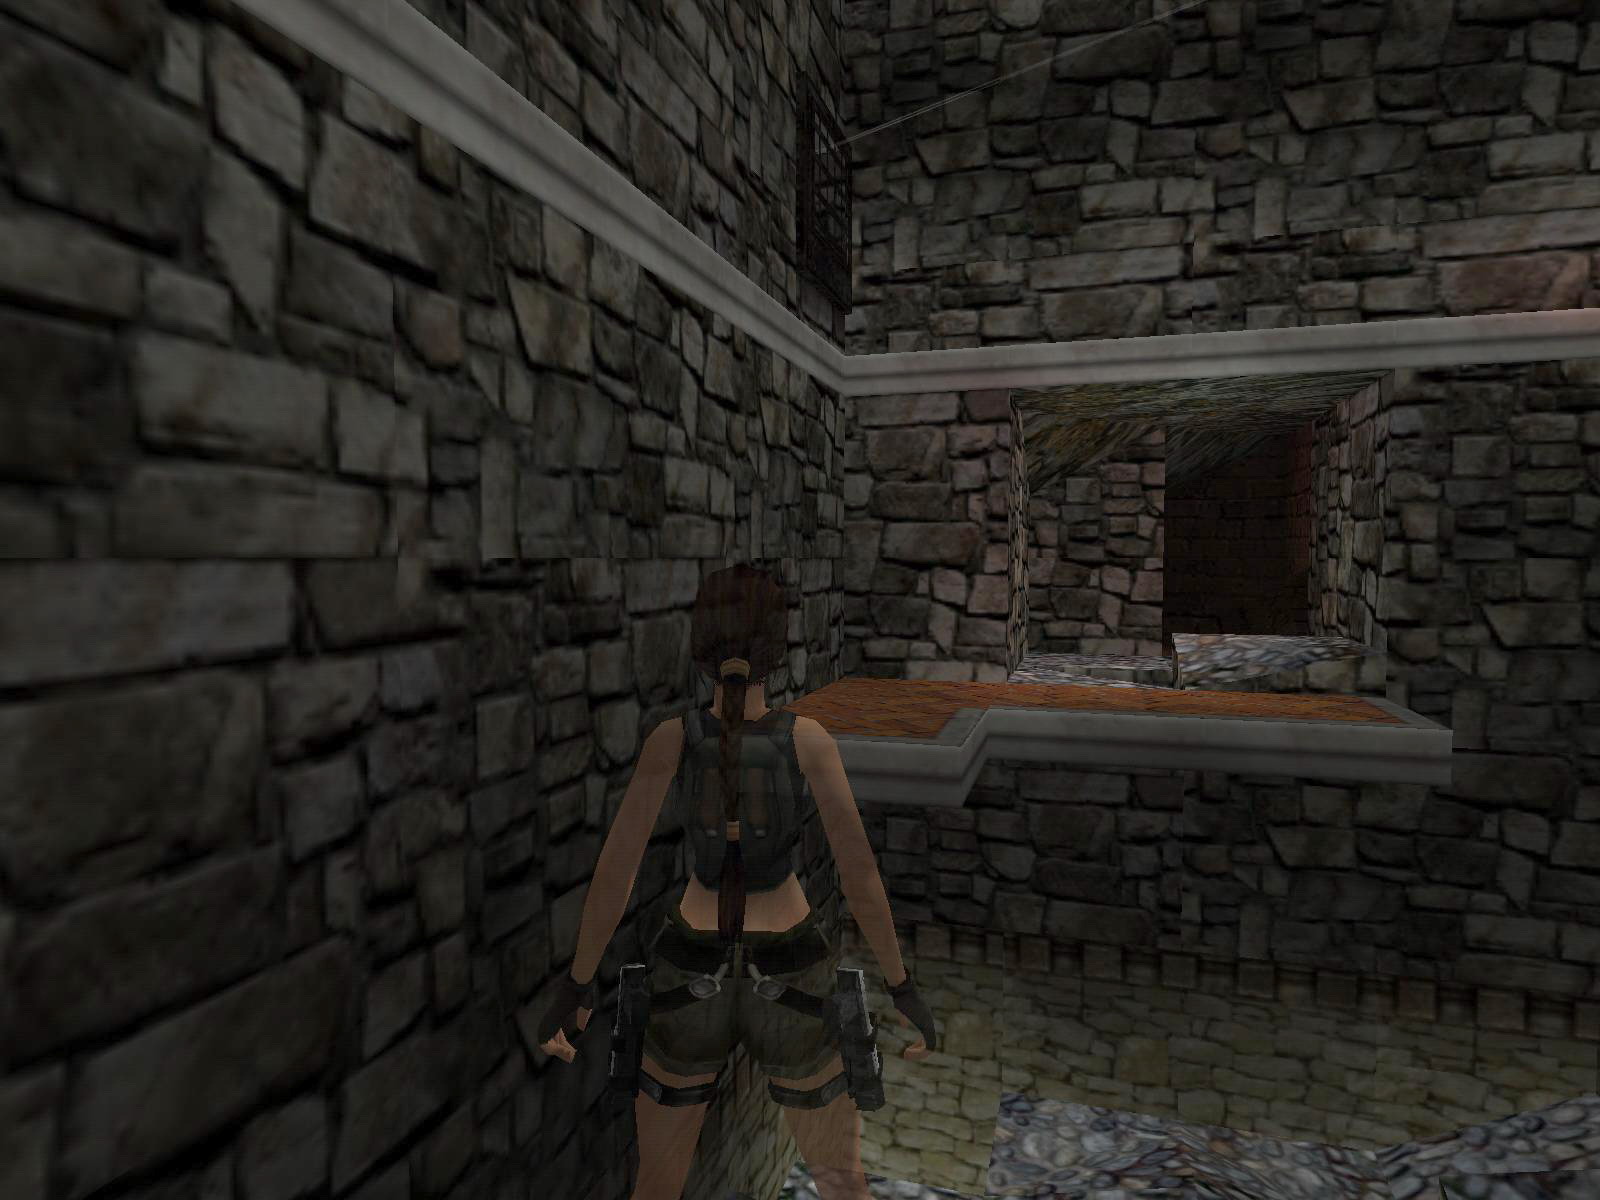
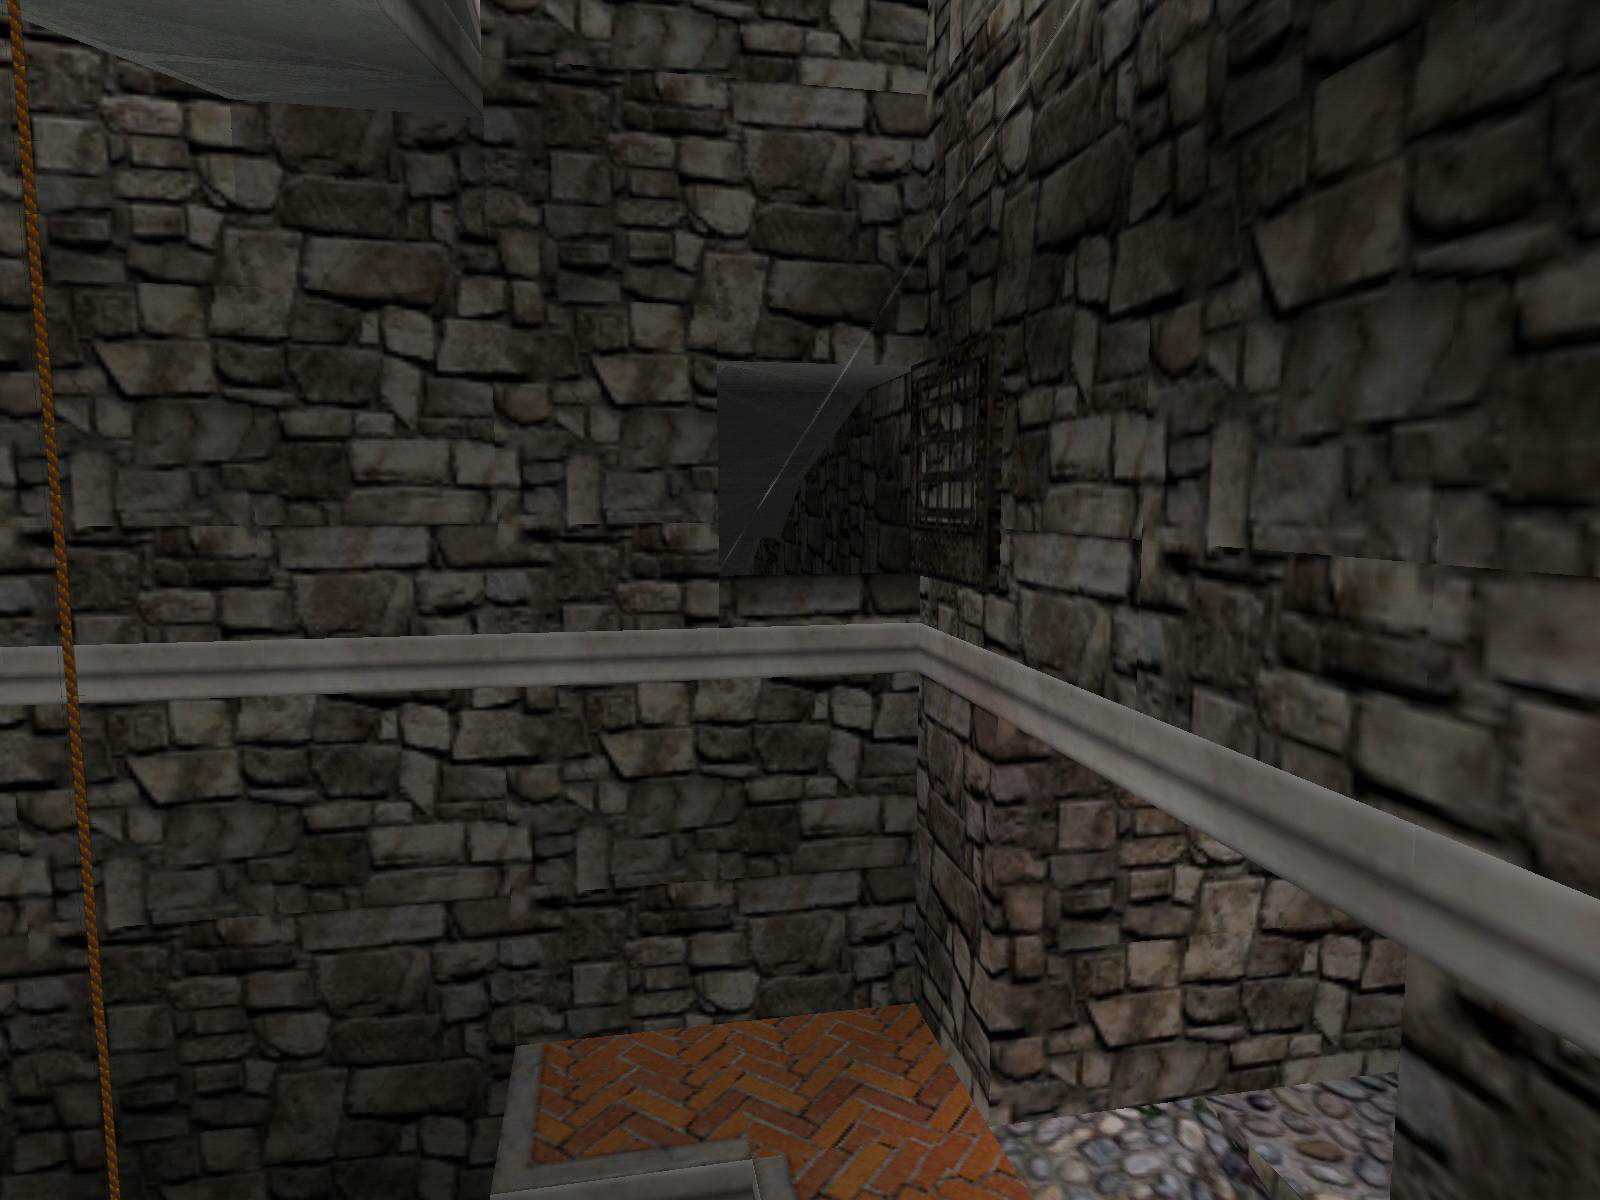
Run and jump over the fire pit to land on the tile at the north wall. Jump to the middle of the slope and now jump to grab the crawl space in the south wall. Get in and crawl forward and drop into a hole. Pull up into the next tunnel. Go south and climb a ladder to the top. Pull up into a high room with many ledges. You can see ammo behind a closed gate in the north-west corner. Go to the south-west corner and climb the ladder on the south wall. Near the middle of the ladder, back flip and land on a ledge behind you. Run and jump to the east to grab a ledge. Pull up and run and jump into the alcove in the dark south-east corner. Go west and pull down the wall switch. Return to the room and see that a rope has dropped from the ceiling.
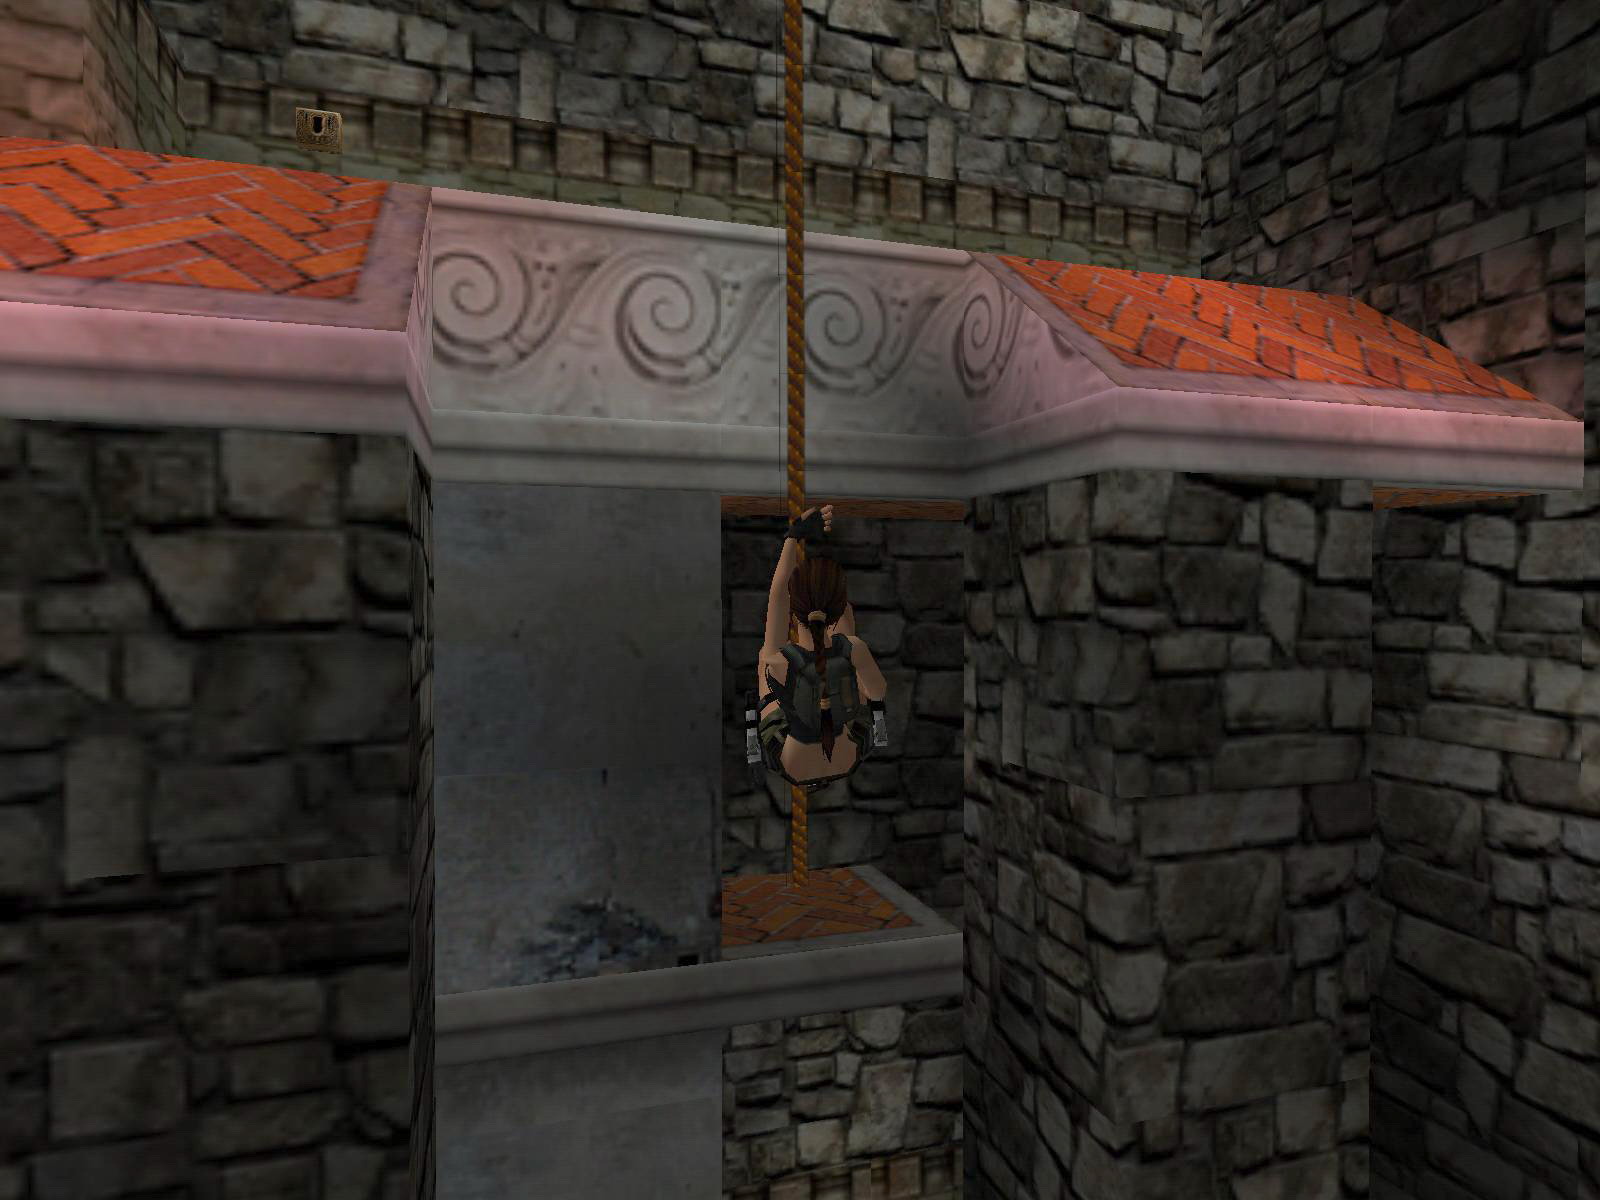
Jump and grab the rope. Swing onto the lower ledge at the south wall for red shotgun shells. Safety drop to the floor. Climb the south-west corner ladder and back flip to the ledge again. Run and jump to grab the rope. Swing and release to land on the high ledge on the west wall. Run and jump onto the south ledge. Go east and use the key in the key lock on the south wall. You get a cut scene of a gate opening. Climb the block beside you and stand jump to grab the bridge to the east. Pull up and go onto the middle of the bridge for red shotgun shells. Return back down to that corner block and save the game in front of the zip line.
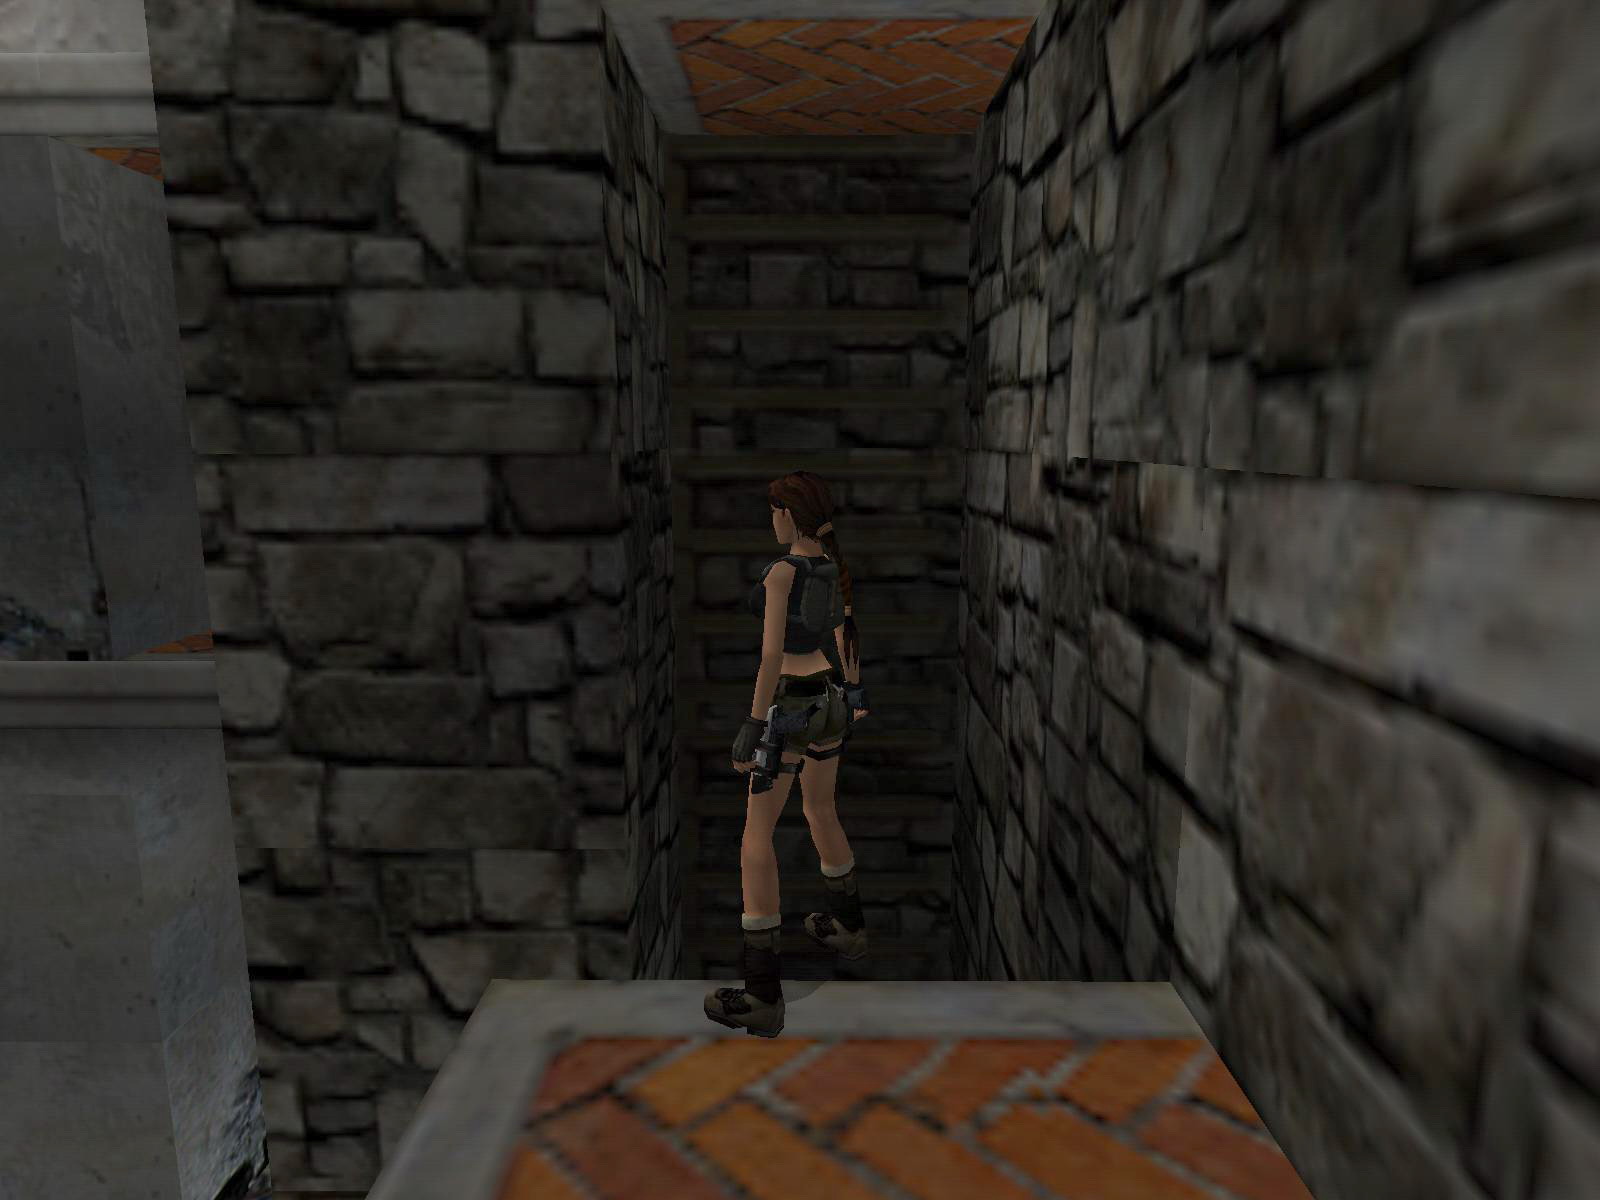
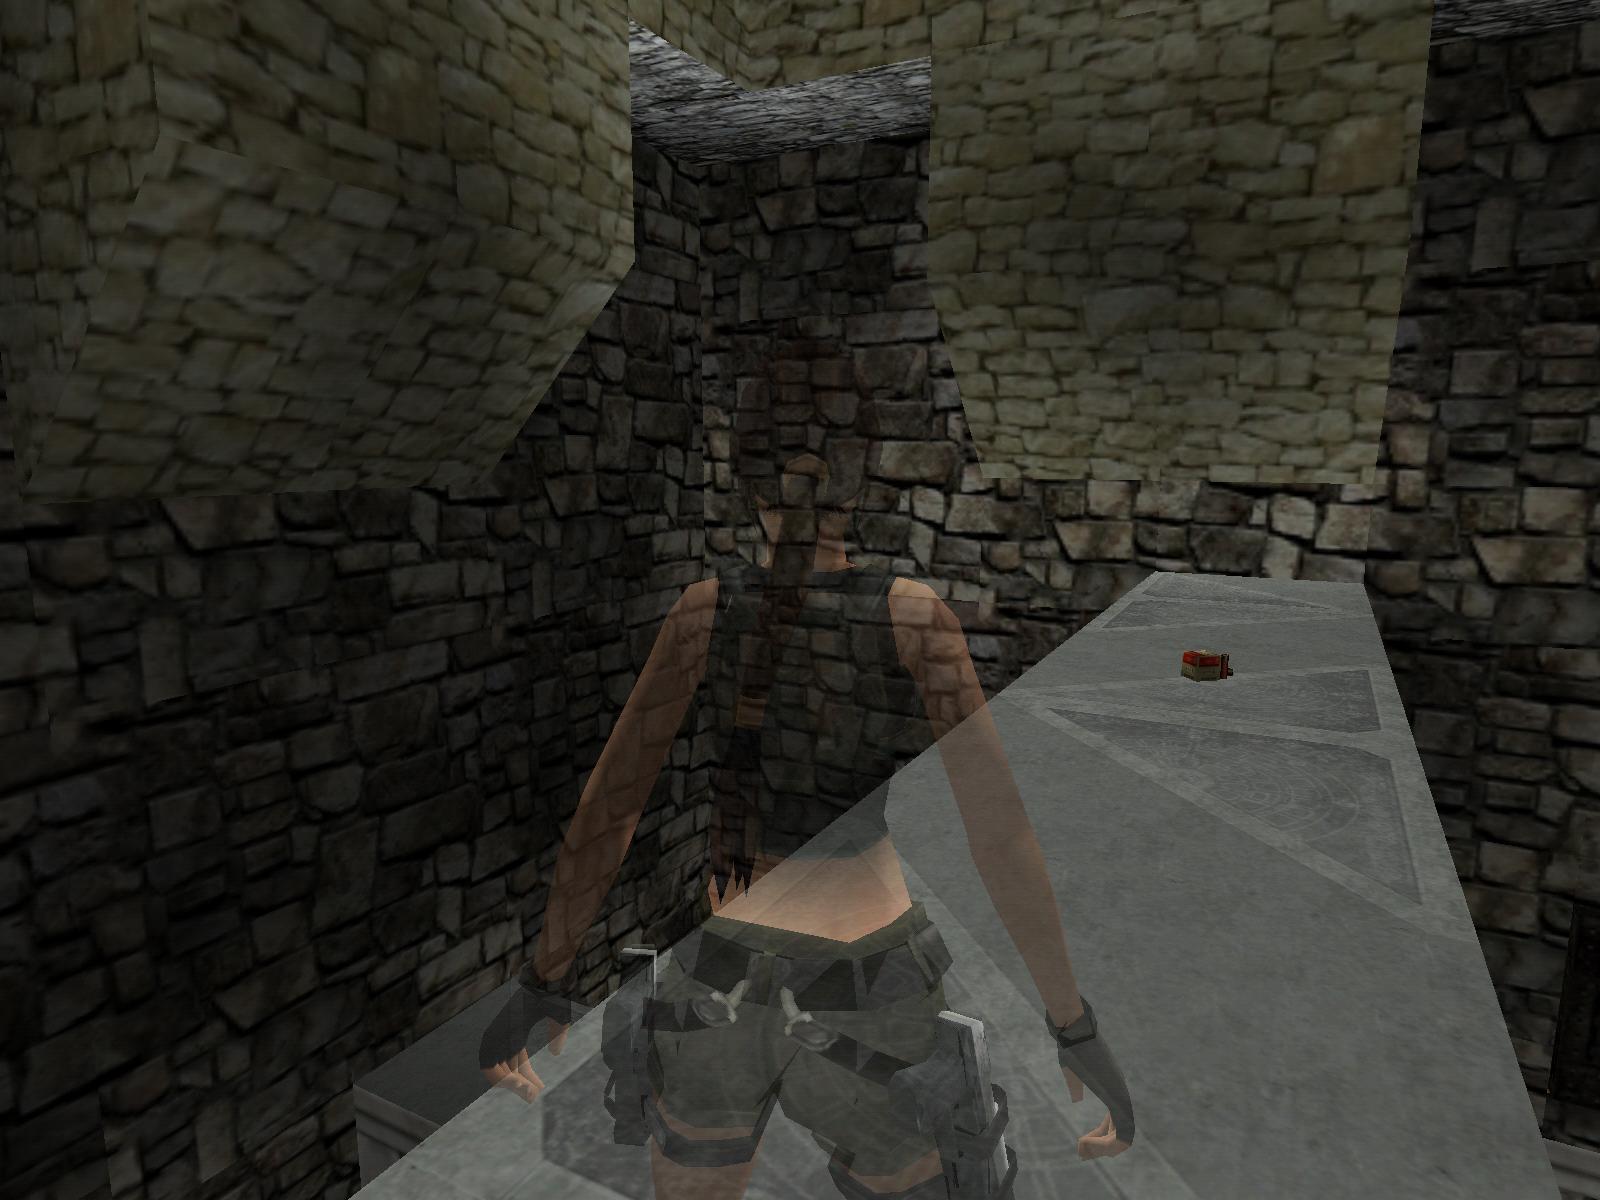
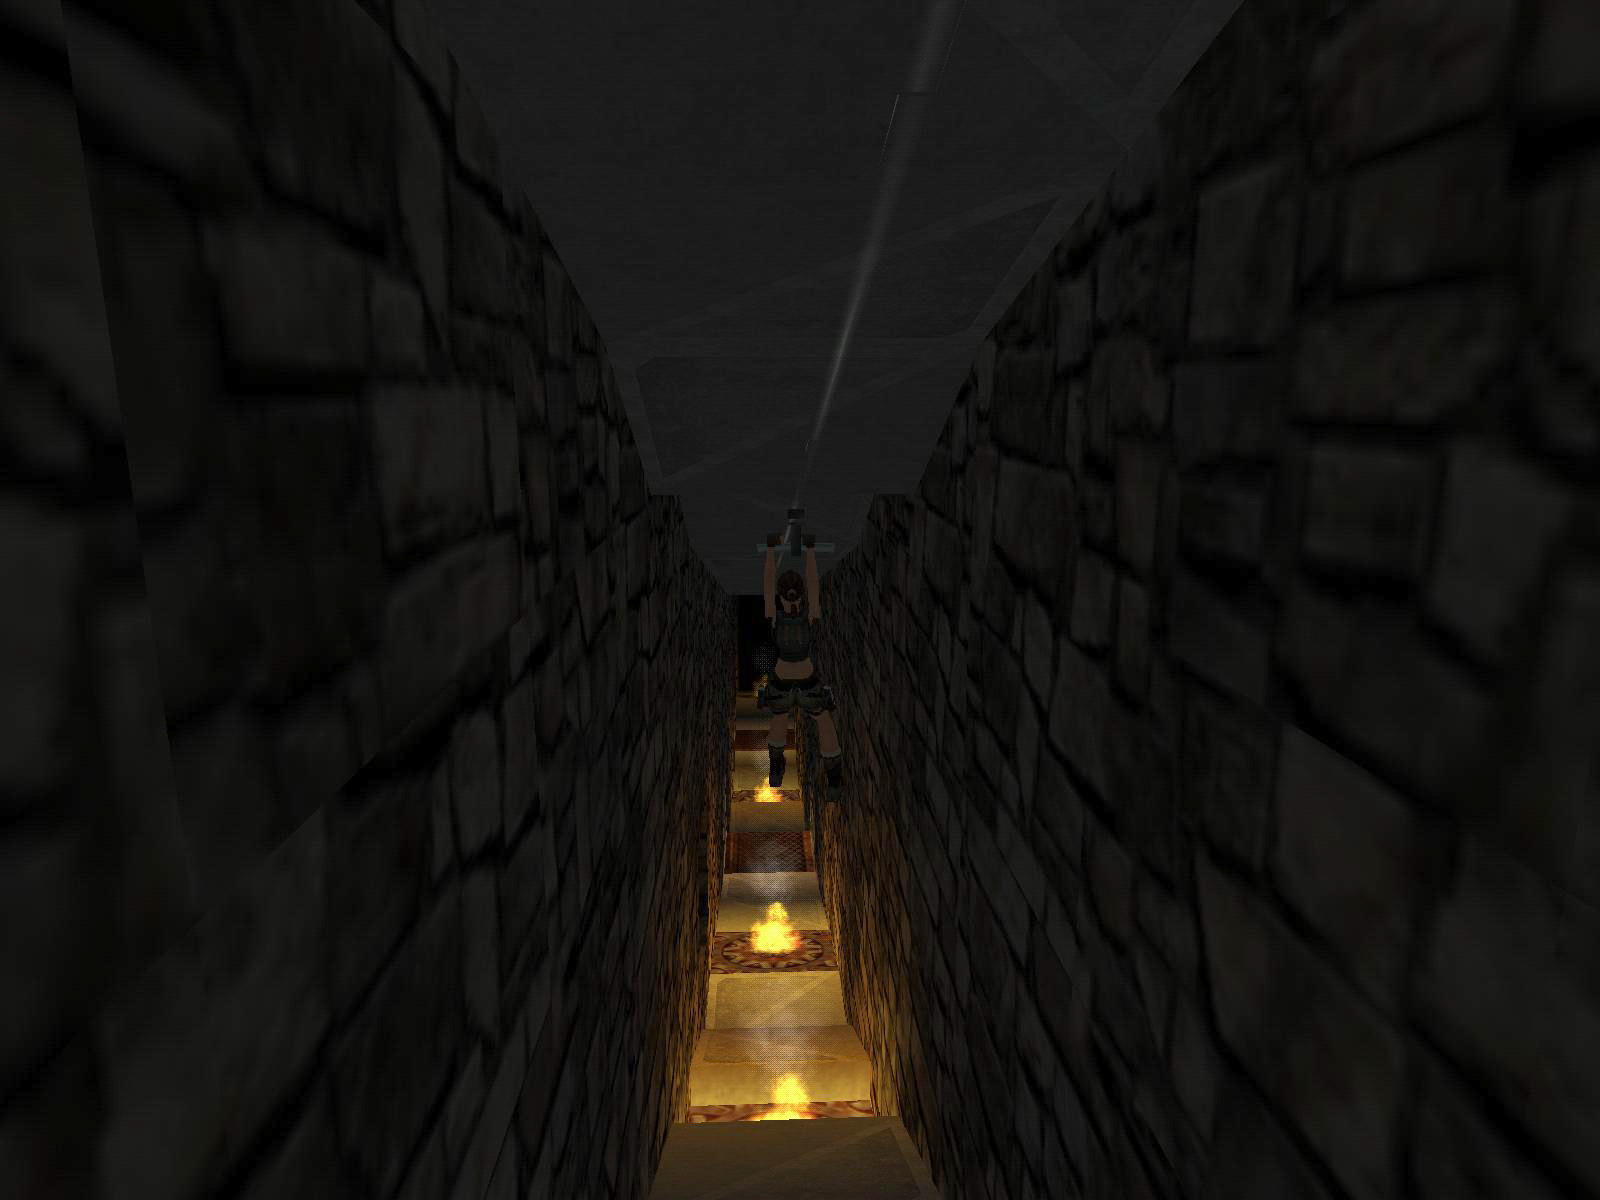
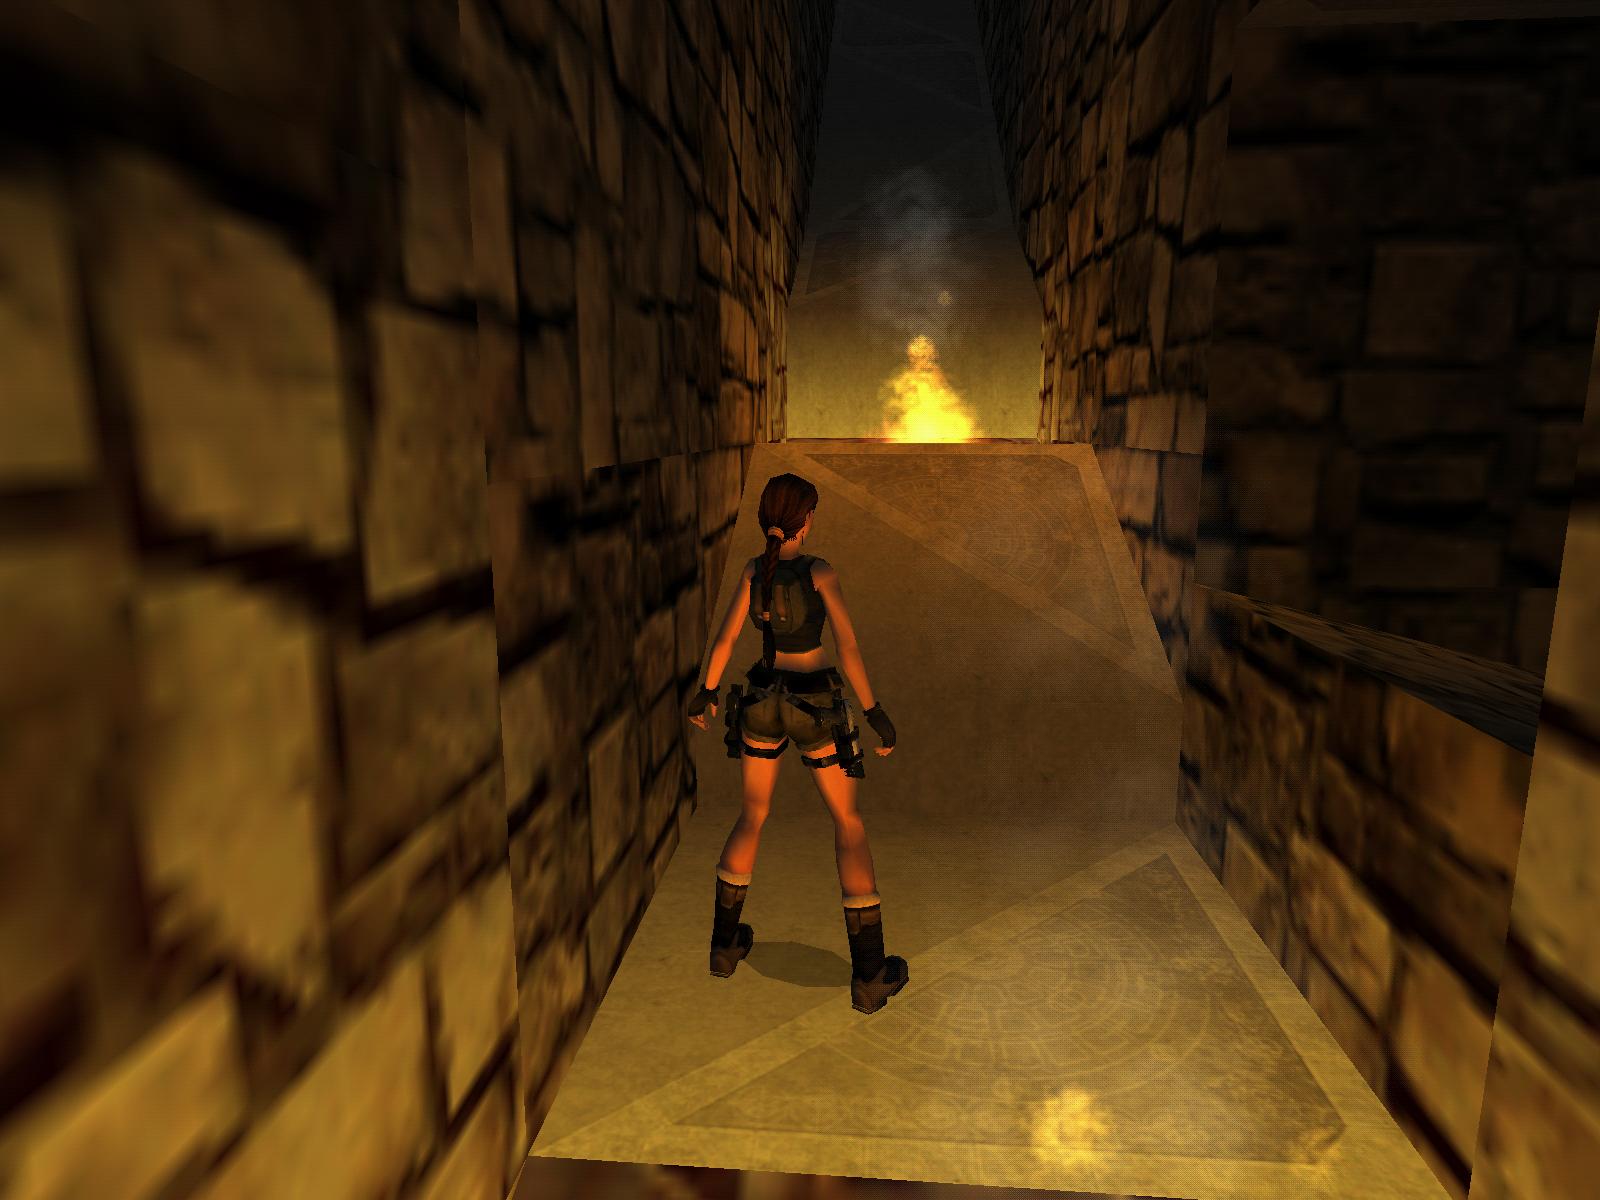
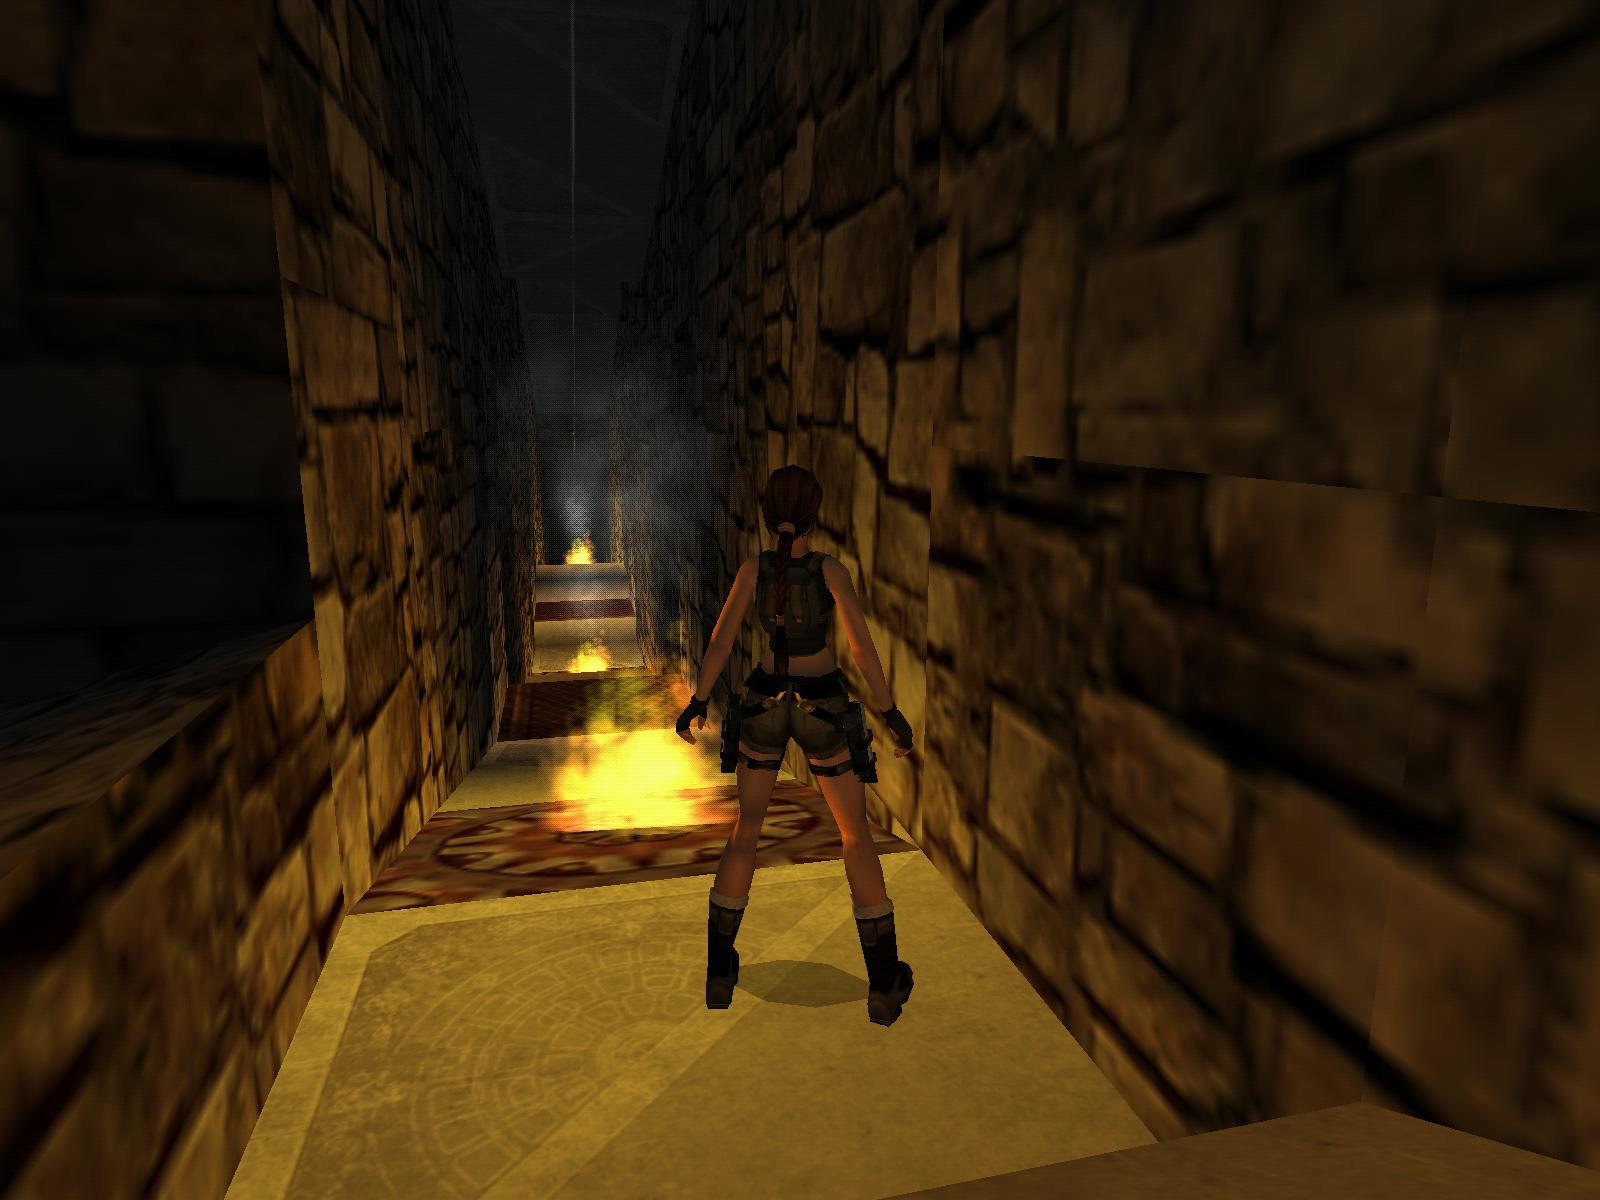
As soon as you enter the open gate, release the zip line and you should drop onto a safe tile in front of a fire. Stand jump over the fire and enter the dark tunnel in the west wall. Follow the tunnel to the end for two red shotgun shells and secret #5. Return to the tunnel with the fires. Continue north in the tunnel and jump over the fires and spike traps. At the end of the tunnel, drop down into a small outside area. Go north-east and hop up onto the stone wall for flares. As you cross the middle of the area, the camera view will change to overhead. Follow the stone wall to the west and see a crawl space behind the yellow flower. Follow the crawl space and stand up in a dark narrow room. Follow the room to the west and through another dark narrow room. In the south-west corner is a crawl space. Enter and follow the crawl space until a spider web stops you. Shoot the spider web and continue crawling to stand up in a tunnel.
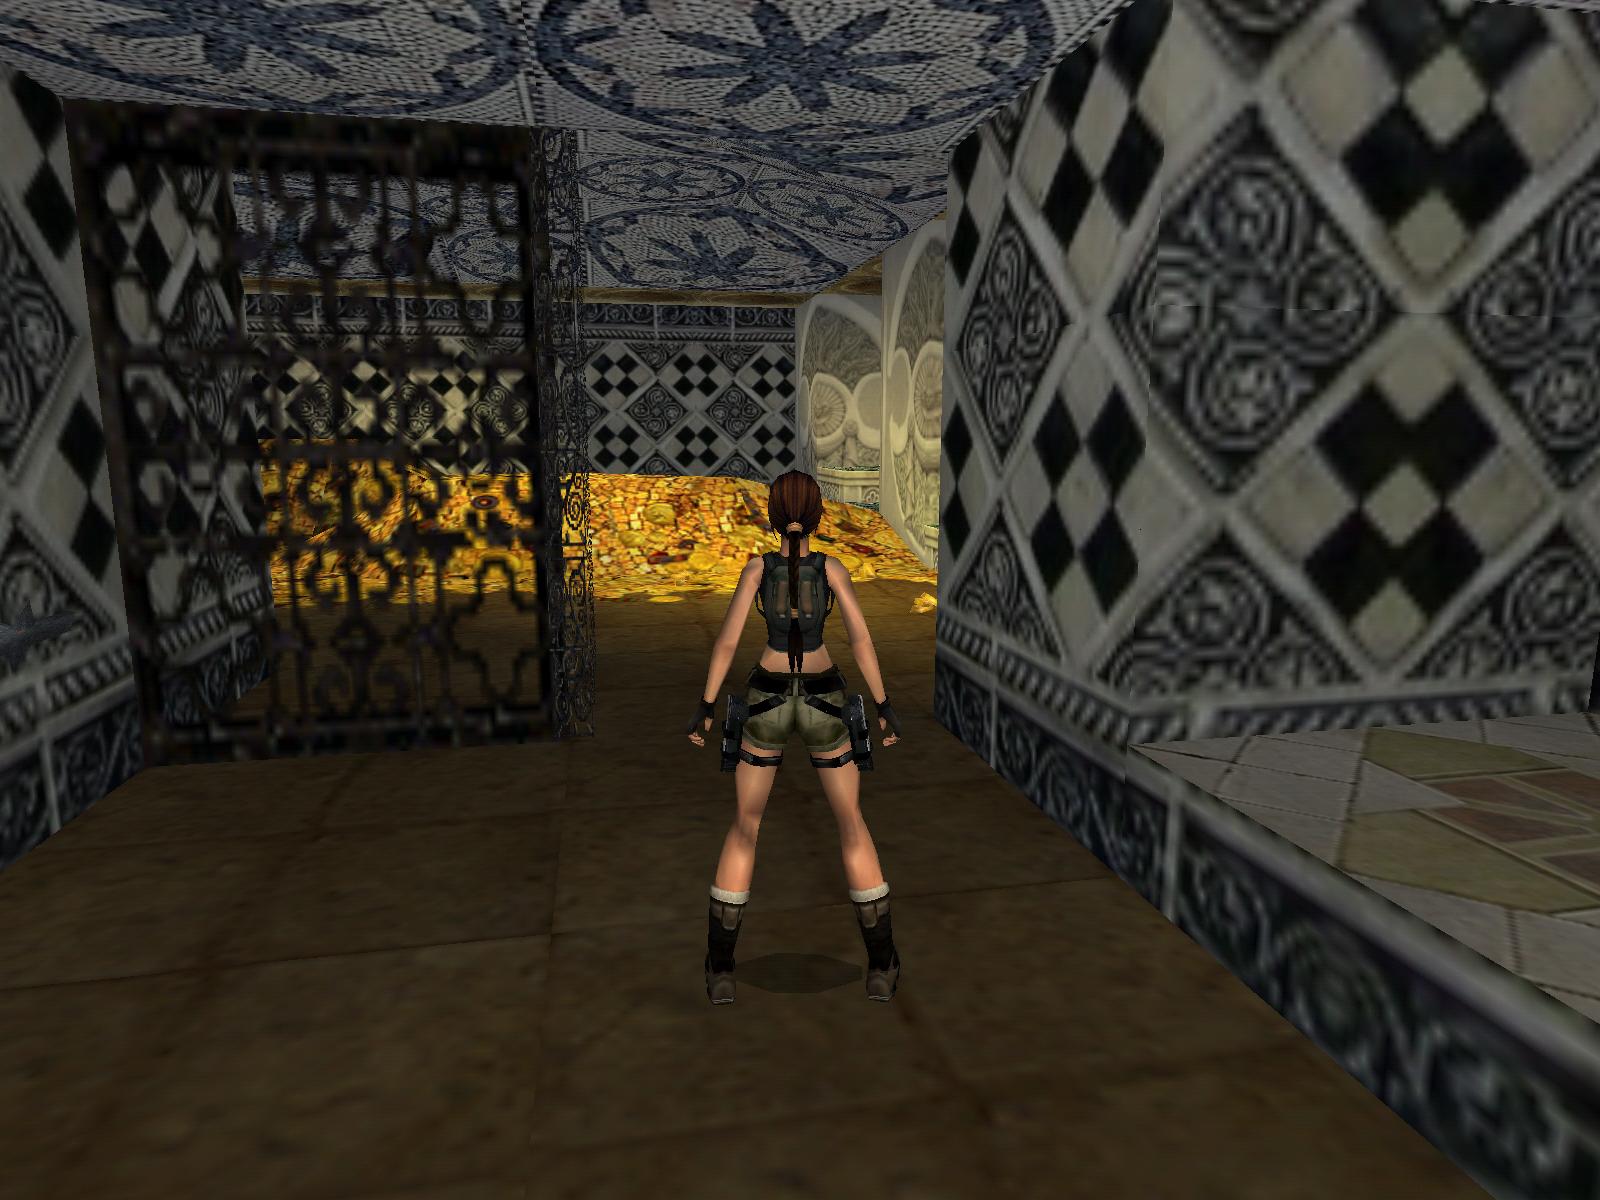
Go east and pick up a large medipack. Now go west and follow the tunnel to a small room. Shoot three lionesses and go to the south wall and see a closed gate. Pull down the wall switch to the left of the gate to open it. Enter the gate and get a flyby of the room. The flyby continues to where you started the level. Then the level ends before you can get any of the treasure.
05-apr-2008
Walkthrough by Harry Laudie
Az oldalon közölt képek, a szöveges tartalom, illetve minden sajátkészítésû anyag, a © TR Editor.hu tulajdonát képezi. Azokat semmilyen formában nem lehet reprodukálni, másolni, terjeszteni, csak a szerkesztõség engedélyével.