
The Sand Temple
Download: Here
Story:
This is just an experiment...


Walkthrough:
You
start in a dark sandy area in front of some steps and a temple door. Go forward
a little and kill two scorpions. Enter the tunnel in the north wall and kill
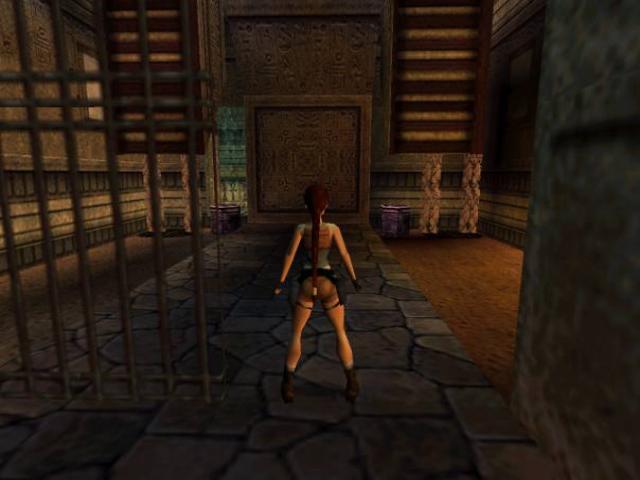
a ninja. Continue into a room to pick up Cartouche Piece 2 from the floor
in front of a closed gate. Pull the jump switch on the north wall and a fire
starts on the ground behind you. Exit back to the start room. Pull the jump
switch on the south-east column and get a cut scene of spikes retracting at
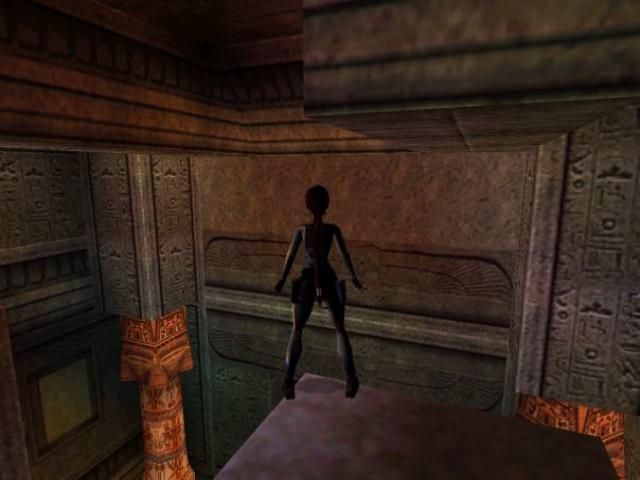
a floor lever. Go west up the stairs to a platform. Go south-west into a tunnel
and drop into a hole in front of teeth doors. Enter the room and pull a wall
switch. You get a cut scene of a door rising in another room. Exit this room
back to the platform. Go south into a tunnel. Follow the tunnel and kill a
ninja. Enter the room and see the door you raised. Go west and pull a jump
switch. Climb the block that it raised and jump up to the high west ledge.
Go to the end and pick up another Cartouche Piece 2. Get down and enter the
right open door in the south wall. Pick up Cartouche Piece 1 and exit.
Enter the left
open door in the south wall. Go right at a junction and use the floor lever.
Return and go straight at the junction. There are four floor levers to use.
You hear gates open beside you so enter the gates. Pull the chain and get
a cut scene of another door rising back in the room you left. Exit this area
and enter the right open door in the north wall. You see the piece you need
behind a wall. Slide down the pole and through the saw blade. At the bottom,
avoid the mummy and go to the east side of the structure. Pull a wall switch
and go to the front where a block has dropped. Enter the area and pull the
chain to get a cut scene of the last door opening. Back onto the block and
climb the pole. Exit this room and enter the left open door in the north.
Pick up Cartouche Piece 1 and exit back to the starting room. Combine the
Cartouche pieces to make two Ba Cartouches and use then to open the large
doors. The Cartouche pieces seem to be selective with what piece they combine
with. The same applies to the Cartouches and the receptacles.
Enter the door
and go down a ramp into a corridor. Enter the open gate and kill a scorpion.
Pick up flares and a small medipack from pedestals at the back of the room.
Look above you in the middle of the room and see two ladders topped by blocks.
Go back to the corridor and enter a wide north opening. Drop down into the
trench and go north. Keep to the right side to avoid a falling spike ball.
Pull up on the other side of the trench. Follow the corridor and pass a closed
gate. You reach a pool and dive in and swim to the north-east corner. Follow
the narrow crawl space at the bottom and enter another flooded room. Dive
into the hole in the floor and follow the tunnel until you can pull up into
a room. Go west and pull a wall switch. Swim back out into the first pool
and see that blocks have risen from the pool floor. Use the blocks to reach
the ledges with the statues in the east.
Look south and
see some blocks. Move the statue to the obvious tile and look south again
to see an opening. Go there and use the wall switch. You get a cut scene of
the blocks dropping above the ladders that you saw earlier. Return there and
be careful of the still rolling spike ball in the trench. Climb either ladder
to the top. Pick up the Guardian Stone from the pedestal and get down to the
ground floor. Go back to the starting room and enter the tunnel in the north-west
corner. Use the Guardian Stone on the south wall and the door opens. Enter
the tunnel and go right. Look into an alcove on the right side and see torches
on the ground. Better pick one up and go light the torch in the fire you started
in that room north of the starting room.
Return to where
you got the torch and go north. Enter a tunnel on the west side and follow
it to drop the torch onto a brown floor tile. Go back use a wall switch to
raise the tile. Then go to the tunnel and north again to enter a room with
a ladder and a trench. Get
into the trench and pull up at the end. Use the floor lever and an earthquake
happens. Go back and climb the ladder. Go down the tunnel and drop down at
the other end. Go south and west to retrieve the lit torch. This is the two-pillar
room. Go west and see a closed door. Turn and enter the south tunnel. At a
junction, the south branch ends in a closed door and a high ladder so remember
this fact for later. Continue straight into a room with a pool. Go to the
north-west and enter a tunnel. At the end, throw the torch into the room and
climb down after it. A block rises so that you can exit again.
Find the torch
and use the torch to light two braziers in the corners on both sides of the
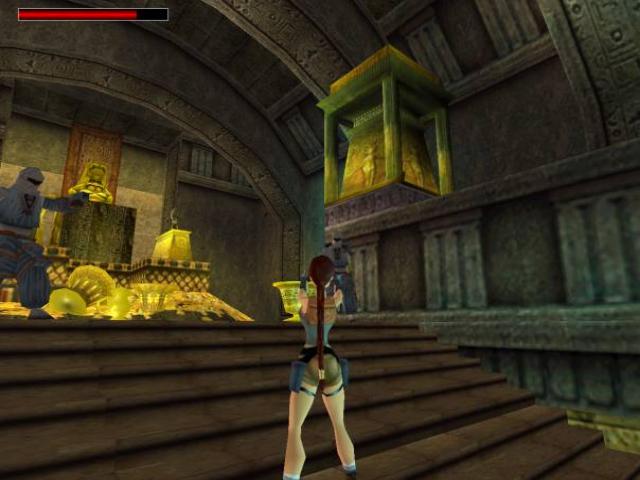
closed gates. Go down the north tunnel to pick up a large medipack and kill
two ninjas in a large treasure room. Notice a jump switch in the north-east
corner. I could not reach the jump switch from the block by the throne. I
jumped from the lower platform east of that block and it worked fine. When
the jump switch is pulled, you get a cut scene of a gate opening. Exit and
as you run down the tunnel you see a spike ball rolling after you. Exit the
room and go back pass the pool to the junction at the entrance. Go south and
see a closed door. However, look north and see a ladder above your head. Climb
up and follow the tunnel to a room. Go west to find the open gate and use
the floor lever. You get a cut scene of a block dropping near a dog statue.
Get down and go
east to follow the tunnel back to the two-pillar room. The west door is now
open. First enter the north tunnel and go back to get another torch. Use the
wall switch again to put the torch back to the two-pillar room. Climb the
ladder, retrieve the torch and enter the west room. This is the two-dog room.
It is a little tricky, but jump to the south-west corner and light the brazier.
A block rises in front of the door. Carefully jump back to the door with the
torch. If you fall into the pit area, you cannot get back up with the torch.
Drop the torch on the floor where you can find it again if needed. Use the
block to jump and pull the jump switch on the west wall. Go north and pull
up to a ledge to get out of the pit. You may notice the dropped block and
tunnel to the north but you do not need to go there yet. Exit this room and
go south through the pool room and drop back to the room with the two braziers.
Notice that the
block to the west has dropped, so enter the south tunnel. Enter the room and
run up the stairs. Pick up the Hand of Orion from the pedestal. Exit and go
north back to the treasure room. The blocks have dropped on the right side
of the throne. Enter the alcove and use the Hand of Orion. You get a cut scene
of more blocks dropping. Exit and go back through the pool room, and return
to the two-dog room. Now enter the north tunnel and pick up another Hand of
Orion. Spikes pop up behind you. Exit and go south back to the pool room and
continue back to the treasure room. The blocks have dropped on the left side
of the throne. Use the Hand of Orion and the block has dropped in front of
the throne. Pick up the Canopic Jar and get a cut scene of a door opening.
Exit and go back through the pool room and turn south to find that open door.
Go south up the steps towards the falling water and the level ends.
08-may-2006
Walkthrough
by Harry Laudie
Az oldalon közölt képek, a szöveges tartalom, illetve minden sajátkészítésû anyag, a © TR Editor.hu tulajdonát képezi. Azokat semmilyen formában nem lehet reprodukálni, másolni, terjeszteni, csak a szerkesztõség engedélyével.