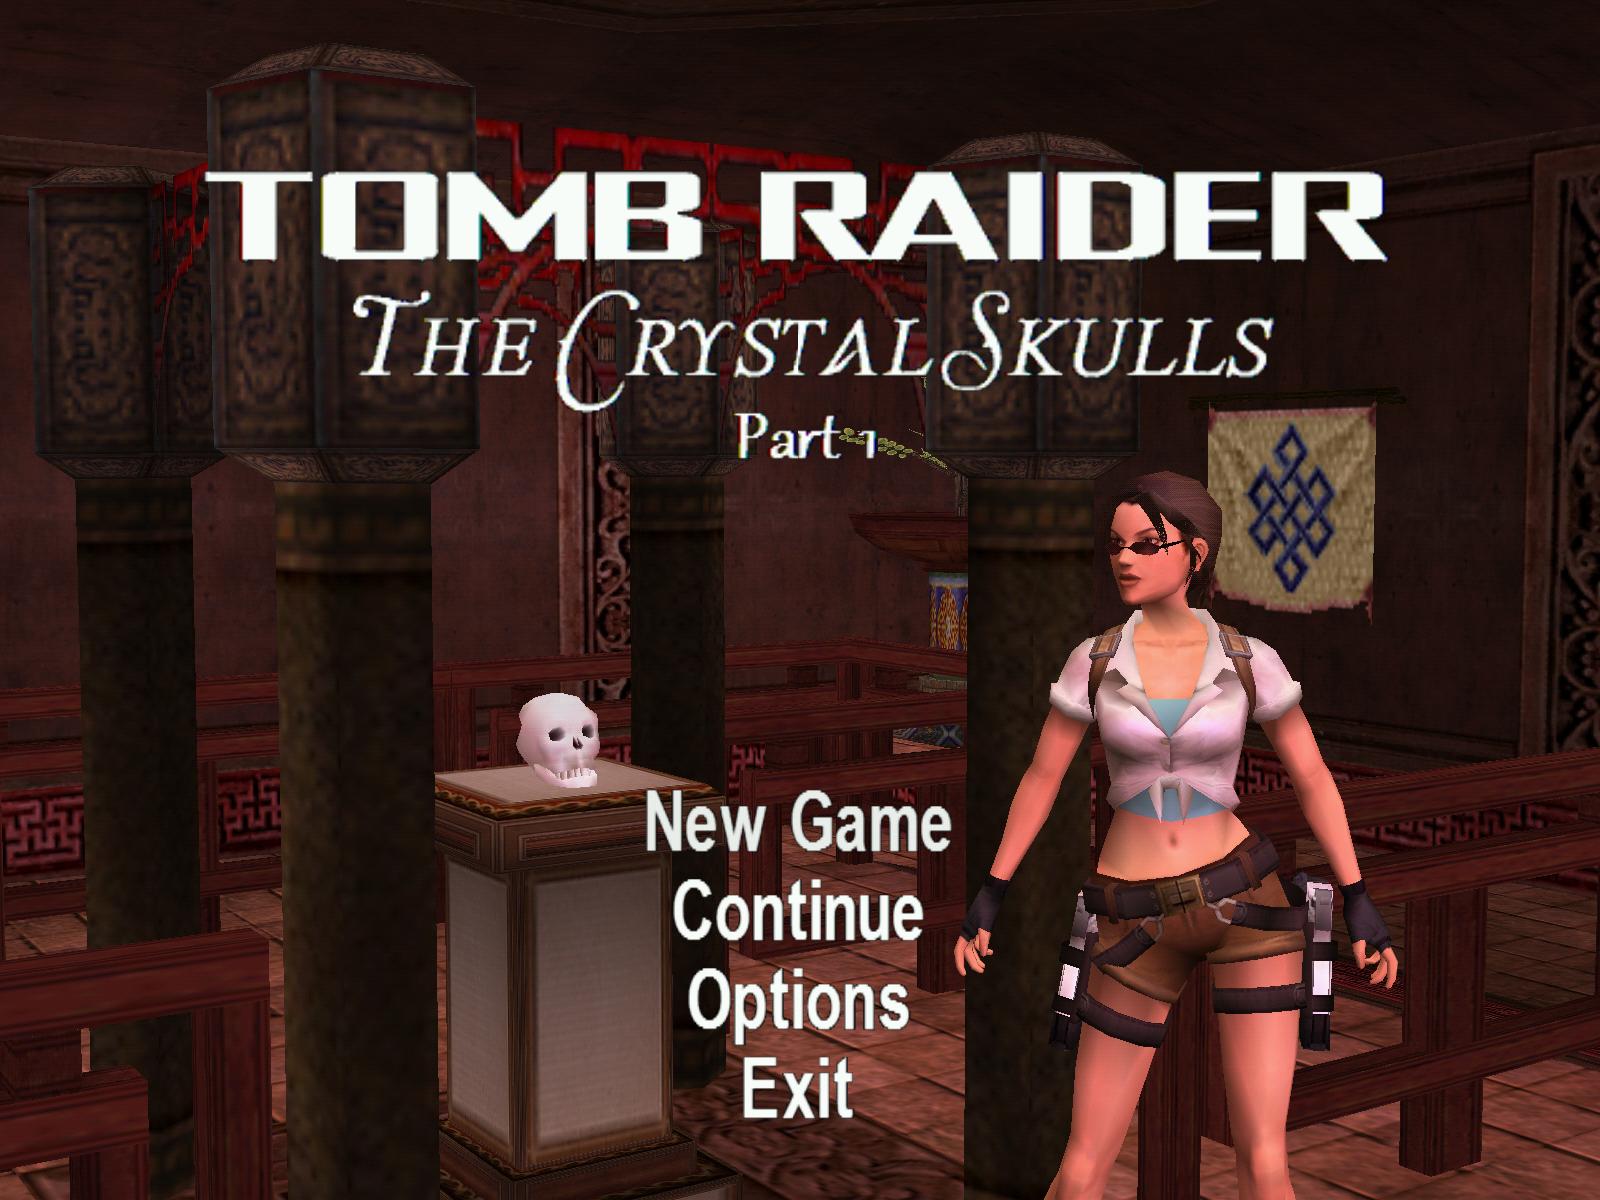
Tomb Raider - The Crystal Skulls - Part 1
Author: Matie and Bradley Smy (Tombraider95)
Download: Here
Story:
Early morning at Croft Manor the residents were already awake. Lara Croft,
dressed up in her sports outfit, has just finished her warming-up training.
Heading to the assault course outside, she went across a small room where
Zip was sitting on a sofa with his laptop in his hands.
Hey Lara!
Hello Zip. Lara was opening the door of another room, when Zip said:
Lara! Do you know Kane Pawsner?
I have heard of him. He is the archeologist, who has found an ancient temple
in Mexico recently. Why?
He sent you a video message a few minutes ago.
Lets see it!
Shortly after, the picture of a handsome, brown-haired young man appeared
on the screen of Zips computer.
Good morning, Miss Croft. This is Kane Pawsner, archeologist. I know something
you might be interested in. I am sure you have heard about the legendary Crystal
Skulls. These skulls have enormous powers and big knowledge one can hardly
imagine. Well, I am searching for these skulls, trying to solve their secrets.
I have to stay in Mexico for a while. I know the location of one of them,
though. I have forwarded the coordinates to you. Are you interested?
Here they are. Zip said, showing the location to Lara.
China, the Valley of the Tigers. Sounds great.
And so she set off...
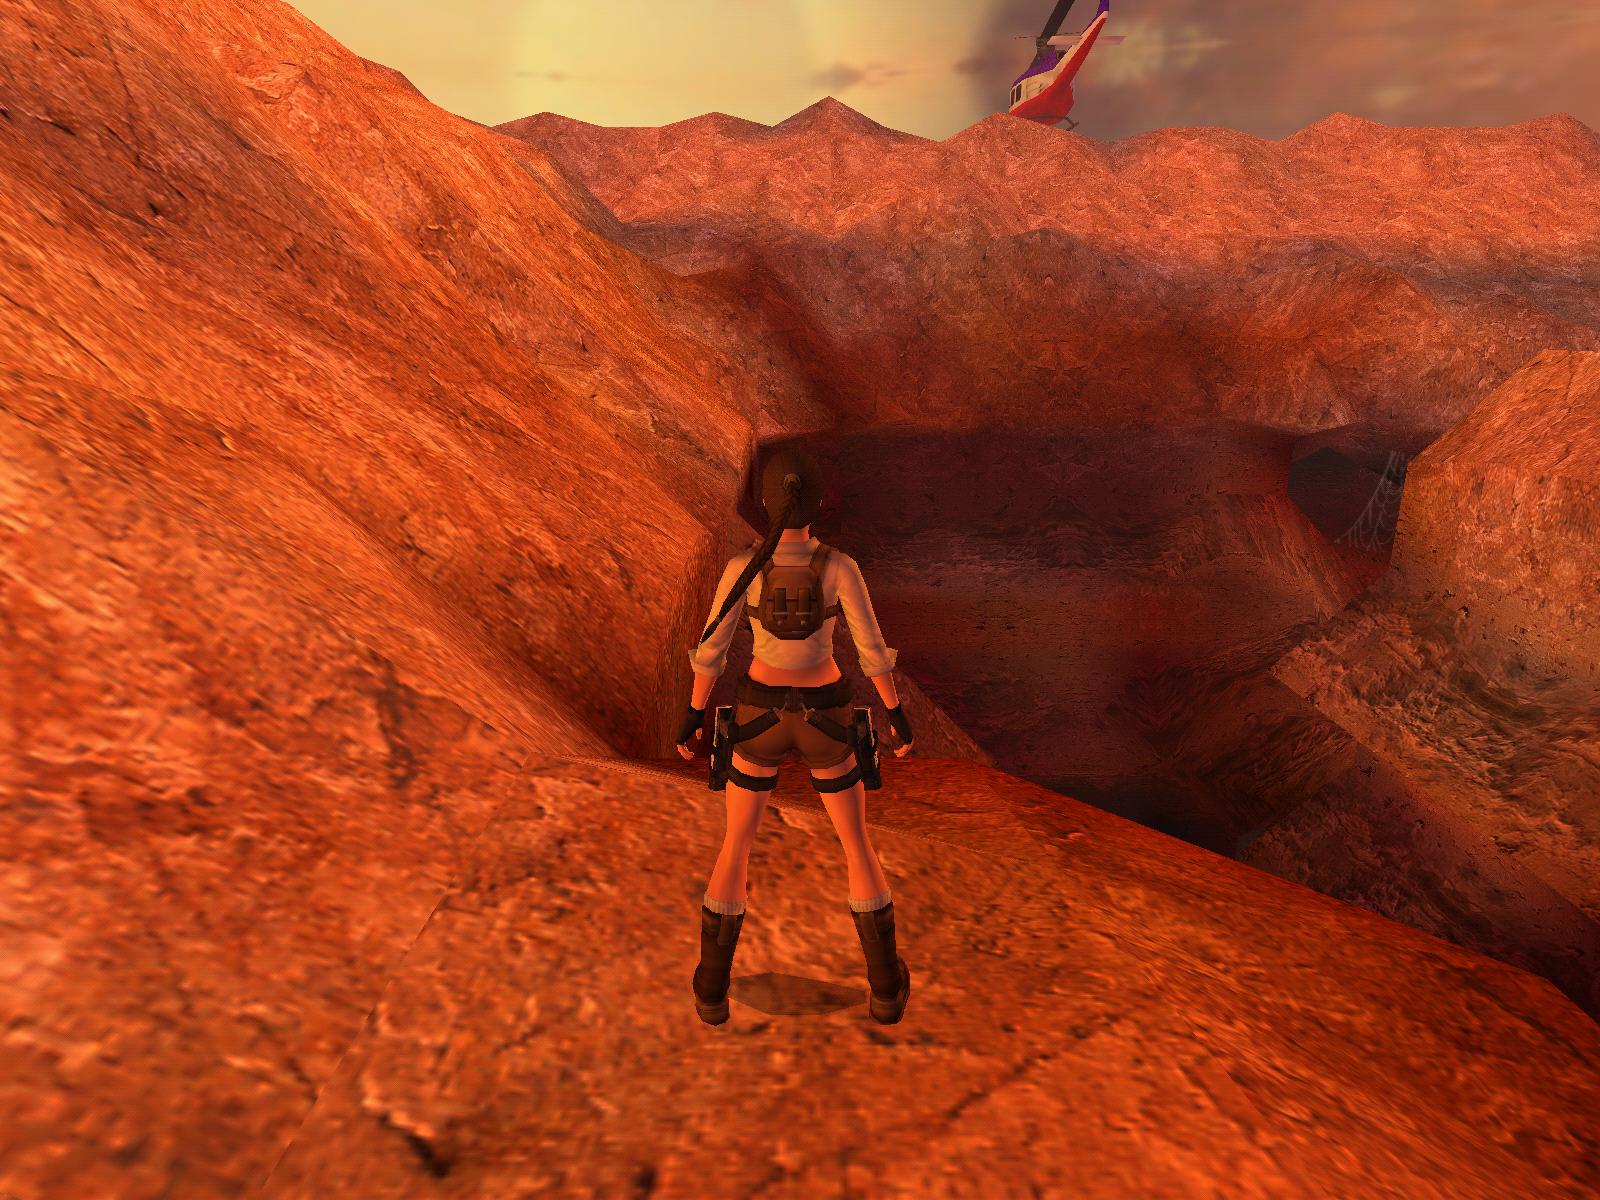
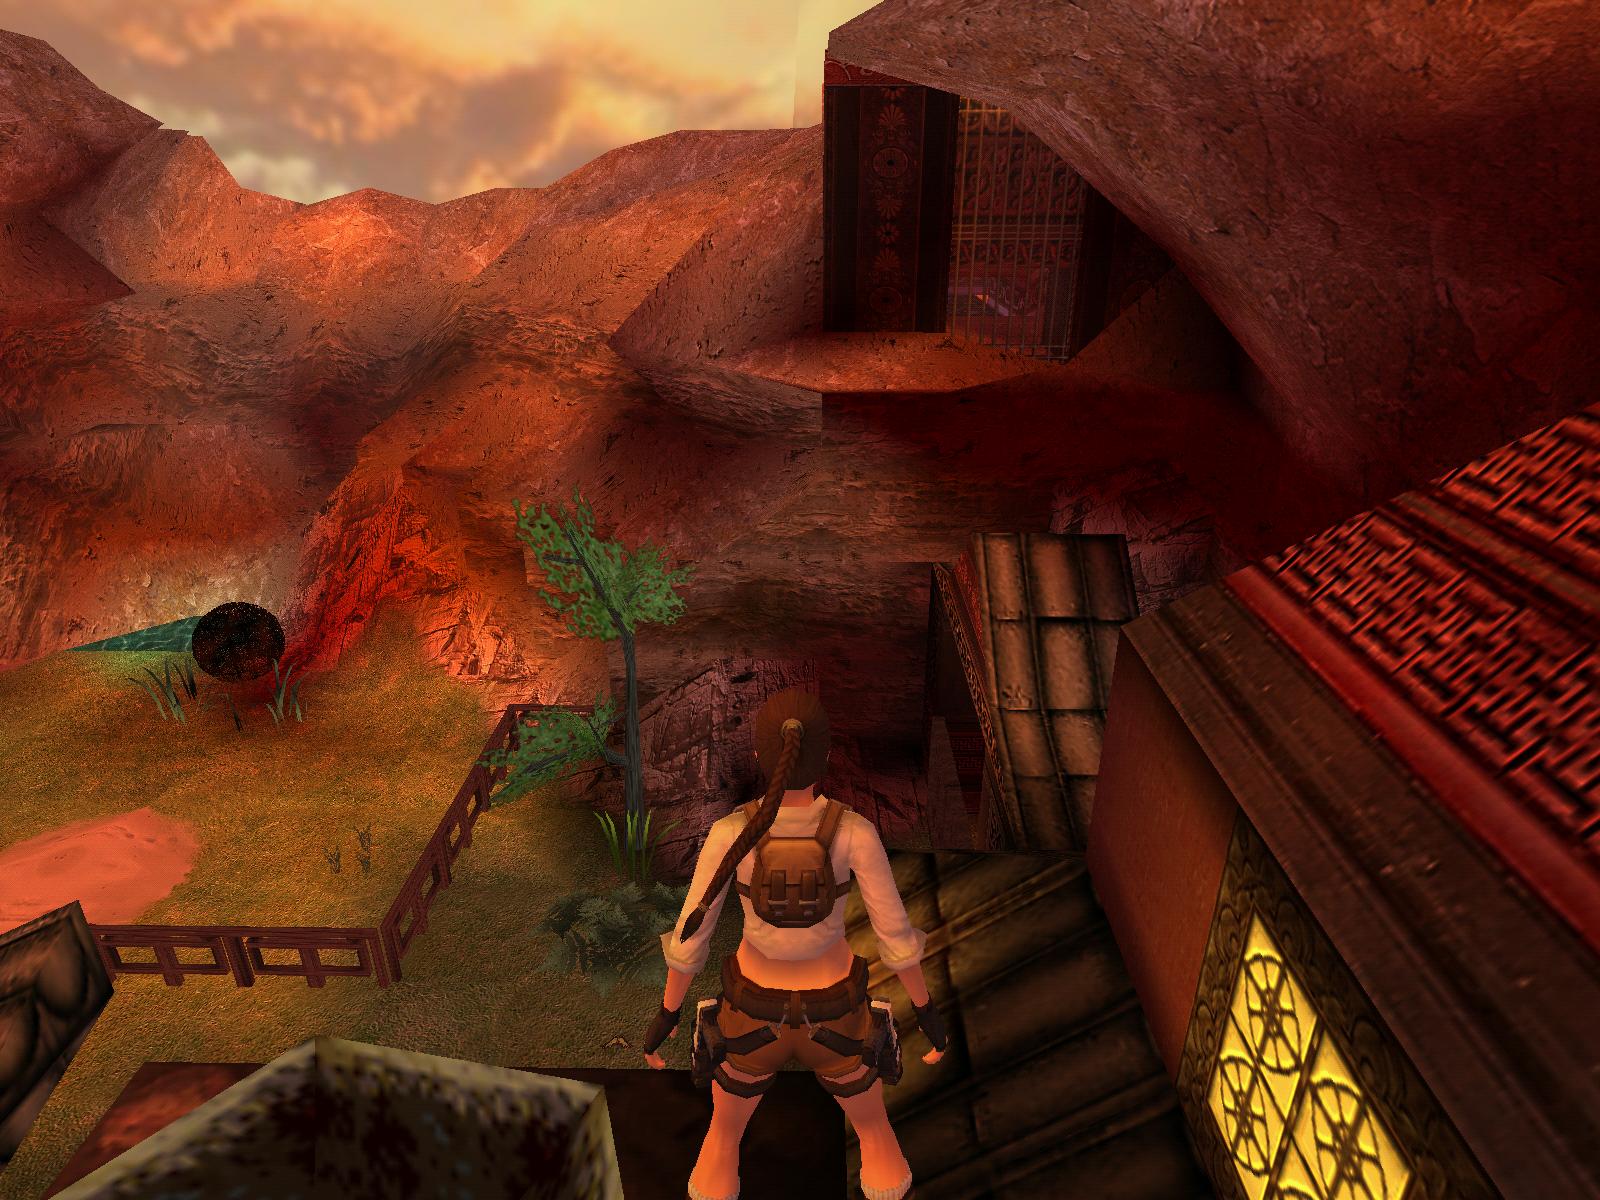
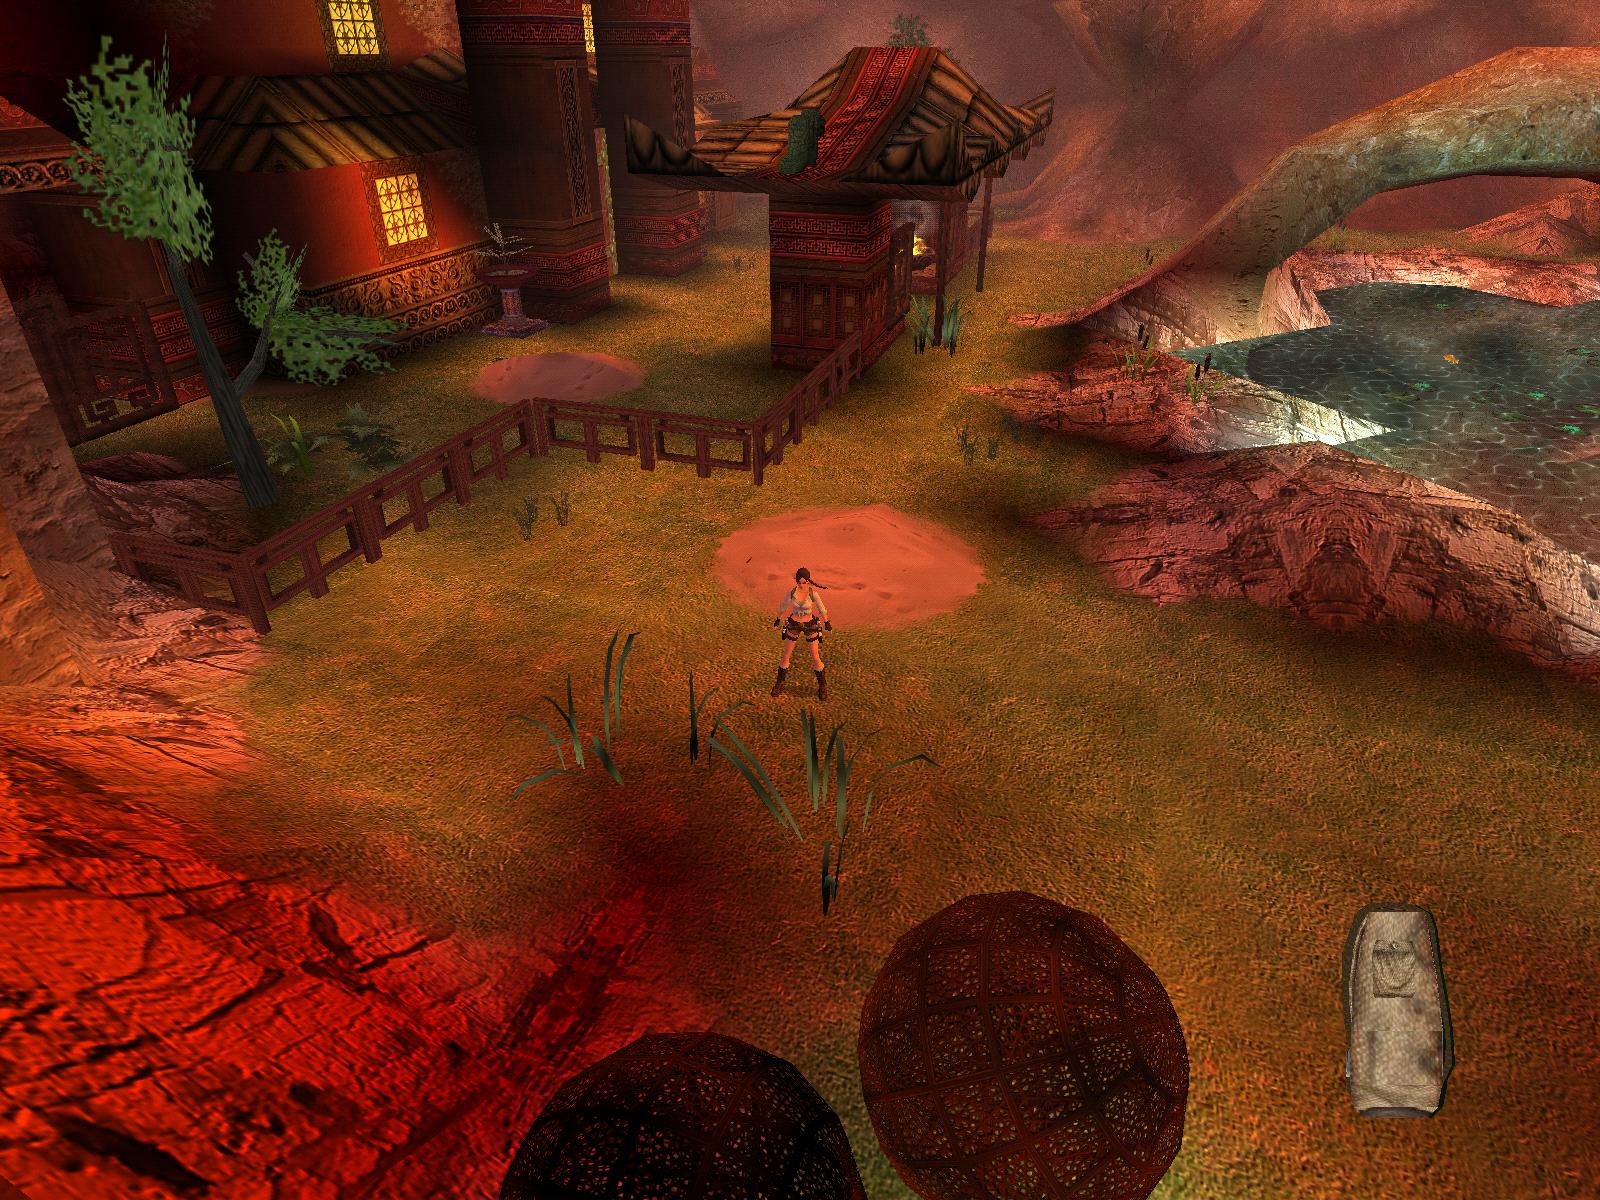
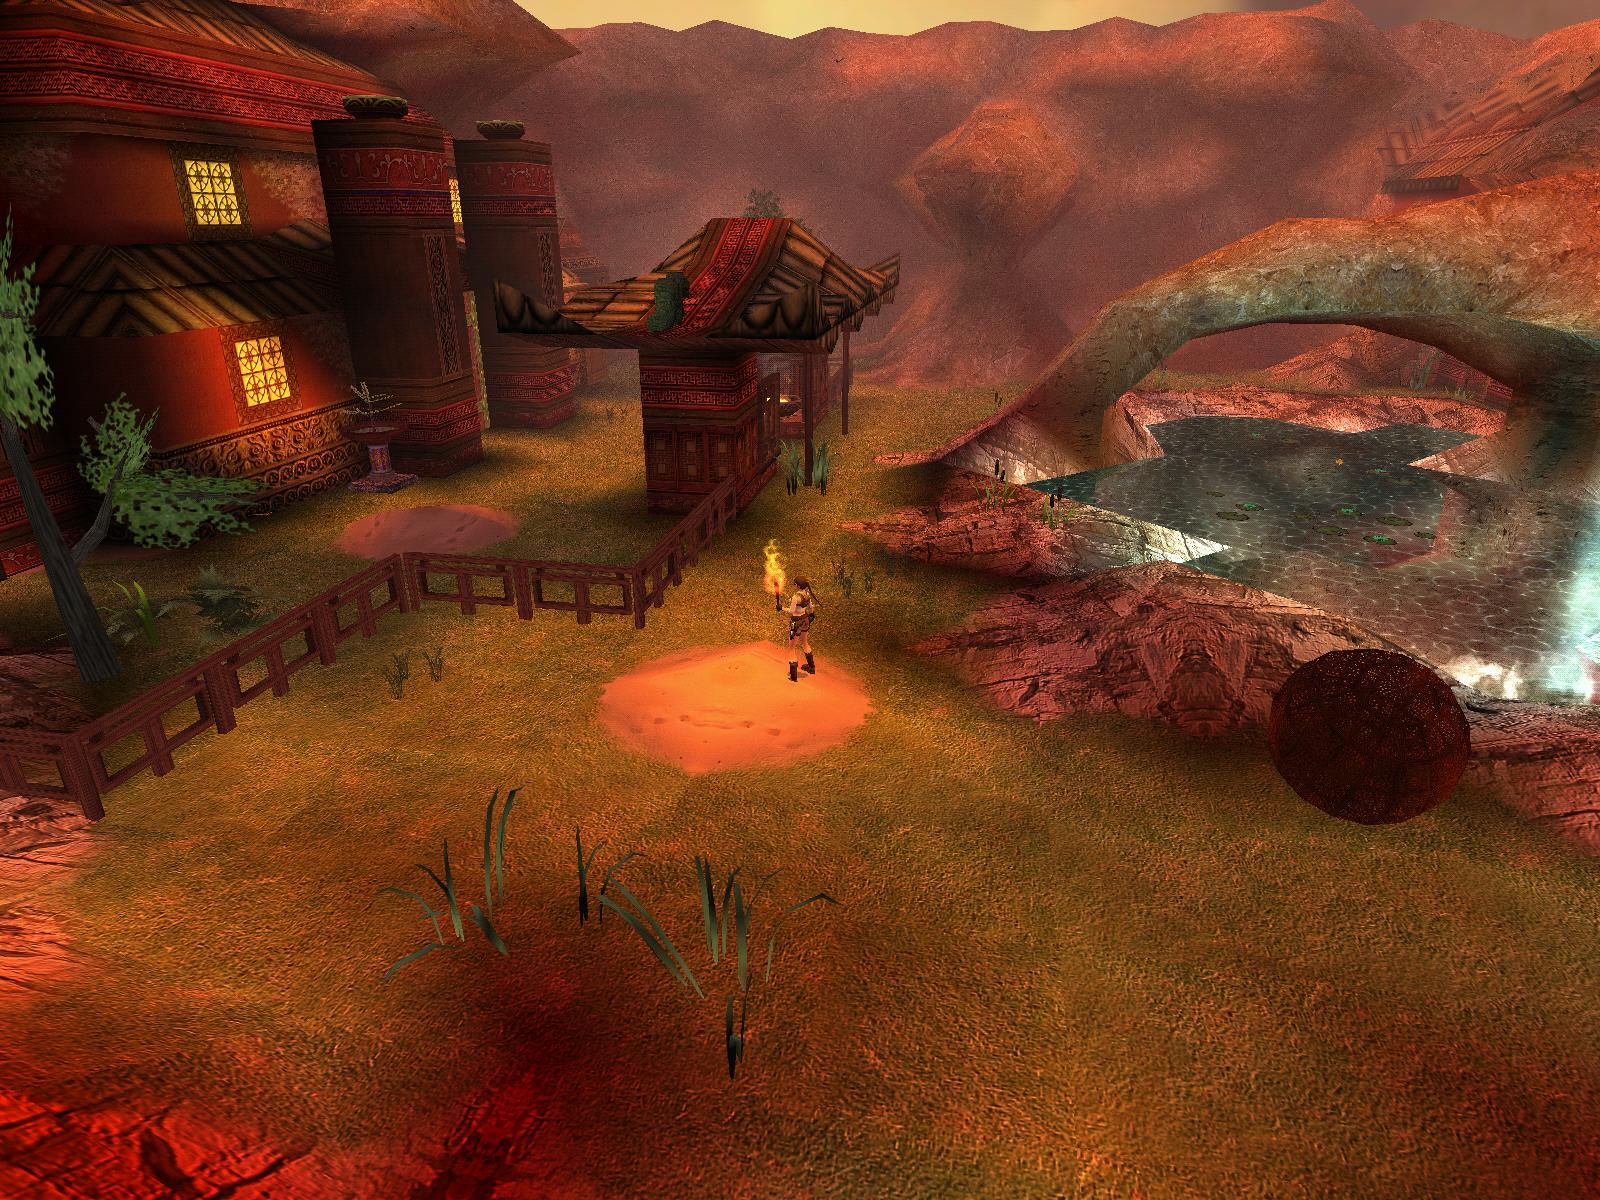
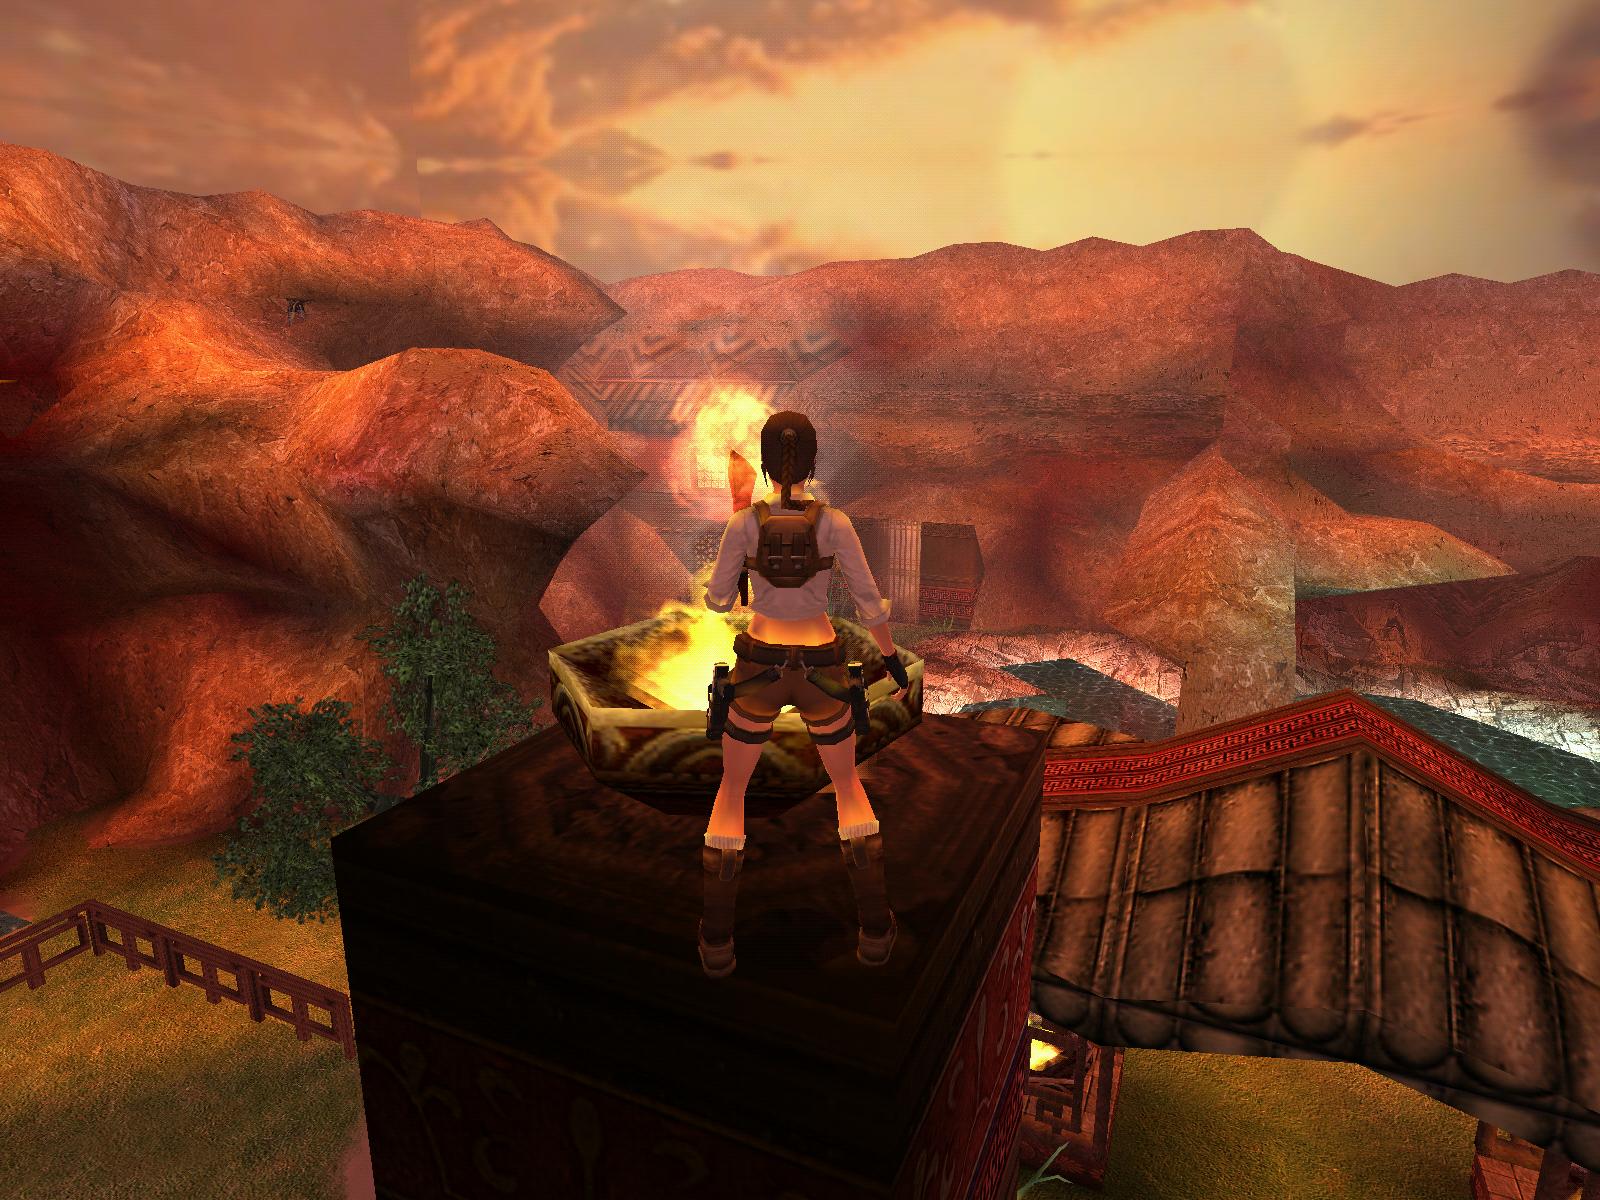
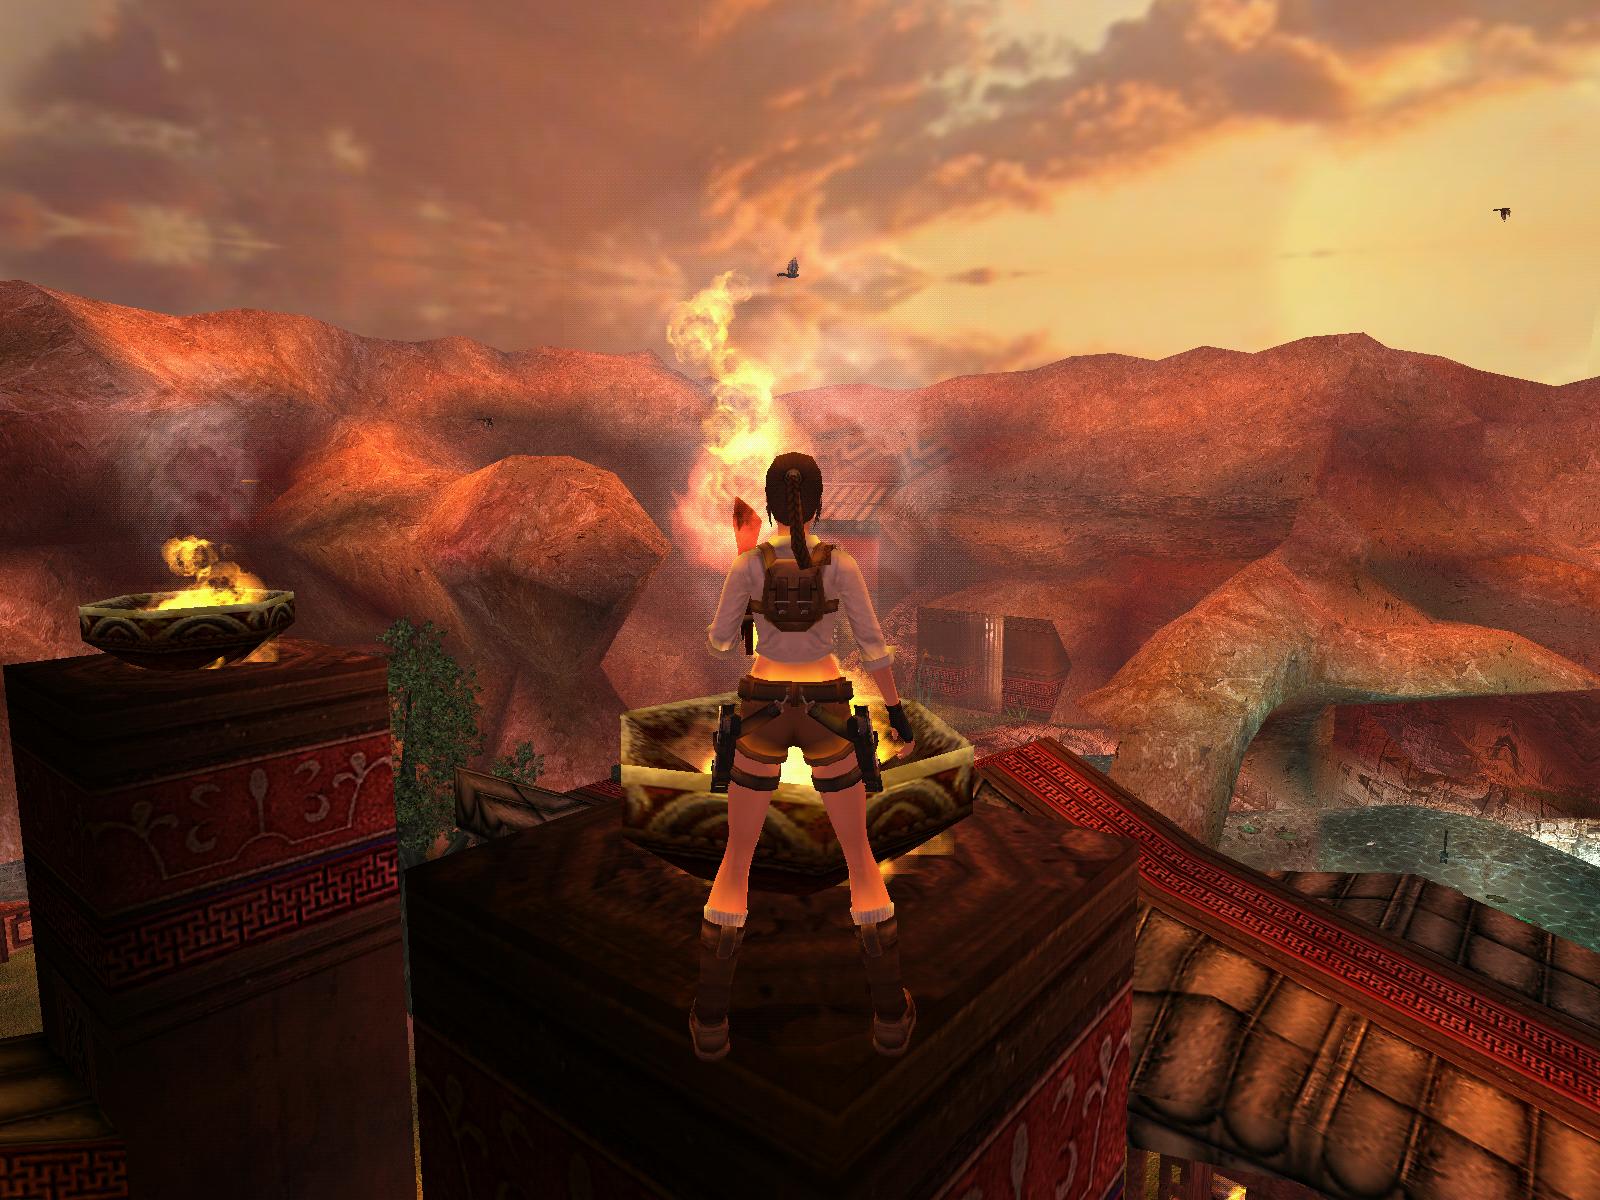
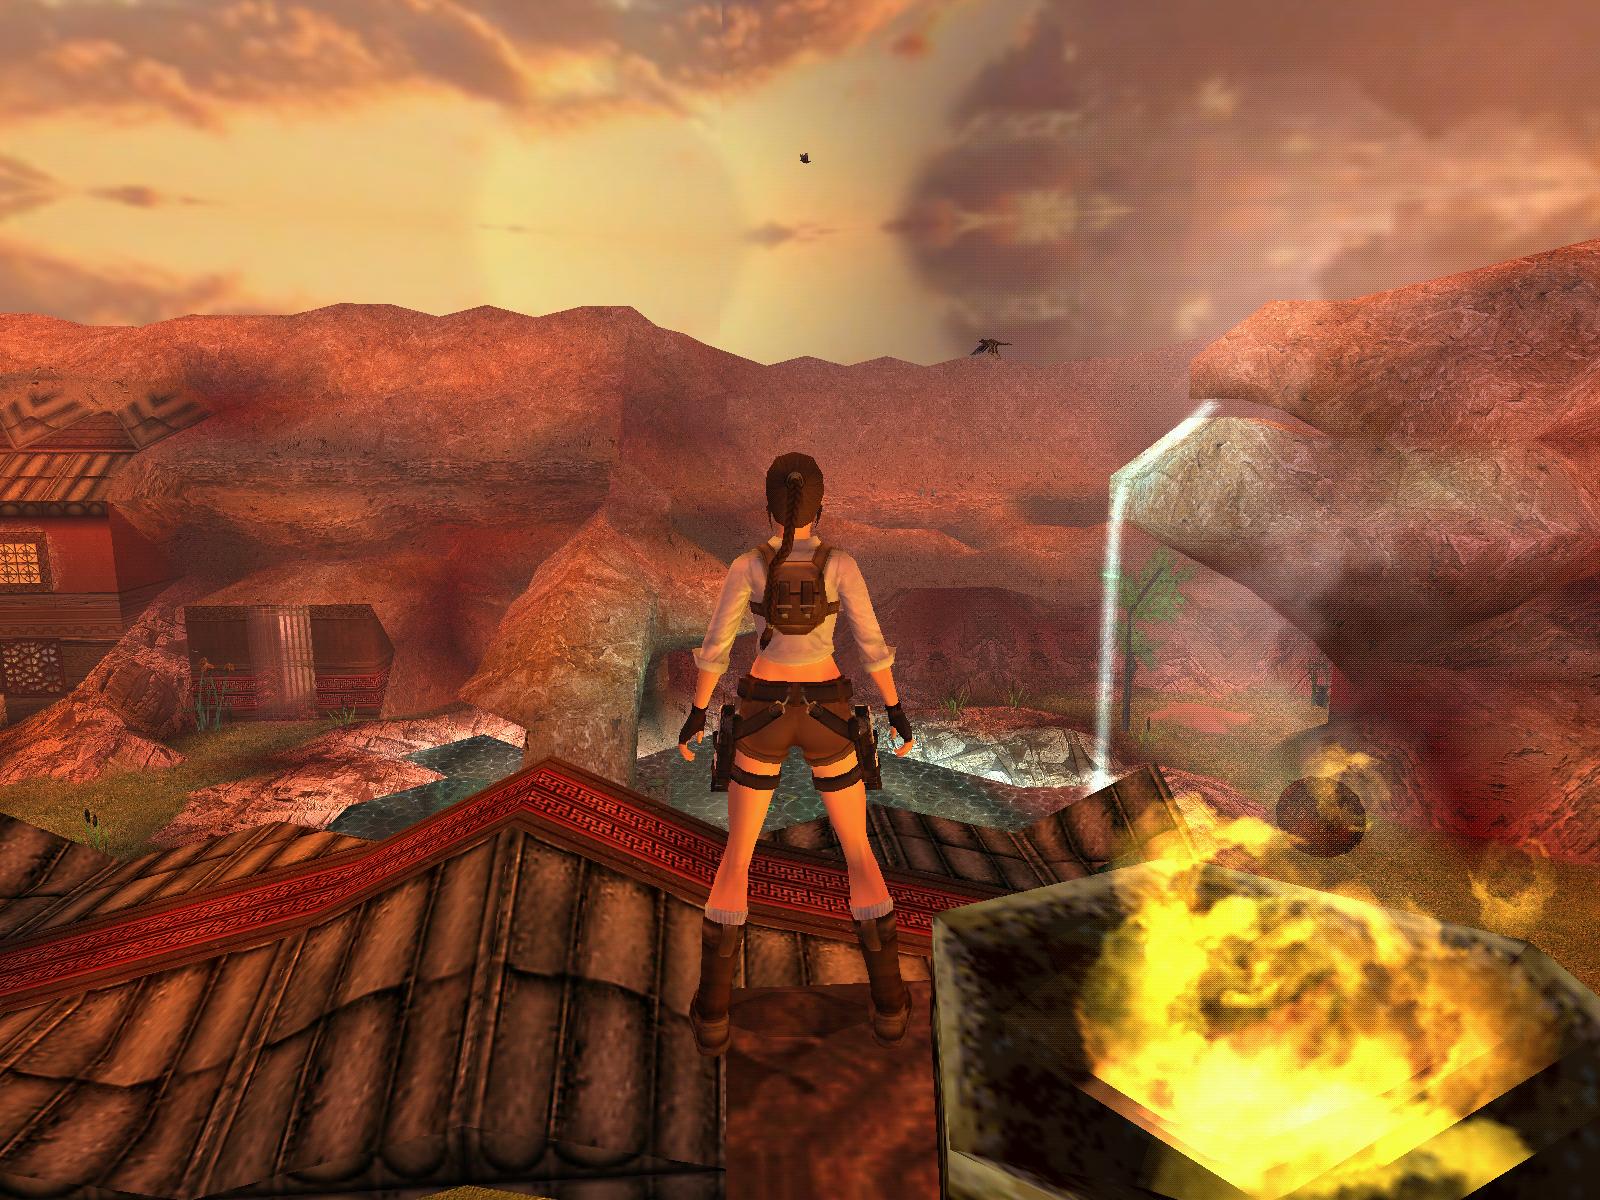
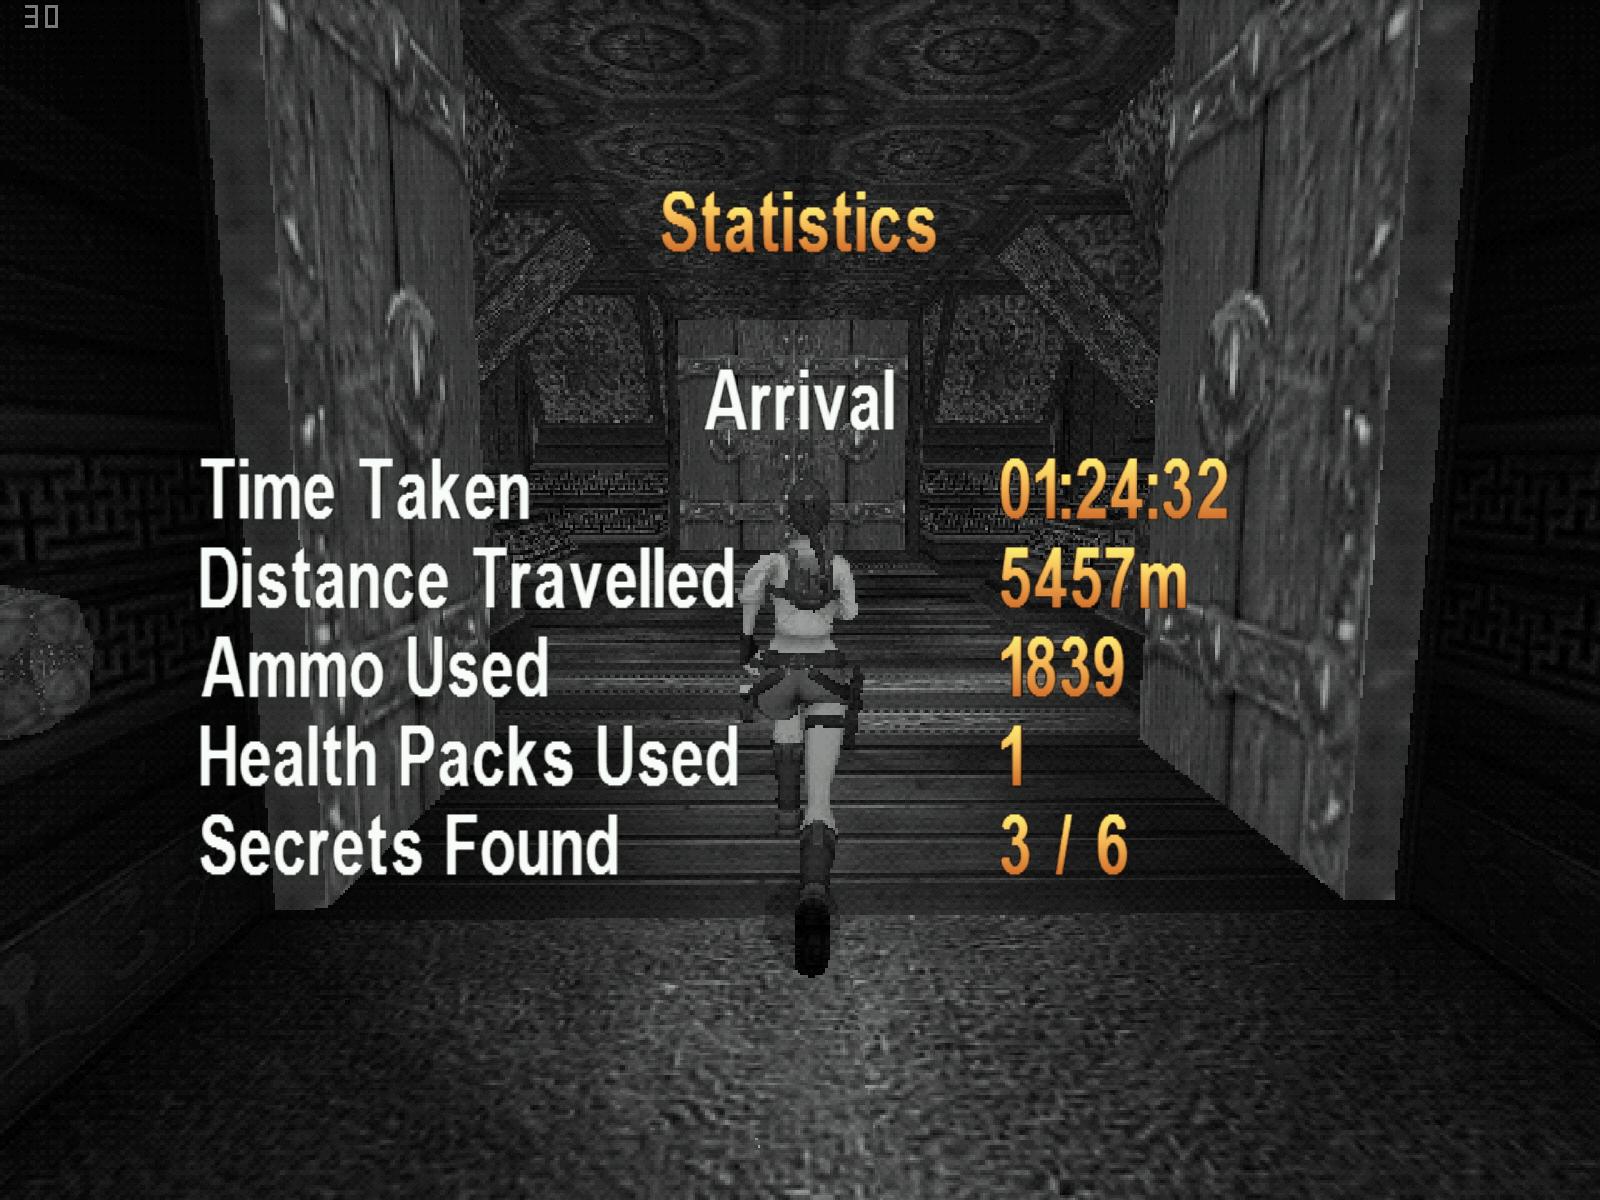
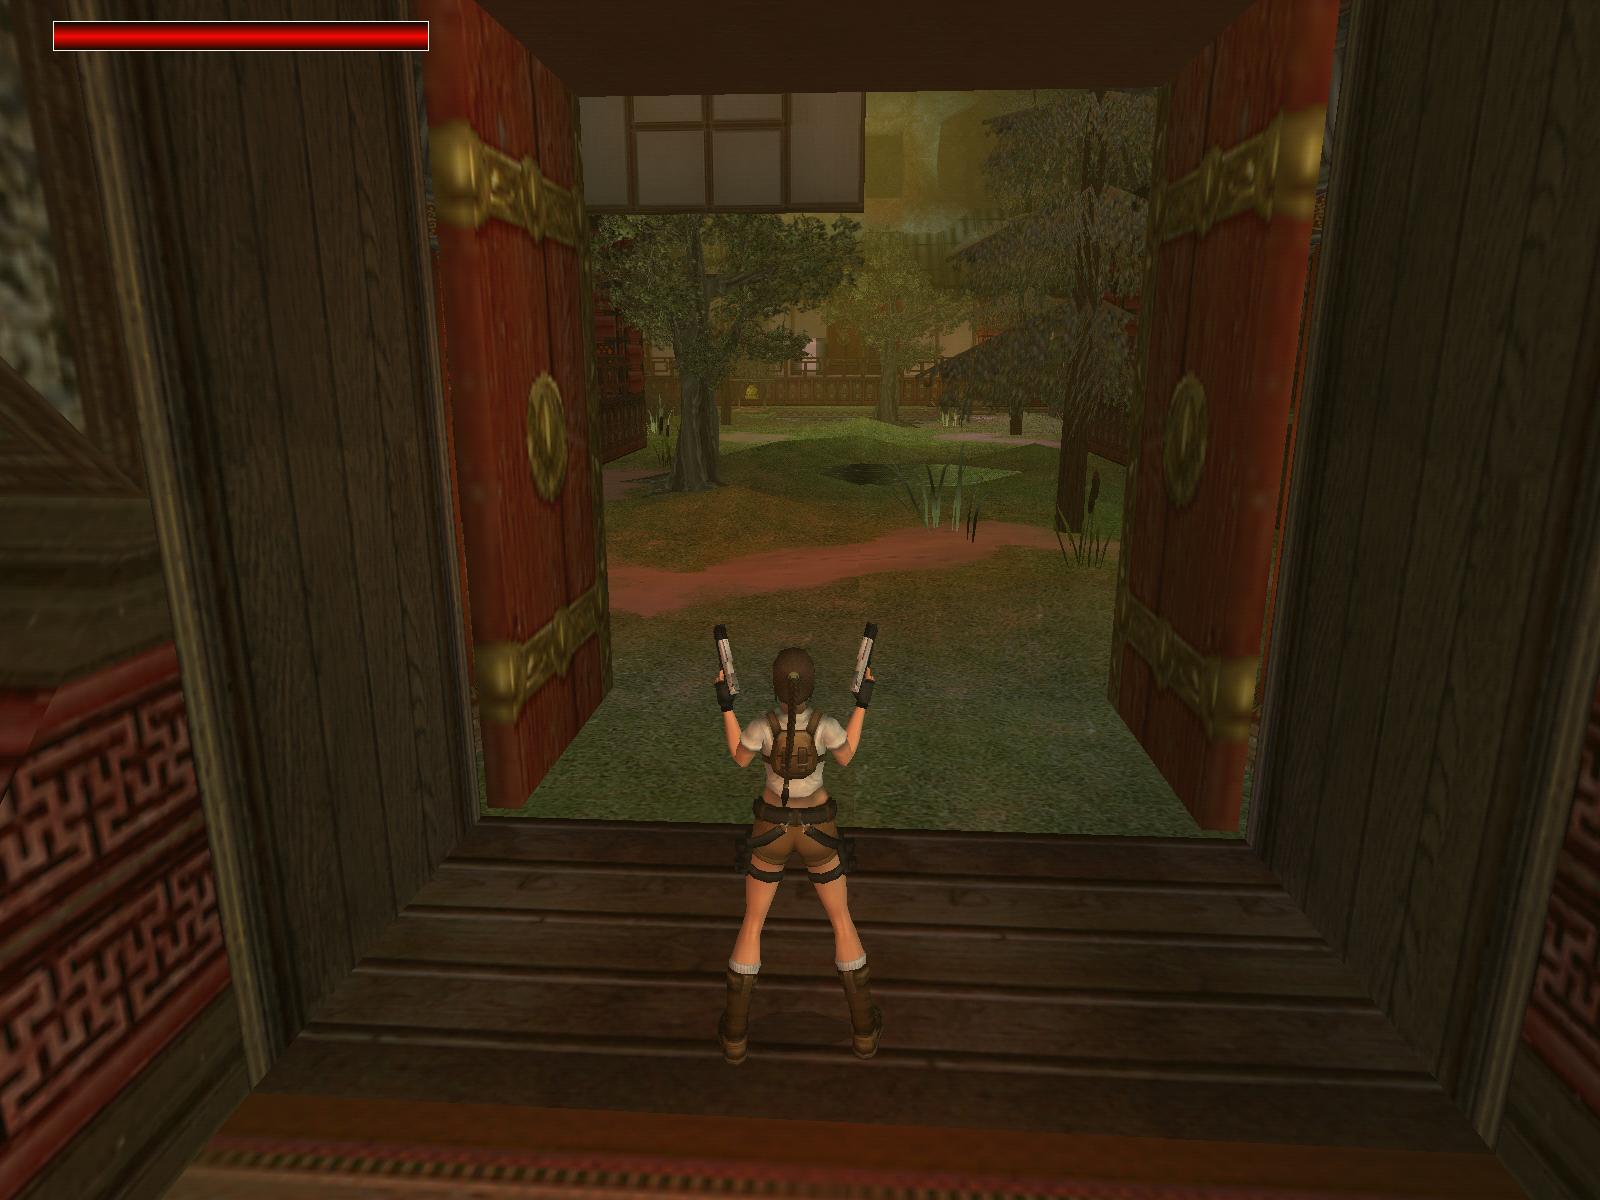
1. Arrival:


Secret 1:
Secret 2:
Secret 3:
Author: Matie
Secrets: 3
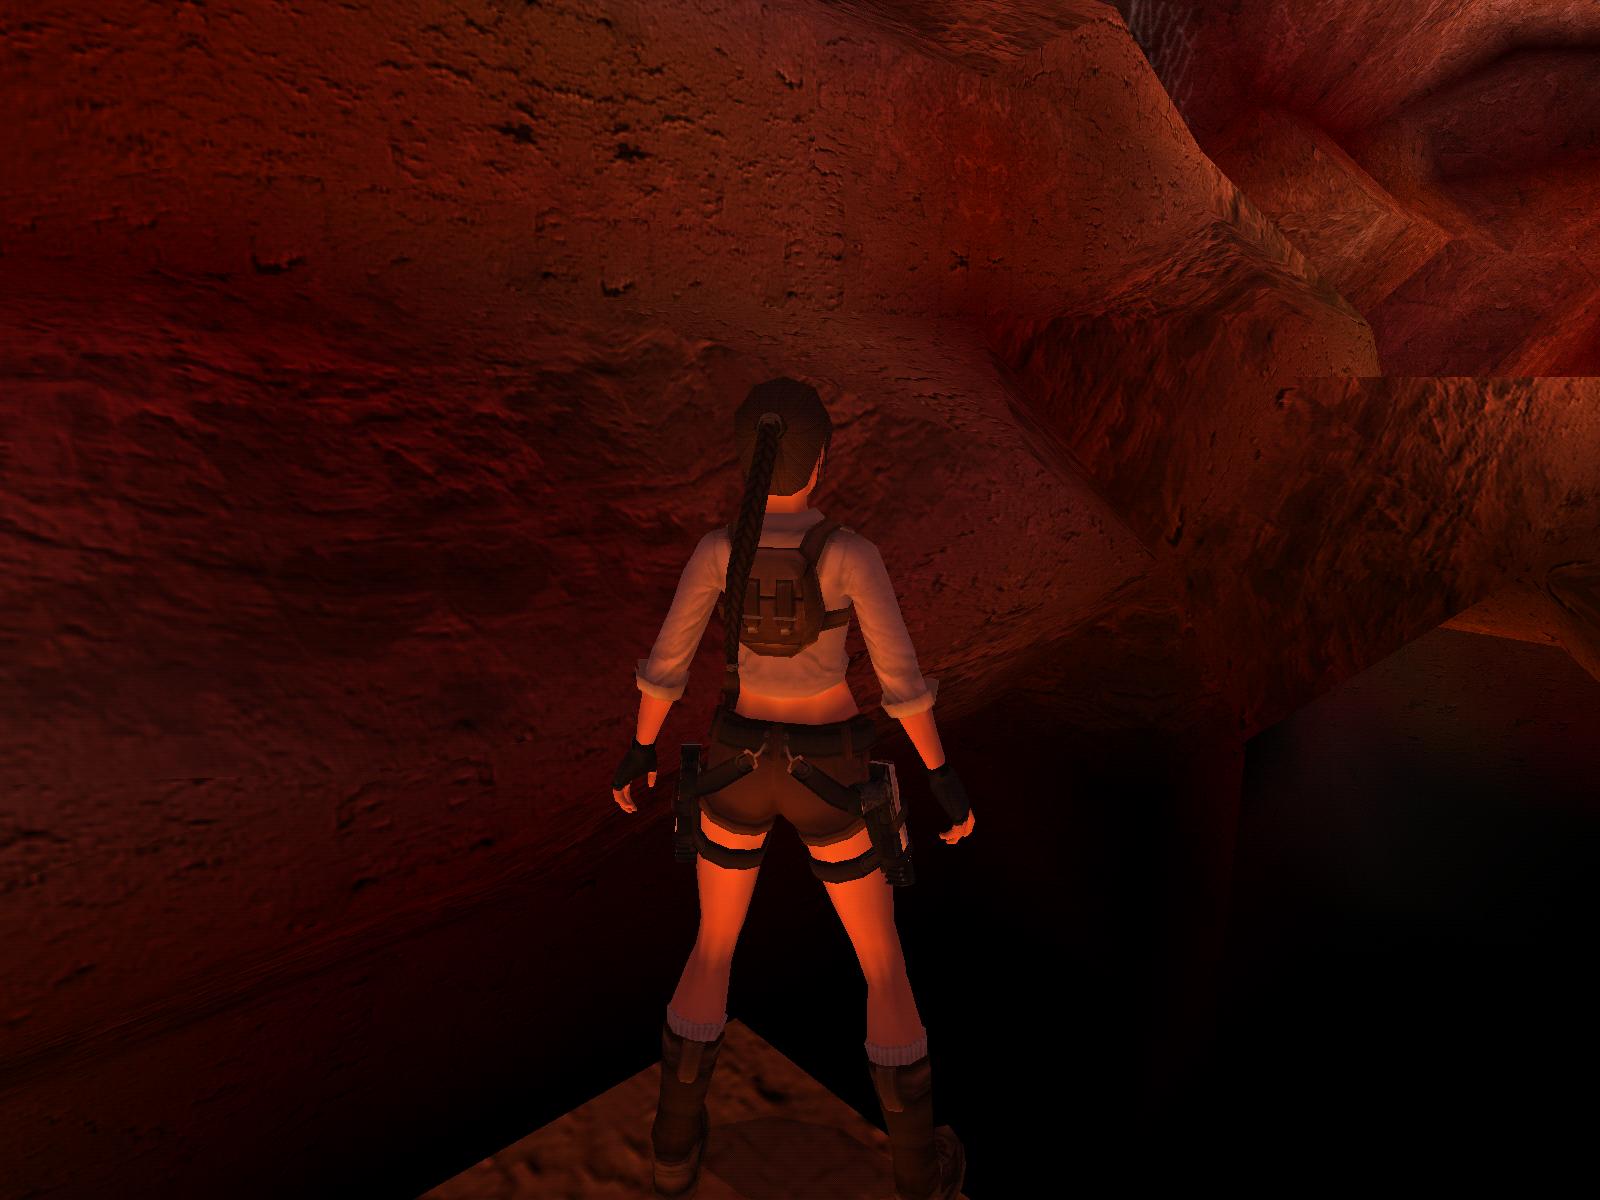
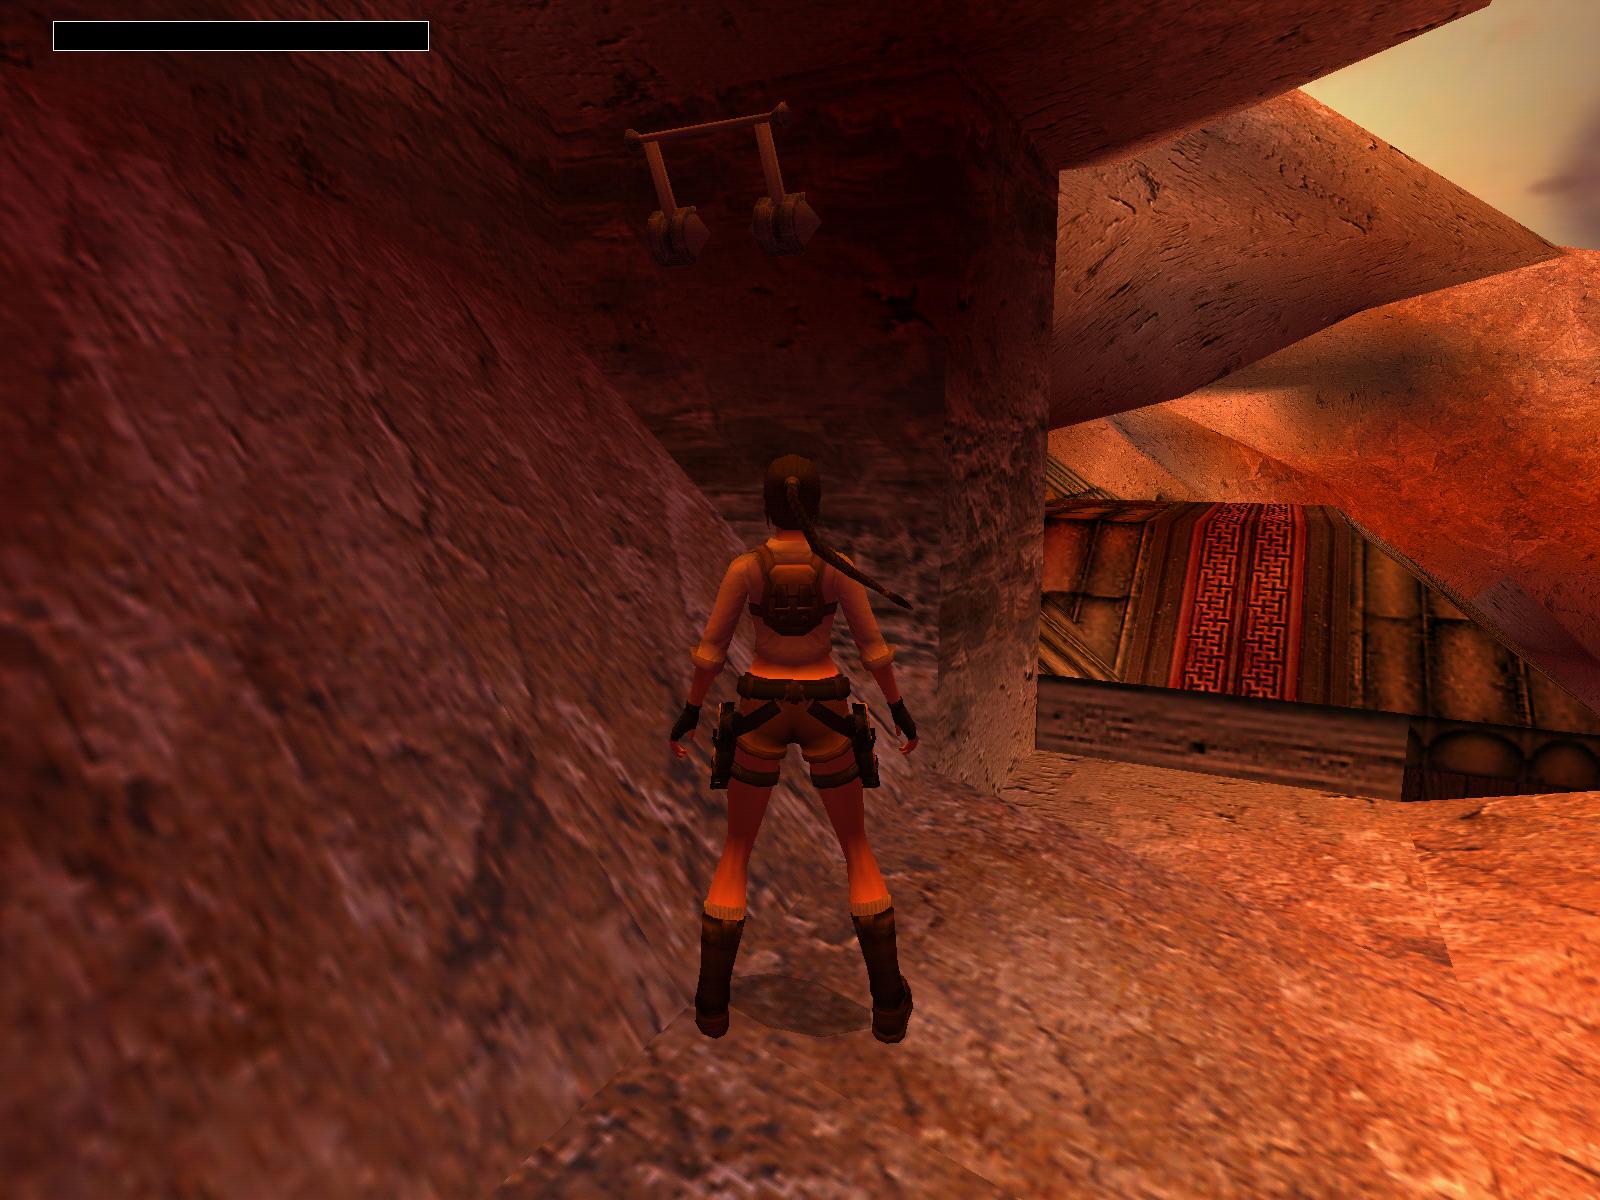
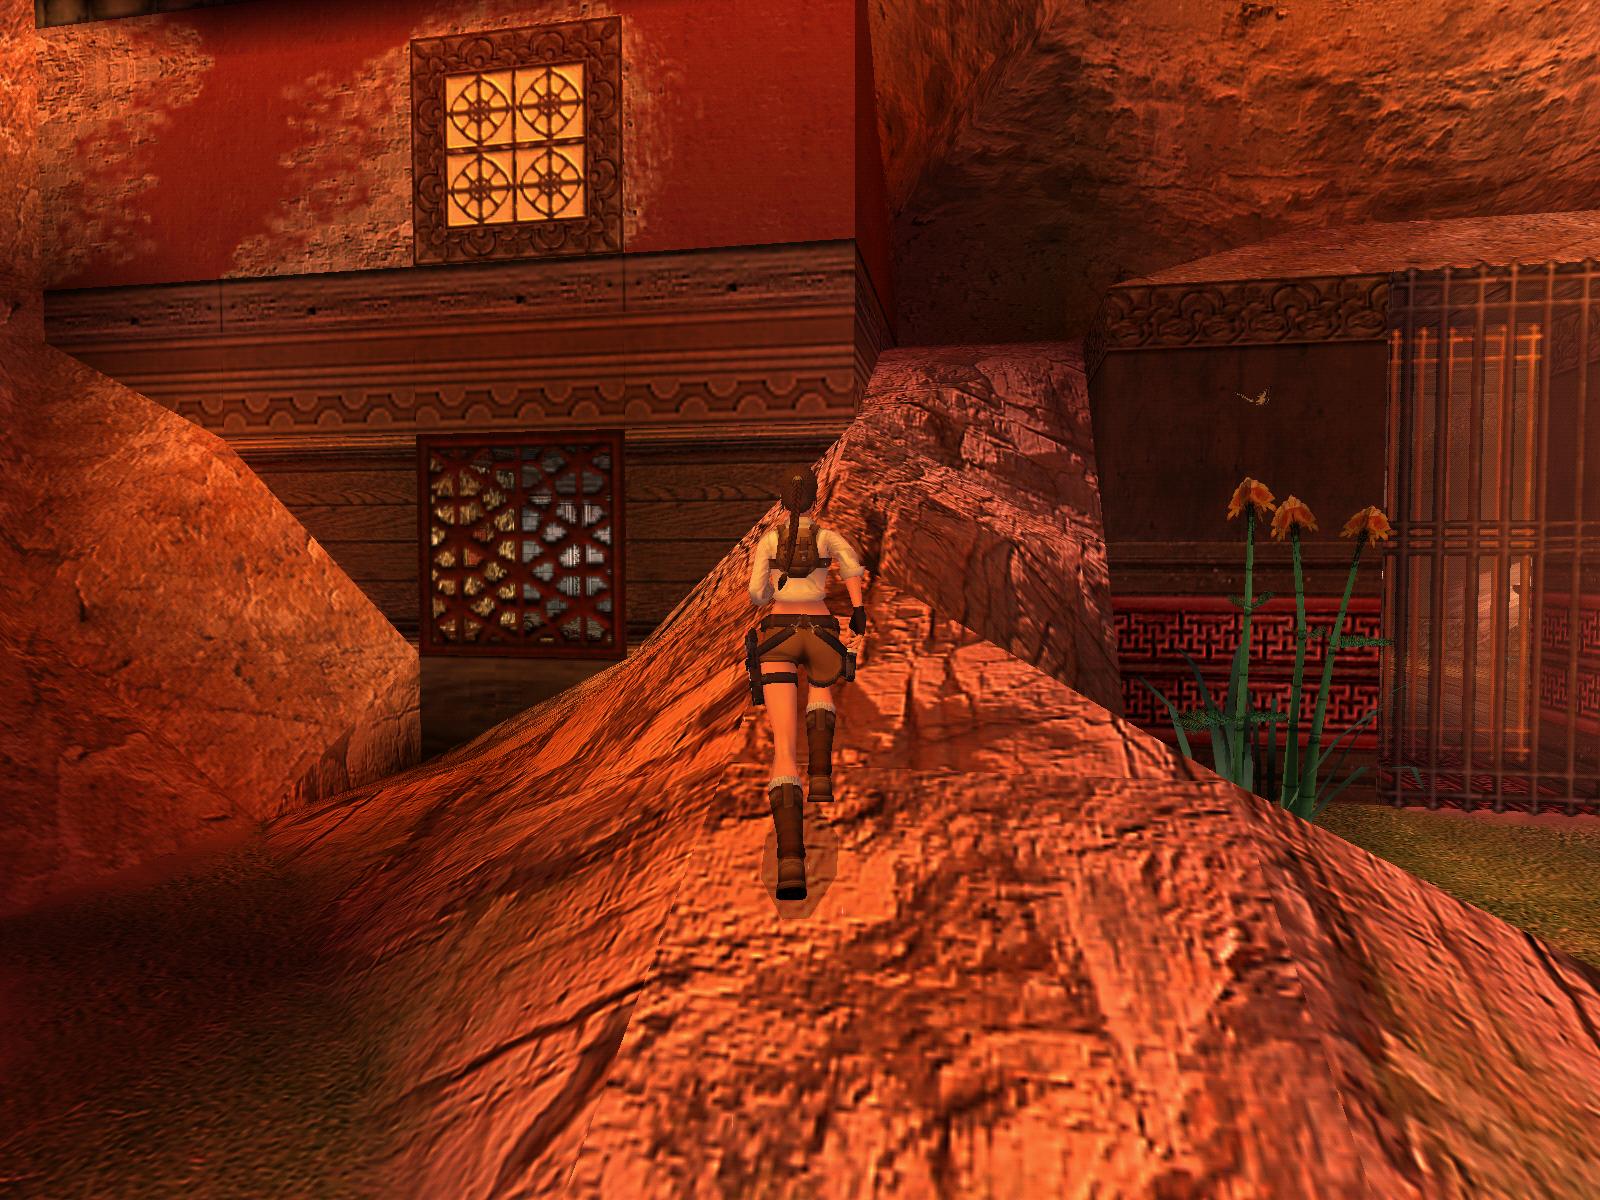
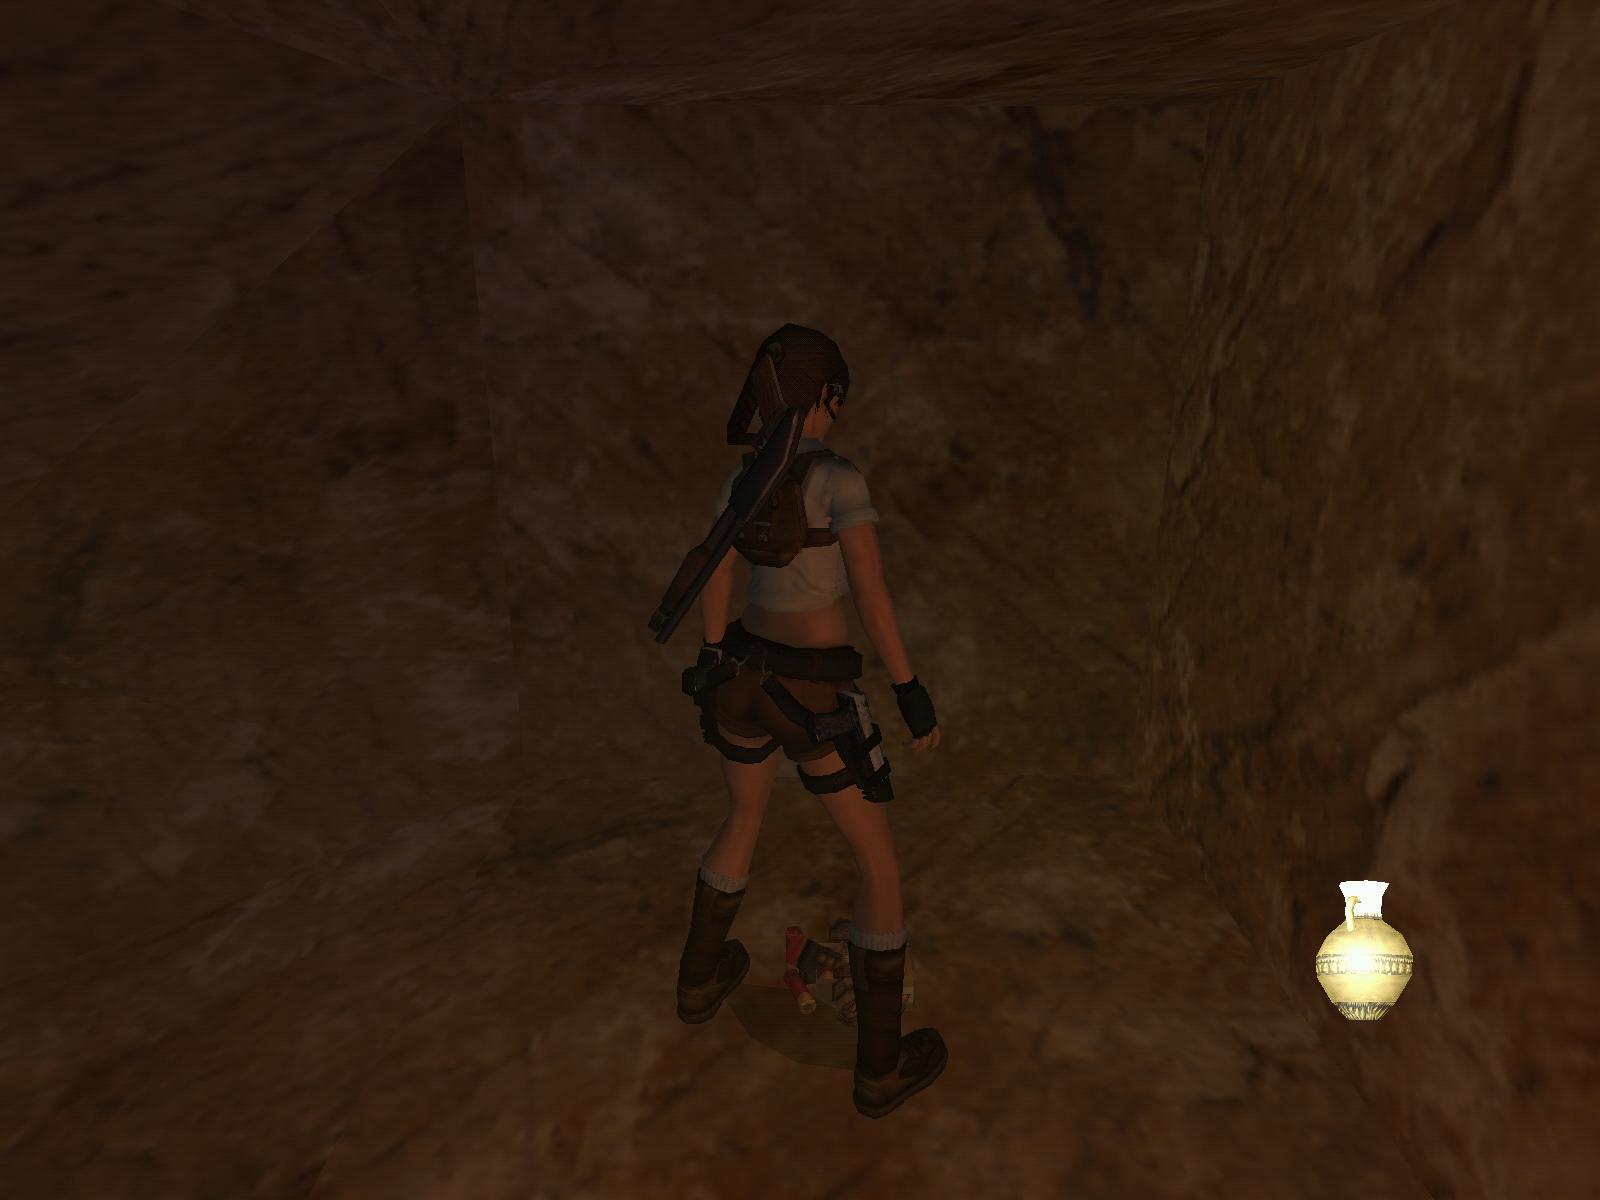
Rocks
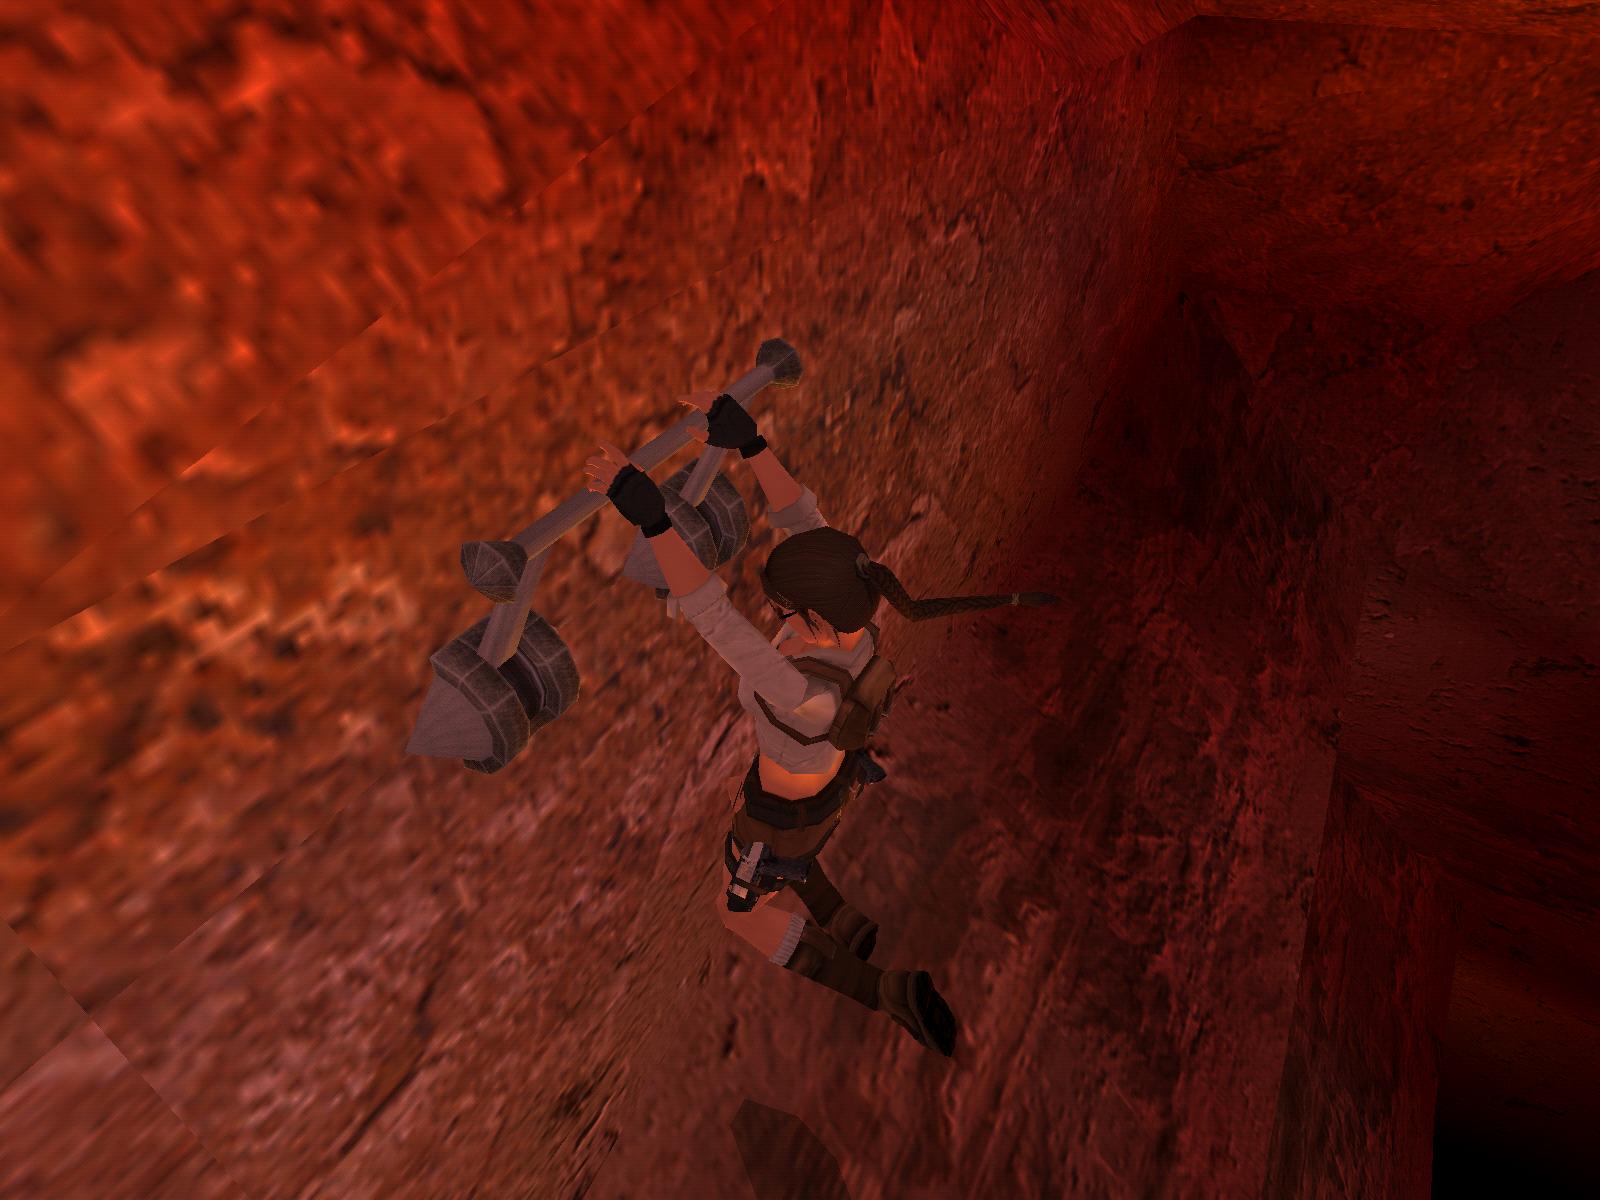
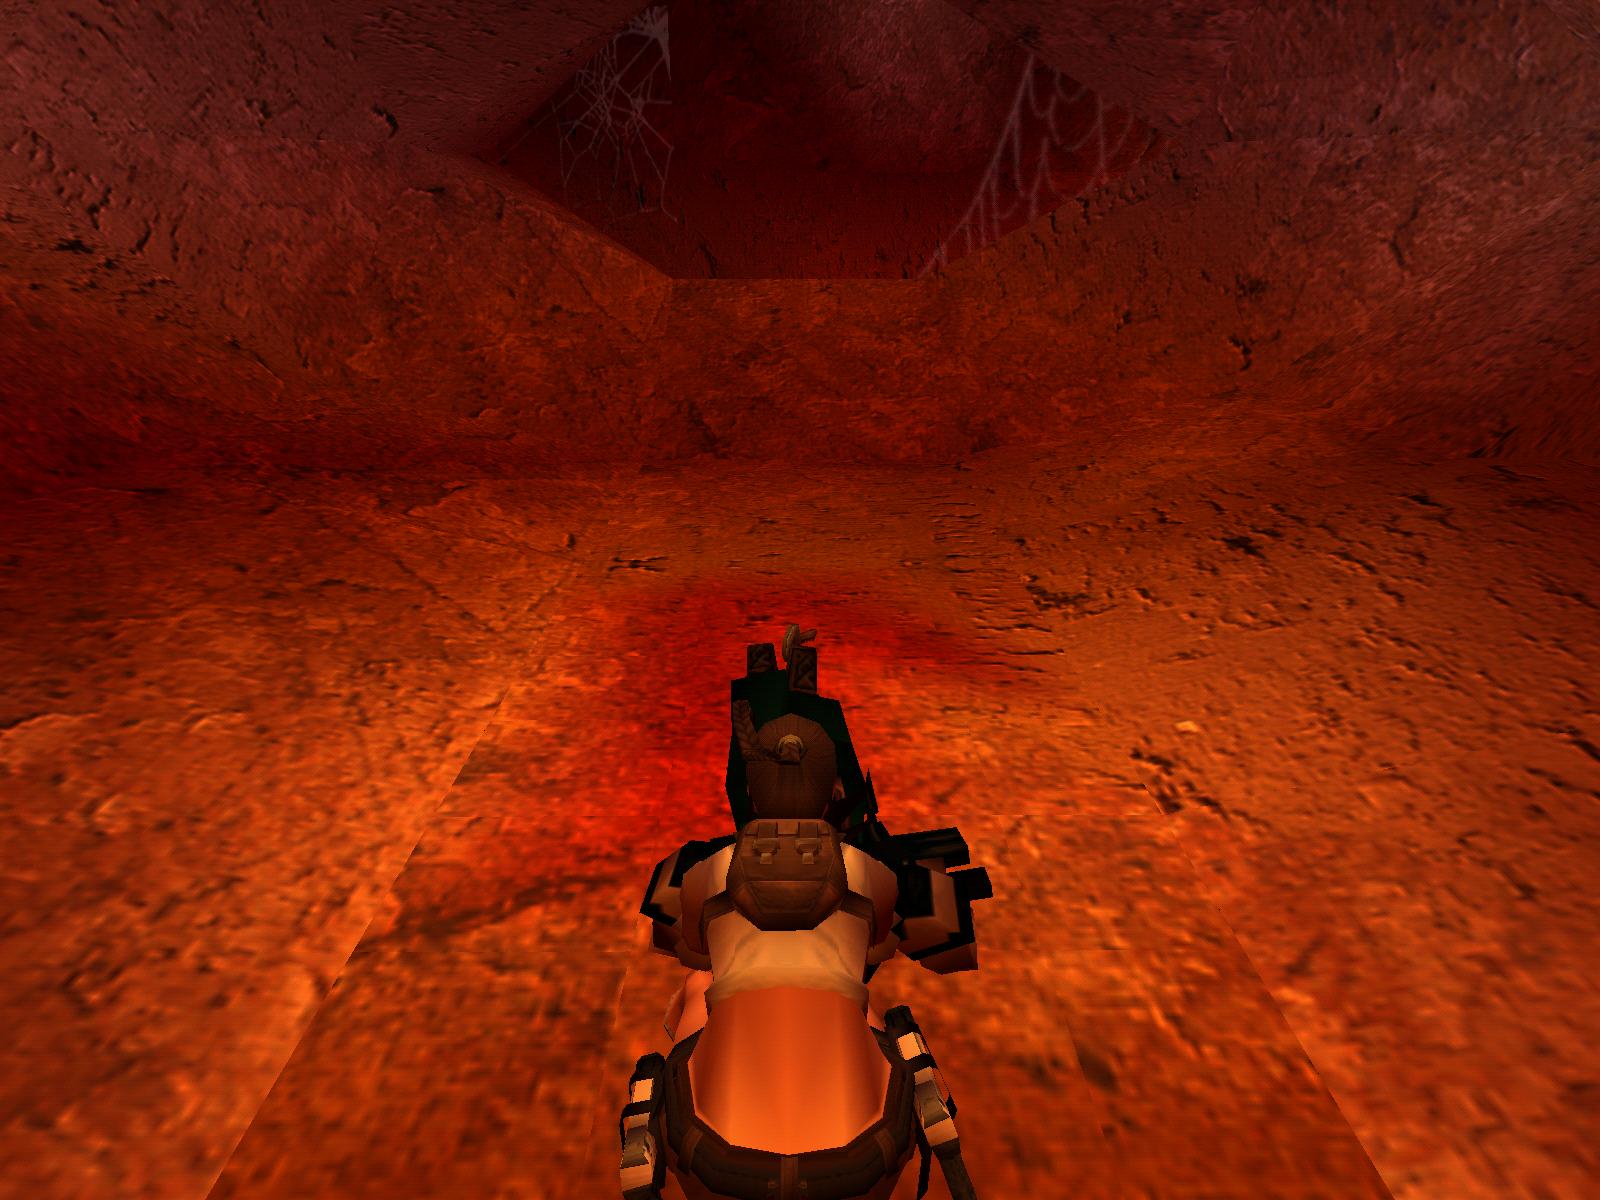
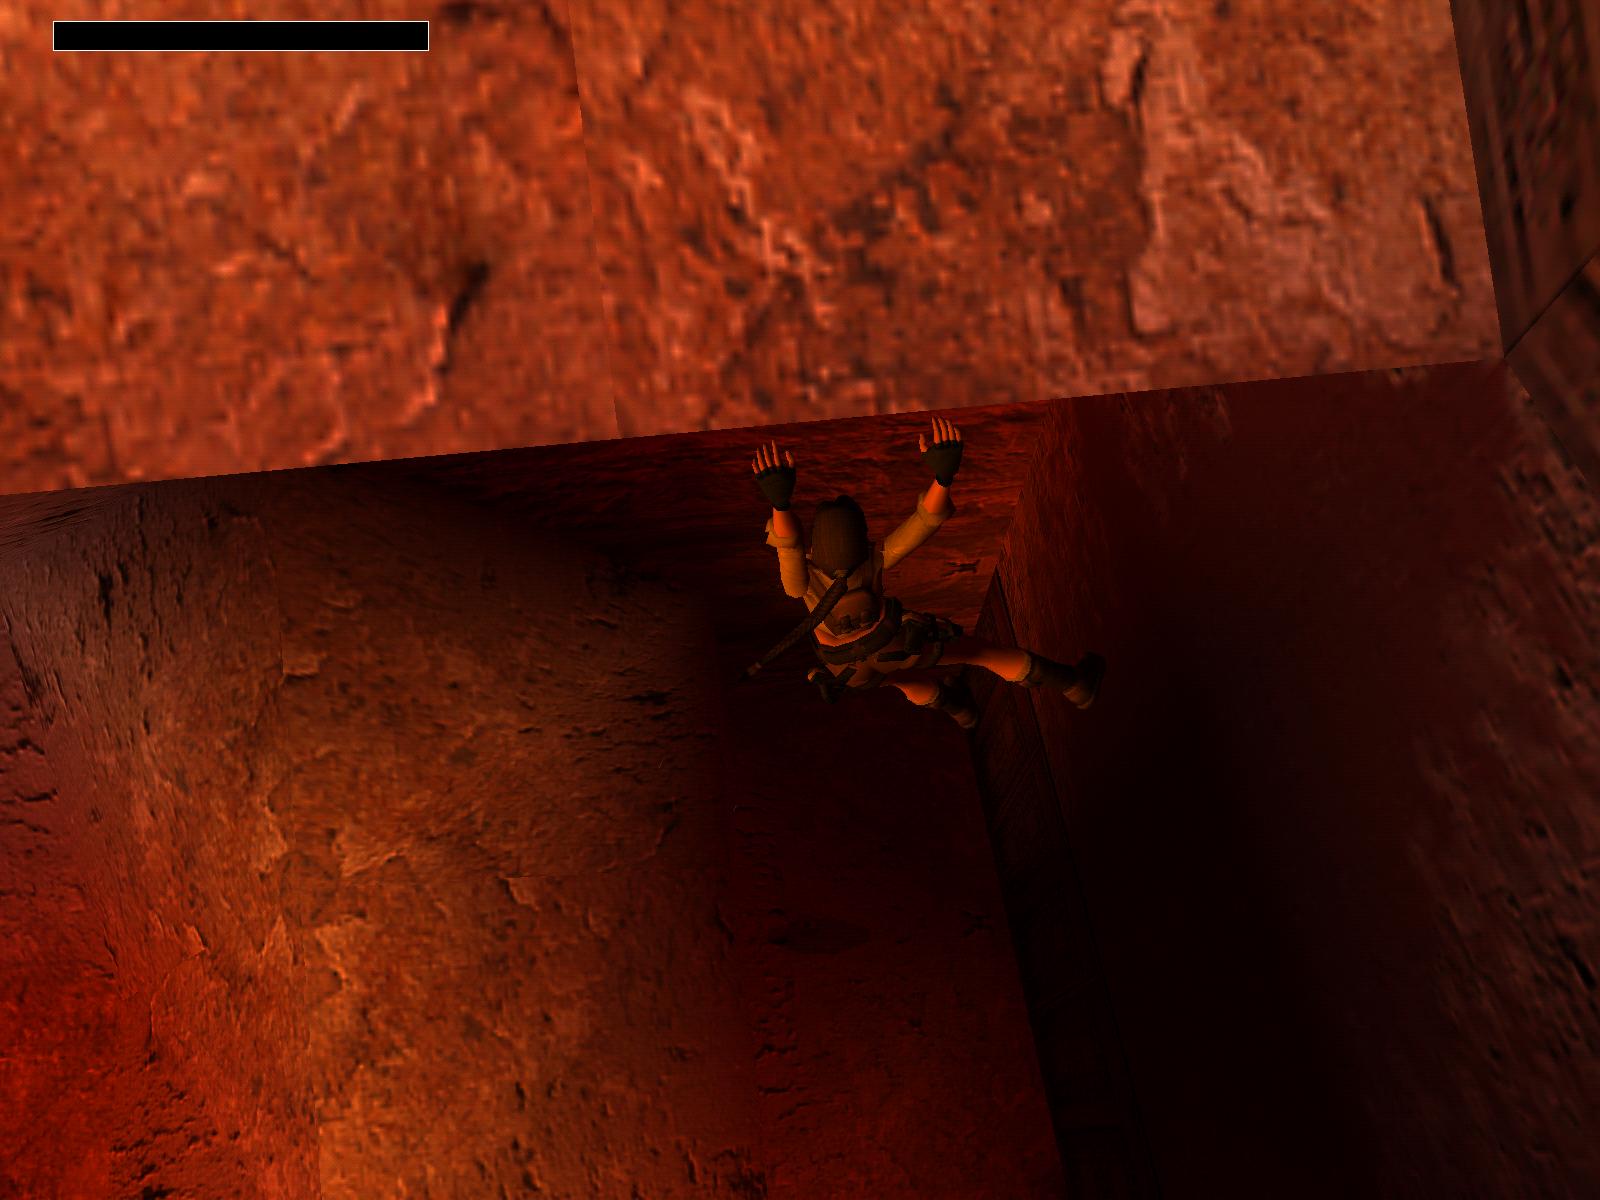
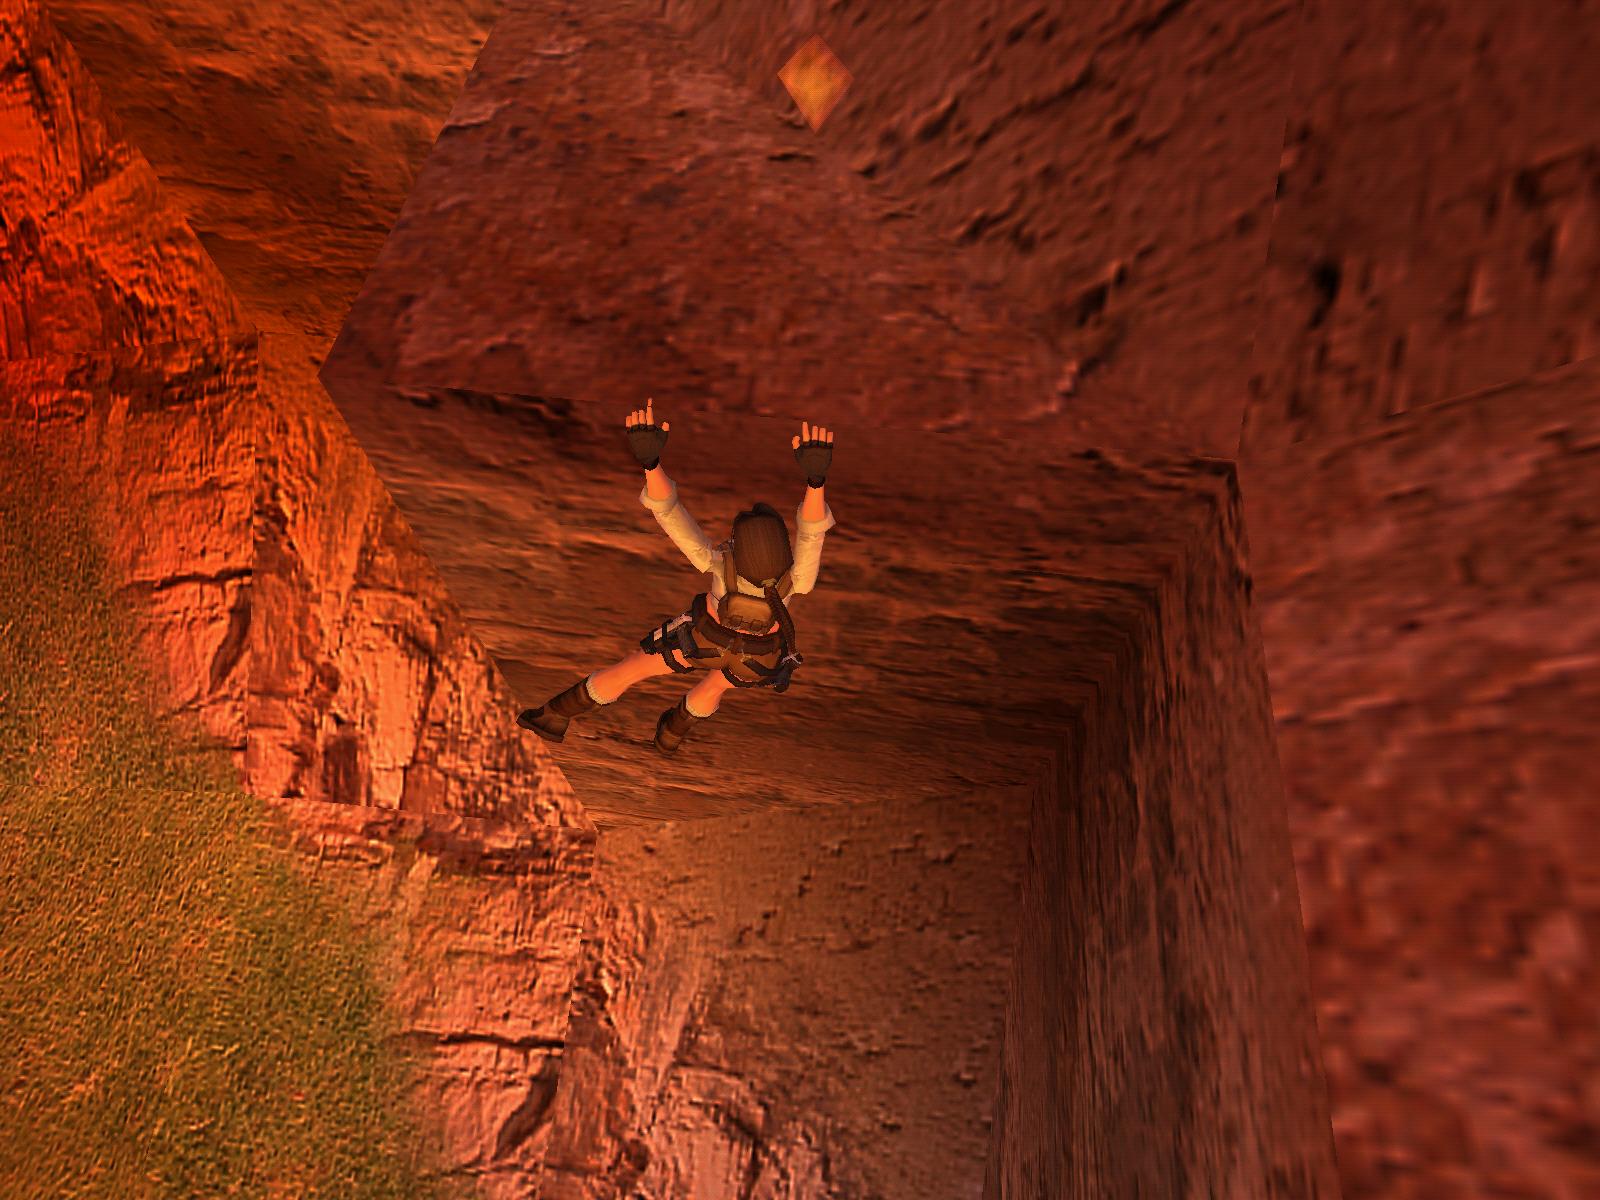
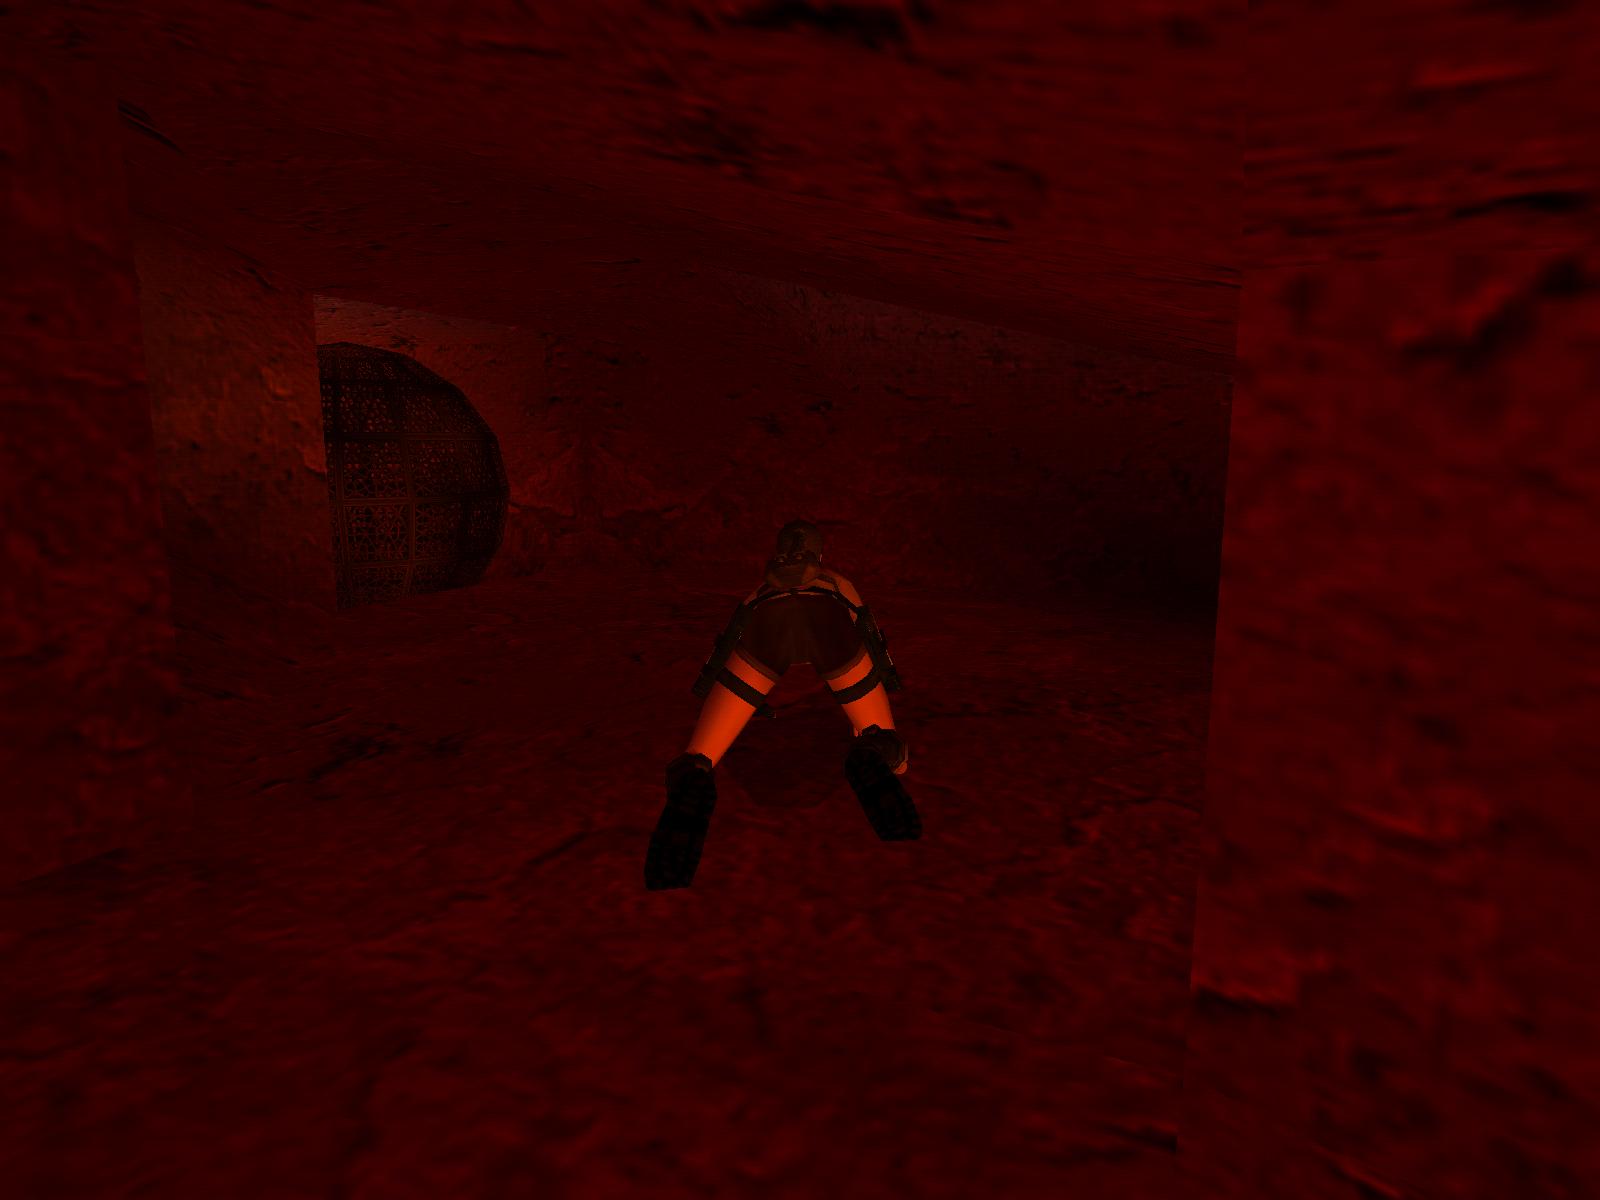
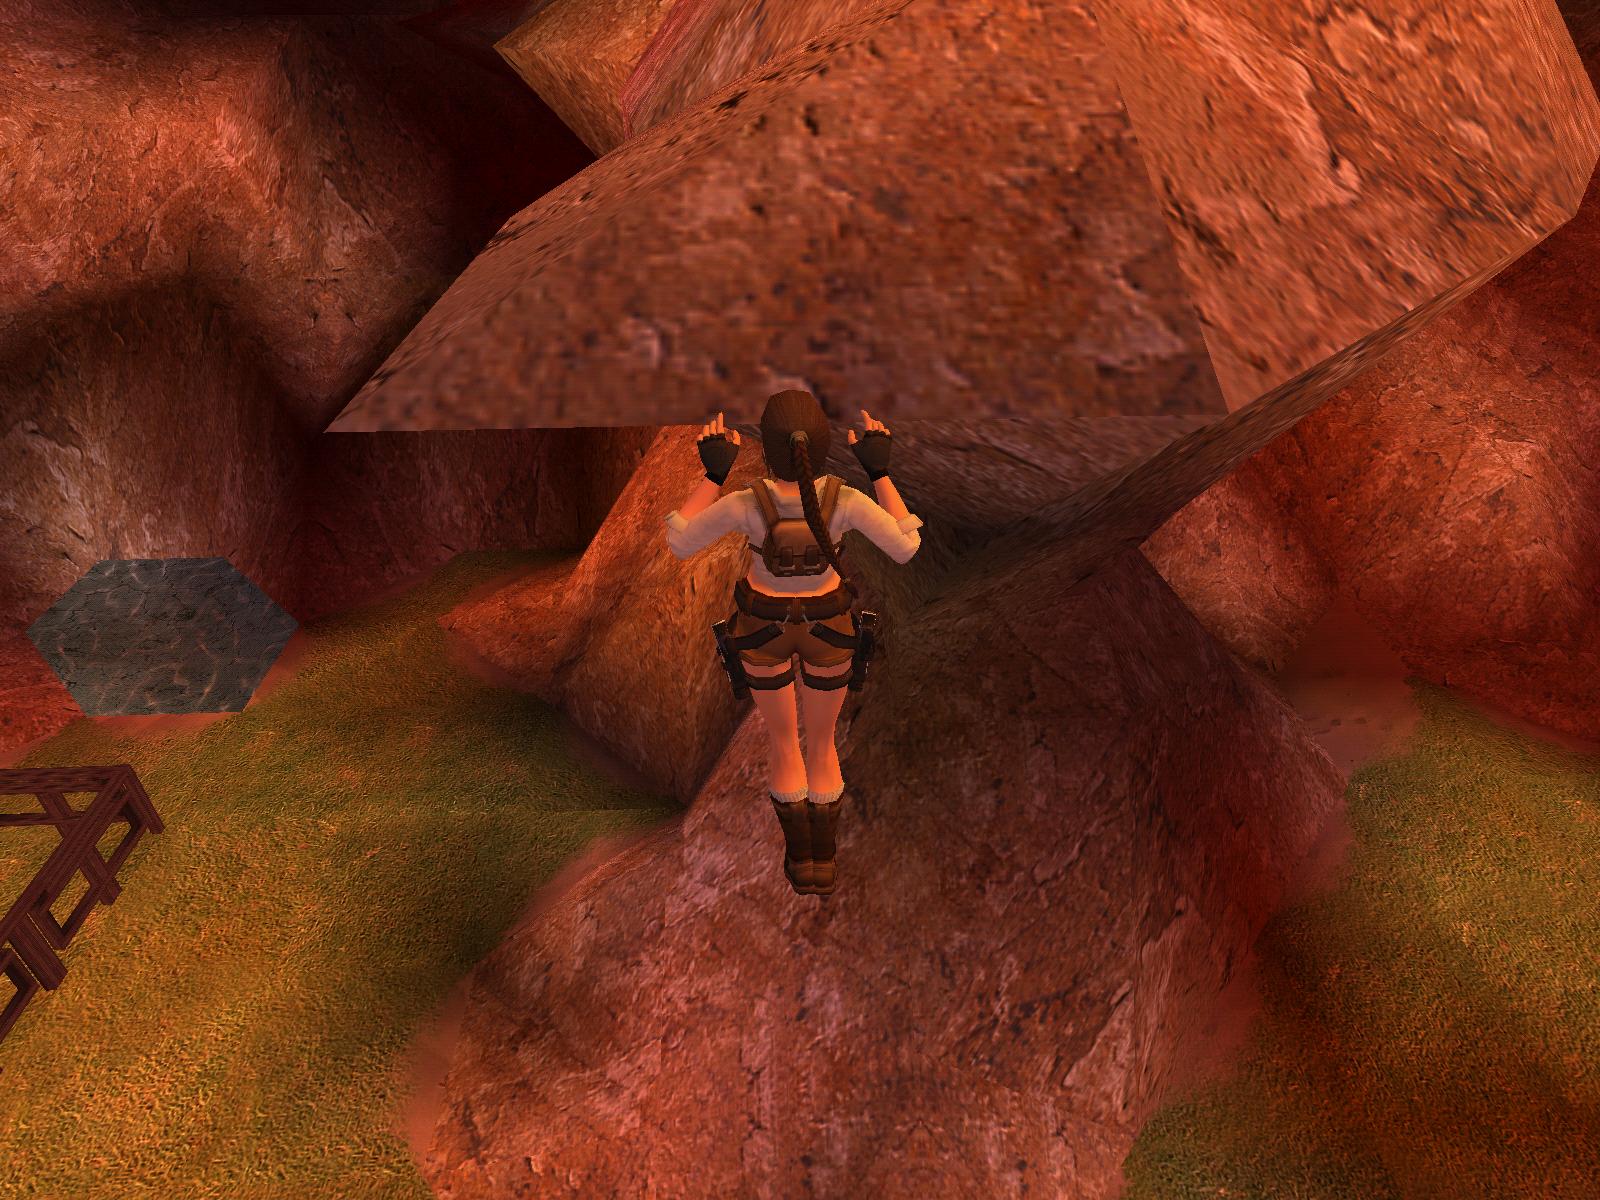
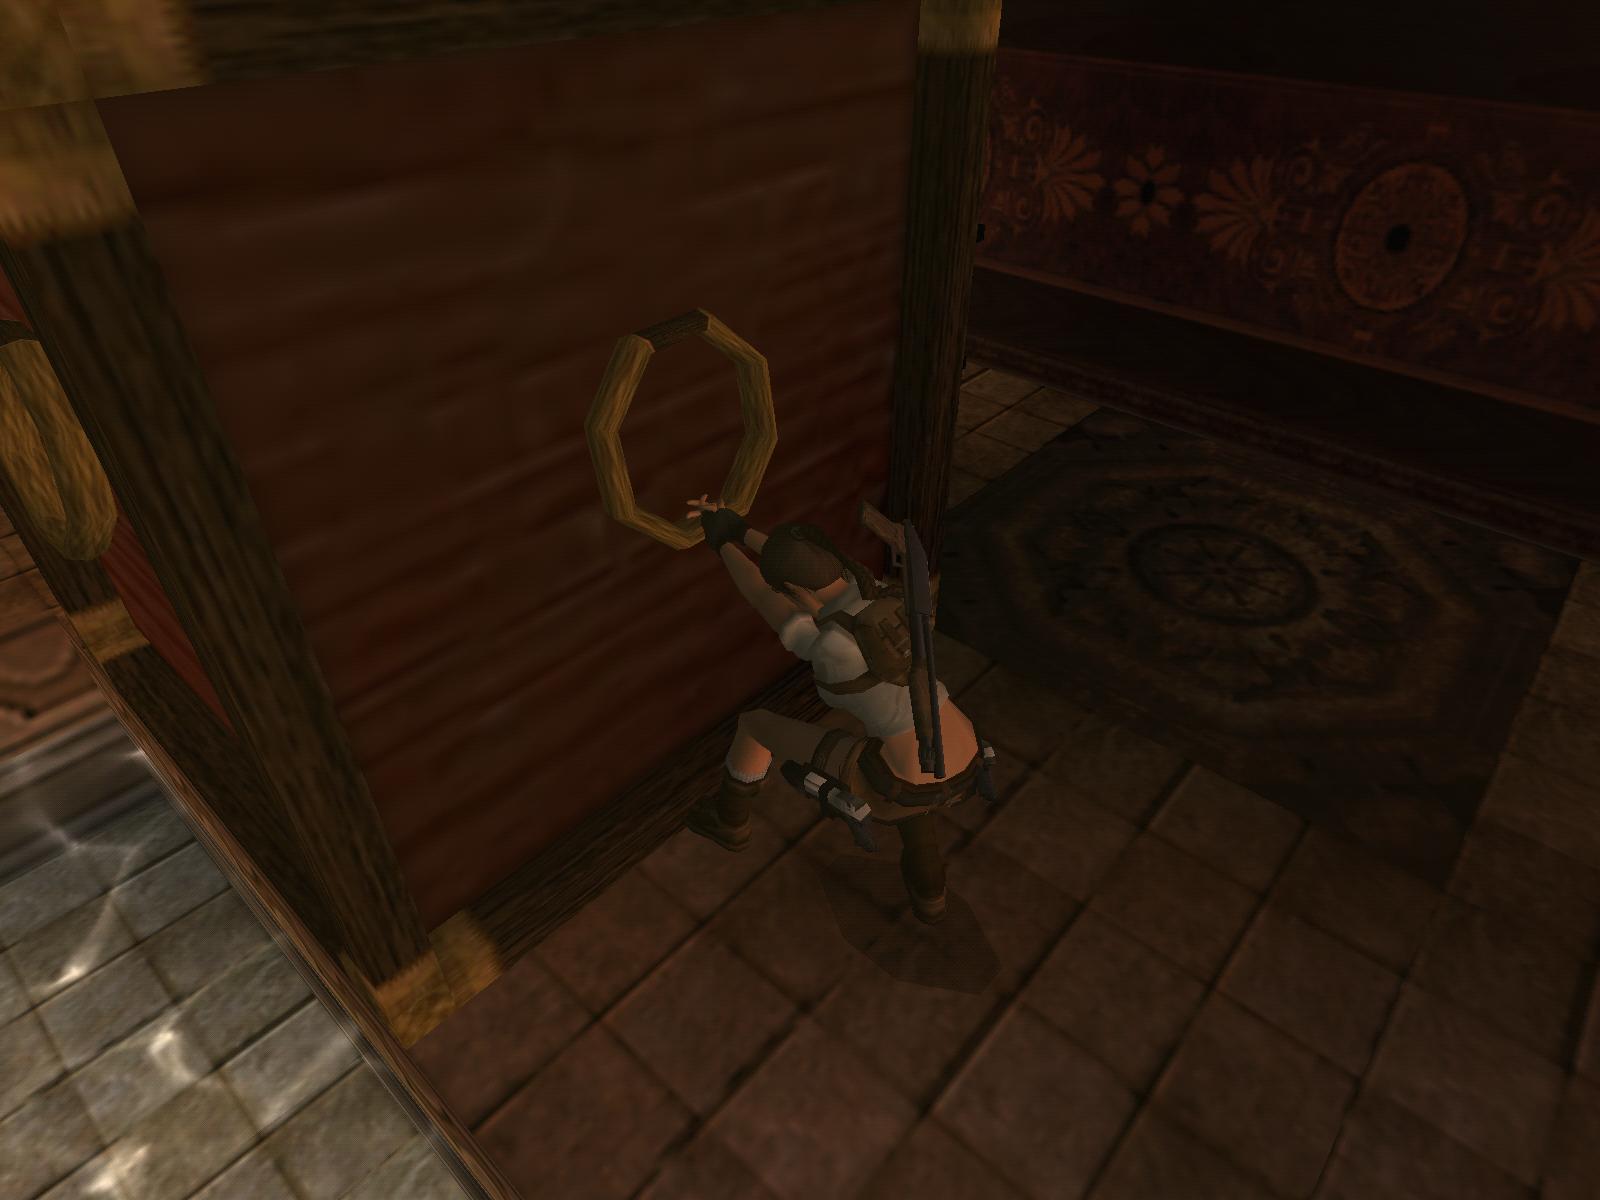
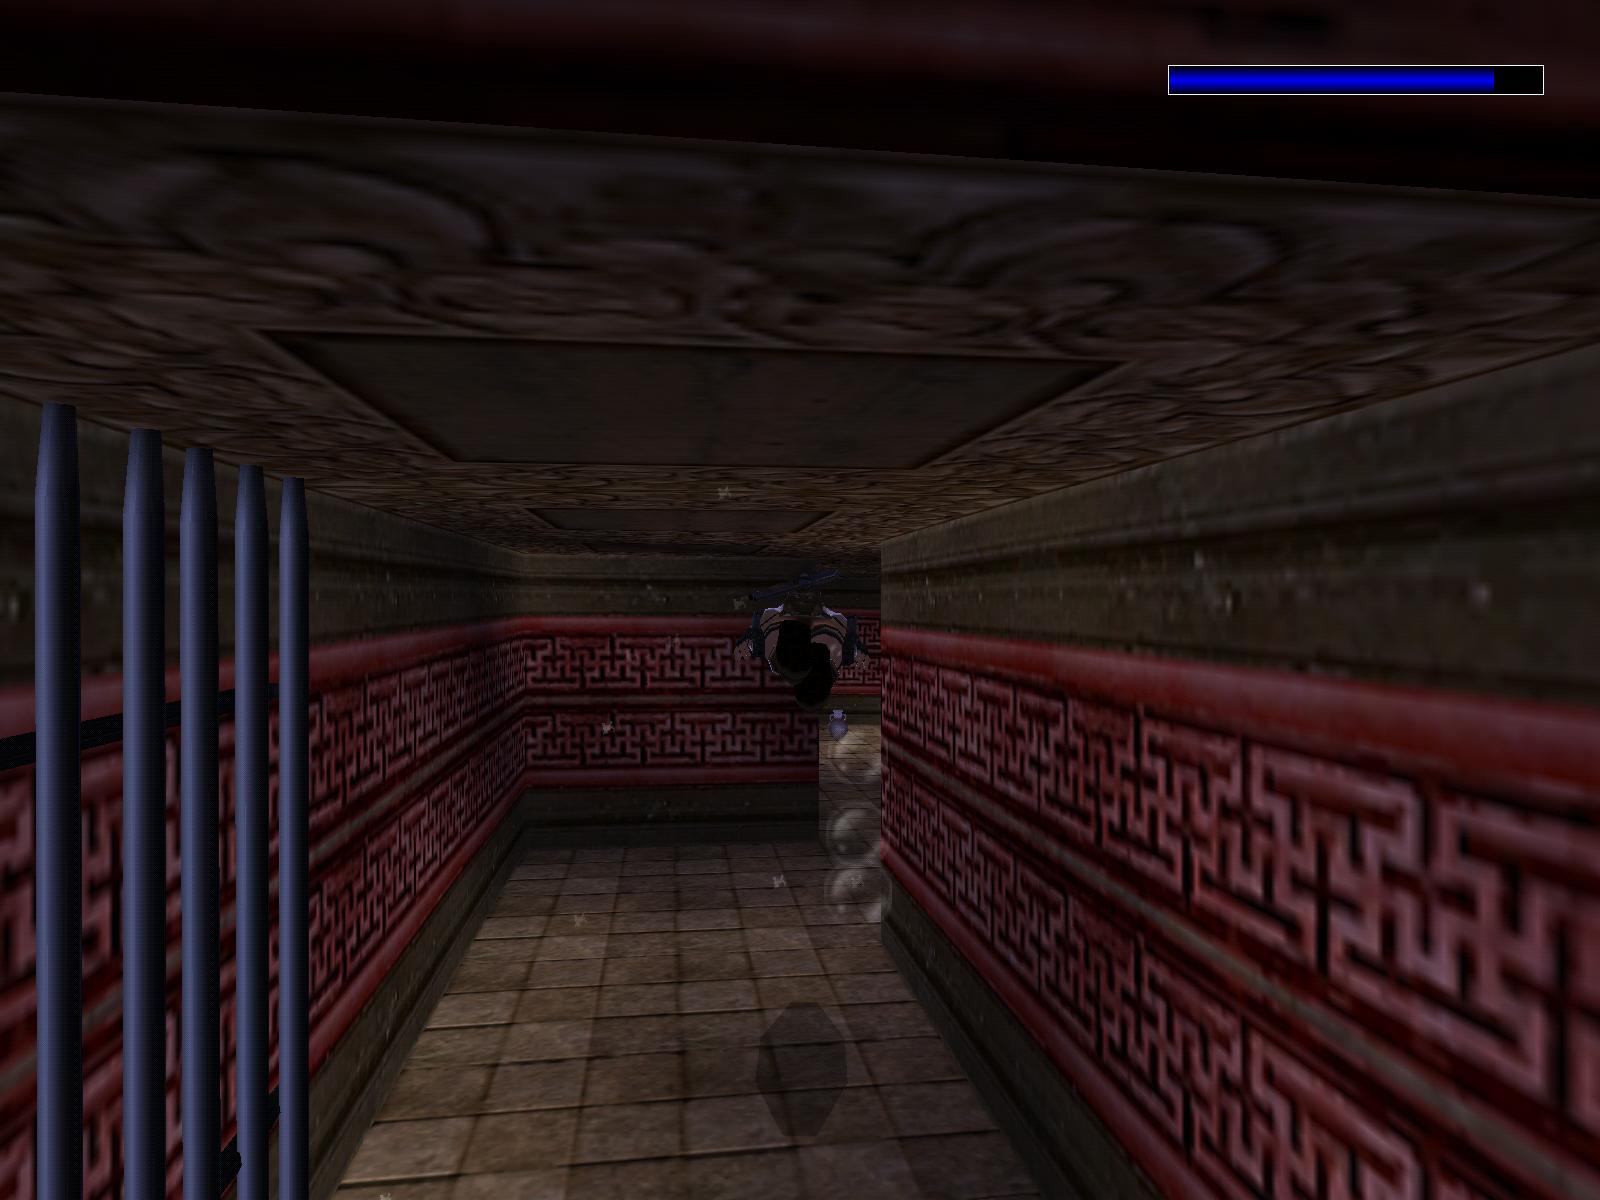
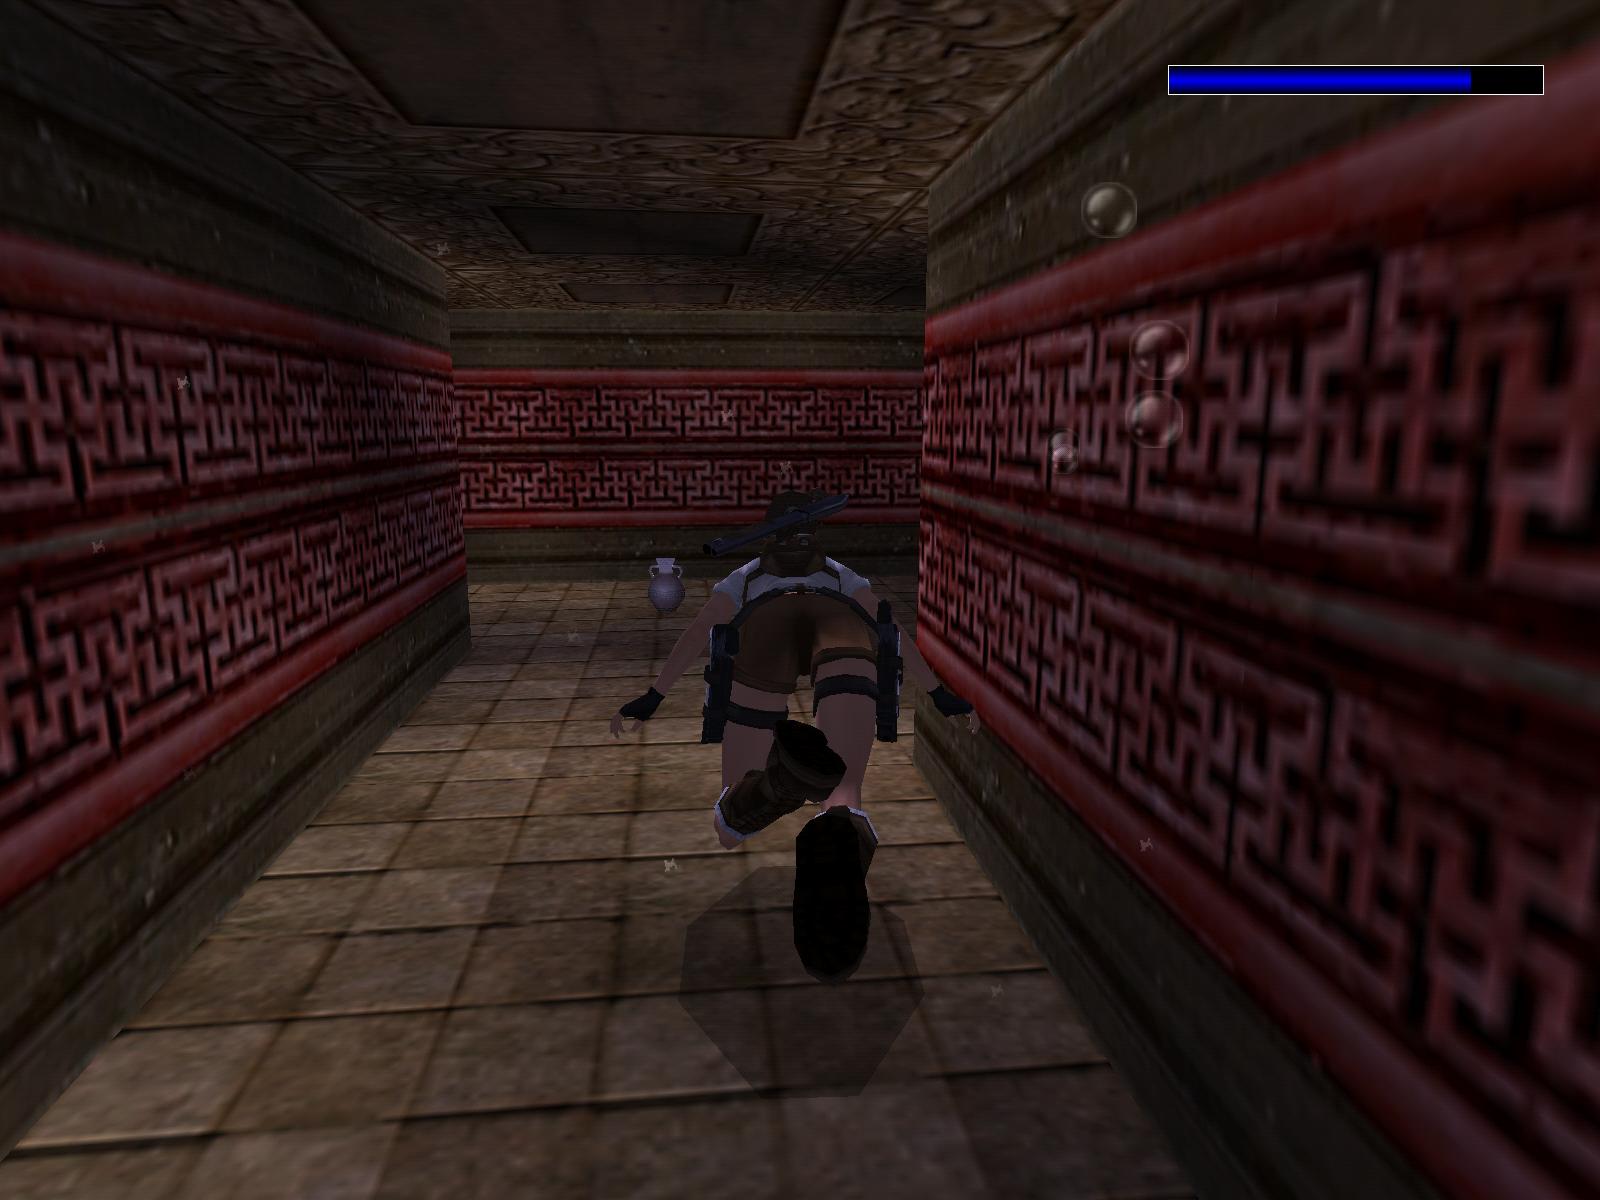
You start this level sliding down to a rocky area. There is nothing to find
in the big gap but death. Head W; jump on the slope and after sliding down
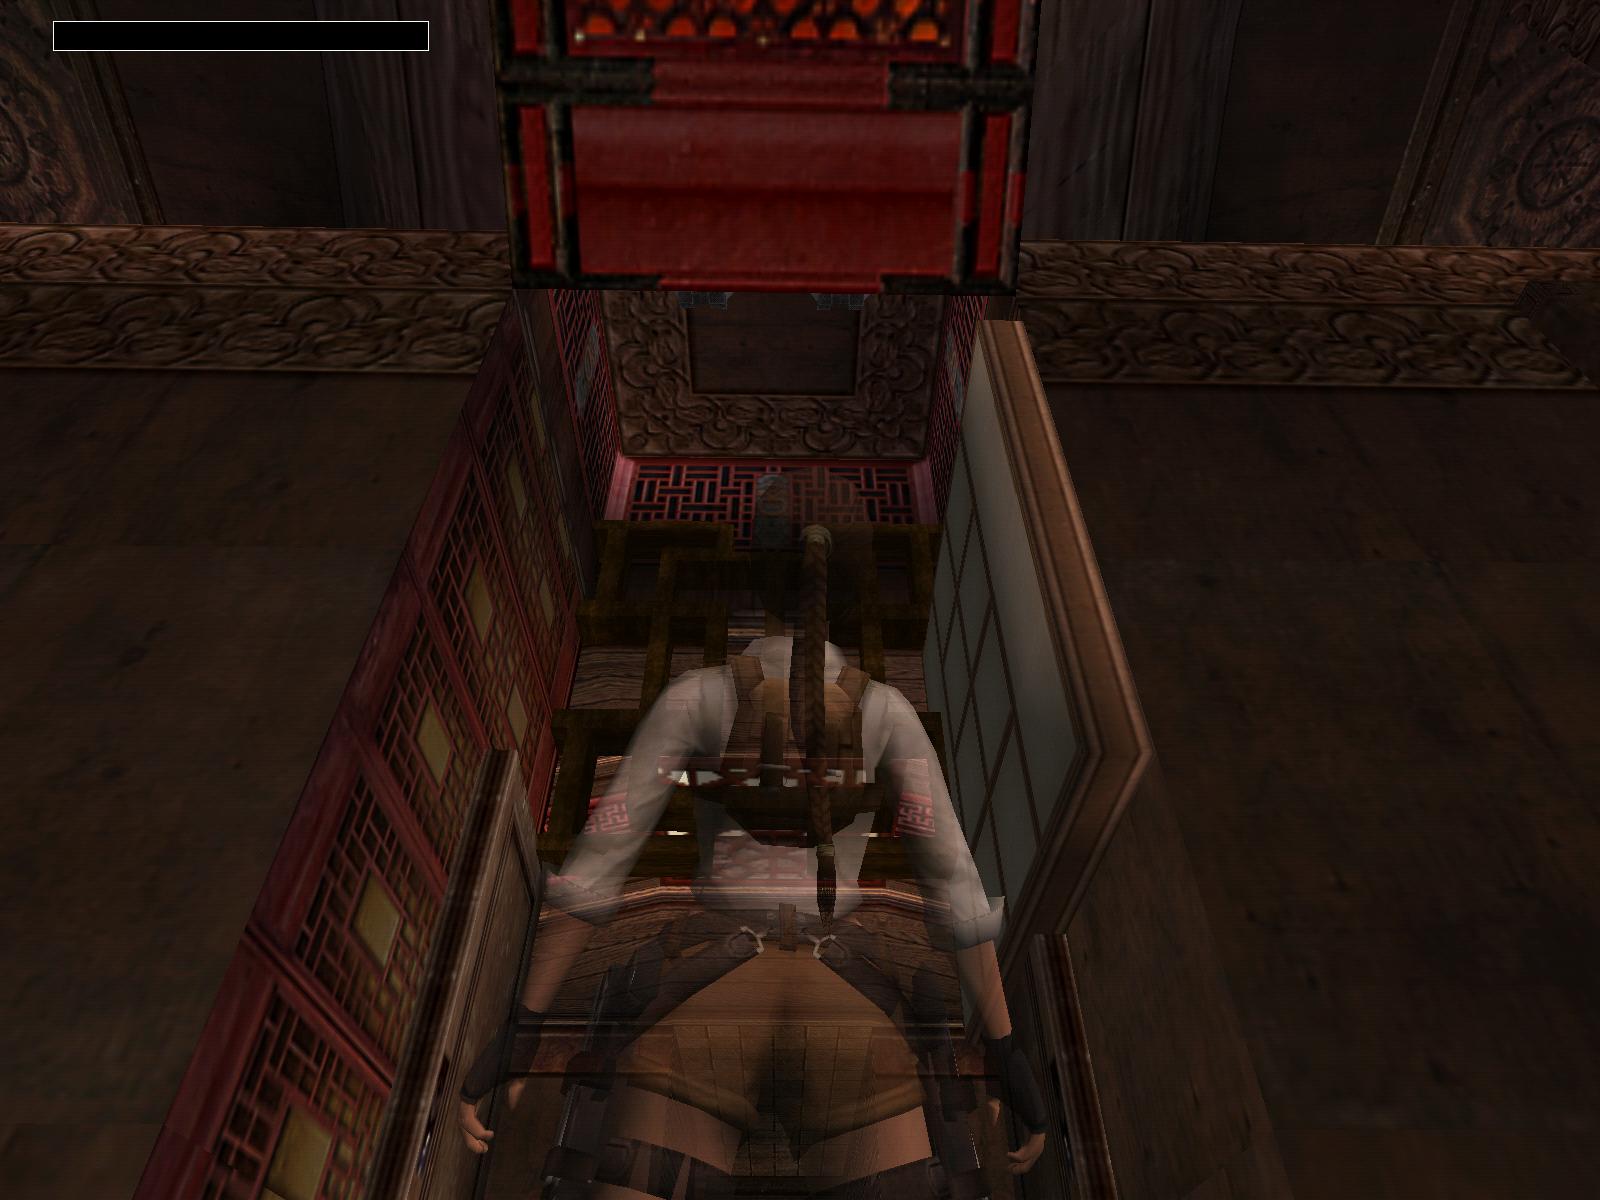
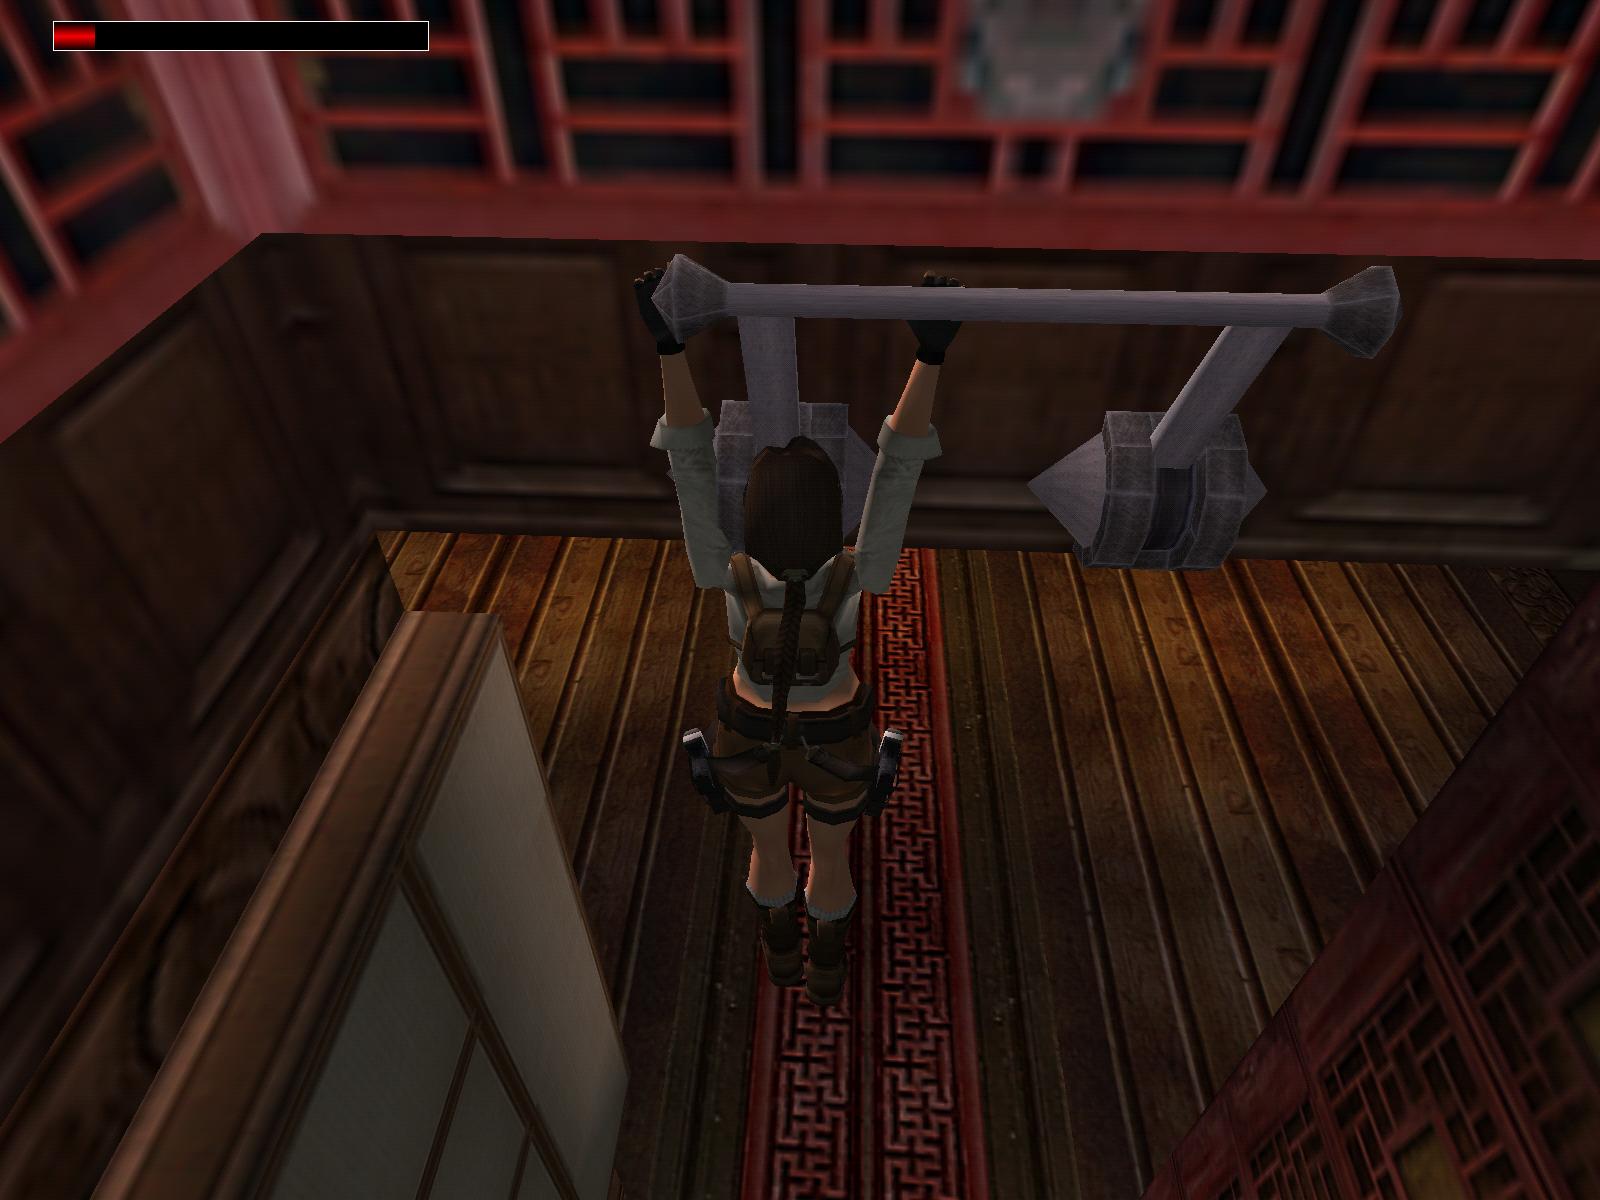
shimmy left and drop to a jumpswitch. Pull it down (some spikes are disabled
now), drop on the slope and shimmy to the rightmost point of the slope. Climb
up and backflip onto a triangular ledge; from here jump S to the now safe
platform. Now turn SW and jump on the most flat tile of the slope ledge, from
there W to the flat area. Quickly turn right, backflip onto the slope and
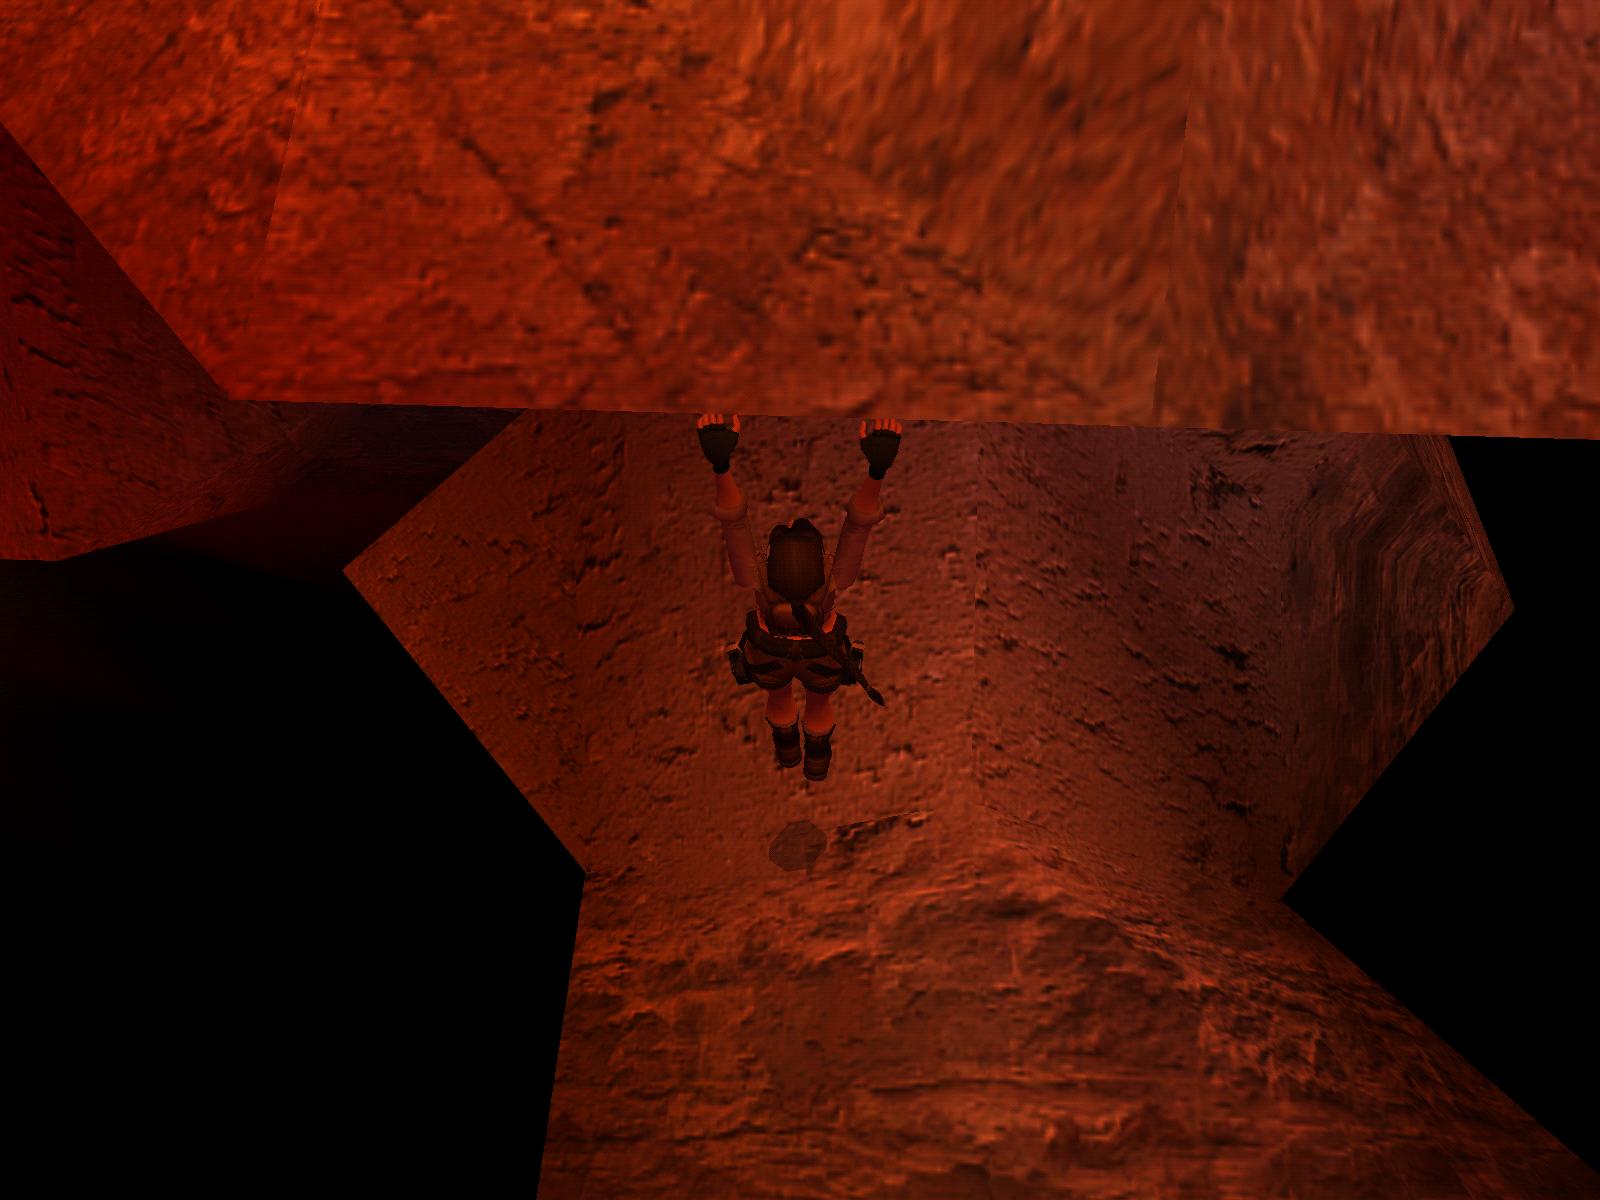
jump to the ledge, shimmy left and climb up, then jump NW to the cave. Turn
around and shoot the vulture that otherwise could have pushed you from the
ledge into the darkness. After killing it jump back to the last higher ledge,
as you have to find the switch to the door in the cave first.
First, you have to get into the S cave therefore, as you
cannot get there directly, jump on the slope near the cave and jump to and
fro with a little curve to the cave when jumping forward. When finally in
follow the cave until you find a wall lever. Pull it and the platform will
lower, turn around and pull the second lever; the platform will rise again
and also the door in the N cave will open. You can go there now, but first
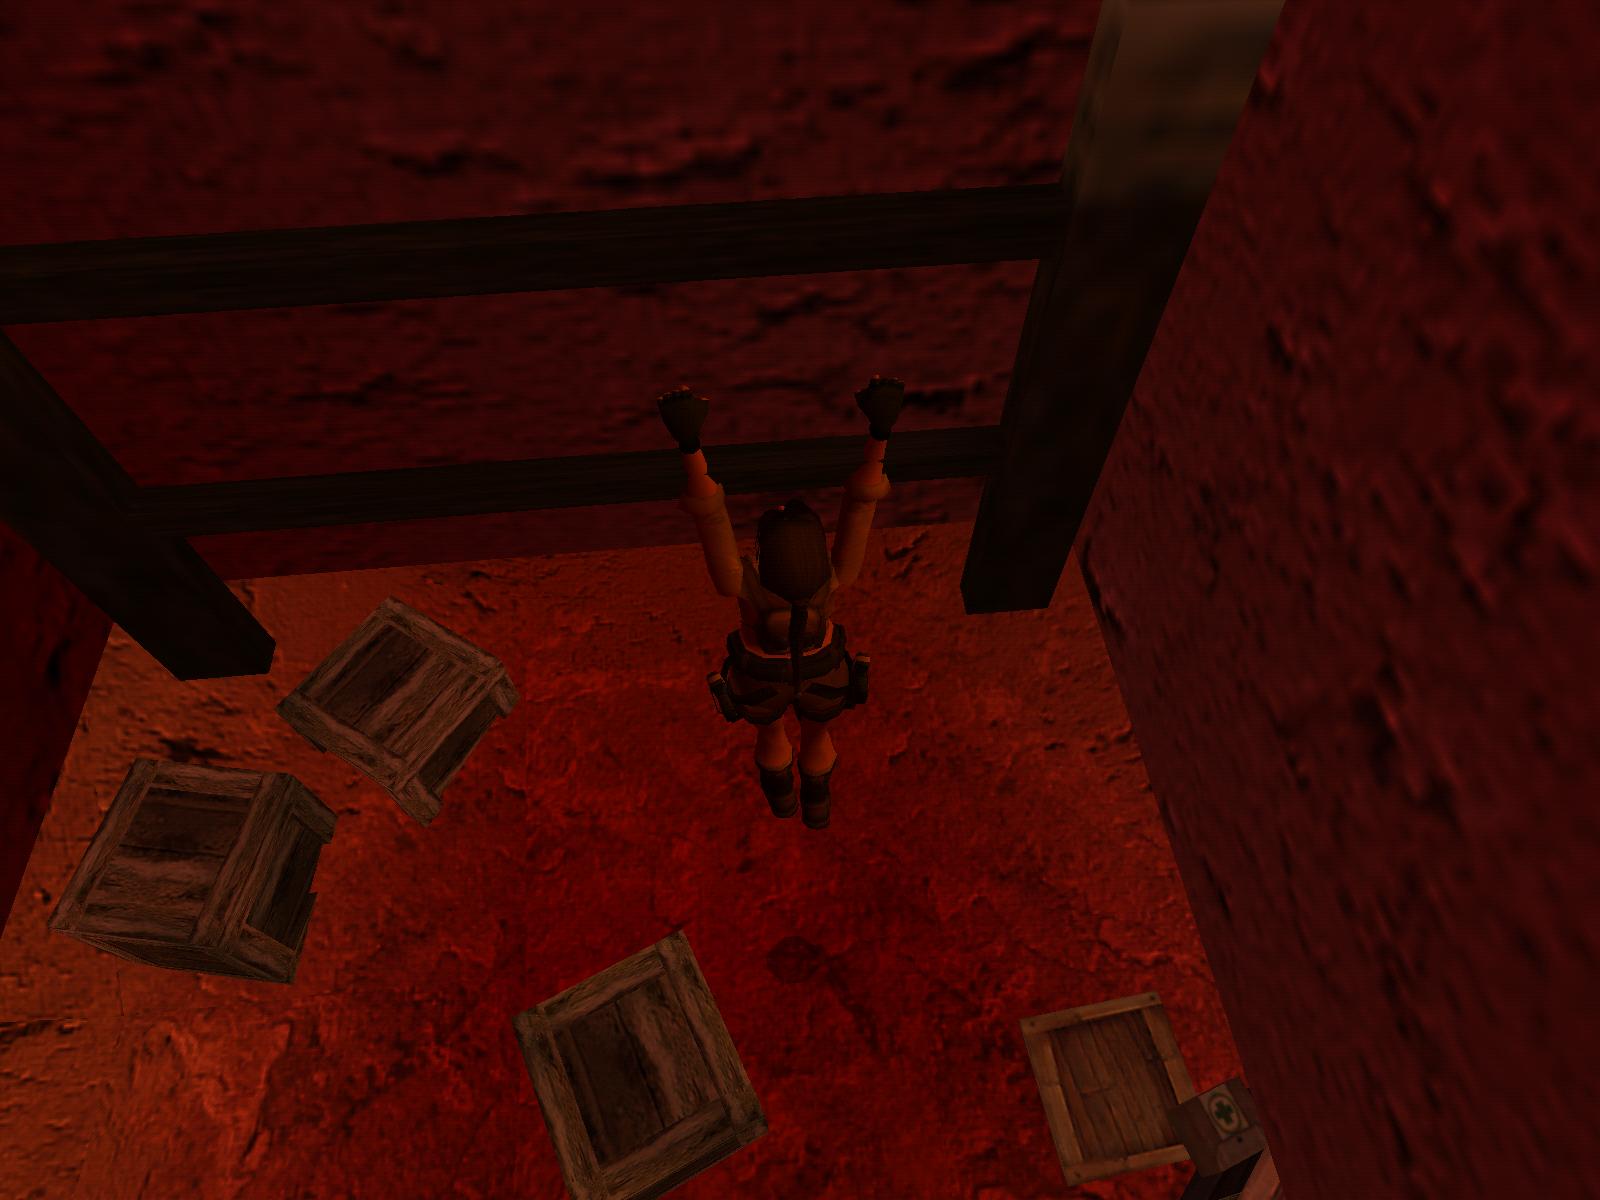
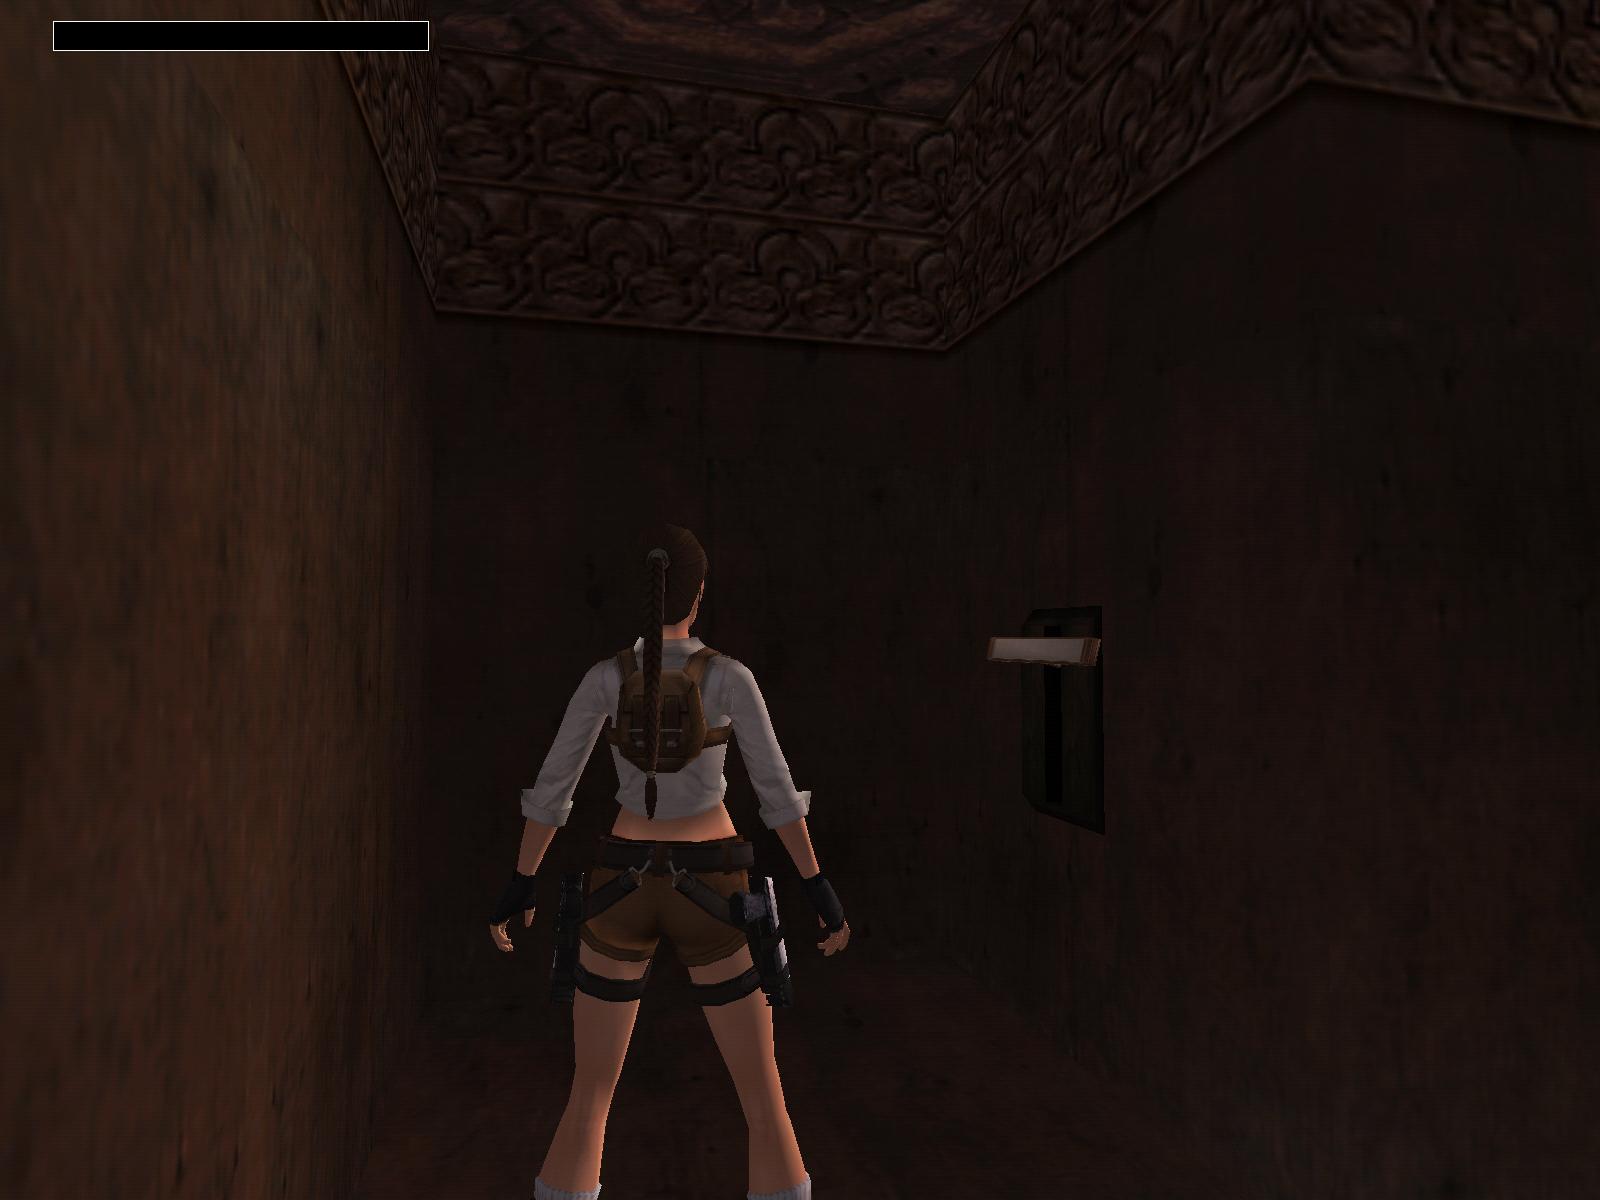
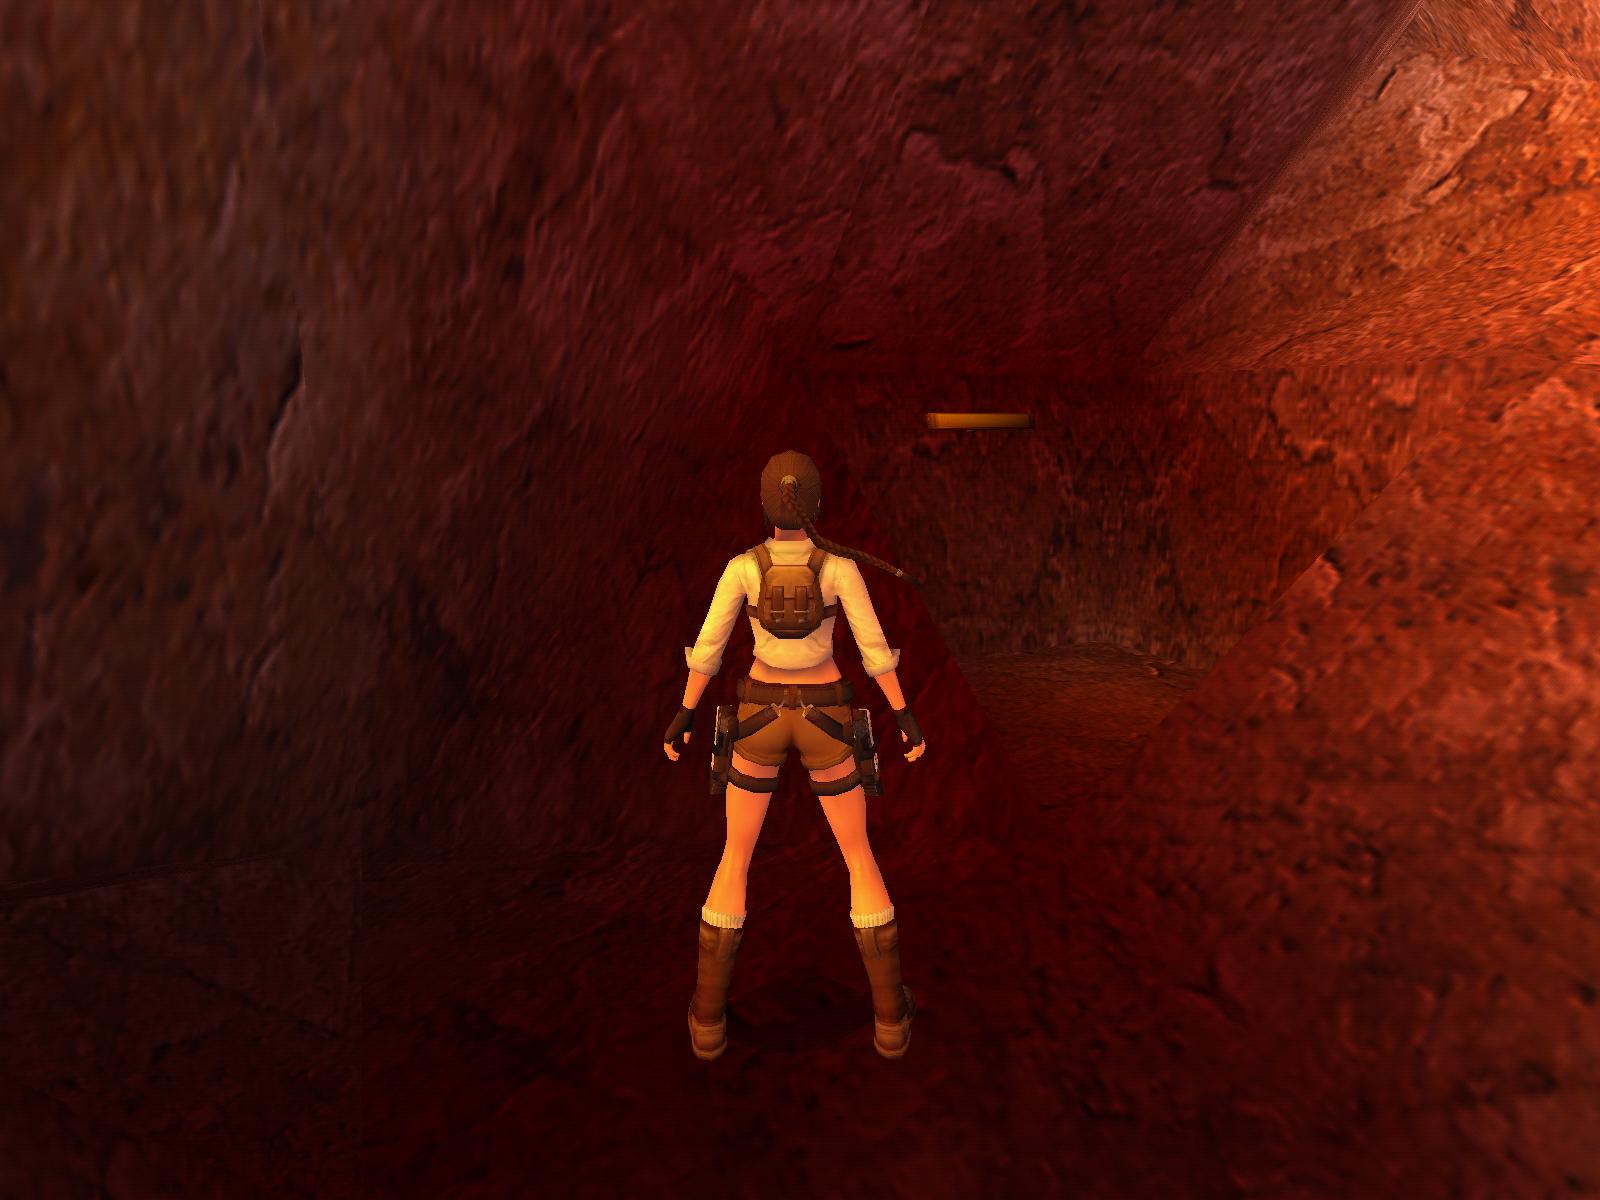
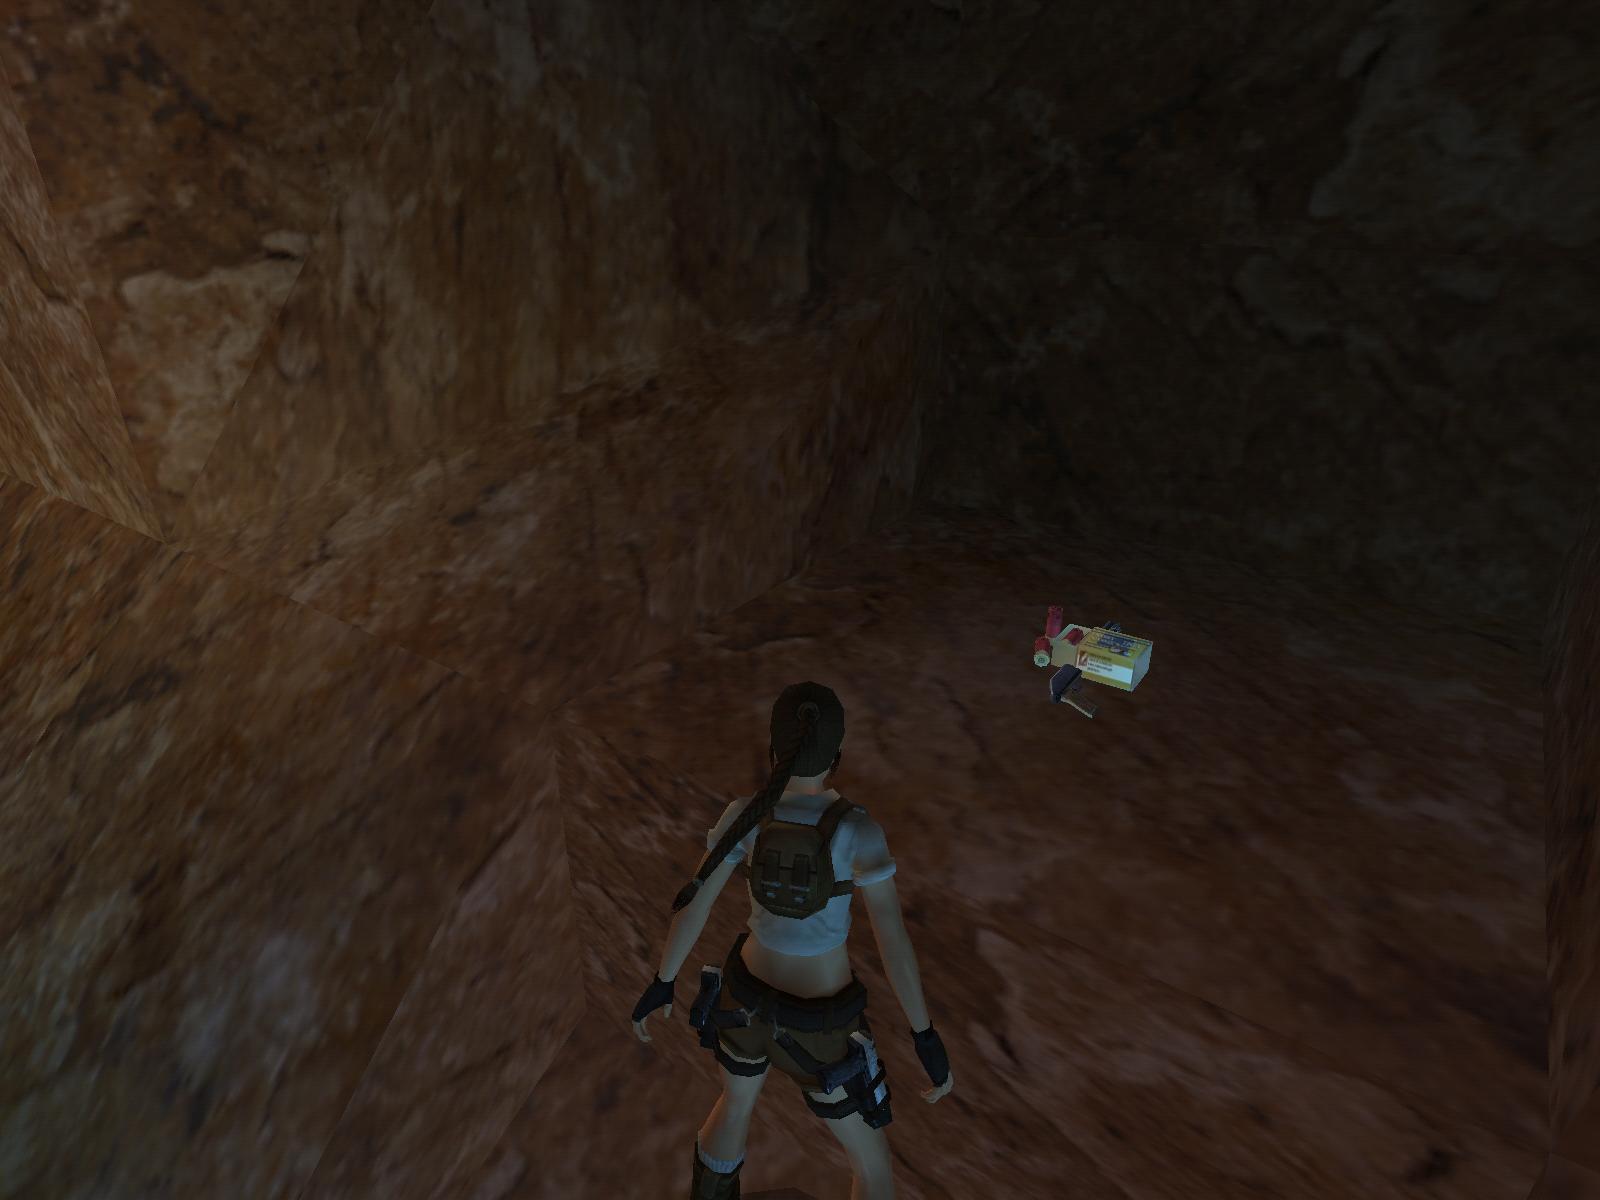
follow the cave to its end to find a crawlspace with some Flares in it. Get
back and run all the way to the entrance of this cave, perform a run-jump
to the ledge of the N cave, get in and run through the now open door.
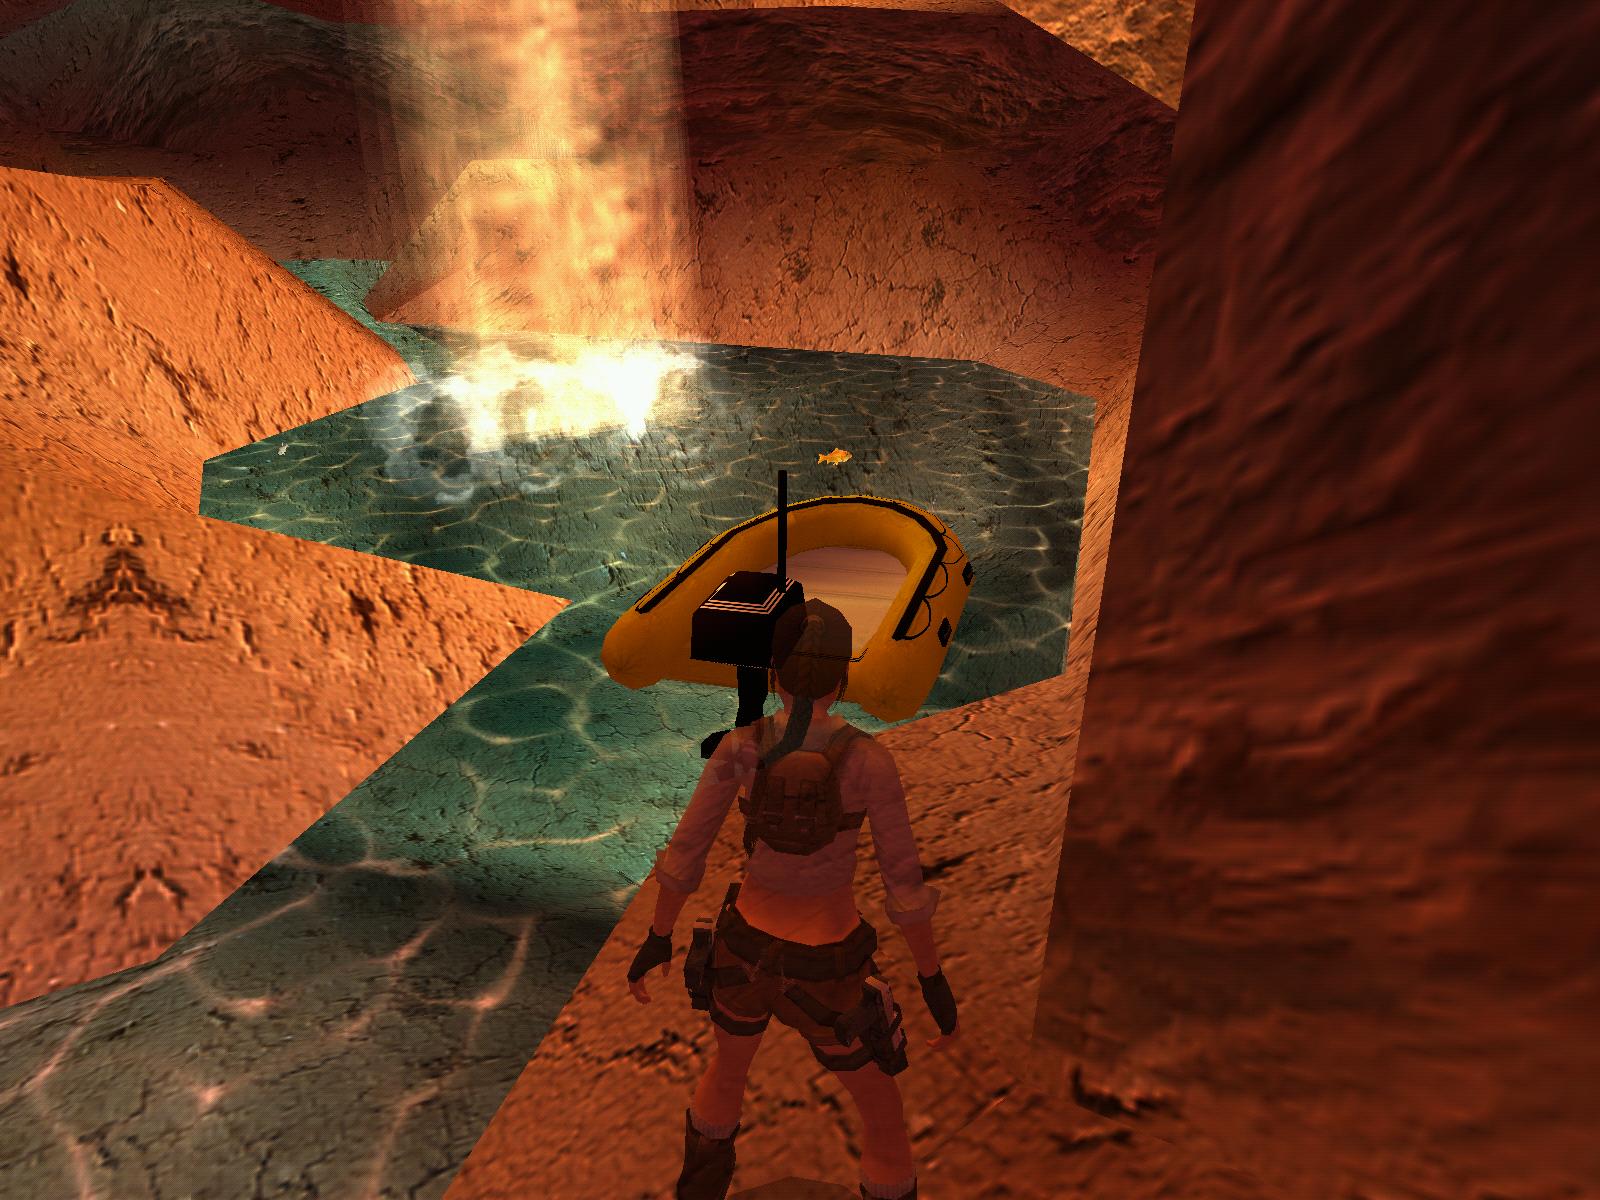
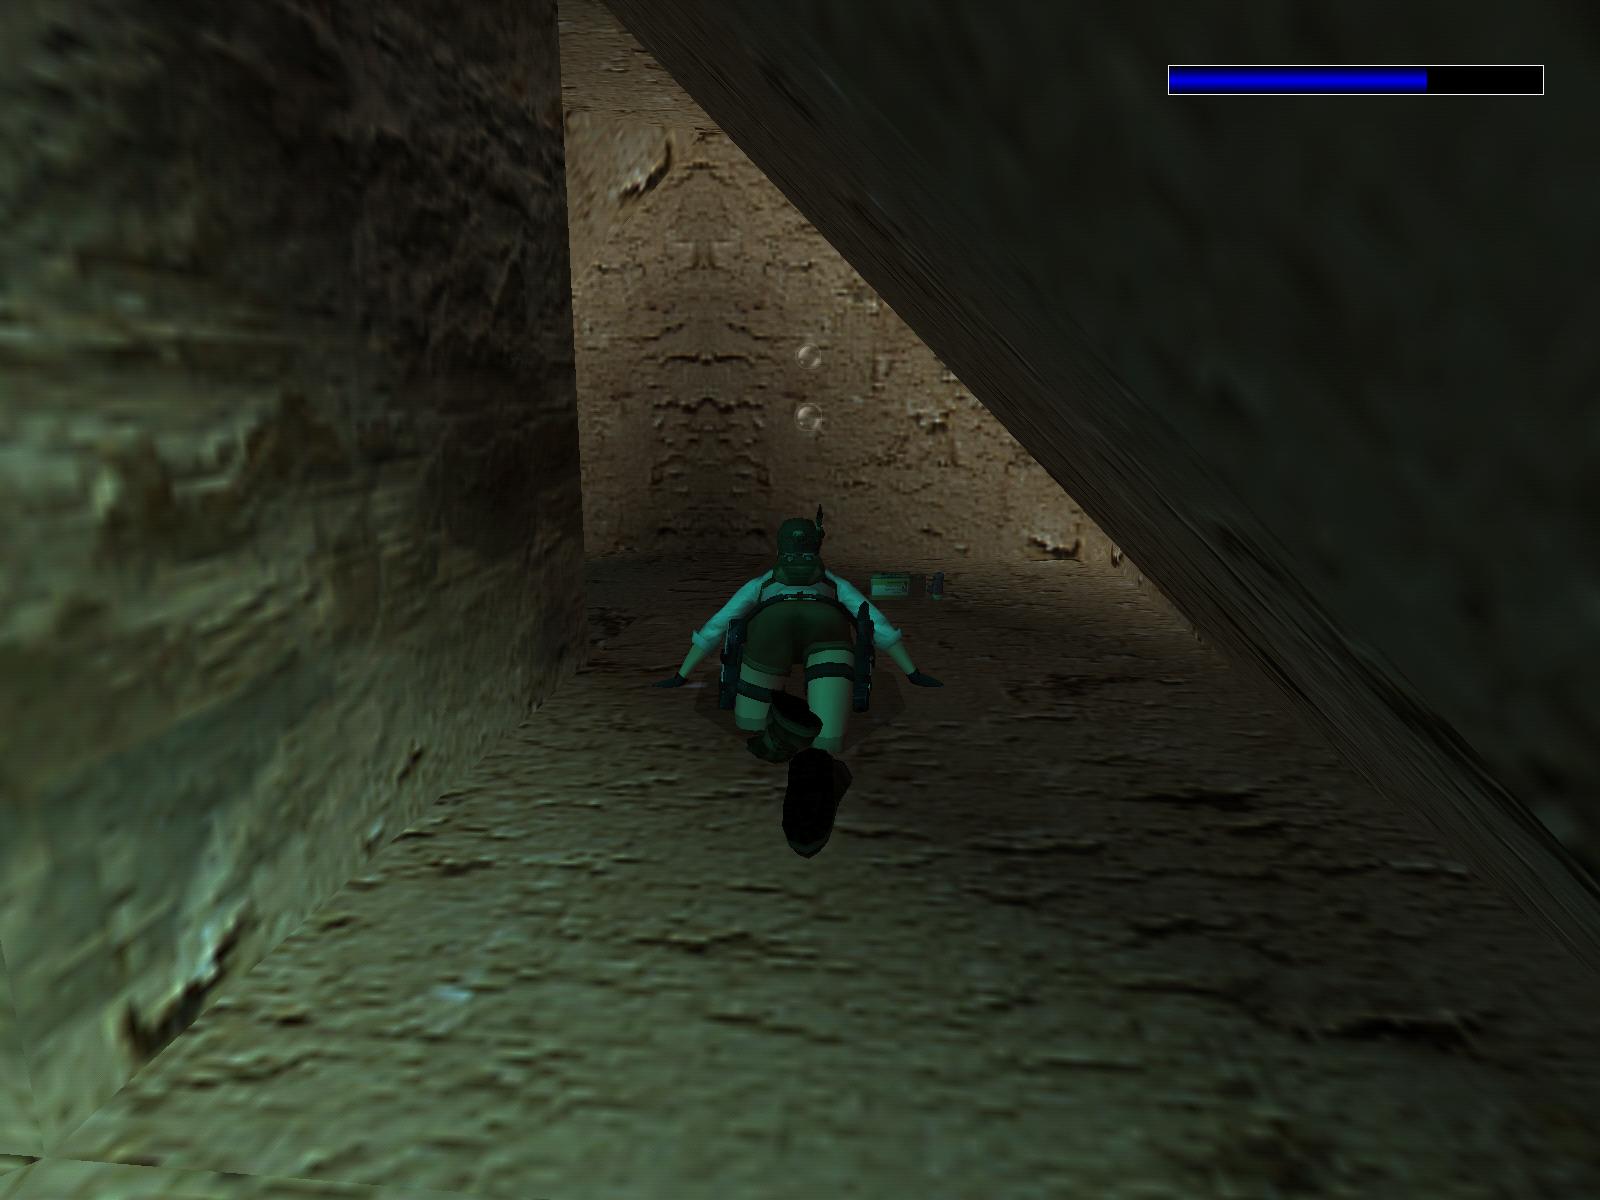
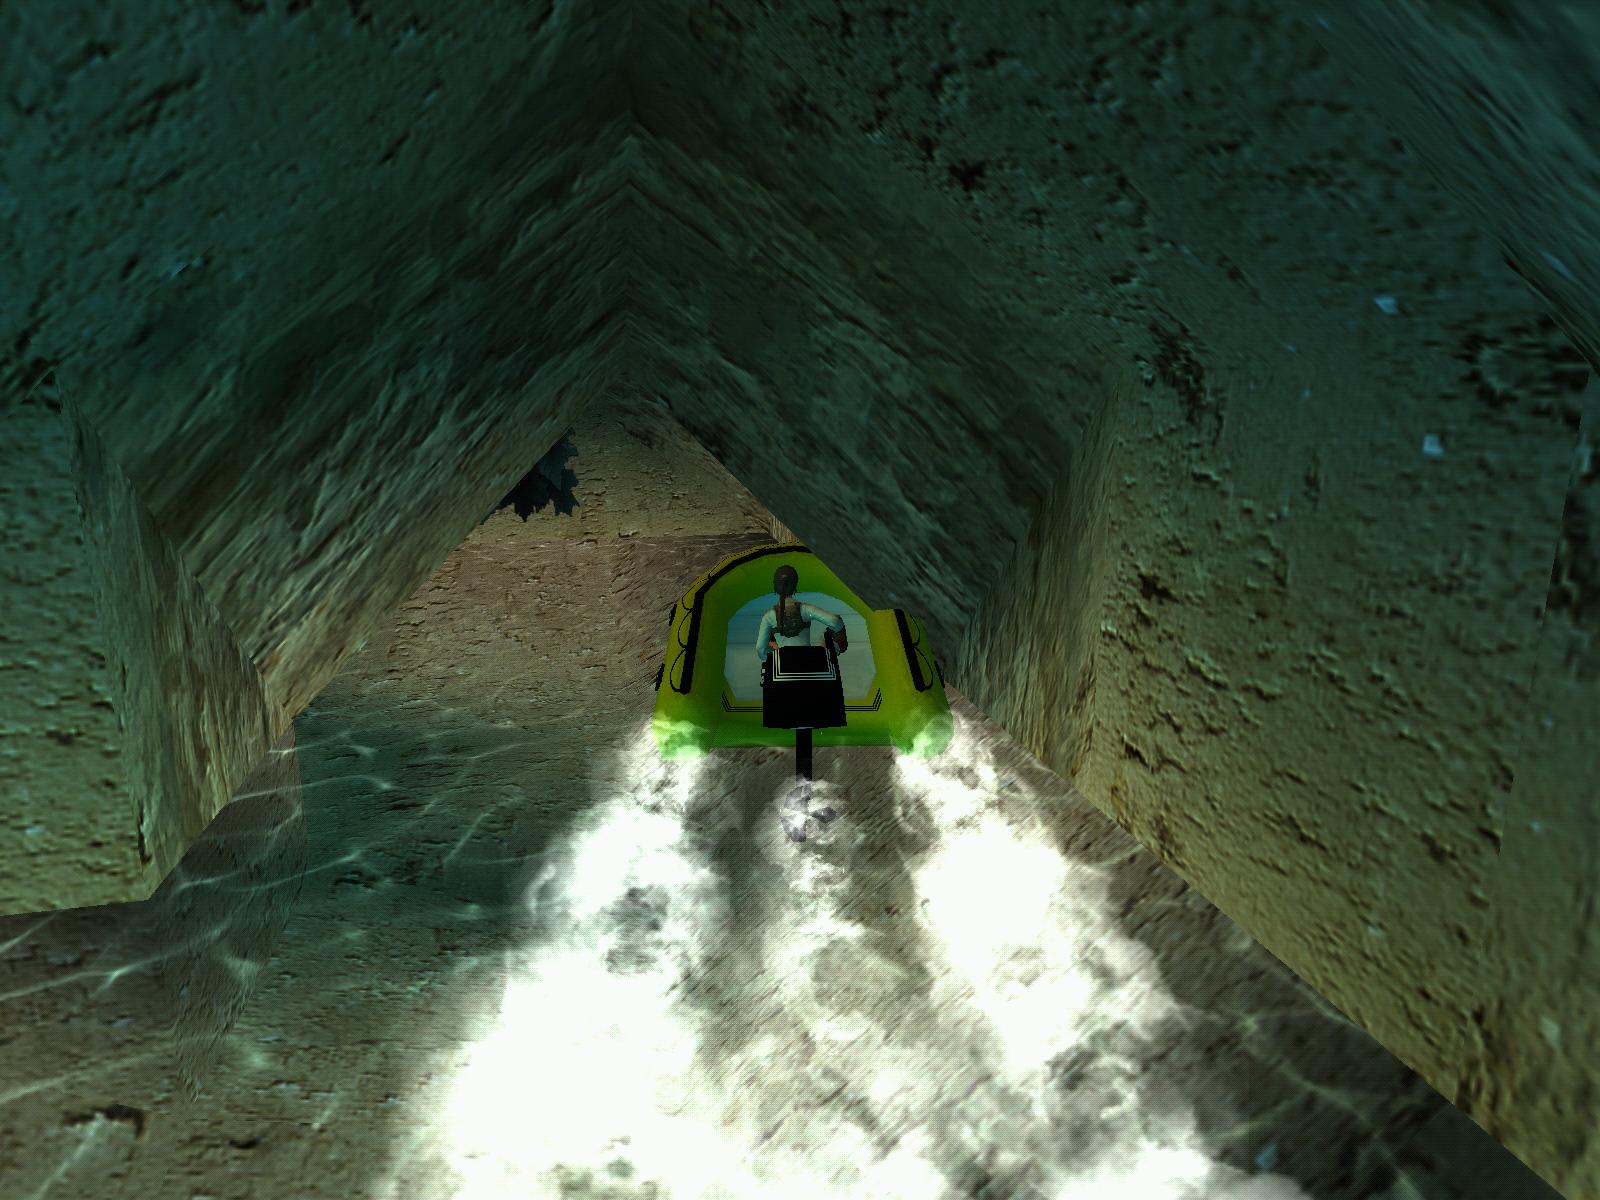
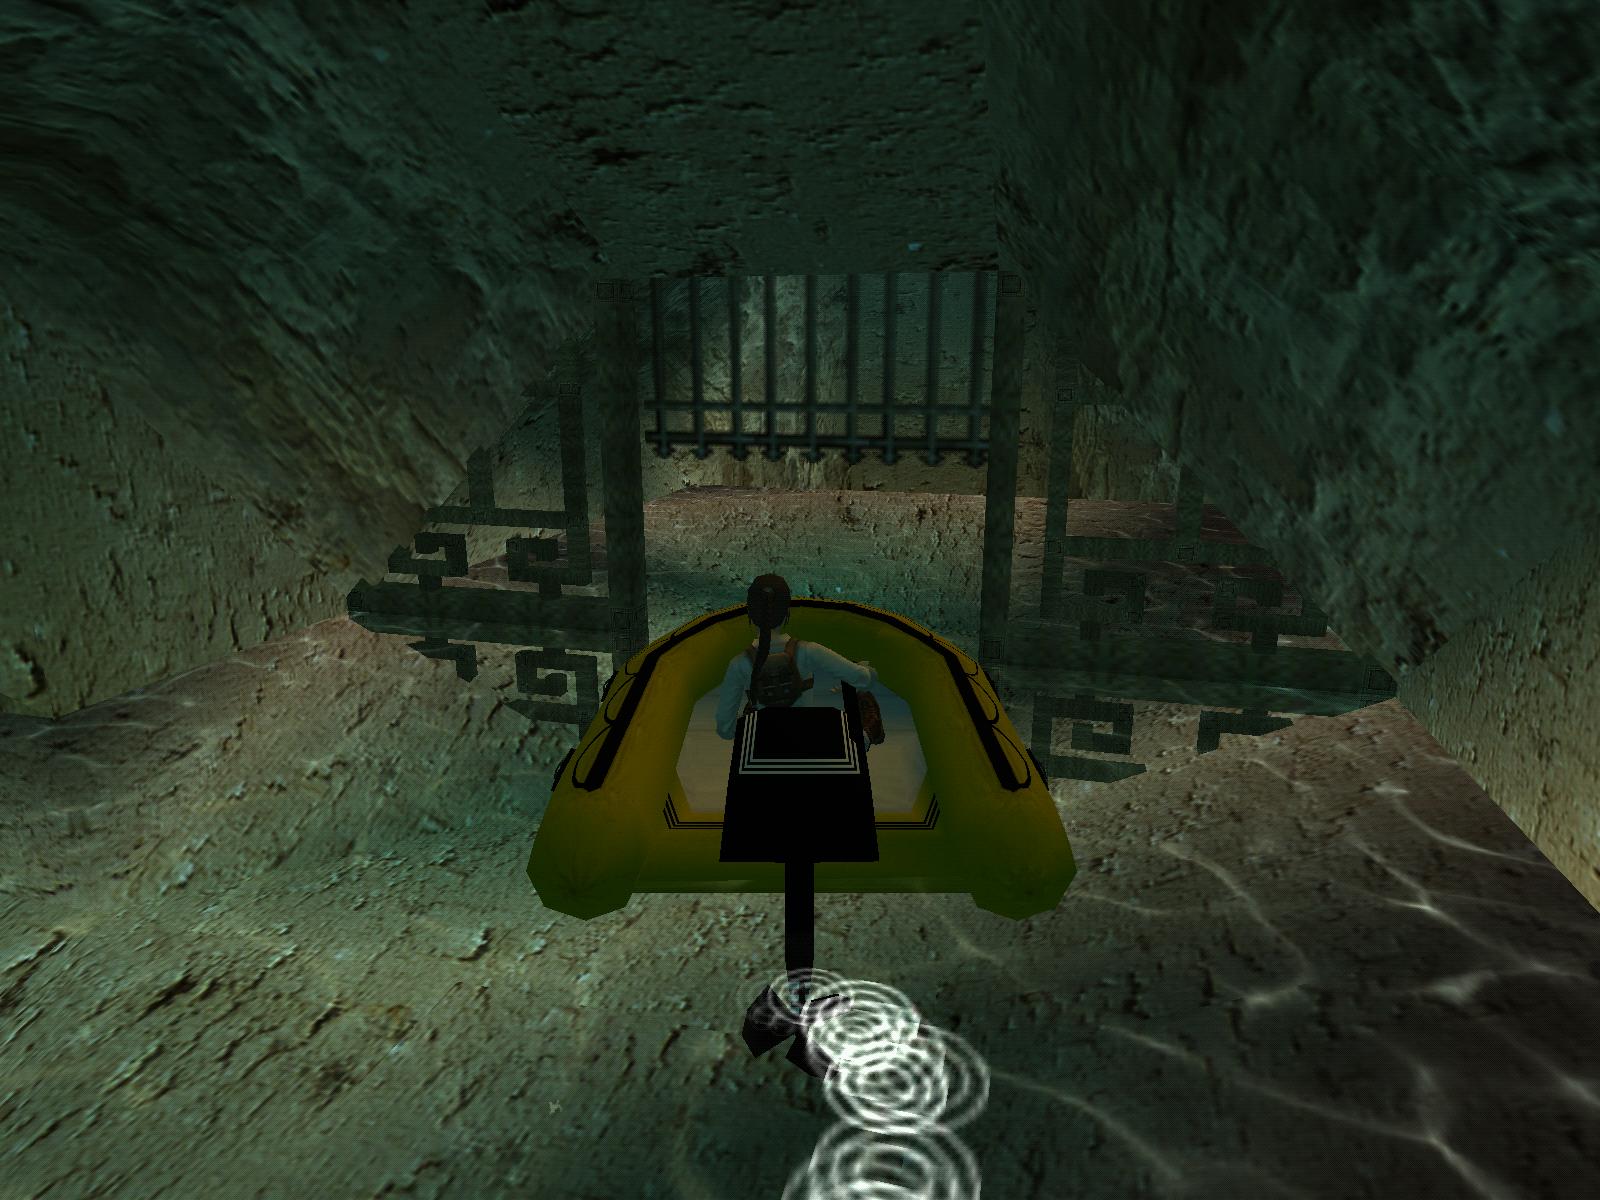
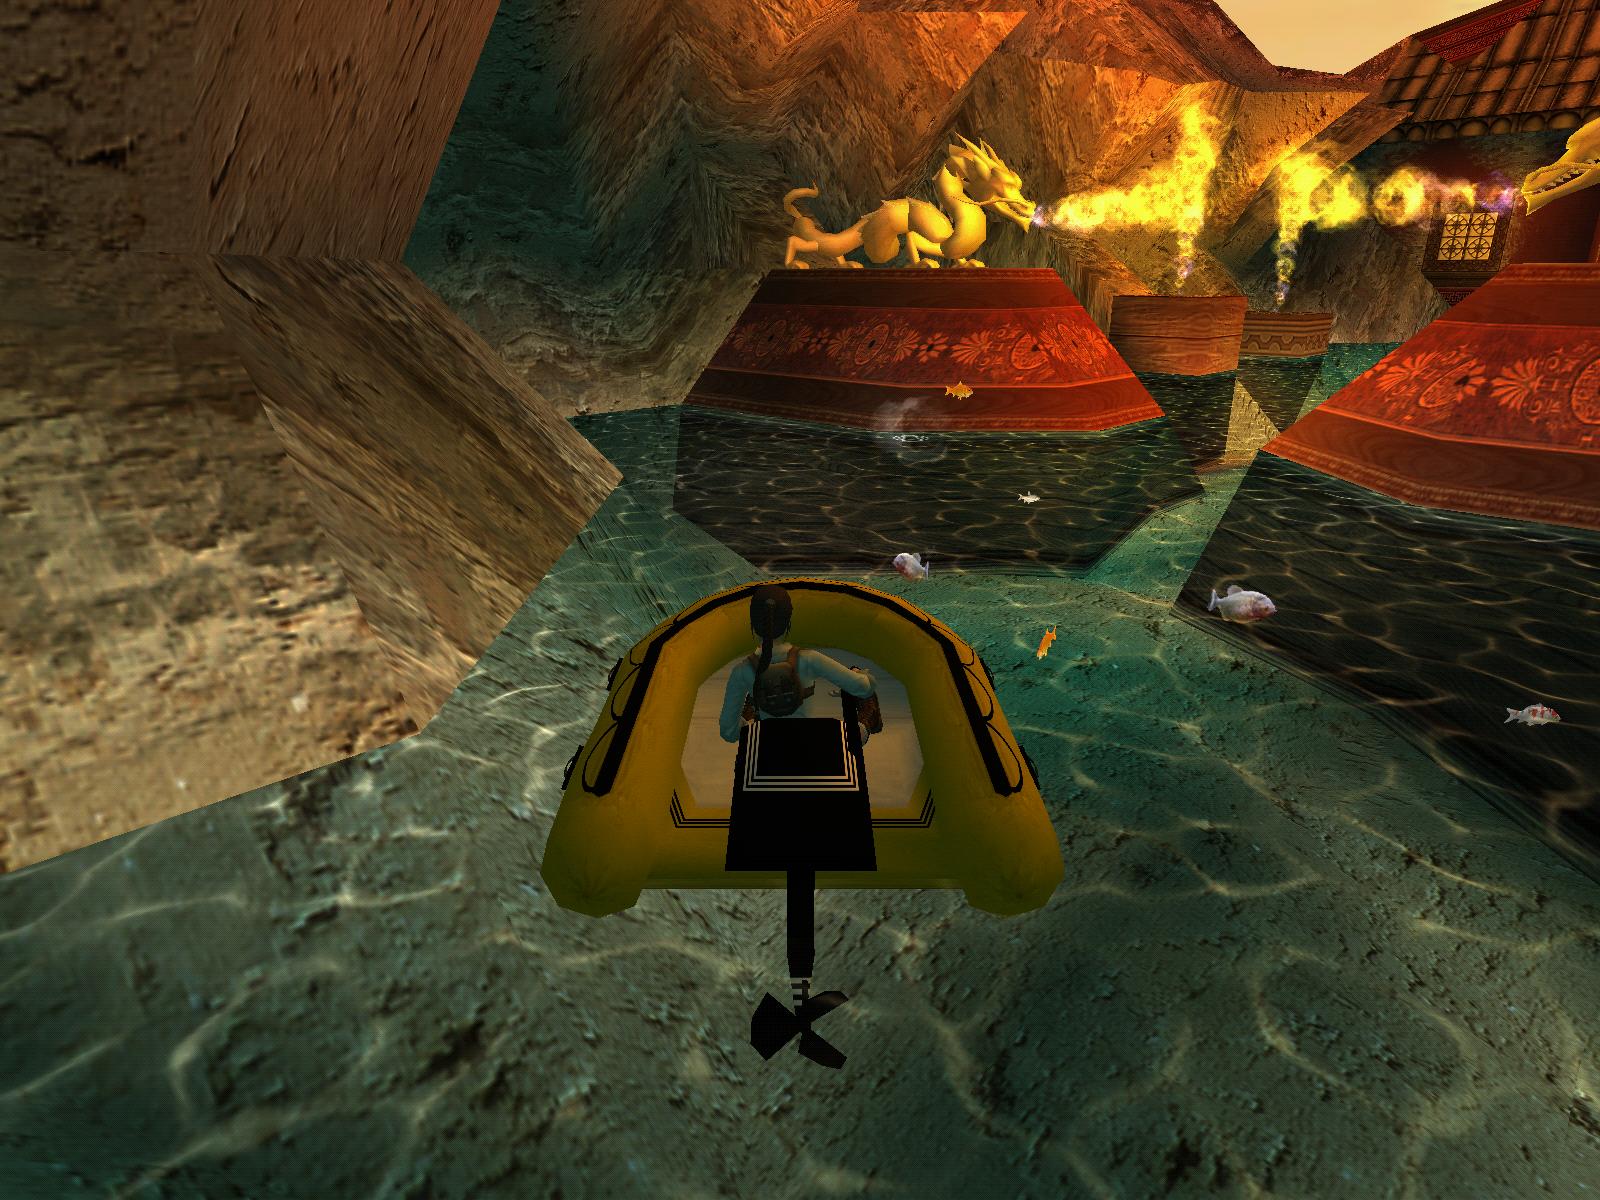
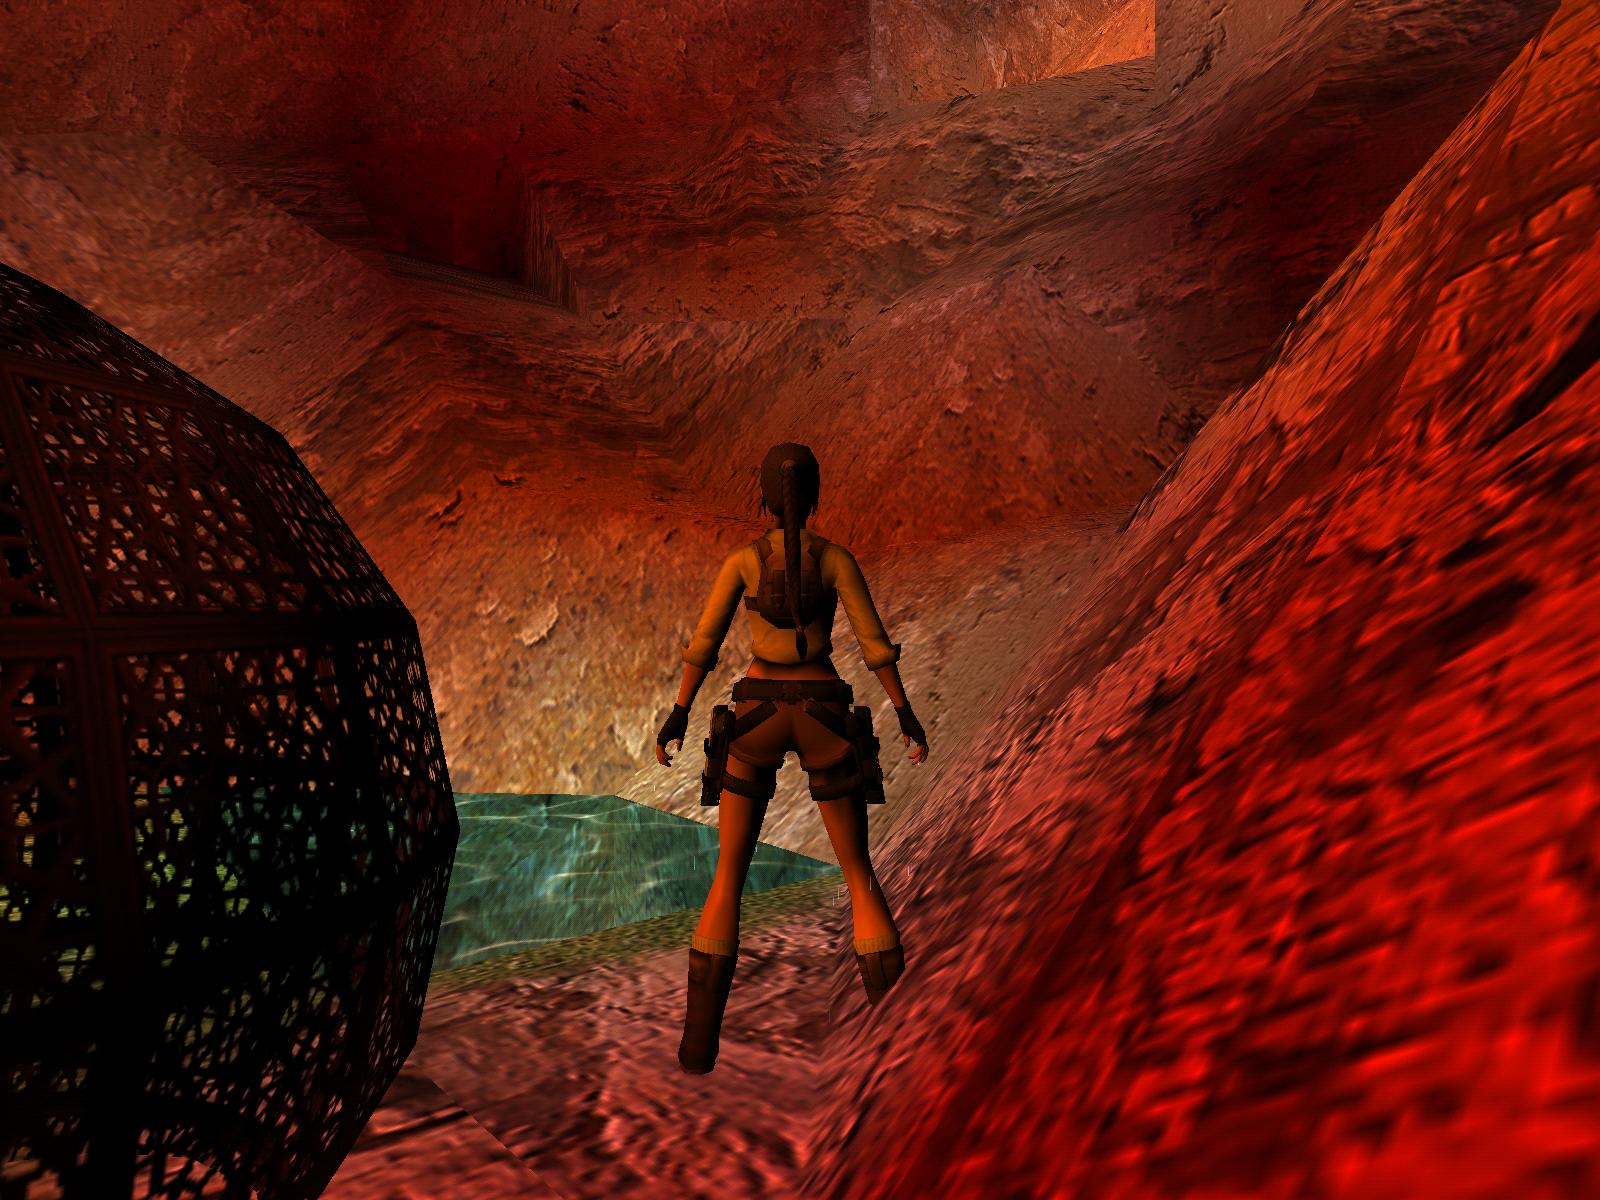
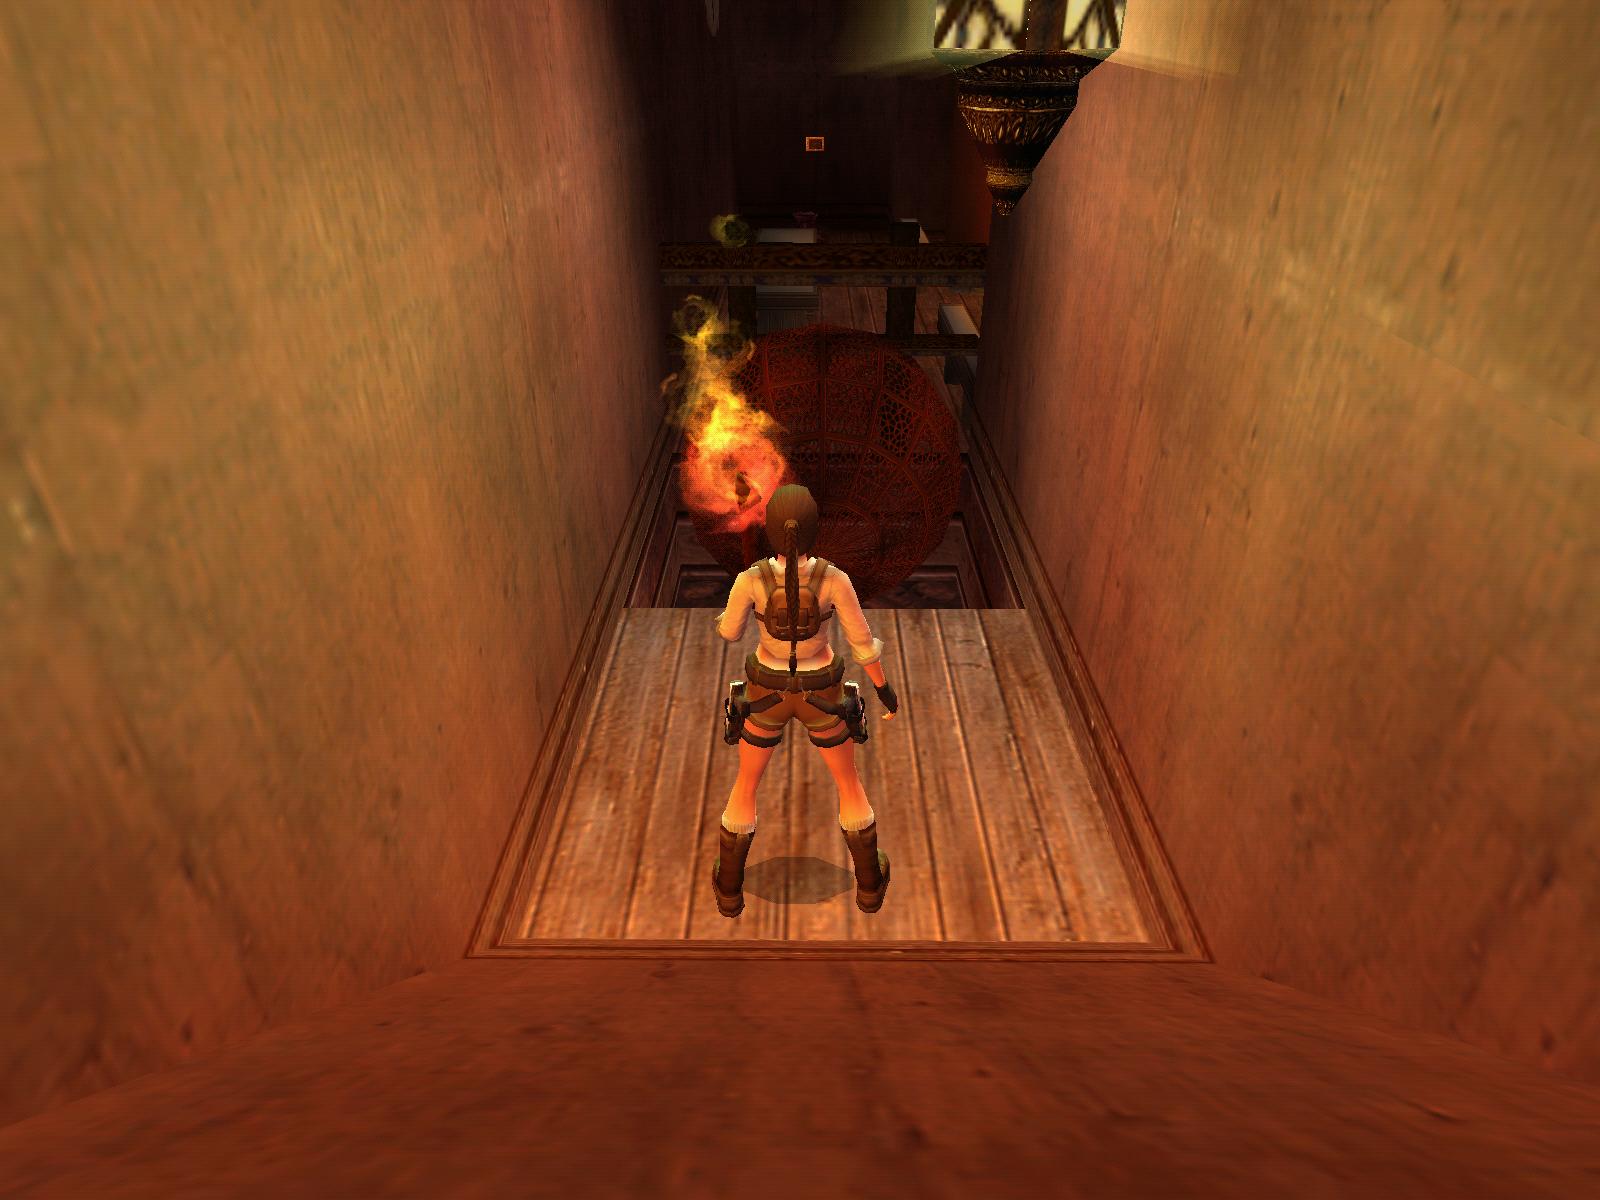
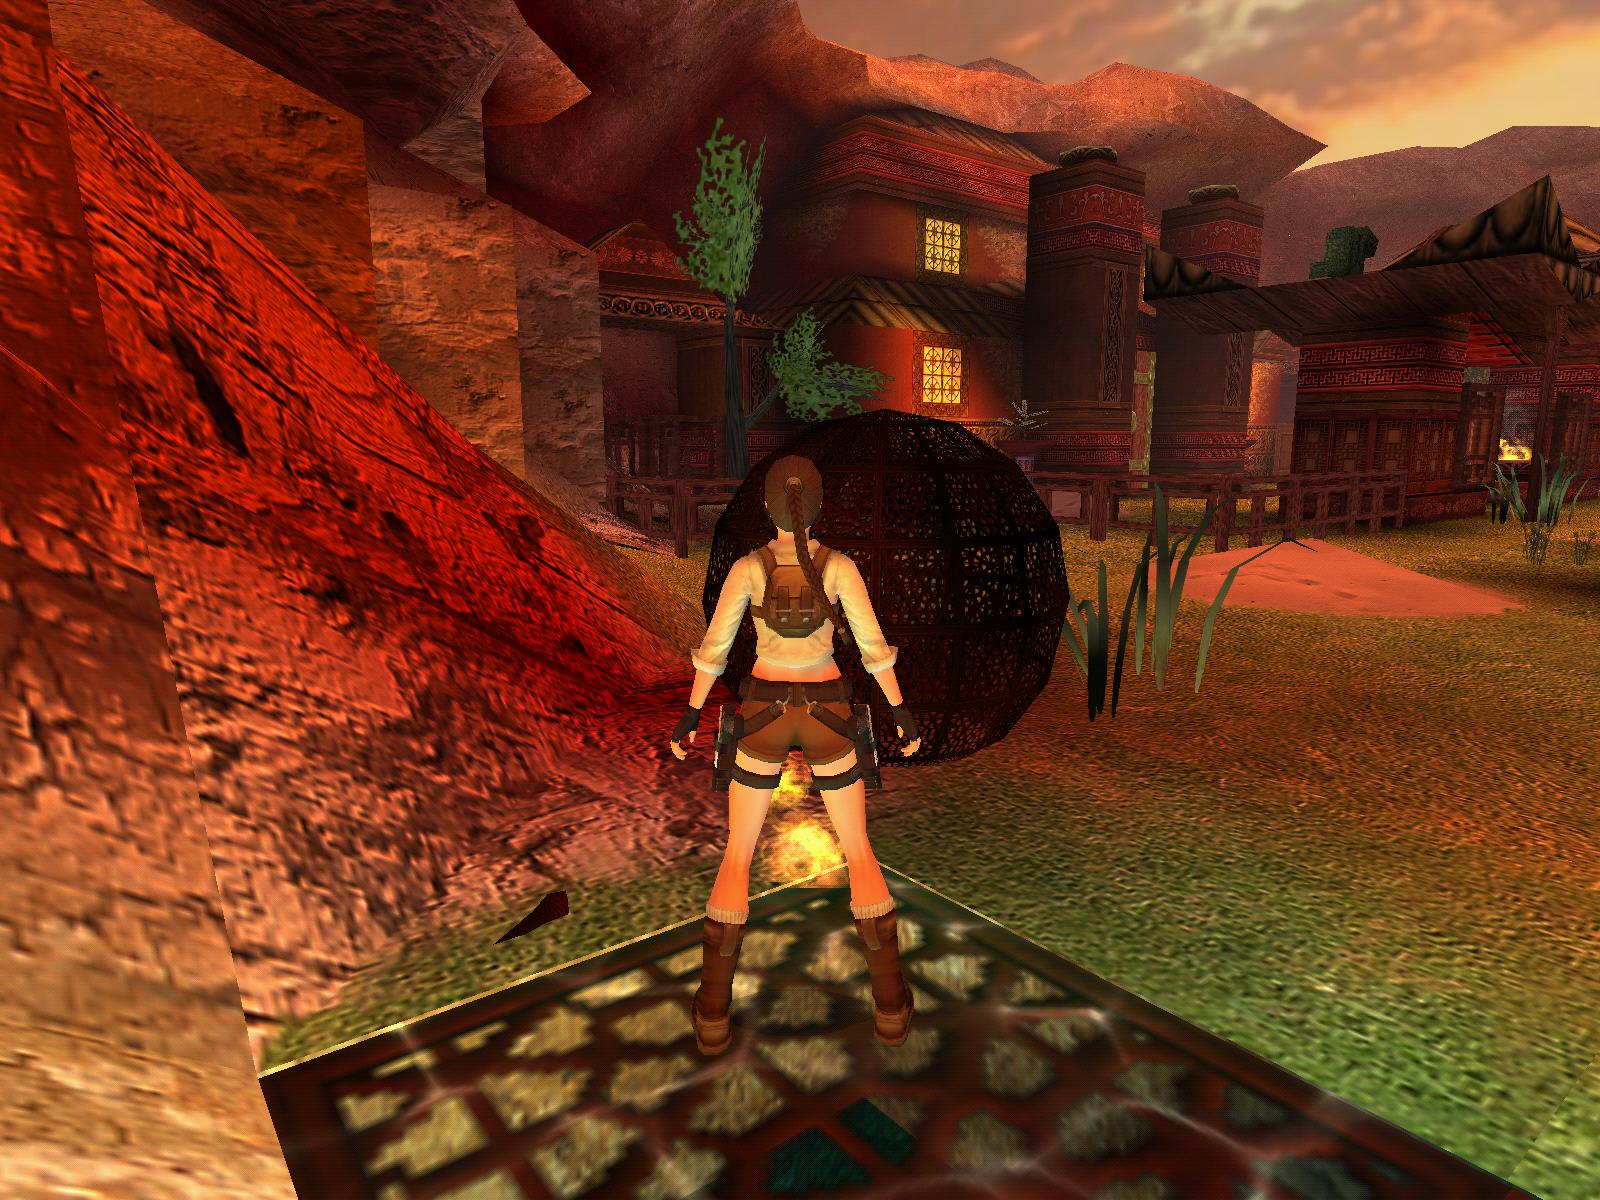
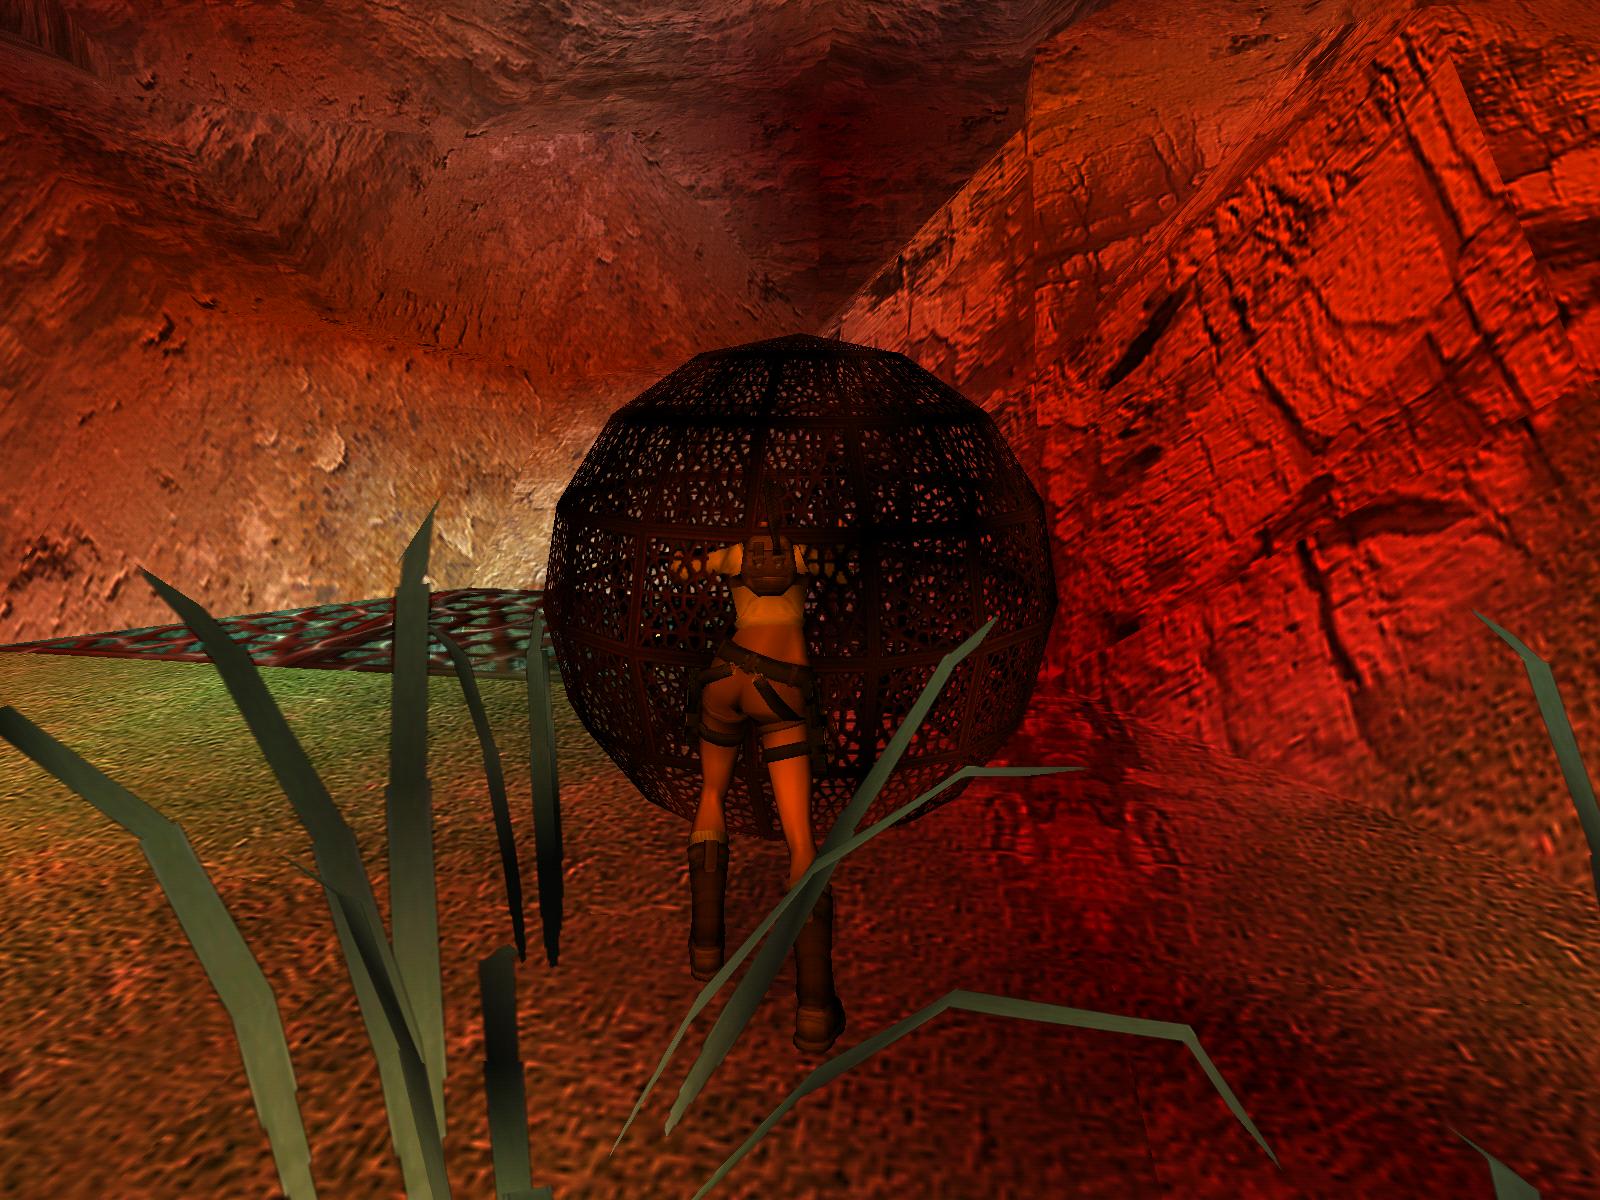
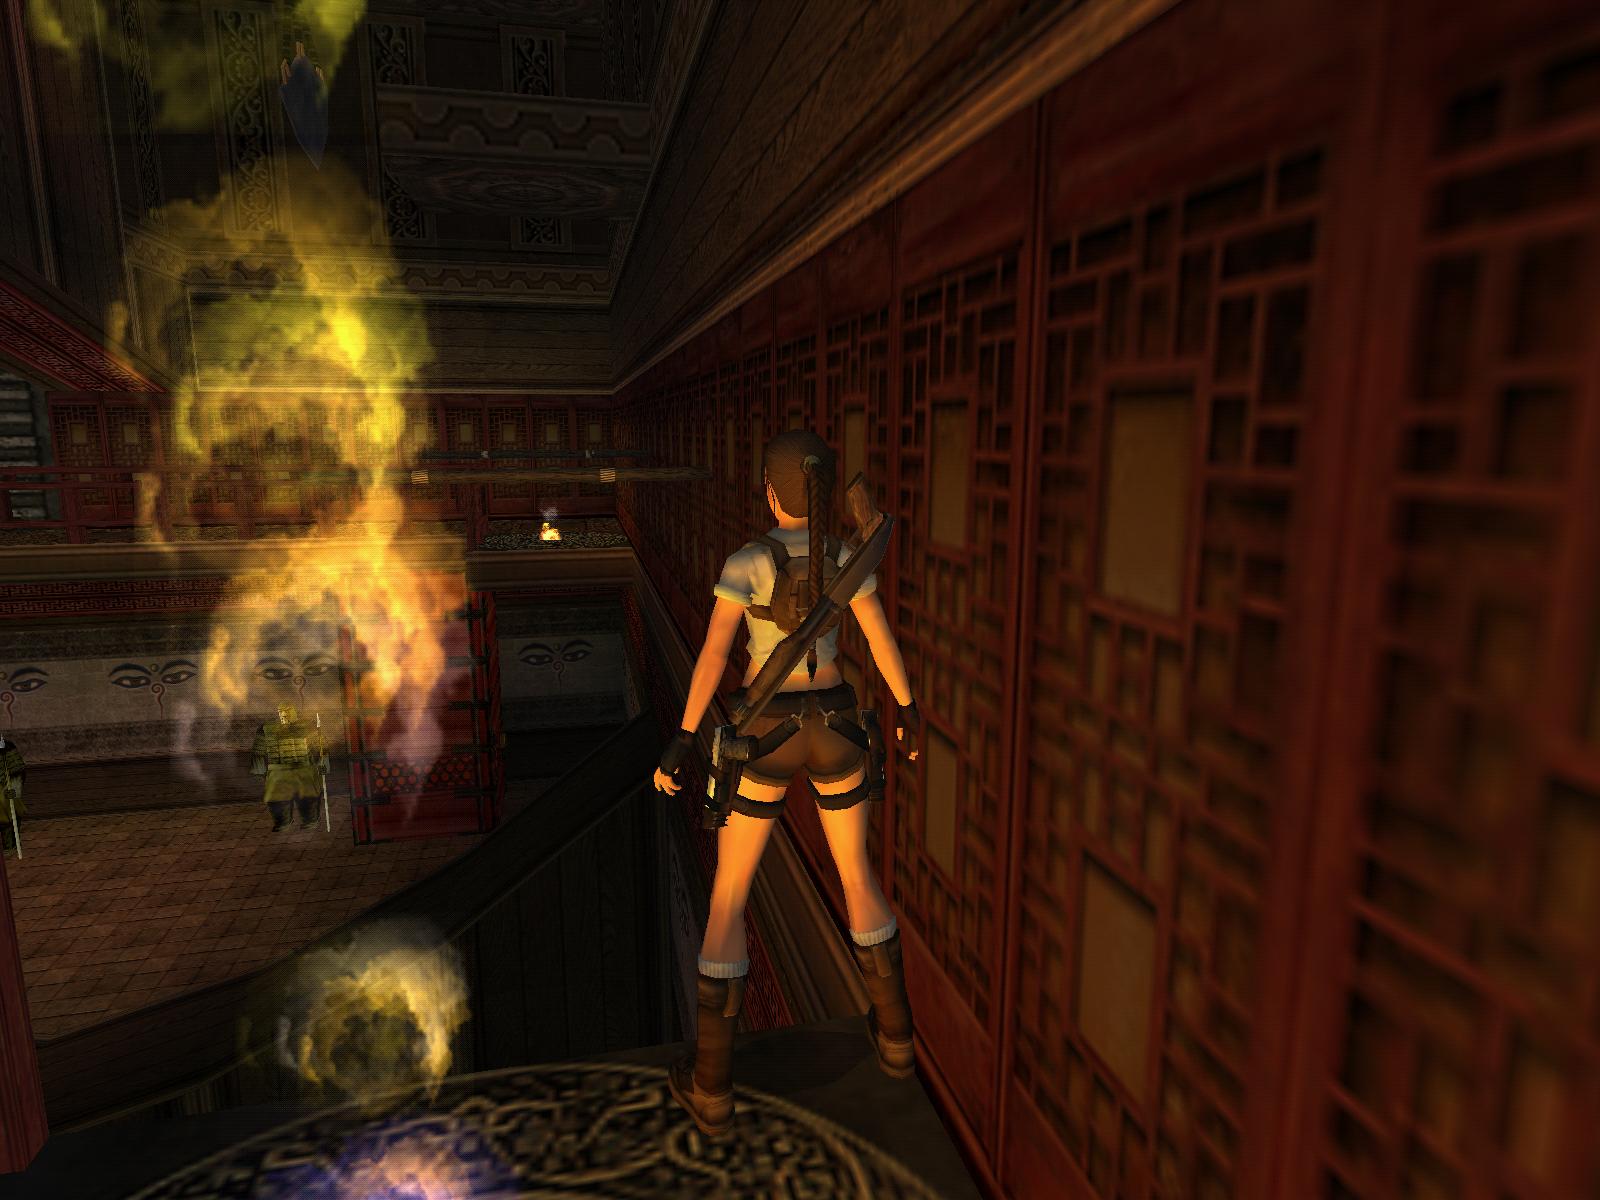
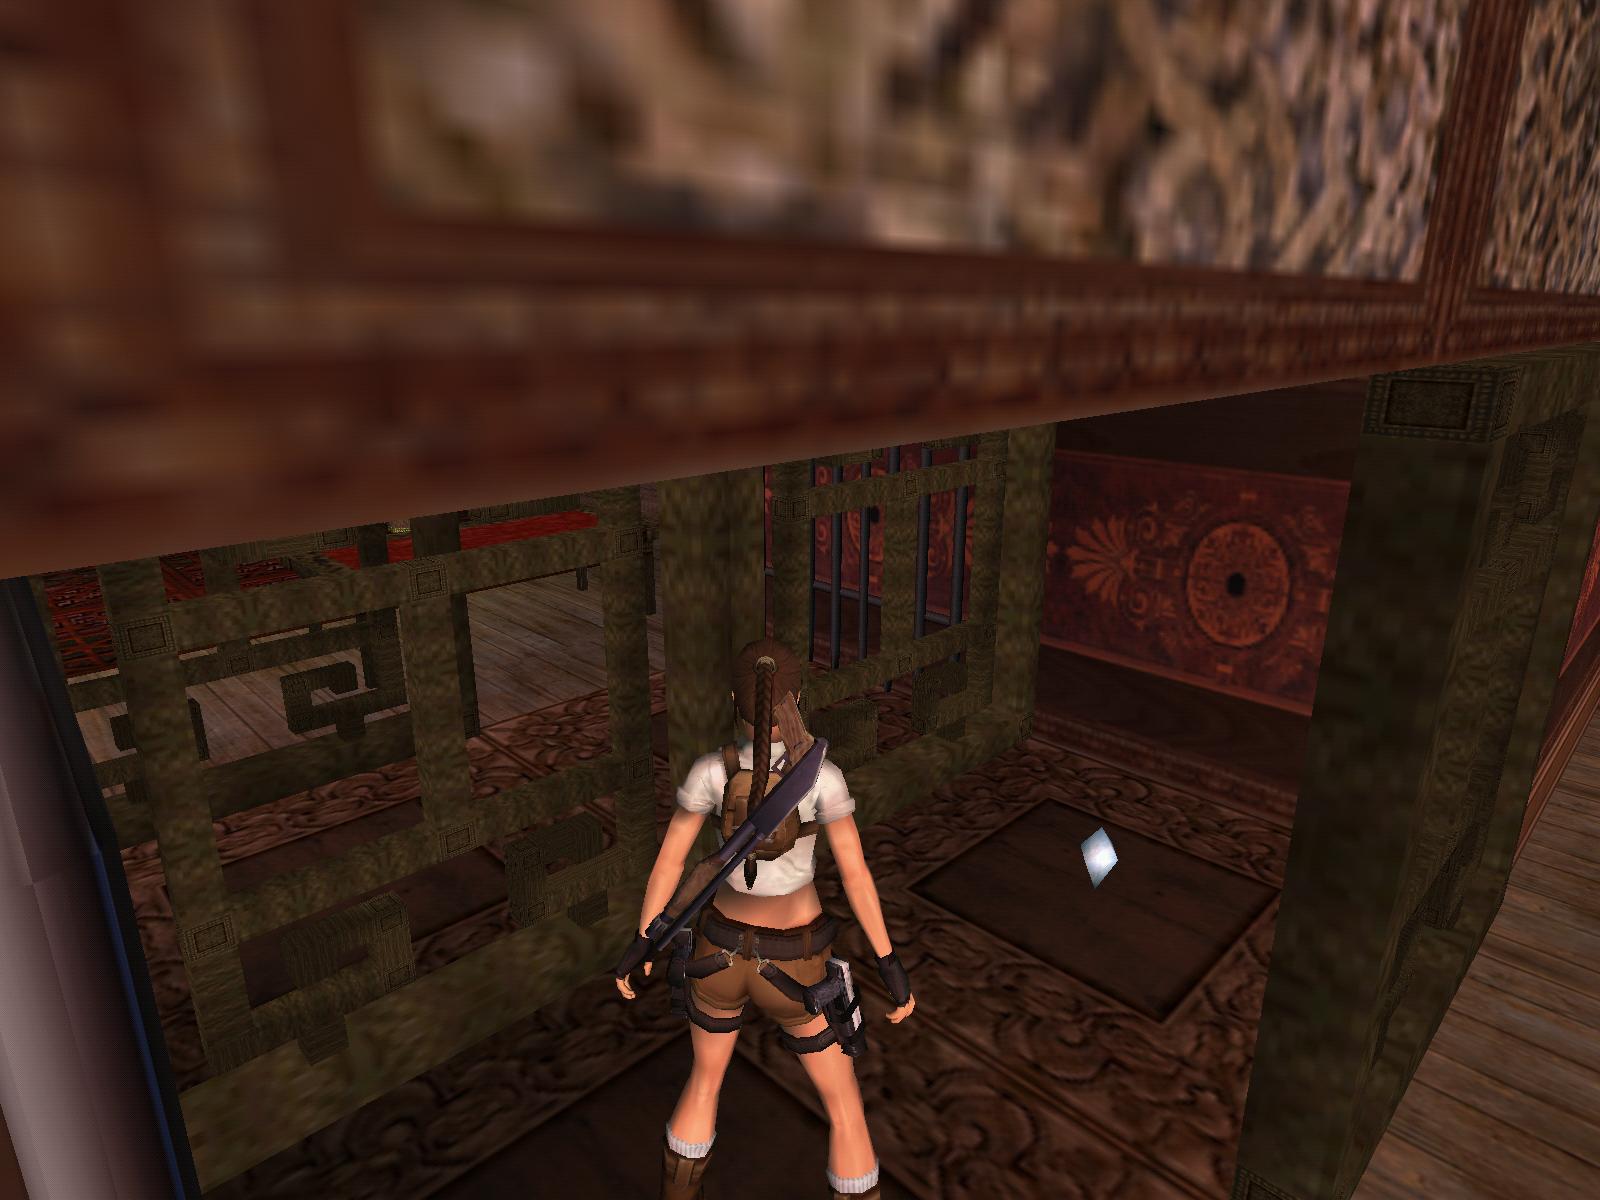
Boat Ride
Look at the trapdoor above you when you slide down the left ramp, a boulder
will get out of this trapdoor, so be careful and jump over the ramp and quickly
over the gap. You will hear a noise that sounds not really good for the soldier
you saw earlier. Climb back up the ledges around the ramp, and get to the
open trapdoor. Climb in and find the Silver
Secret and Shotgun Ammo. Get back down the ramp and into the next
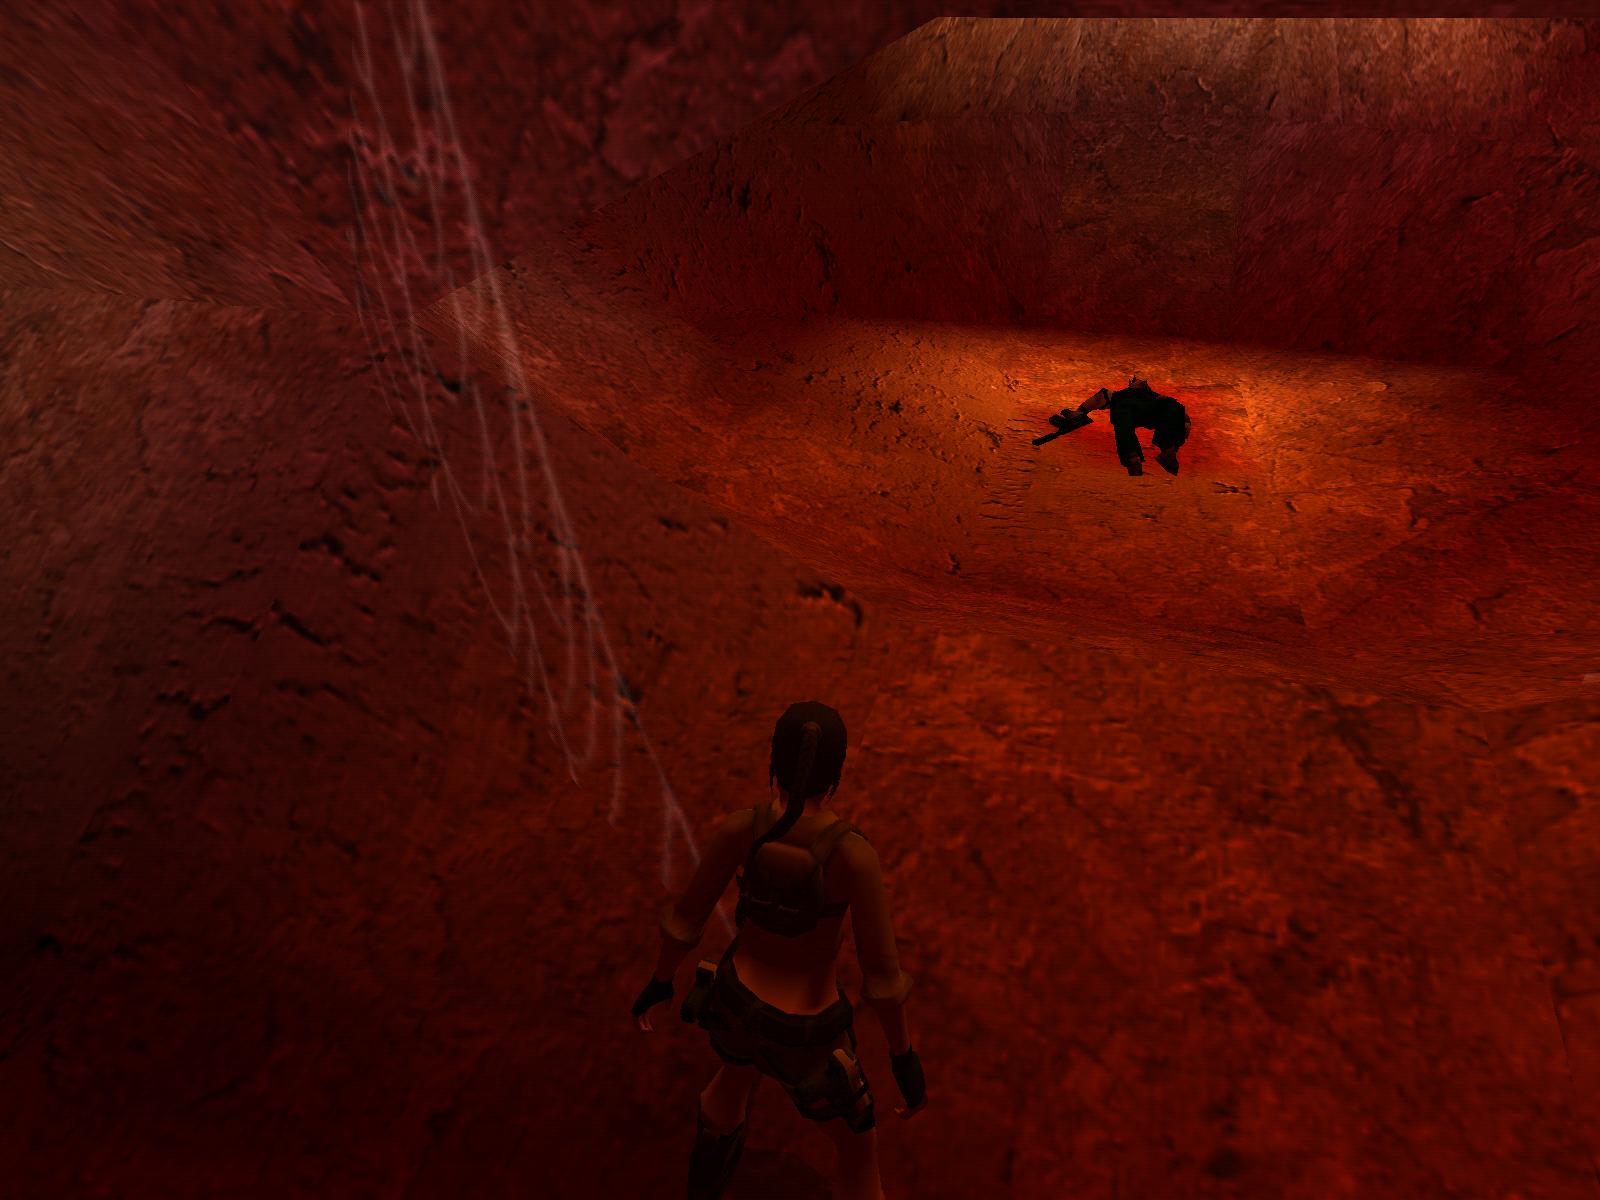
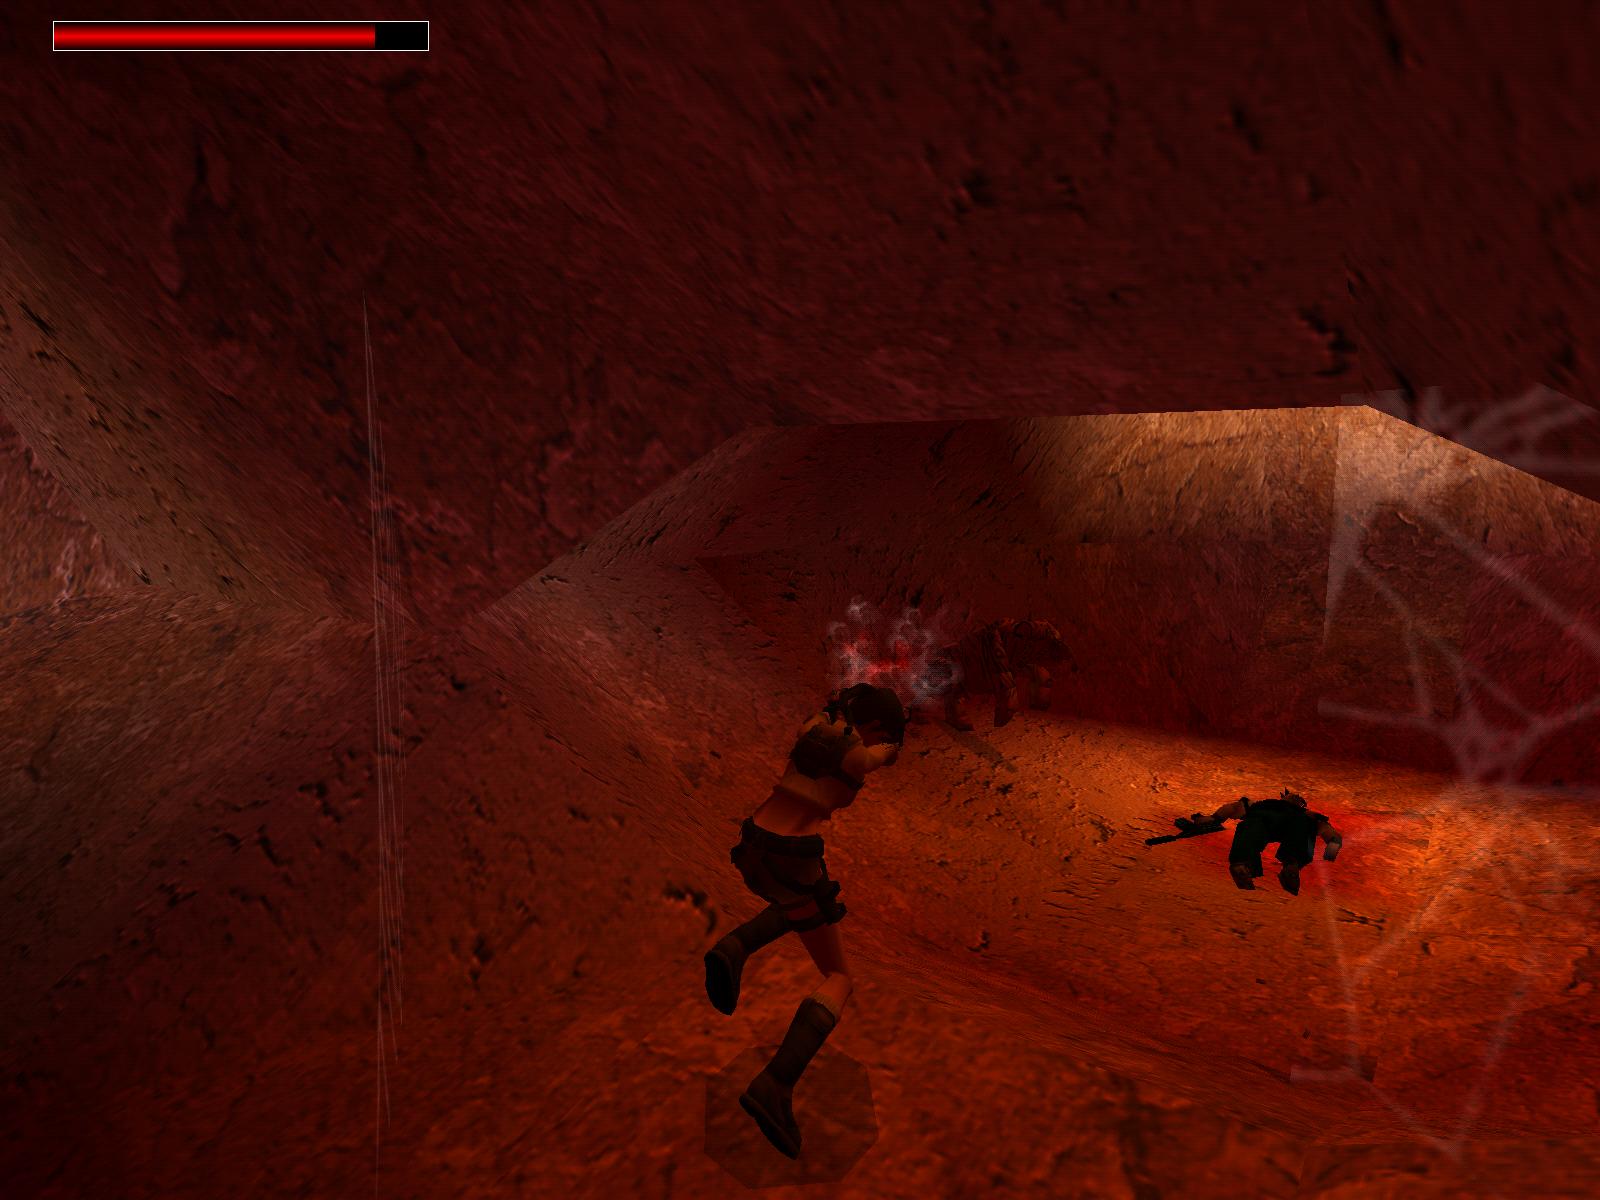
room to find the body of the soldier. Kill the tiger and pull the soldier
away to get the Dead Mans Key. Run through the new passage and arrive in
a room. A door opens and another soldier comes out. Kill him and go into the
N passage. Pull the block once and run back to the last room.
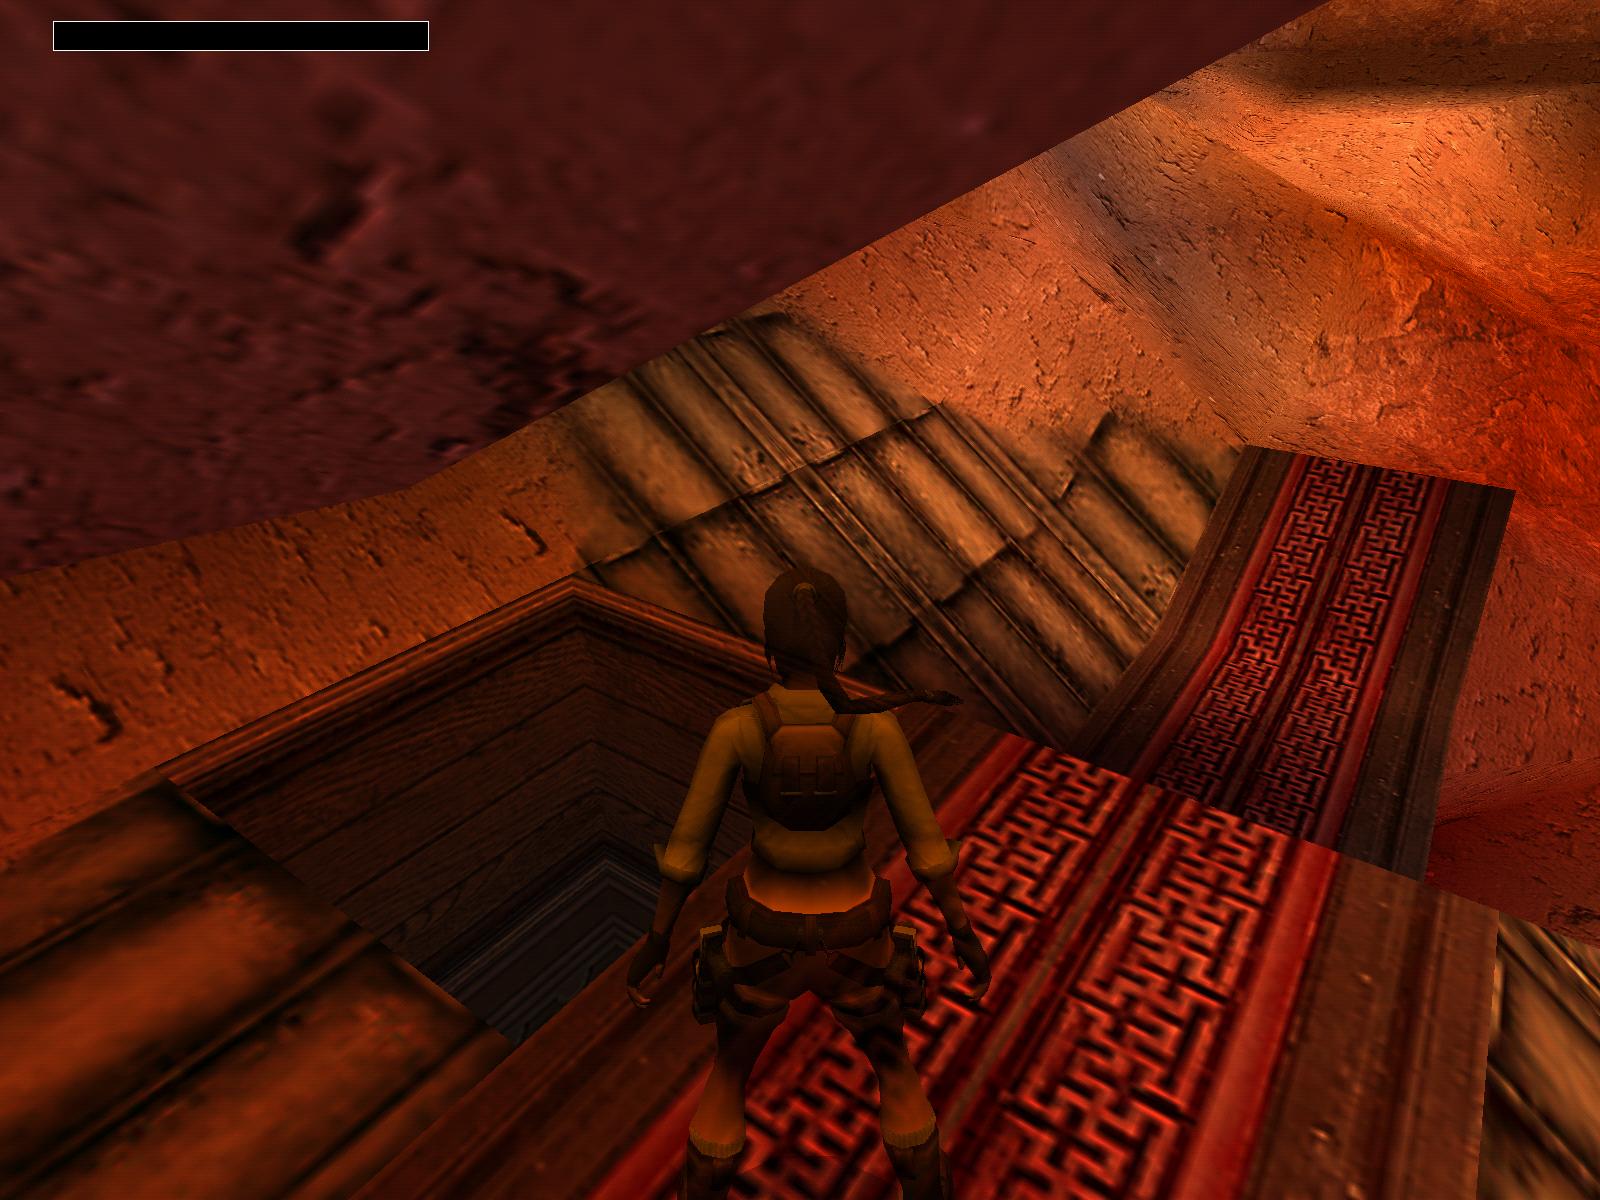
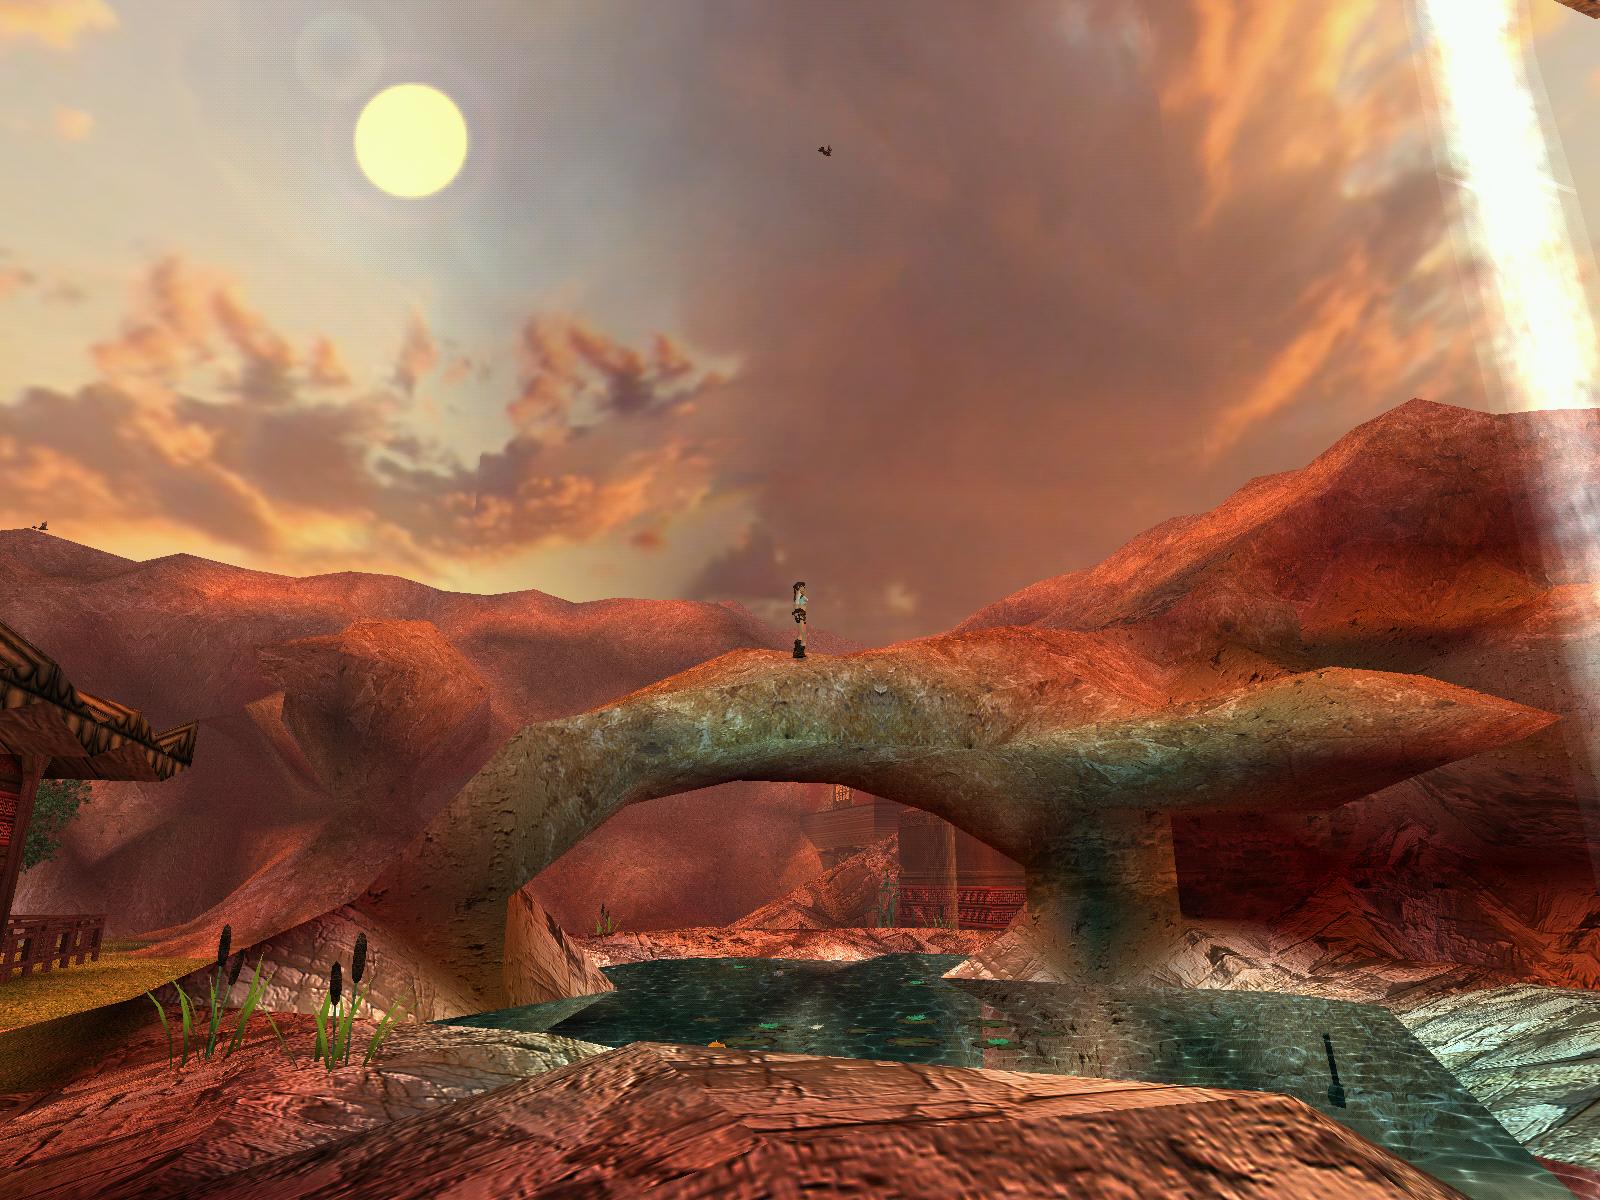
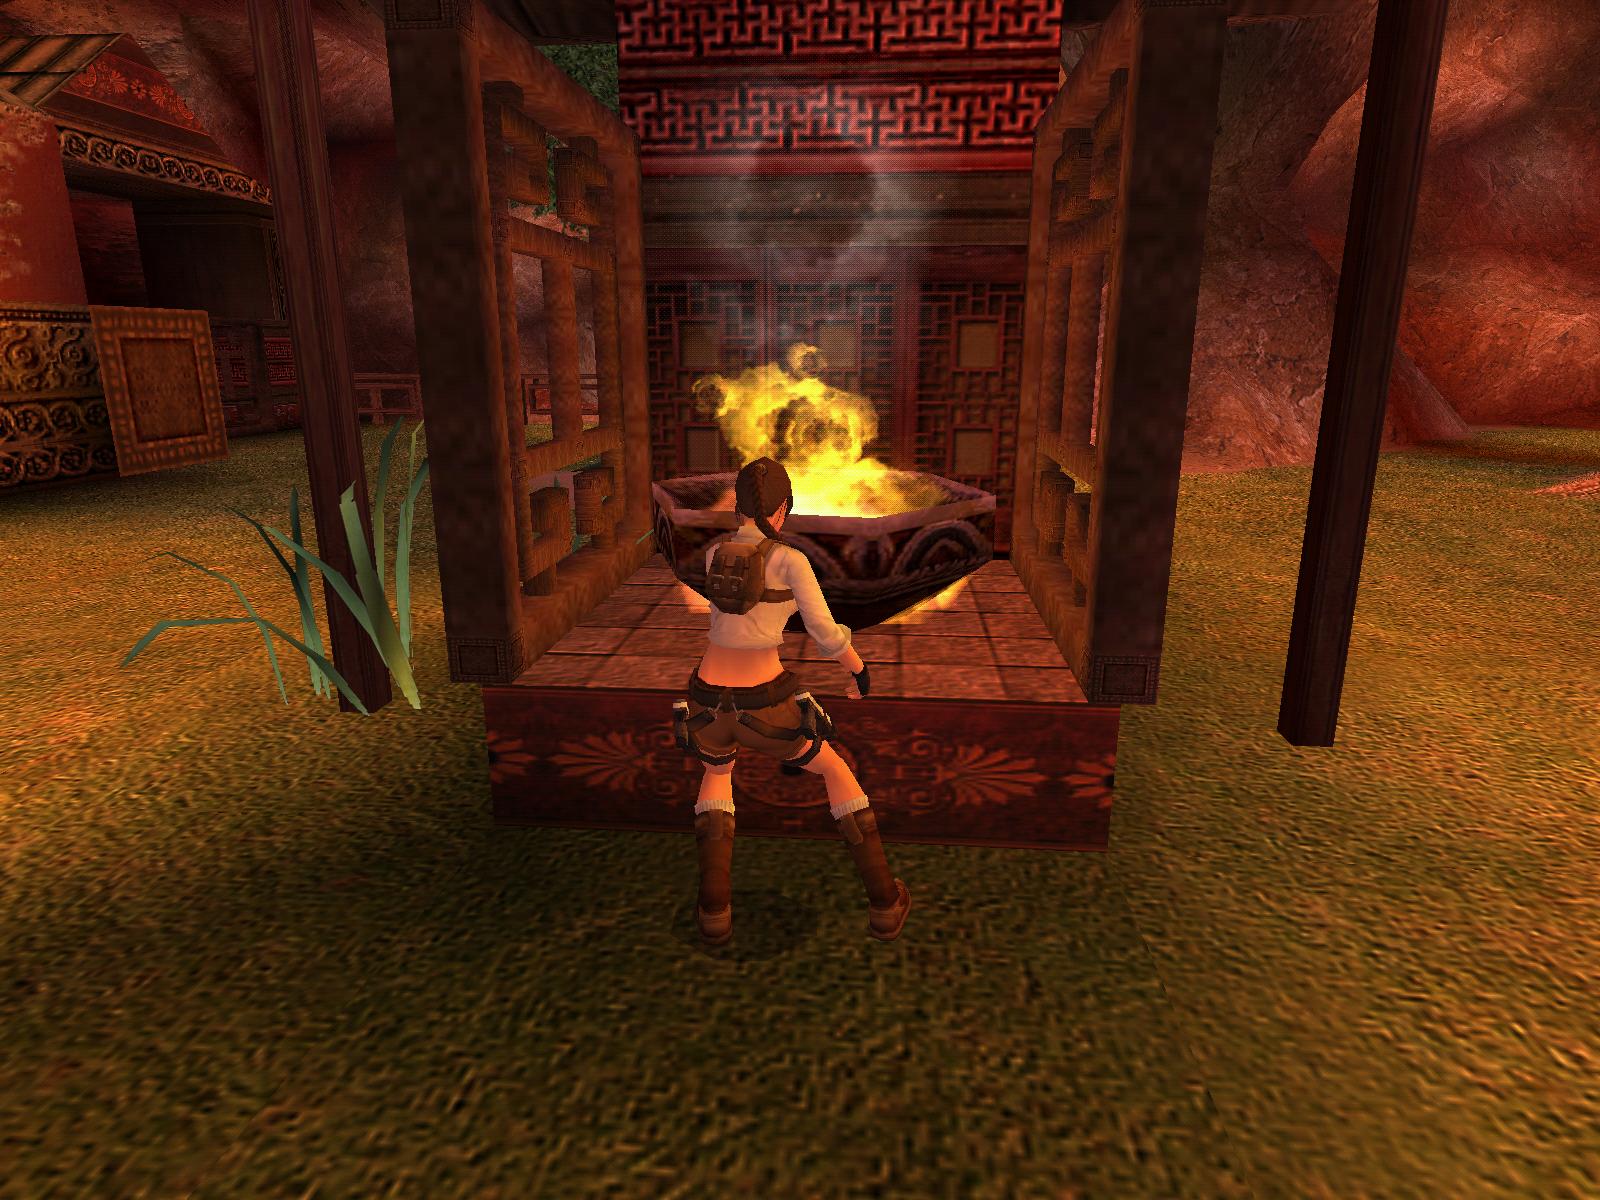
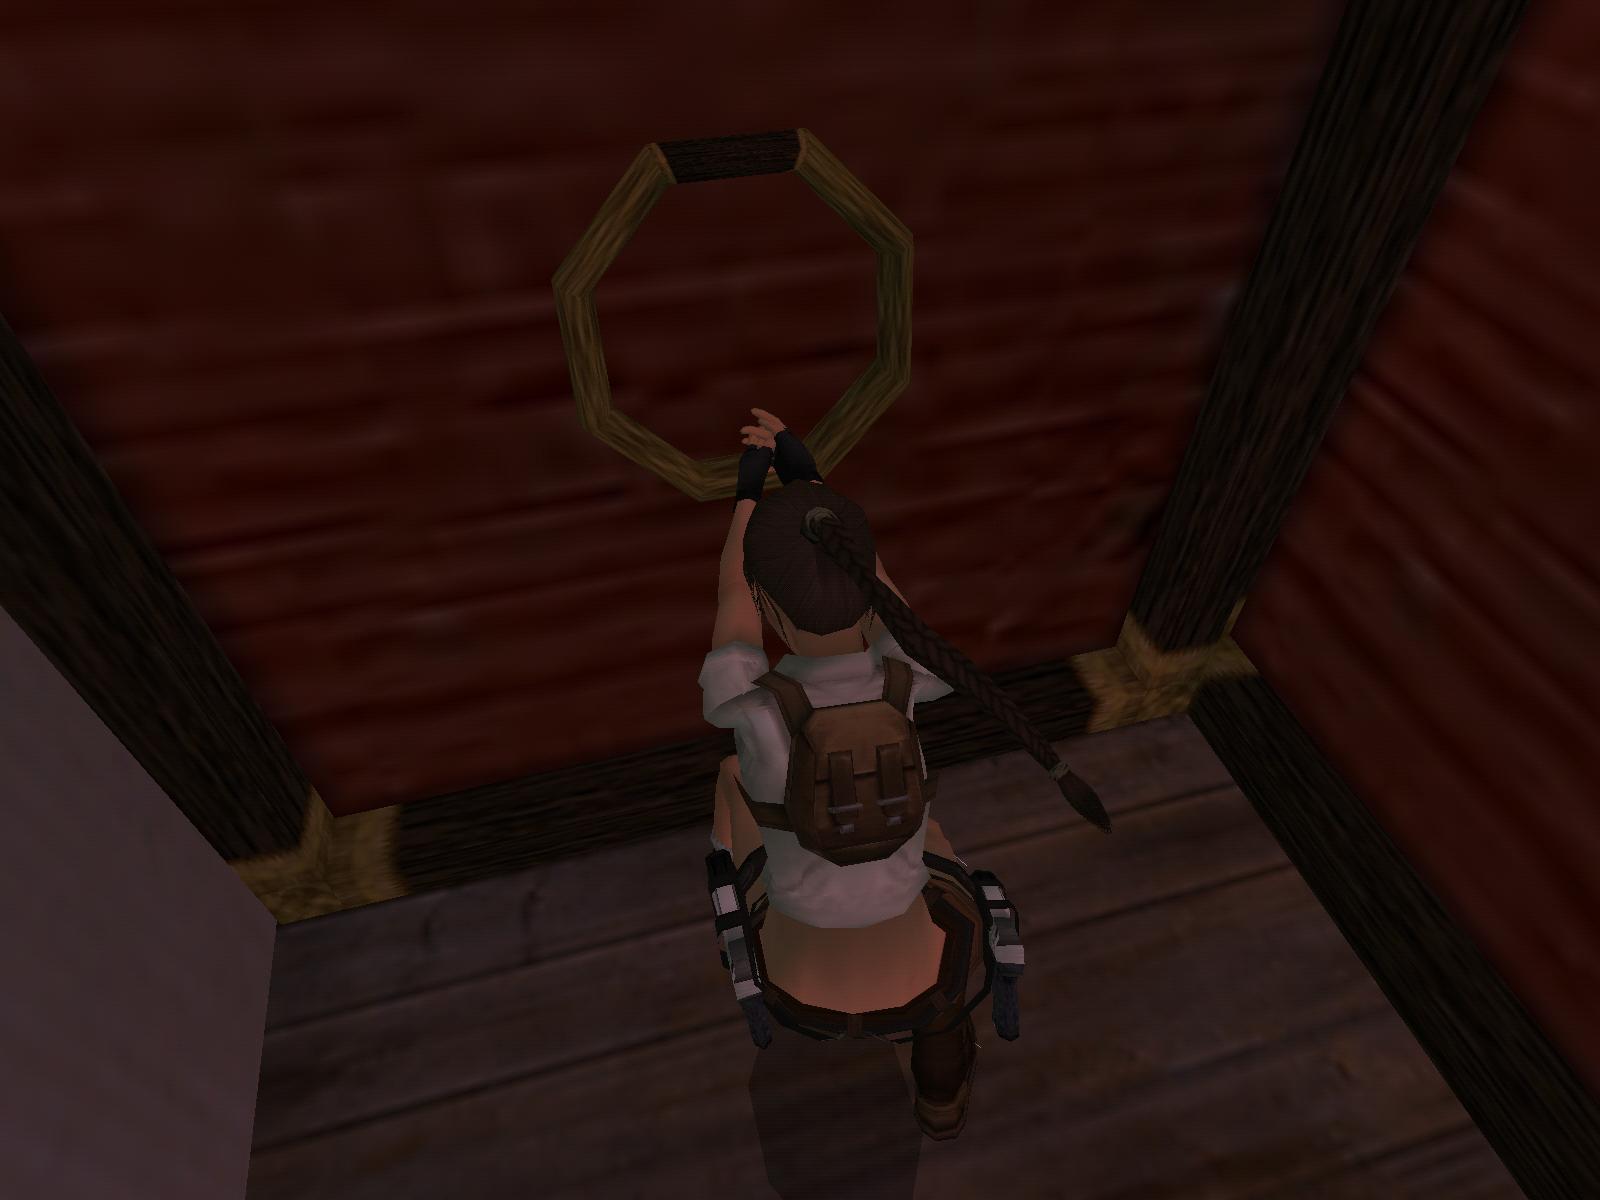
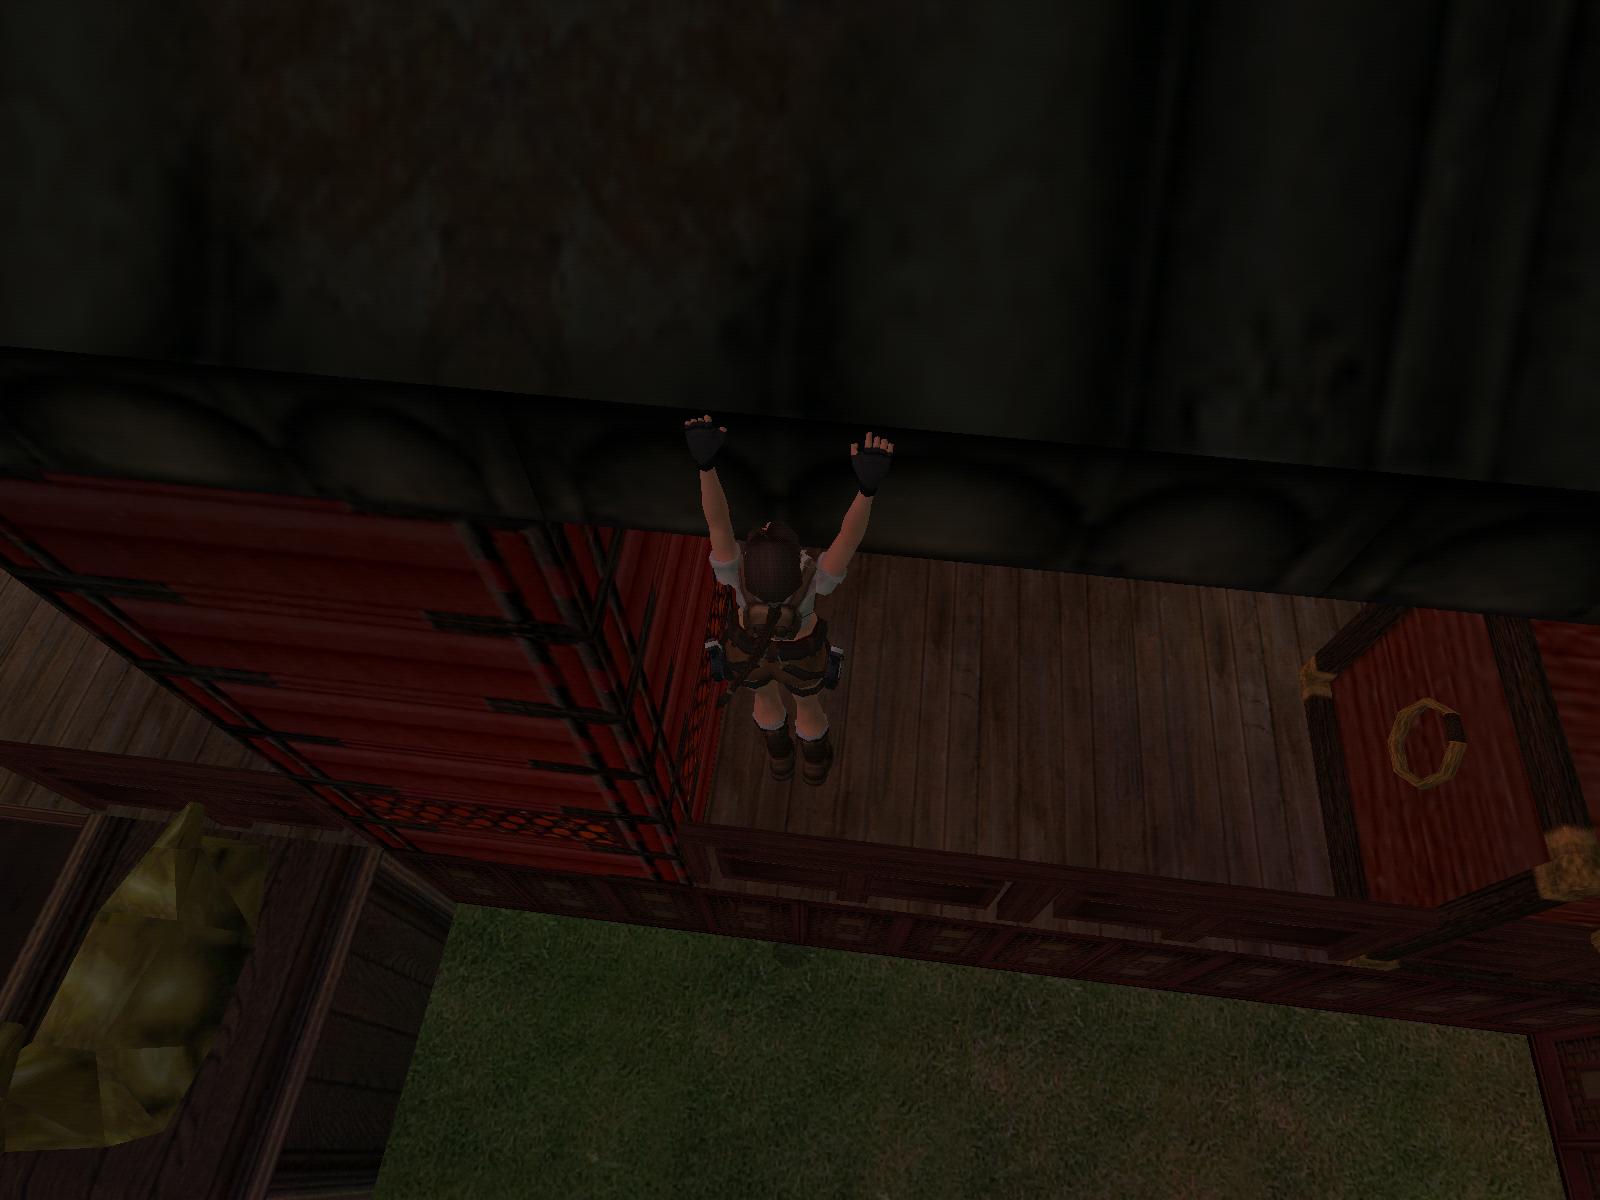
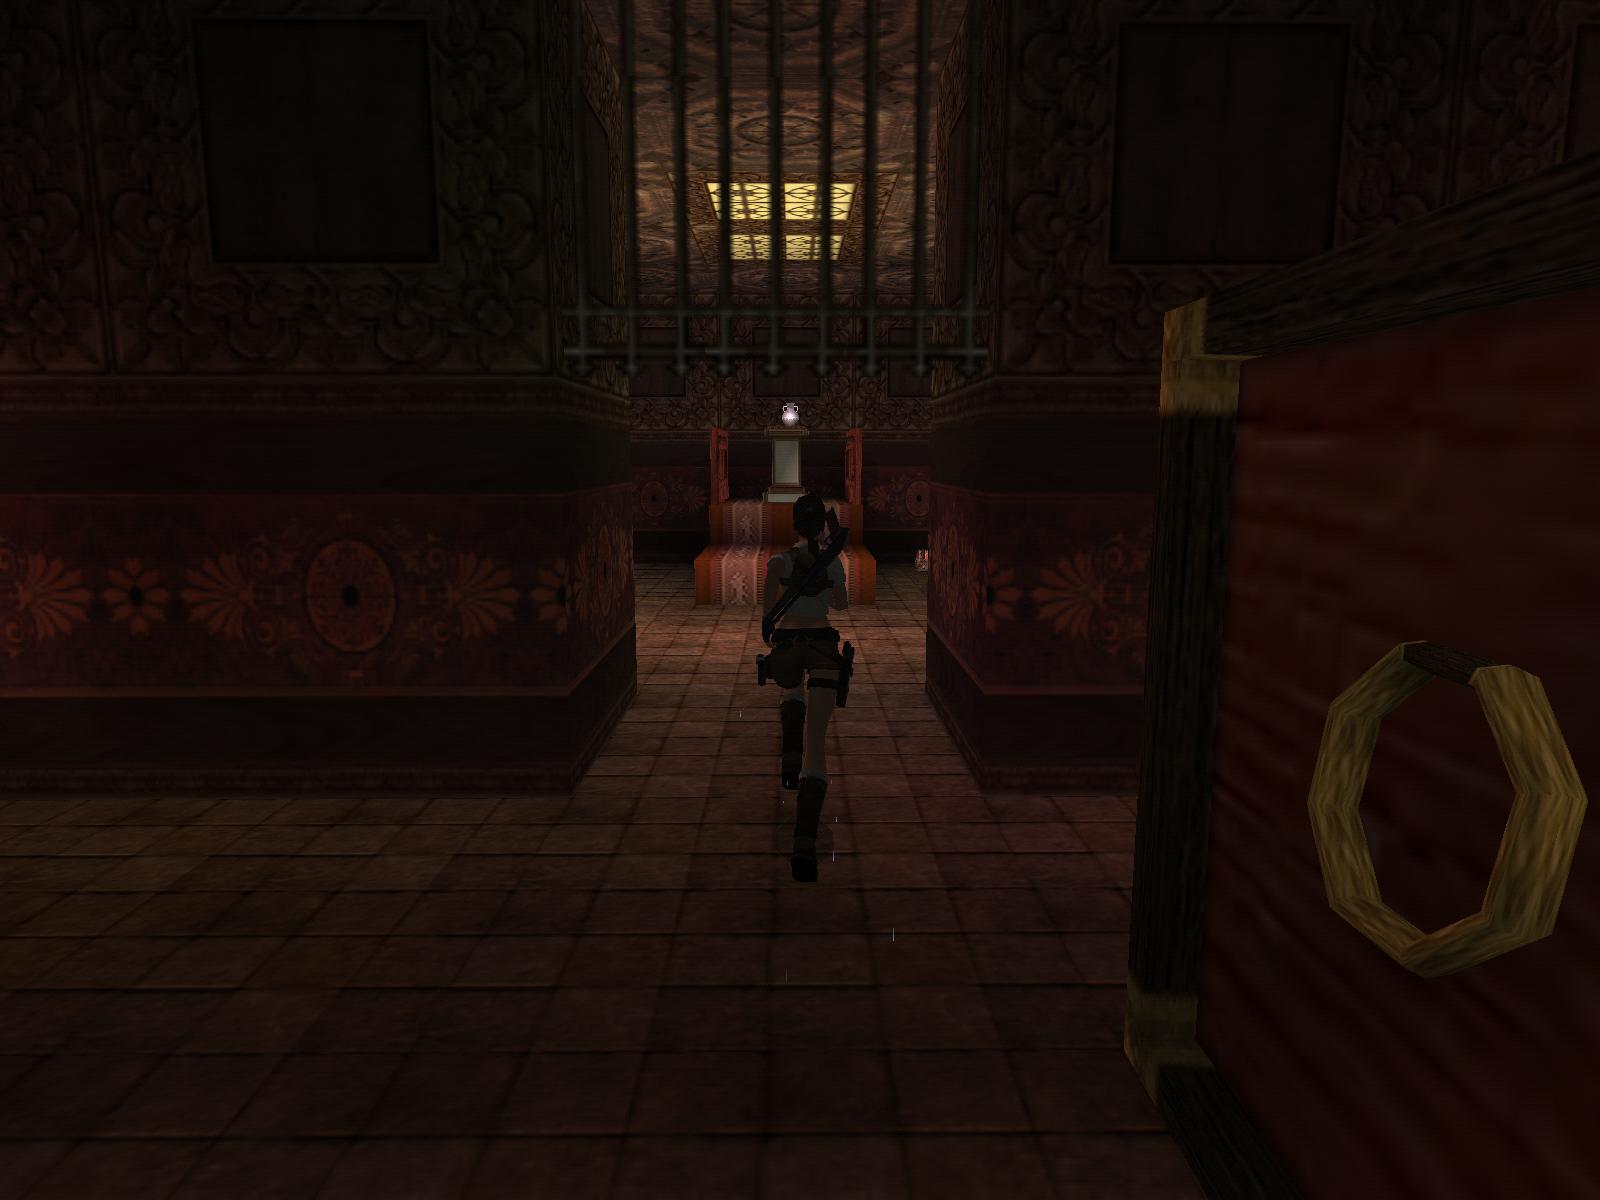
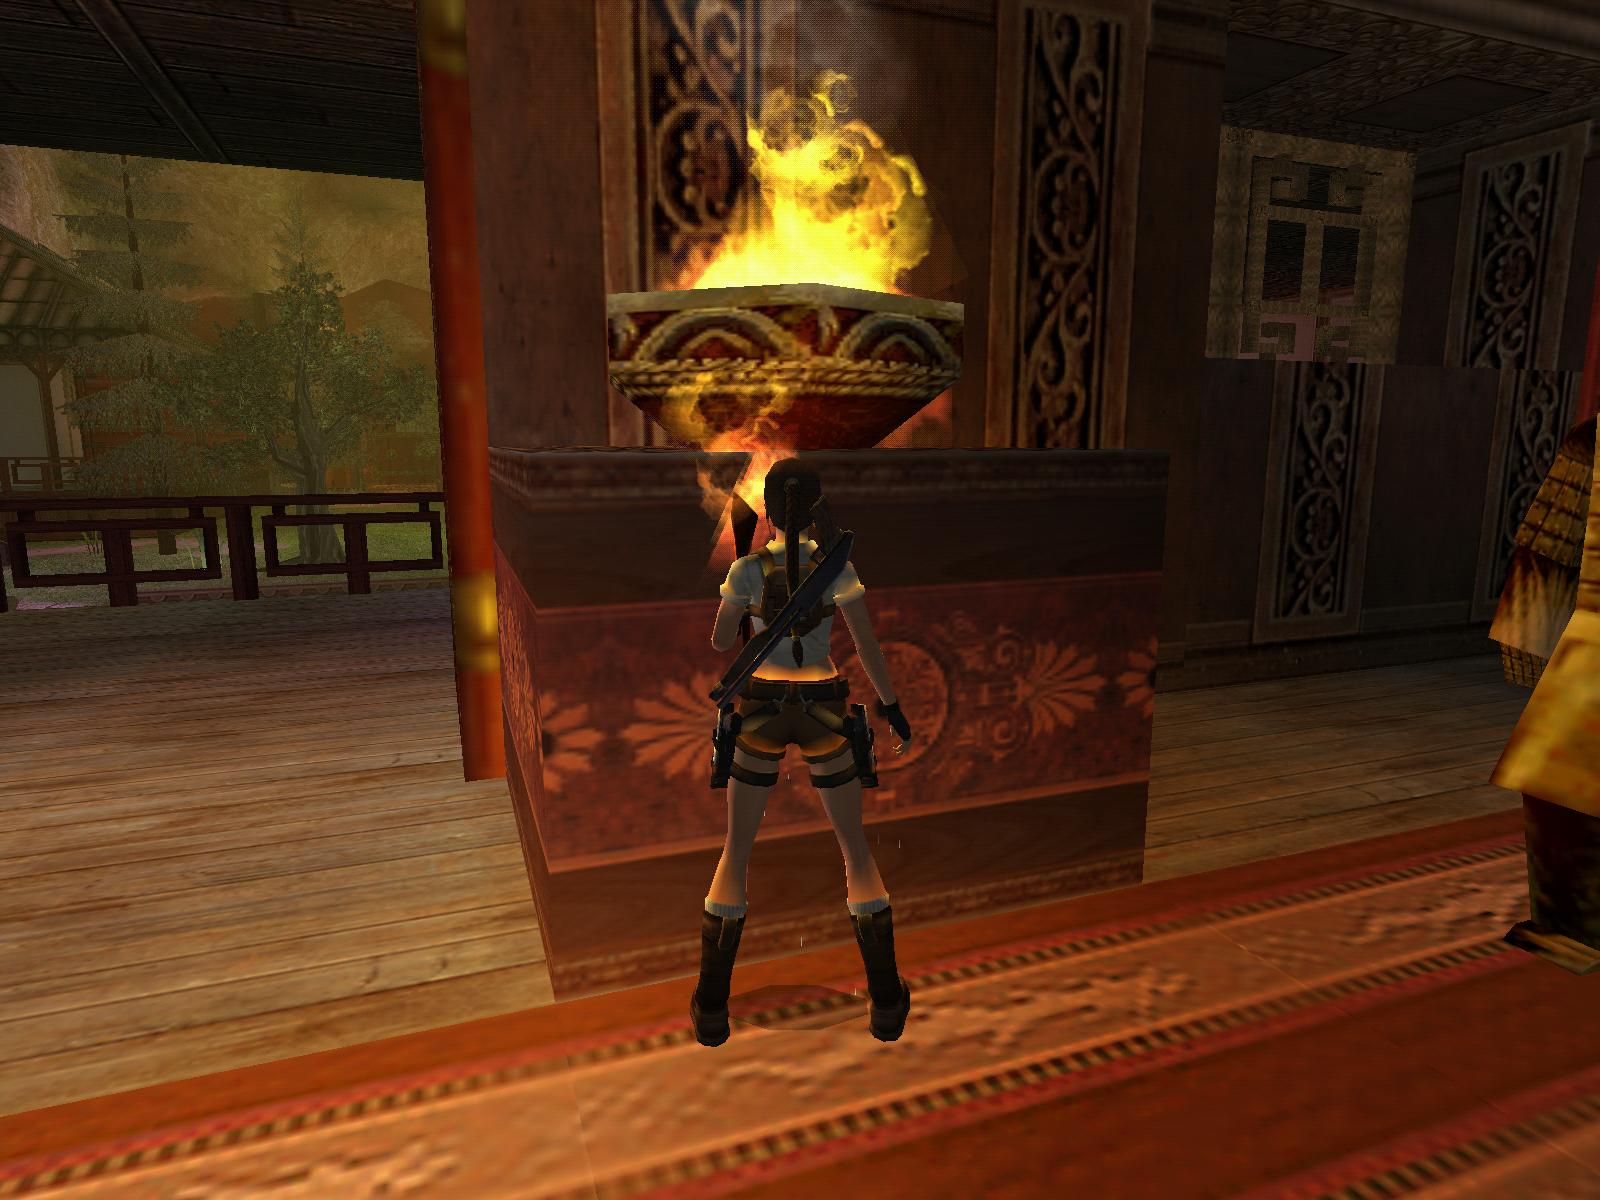
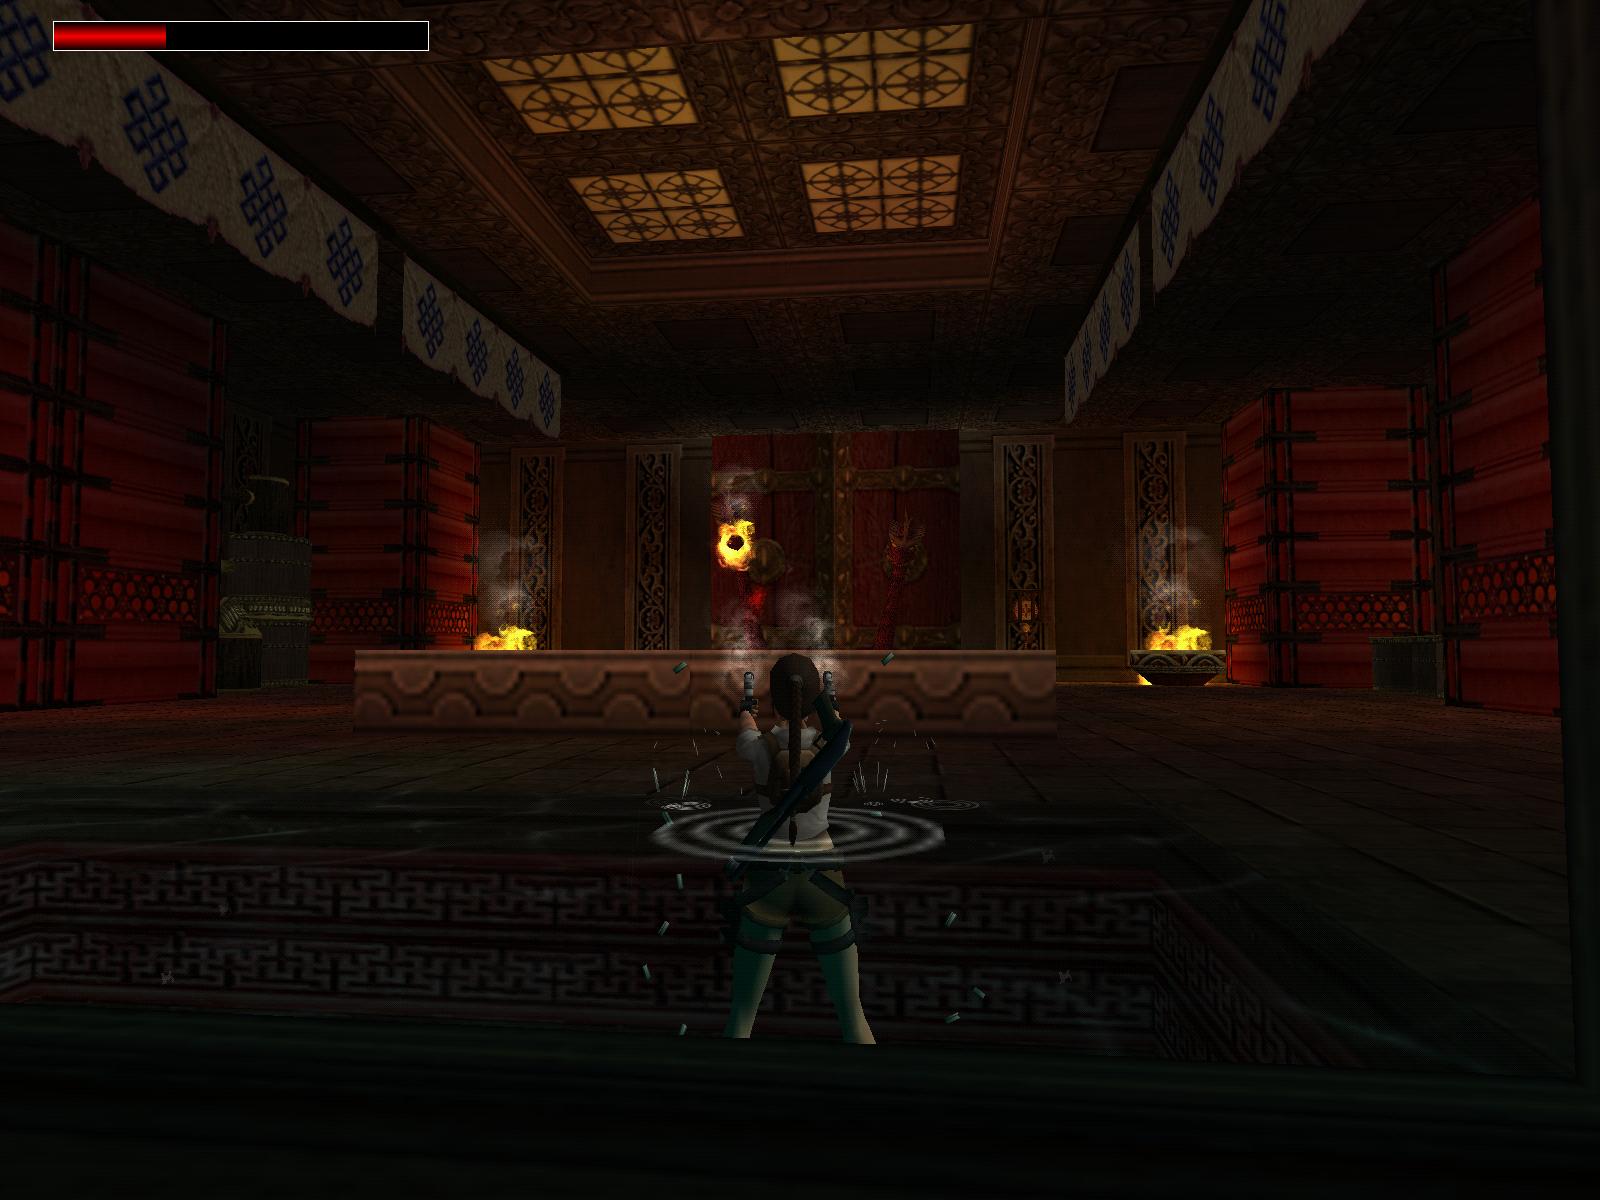
To the Little Monastery
Time your jumps over the fire platforms and into the N alcove. Pull the button
and a block raises for a limited time in the water, jump in the water and
swim W, quickly climb on the block and jump to the ledge with the burner,
wait with the jump until the fire is out, push the lever when the fire just
starts, Lara wont be hurt, and jump into the water. Avoid some piranhas and
swim into the last S passage to find the next door that closes behind you,
swim through and at the end climb out. Follow the passage, wade through some
water and climb several blocks, when it seems you cannot proceed turn and
jump NE (maybe with a little curve) to the ledge and climb up. Turn and jump
on the slope, then on the wooden ledge.
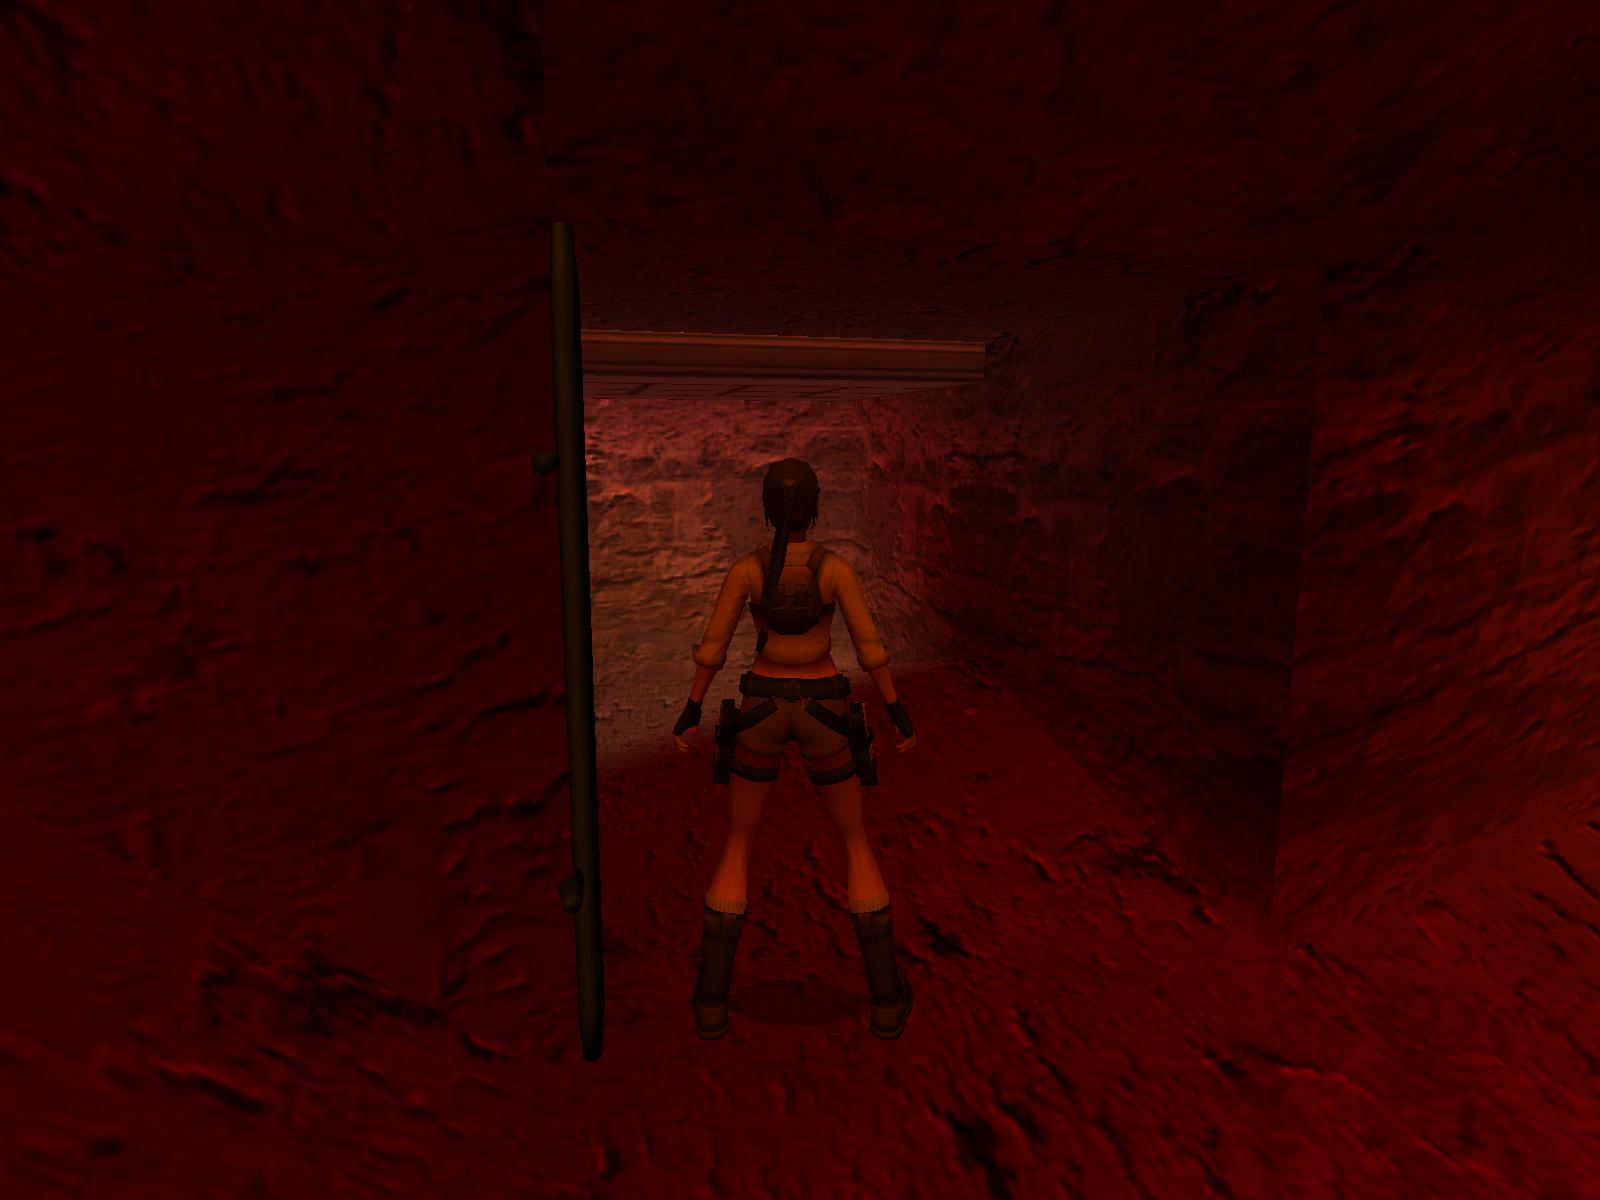
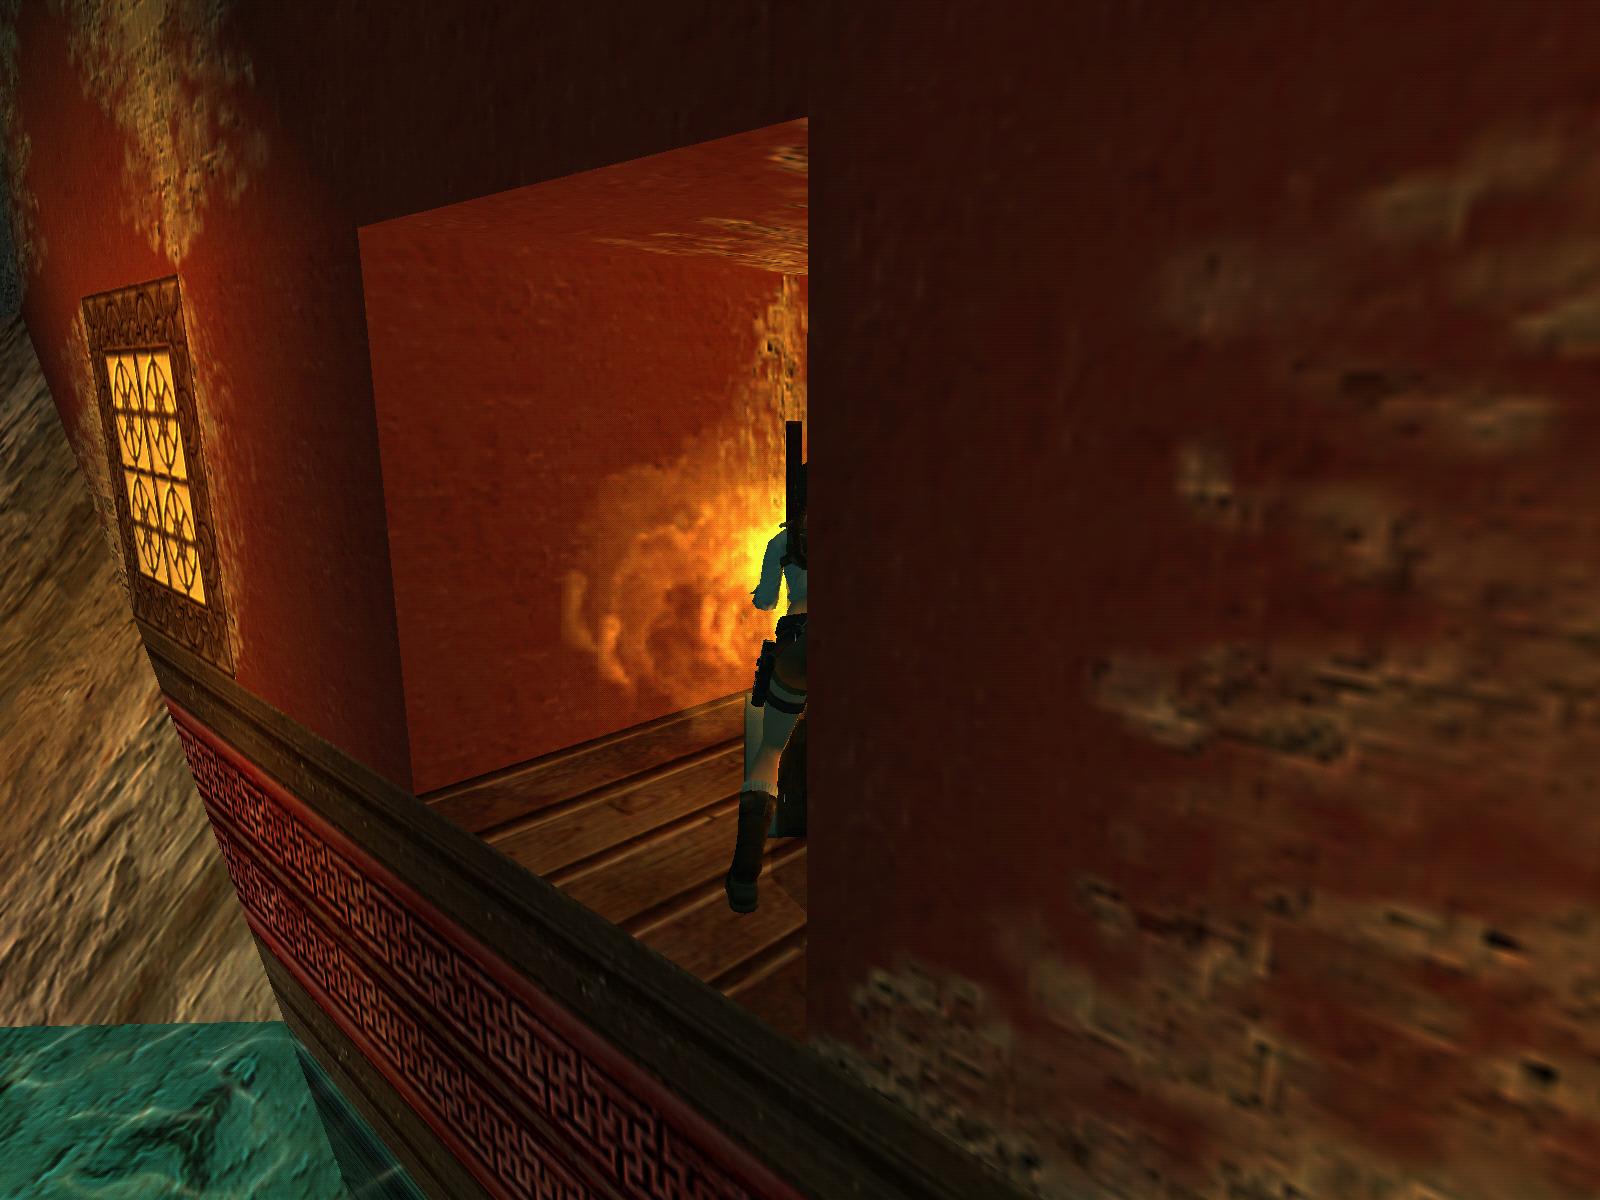
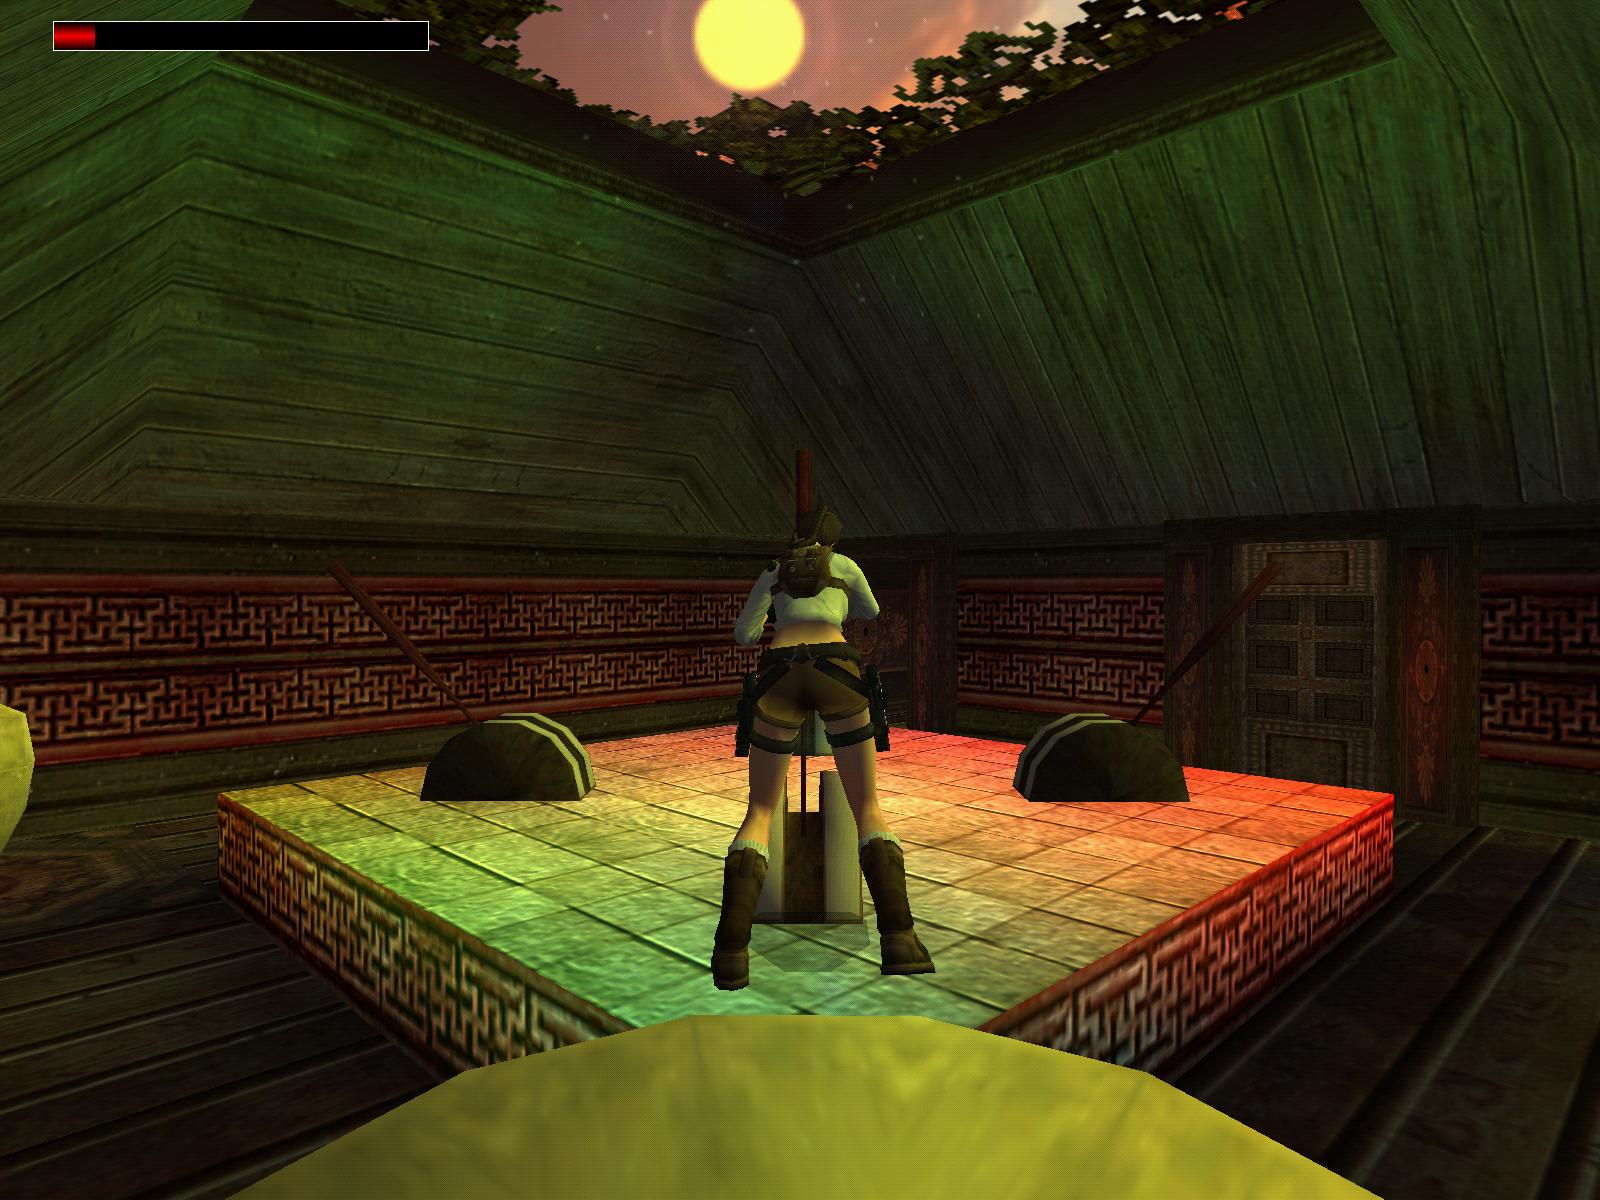
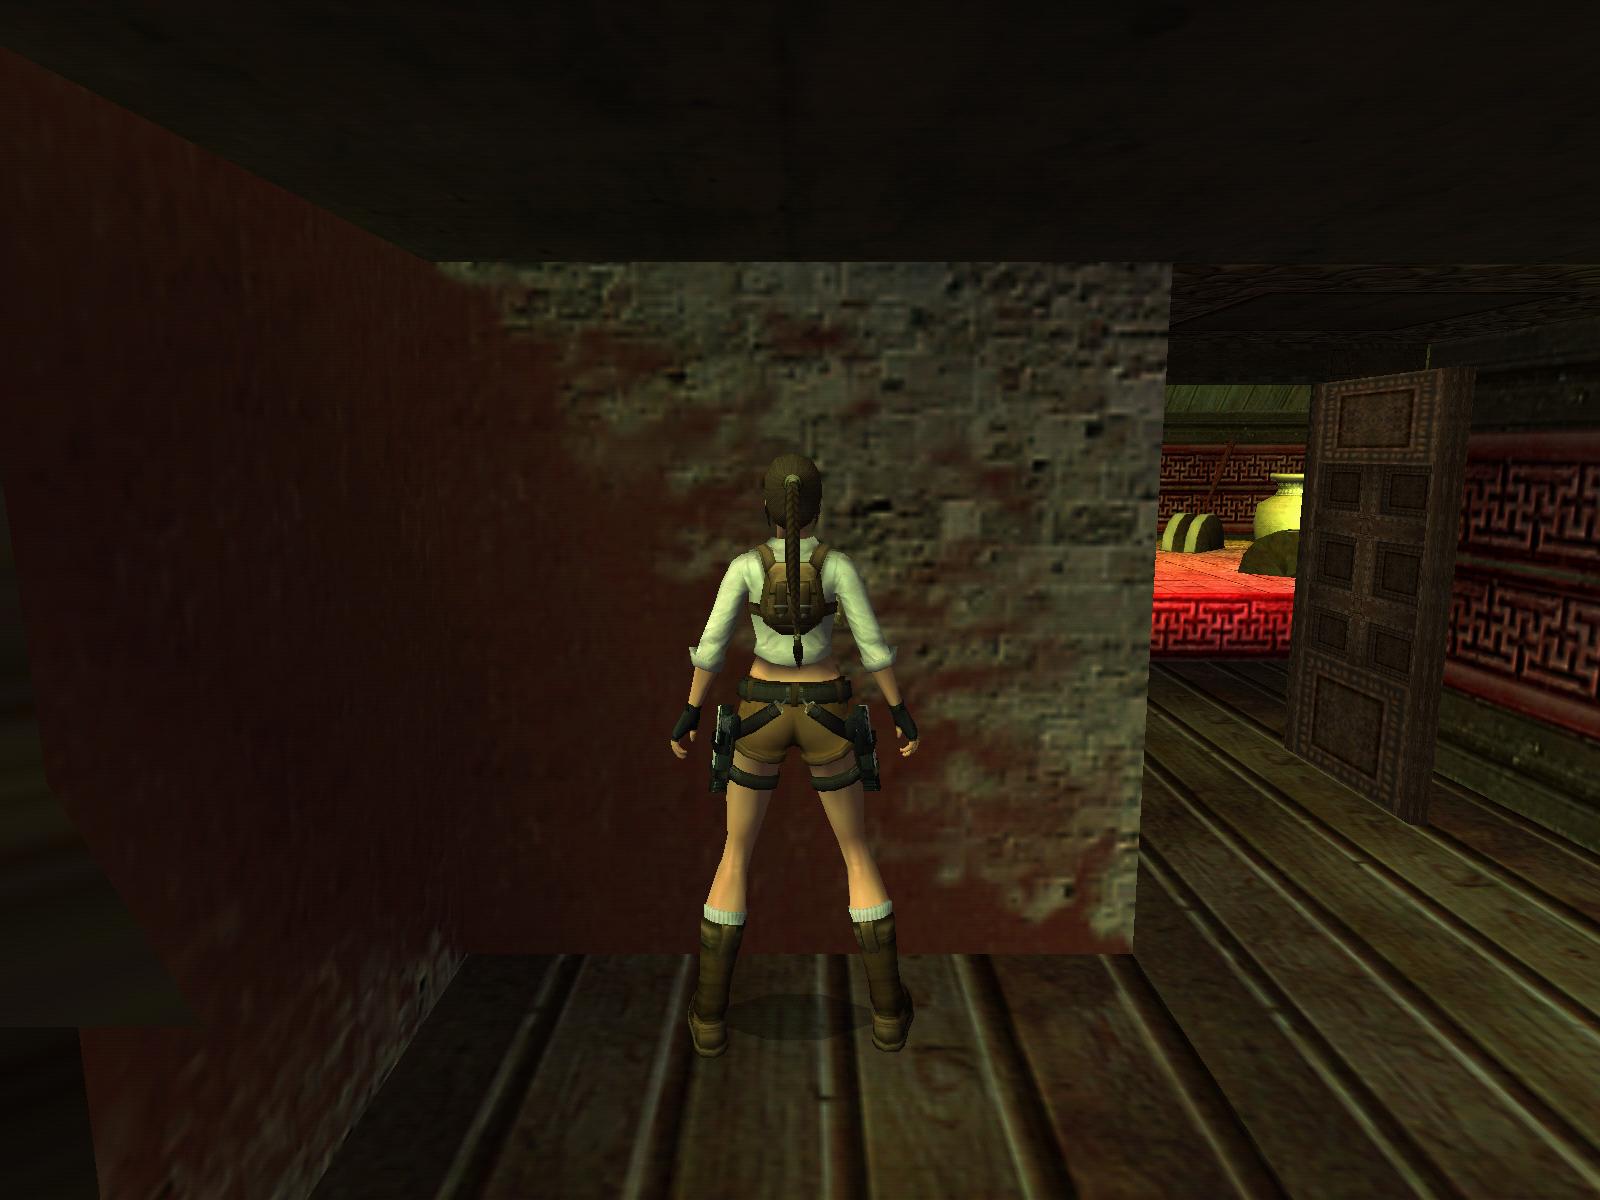
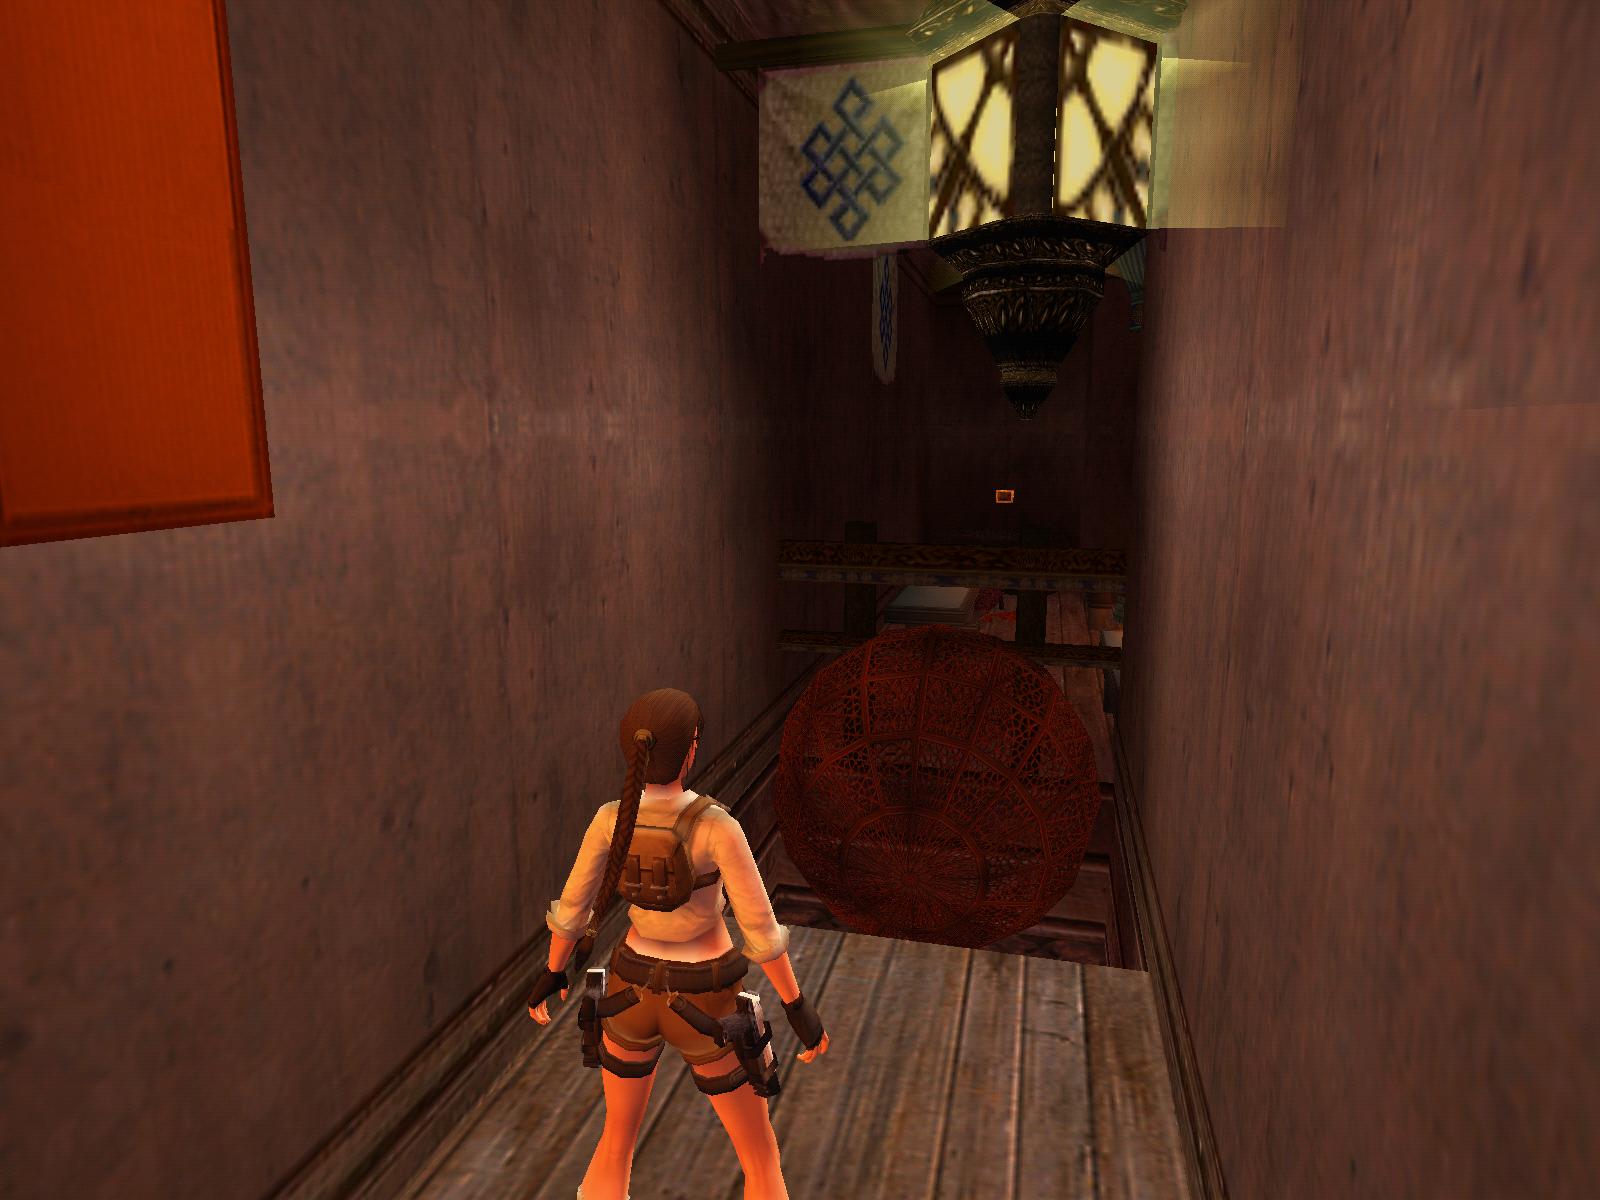
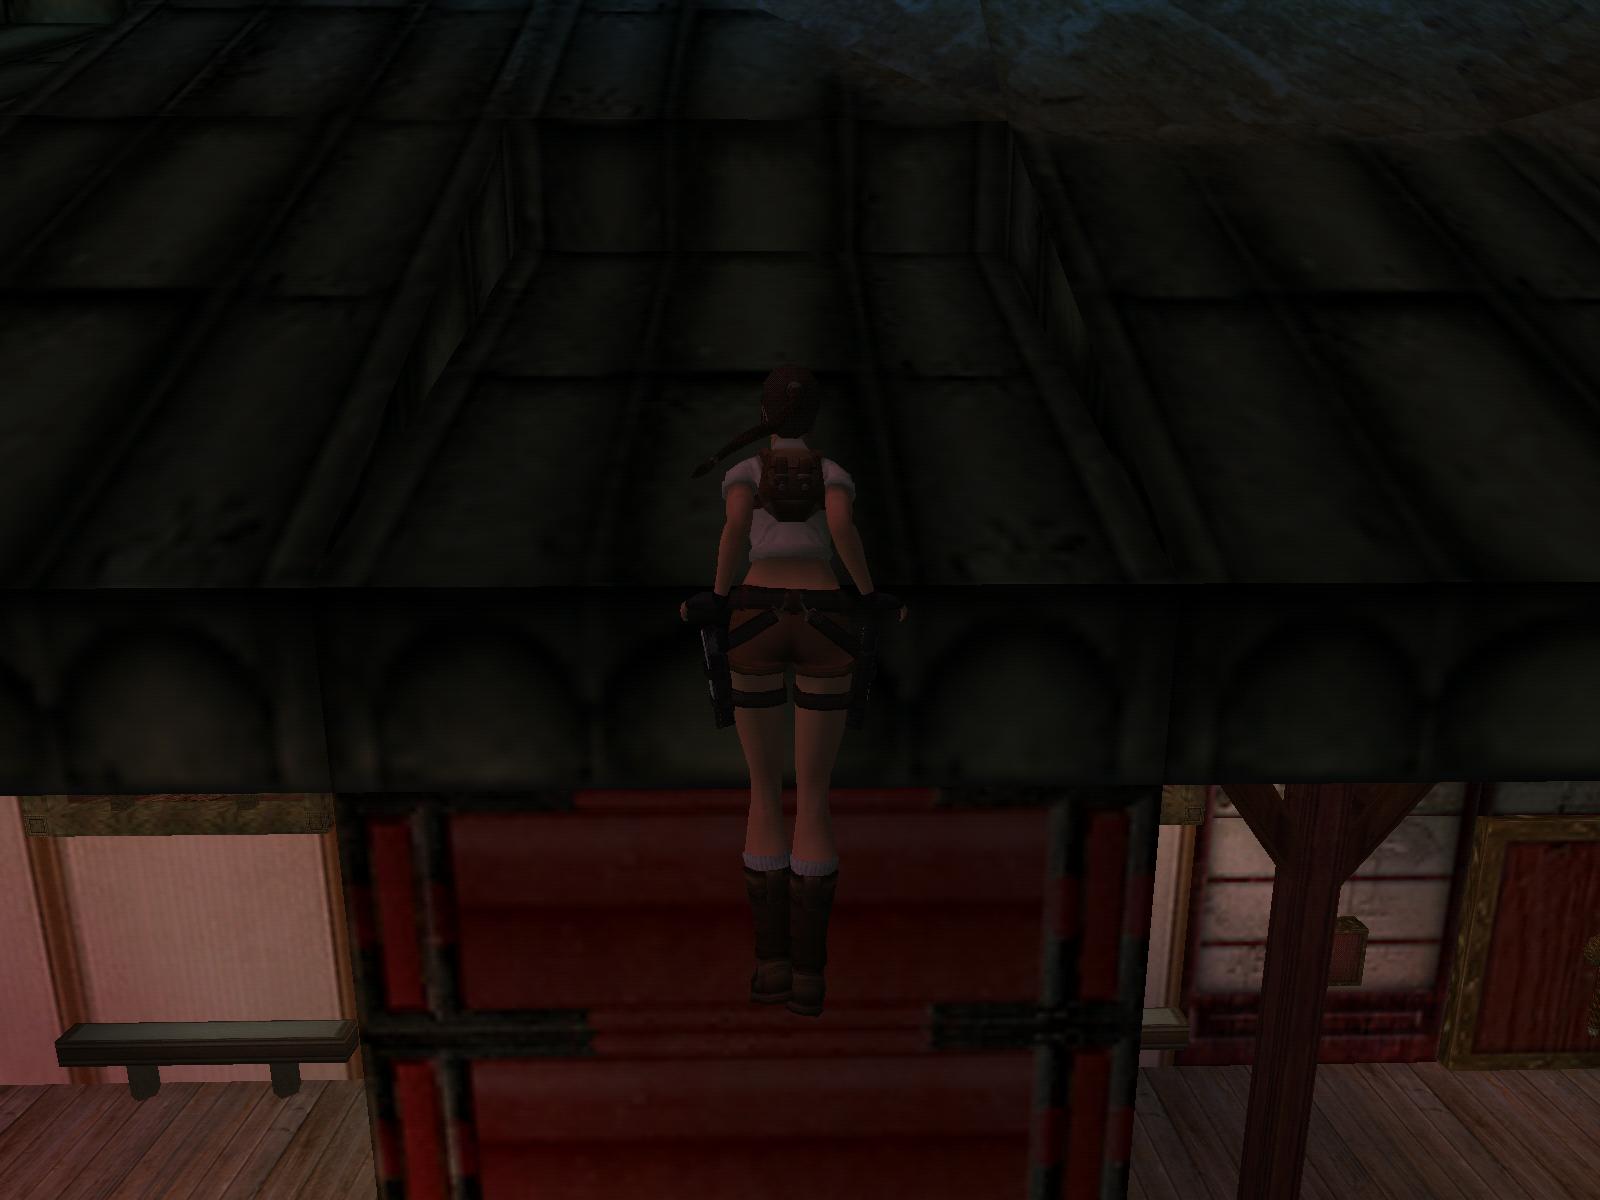
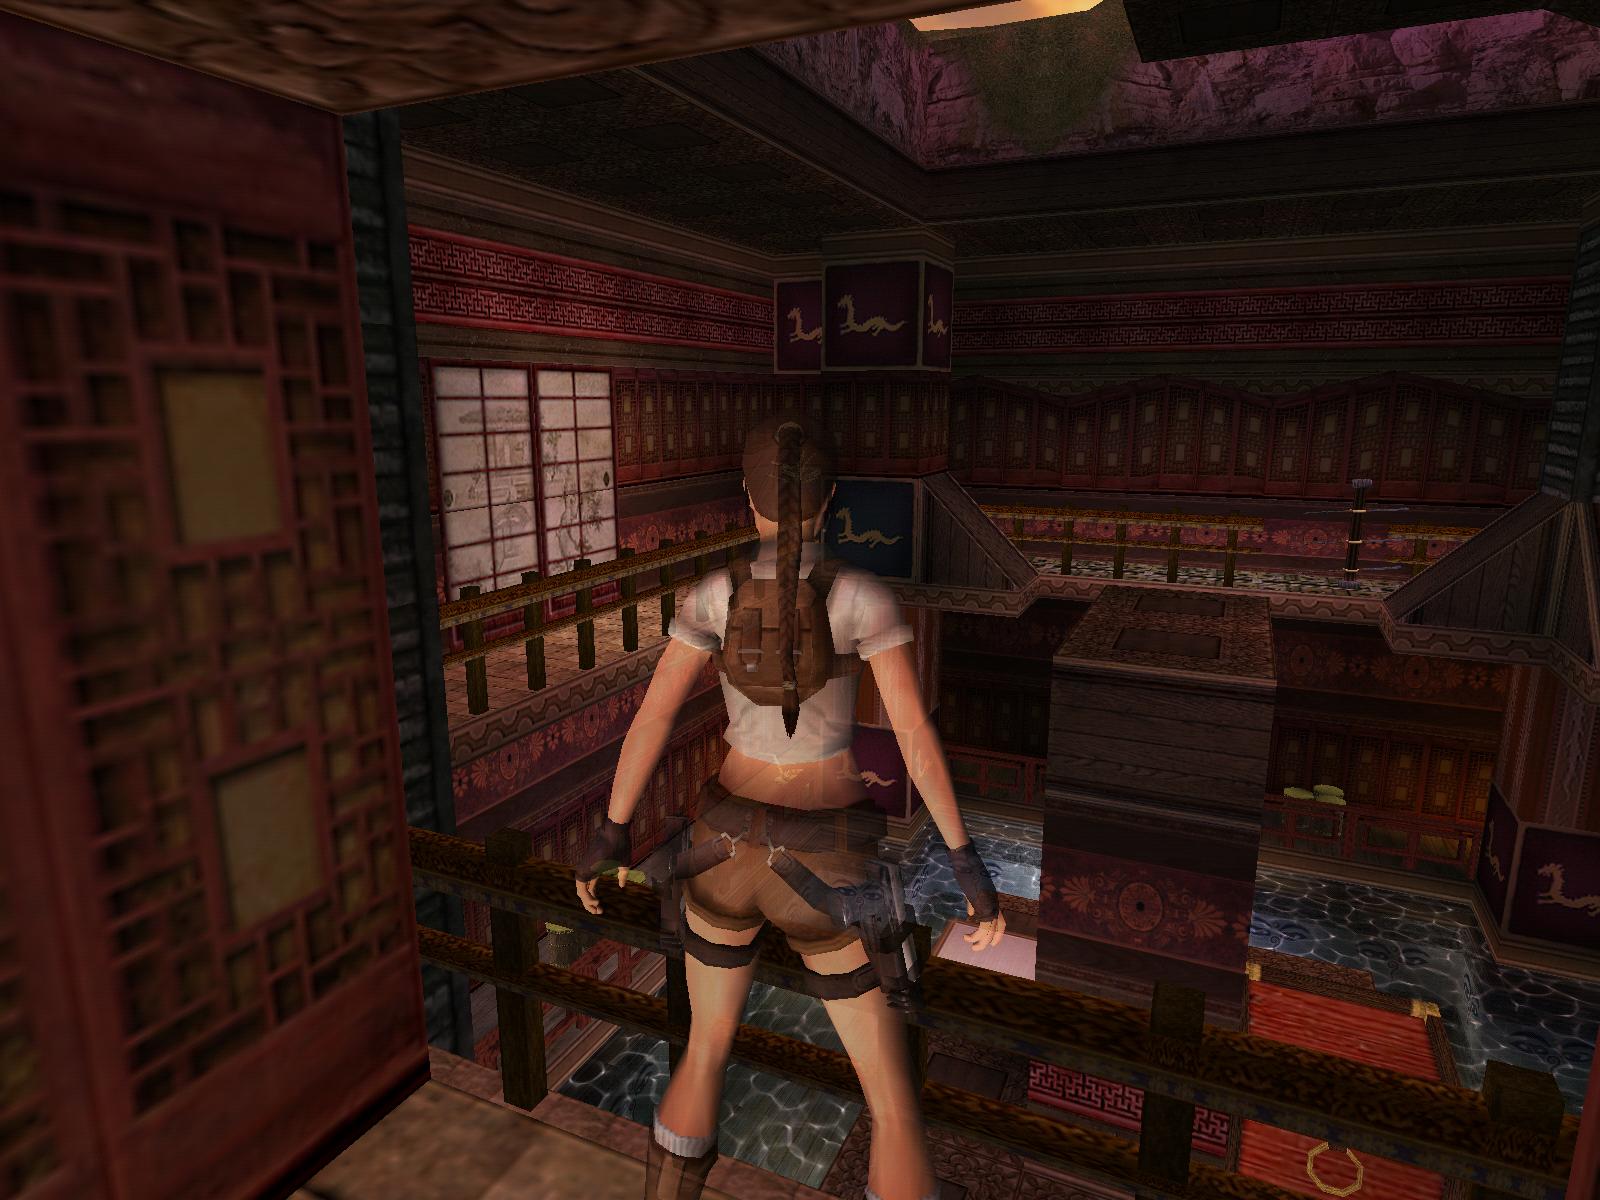
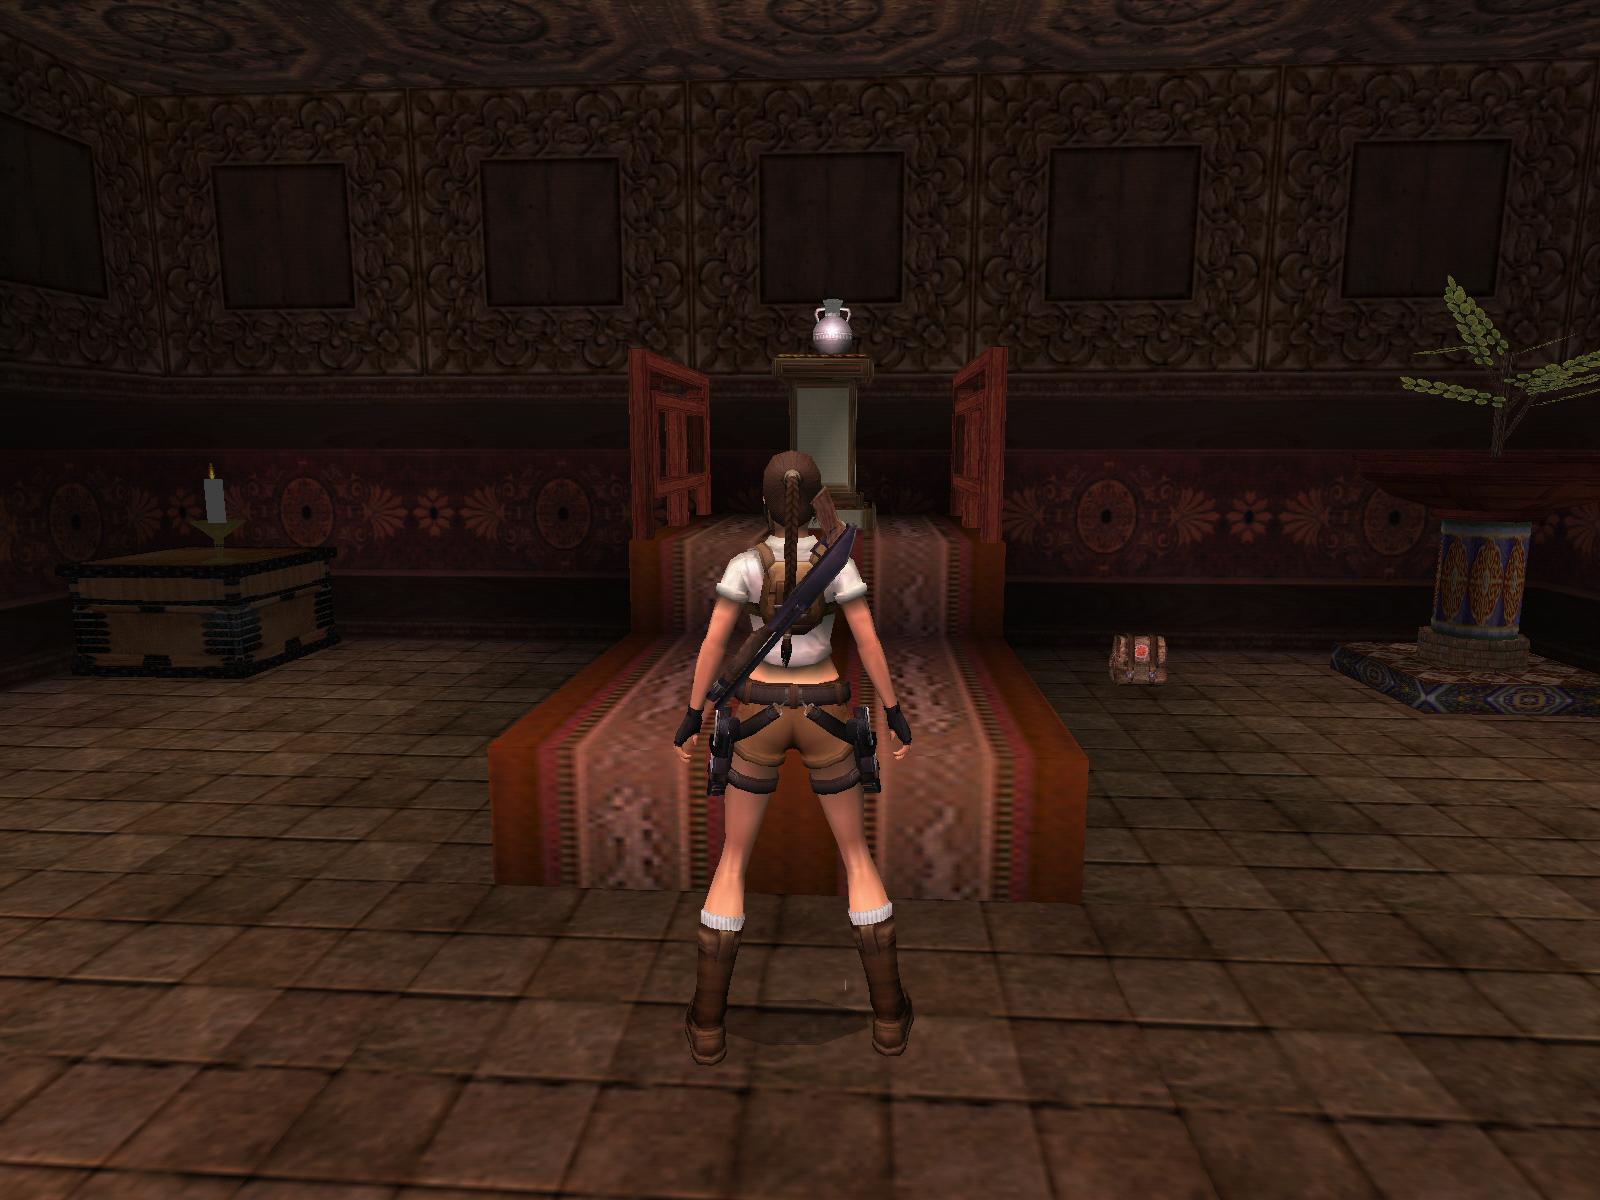
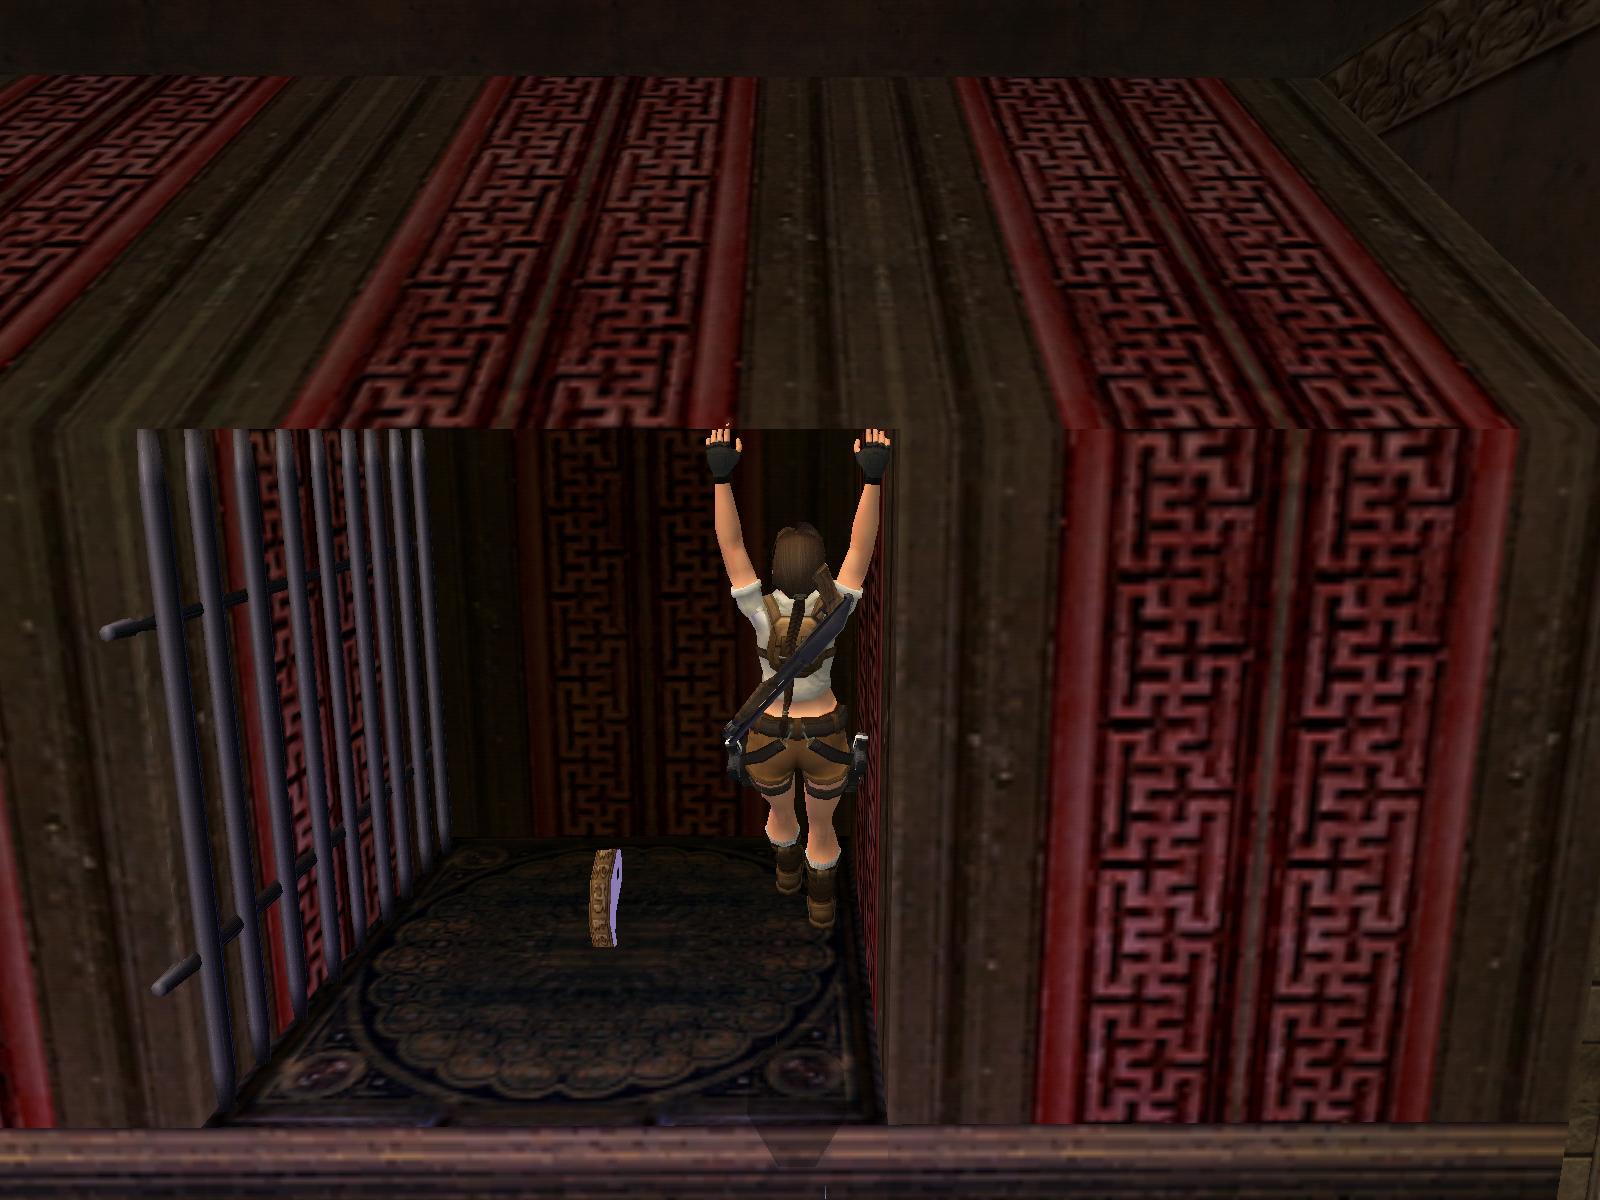
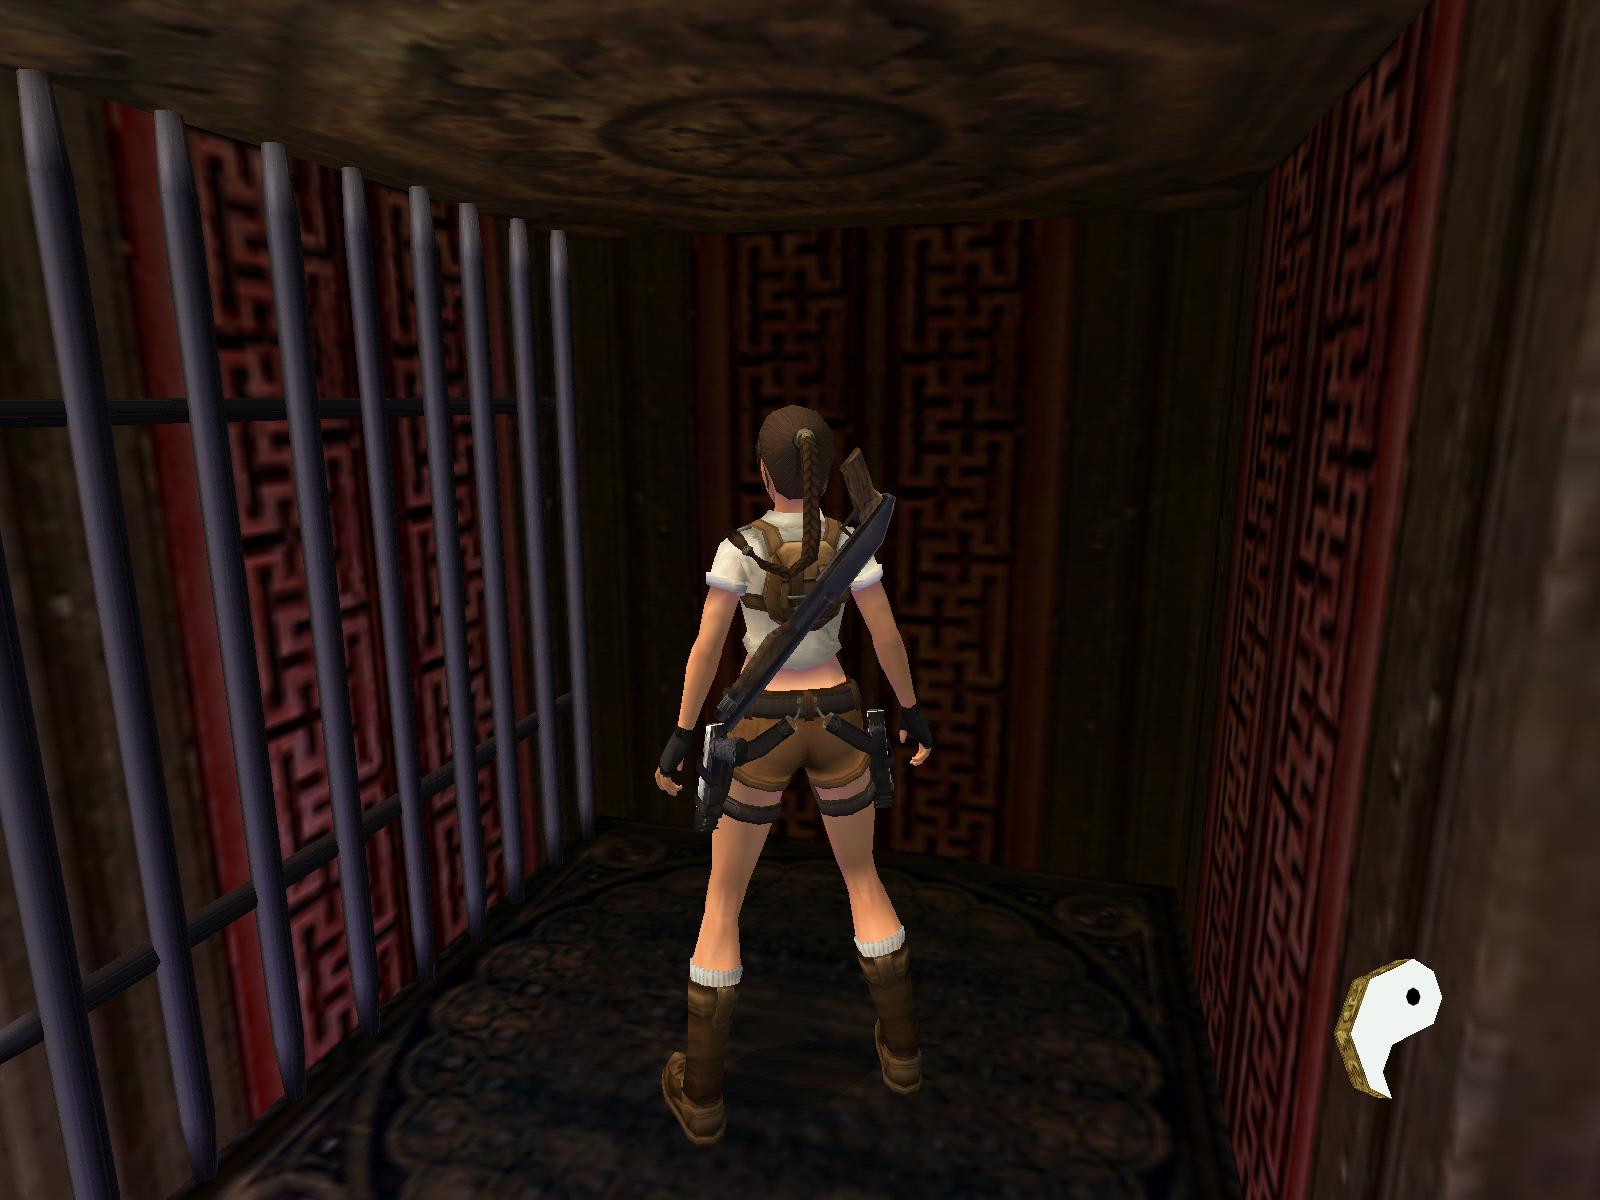
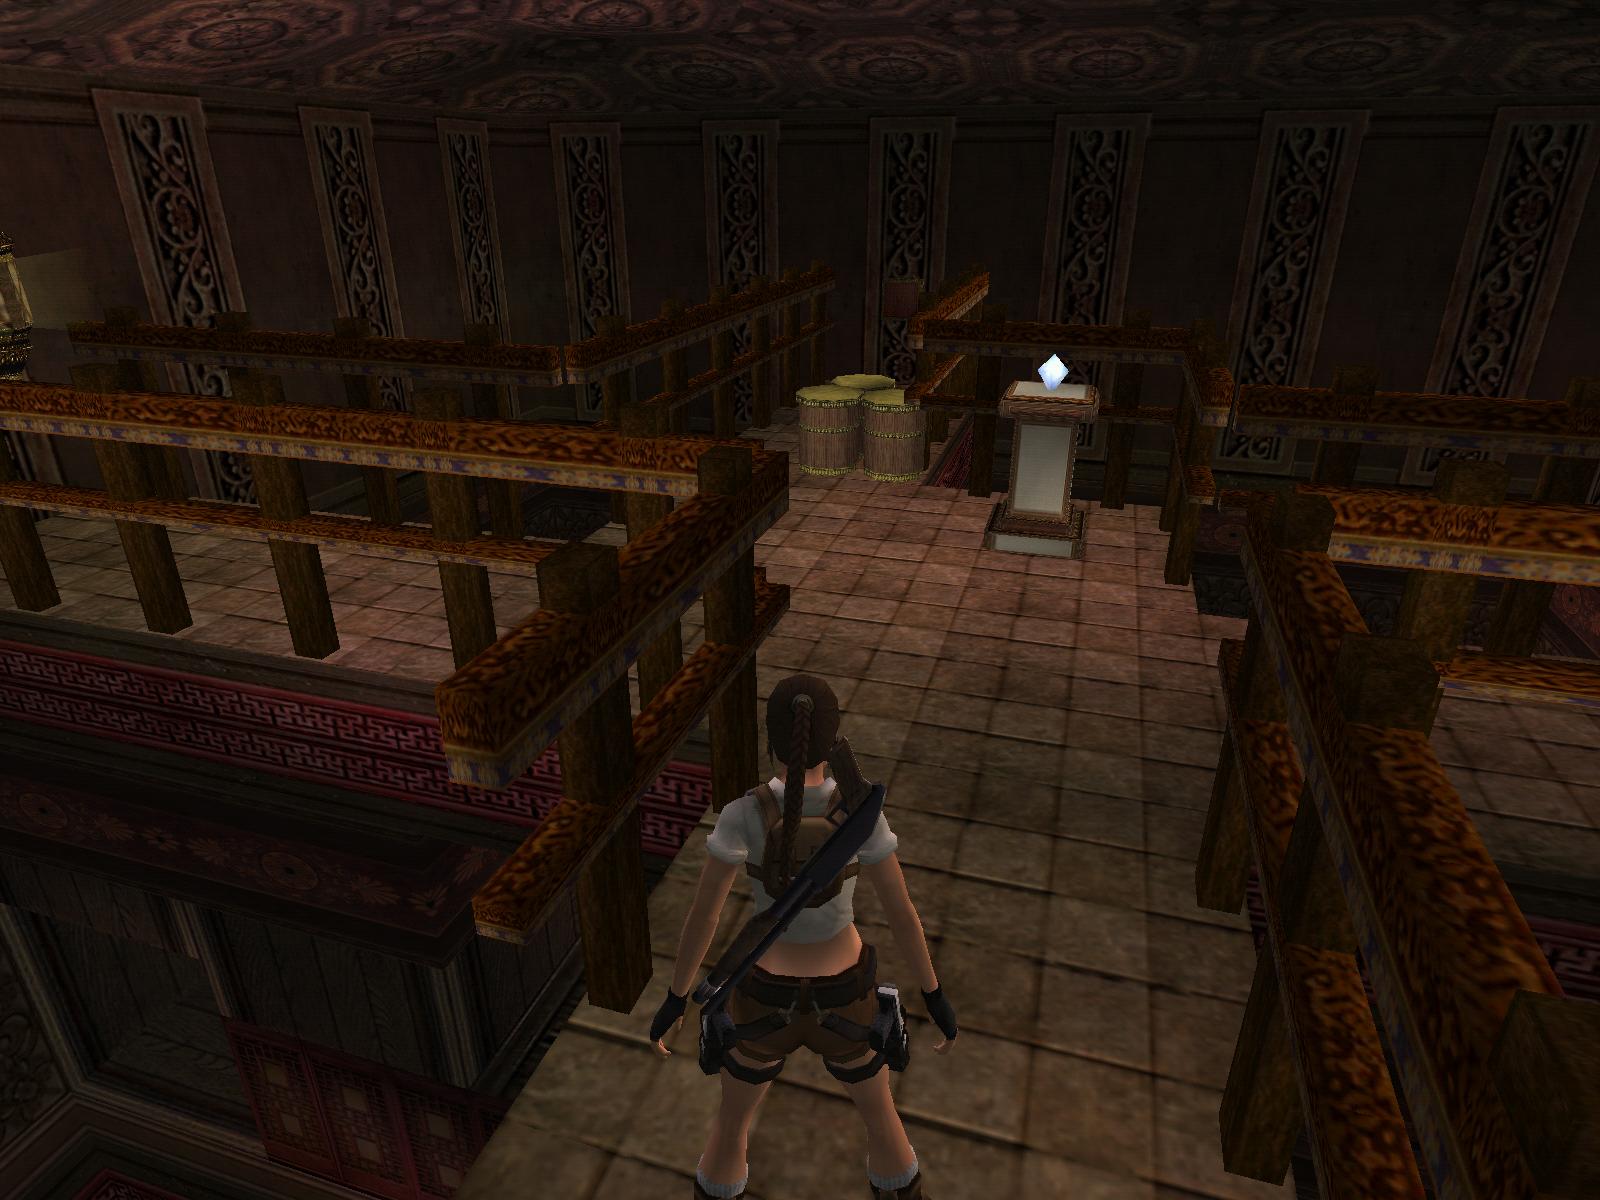
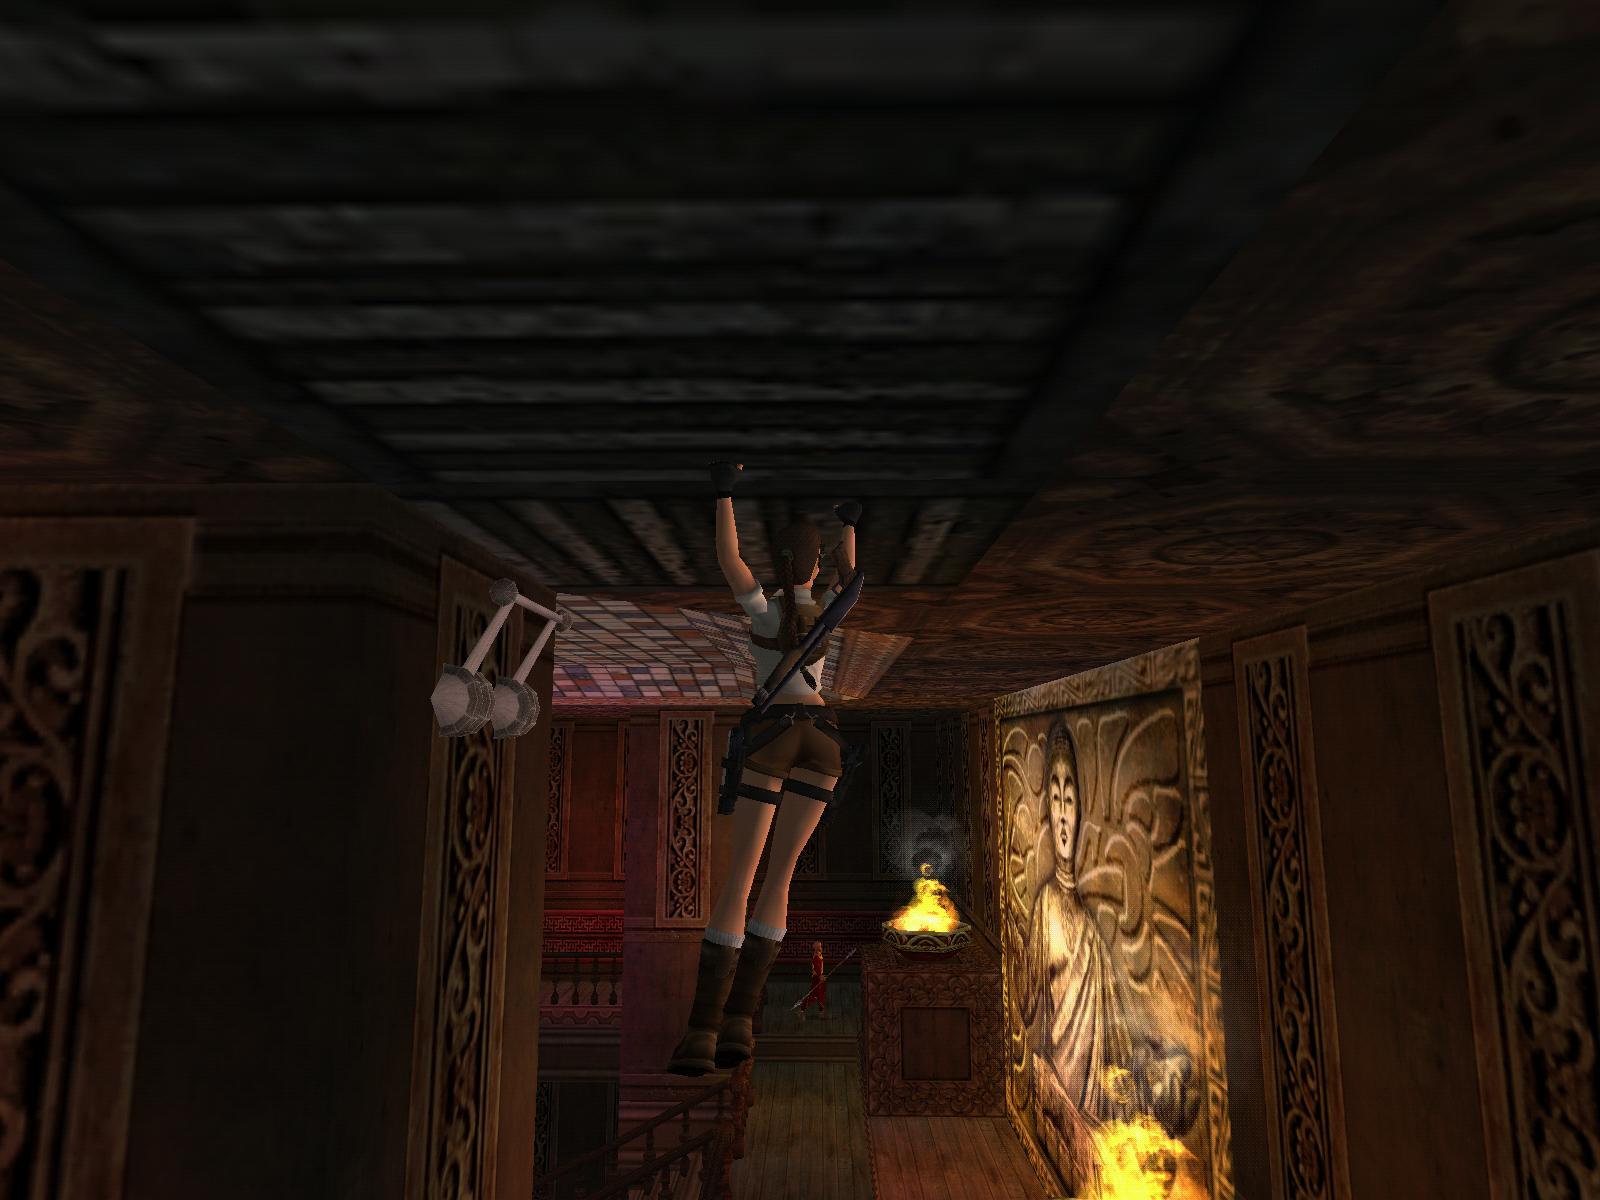
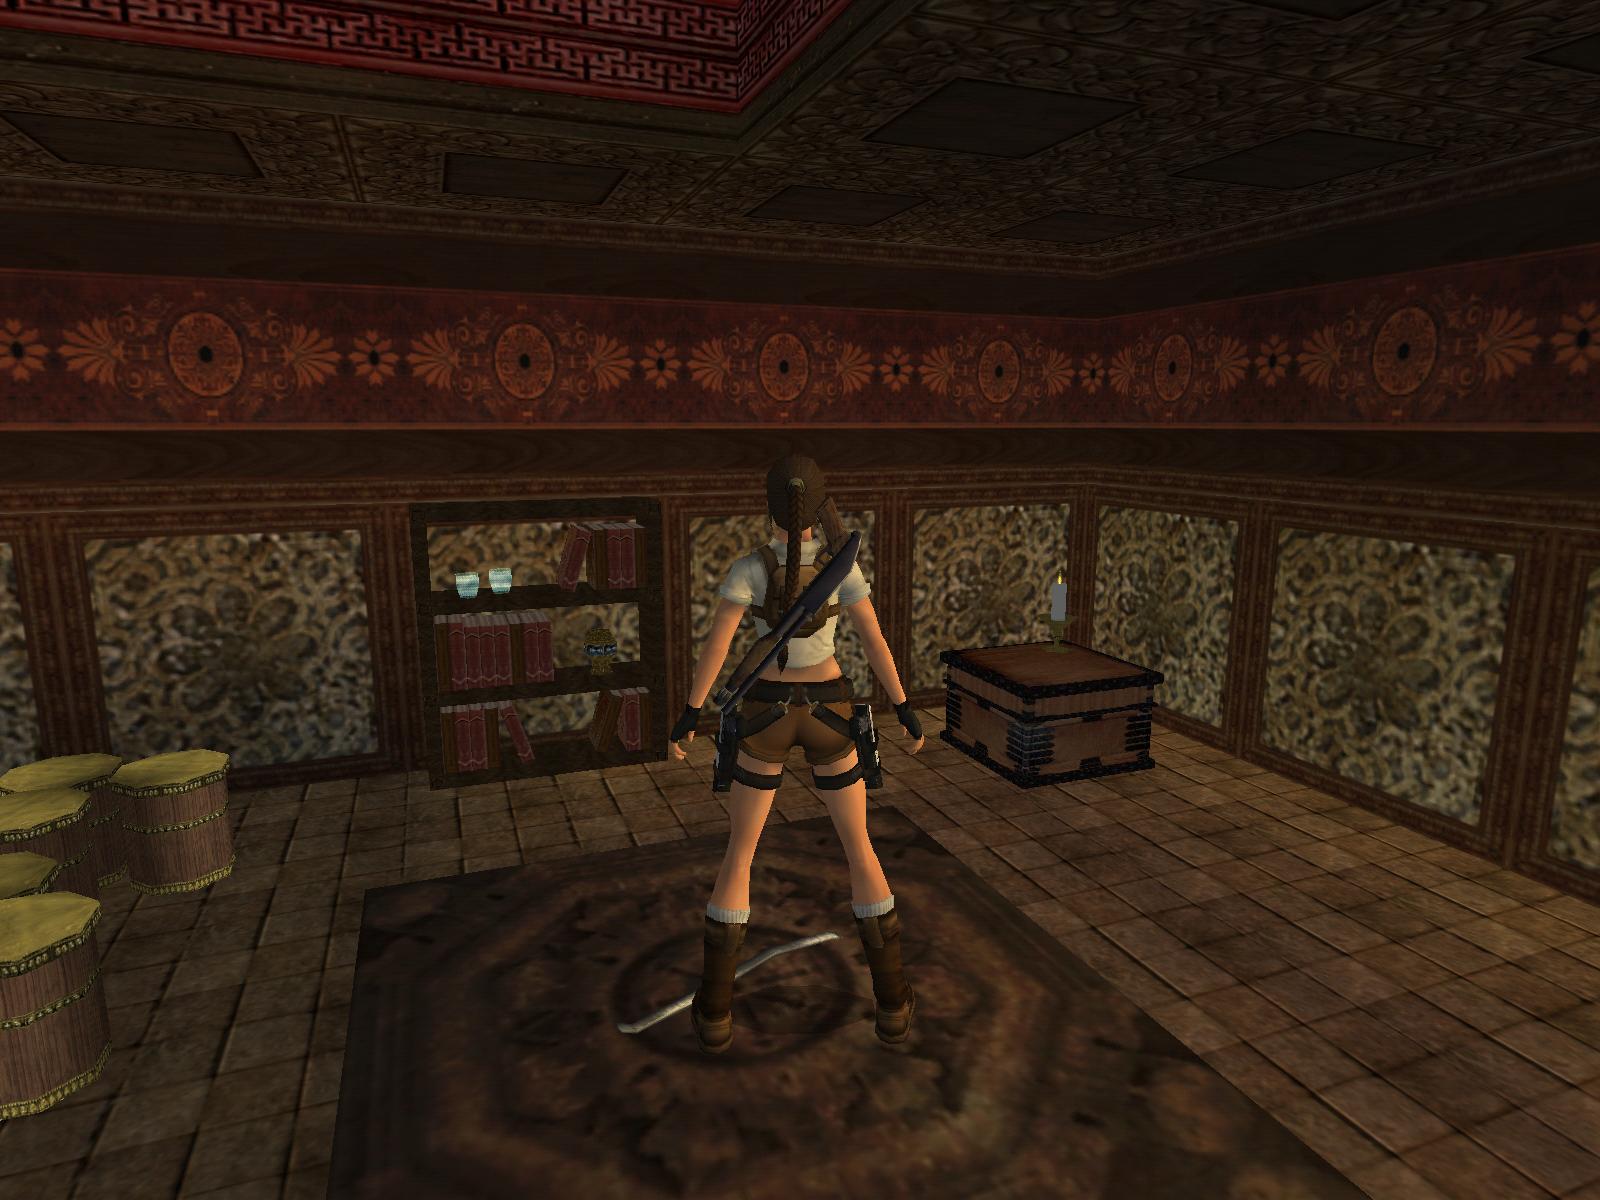
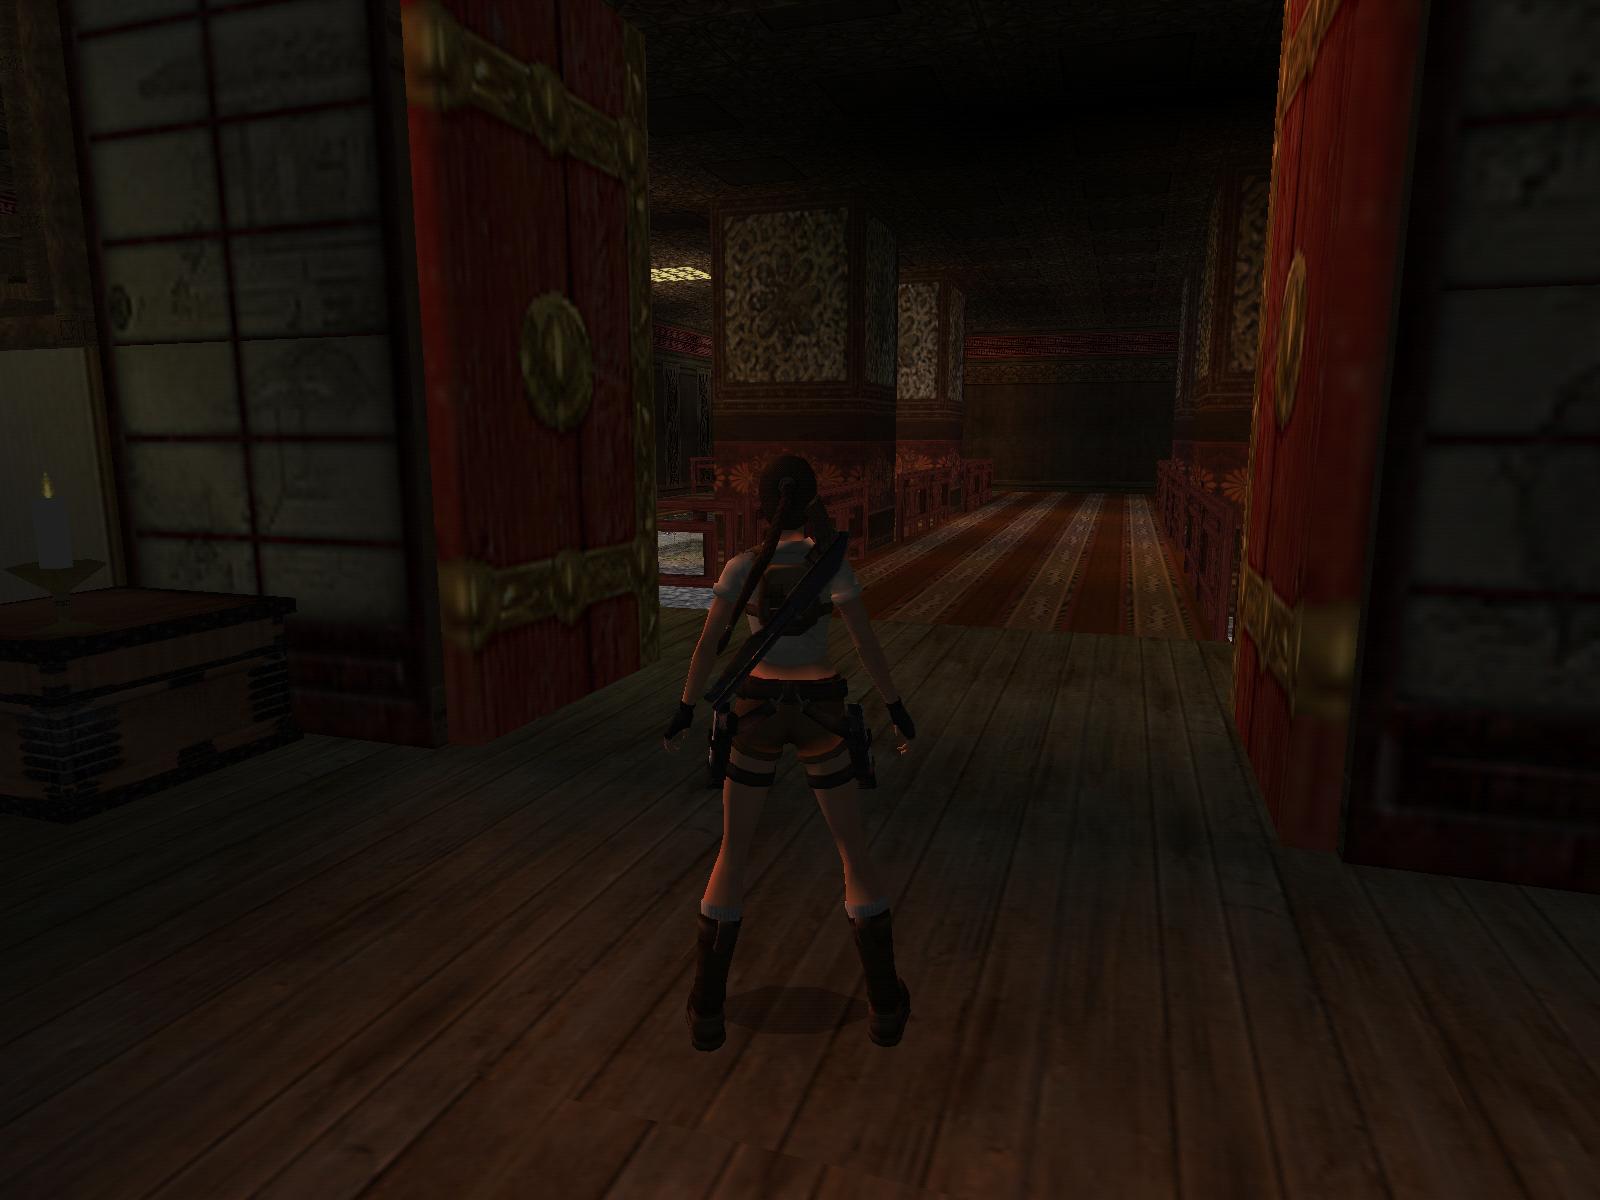
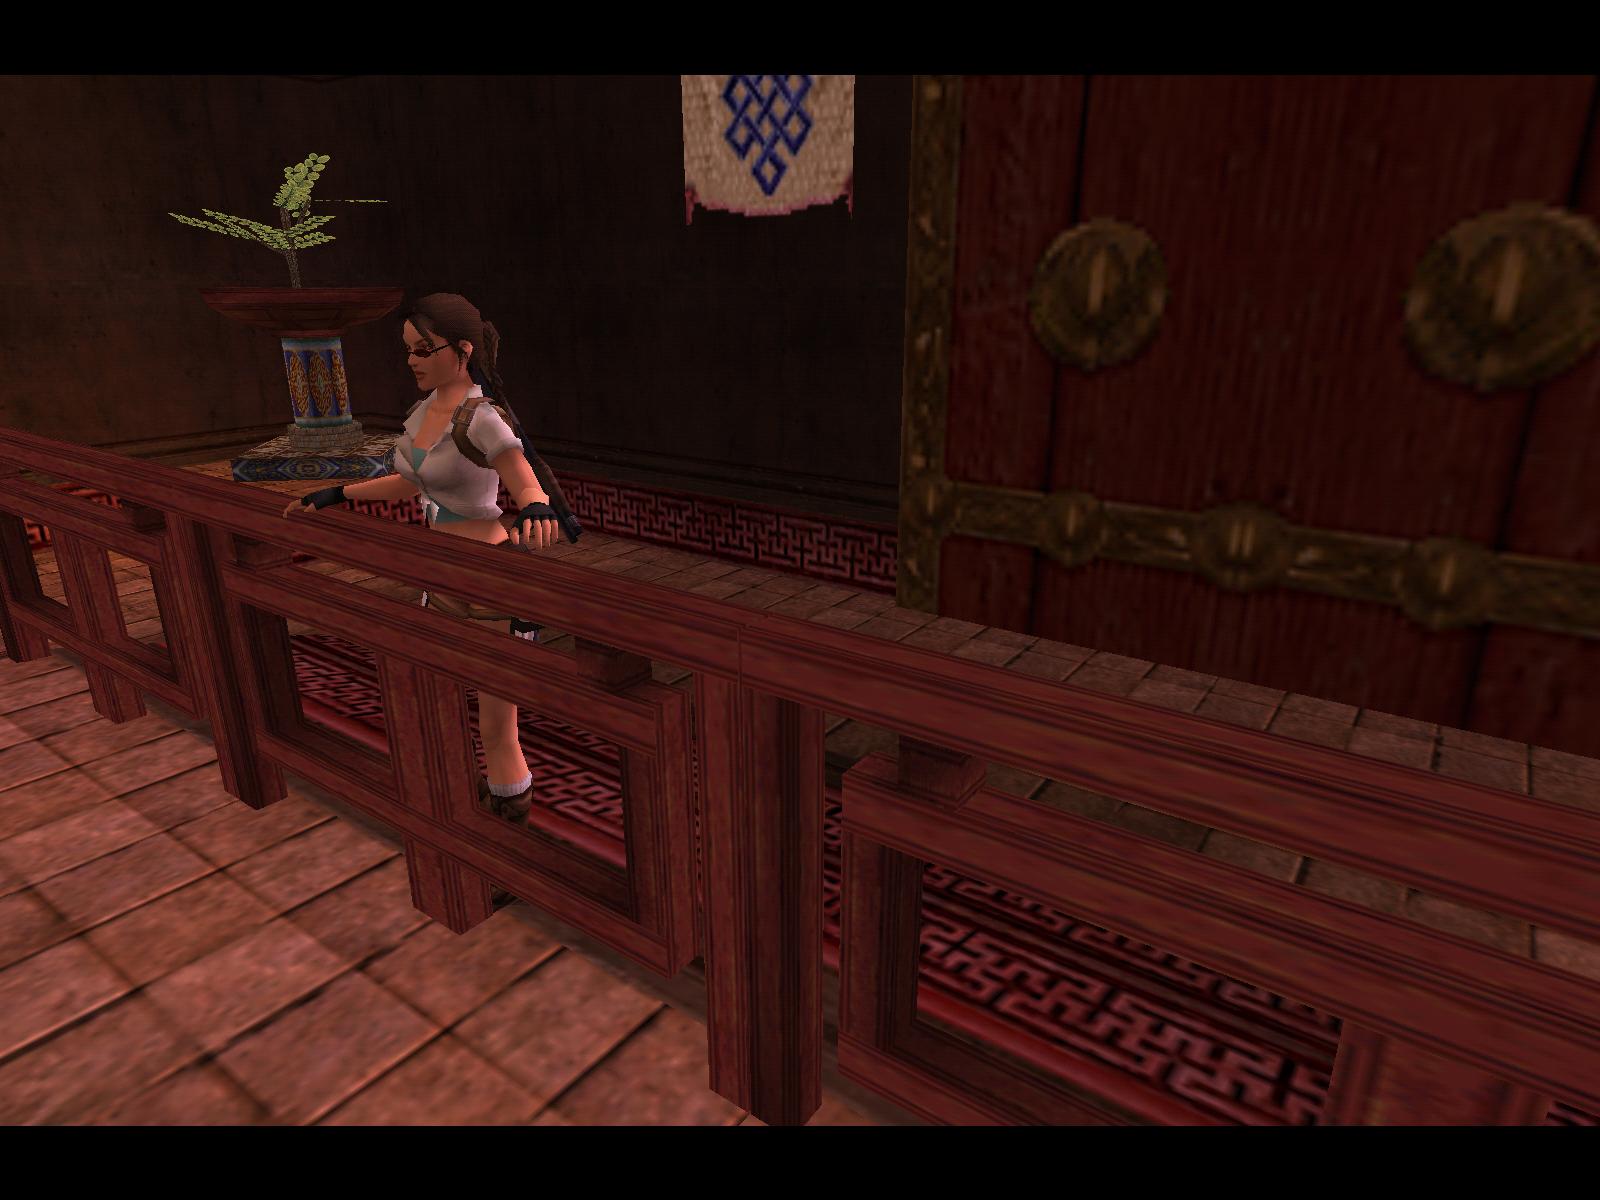
Little Monastery
Follow the left passage and open the door just in front of you. You reach
the main hall of the monastery. The task is to raise the bell construction,
then find two gems to place it there. Go into the NW corner and climb up to
the second stage. Open the door to your right and drop into the hole in the
floor, push the button near the window and get up again. This opened the N
door in the foyer, where you opened the double doors. Get back there and run
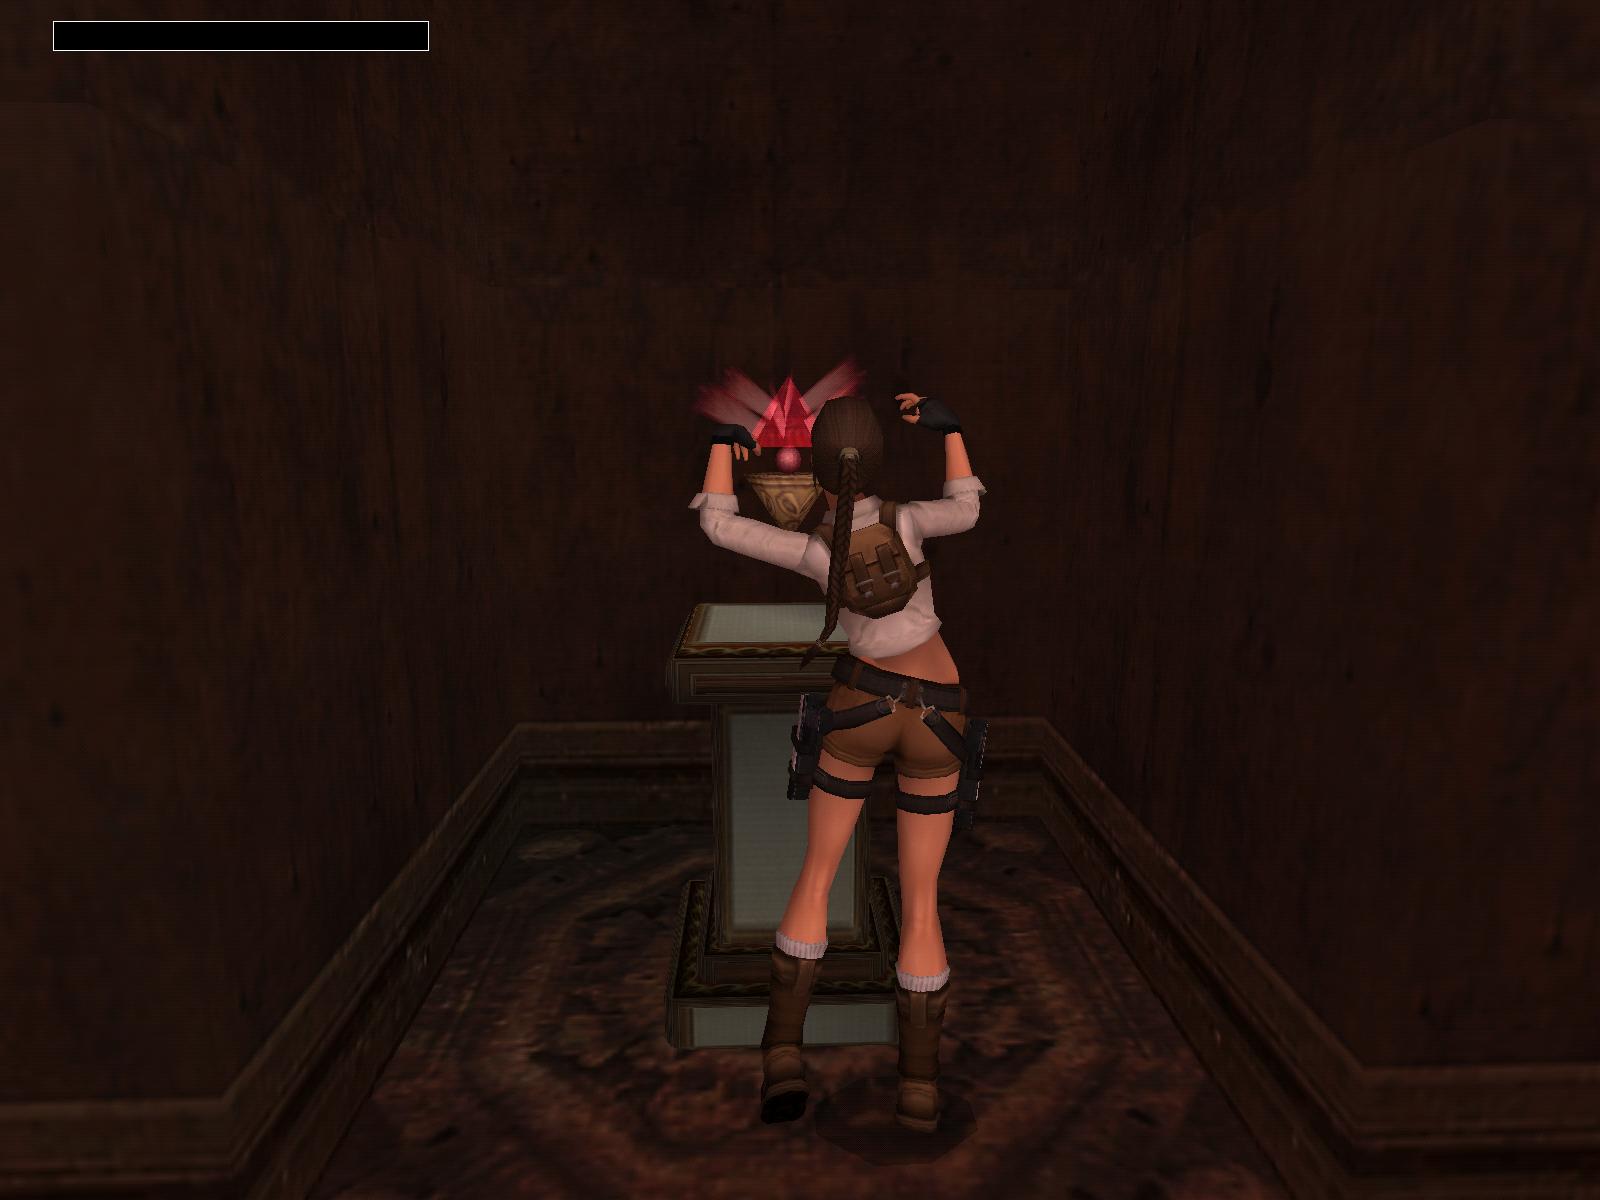
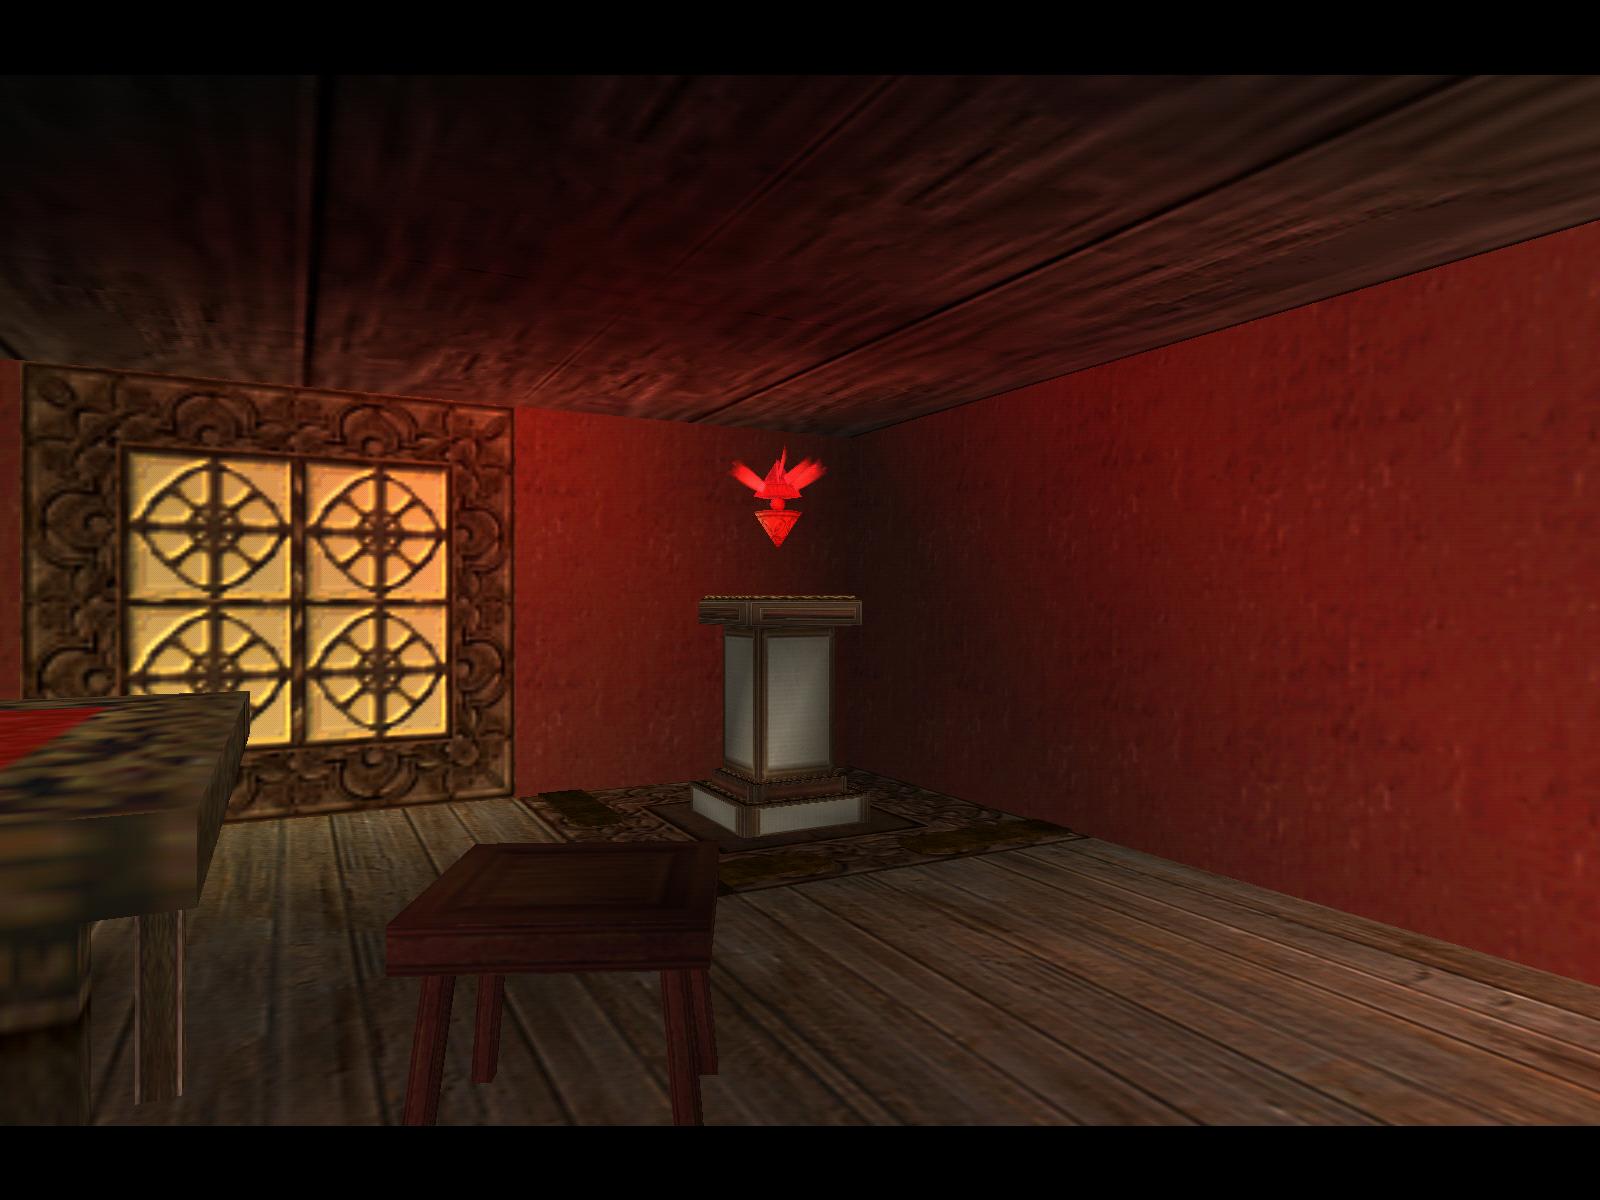
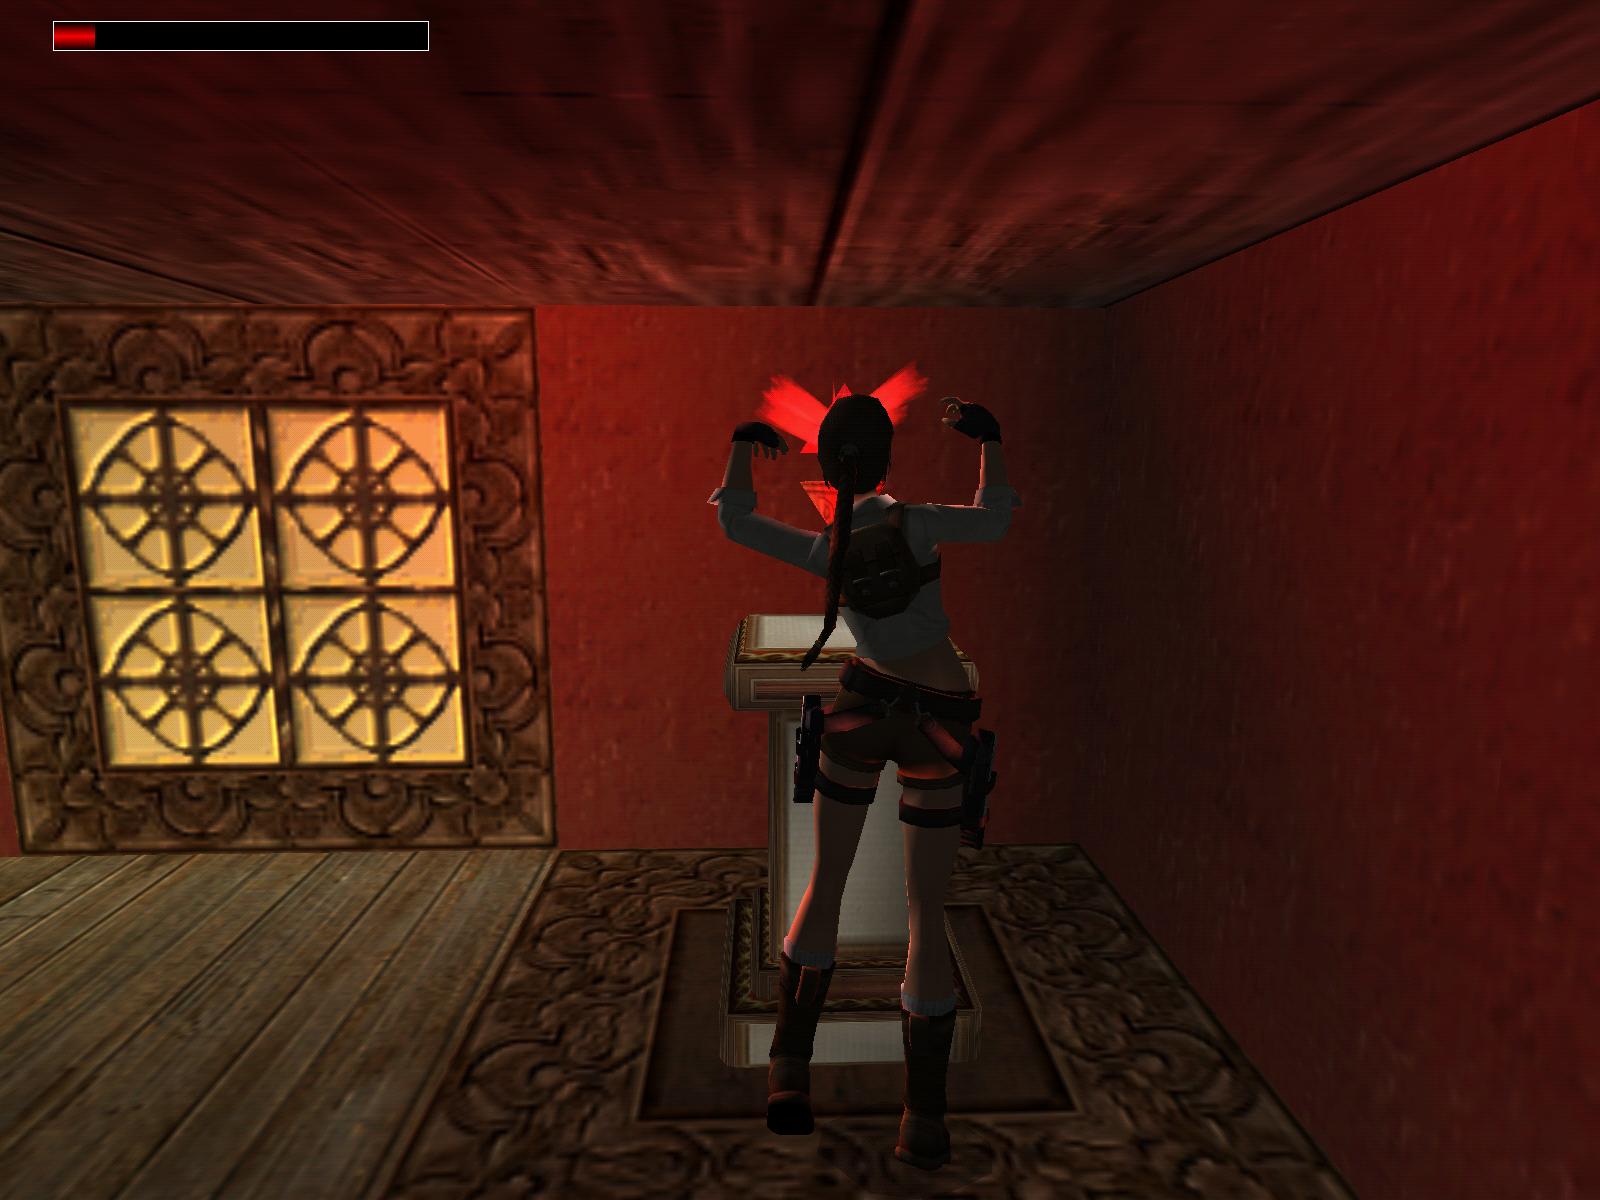
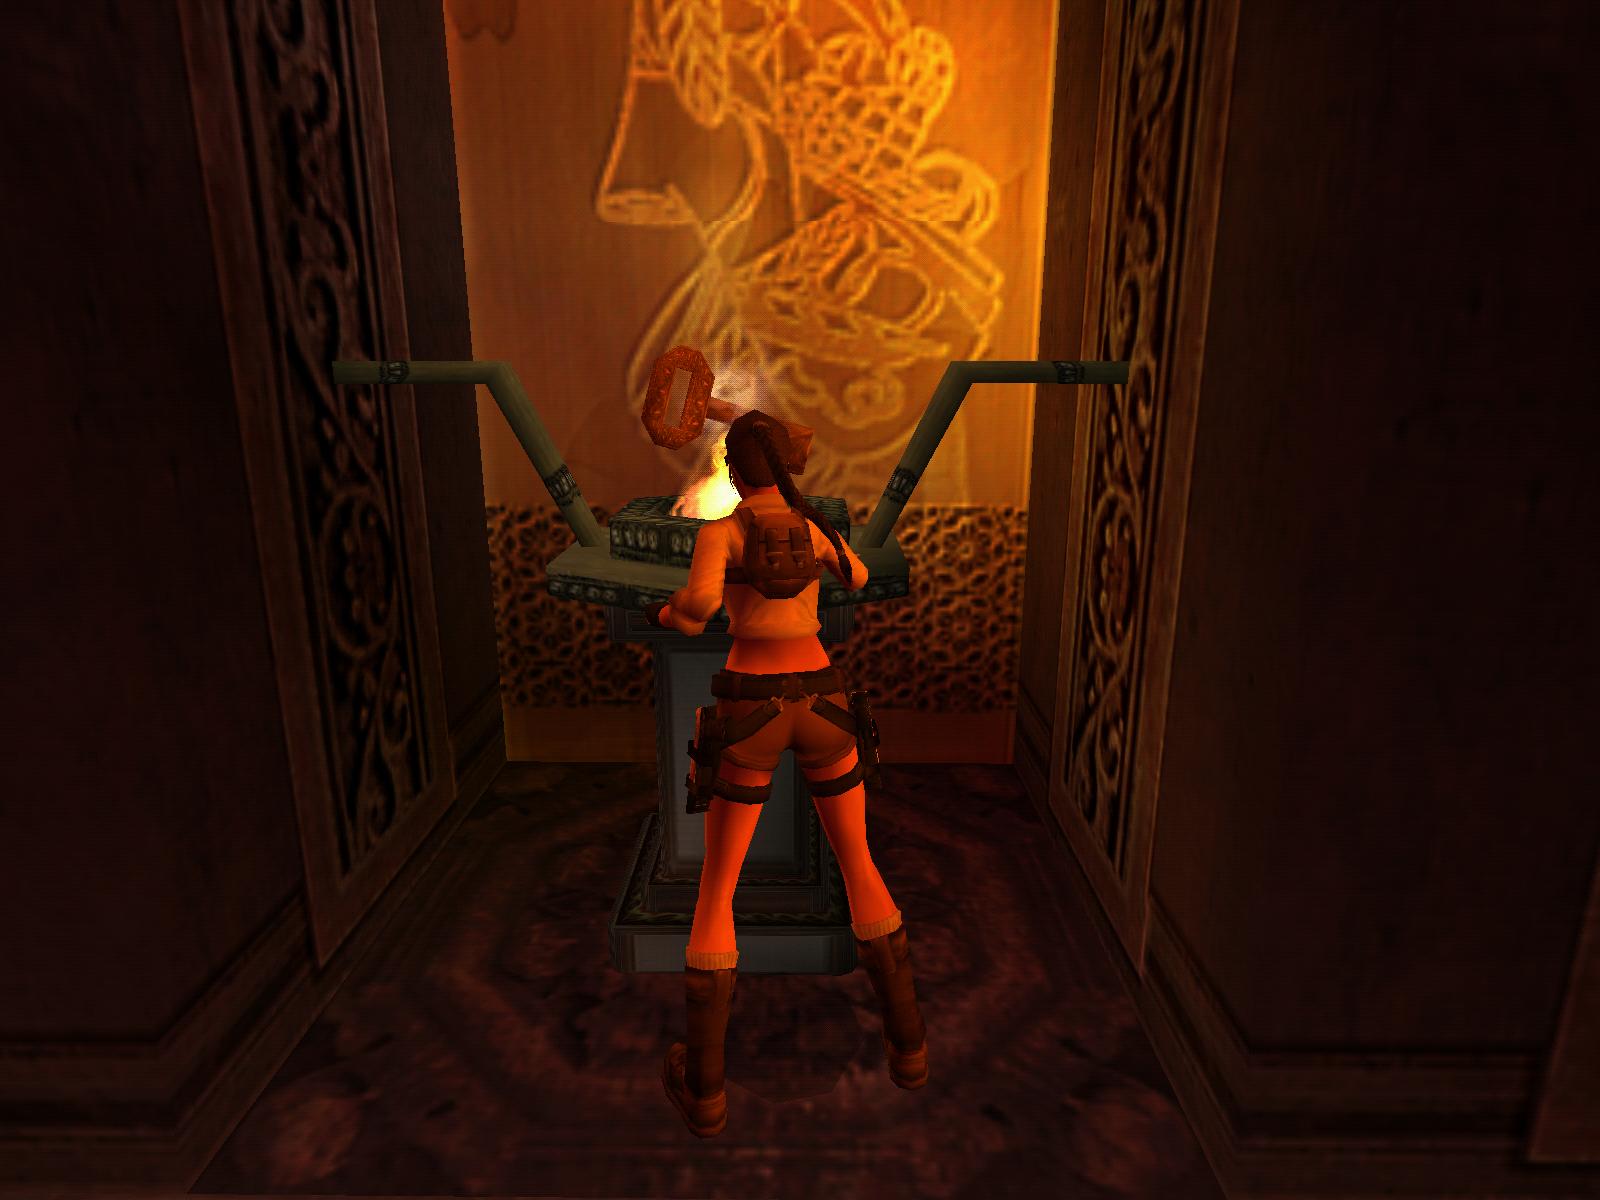
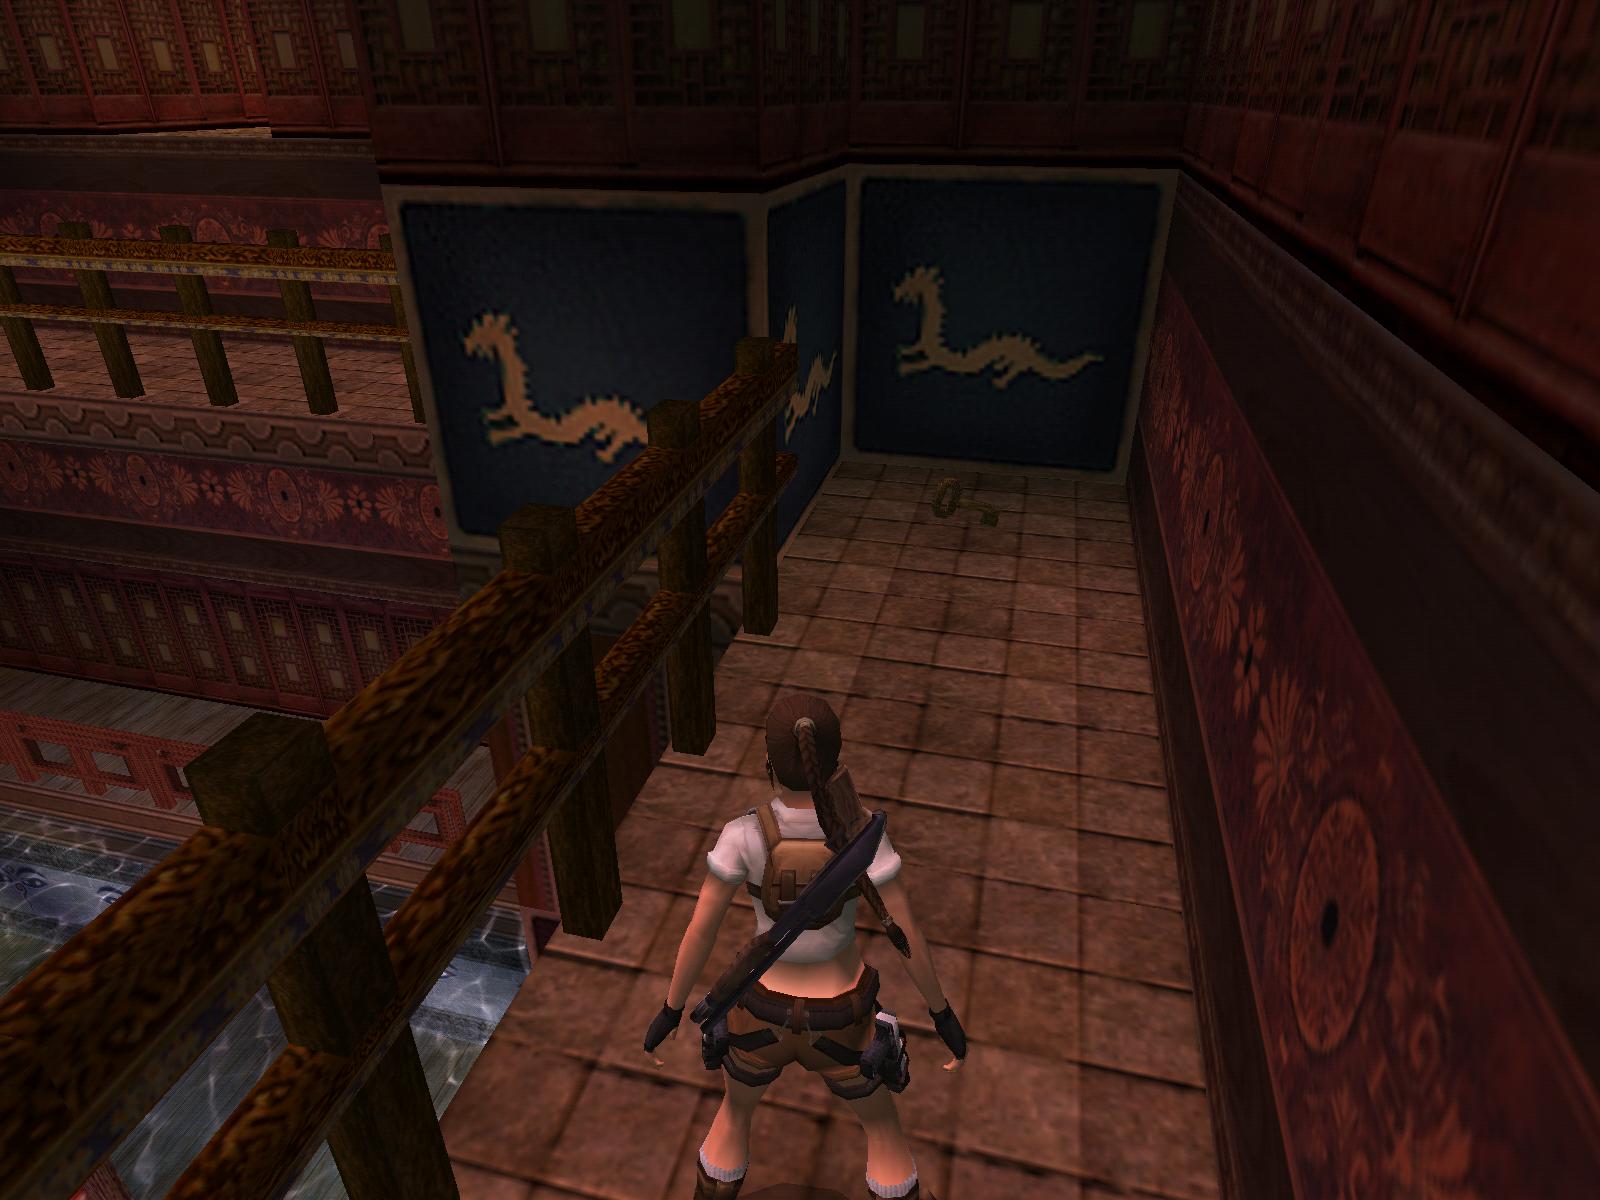
downstairs. Kill two bats and get the Red Gem from the pedestal. Quickly get
back as a stone will fall on it. Look at the ceiling to avoid the squares
with more stones, jump over the S boulder trap and pull the lever to open
the S door in the foyer.
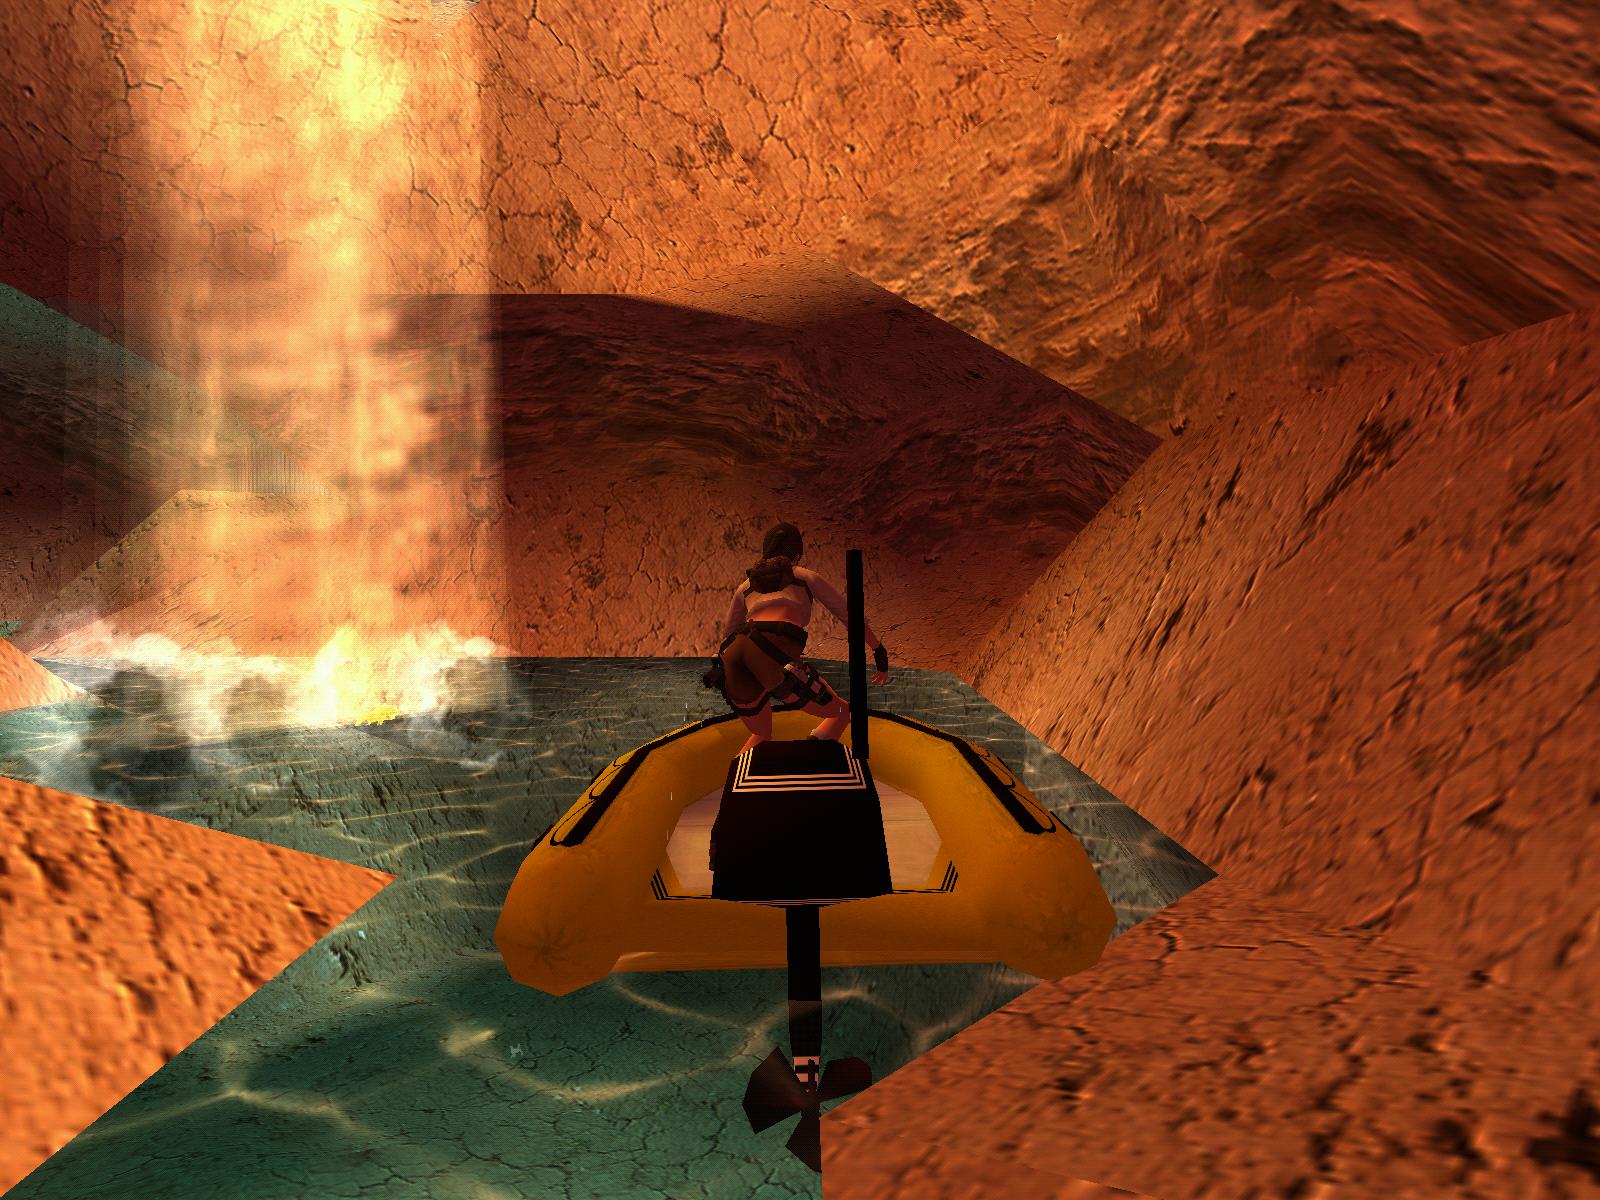
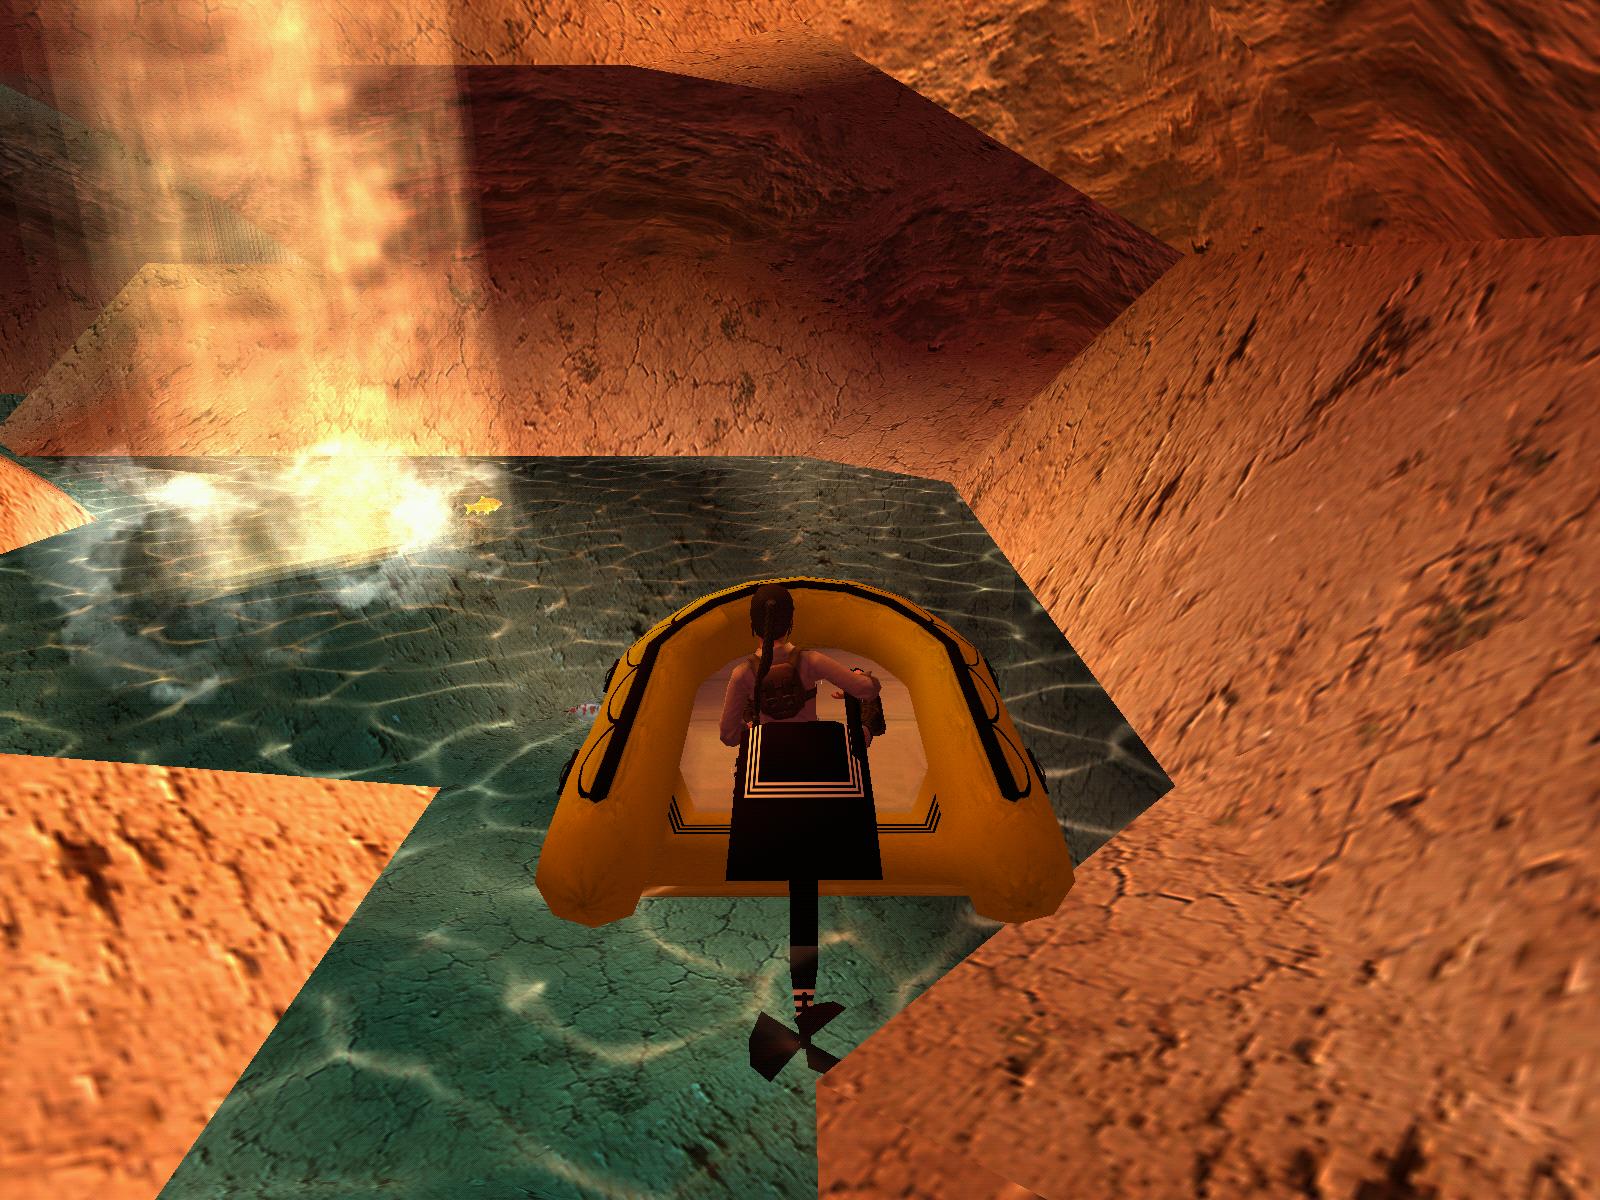
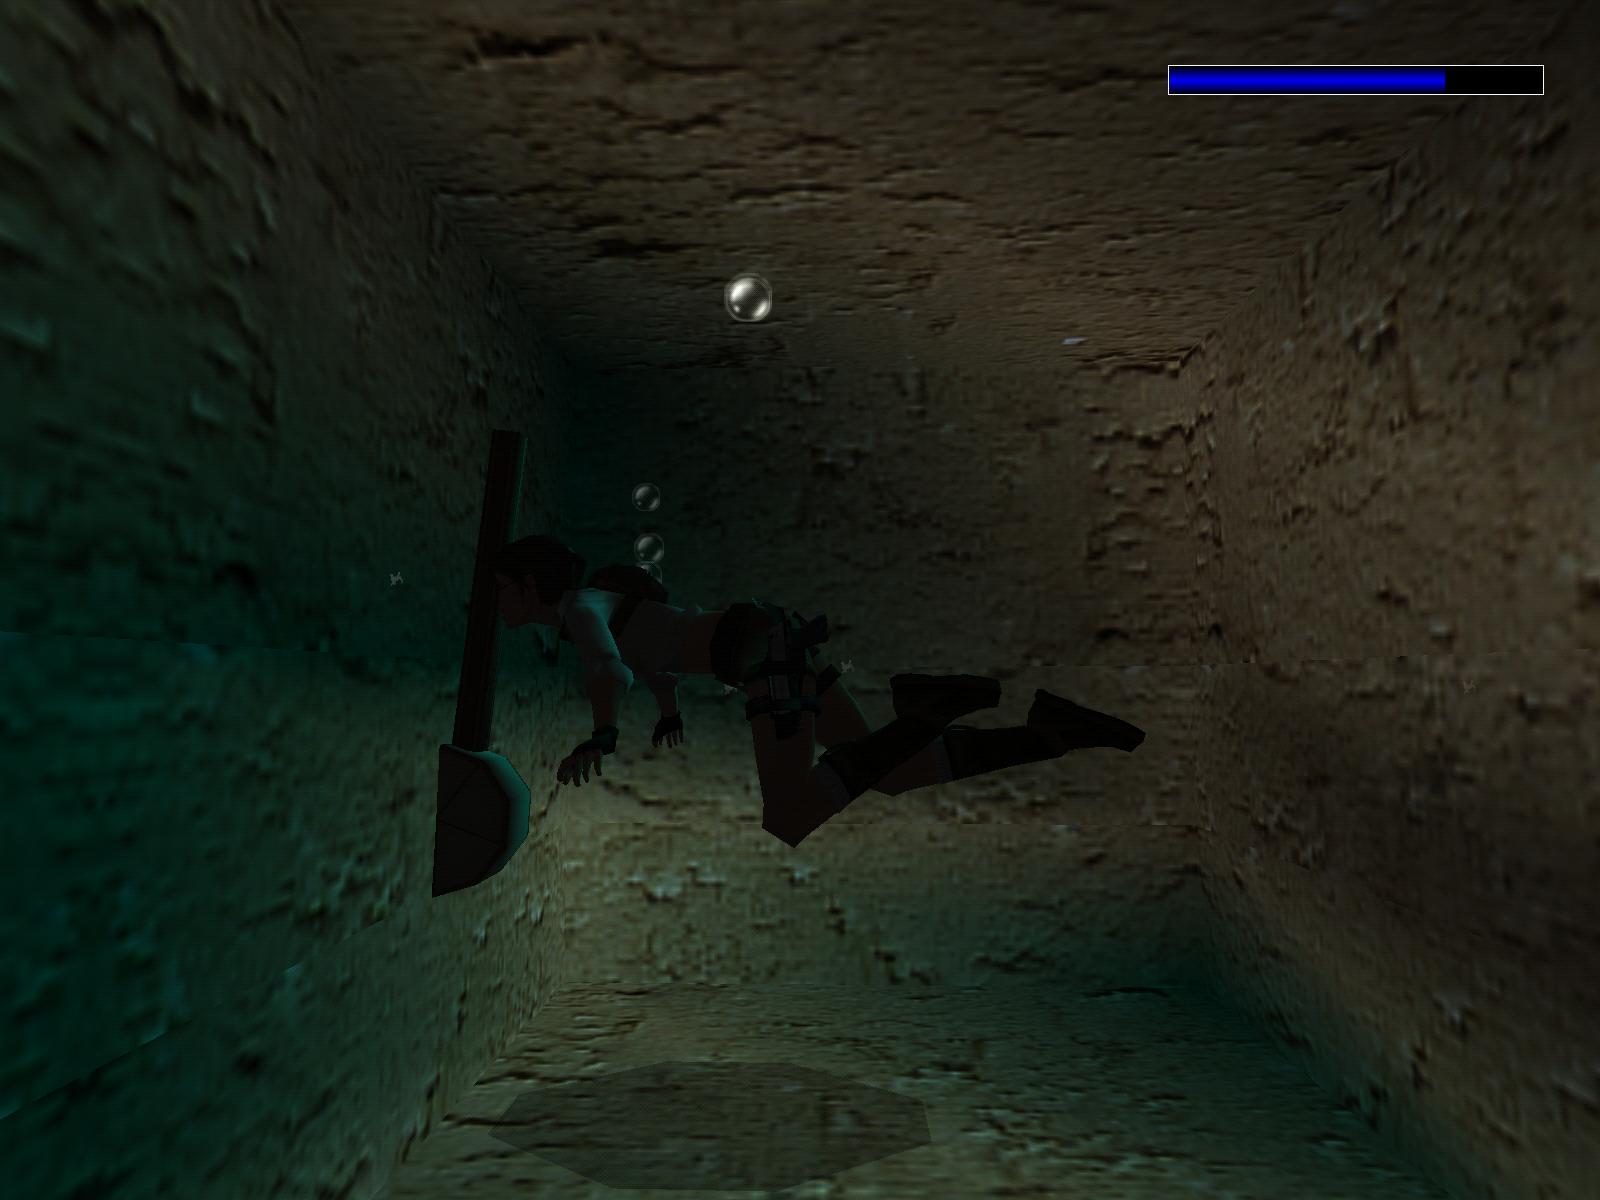
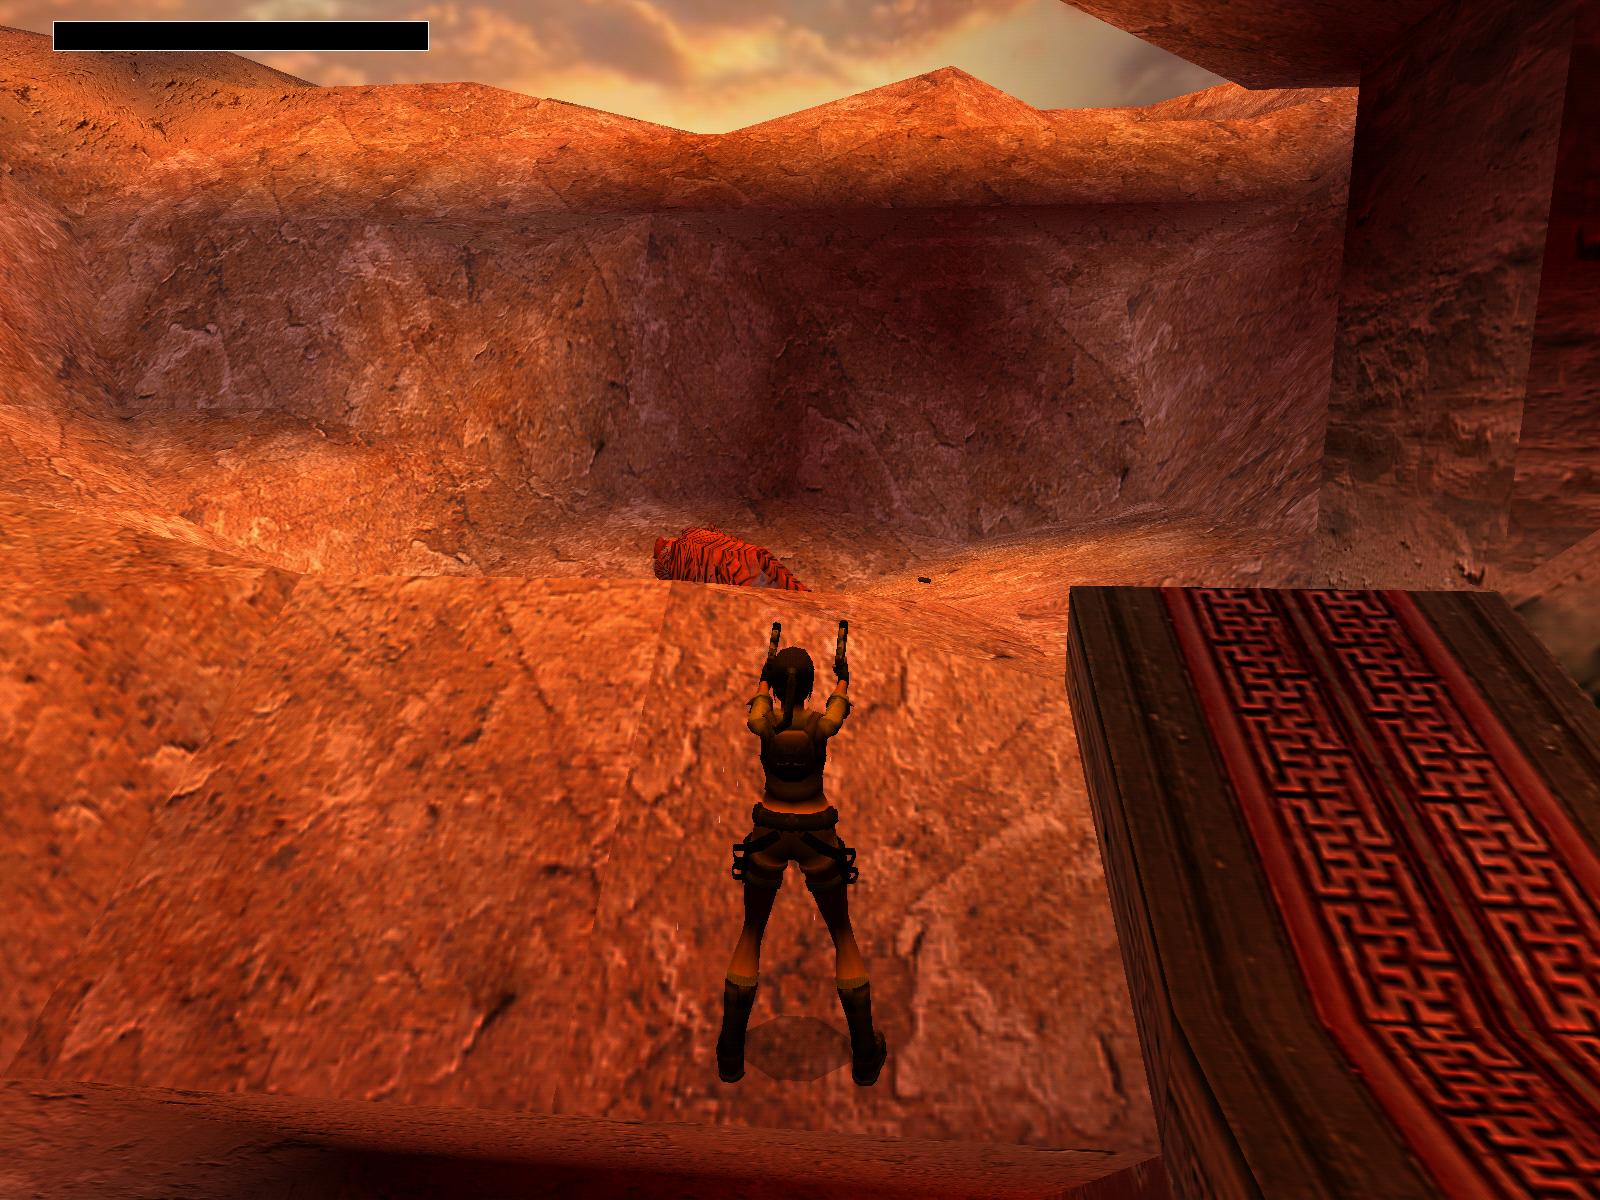
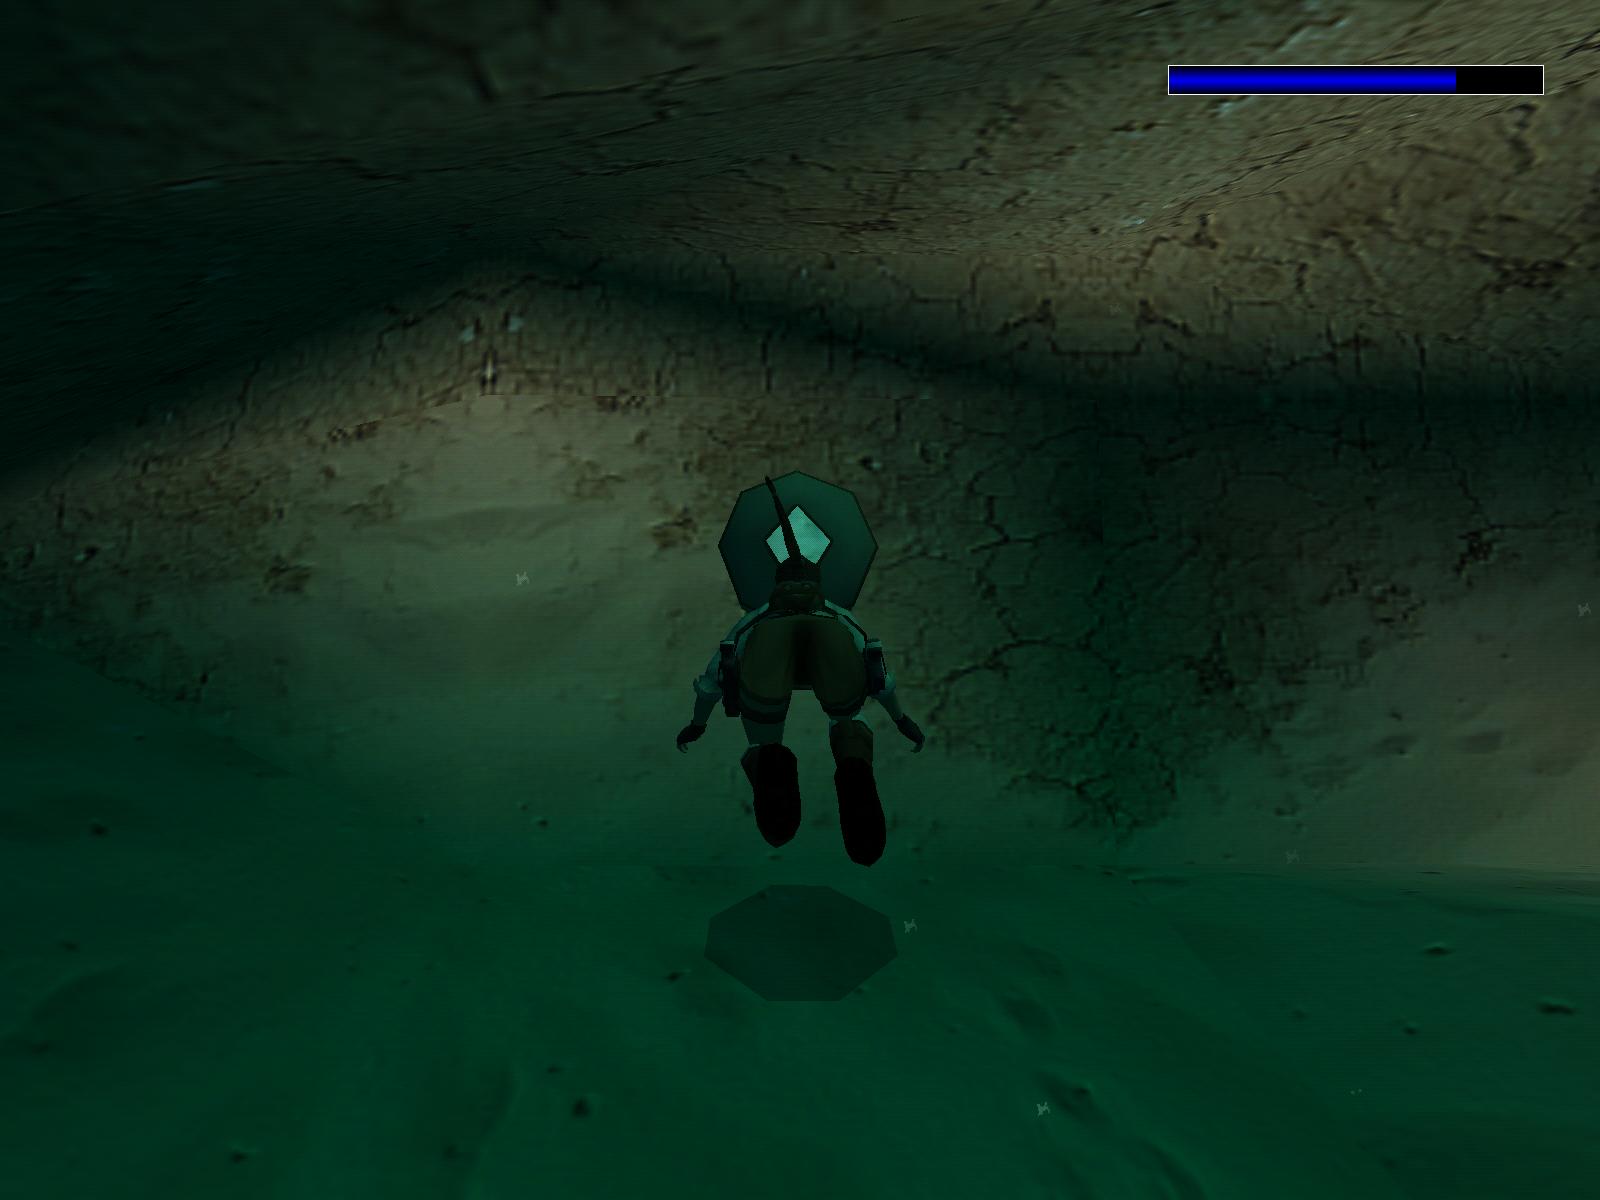
Lake Area
Kill two tigers and a vulture. Jump in the lake and get some Flares in the
middle, then swim E and pull the timed underwater lever, then swim around
the right corner and into the tunnel before the door closes again. Pull the
underwater ceiling lever and swim out to get some air first. Swim to the underwater
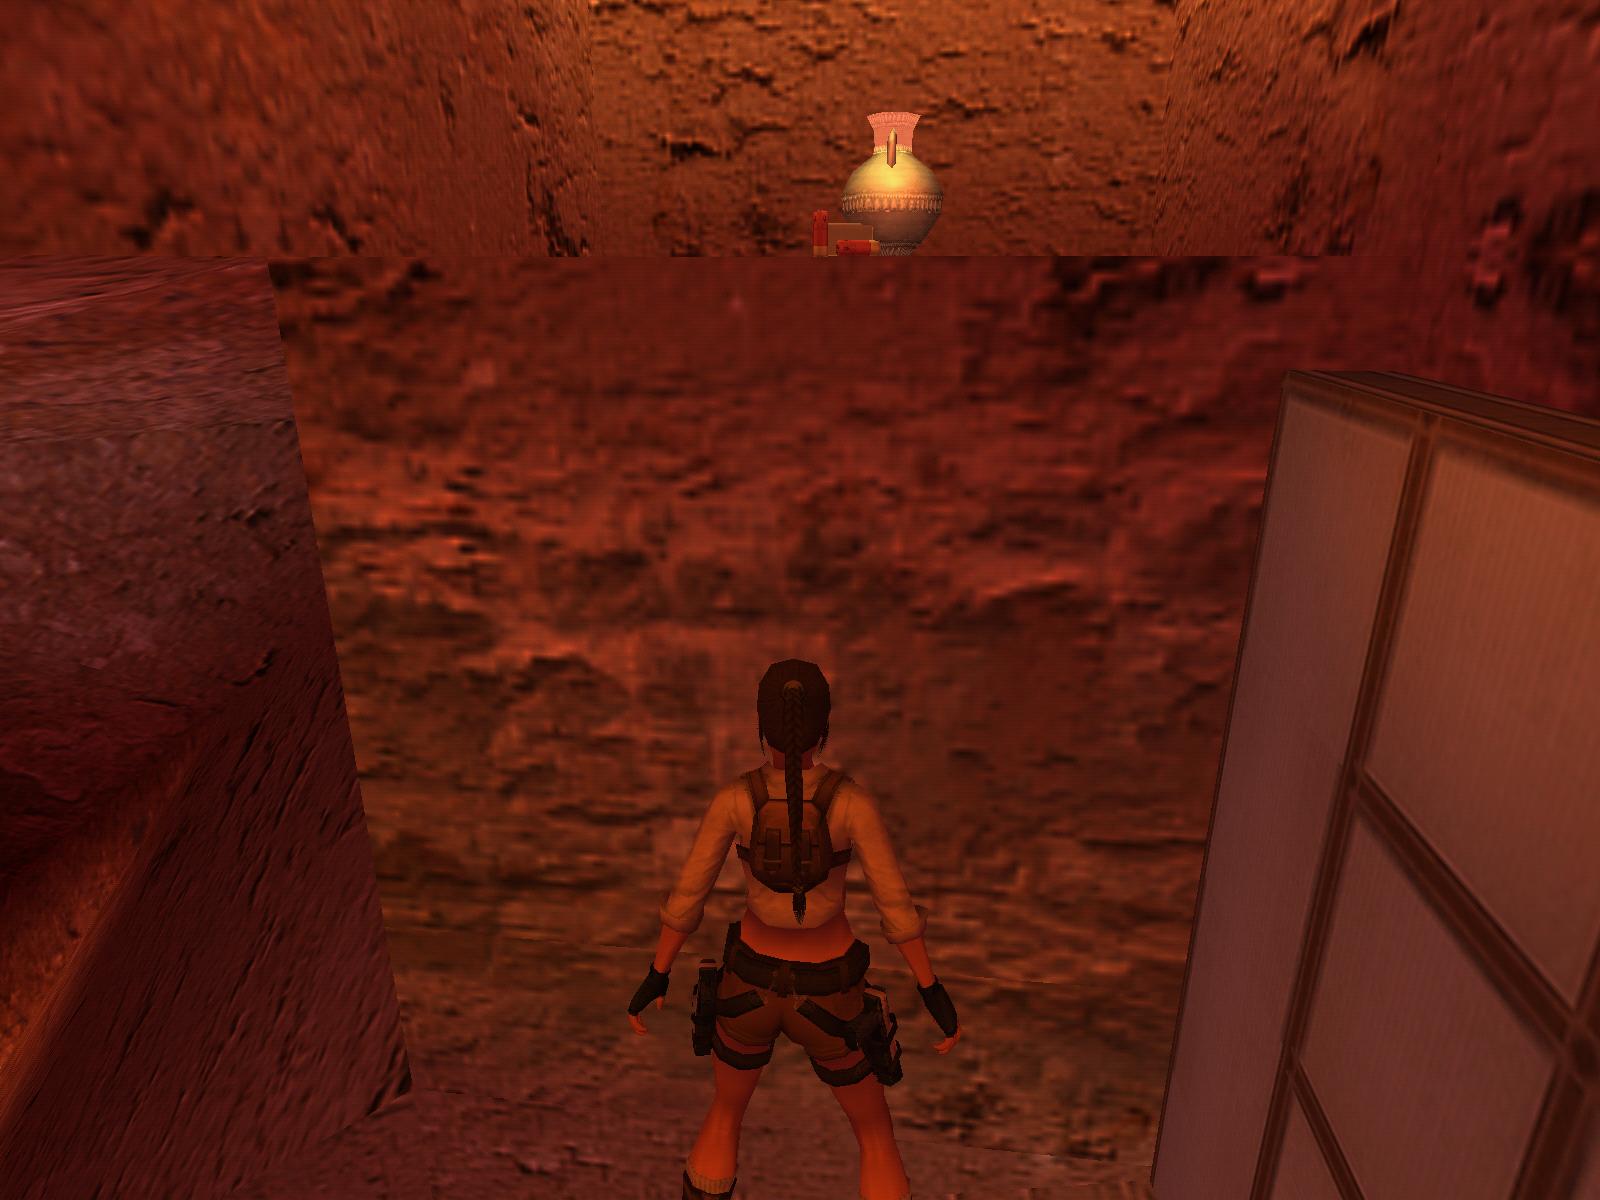
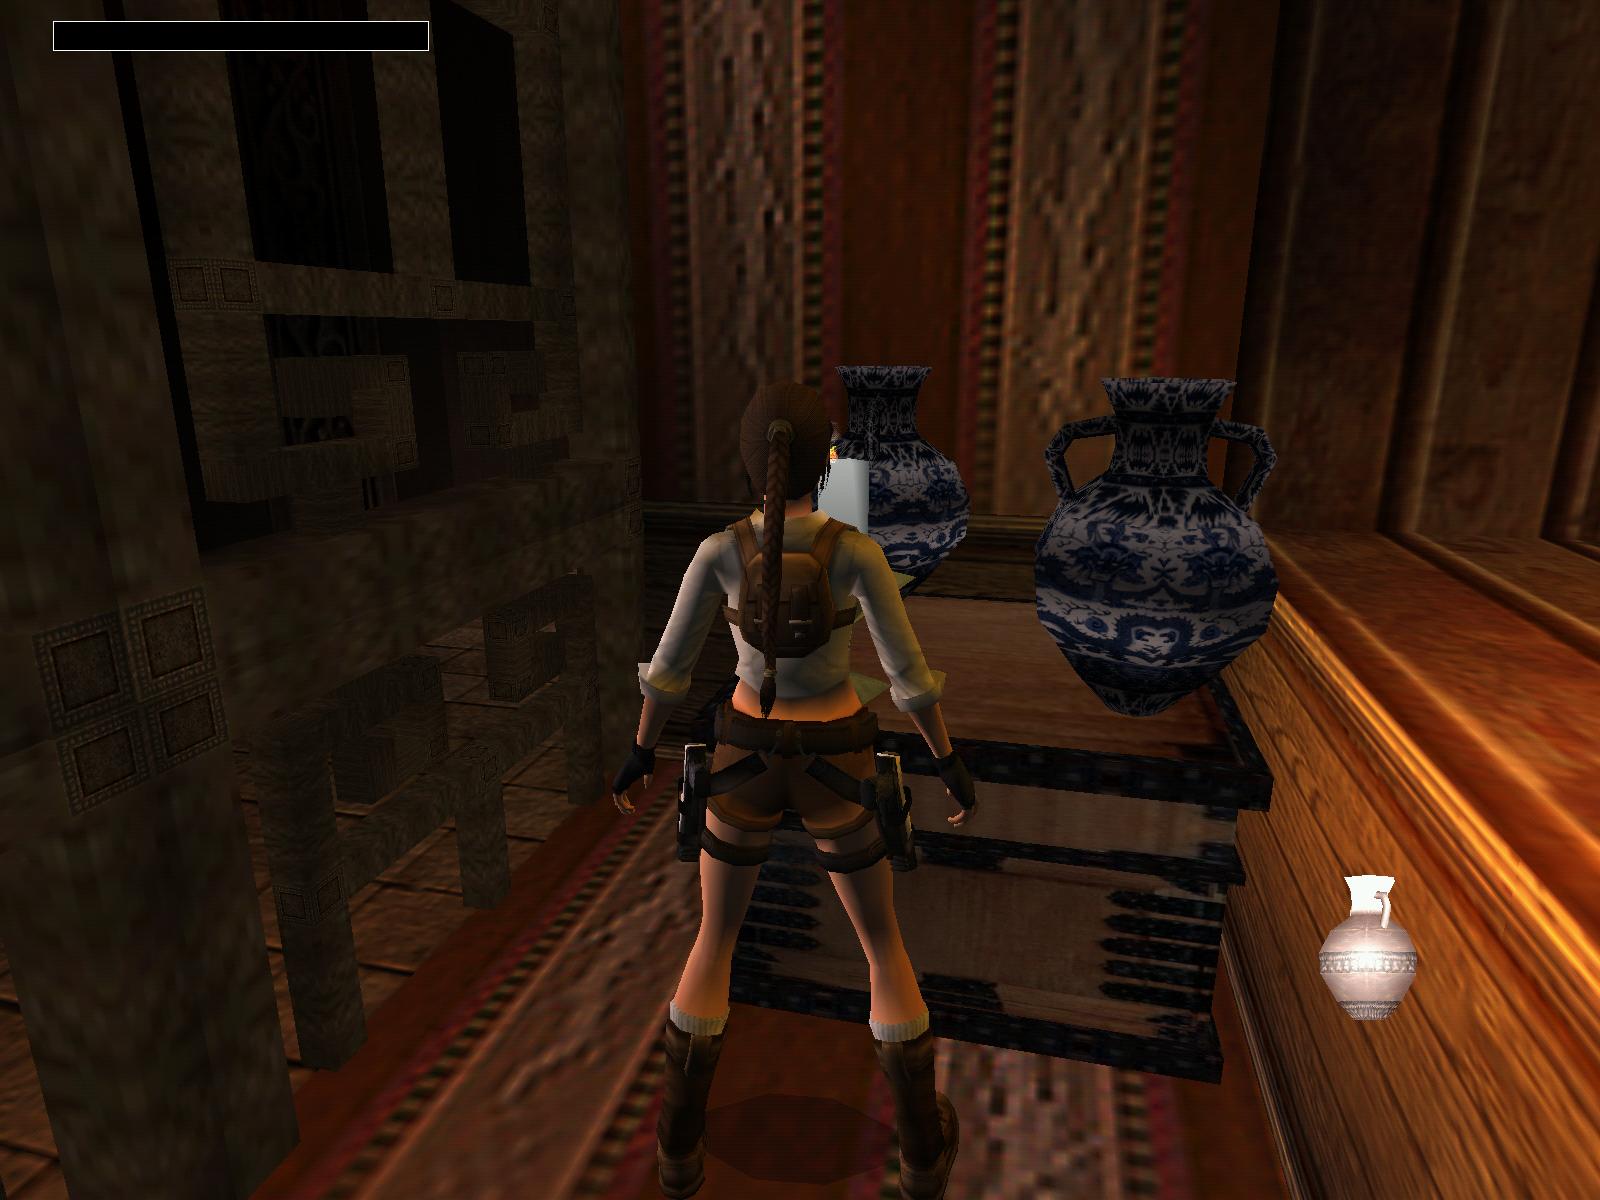
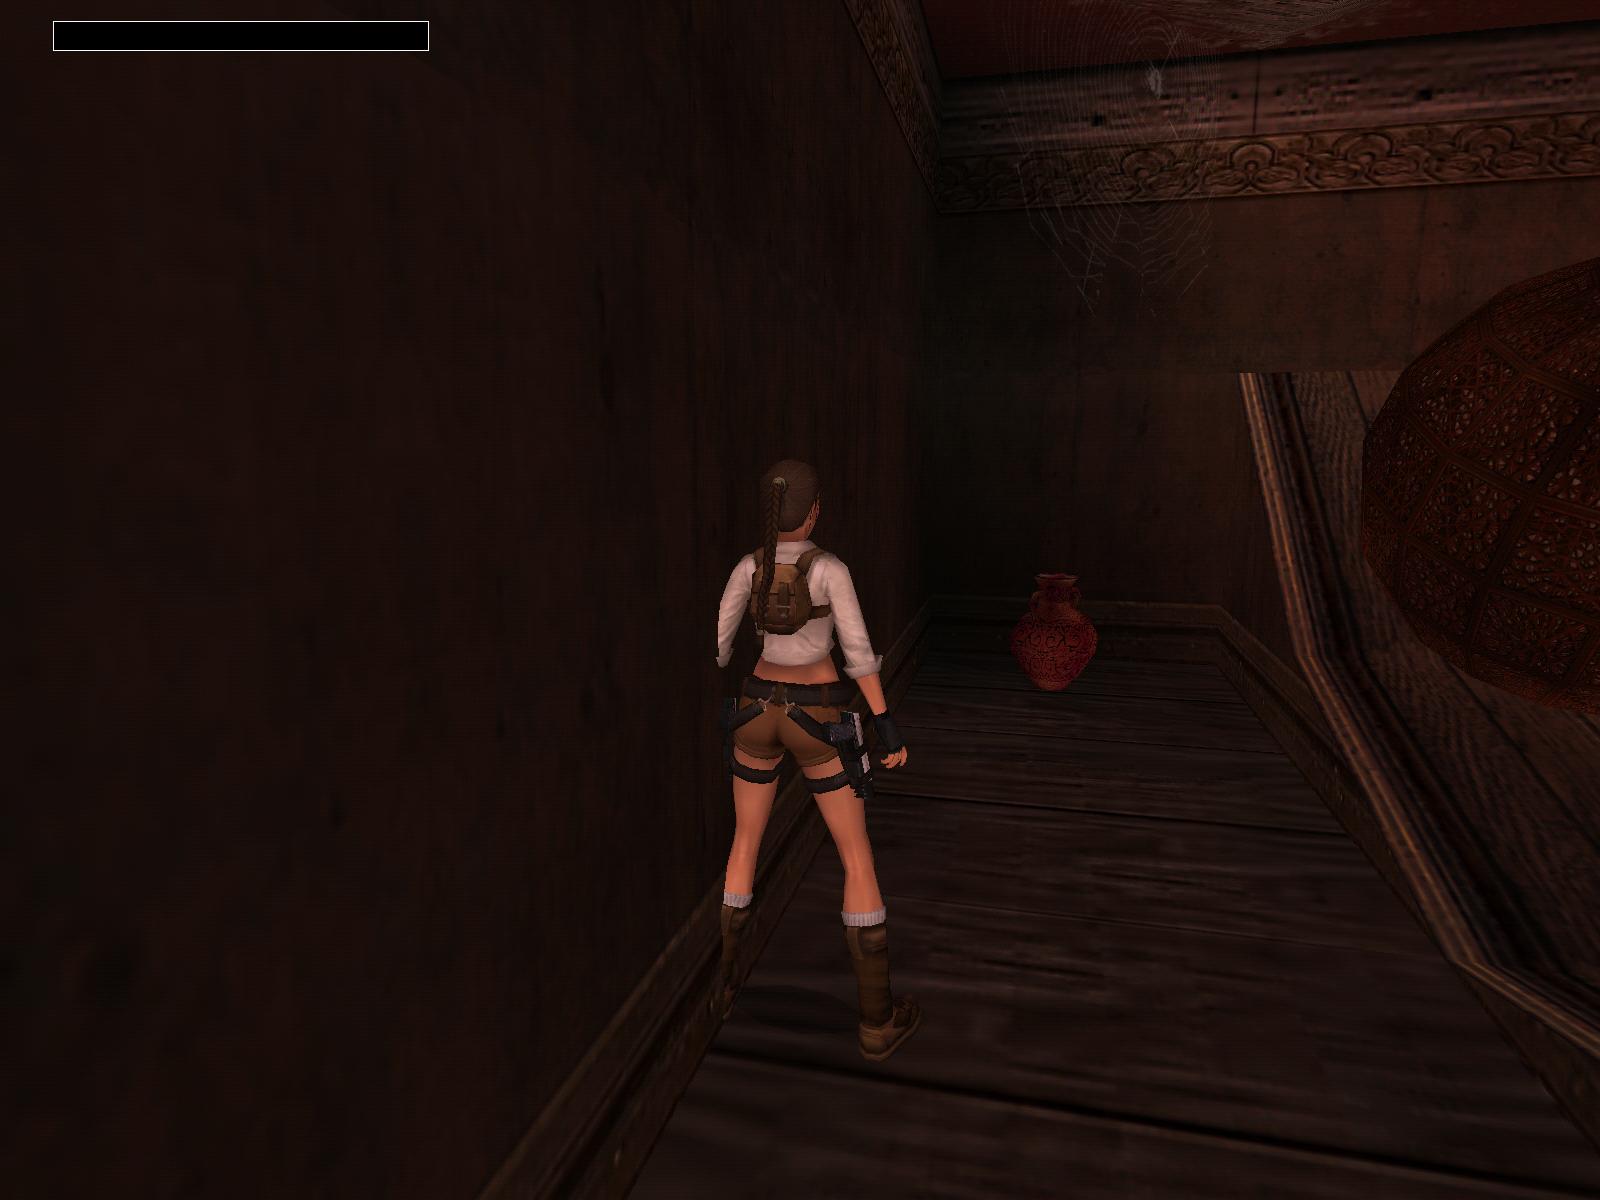
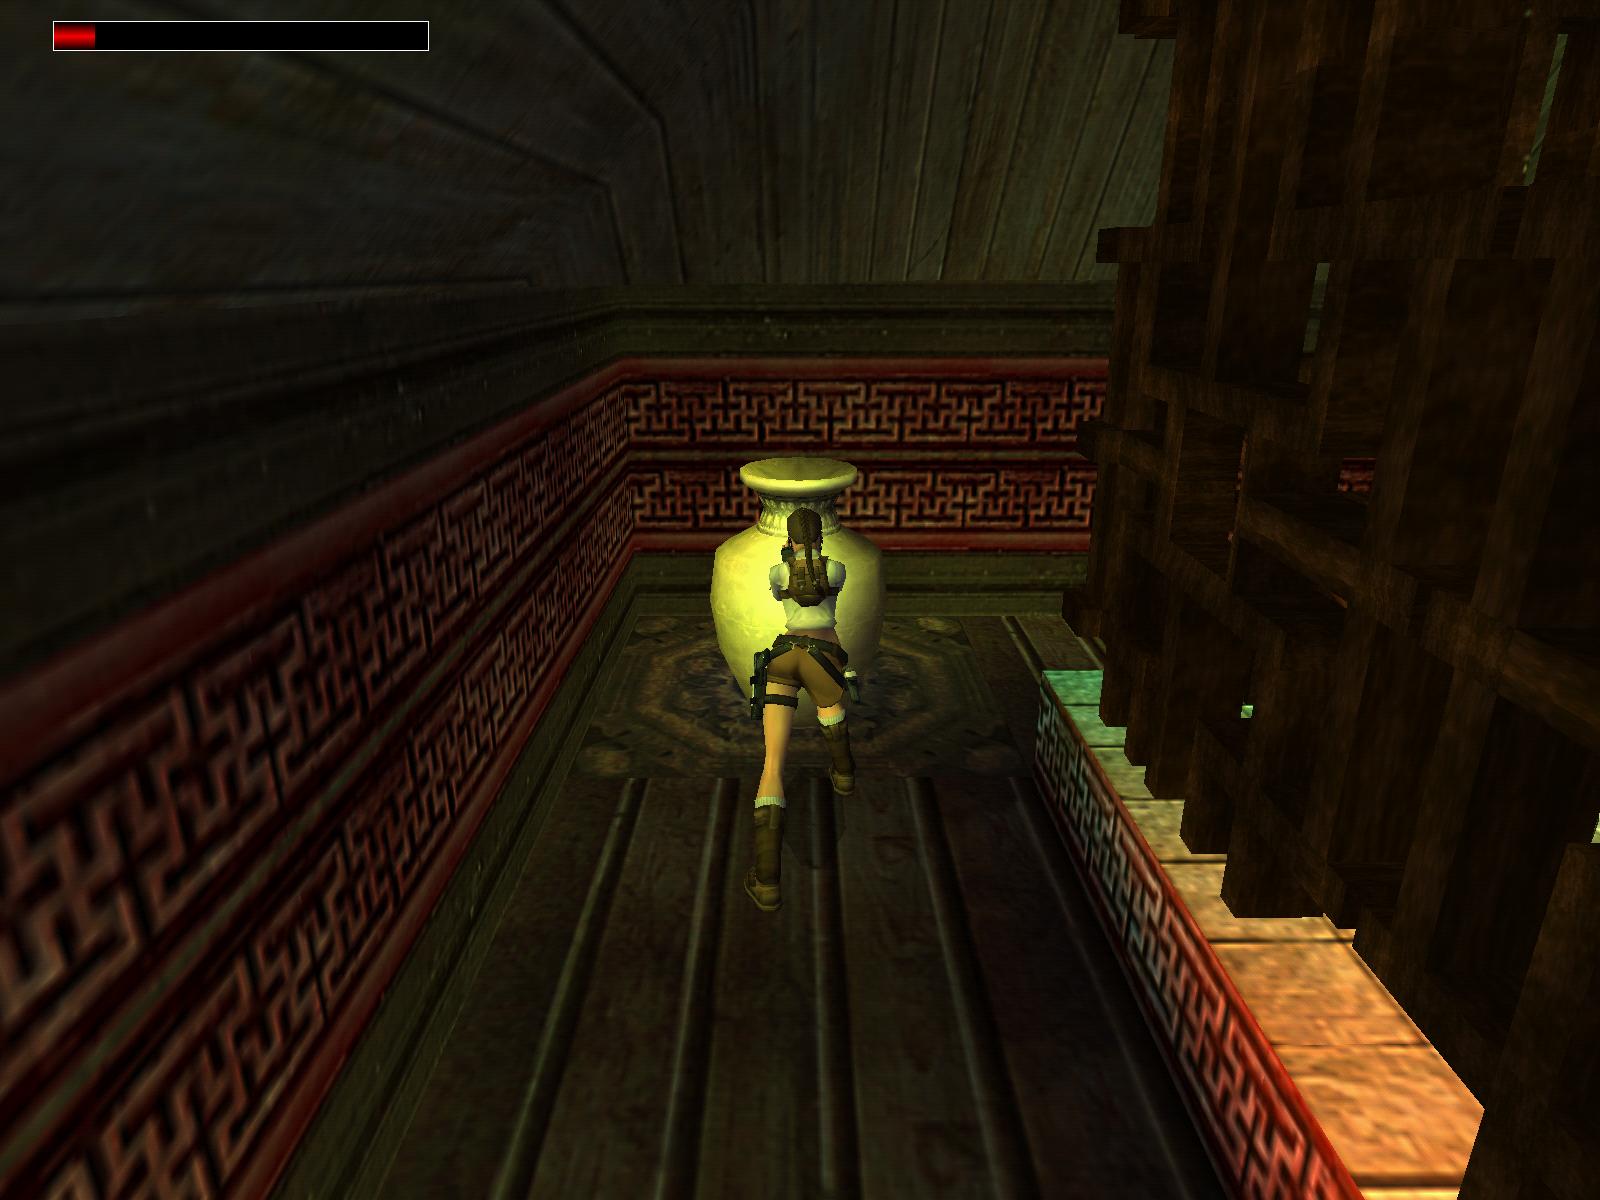
lever again. Climb out and shoot the left vase for Uzi Ammo, jump again in
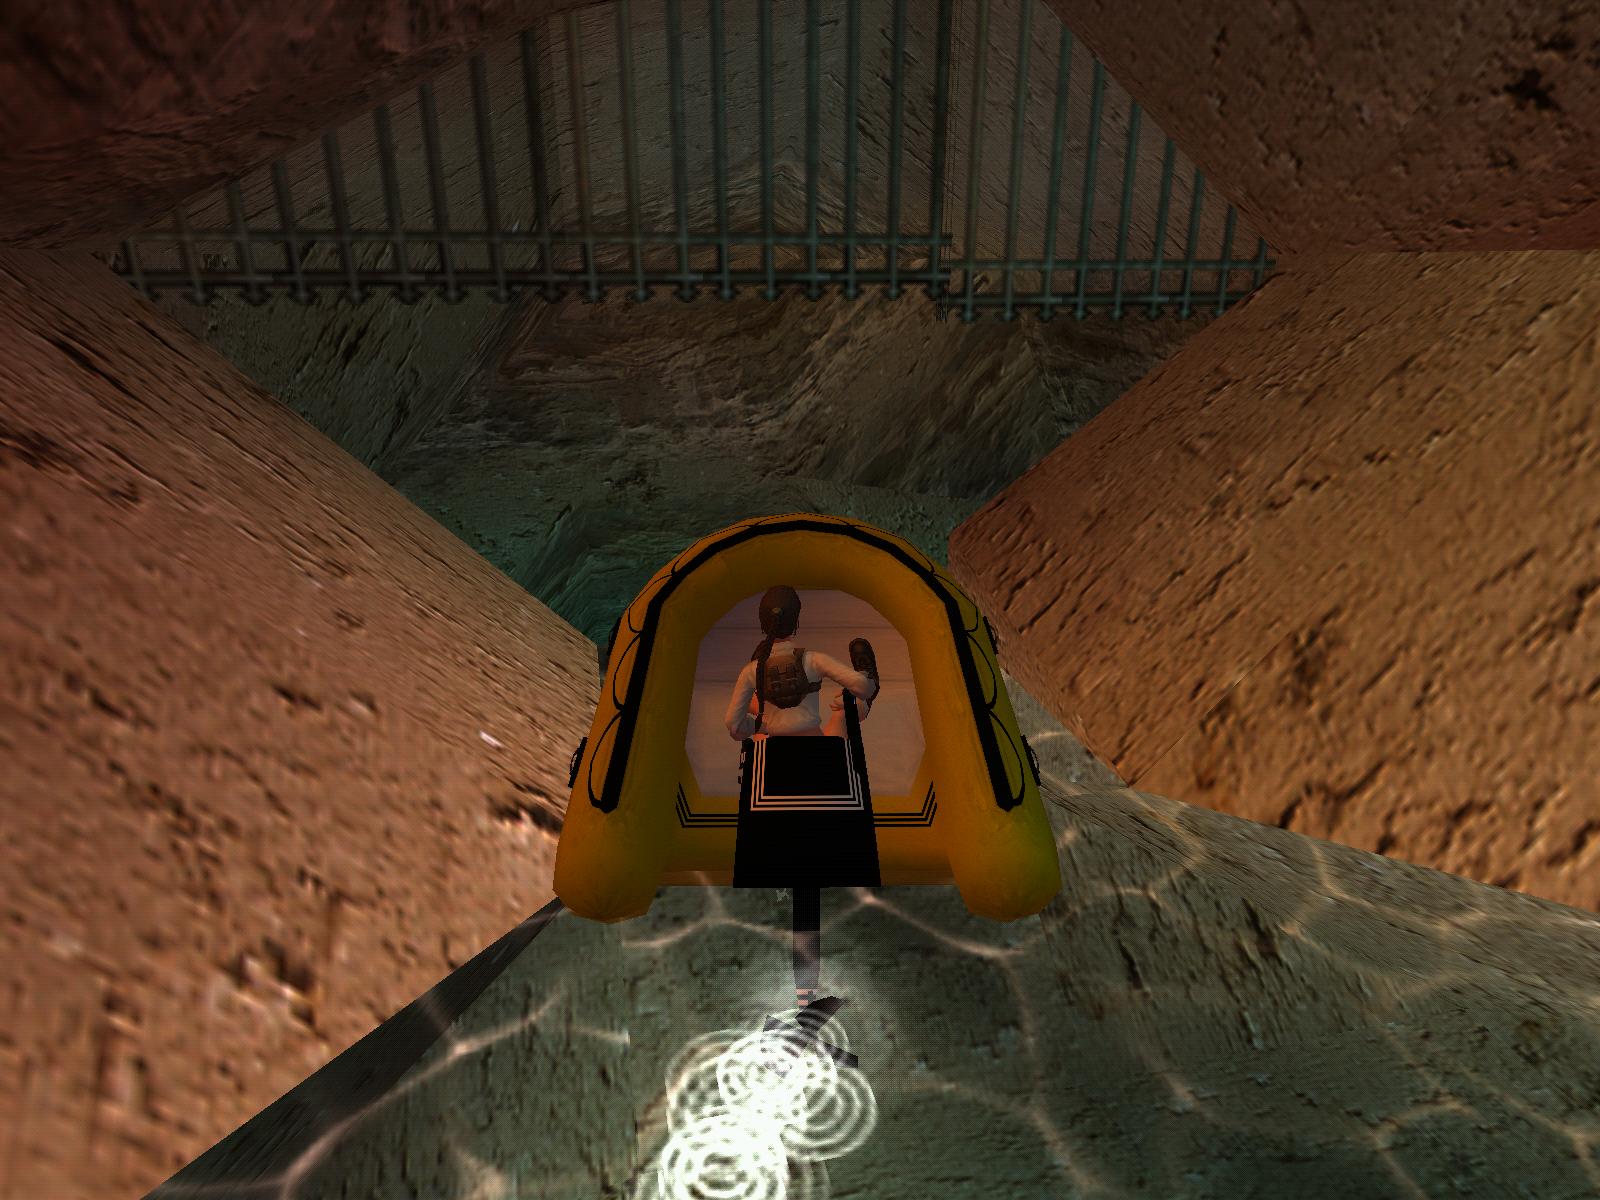
the pool. Afterwards, swim into the little SE tunnel and down into a room
with a gigantic blade trap. Avoid it best as possible and get to the S wall
to pull an underwater lever here. Get out of the room again, if you have some
air left you can get a Large Medikit in a NE passage.
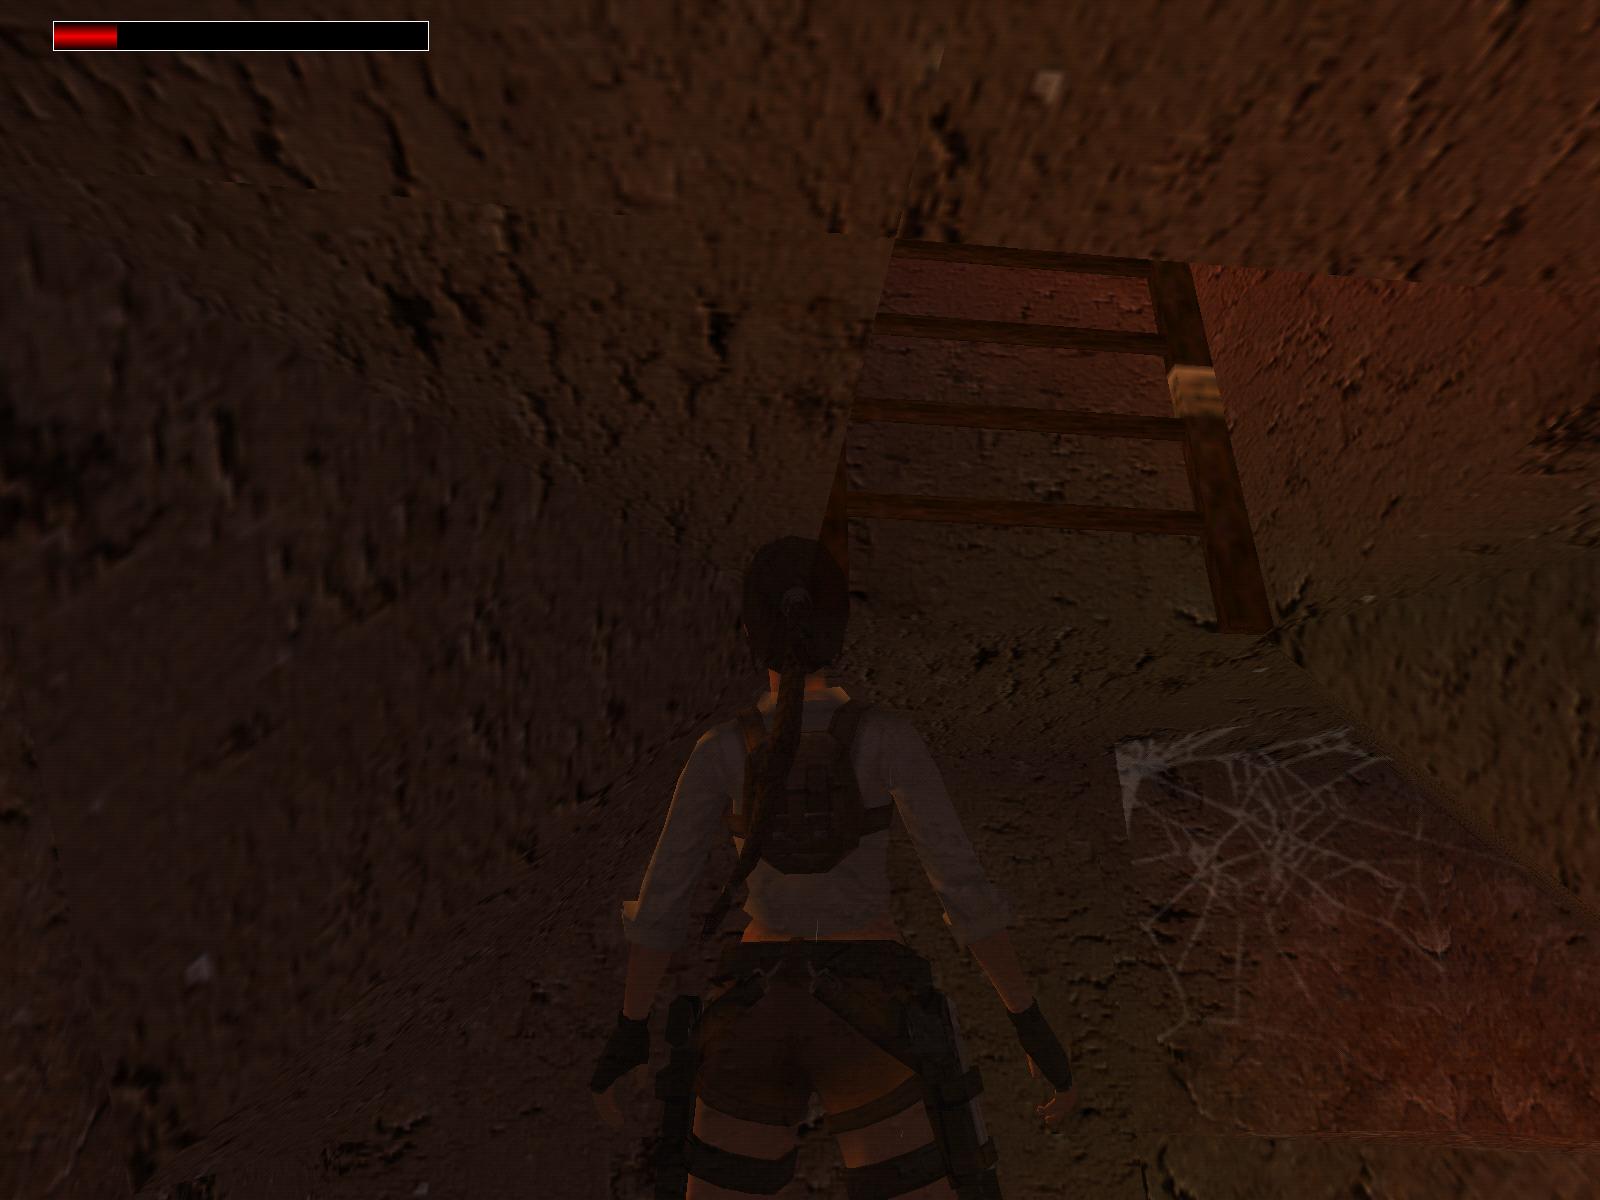
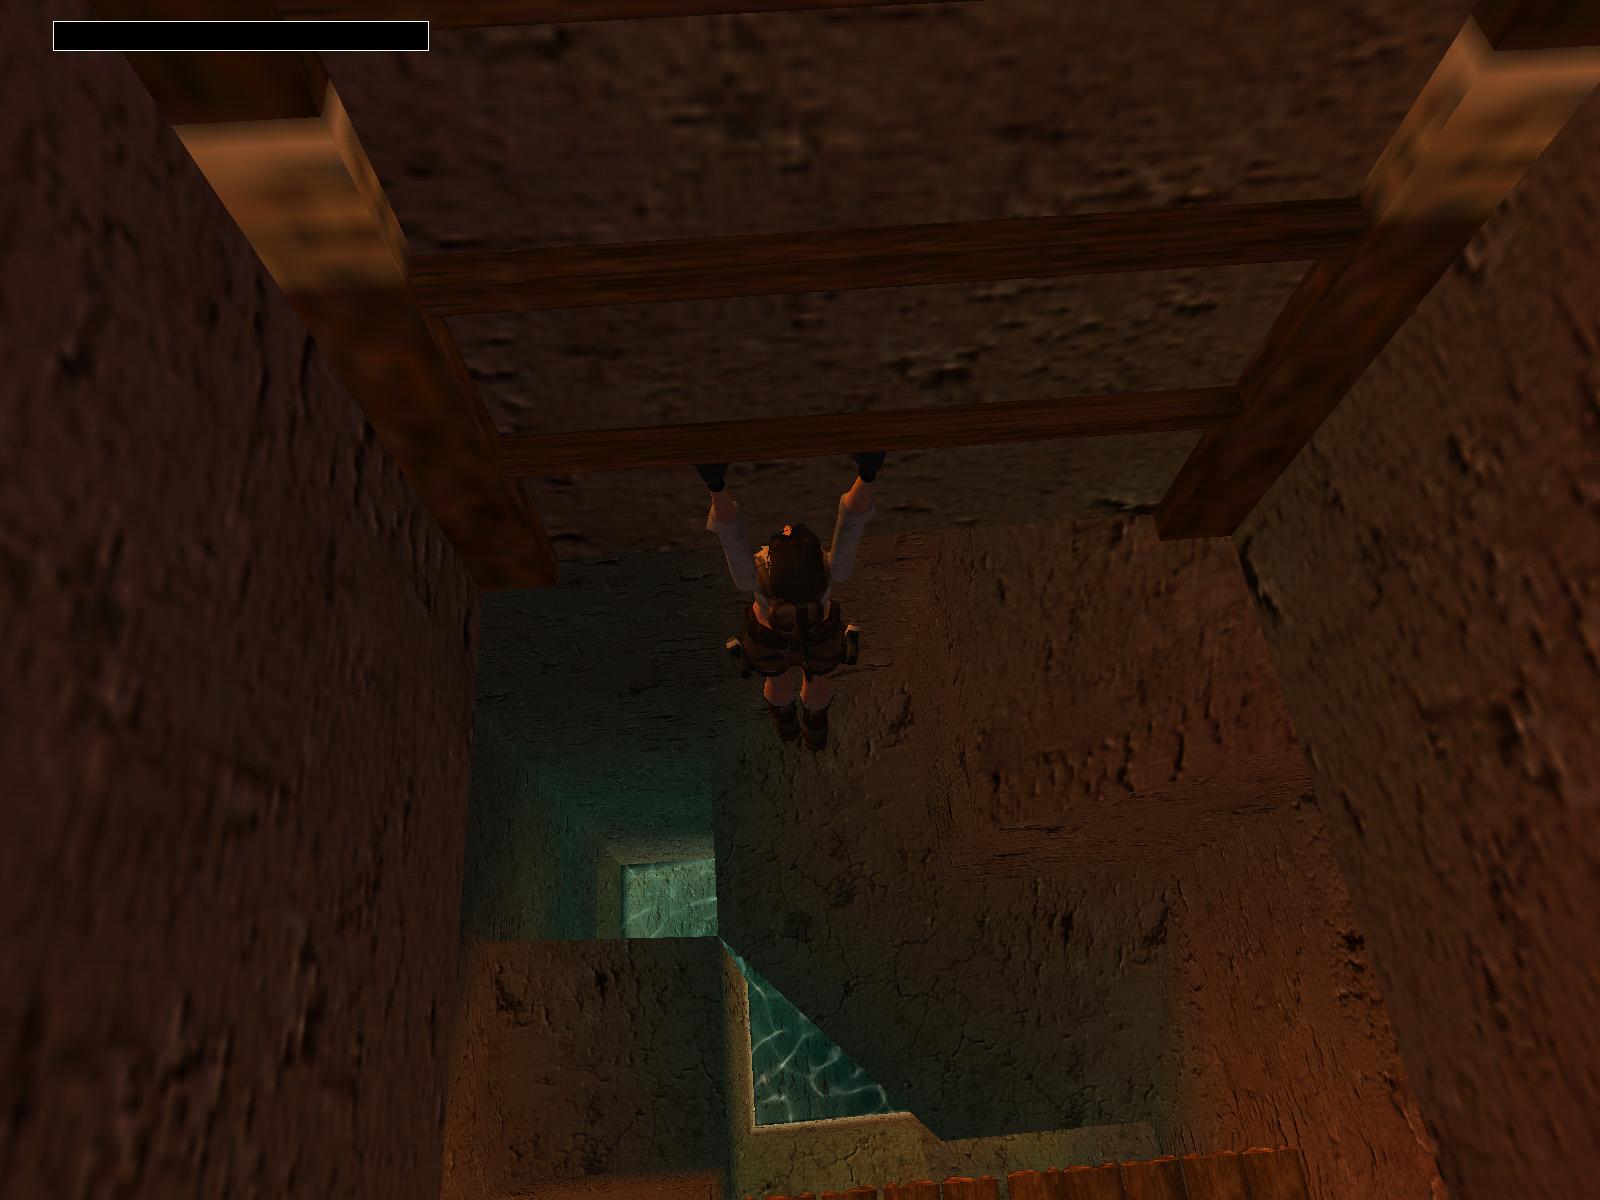
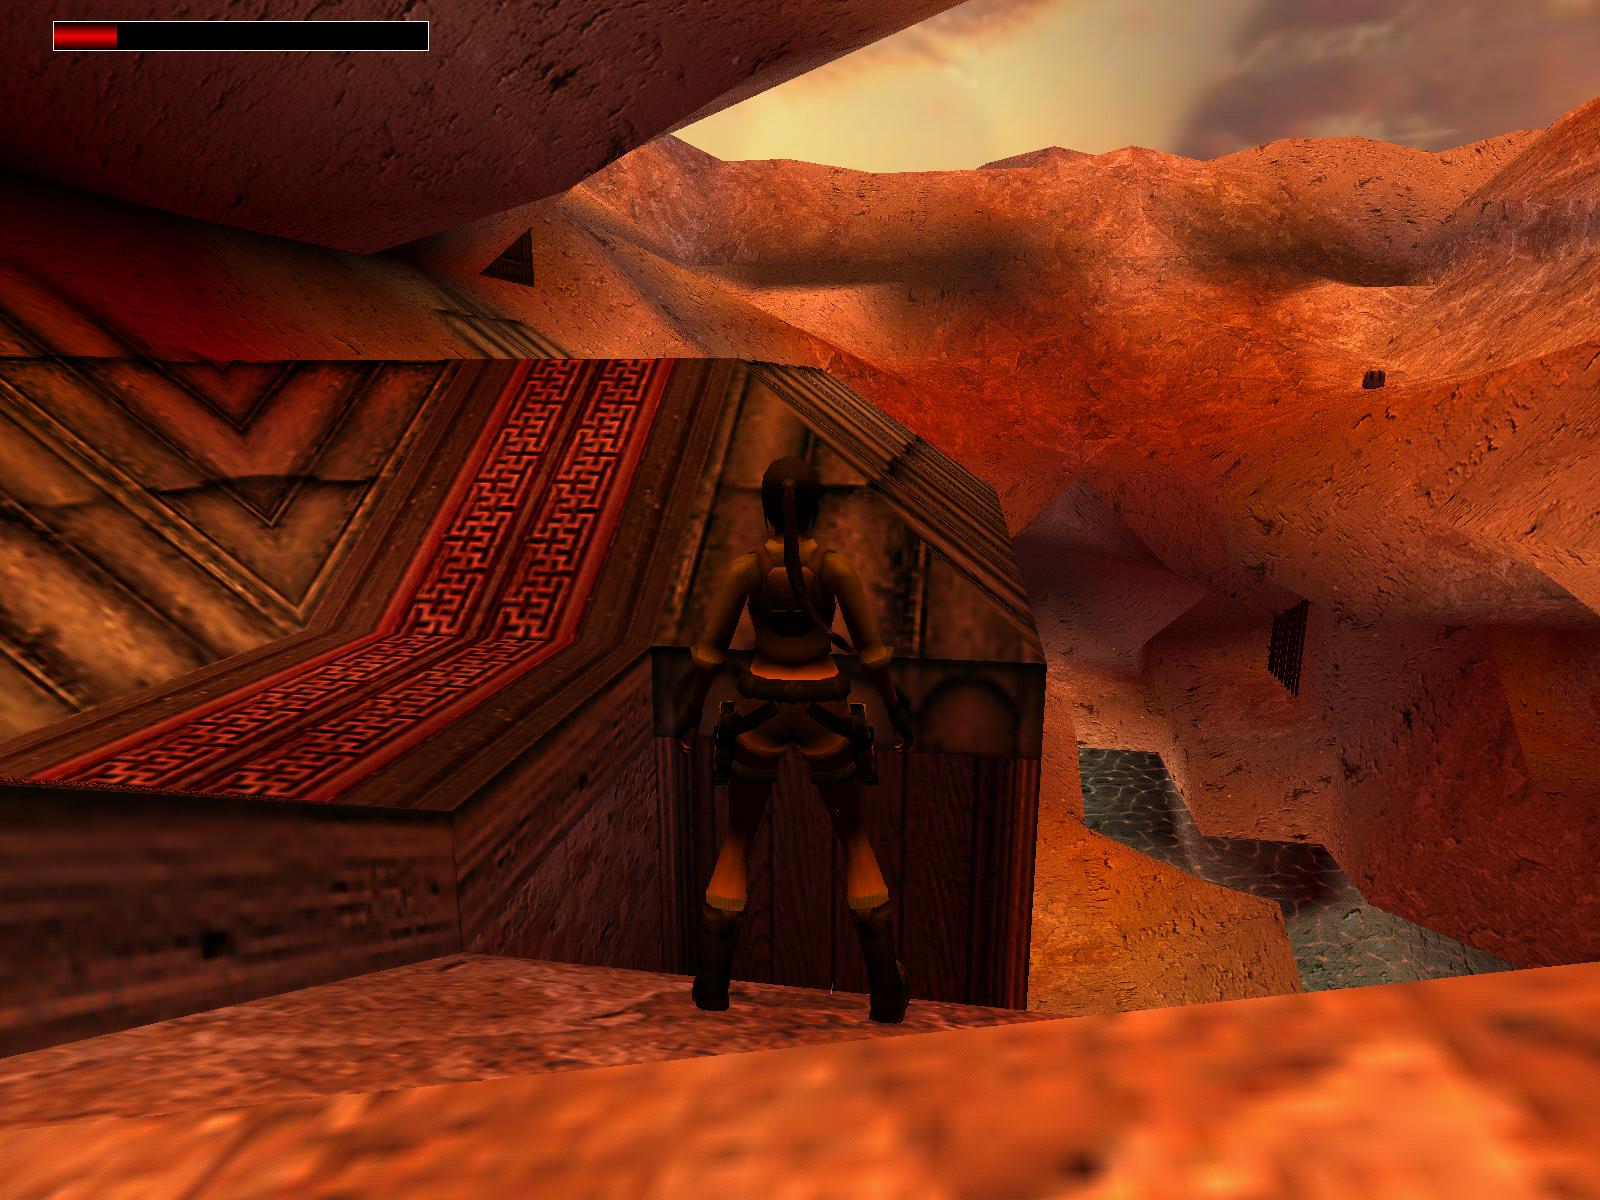
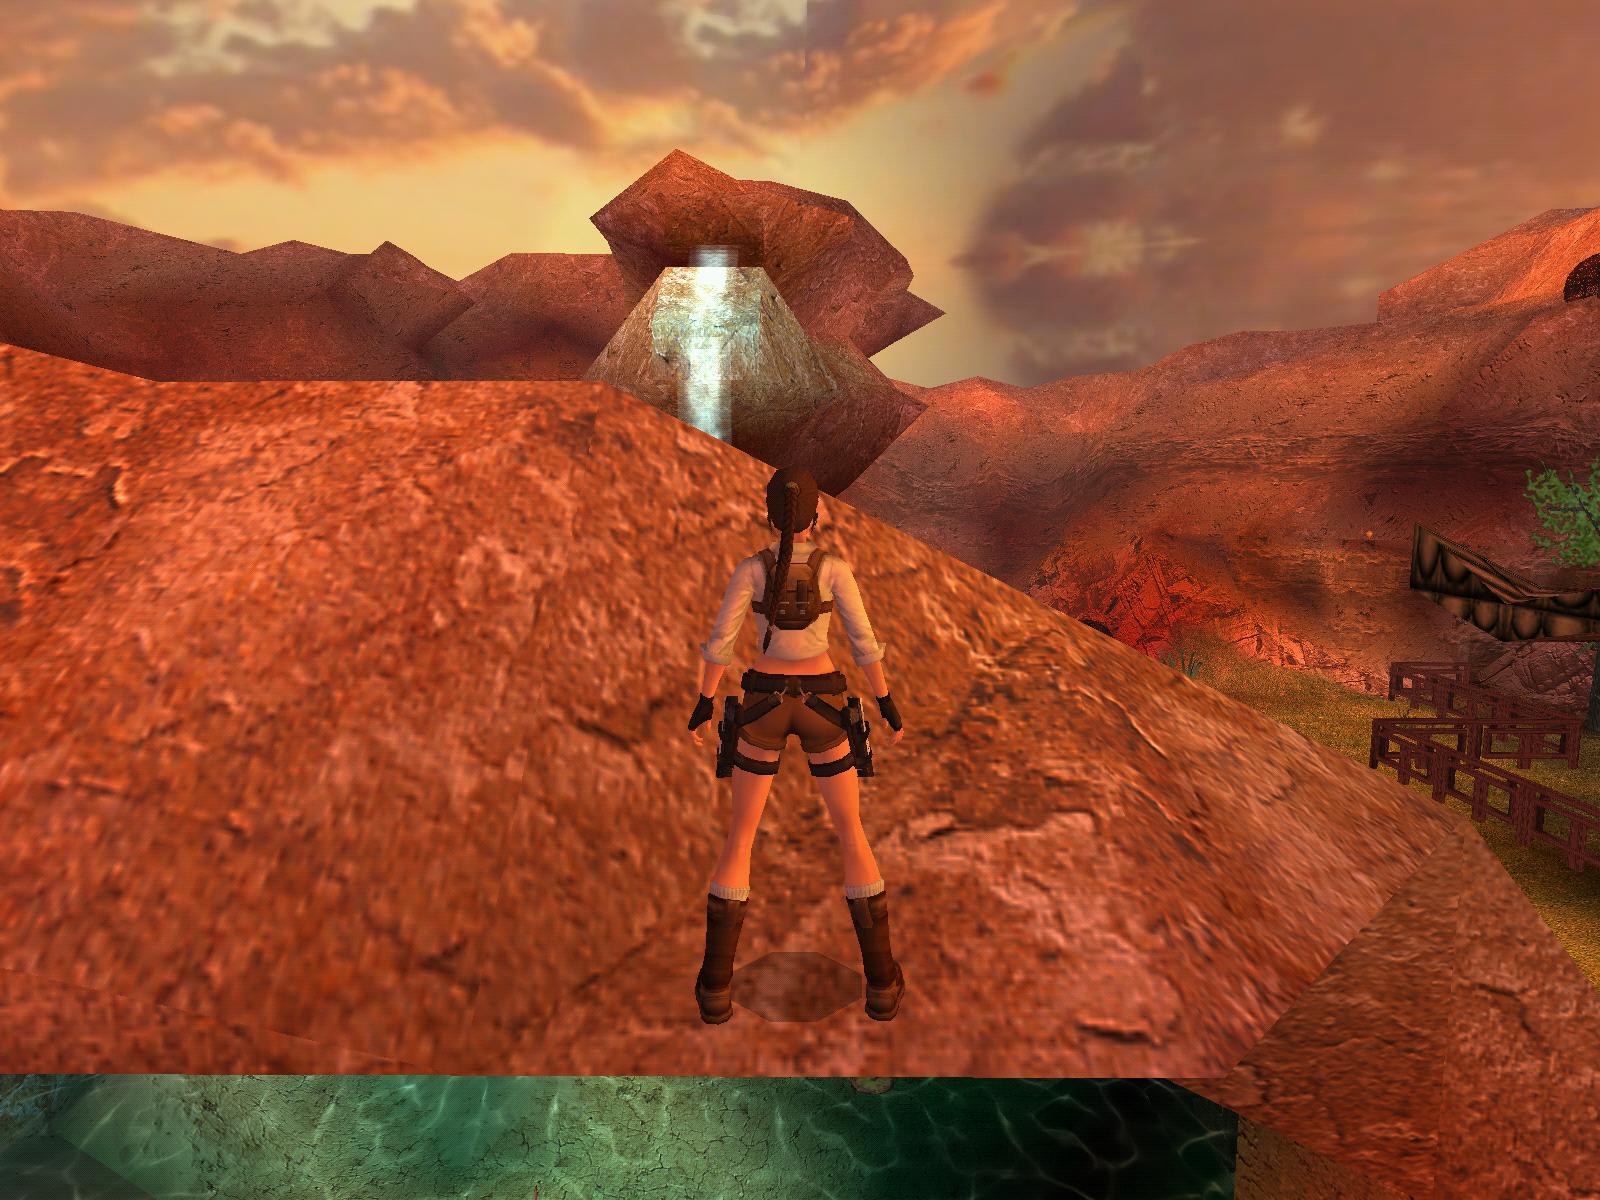
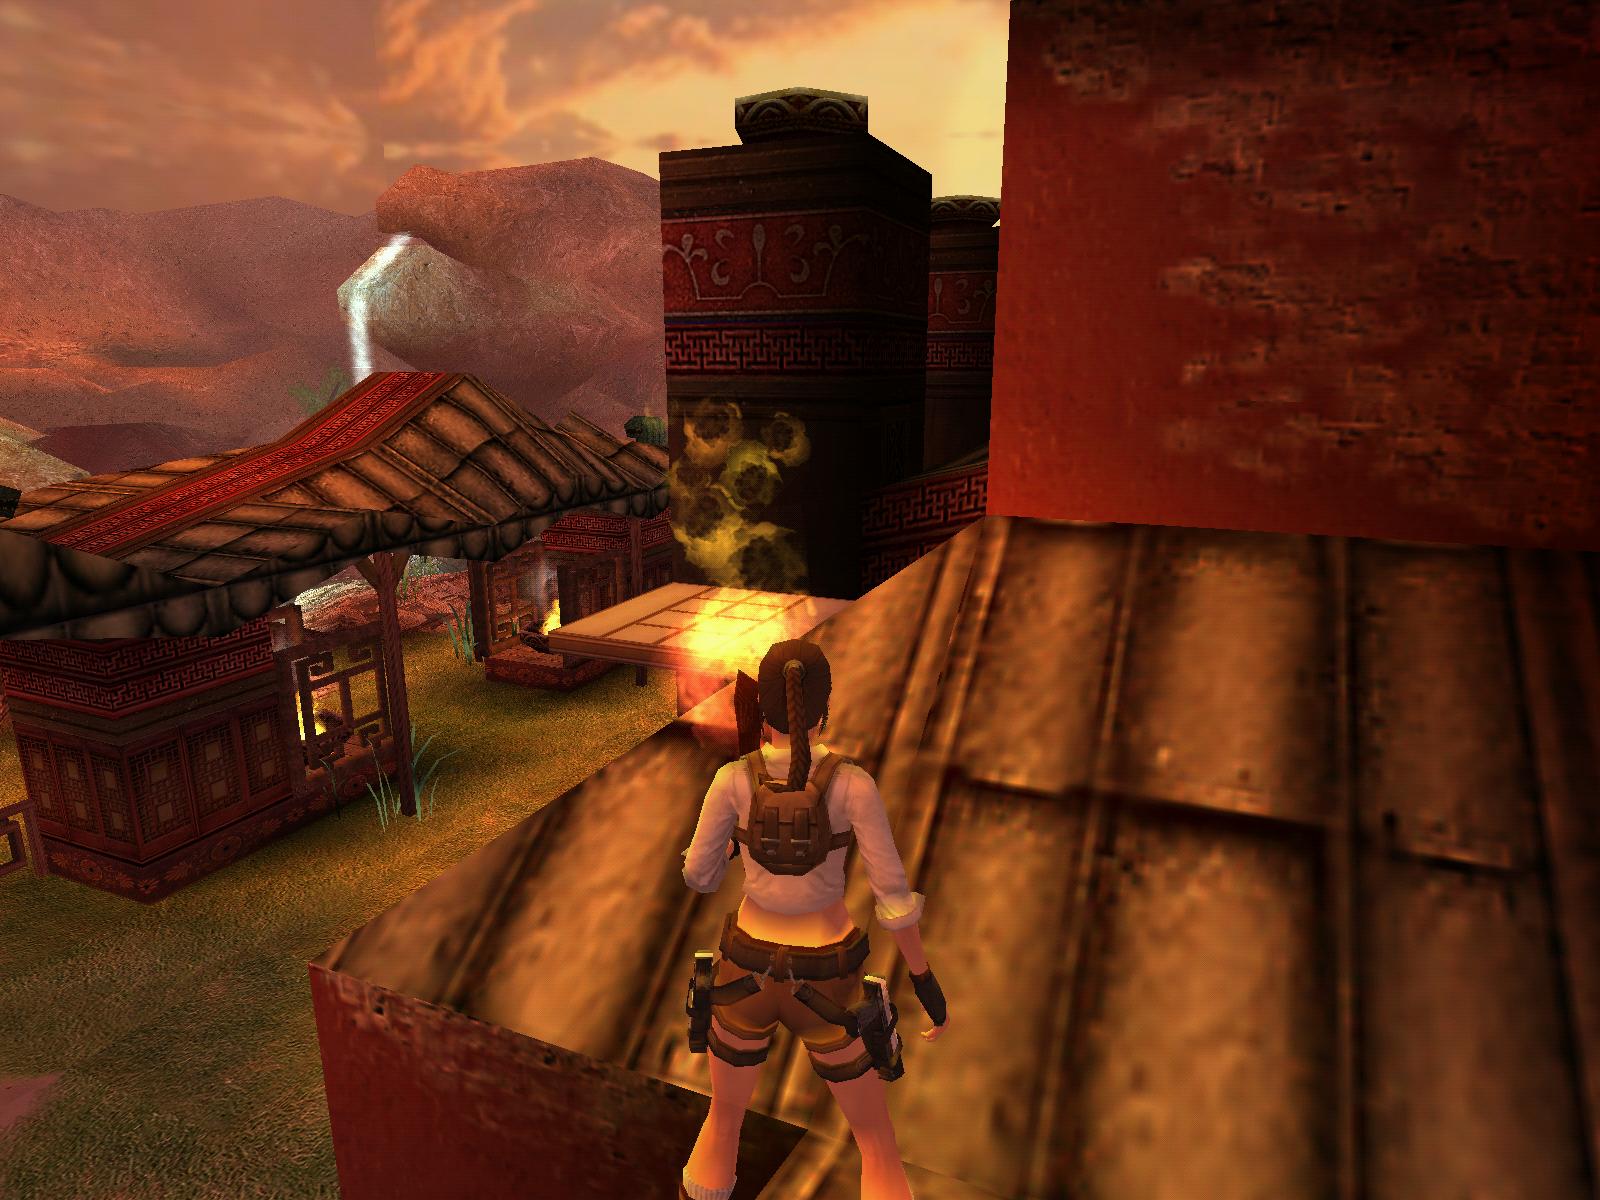
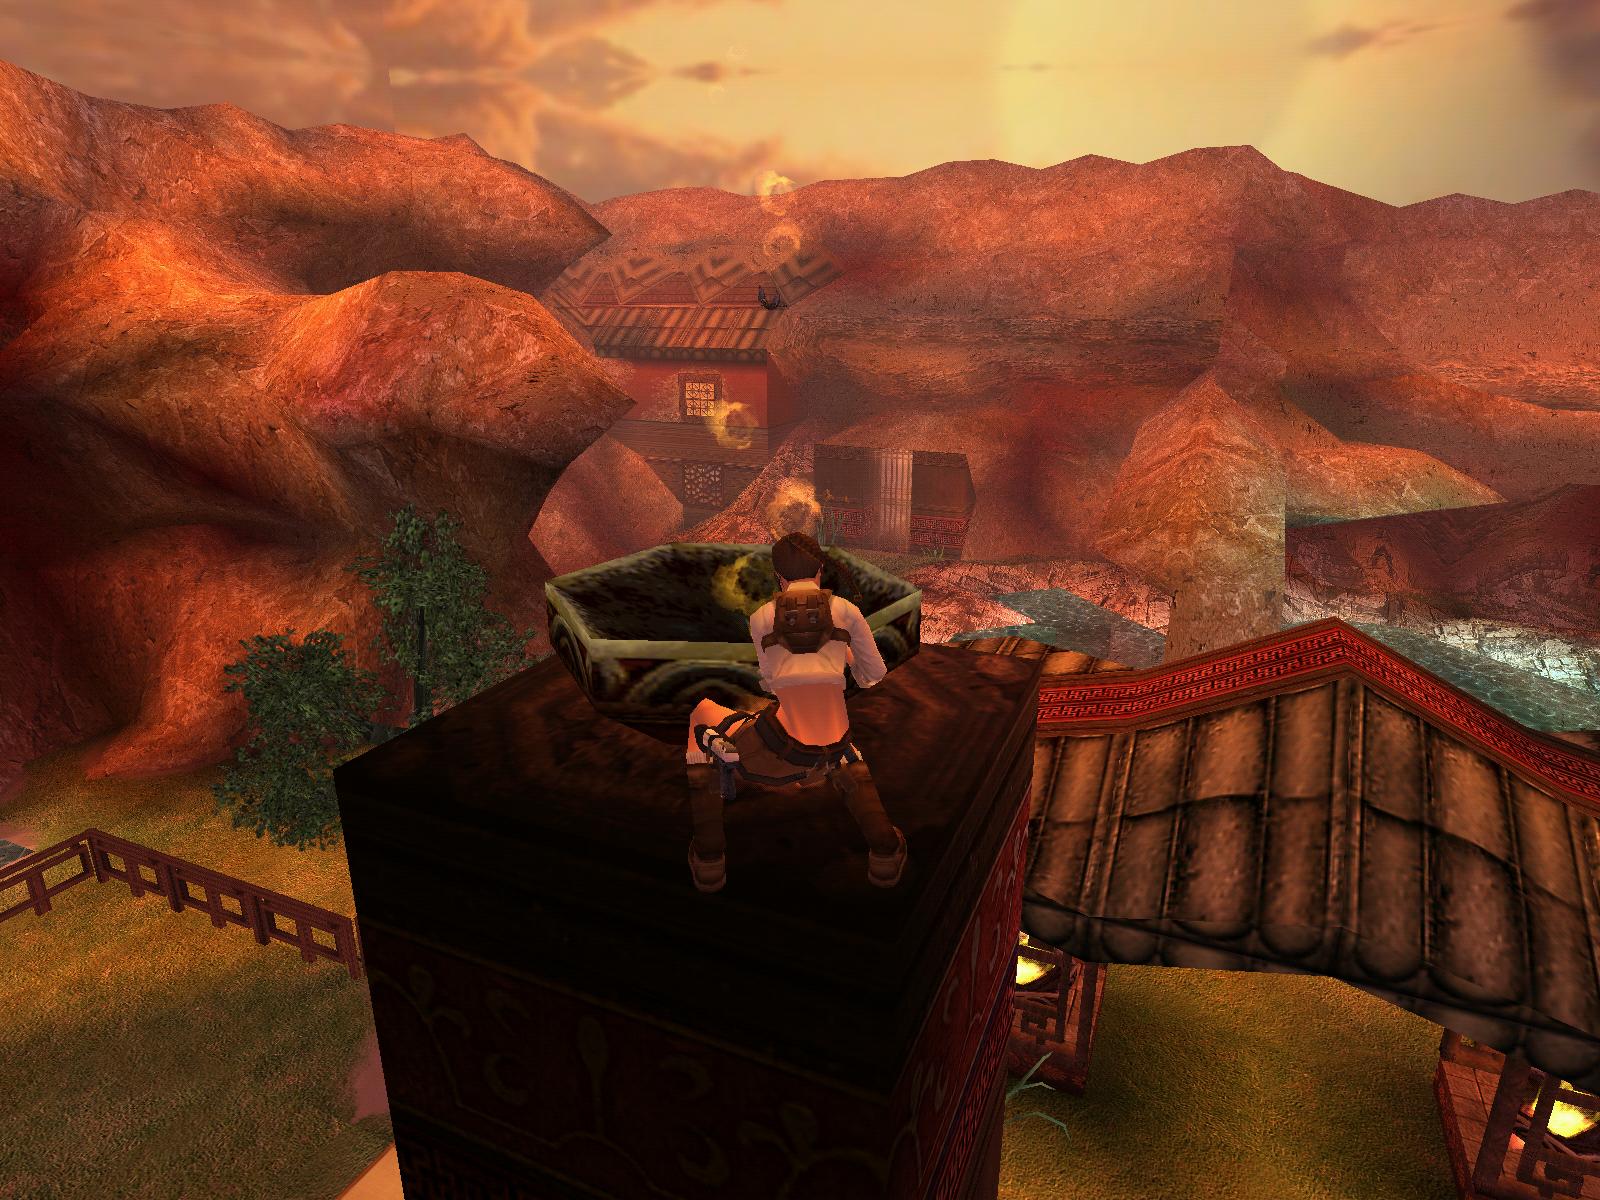
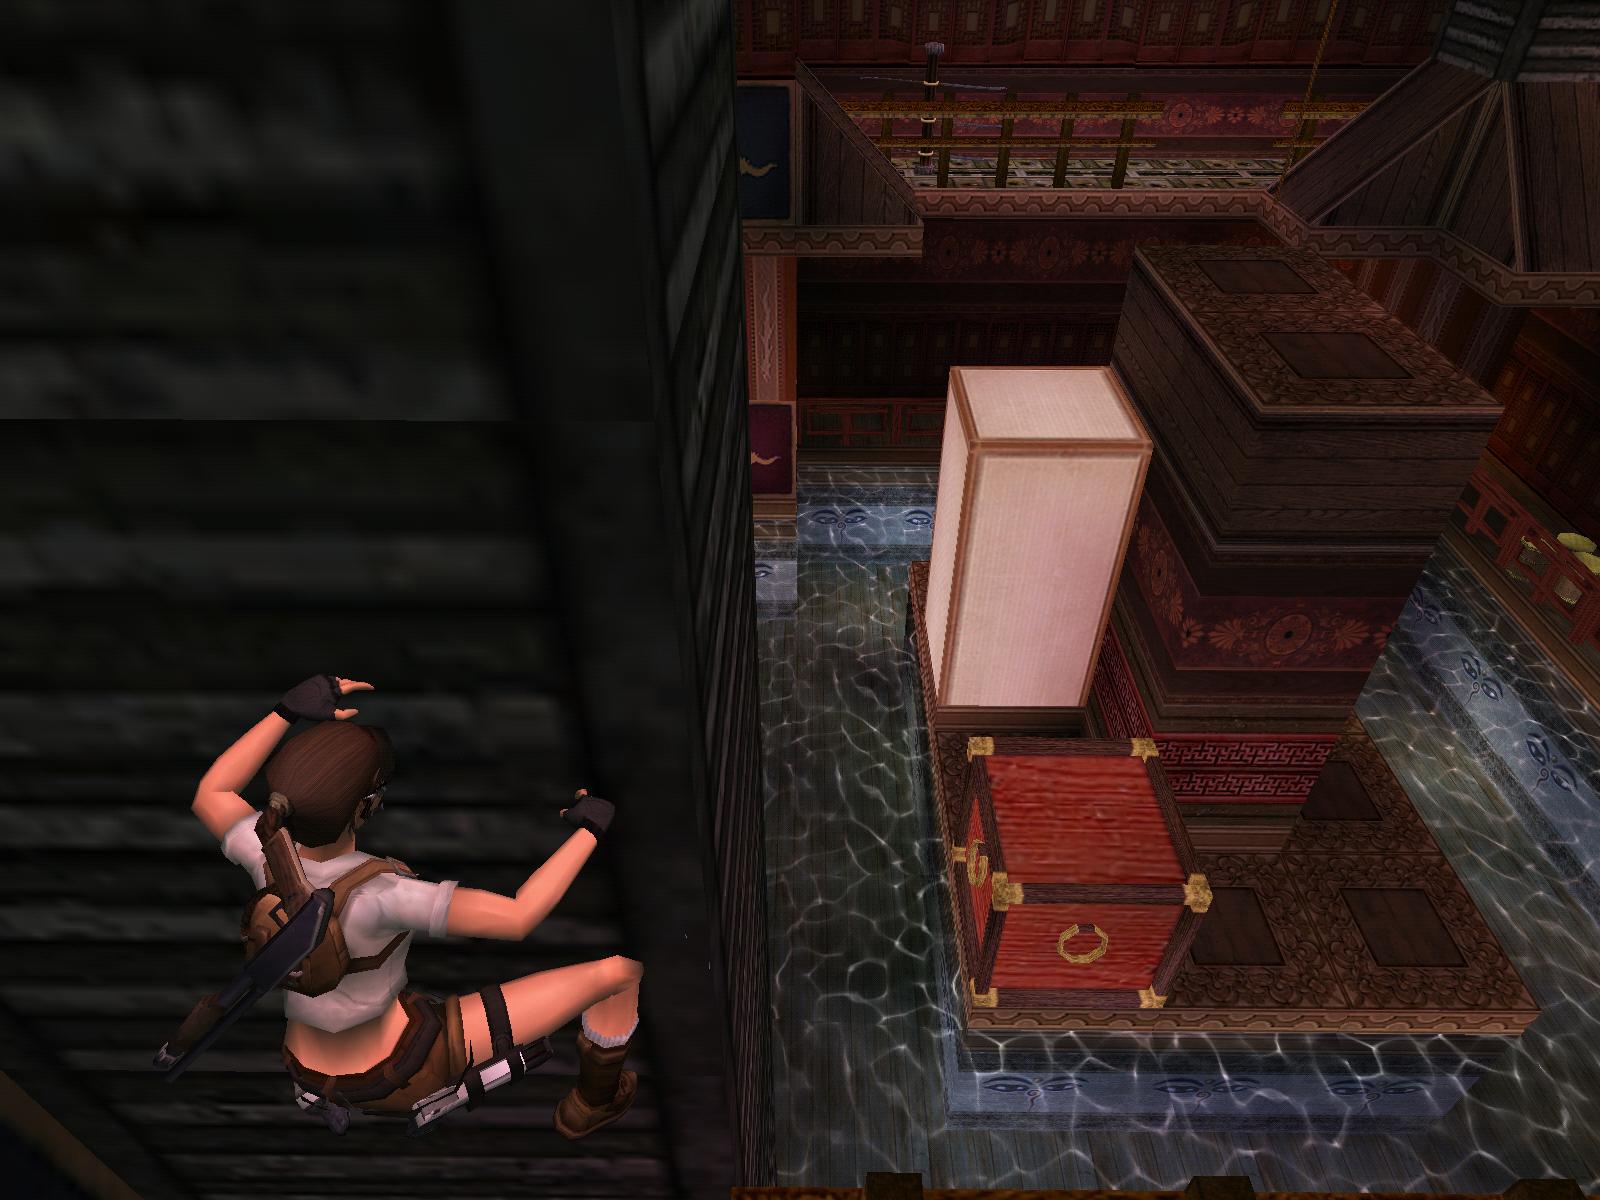
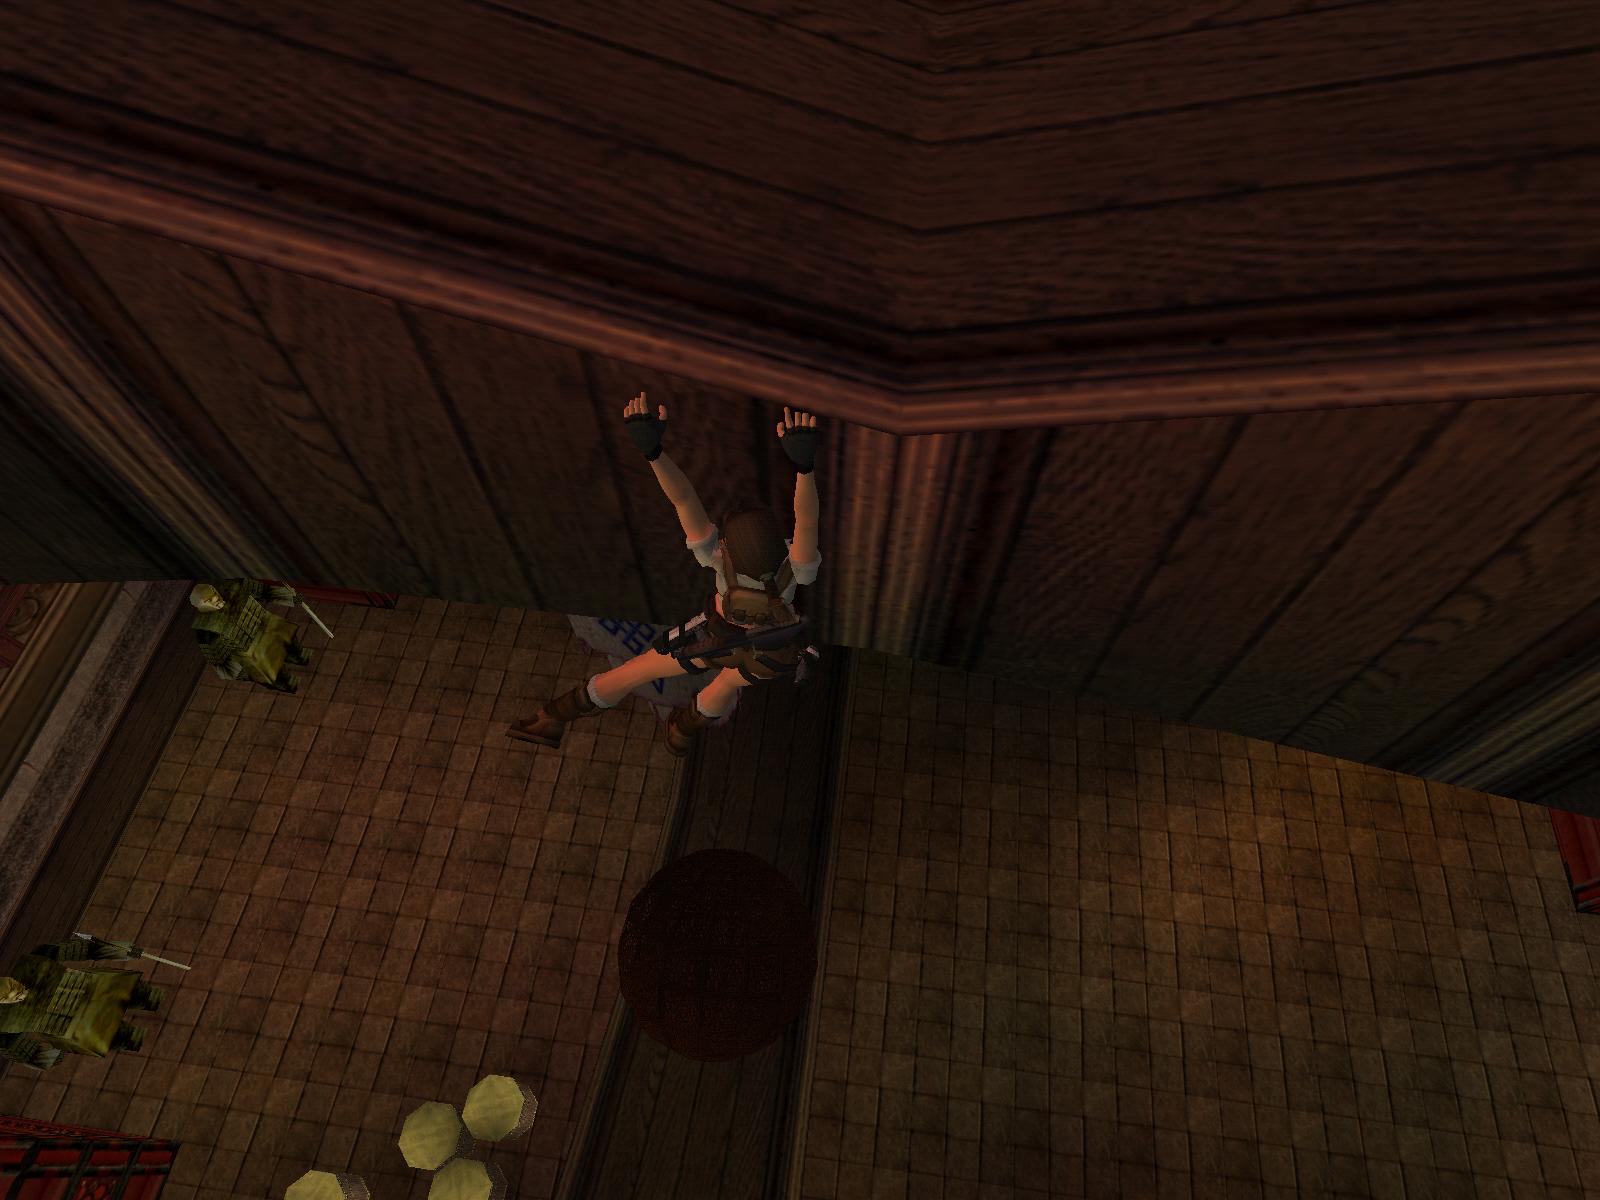
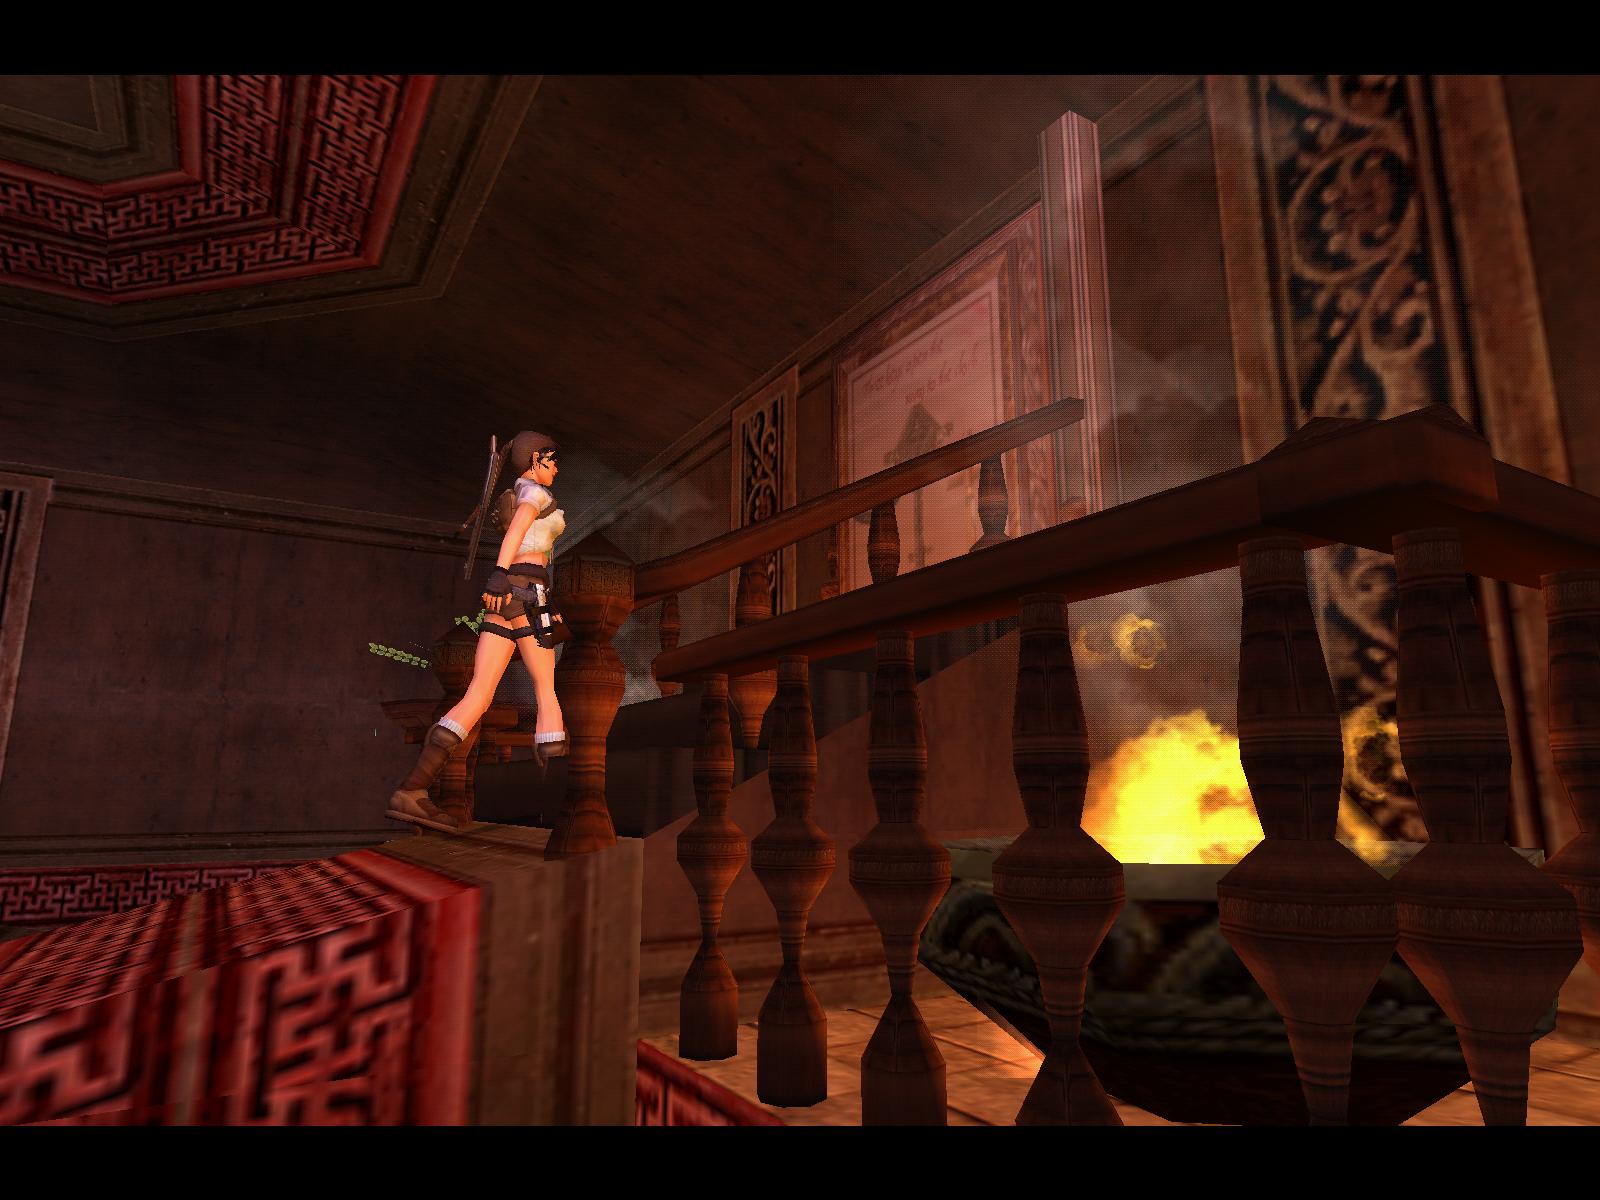
Final Steps
If you want the last secret run-jump to the E roof. Walk to the NE corner
of it and look up to see a near ledge. Press Backwards, if needed jump up
once to have some more length and run-jump to this ledge. Jump to the N lever
and pull it down, get down to the floor again, for example with jumping into
the pool. Either way, you need to get in there and get once more to the blade
room. A door has opened in the NW passage, get there and swim to the passages
very end to get the Gold Secret, a Little Medikit and Shotgun Ammo.
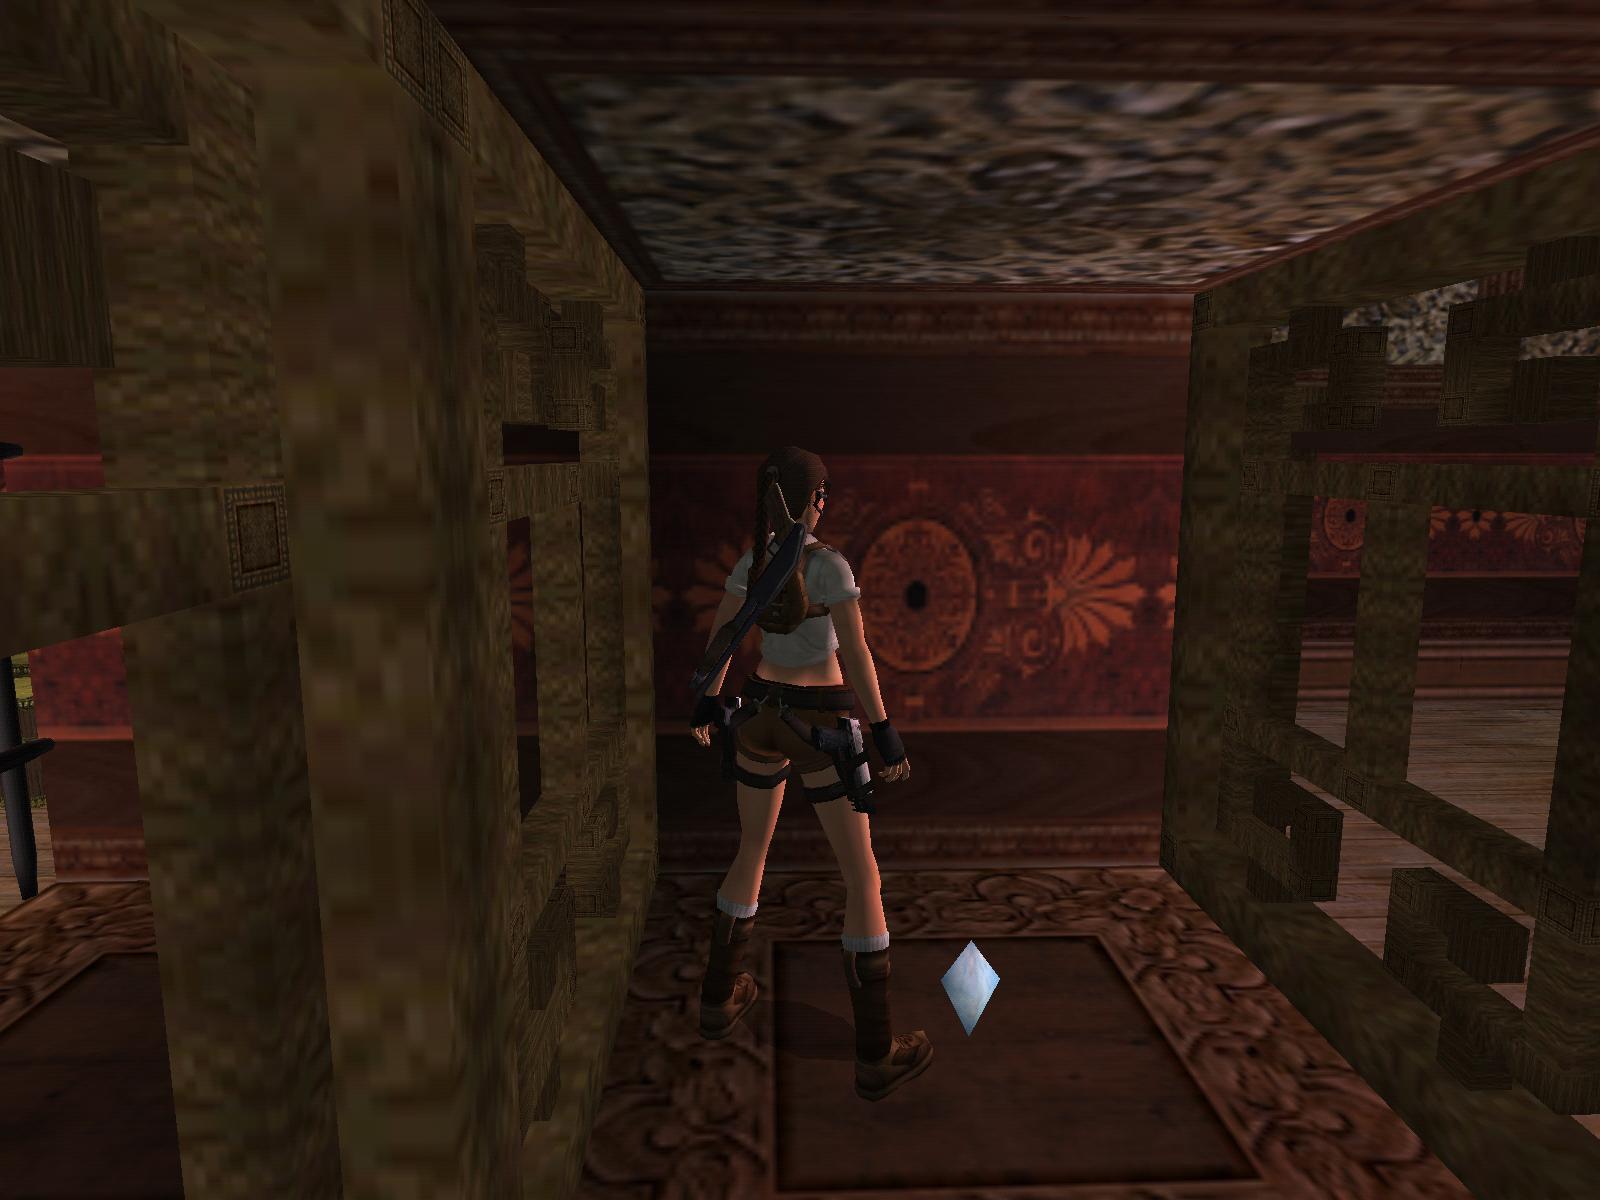
2. The Ancient Monastery:


Secret 4:
Secret 5:
Secret 6:
Author: Tombraider95
Secrets: 3
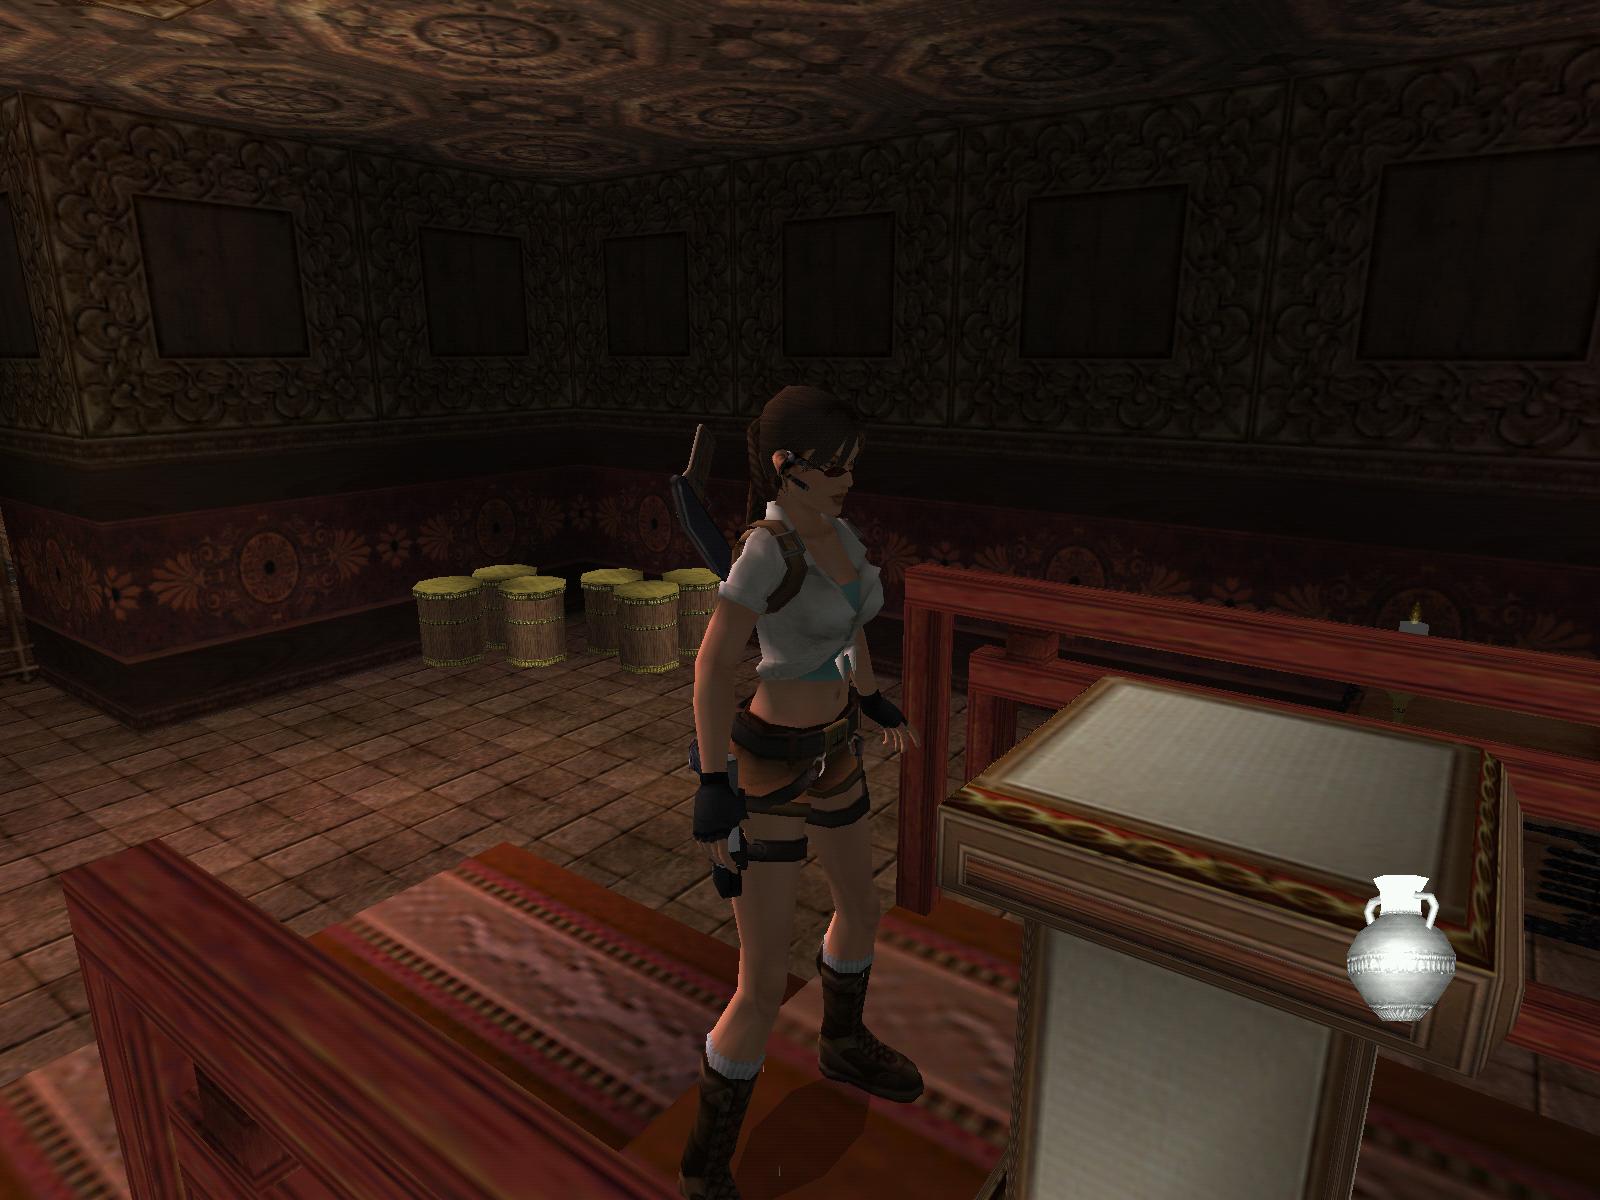
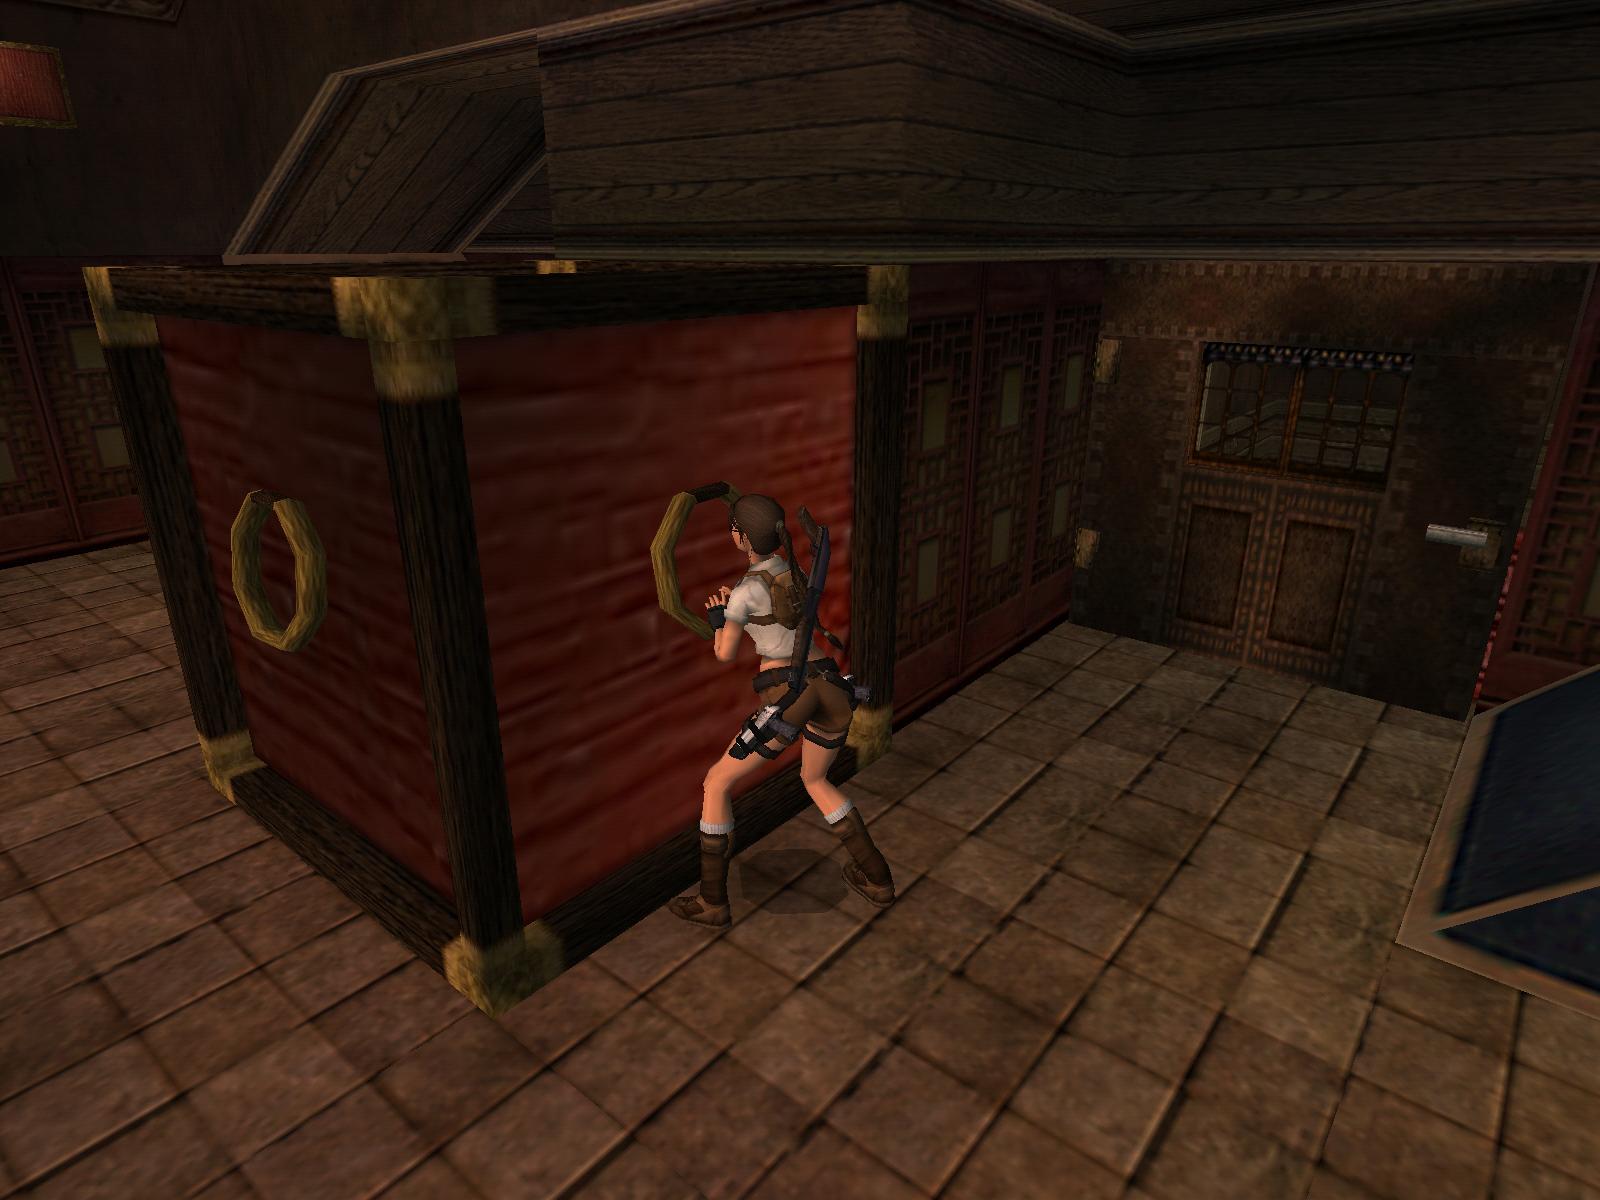
Shotgun Detour
When running a bit forwards some doors open, run through them and a cutscene
plays in, showing you the location of the Shotgun, afterwards you are attacked
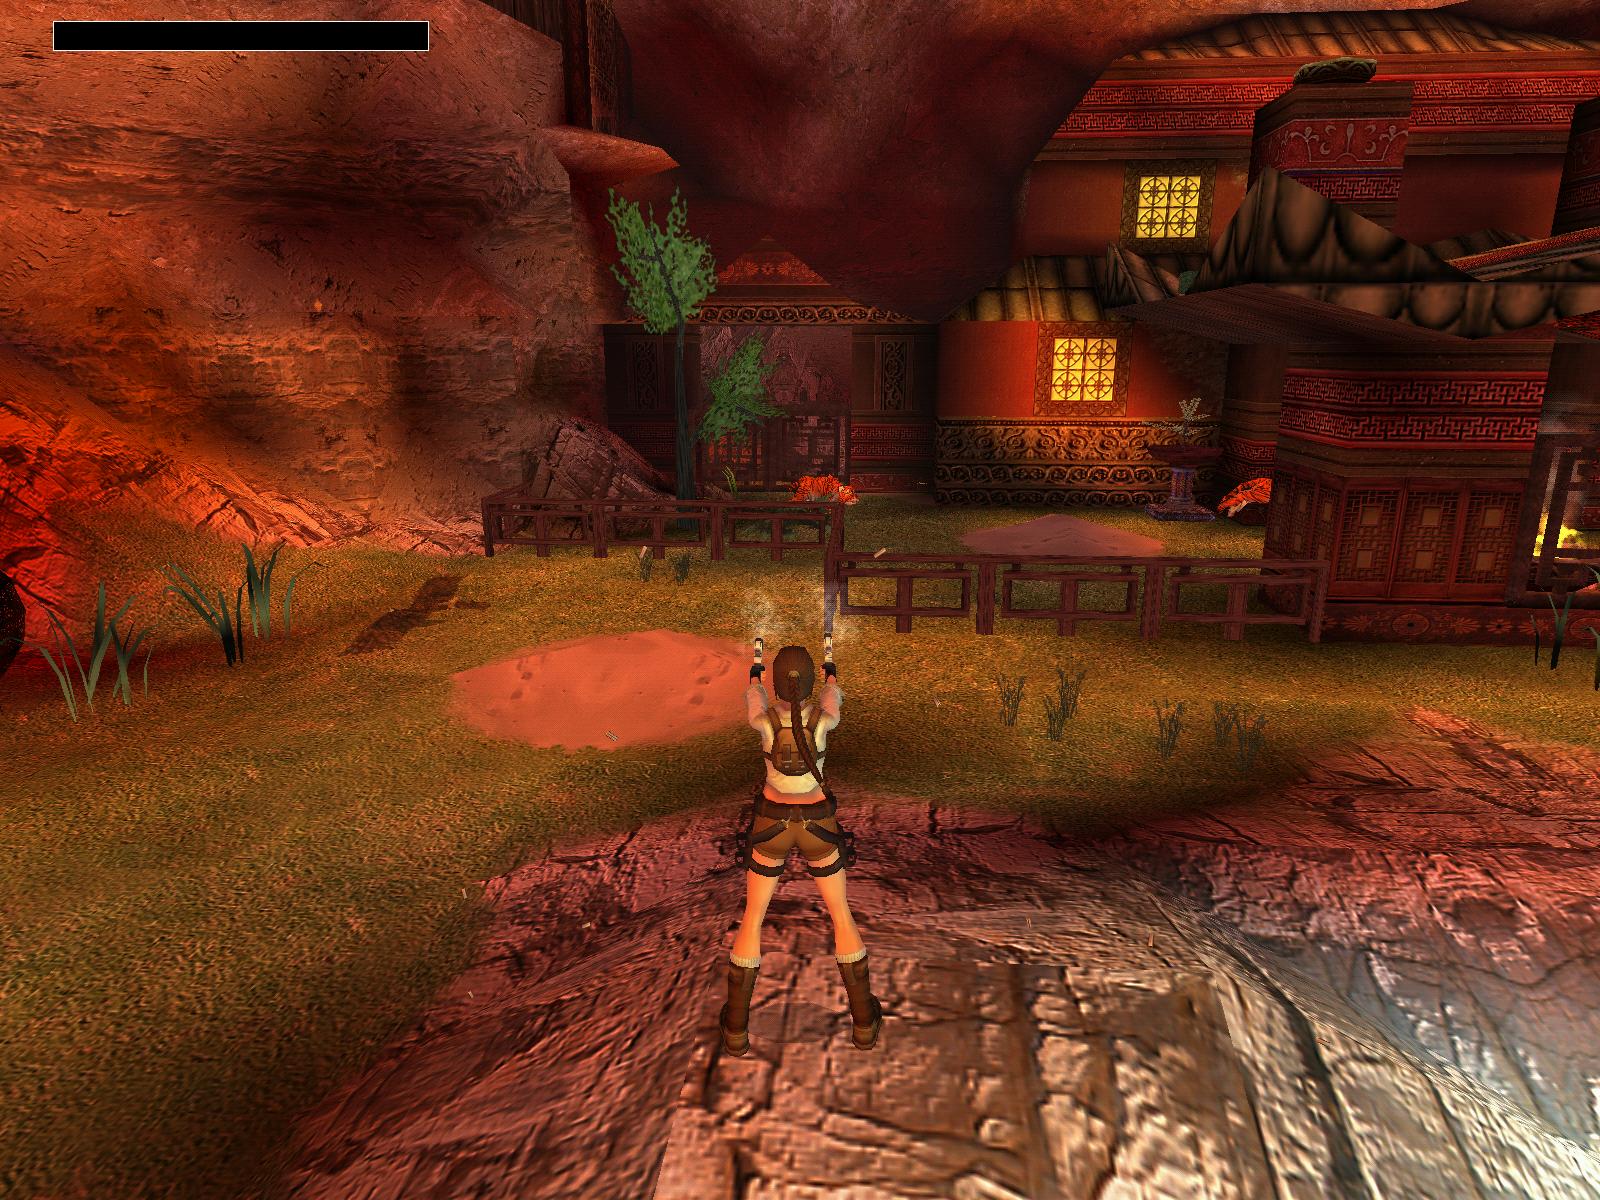
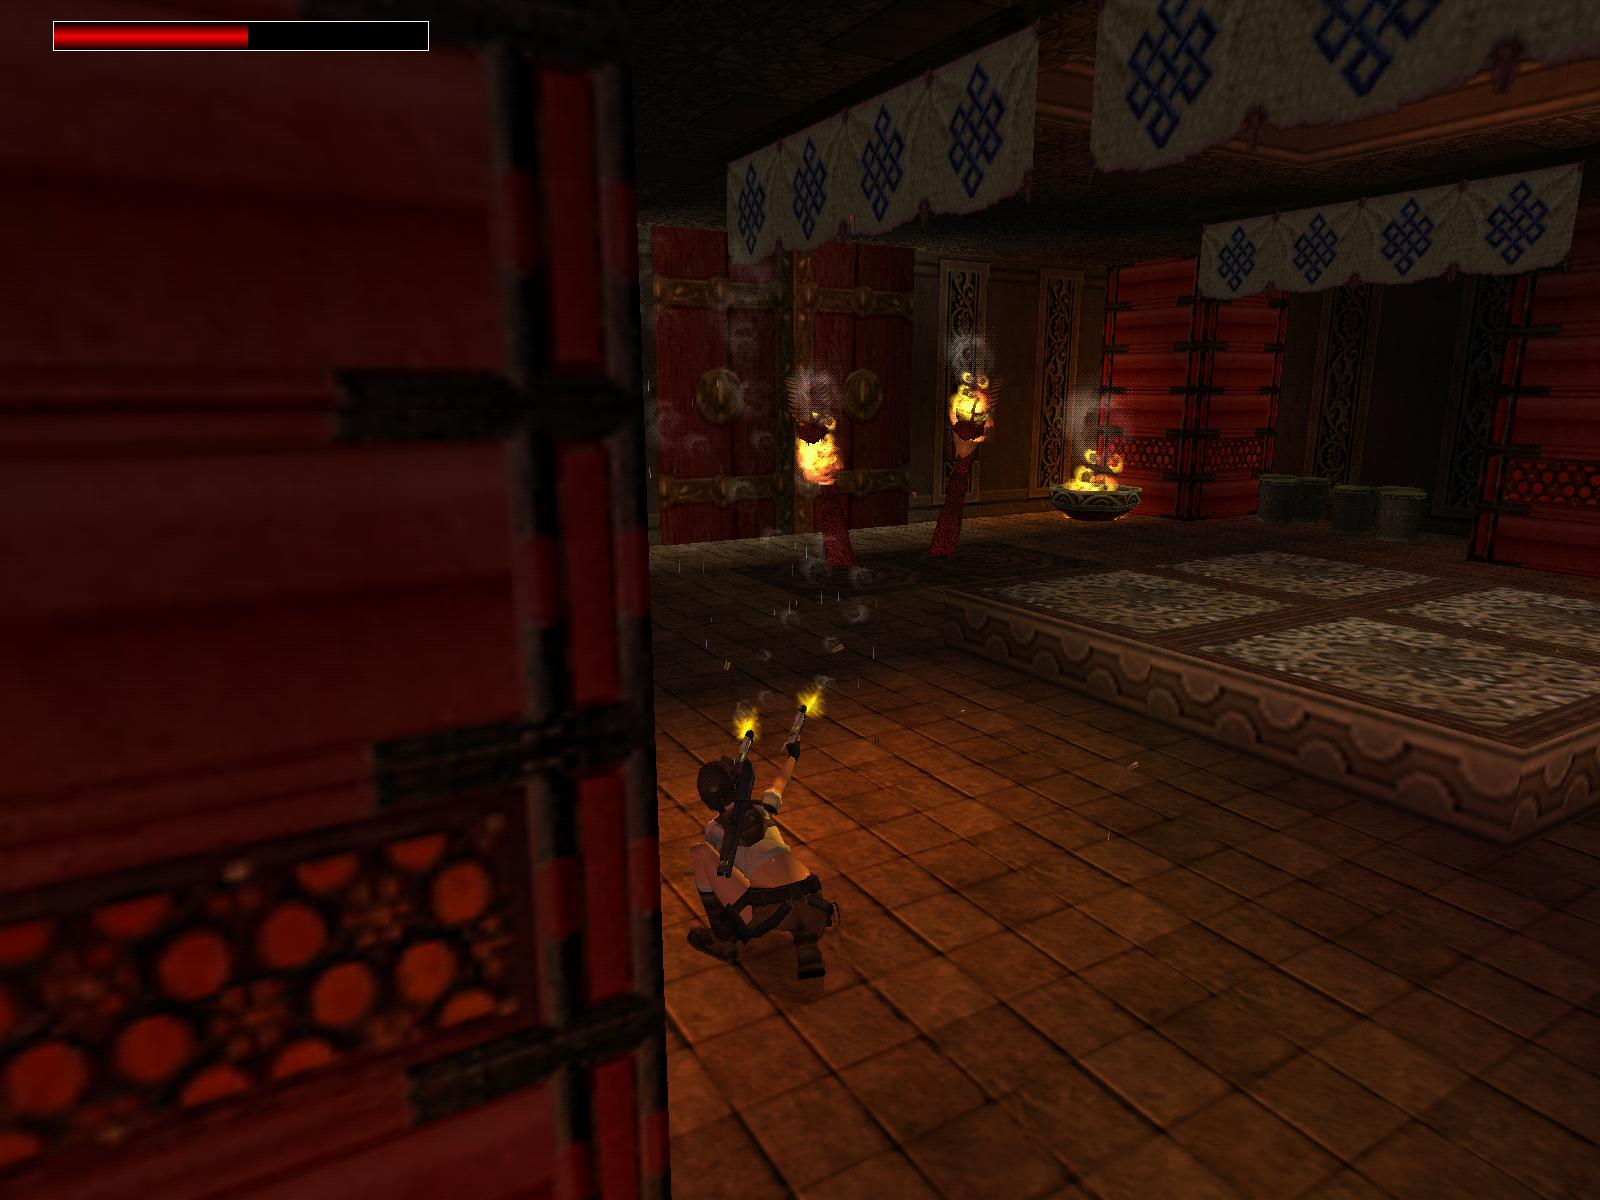
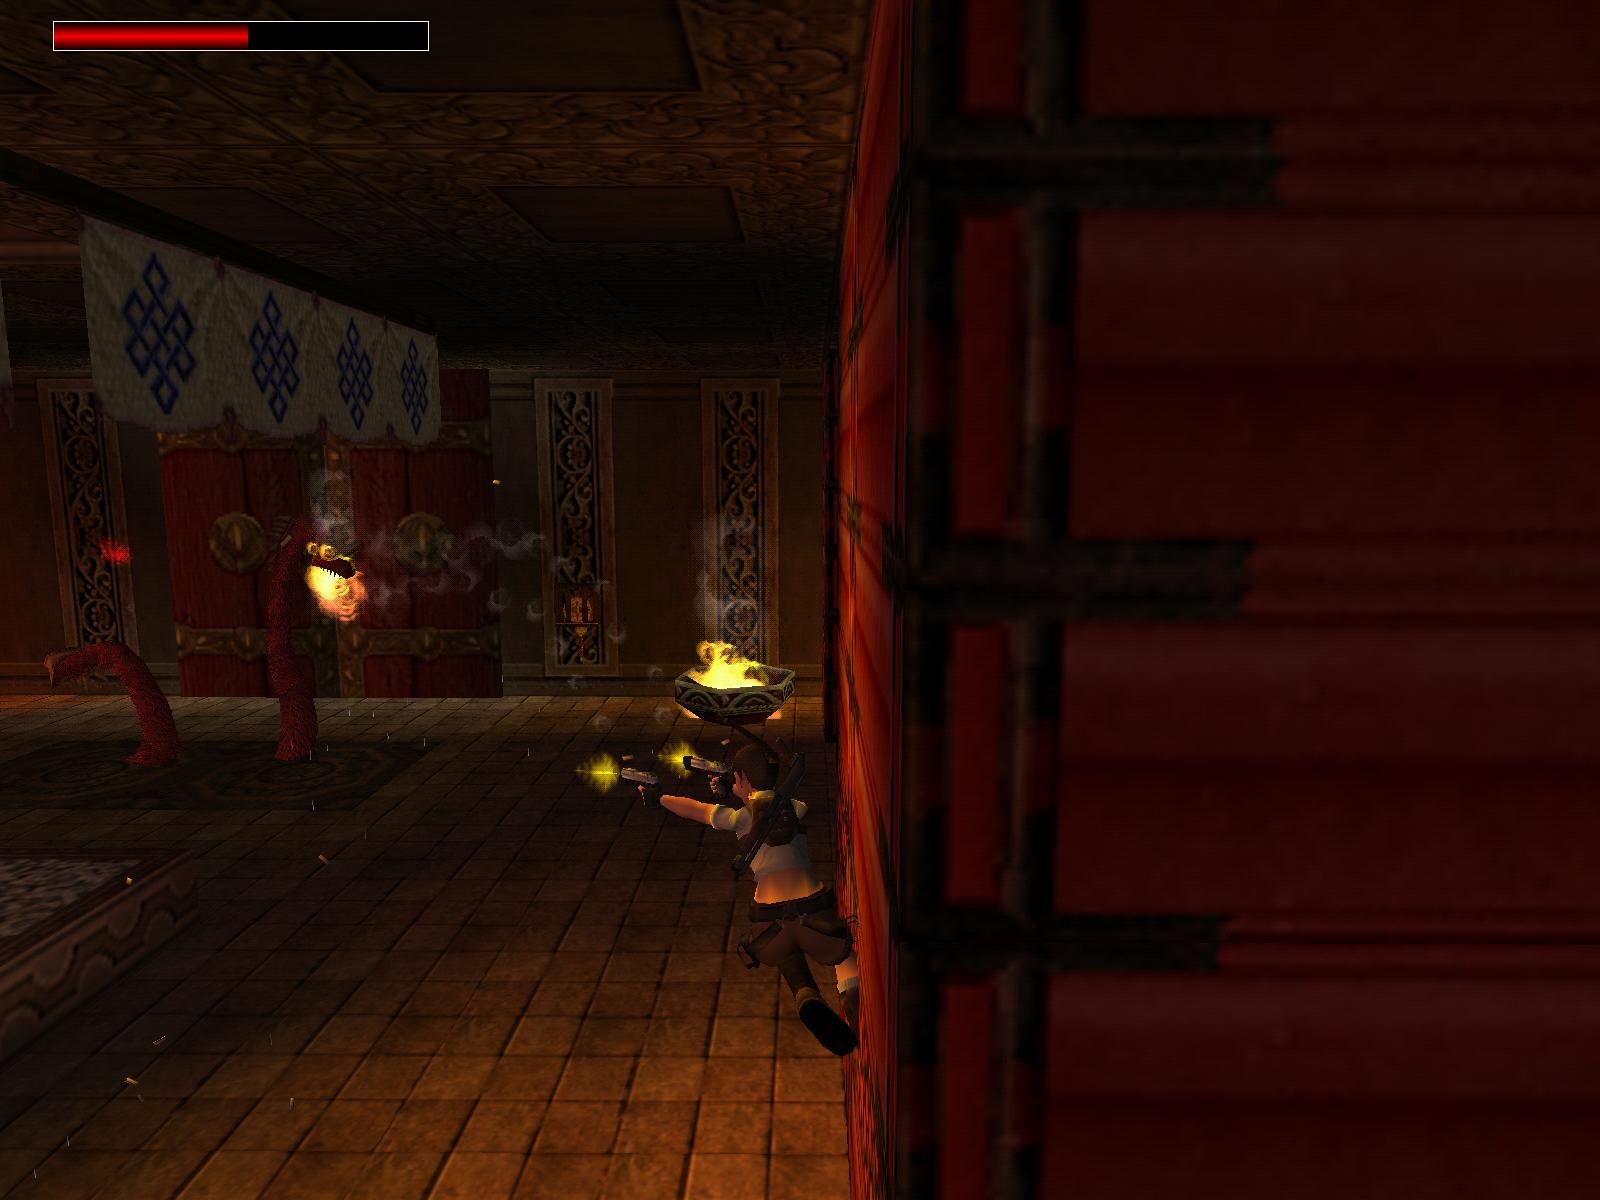
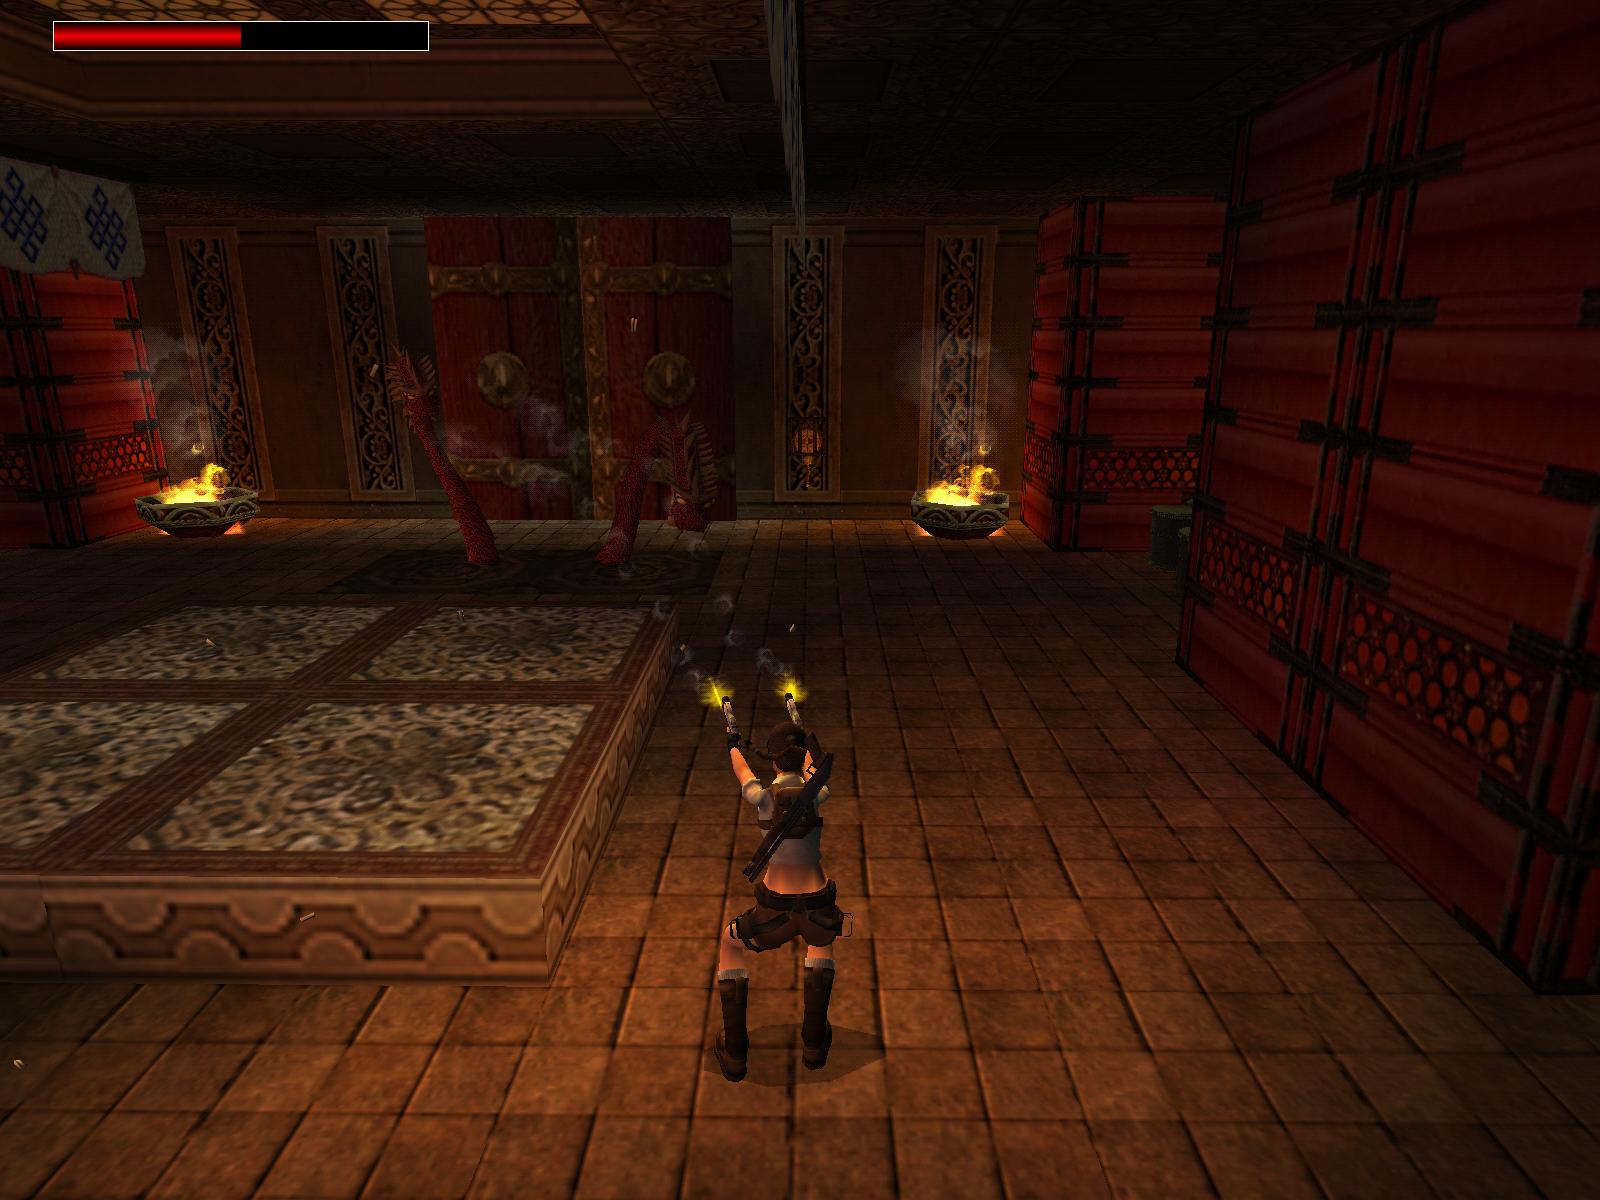
by two vultures. Kill them and run into the courtyard you saw in the cutscene.
There are many doors around it; you will open them later in the level. First
of all, we make a little detour for the Shotgun. Run in the far SW corner
of this area, there are some pushables to find. Pull away the one in the corner
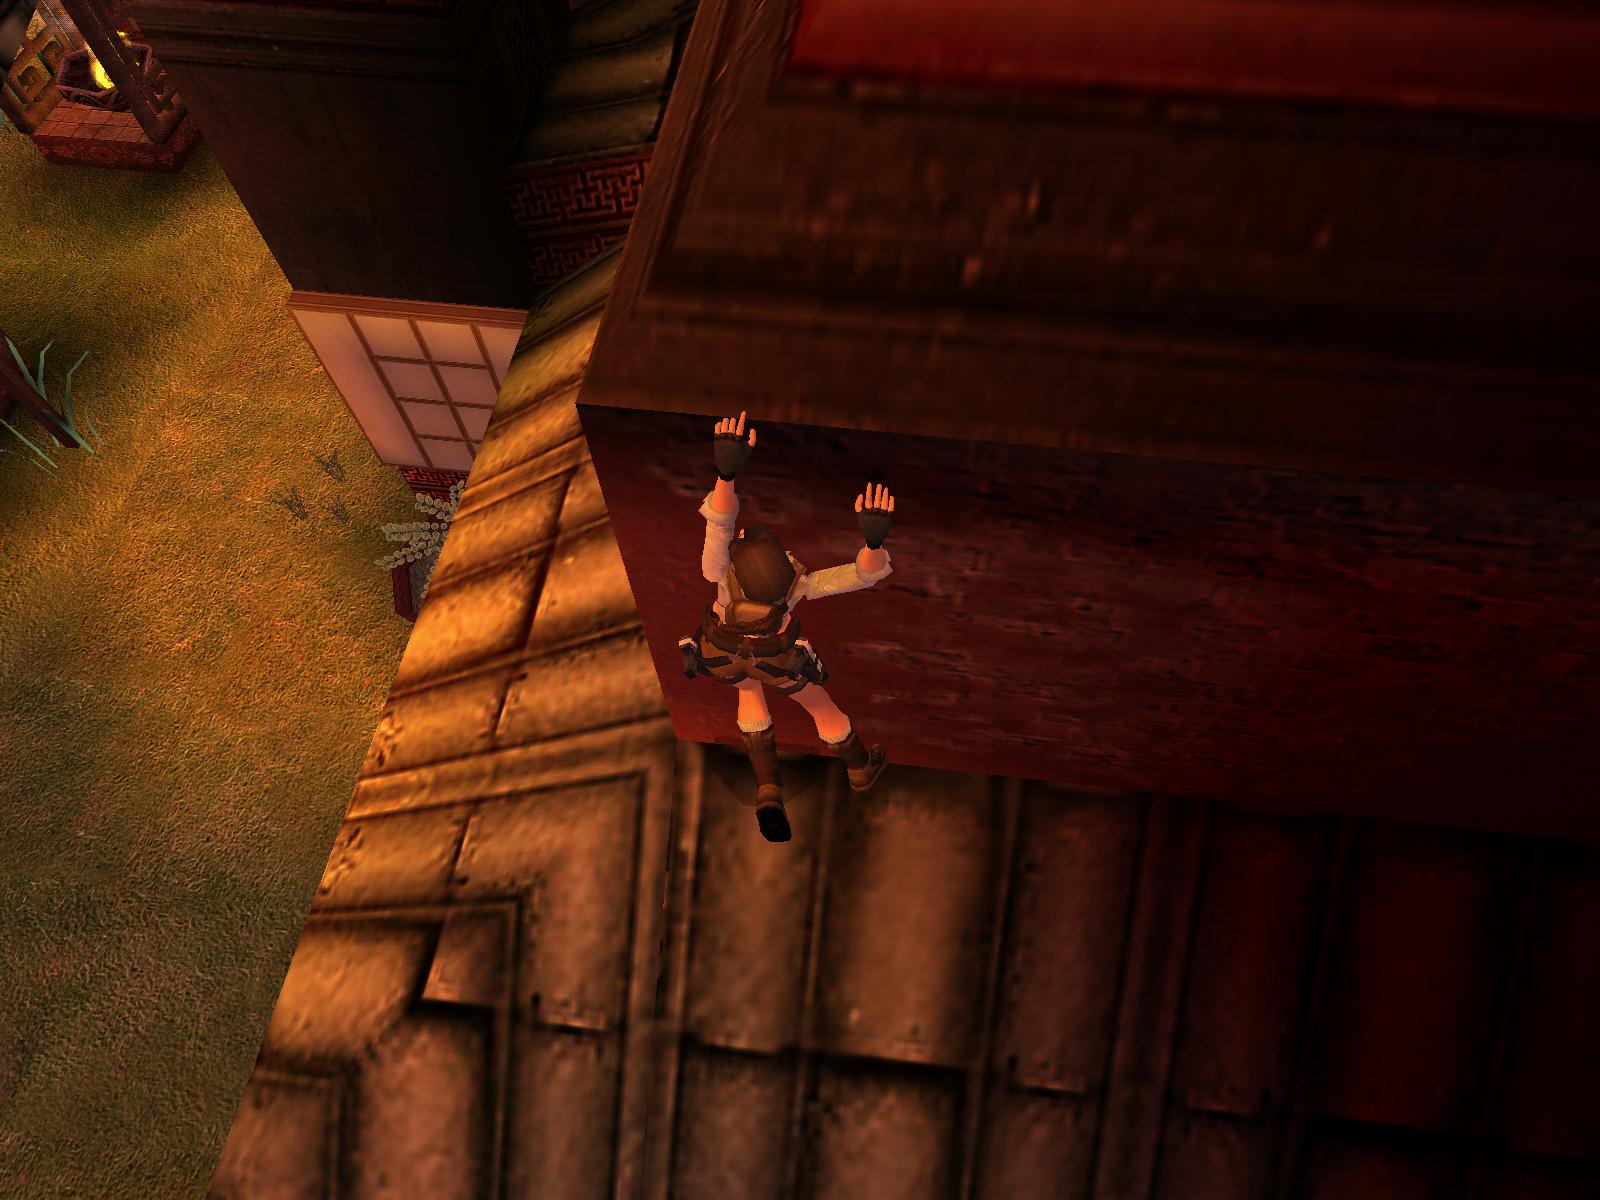
to get a Large Medikit. Use one of the blocks near the fence to jump up to
the ledge of the slope; shimmy left until you can climb up and stand. Look
up left, theres another safe ledge. Jump there and then to the ledge, where
you can follow the roof. Jump down to the next, W safe ledge and then to the
ledge near the opening in the wall. Jump in there and find a button at the
end.
First Symbol Piece
Get down into the pool, climb out, kill the next two bats and head S up the
stairs to push a button. The door near you opens; get into the room and go
around the left pillar to find a button push it to open the door behind
you. Get some Uzi Ammo in the next room, placed upon a pedestal, then take
out your pistols and jump on the slope to jump up and shoot at the bell. A
block rises in the previous room. Shoot the boxes for Shotgun Ammo and push
the floor lever to see a door open somewhere. Get down again and into the
N, opposite part of the courtyard (kill a snake on your way) to find the now
open door. Get in and head into the right chamber to find a button left, push
it to open the door in the last room; get in and push the floor lever to see
the next door open somewhere. The only door in this area however stays closed
for now.
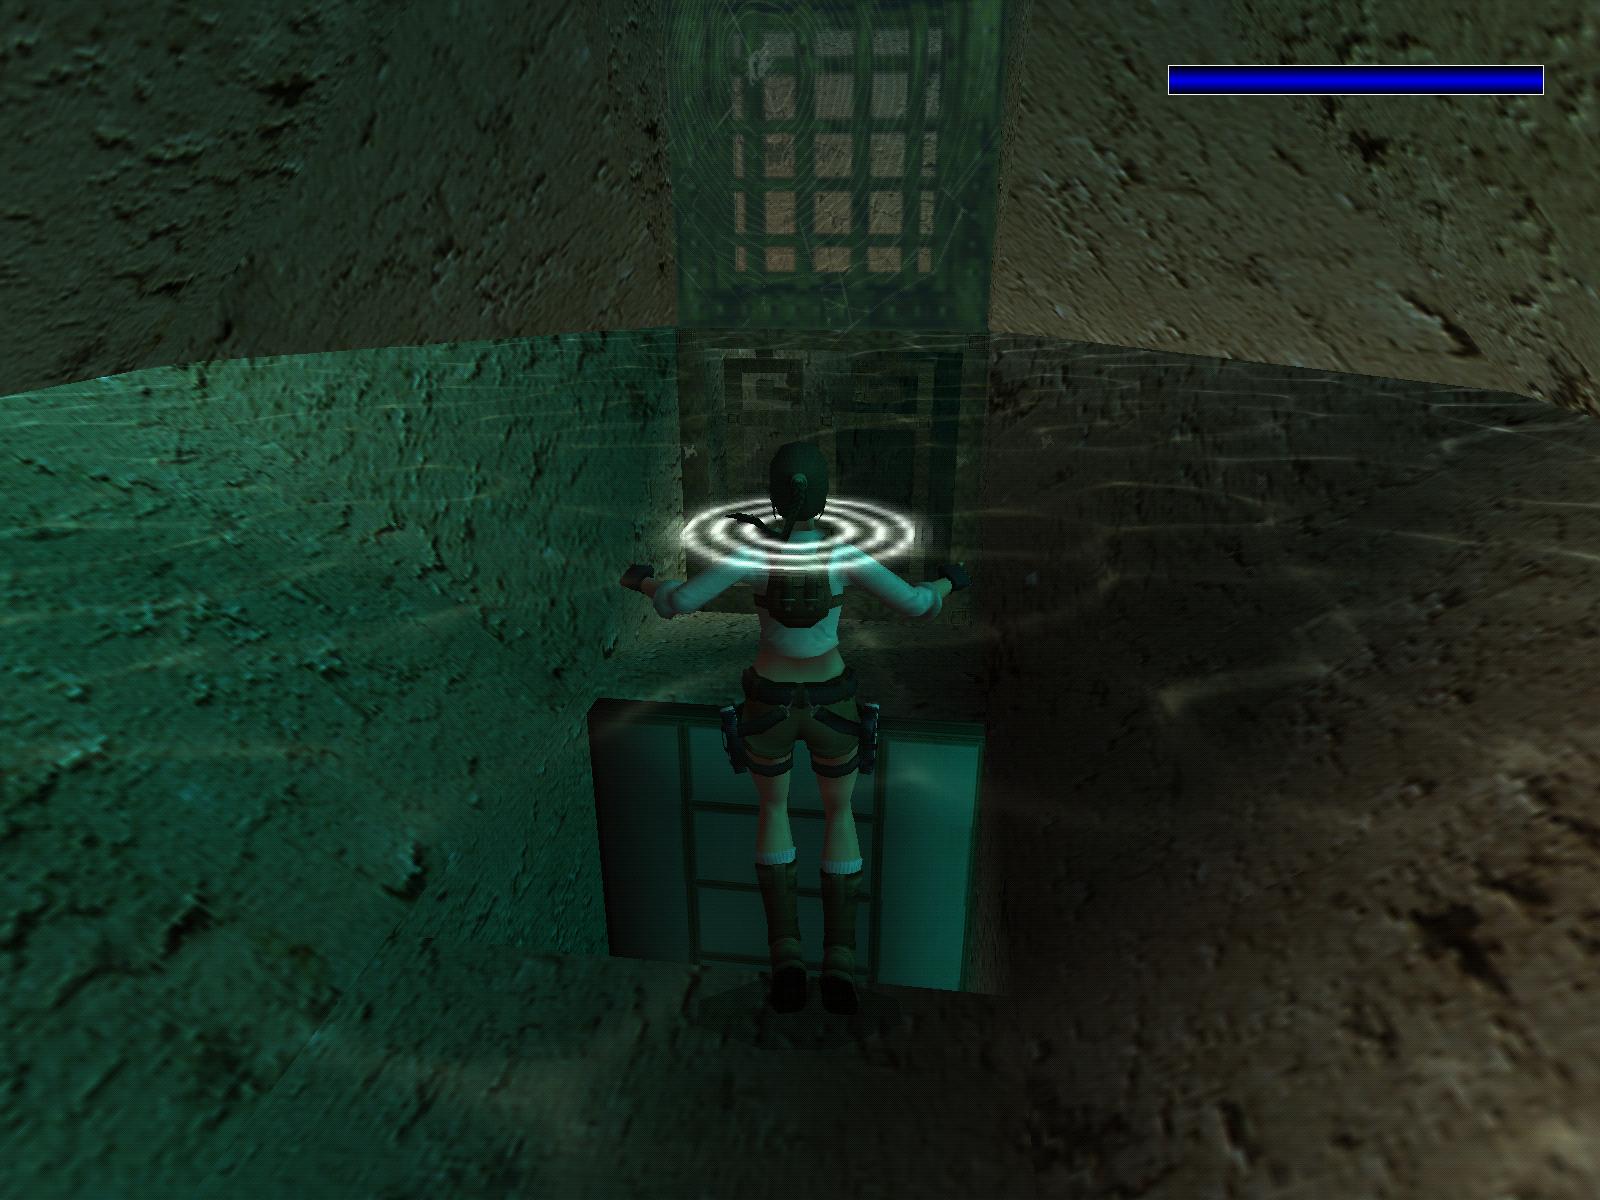
Second Symbol Piece
Get out and NE to find the door that can be opened with the Gold Key. Inside,
there is a little pool room. For a secret stay outside and go behind the E
pillar to find a lever, pull it and sprint into the room and to the opposite,
where a timed door is open for a few moments. Sprint and jump in for the
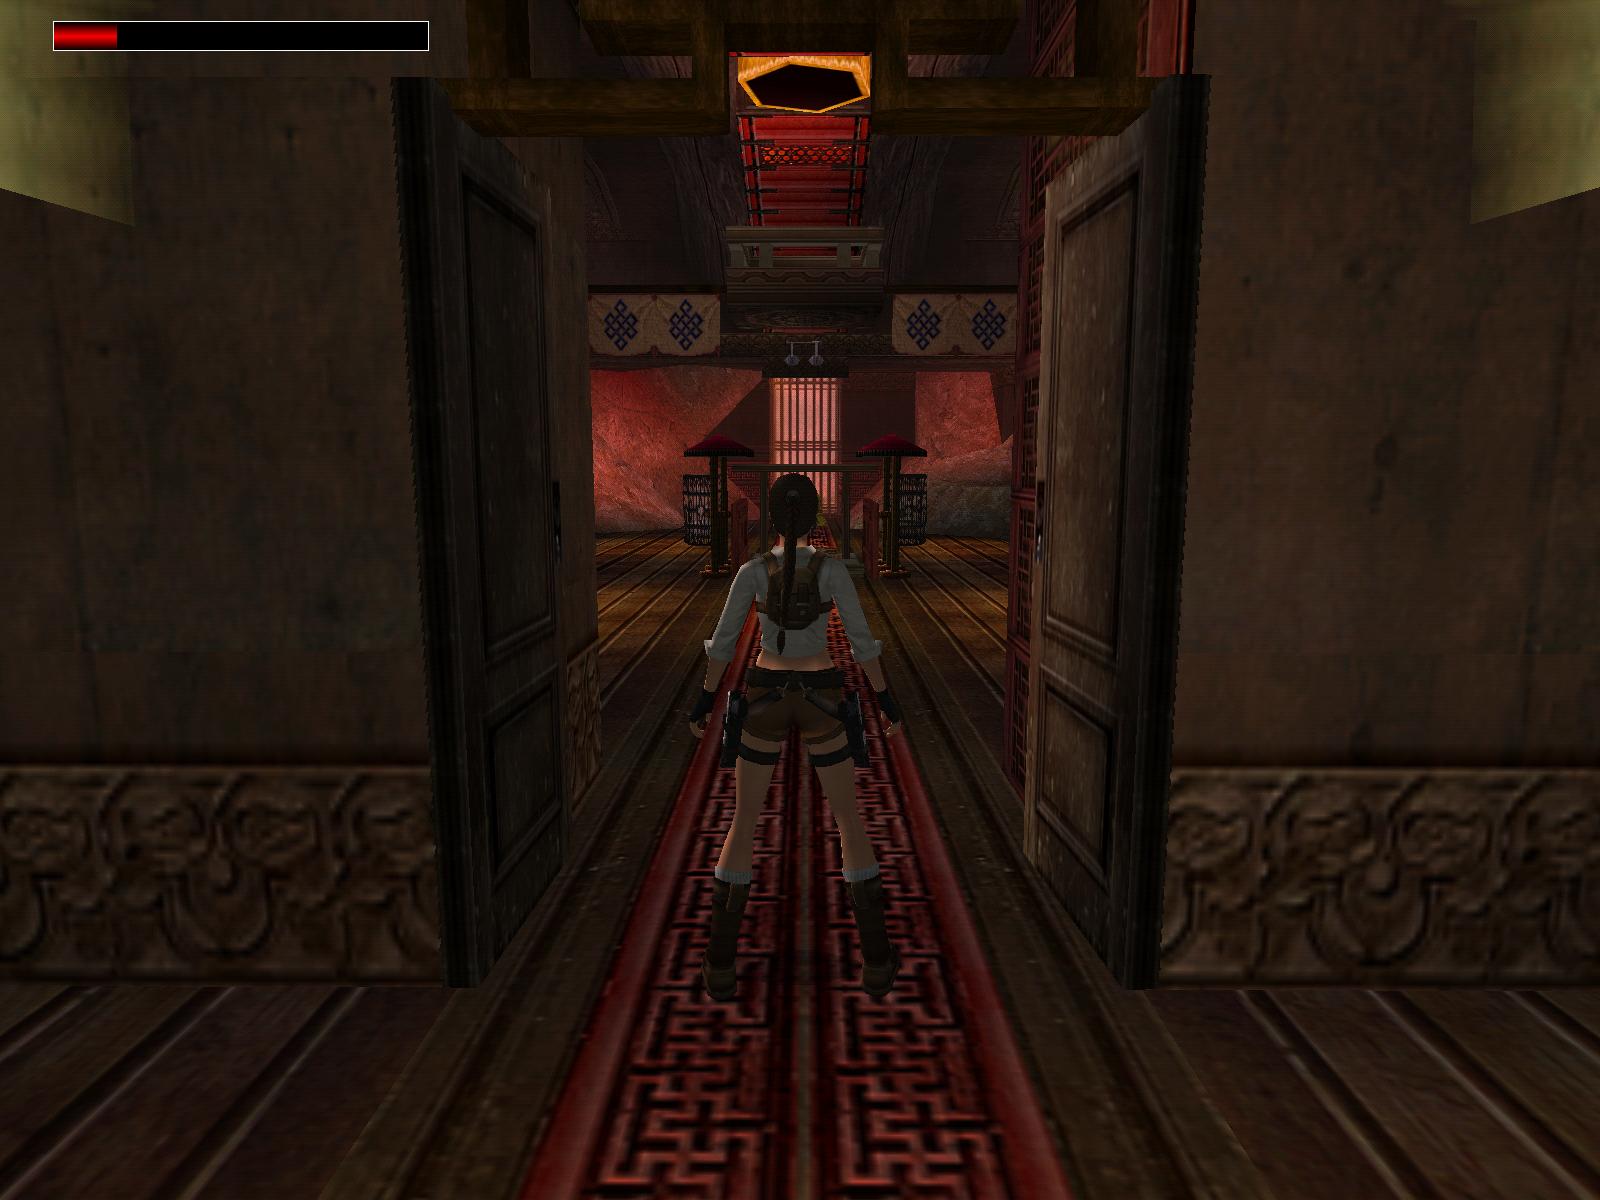
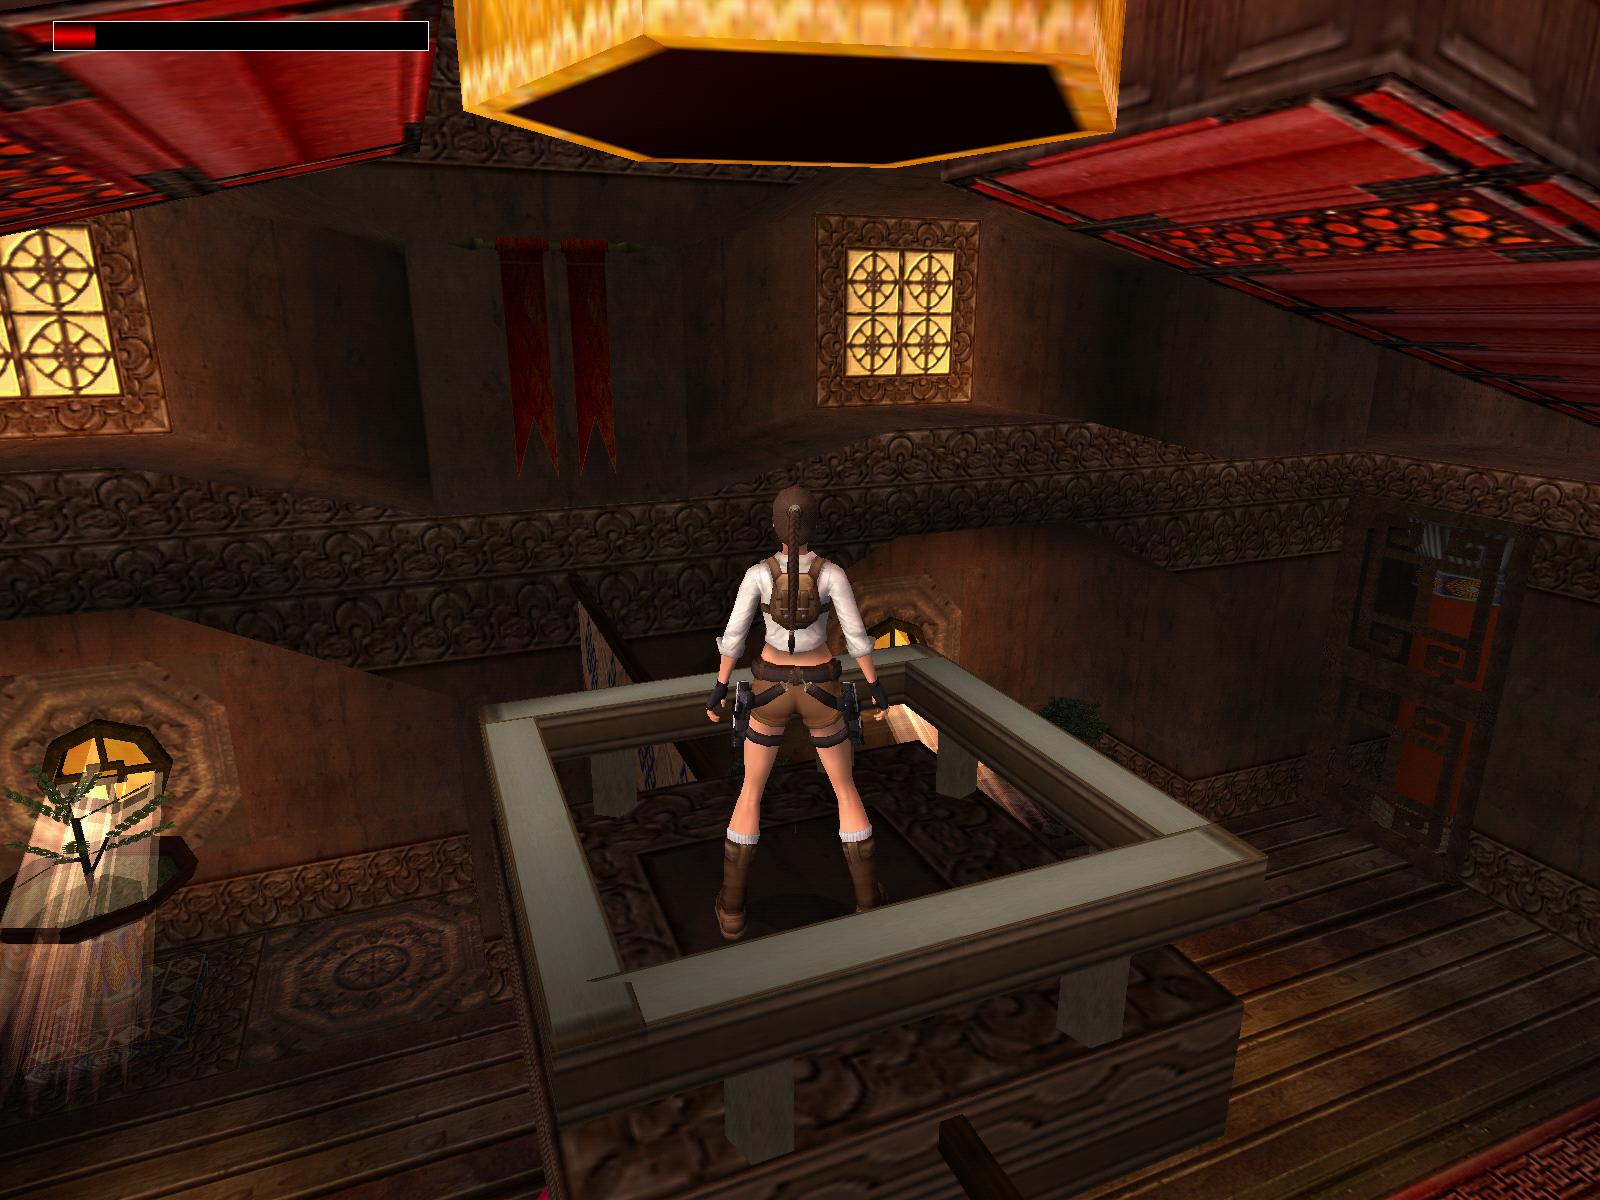
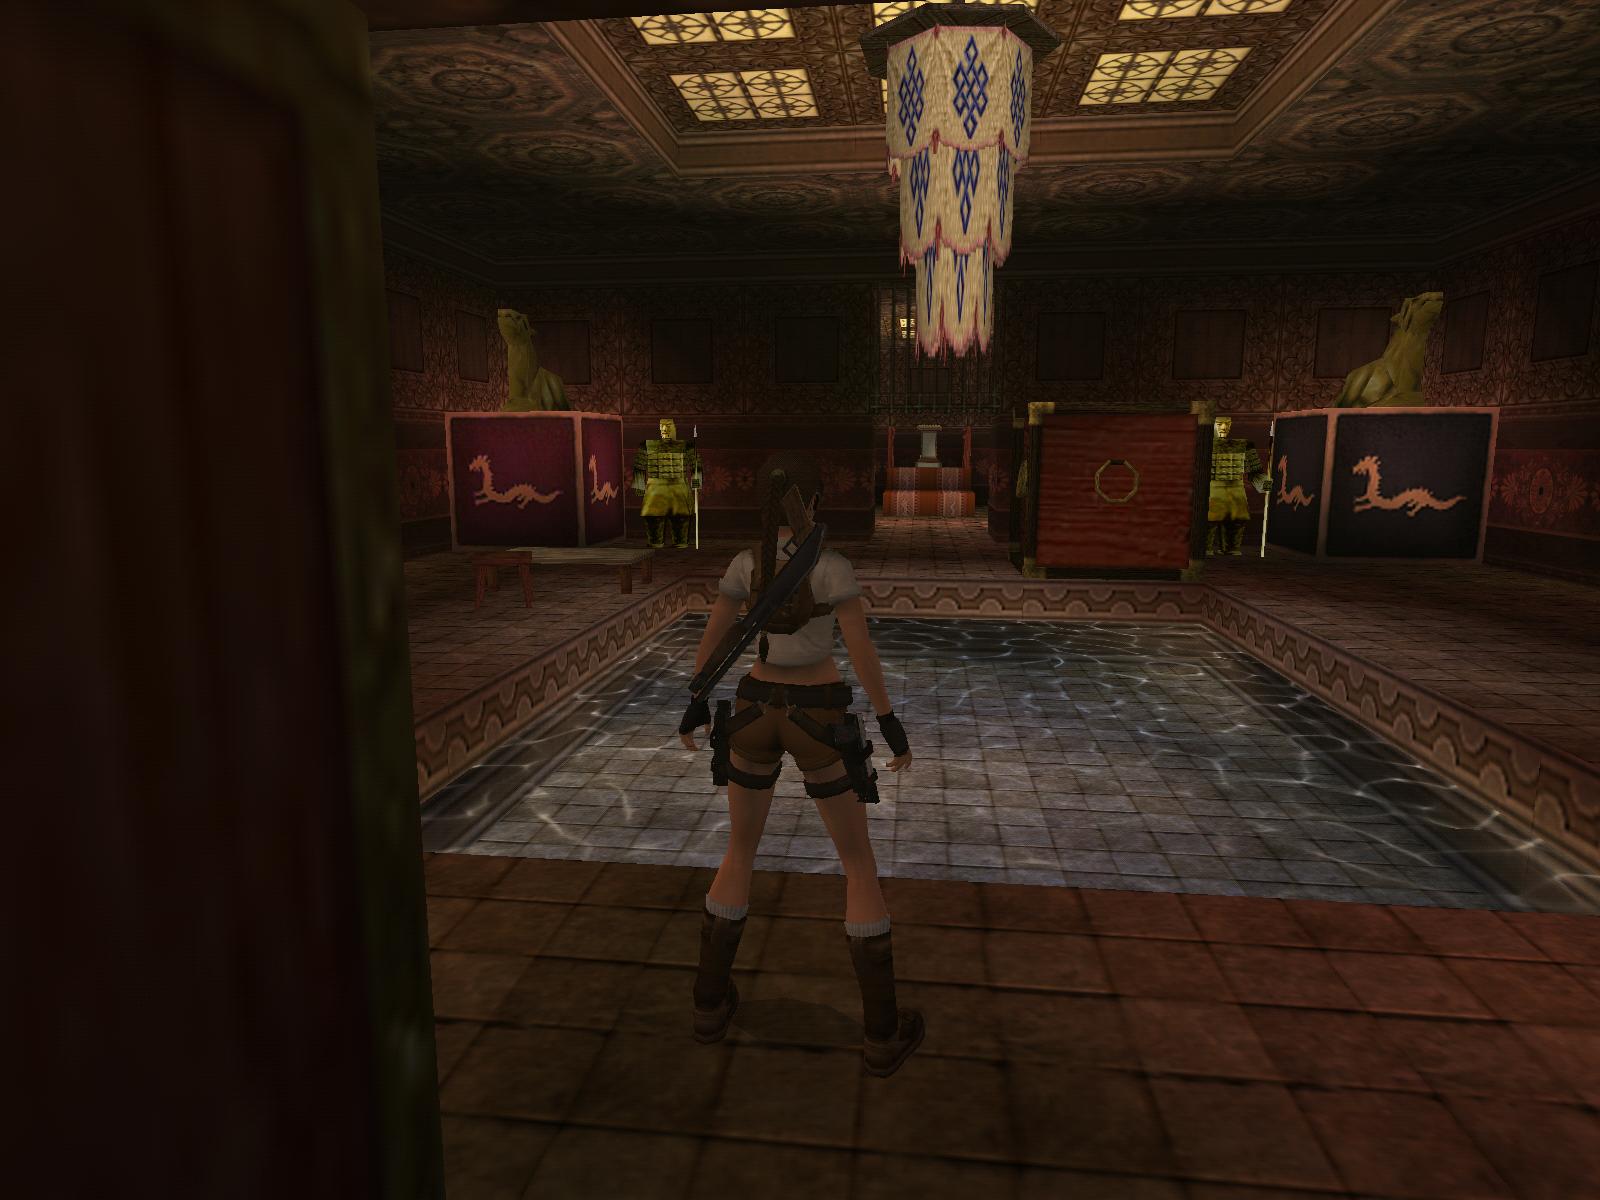
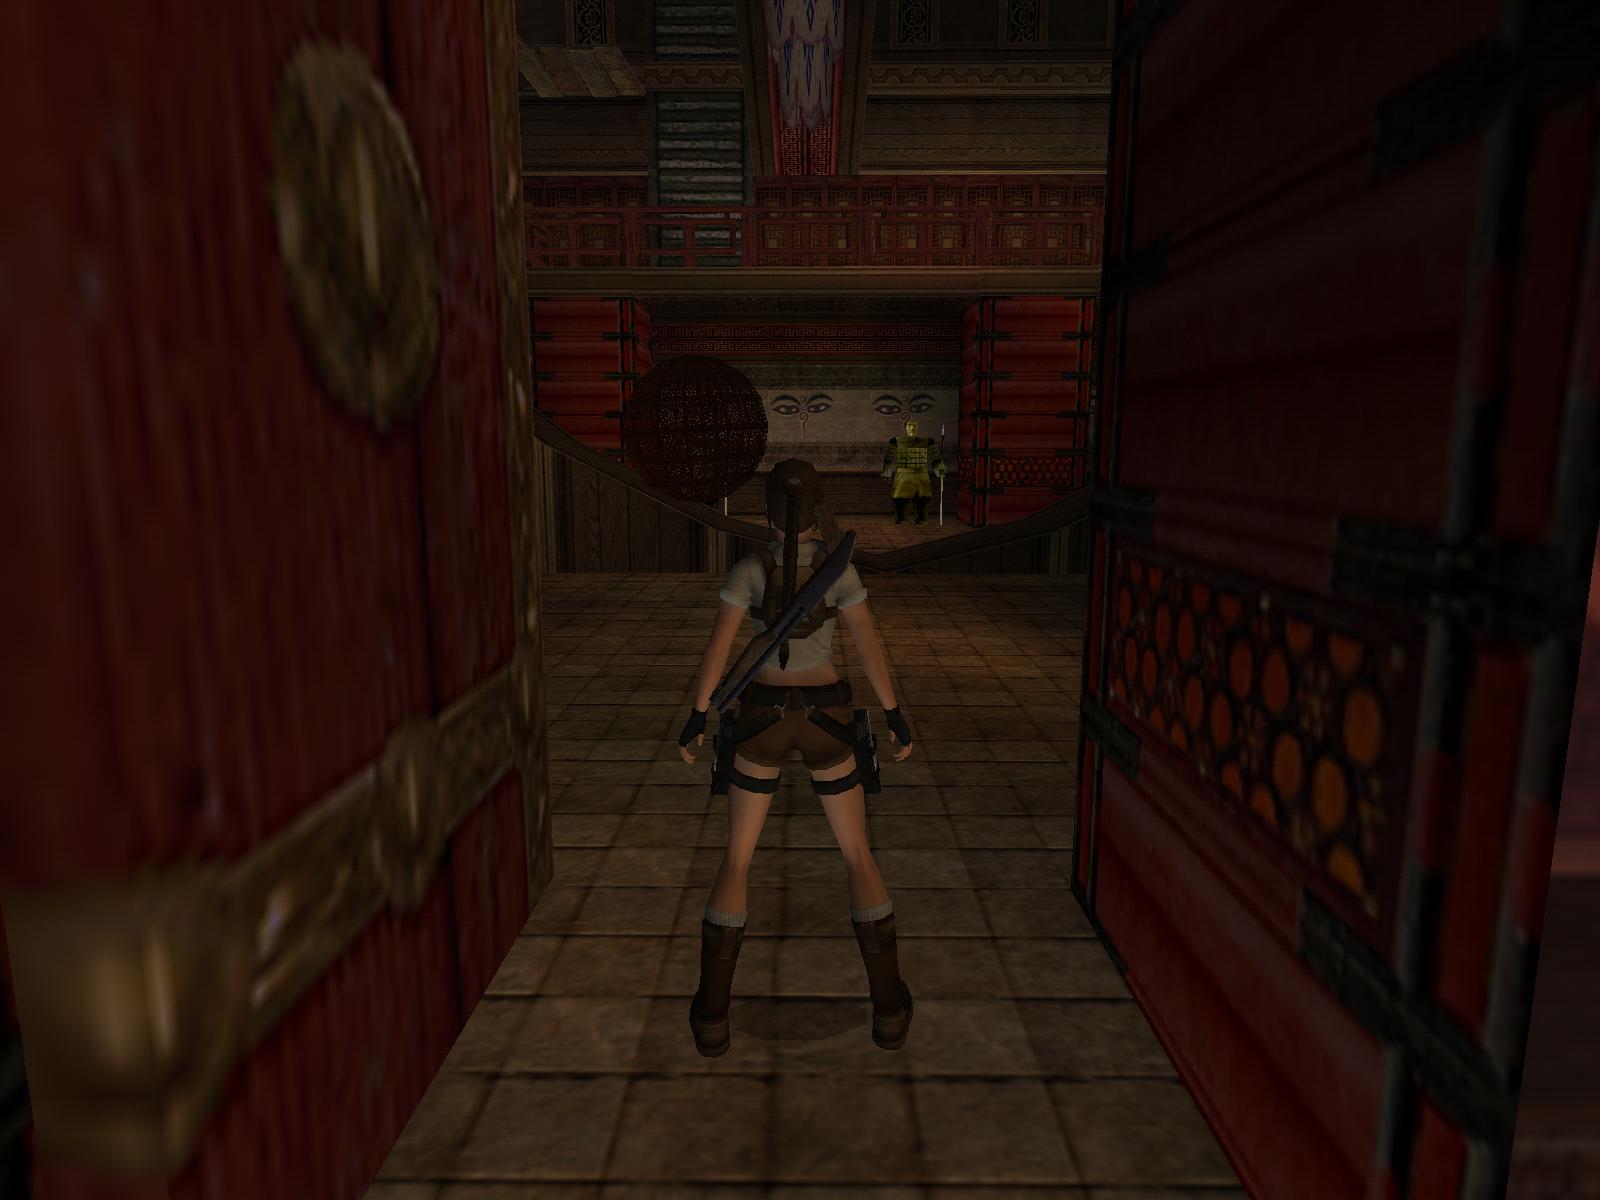
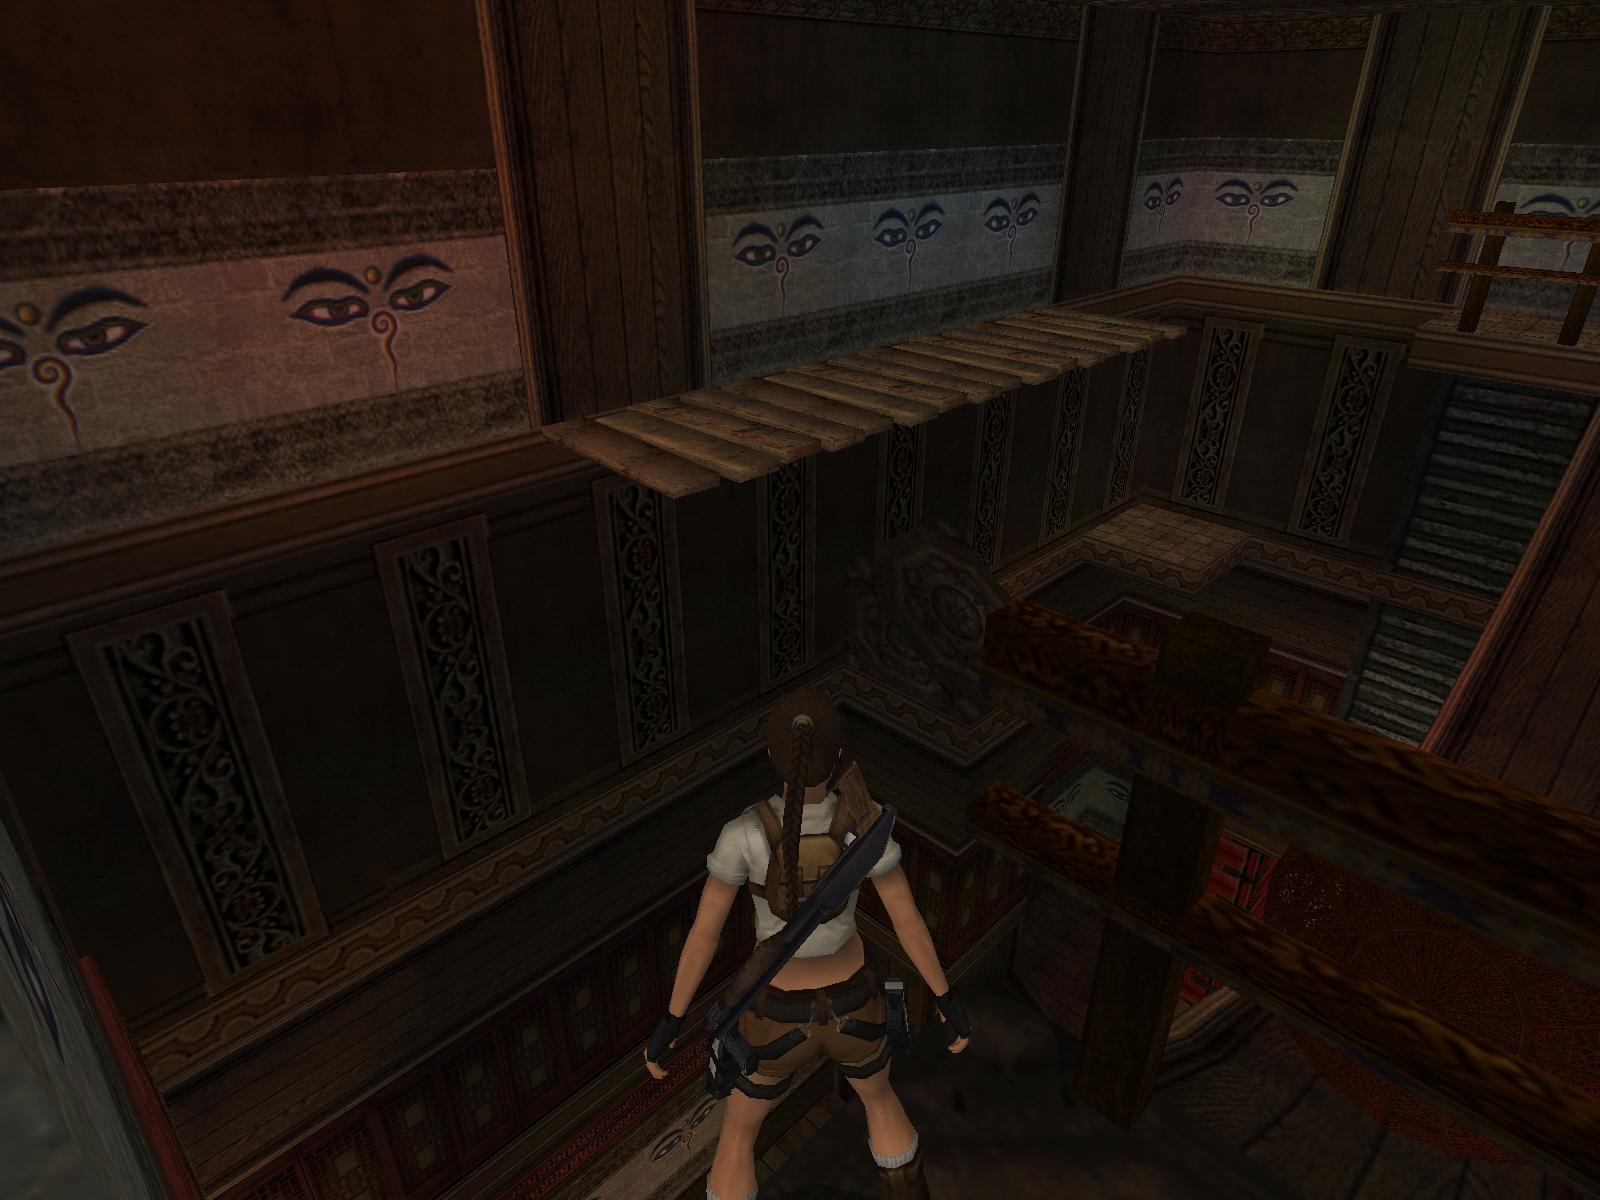
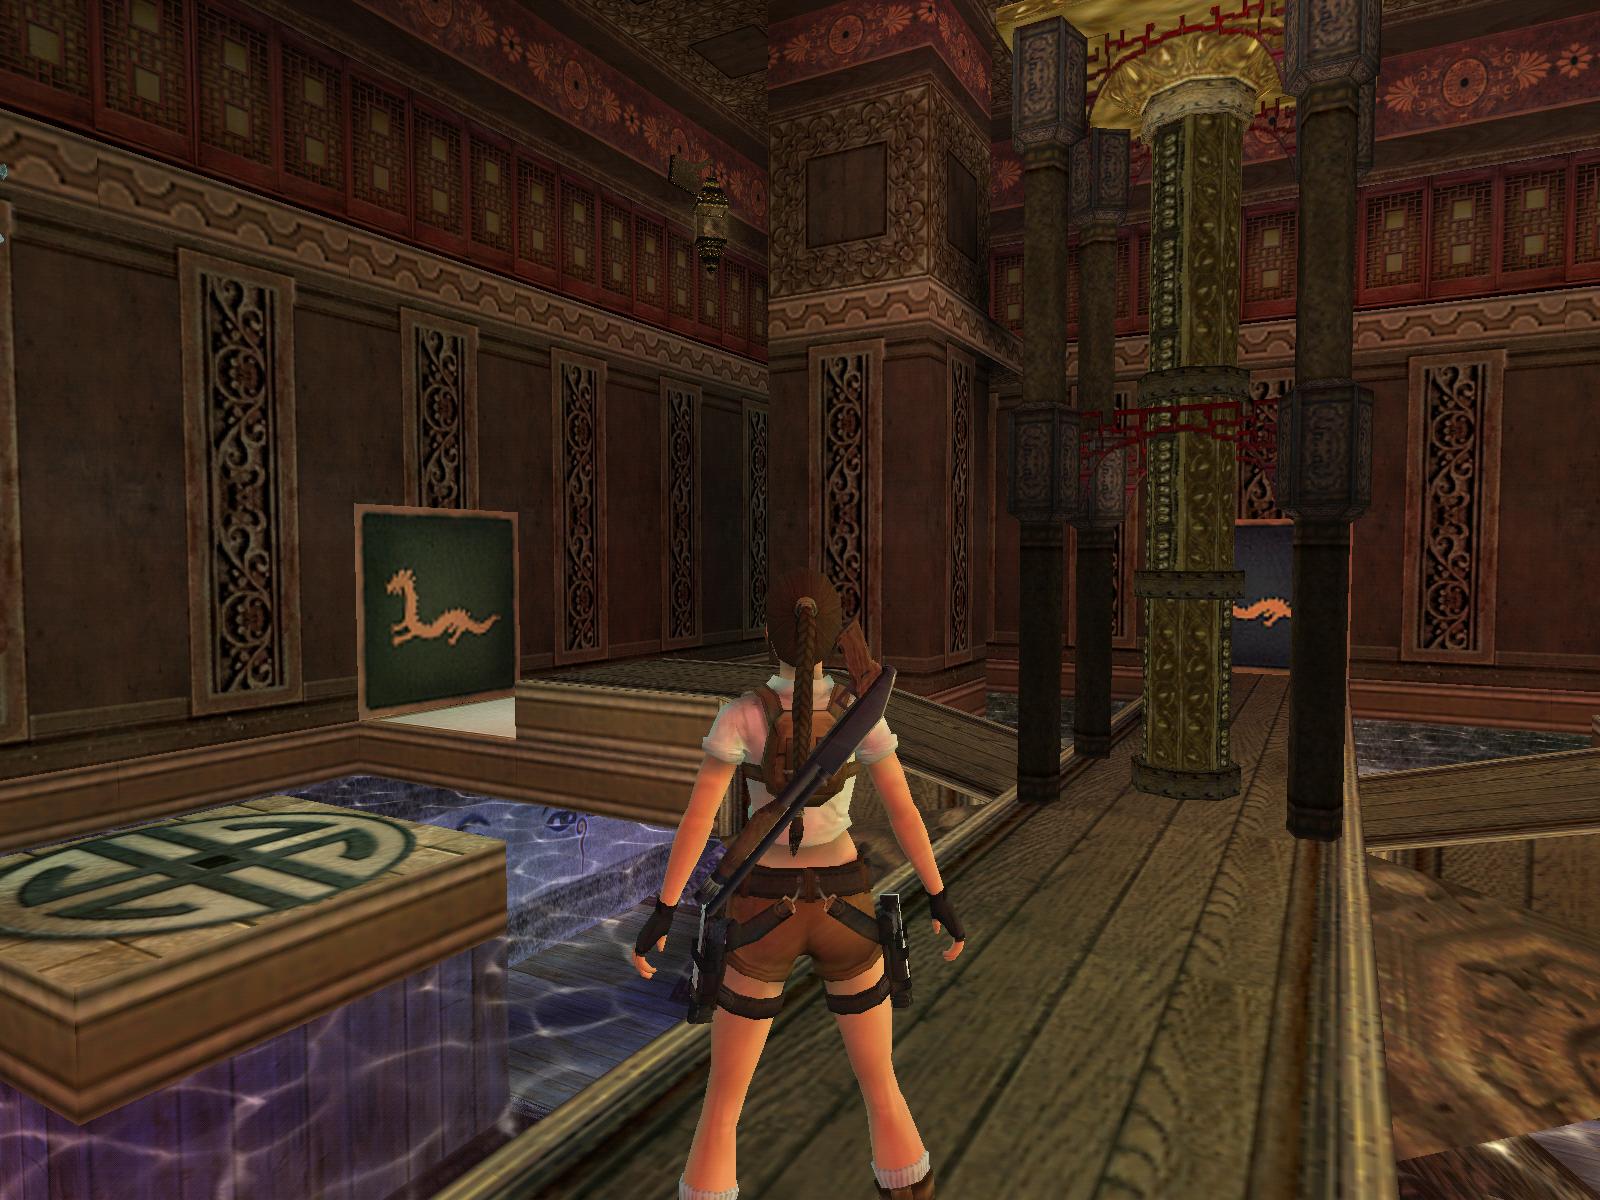
Entrance Hall
A flyby sets in to show
you the next room in the monastery. In this room, you have to open quite many
doors, so lets get on a search for the needed levers first. The first one
is on the floor level S behind a pillar. Now get up the stairs and then left
around the corner to the S walkway. You can see the jumplever on one side
of a pillar, jump there and pull it down. Get back up again after dropping
to the floor and now to the N walkway, at its end pull out the block twice,
climb on it and jump to the next jumplever. Afterwards get back up and to
the block, pull it W until you can reach a monkeyswing from the top of it.
Get to the last jumpswitch and pull it down. Now go to the floor level and
into the S hand door that is open now.
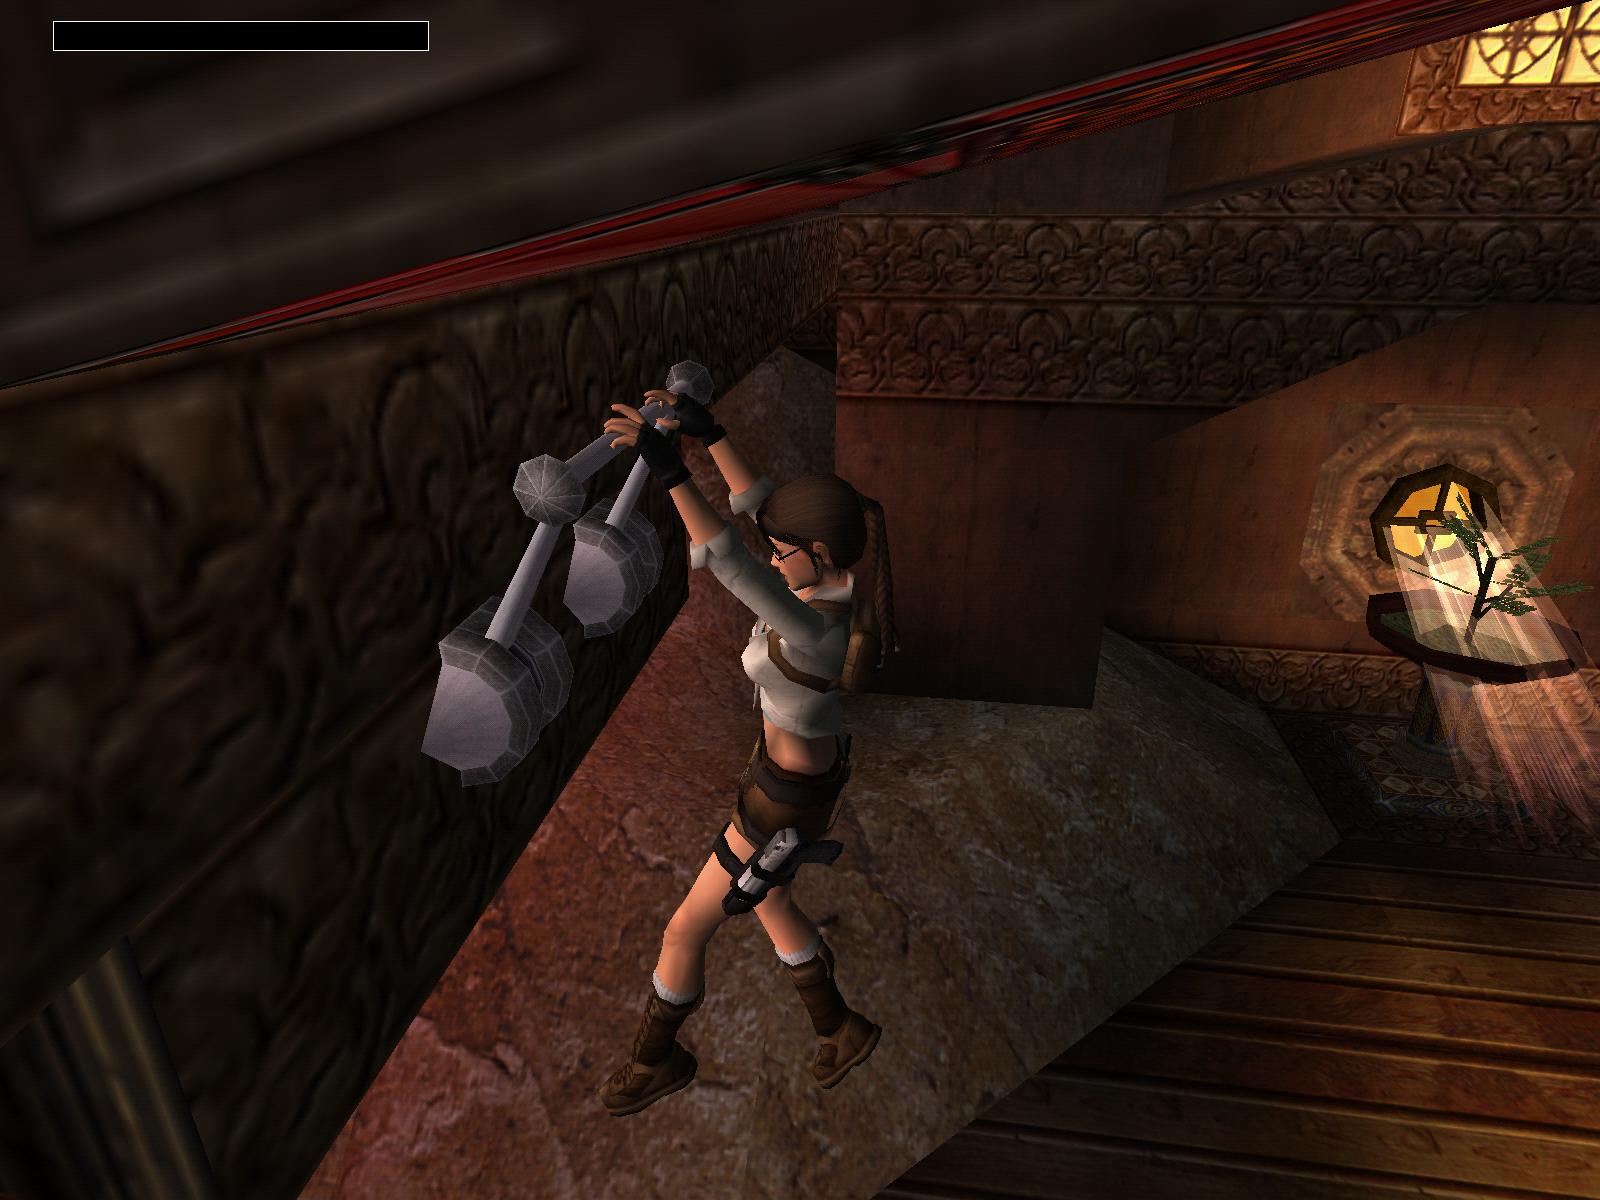
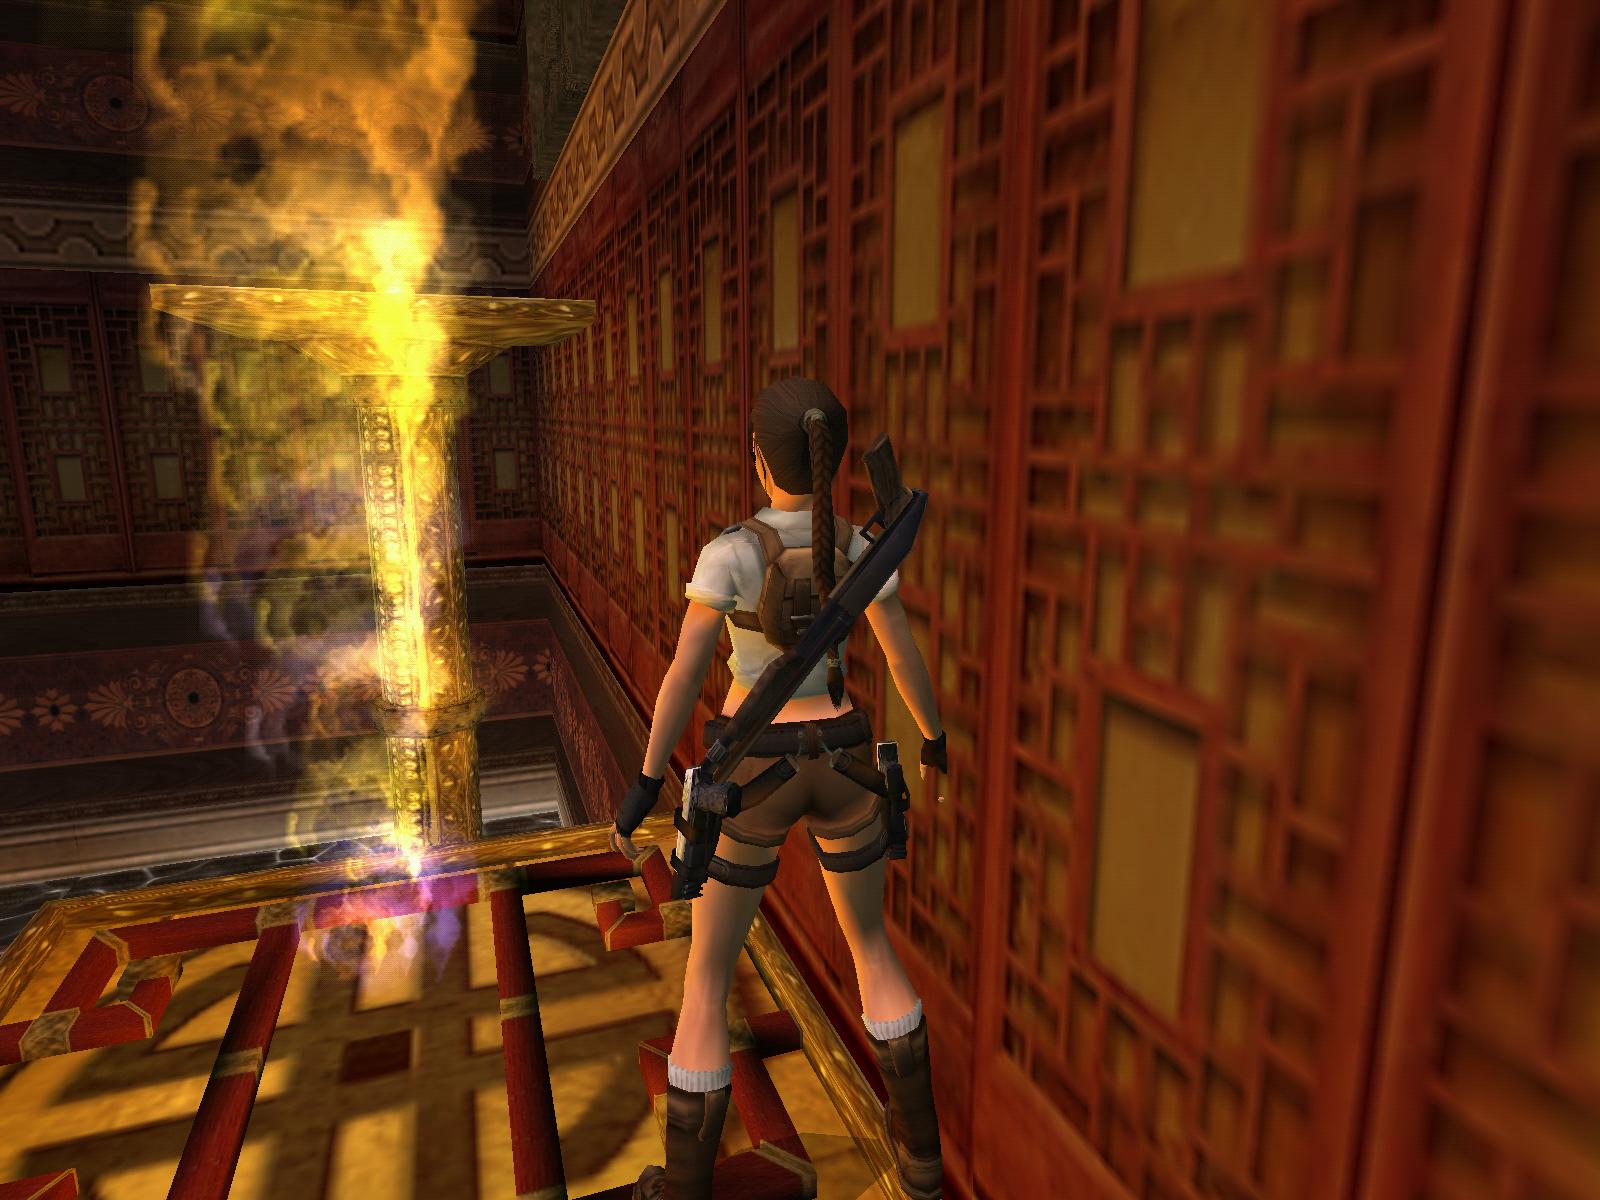
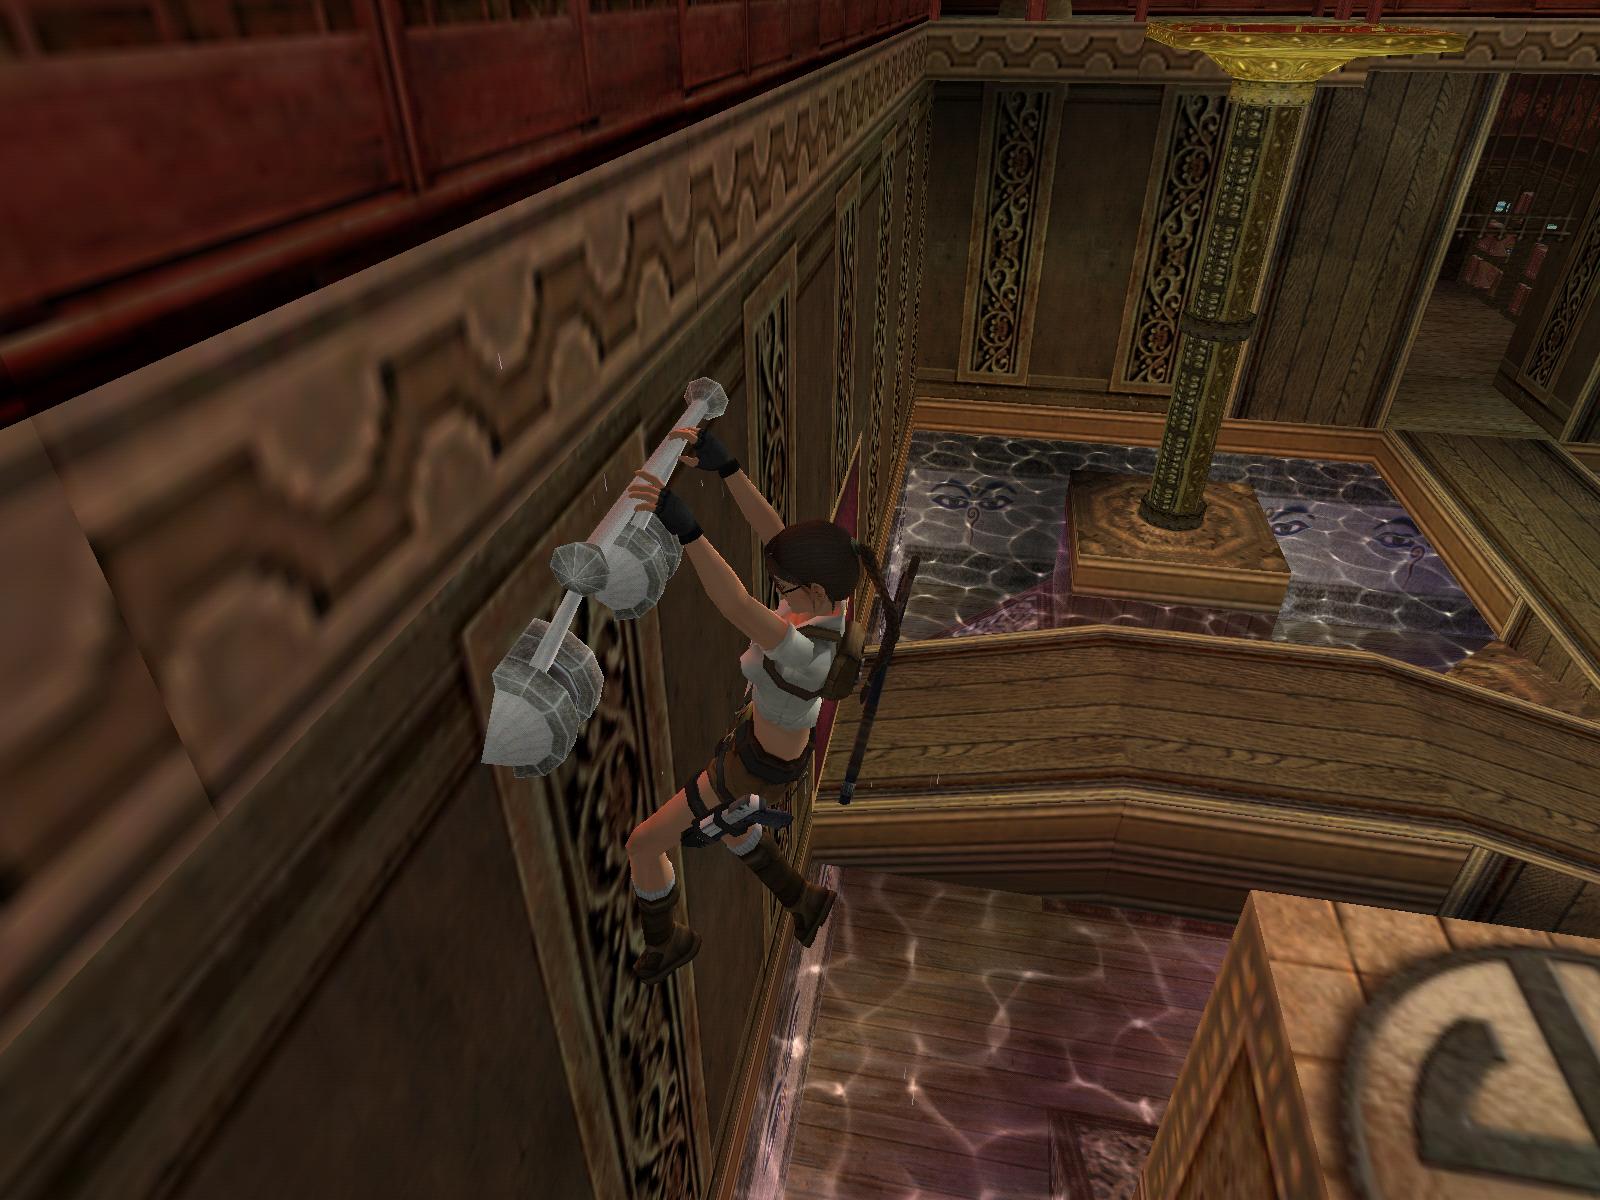
First Blue Gem
After following some corridors a cutscene plays in when stepping into a high
room. The first gem can be seen at the top, so lets start climbing! Before,
dive into the pool for Uzi Ammo. Run up the stairs, turn right and jump to
the platform, at the end jump to the pole (stand a bit more behind the edge
and jump) and get to the ledge, climb up and jump to the next ledge, climb
the ladder and backflip to the higher platform. Jump to the crevice in the
wall, shimmy left until you can drop on the next platform. Run-jump to the
ladder, get up and jump to the NE crevice, shimmy around a corner, get on
the ladder and backflip. Use the pole at the NE ledge to get to the other
side, climb up and jump either using the slope or directly on the golden block,
turn NE and jump up, then around the corner, jump to the left part of the
crawlspace (right, you cant get up) and crawl to its end, get up and head
to the ladder. Turn right and spot a Little Medikit in an alcove, jump there
to get it, thereon jump back. Use the ladder to get to the topmost point of
this area. Get the Blue Gem and after pushing the N button make your way back
down (Tip: two steps left from the button, turn right and dive down into the
water).
Second Blue Gem
Get to the main hall again and this time take the N door, still on the floor
level. Step on the middle tile to open the door, get through a timed sequence
over some fire tiles awaits you. Step in the room and all fires are deactivated,
run-jump over them you have to do this without a stop, jump over the first
four platforms, do a left sideflip to the last one and a stand-jump with a
left curve to the ledge. Climb up a Little Medikit and the second Blue Gem
is yours. Dive into the water and climb out E, run up the stairs. For a secret
step on the S tile of the E walkway, an underwater door opens, jump in the
water and quickly swim NW to reach it before it closes. Get the
Third Blue Gem
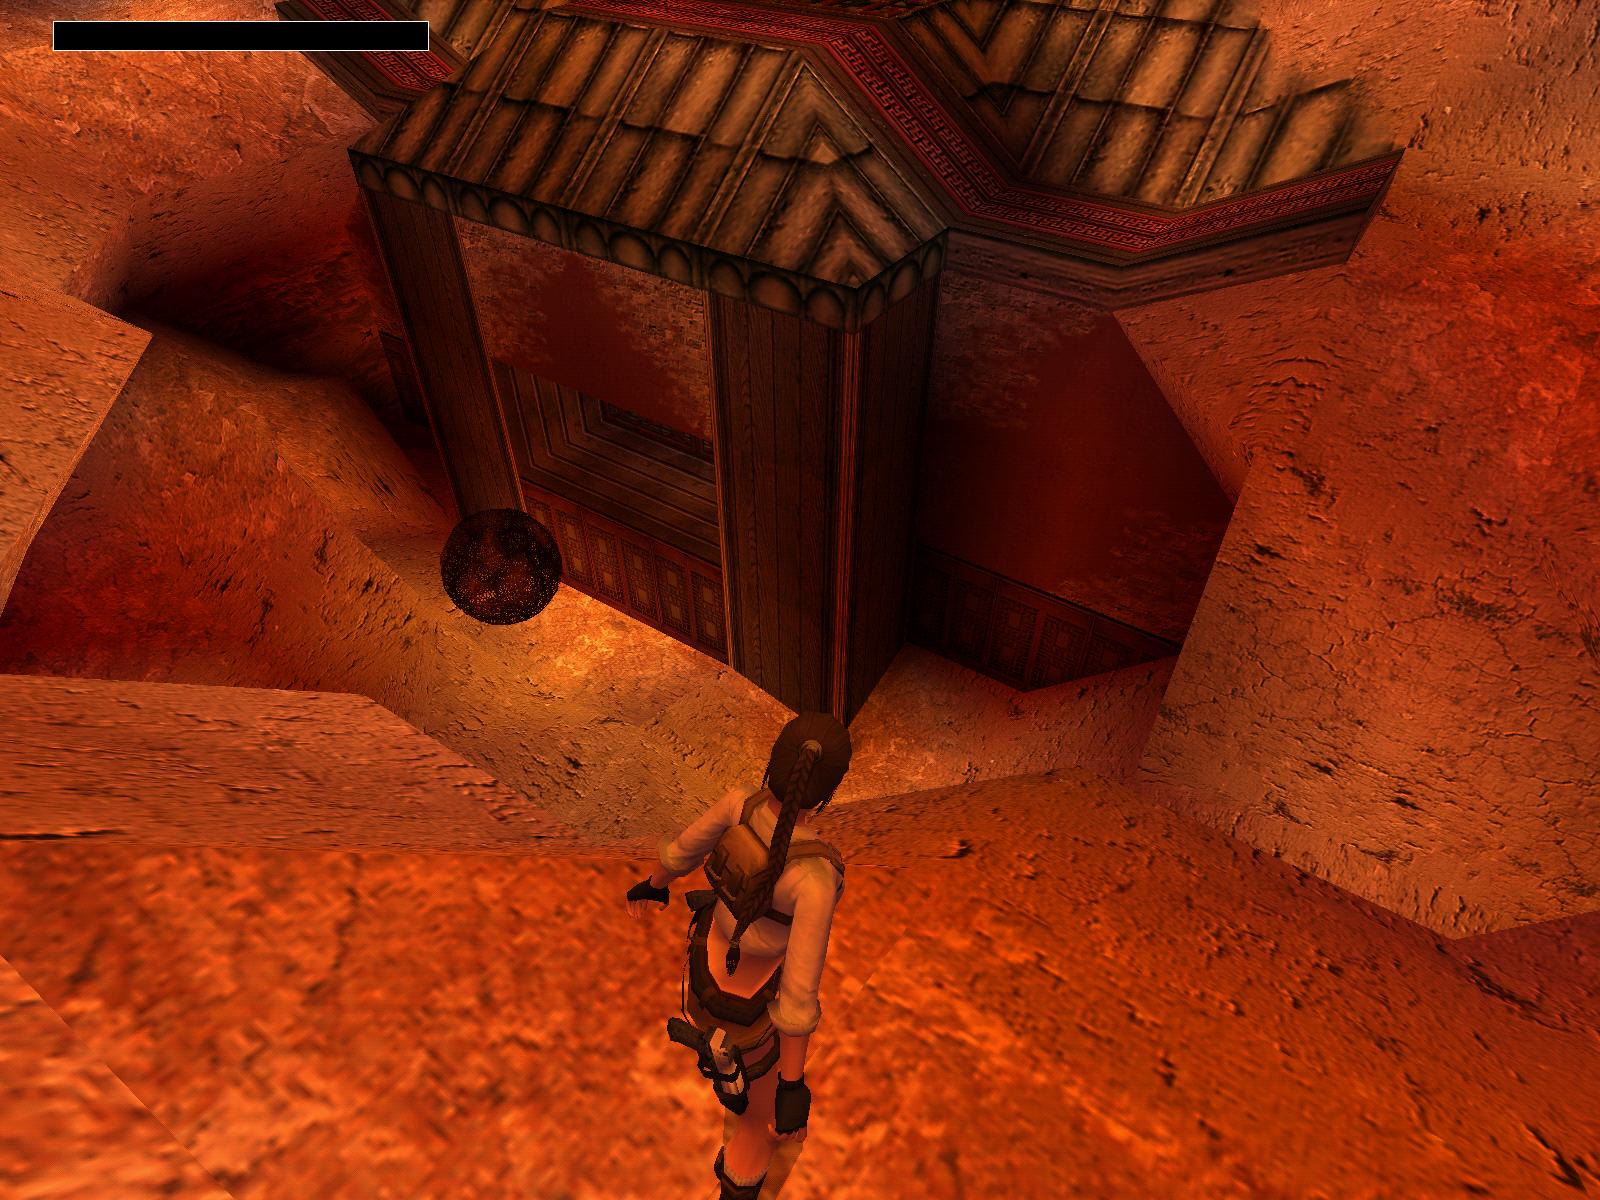
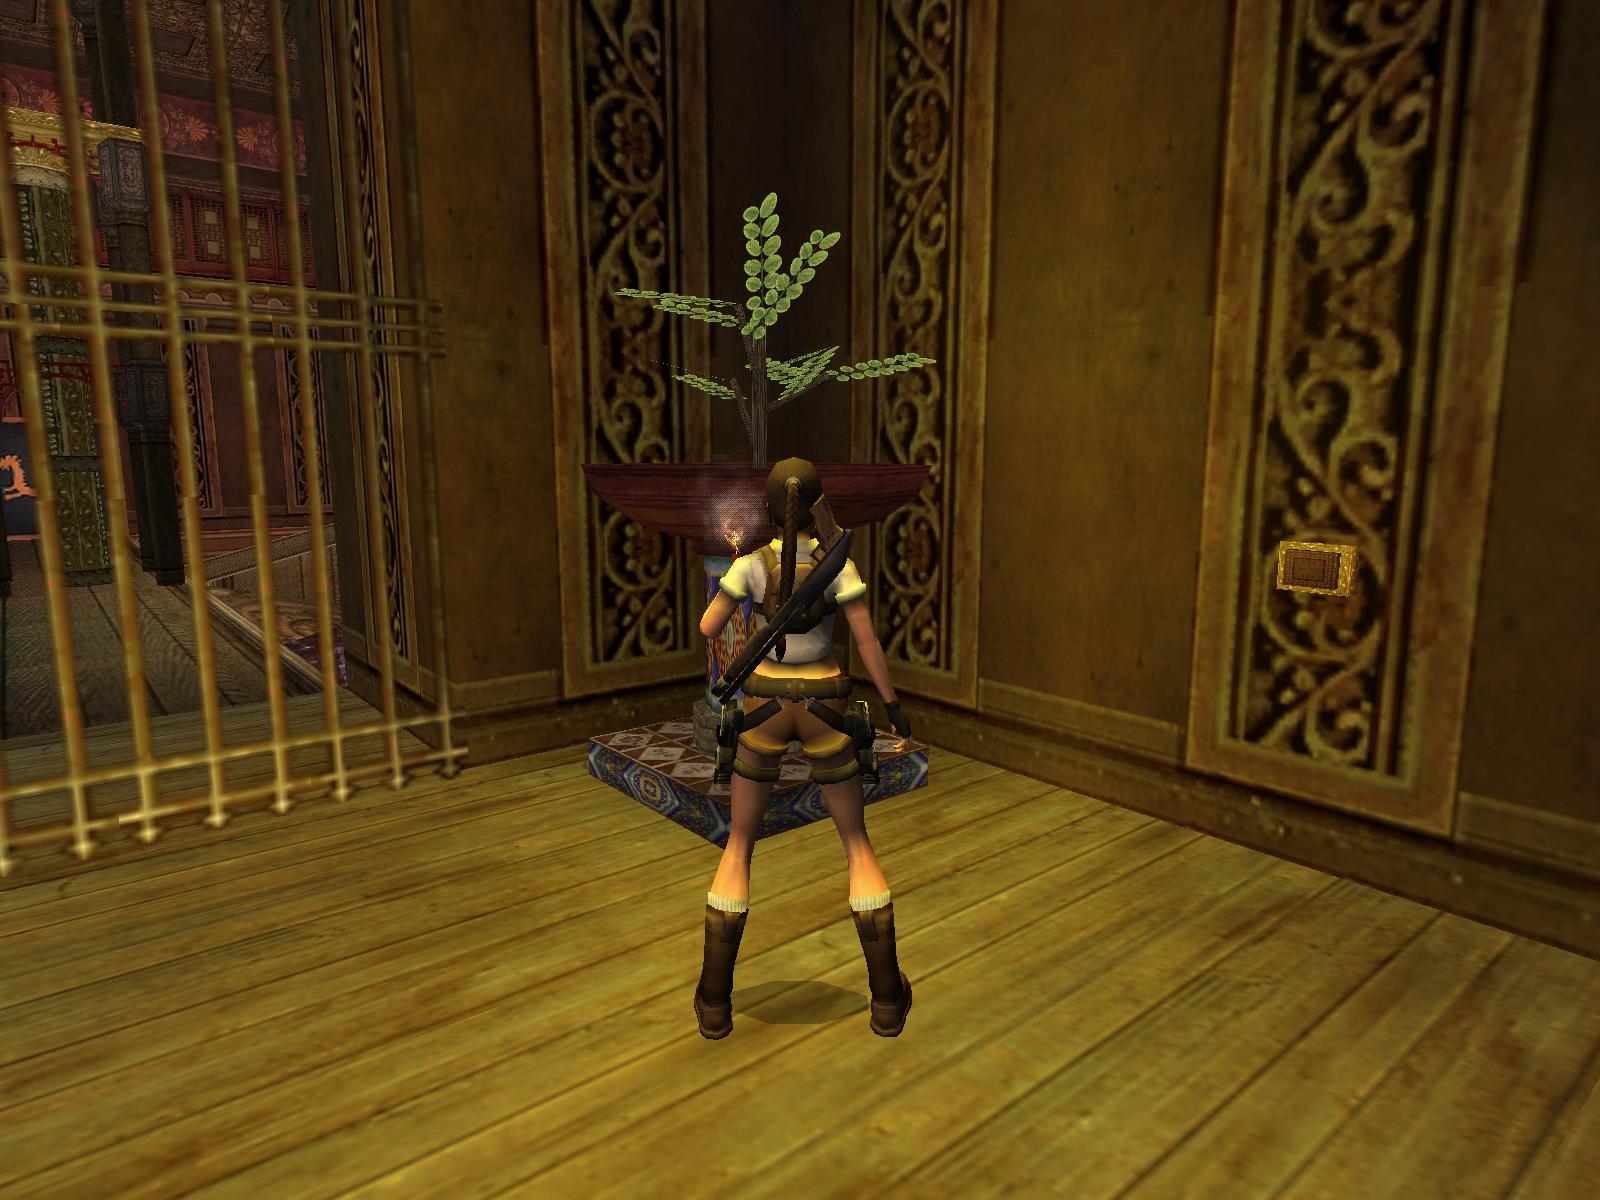
Get to the main hall and up the stairs, go into the NW rooms. In the NW corner
you can find a Small Waterskin on a pedestal. The S door is open so get the
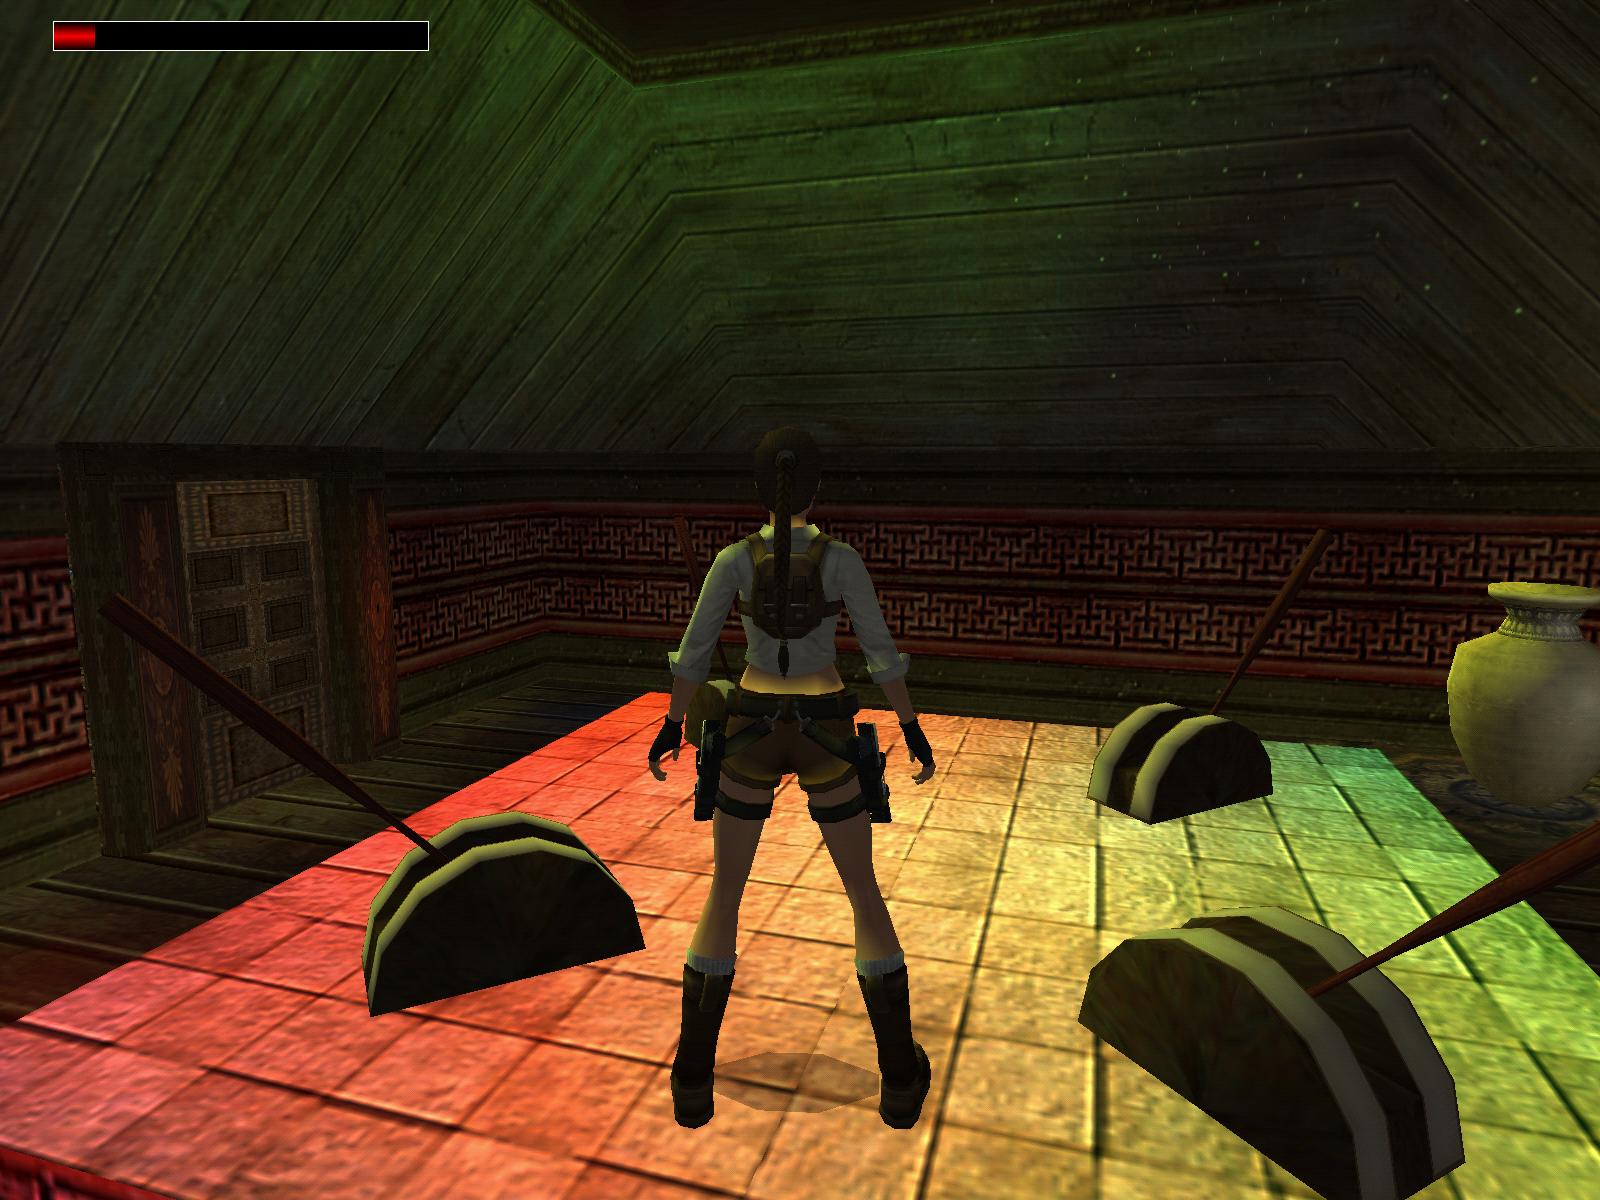
Blue Gem. Do you think that was too easy? Pull the N button to open the door.
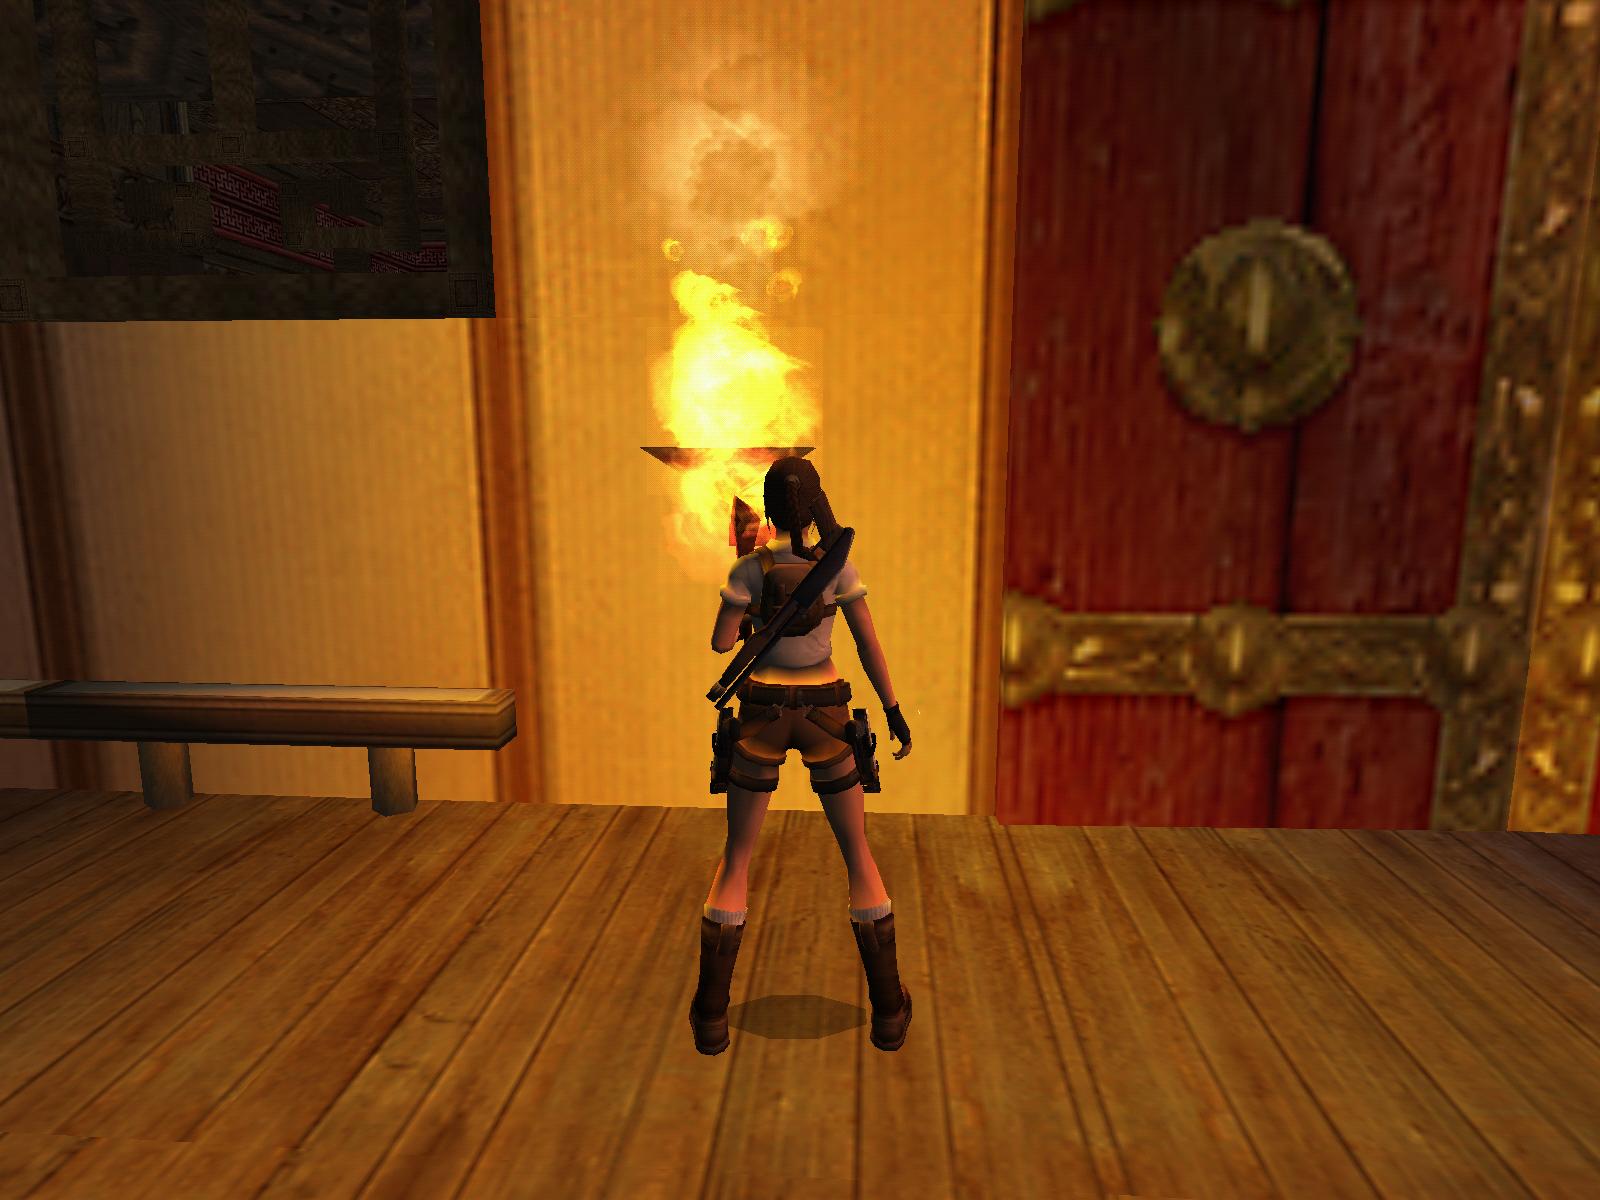
A boulder trap is in the middle, get through it and to the NE corner to push
the button that raises a SW block. Climb it and onto the S walkway, time the
jump over the burner to the pole, use it to get to the second, time the next
jump over the burner again, climb the ladder, watch out, when you drop, theres
a breakable tile. Jump to the slope so that you slide backwards, shimmy far
left, climb up, backflip with a mid-air turn and a grab to the ledge. Shimmy
to the middle, wait for the boulder to roll away, climb and run-jump with
a grab over to the platform, avoiding the blade, climb up and jump to the
pole, and to the other ledge.
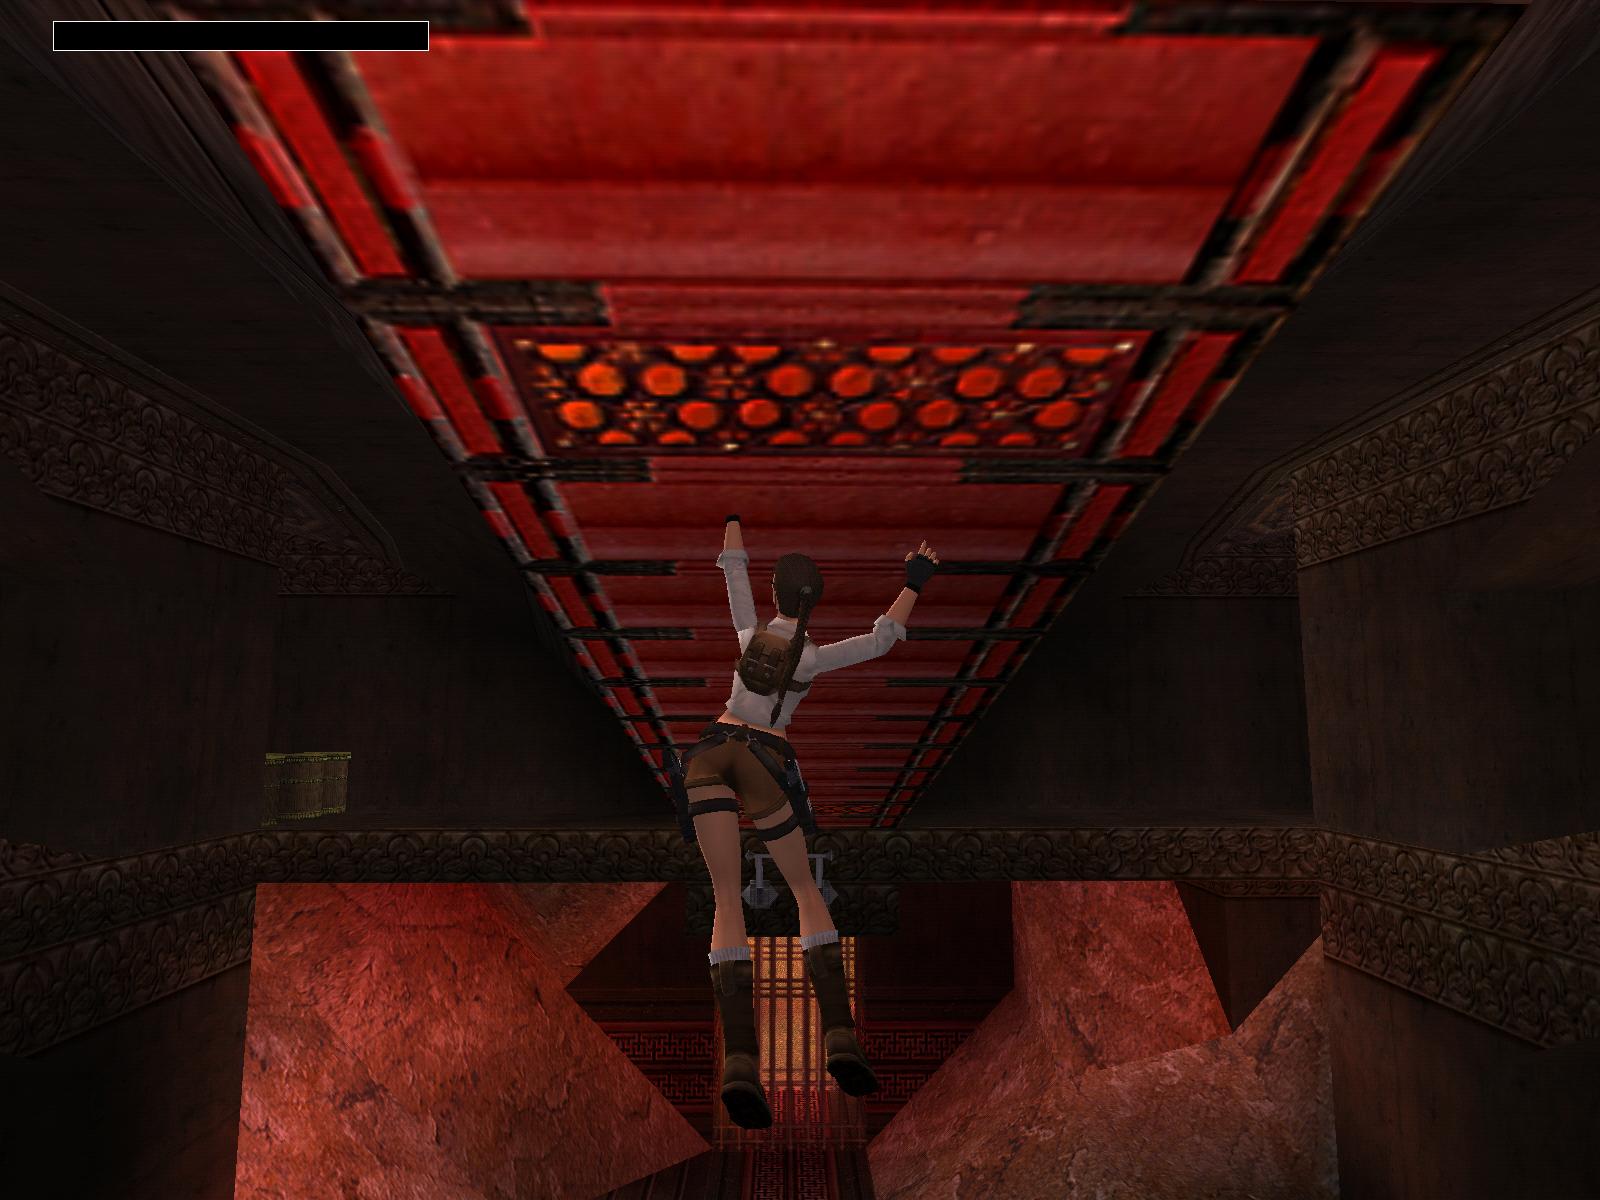
Fourth Blue Gem
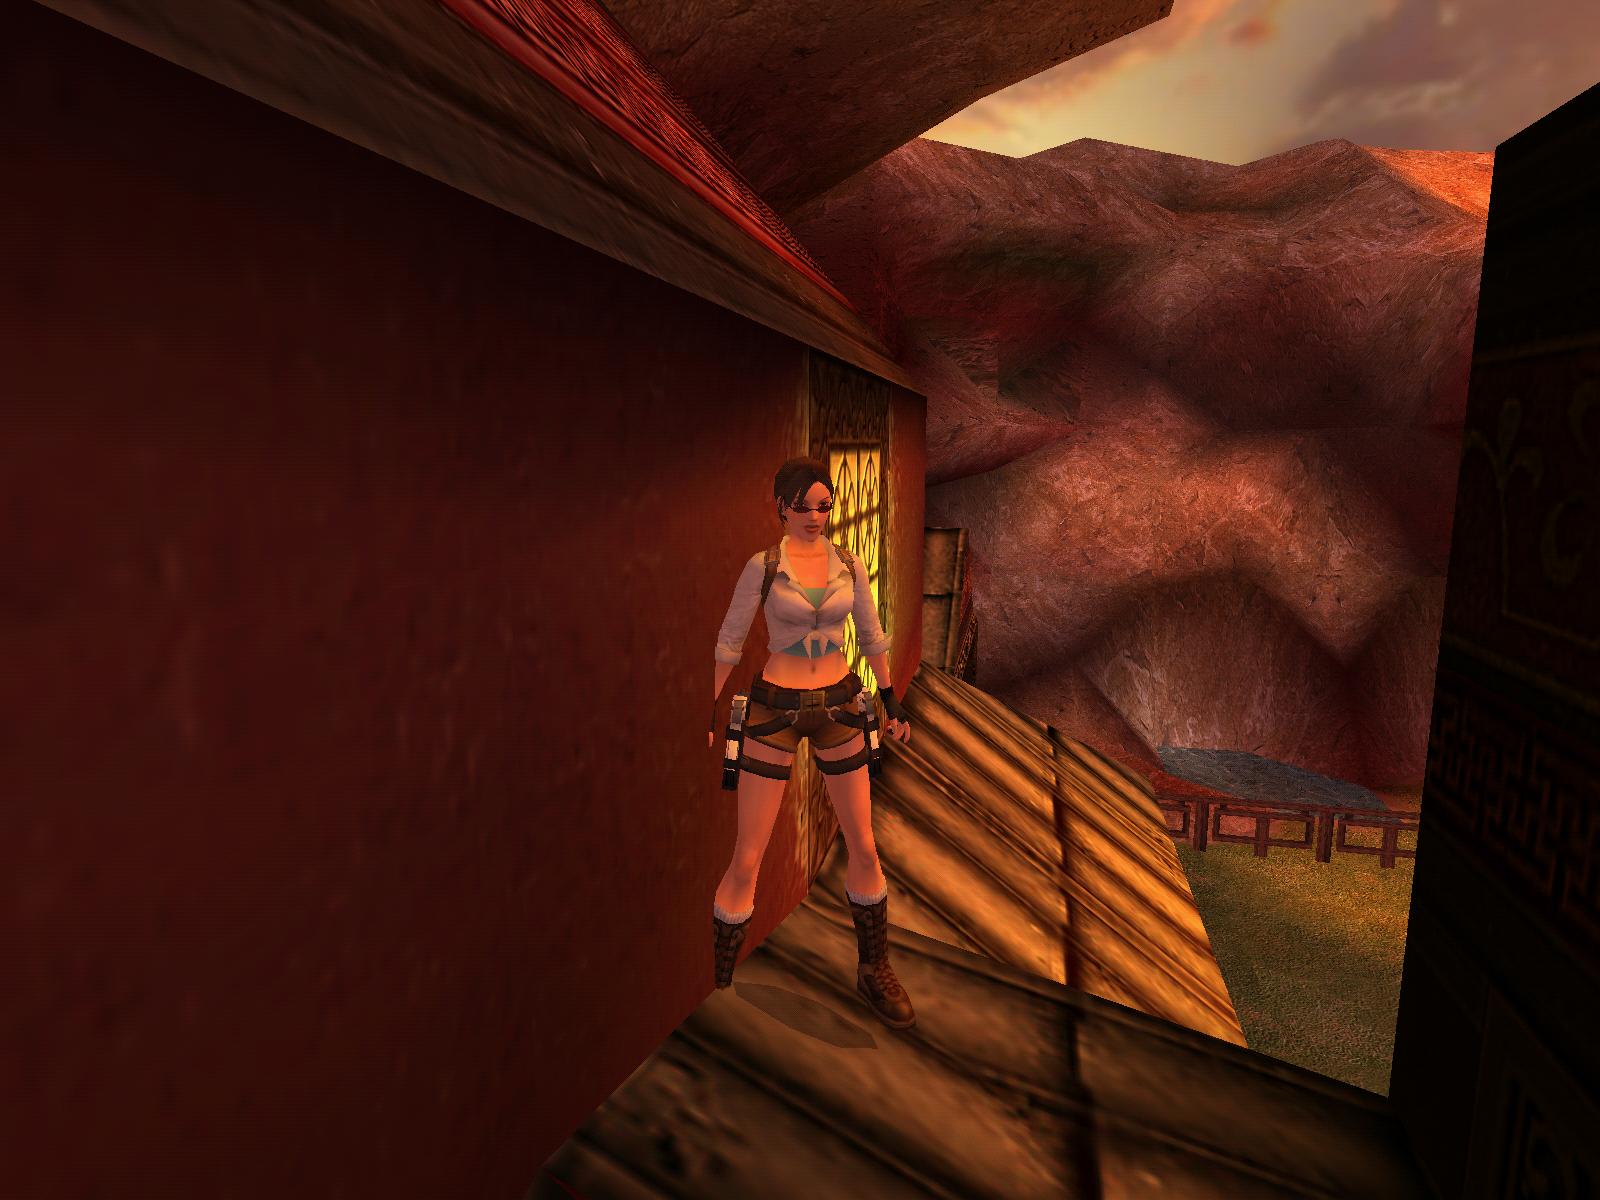
Run downstairs and out in the courtyard, where you will find a smaller and
not so deep lake. Fill your waterskin in it. Run back all the way into the
monastery and upstairs, enter the last, SW door. Use the full waterskin to
fill water on the shell, the right door opens so that you can get the last
Blue Gem. Climb into the S opening and follow the crawlspace to its end, climb
out backwards and follow the corridor S to find a button to your right to
open the door in the little chamber. Backflip to avoid a boulder and enter
the new room. Jump first in the pool to find two underwater ceiling levers
under the N and S bridges. This raises two blocks NW and SE; climb on both
and jump to the jumplevers from there. Climb out of the water and up the S
white block when you pulled both, jump to the W platform and pick up a Little
Medikit. From here jump and grab the central platform, from here NE to the
floor lever. Push it to open another door. Now return all the long way back
to the monastery hall, use the block in the previous room and push it under
the crawlspace entrance therefore. In the hall run downstairs and to the big
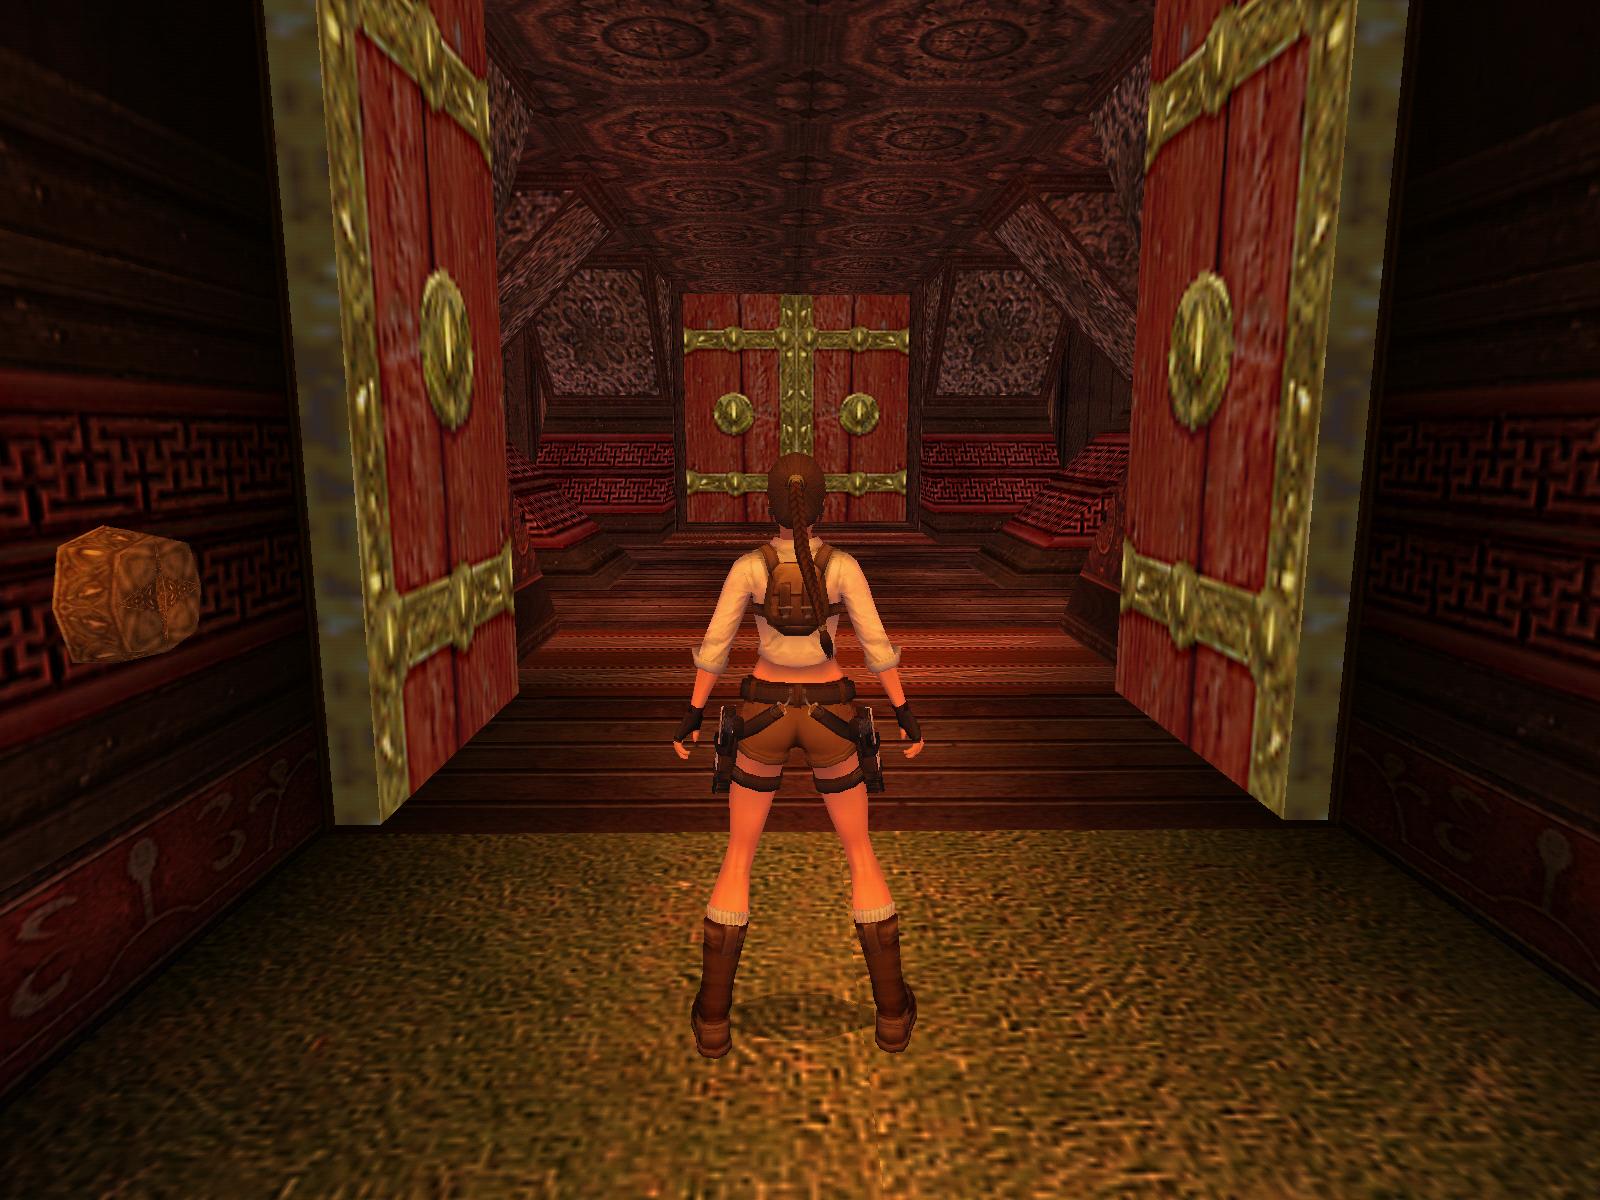
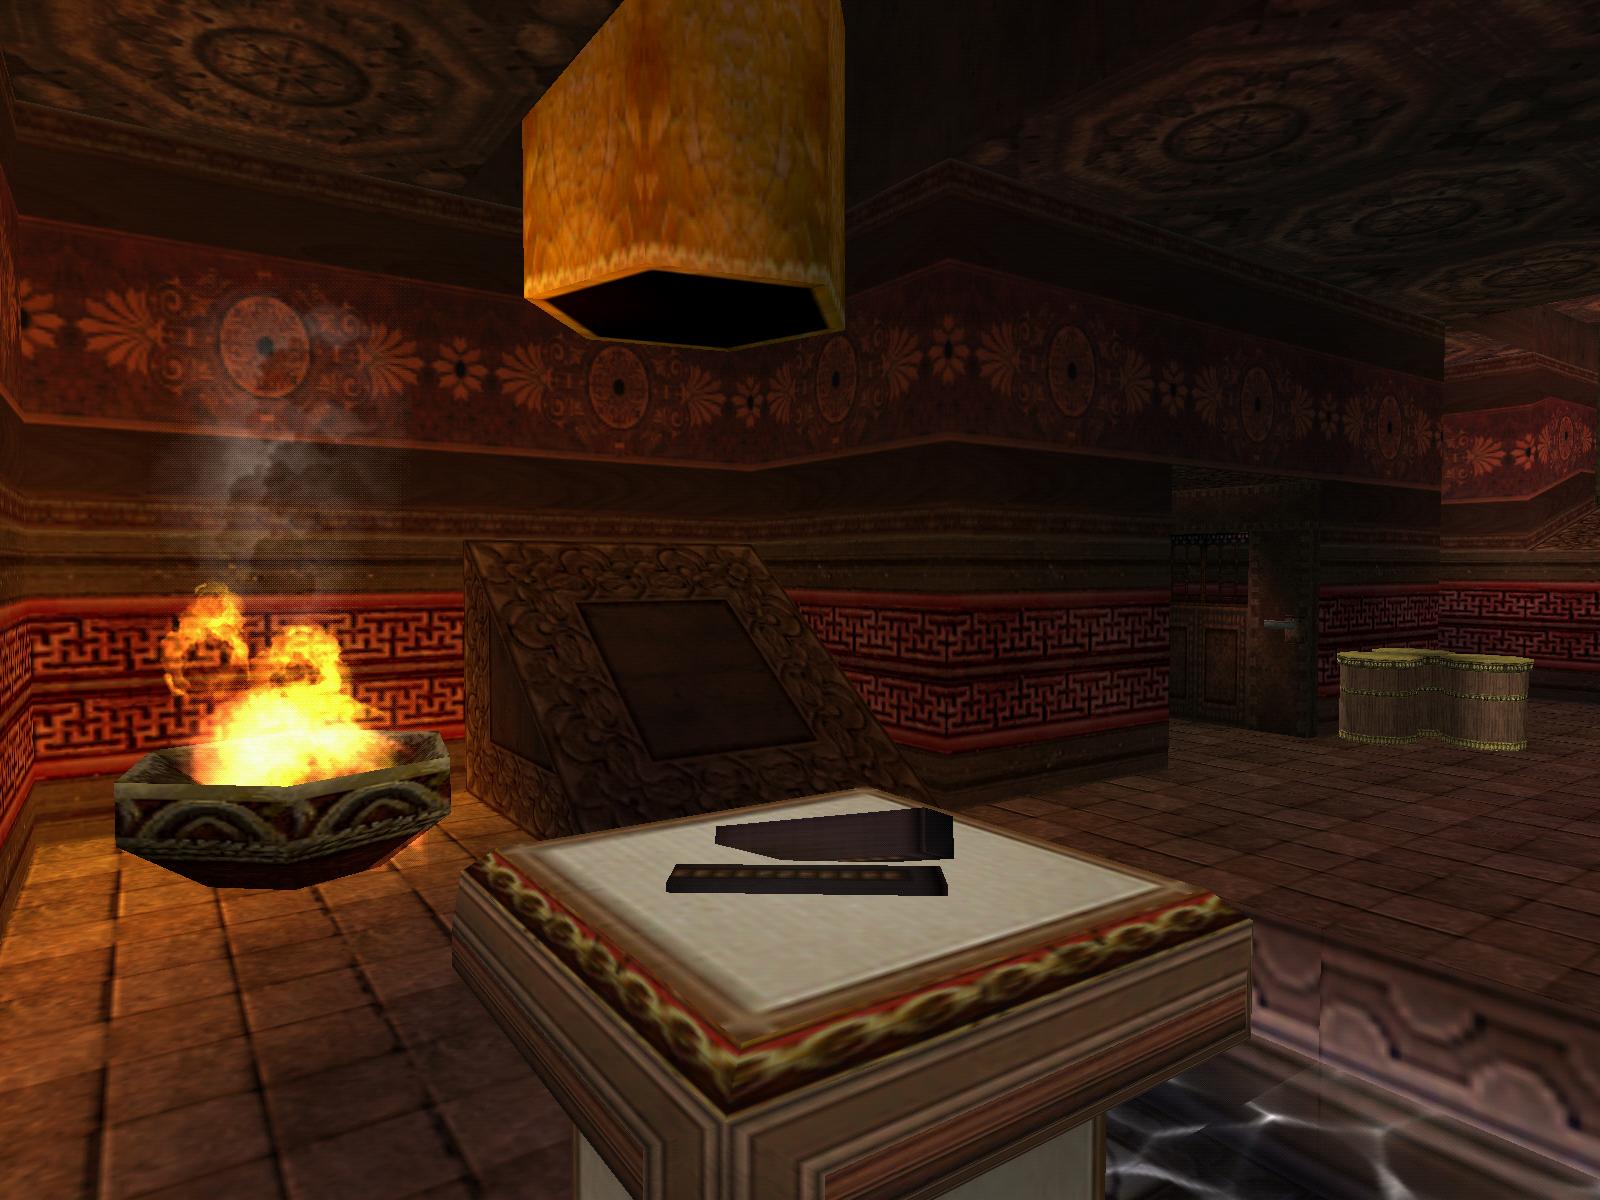
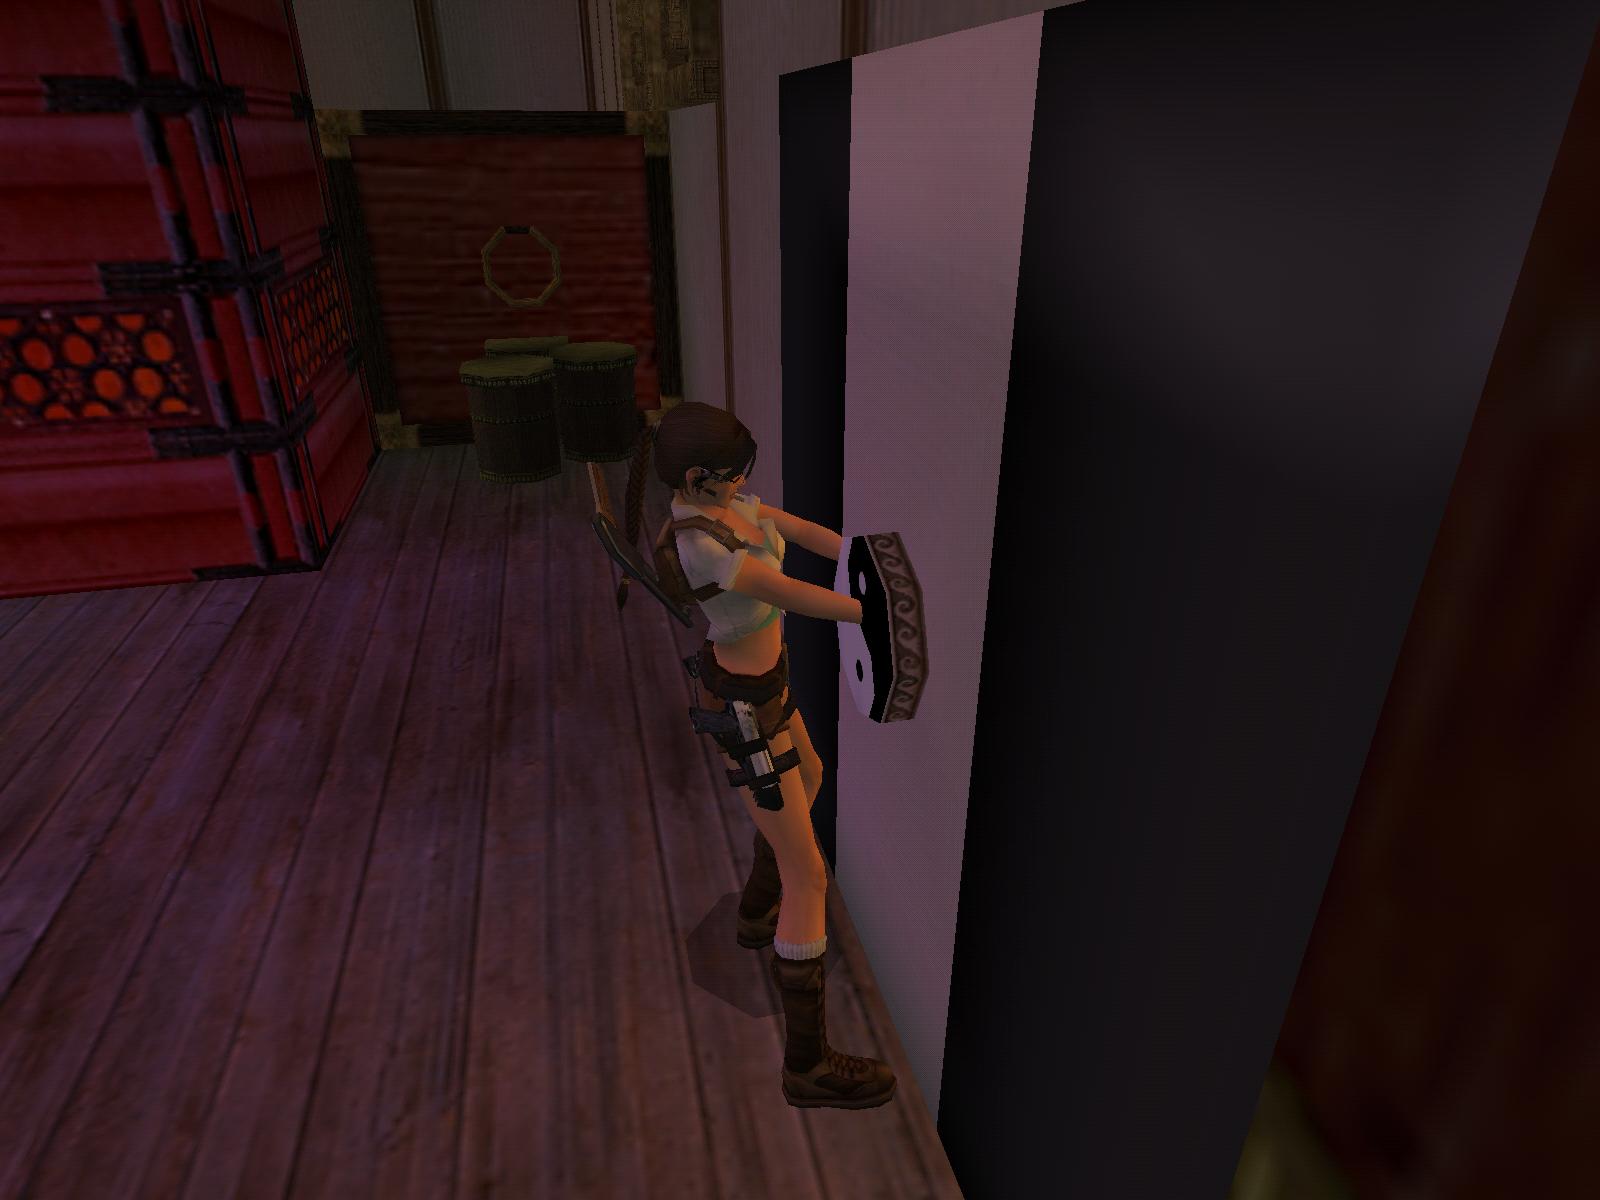
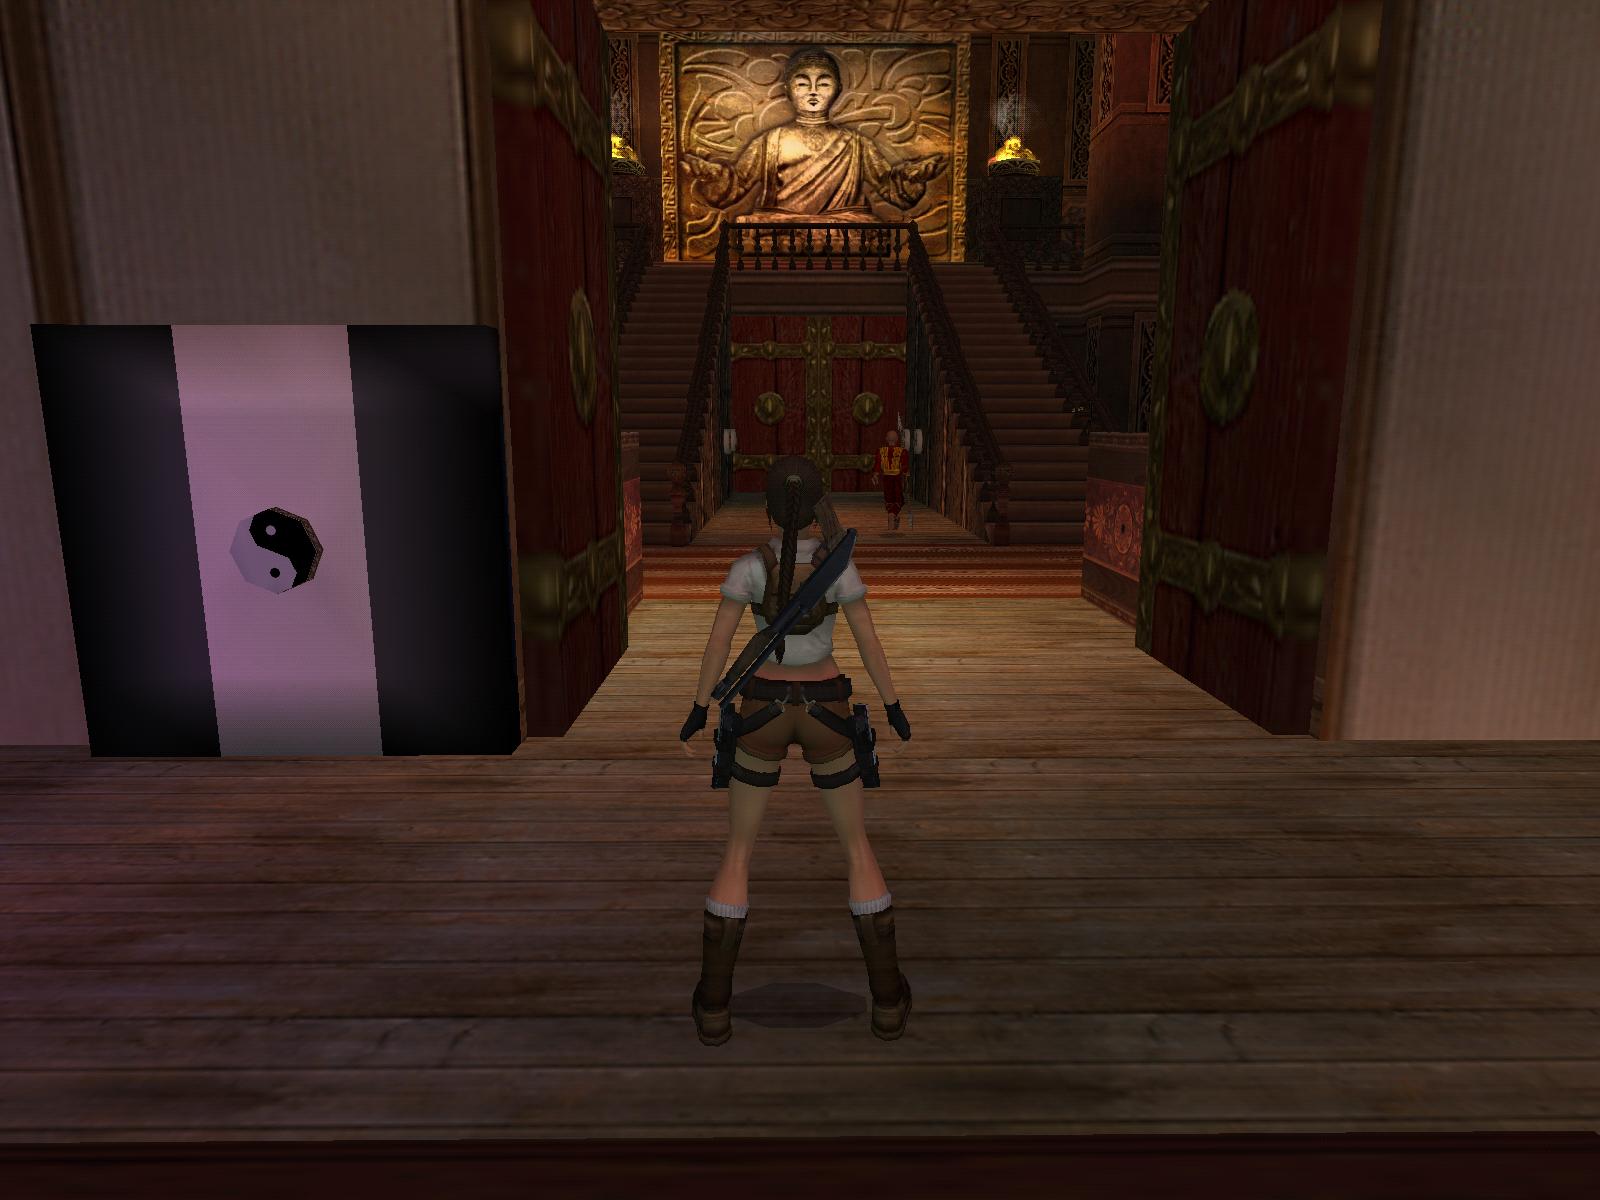
red double doors. Place all four gems in their receptacles and they open.
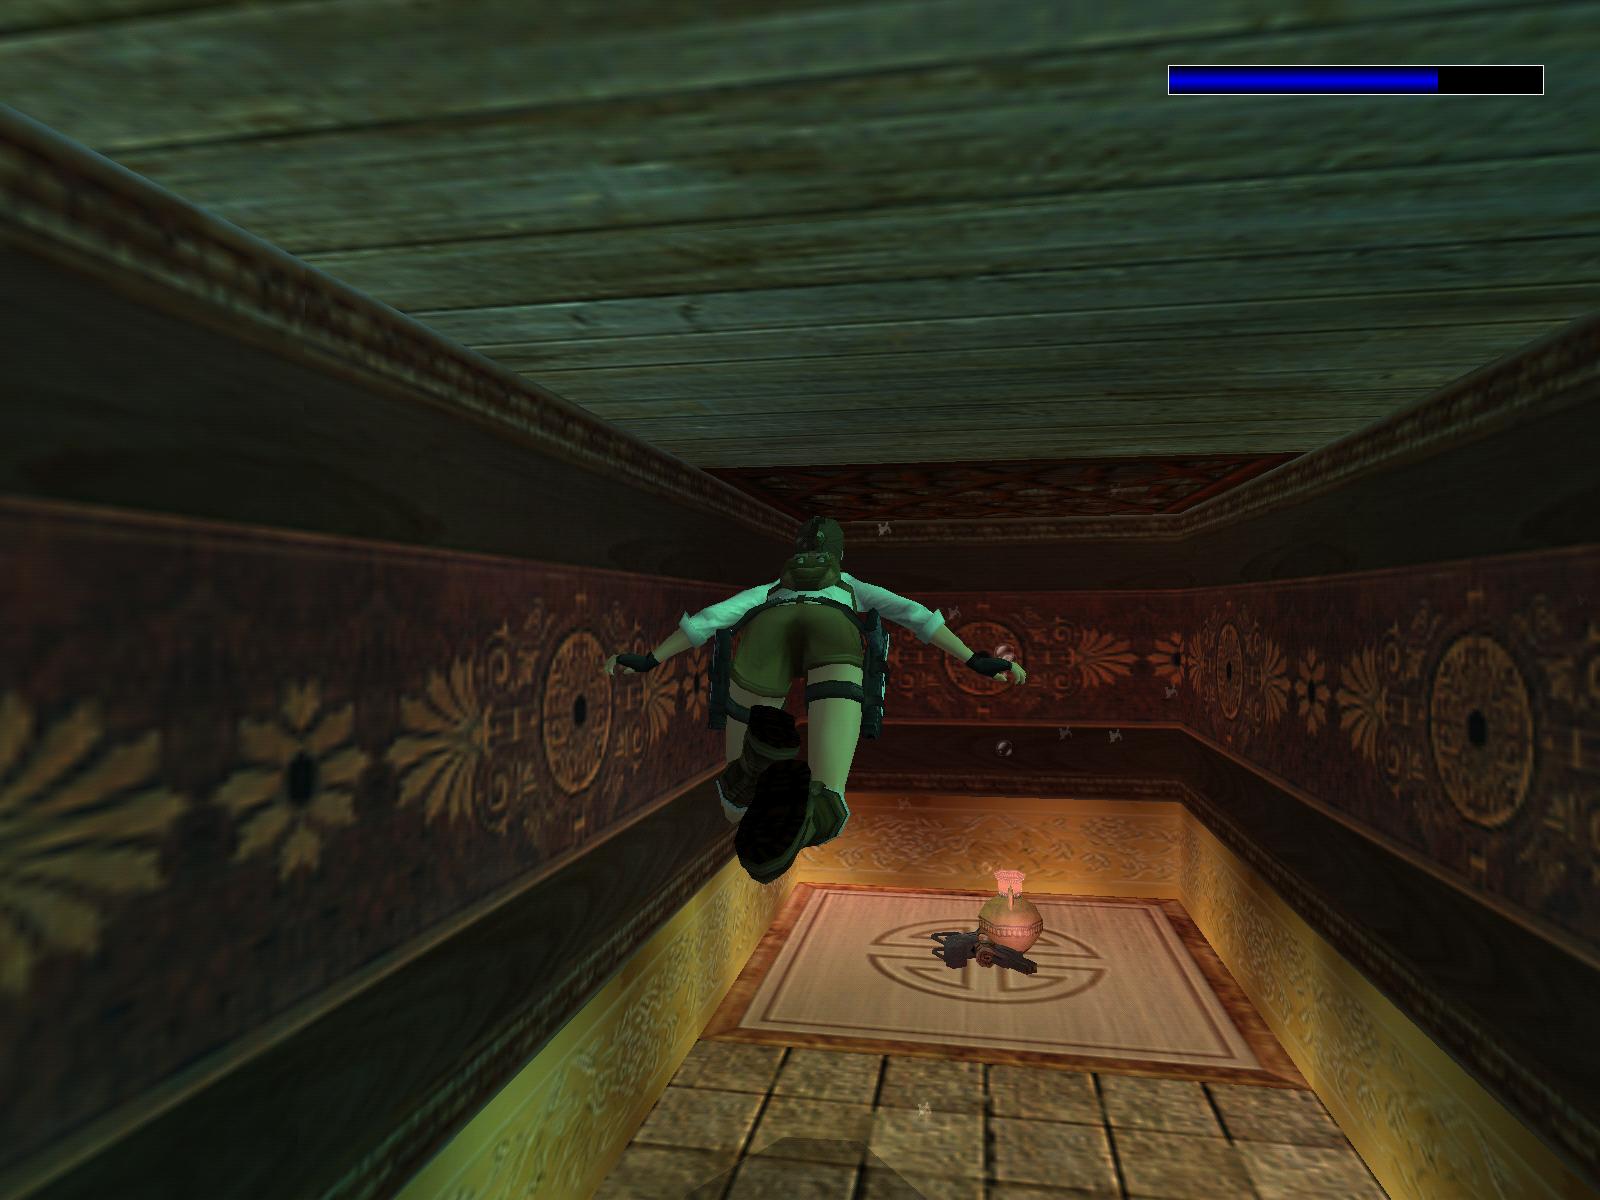
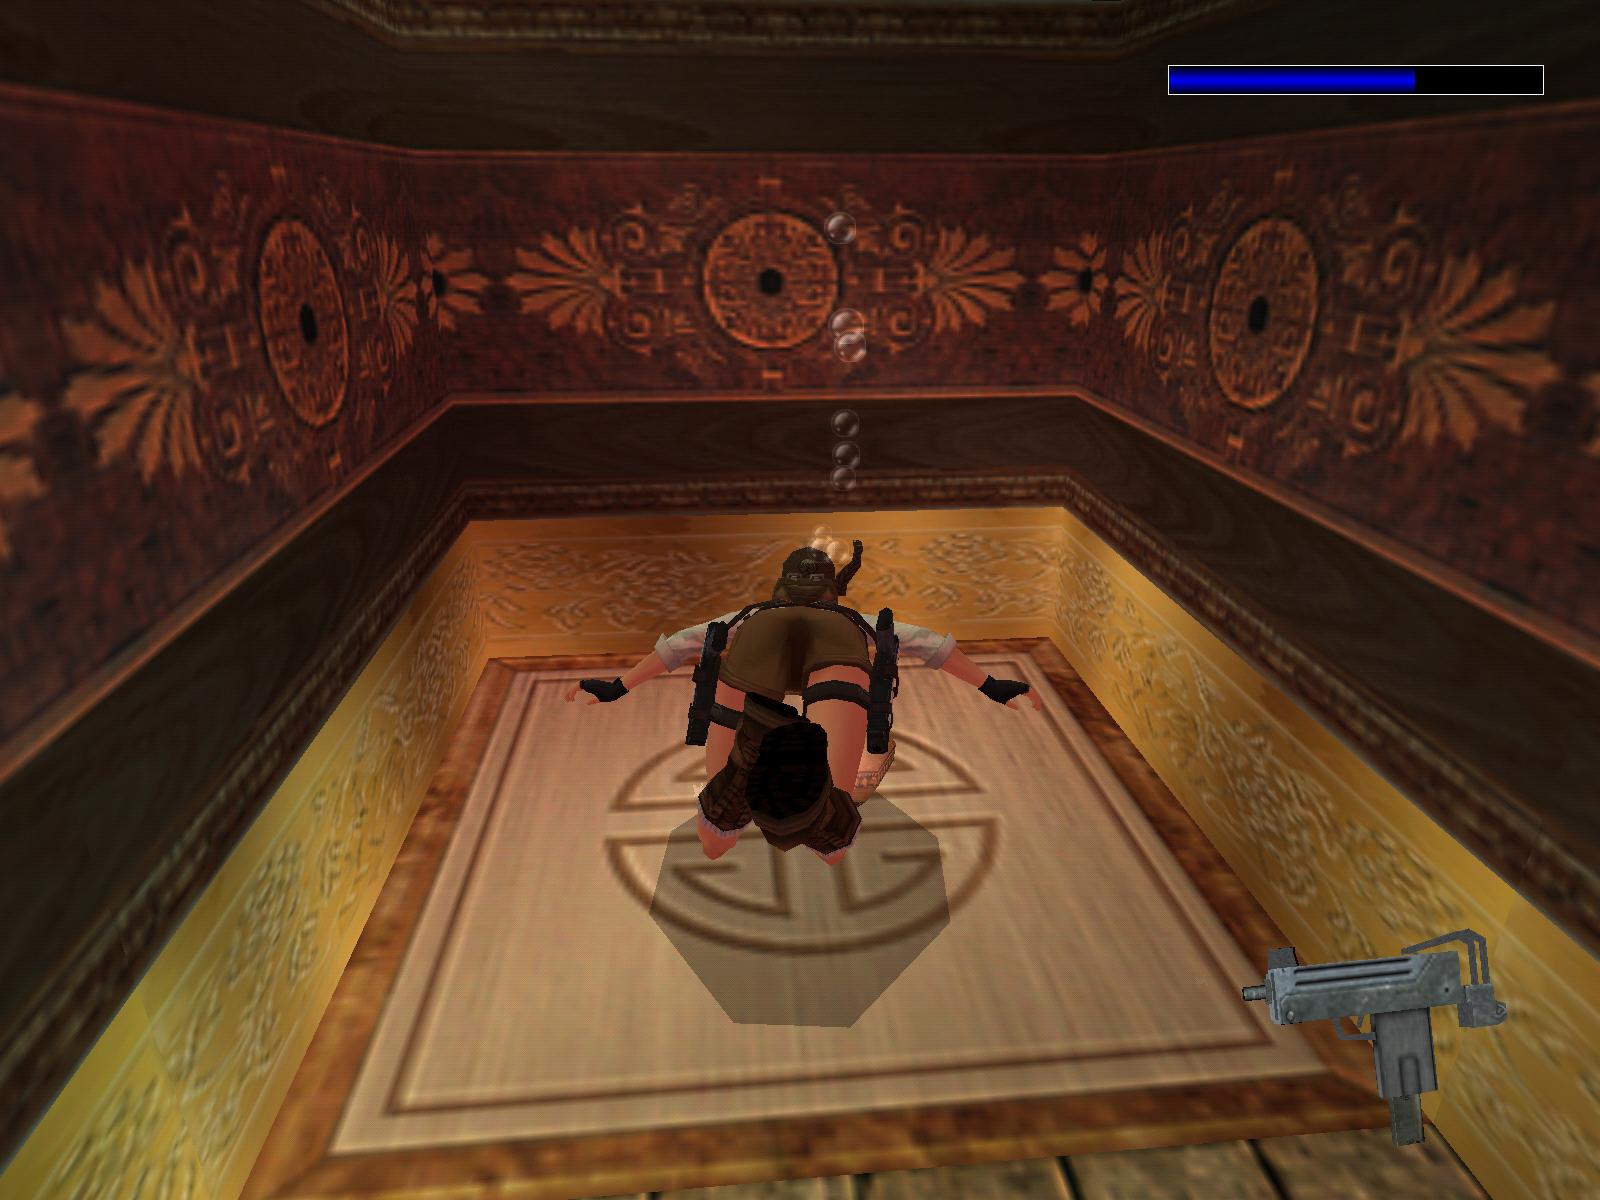
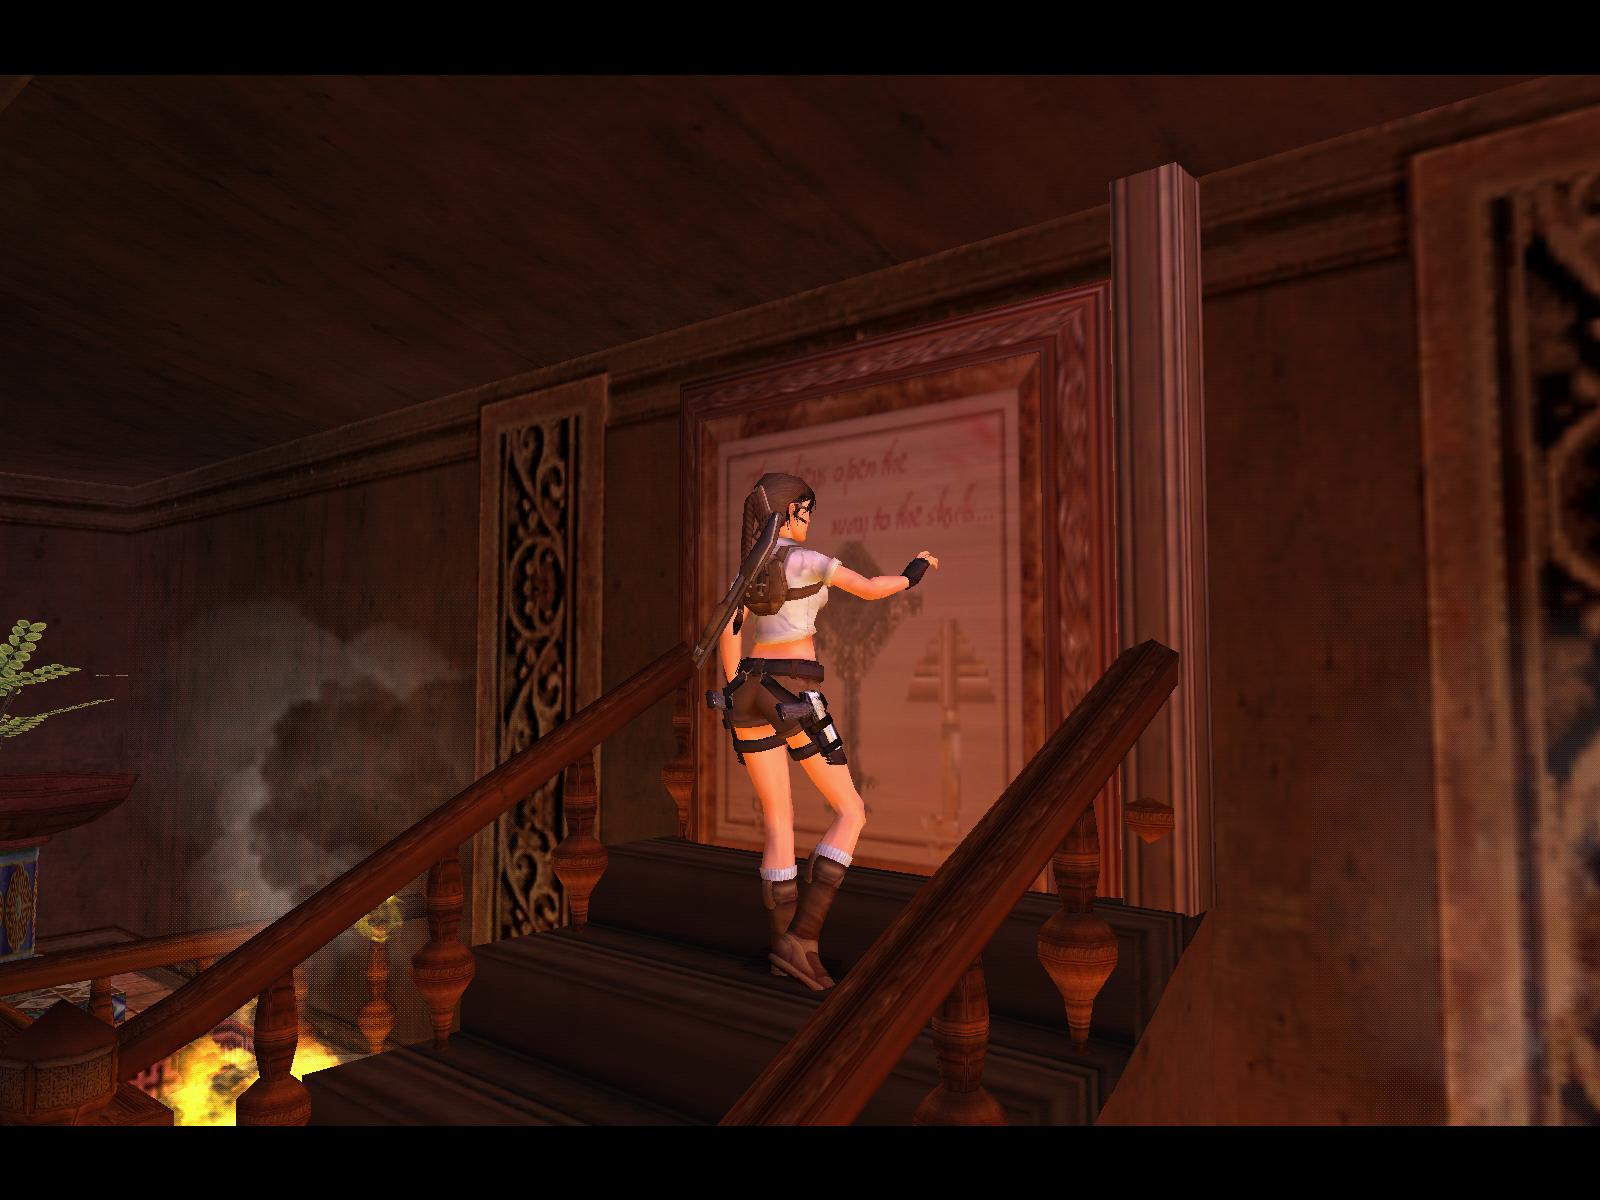
Final Steps
Jump over the slopes and head into the right room to pick up the Crowbar from
the pedestal. Now run into the opposite room and spot a button SE, pull it
to open a trapdoor in this room, you cannot reach the crawlspace in this room
from here. Run back into the monastery hall and up the stairs, then in the
SW door and see the open trapdoor. From here hang off the ledge and drop to
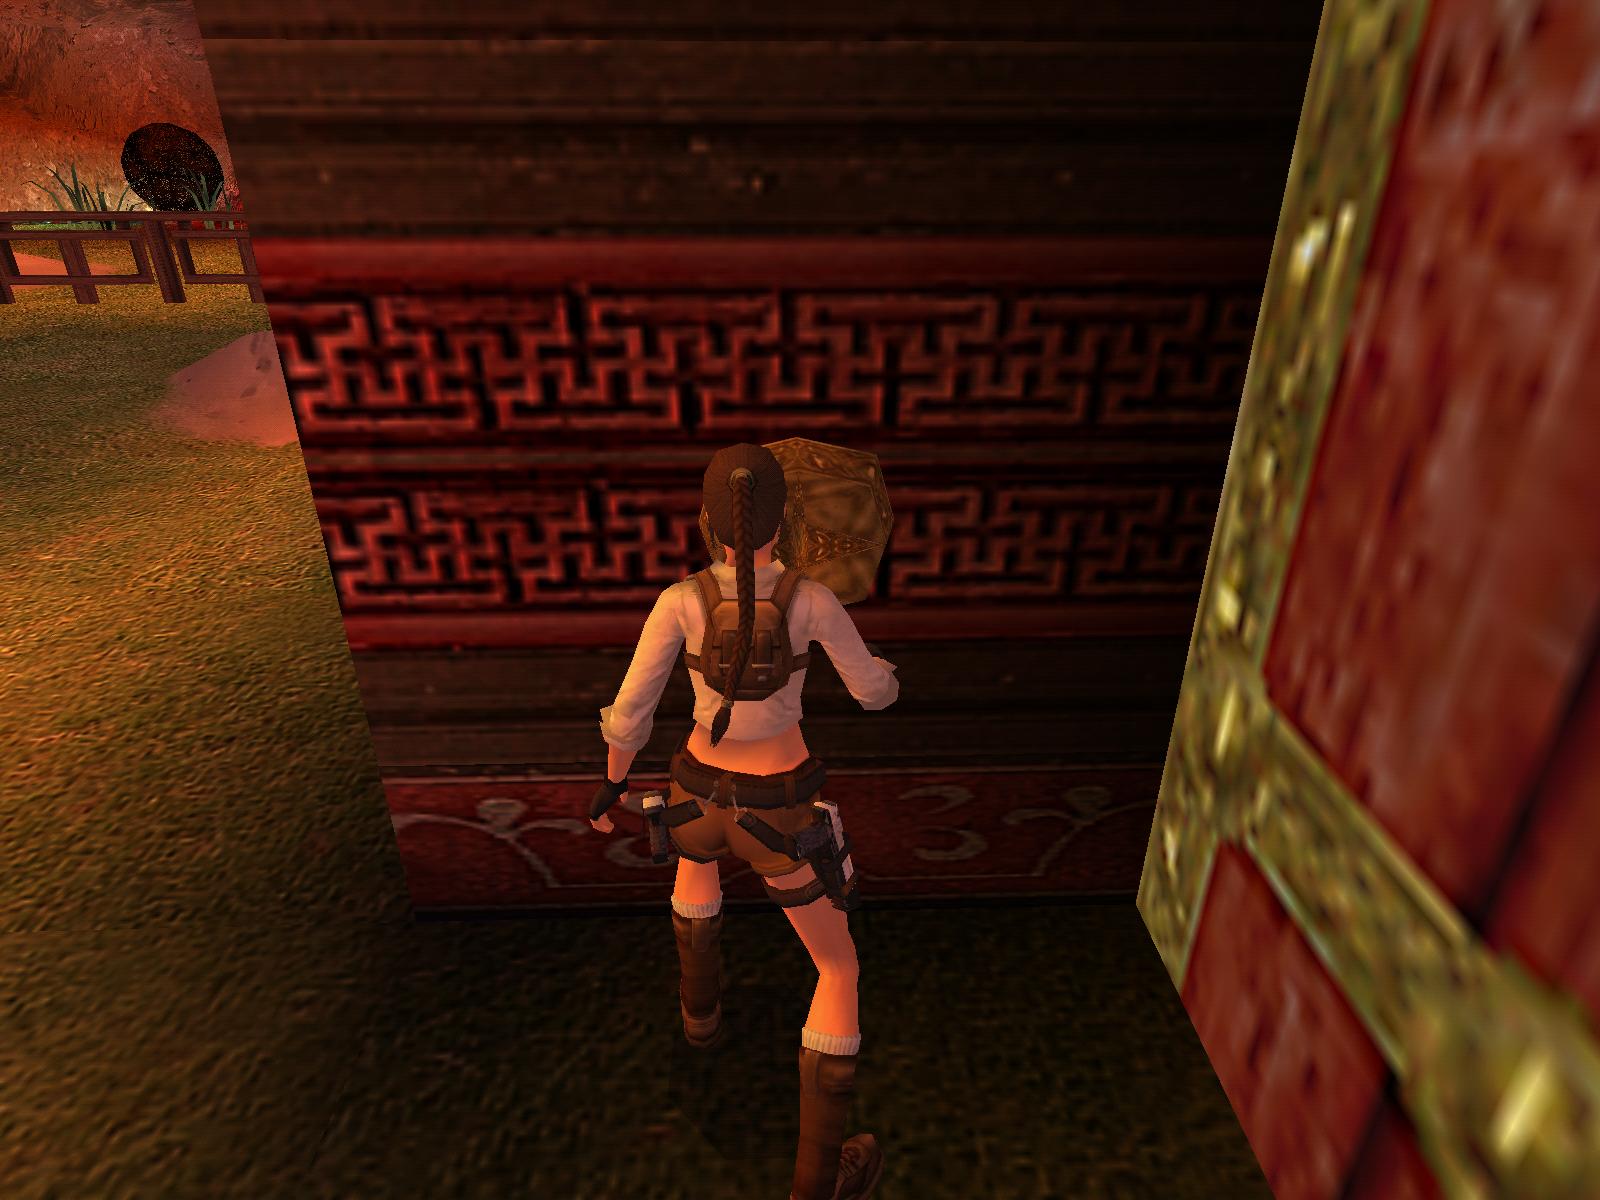
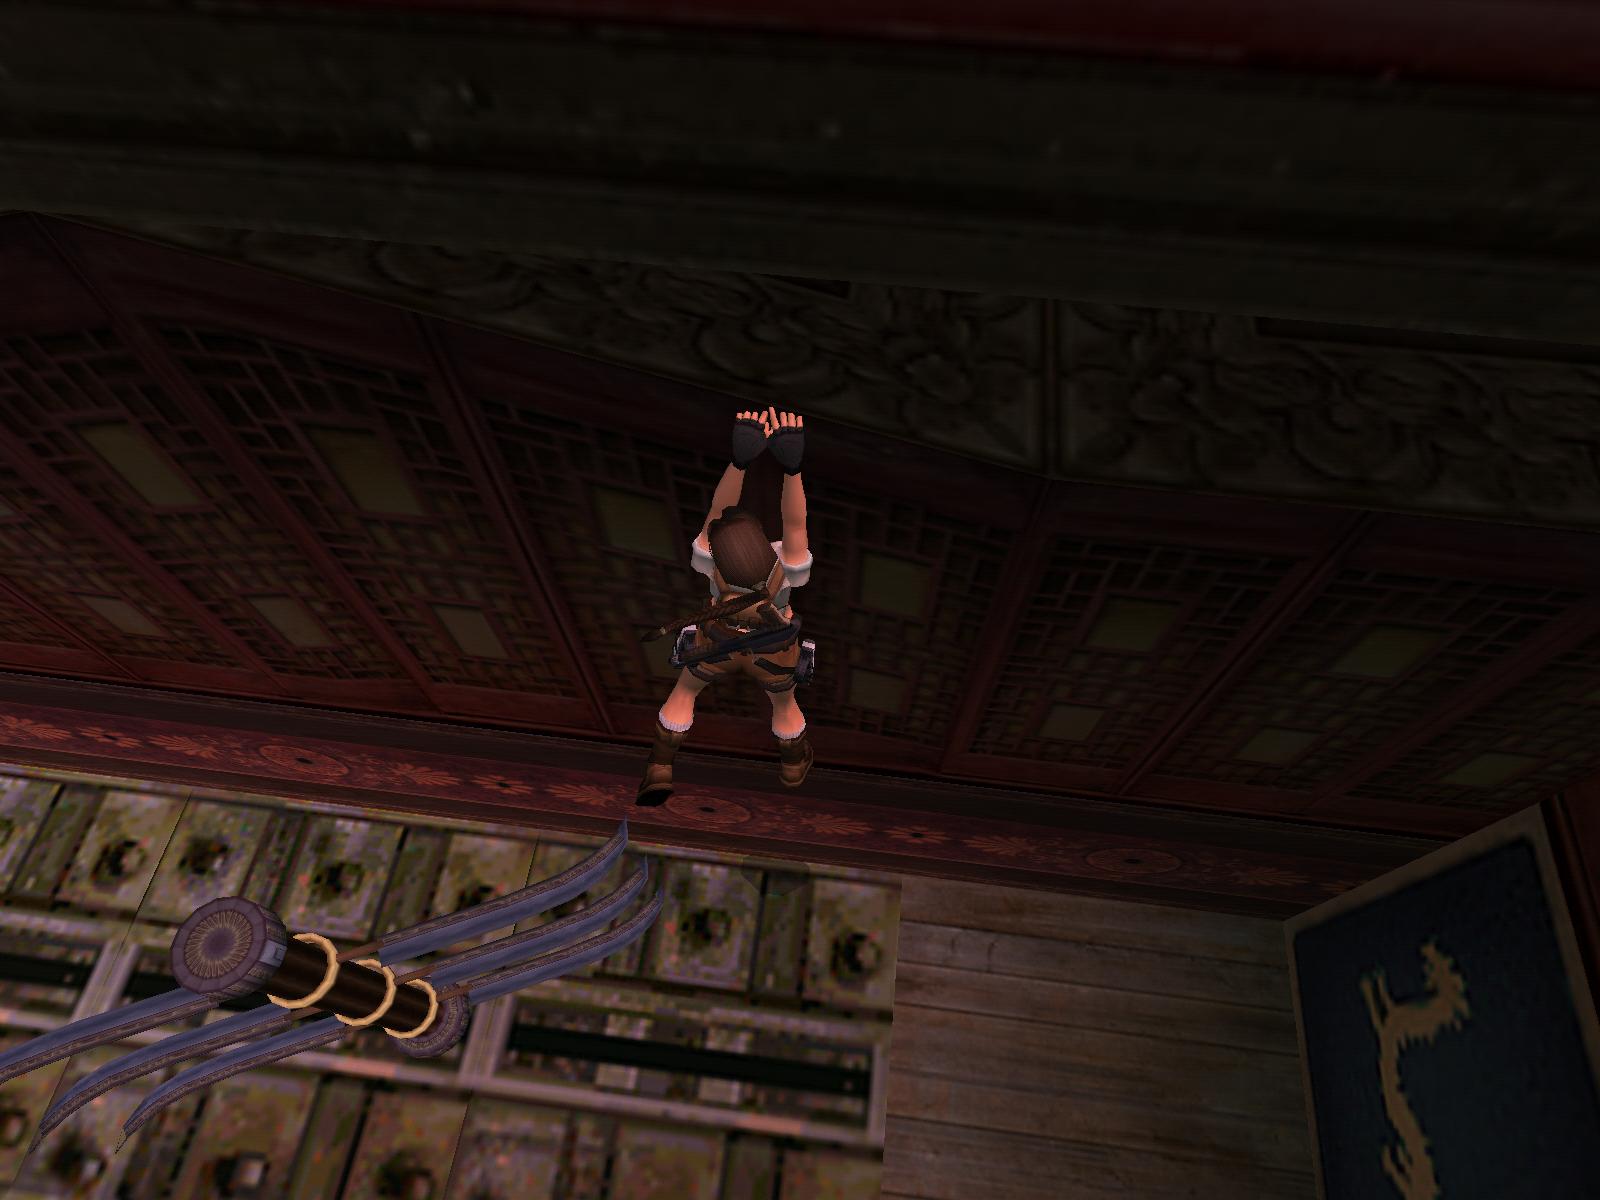
the crawlspace, crawl to its end and get out. Pry the Star off the wall and
get back in the crawlspace, drop into the room below. Get out of this room
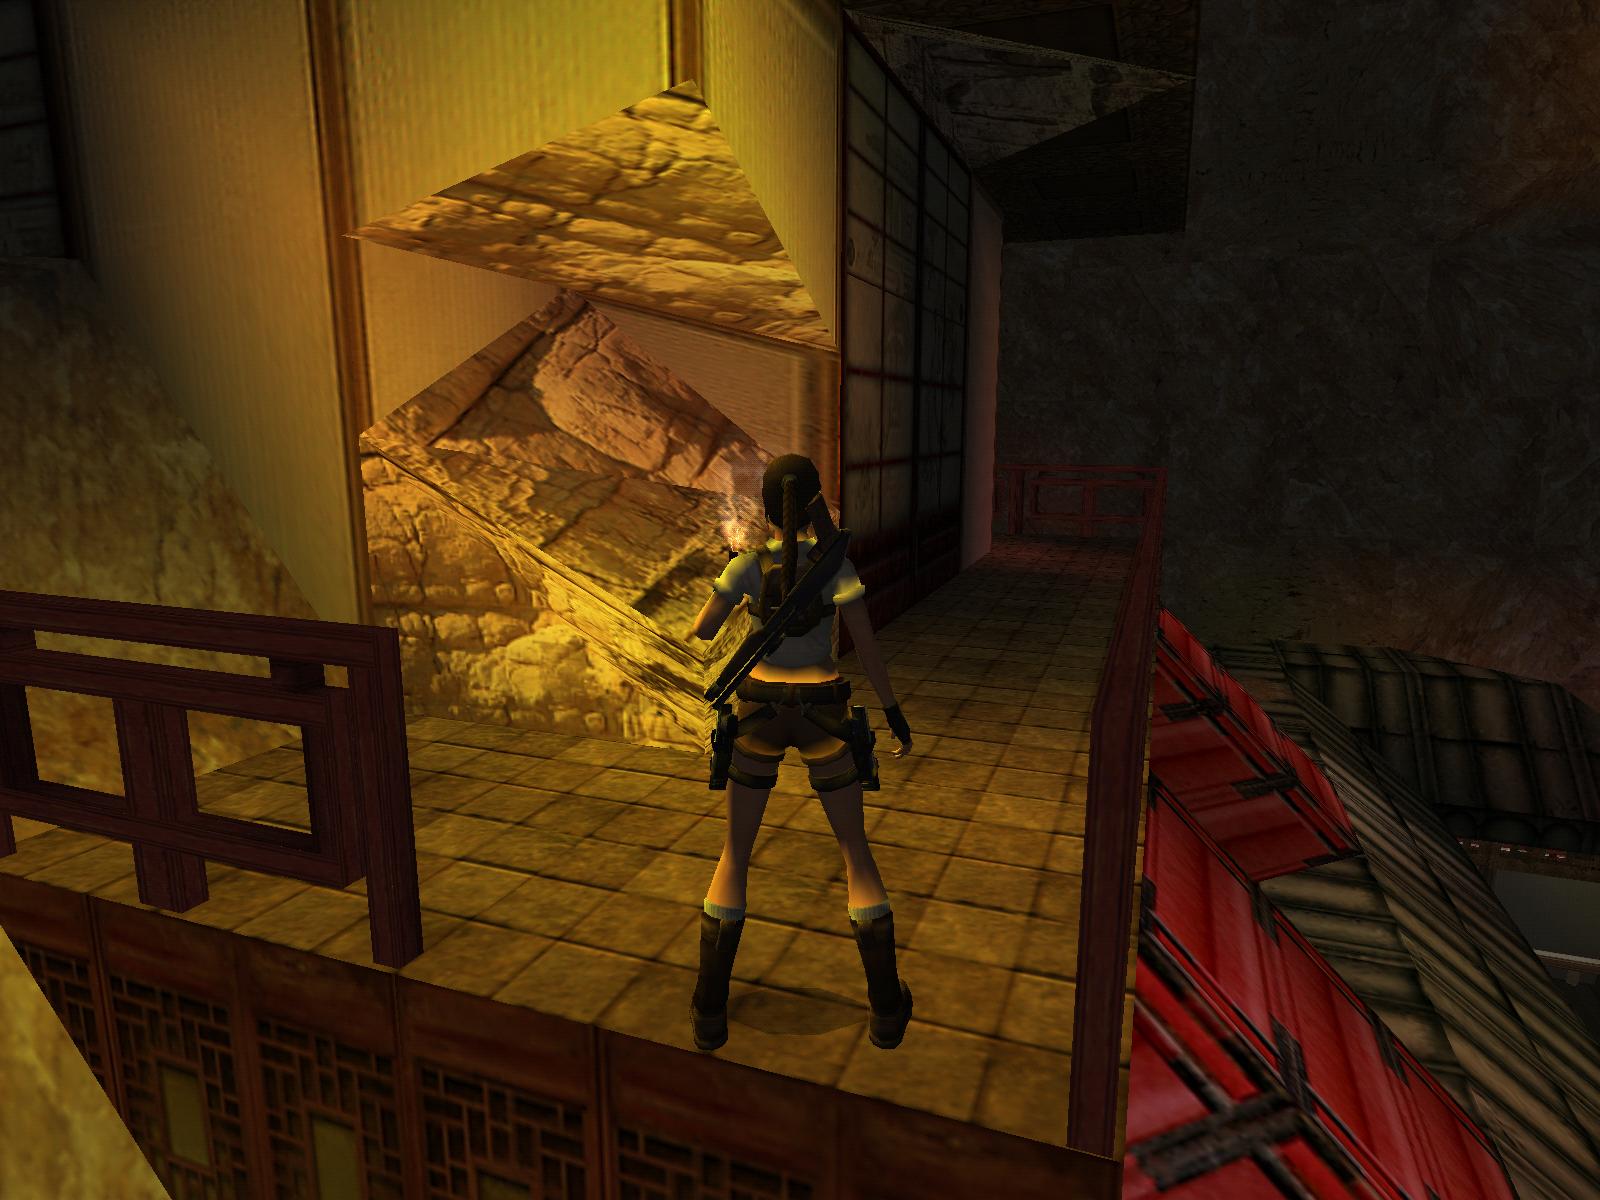
and left to insert the Star, the next doors open. Run into another courtyard
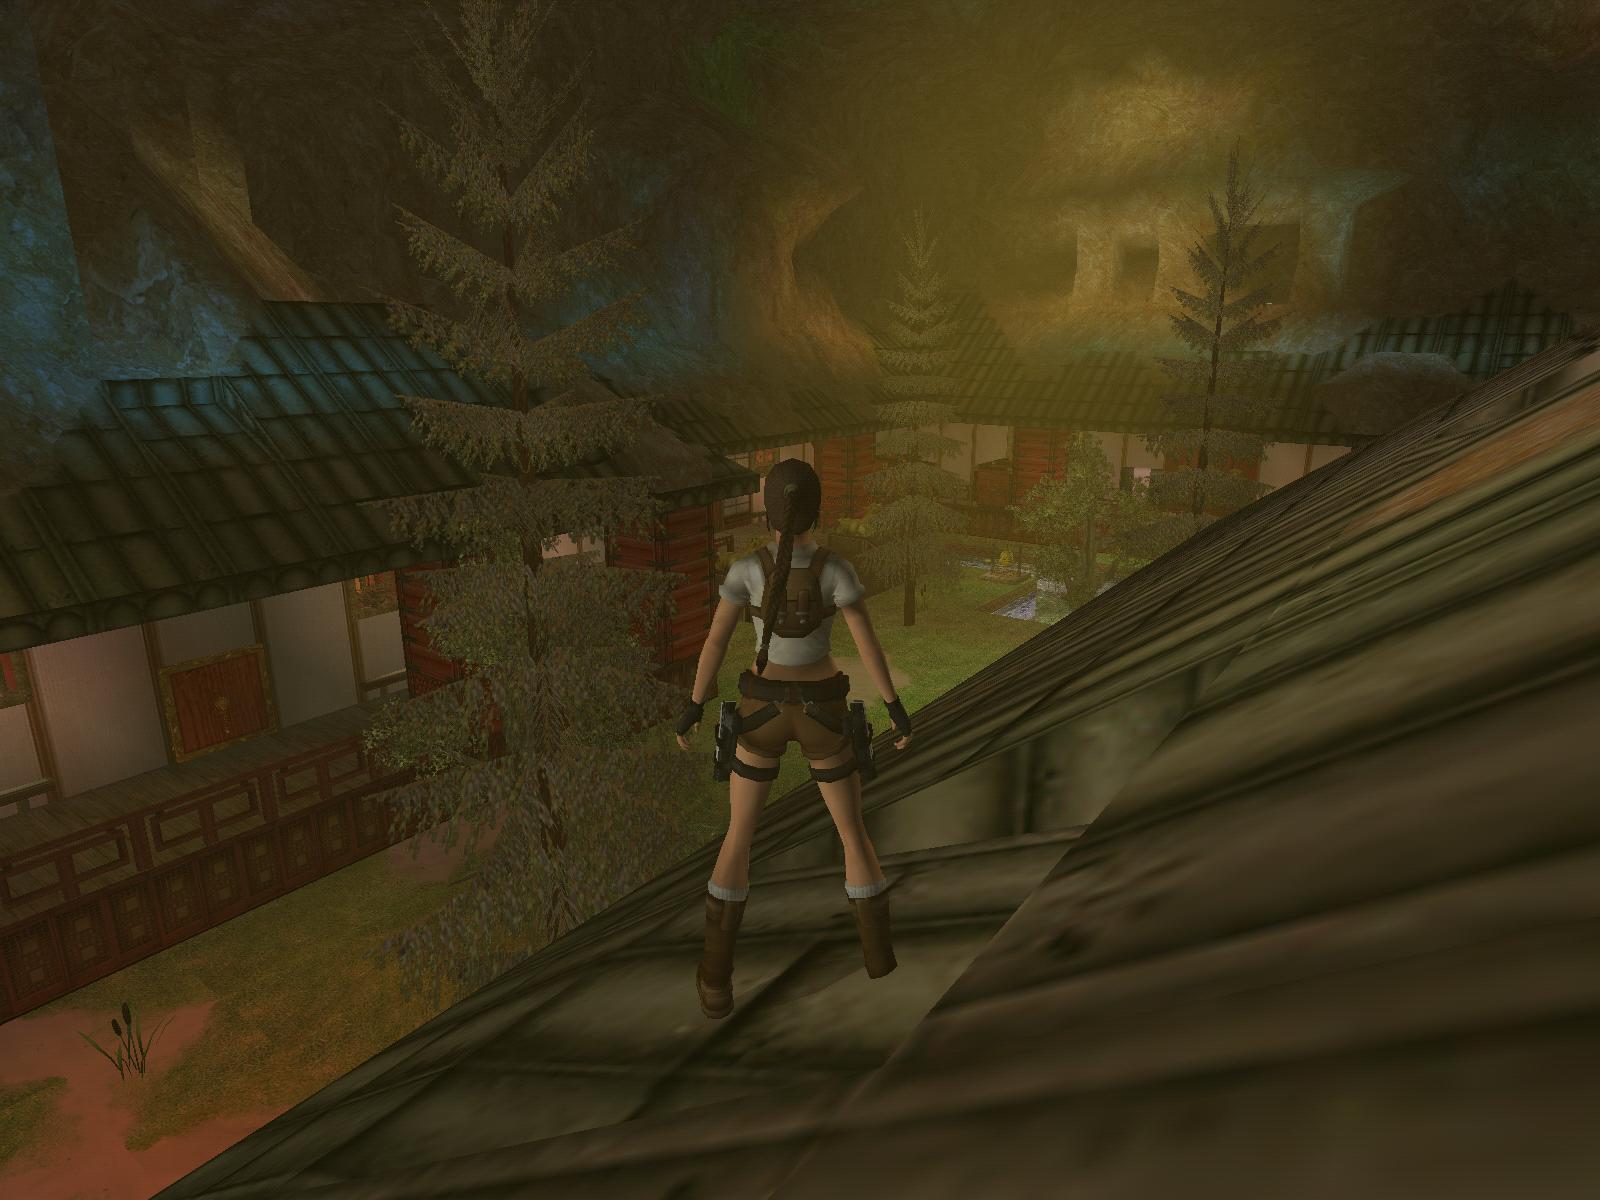
and shoot a tiger. The last secret in this level can be found here if you
want, climb on the right a bit higher ledge and from here jump to the roof,
for some Uzi Ammo slide down on the other side of the walkway, then return,
shimmy left until you can climb up, get up to the walkway near the house and
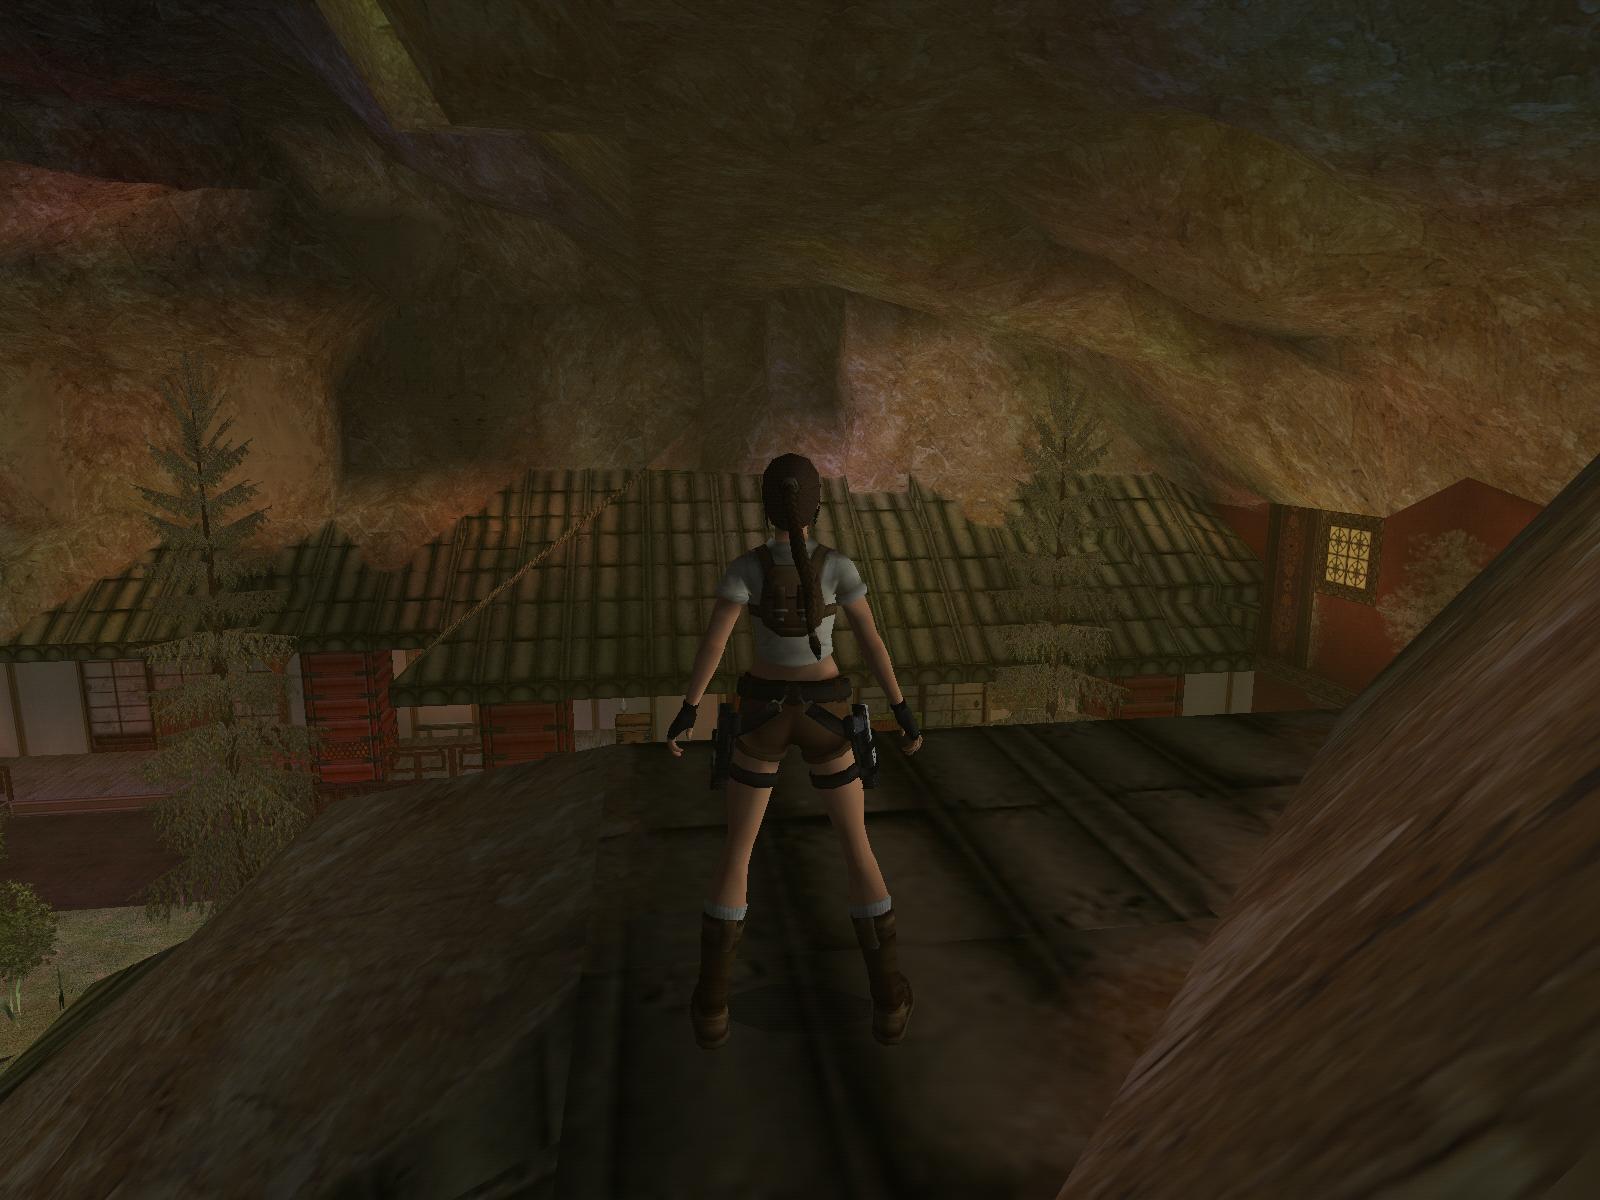
head left to jump up the rocks. Get on the top of the house and jump NW to
the rock platform to get the
3. Epilogue:
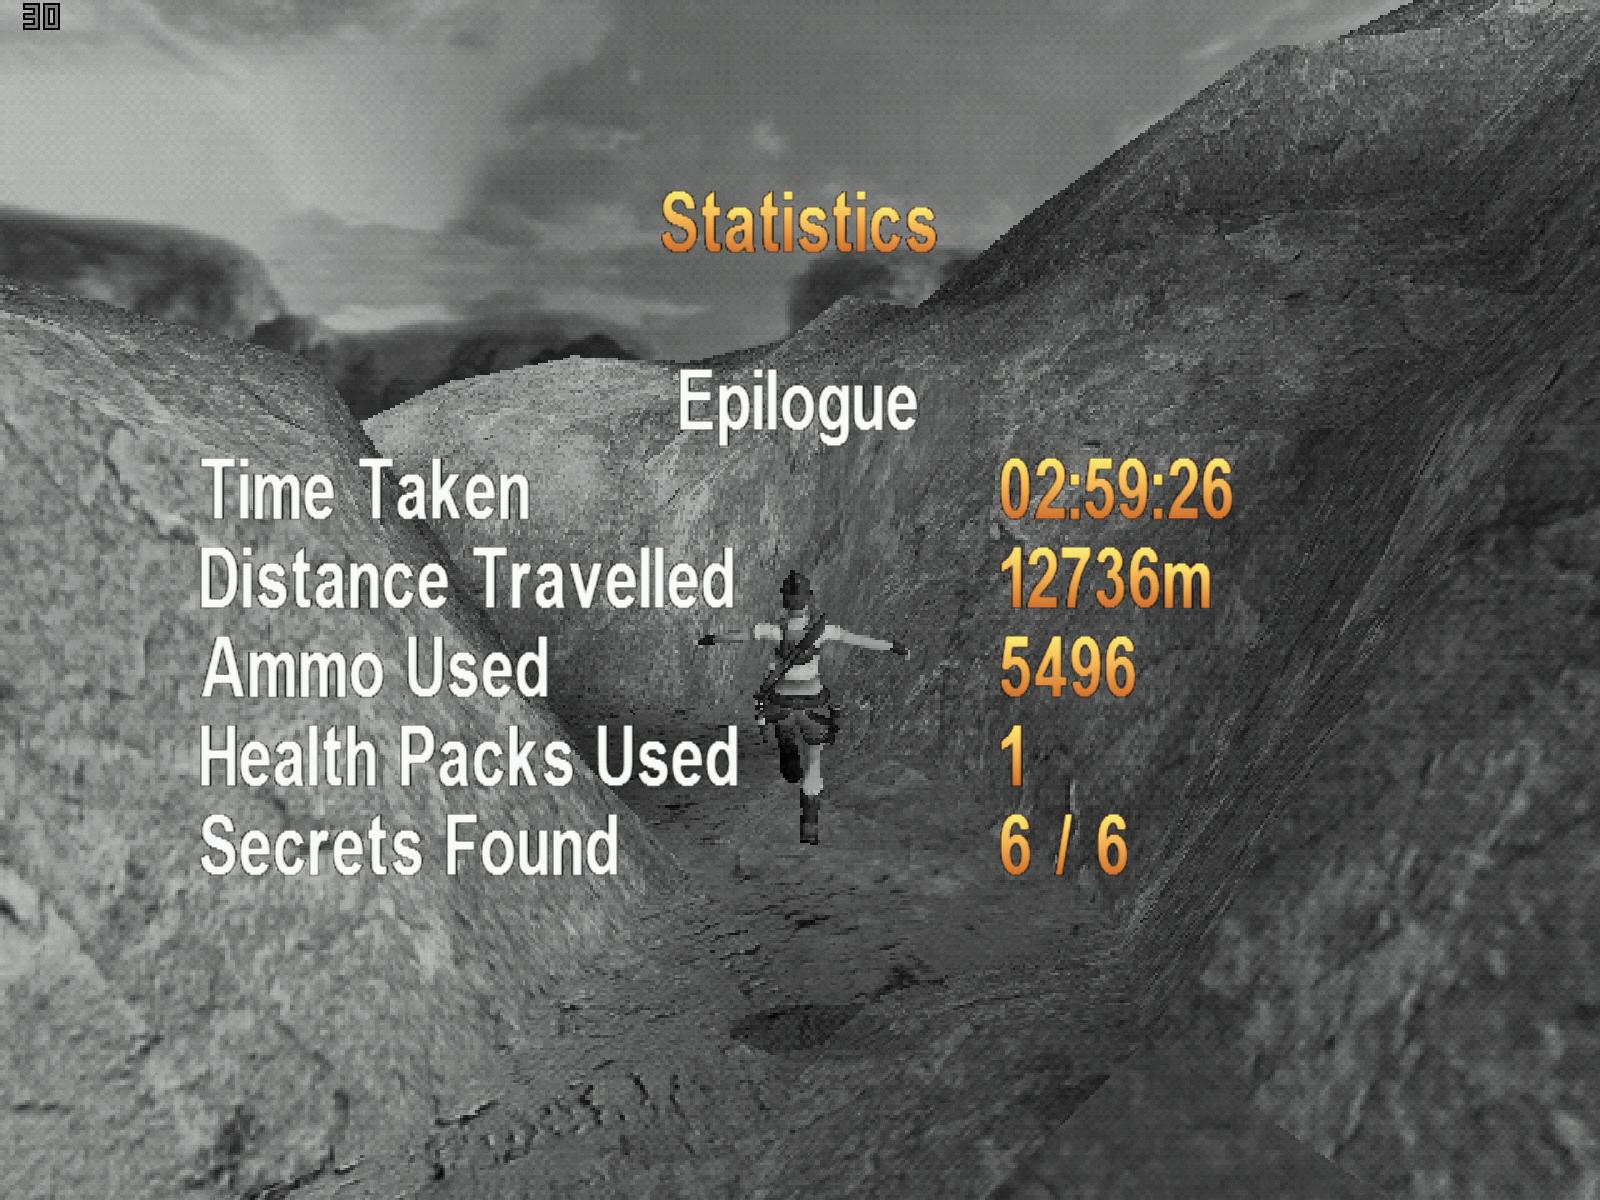
Author: Matie
Secrets: 0
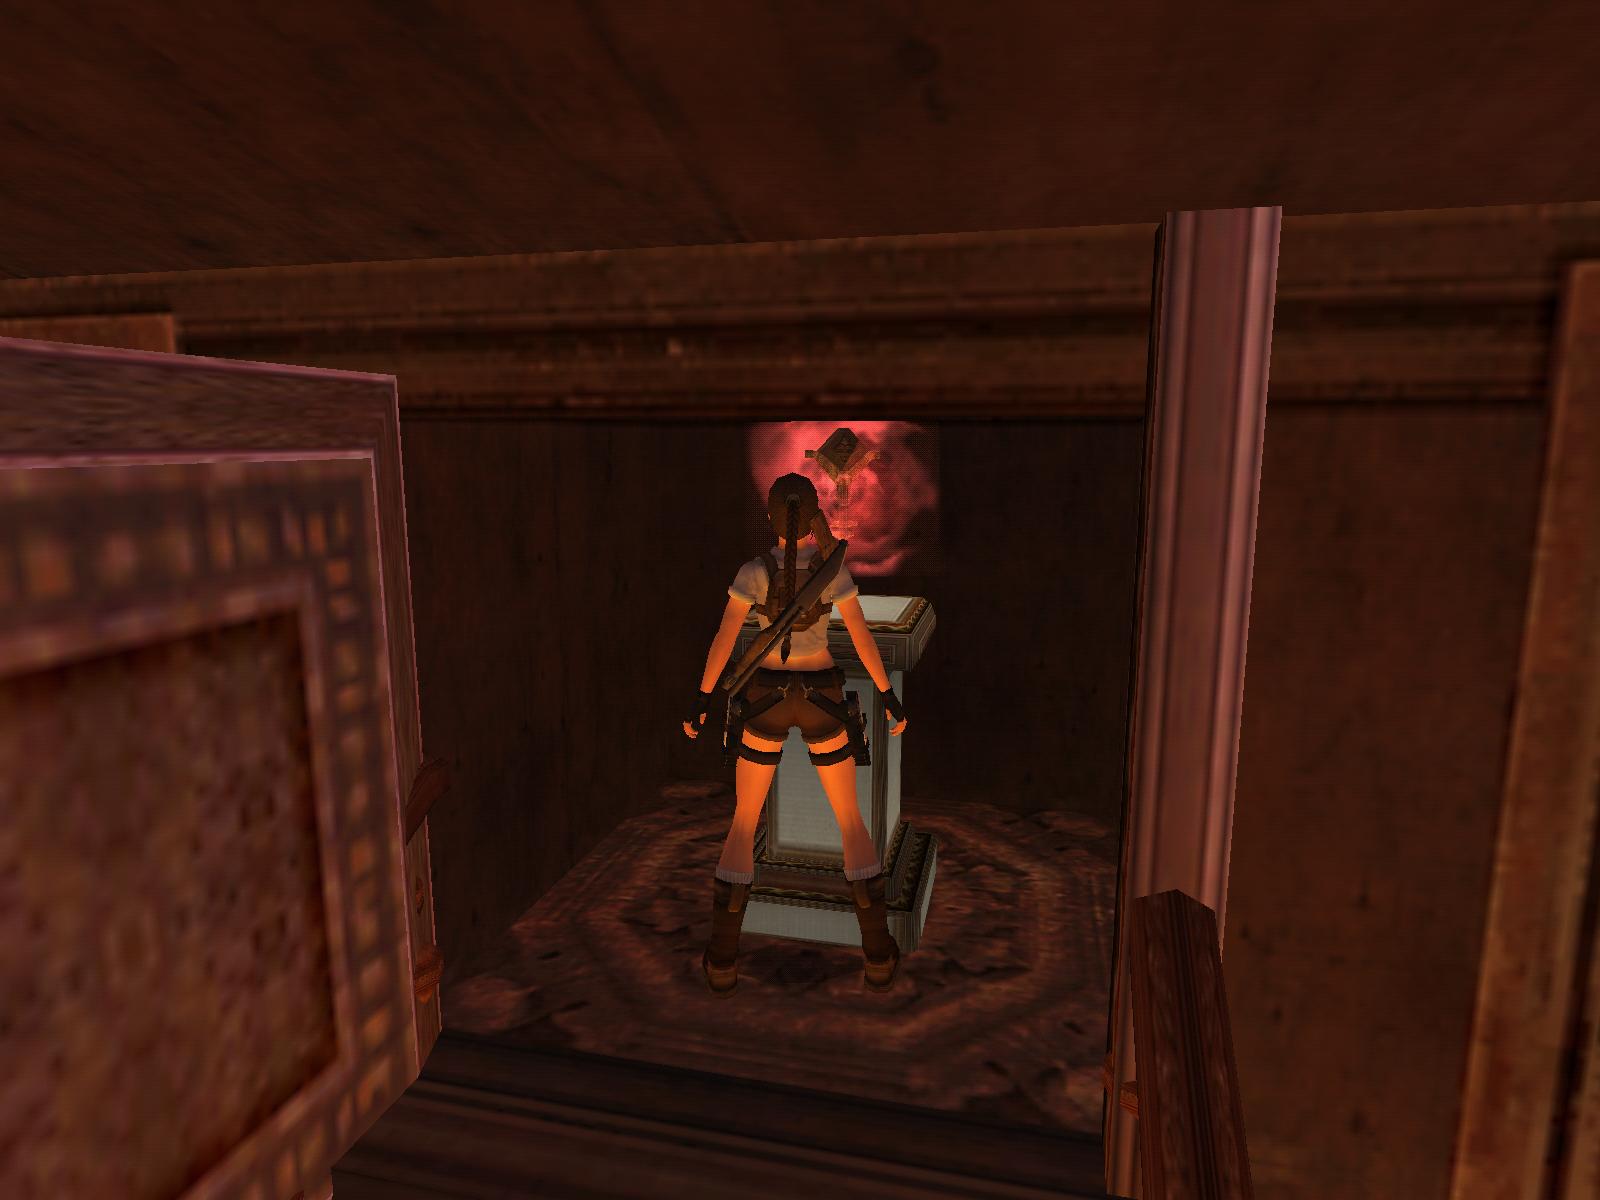
In a cutscene, Lara enters the room where the first Crystal Skull should have
been.
Lara: An empty pedestal. Something's got taken it away from here.
Zip: Let's see what this place has got instead. Nice wall decoration!
[Lara goes to the wall, inspects it]
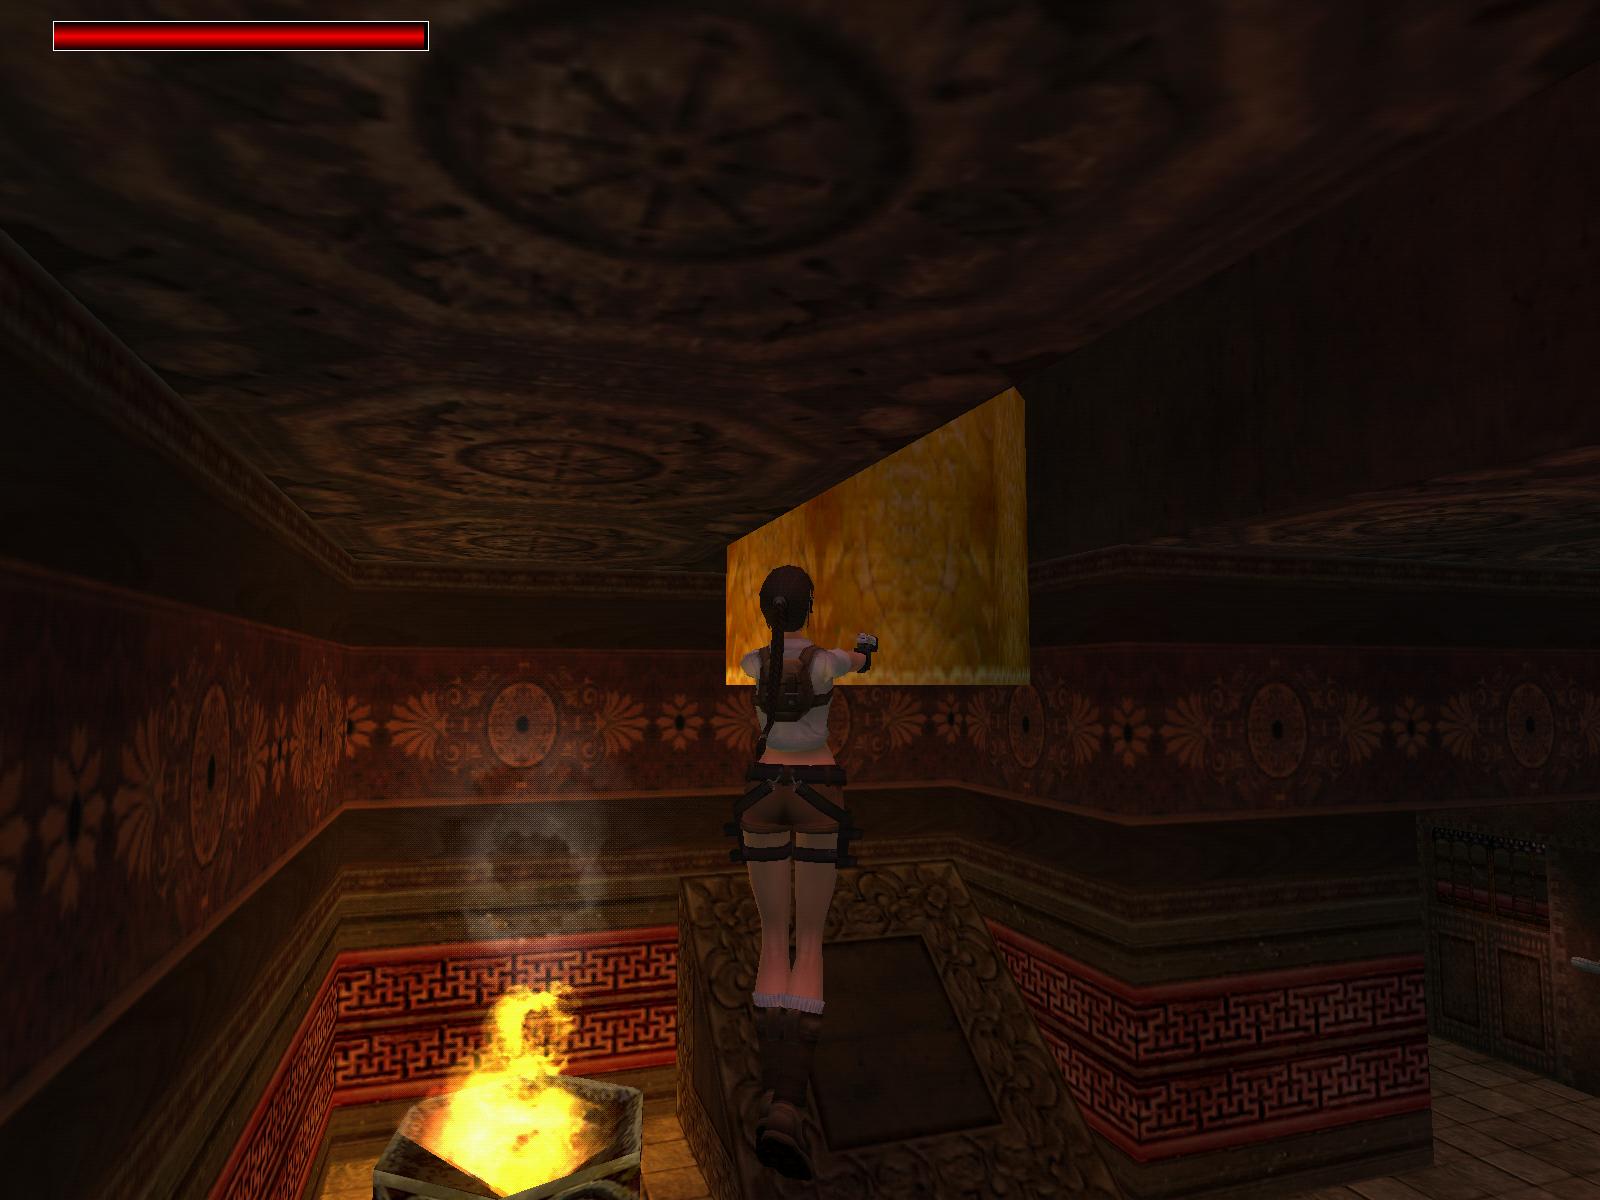
Lara: It's more than just a decoration. Hmm...
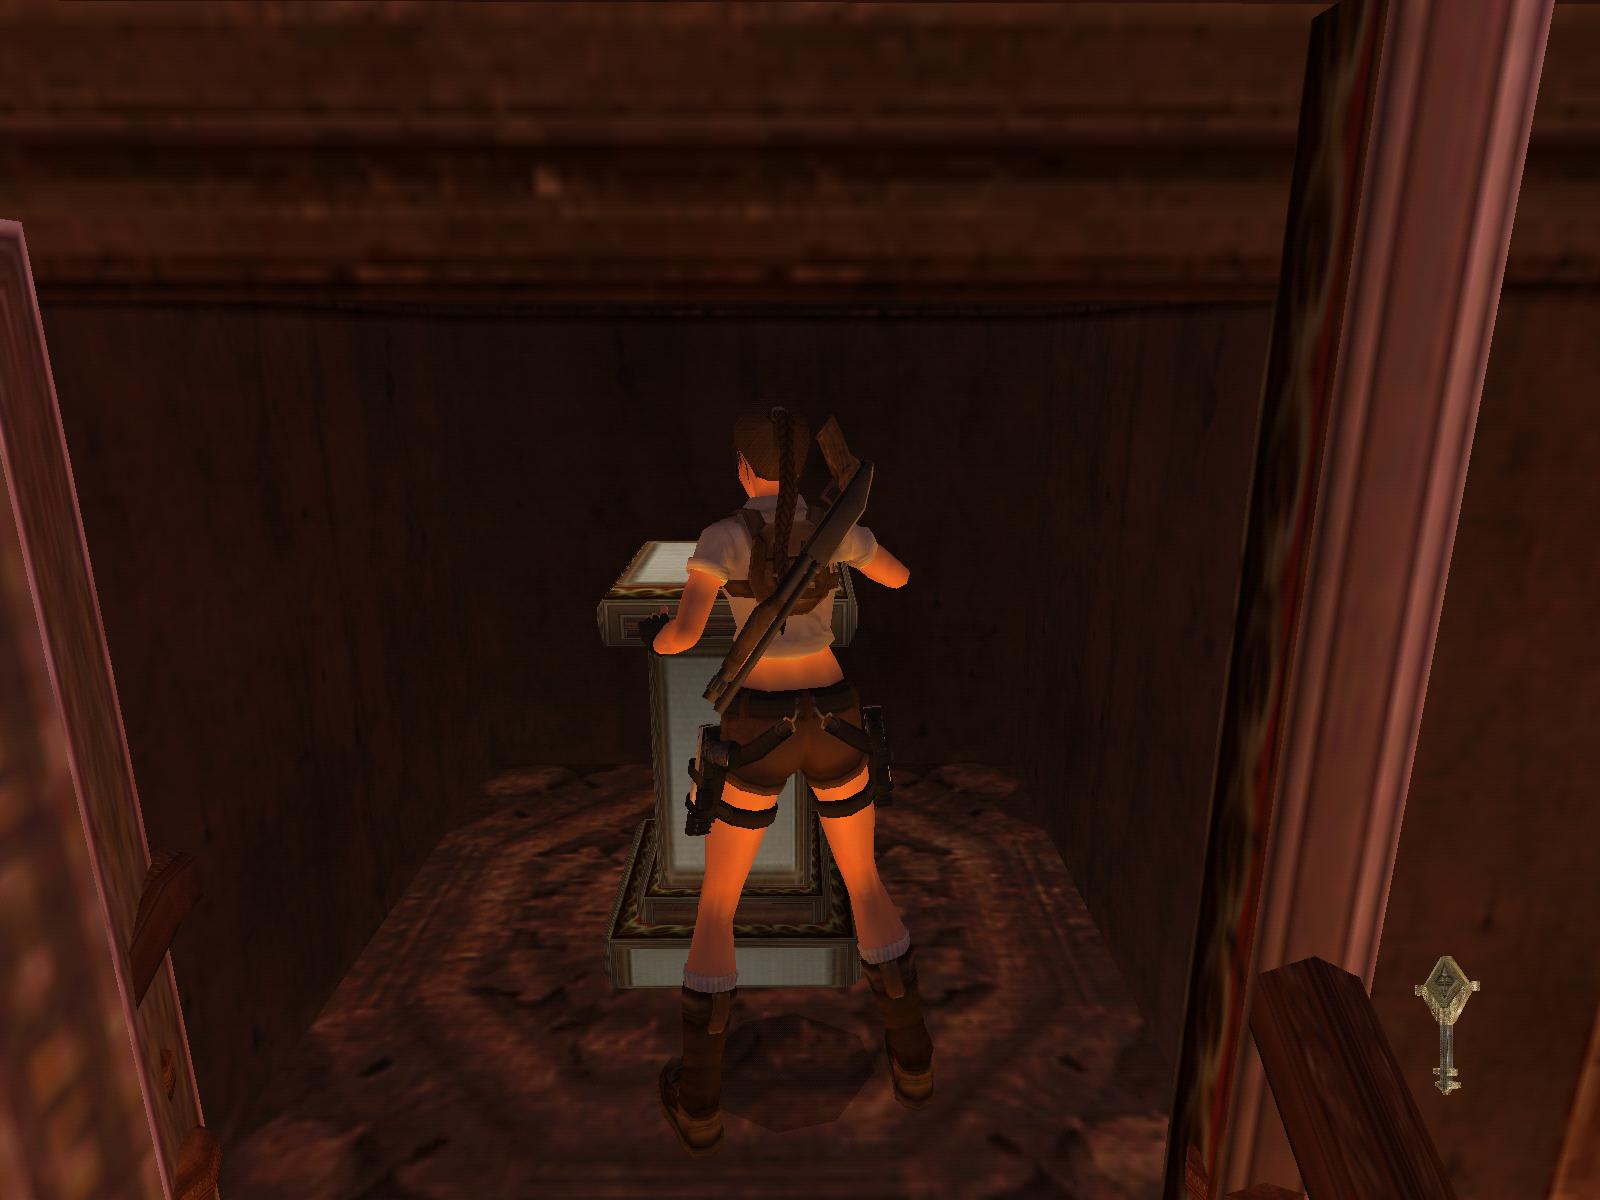
Three keys open the way to the skulls...
Zip: The question is: where are they?
[Lara opens the door]
Lara: Here's your answer.
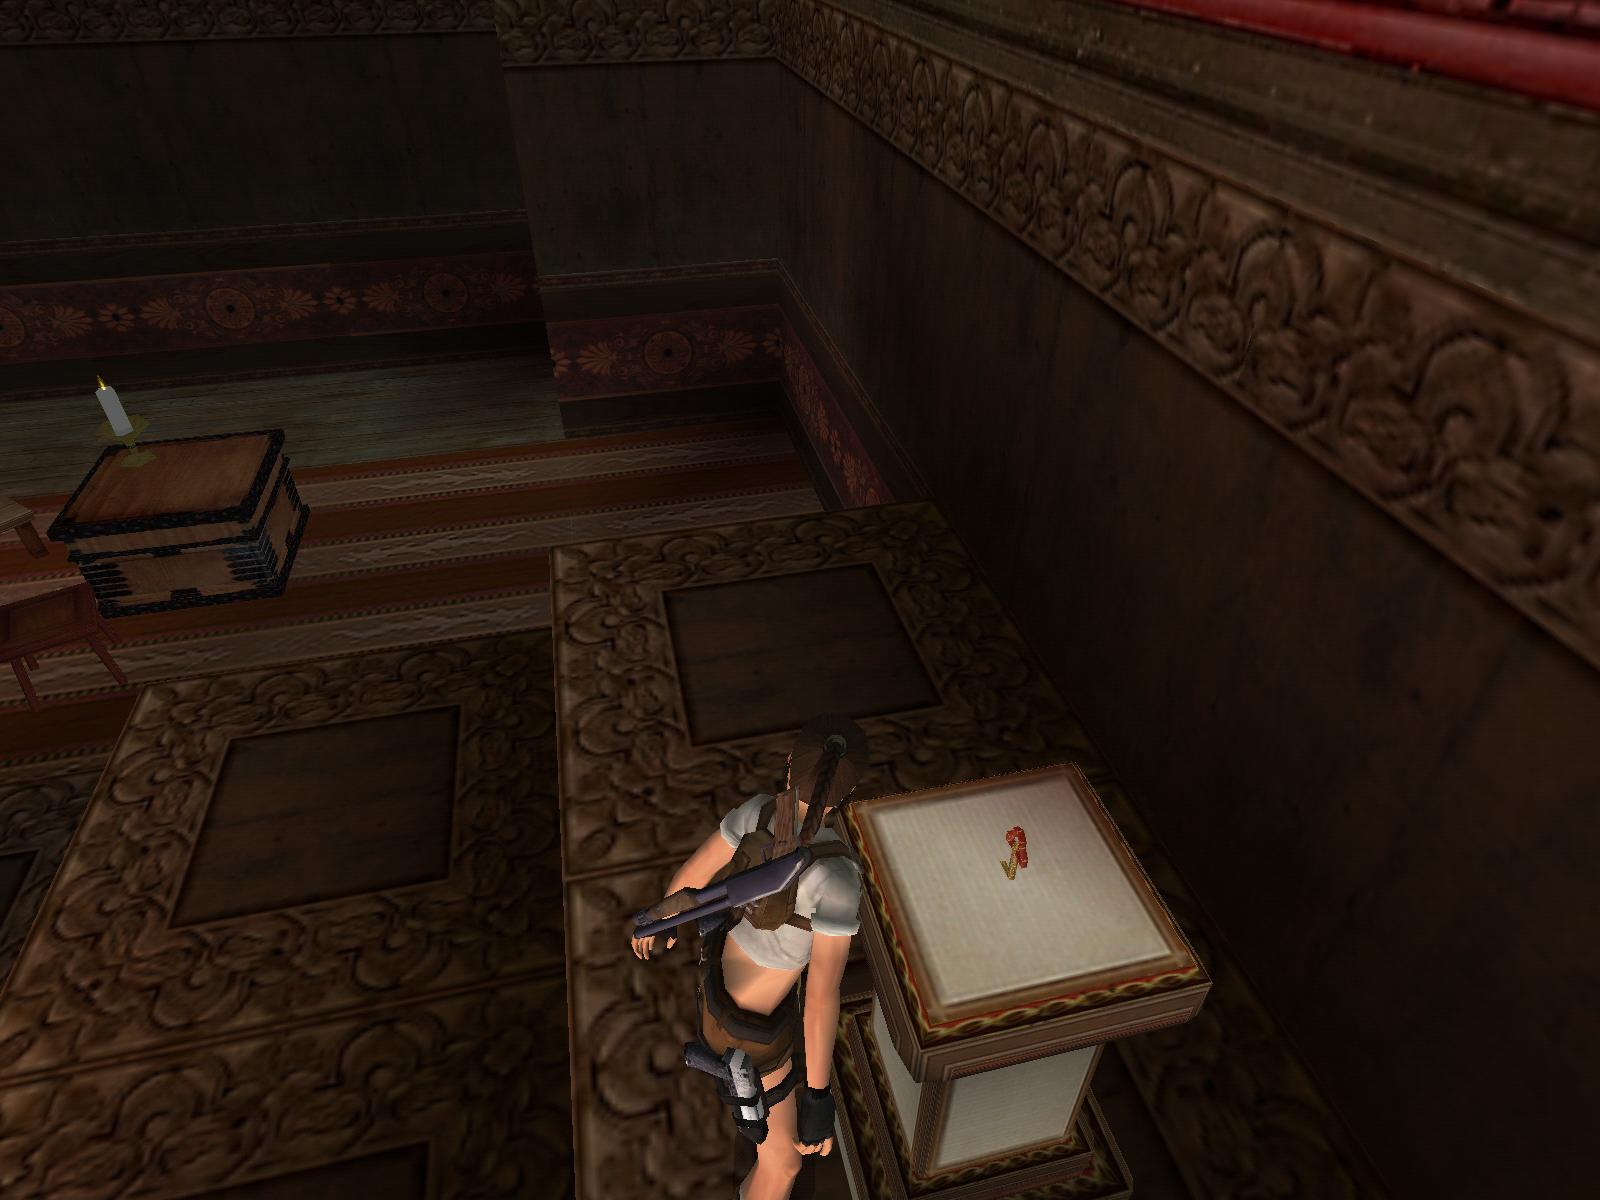
After you get back control over Lara, pick the Vanuatu Key from the pedestal.
Zip: So what now?
Lara: I'm going to Malinesia, I think I know where this key's from.
Get outside through the open doors and follow the rock passage
THE END
Authorized Walkthrough by manarch2
Images, and savegames: OBig
Az oldalon közölt képek, a szöveges tartalom, illetve minden sajátkészítésû anyag, a © TR Editor.hu tulajdonát képezi. Azokat semmilyen formában nem lehet reprodukálni, másolni, terjeszteni, csak a szerkesztõség engedélyével.