Tomb Raider The Legend of Chaaba Level 1. - The tomb of Kassua
Author: posyd
Download: Here
Unzip the posyd_the_legend_of_chaaba1.zip file, then copy the files from the 'audio' folder into a temporary folder. Run the start_me.exe file and convert the .mp3 files into .wav with it. When ready, copy these files into the '..\trle\audio' folder. Copy the files from the 'data' folder into the '..\trle\data' folder, and the other files into the '..\trle' folder. Start the adventure!
Story:
Lara Croft, the famous adventurer and archeologist, was called upon by John Thims, a not too good named, but very rich tycoon, to find an amulet named Kassua in the rainforrests of India. Lady Croft did not take on the assignment. She started a research to find out what Thims actually wants to get. After the long search she realised that the Chabaa is indeed an ancient and great amulet with superhuman power, that, legend has it, was gifted to an egyptian pharaoh by the sun god Re. Kassua, the indian grand lord defeated the pharaoh, so the Chabaa was taken to India. Kassua commanded that after his death the amulet shall be buried with him together. Croft decides to prevent Thims or anybody else to find the amulet of power and bring doom to the world. She travels to India to get the amulet before Thims and his men could find it.
Review:
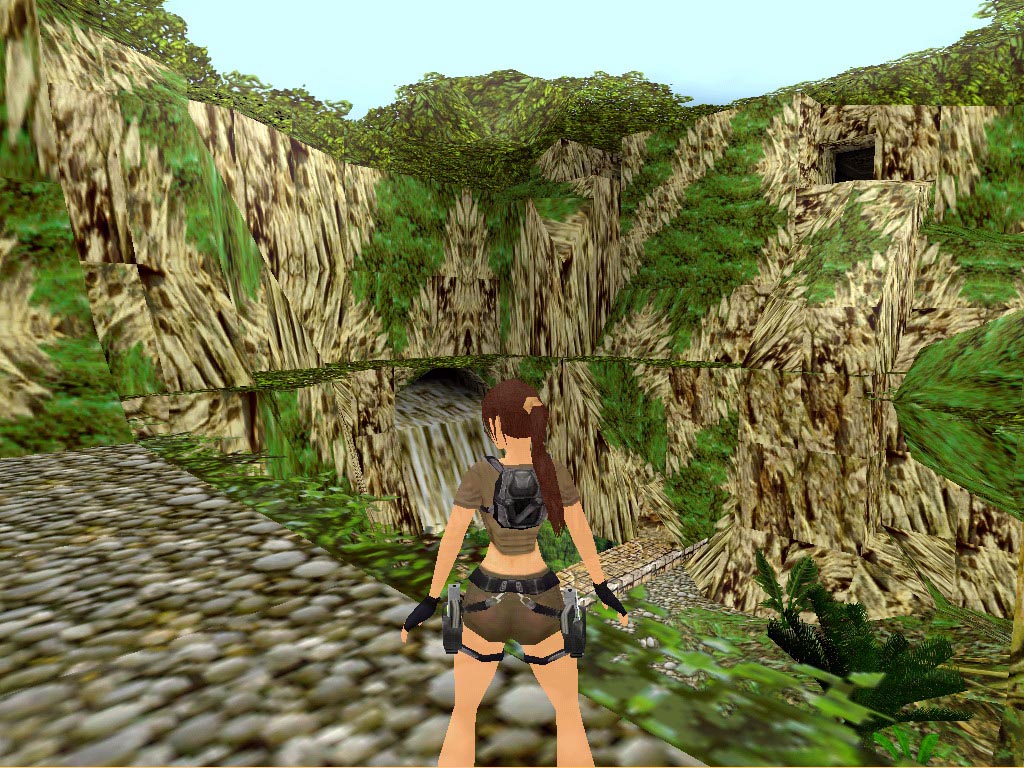
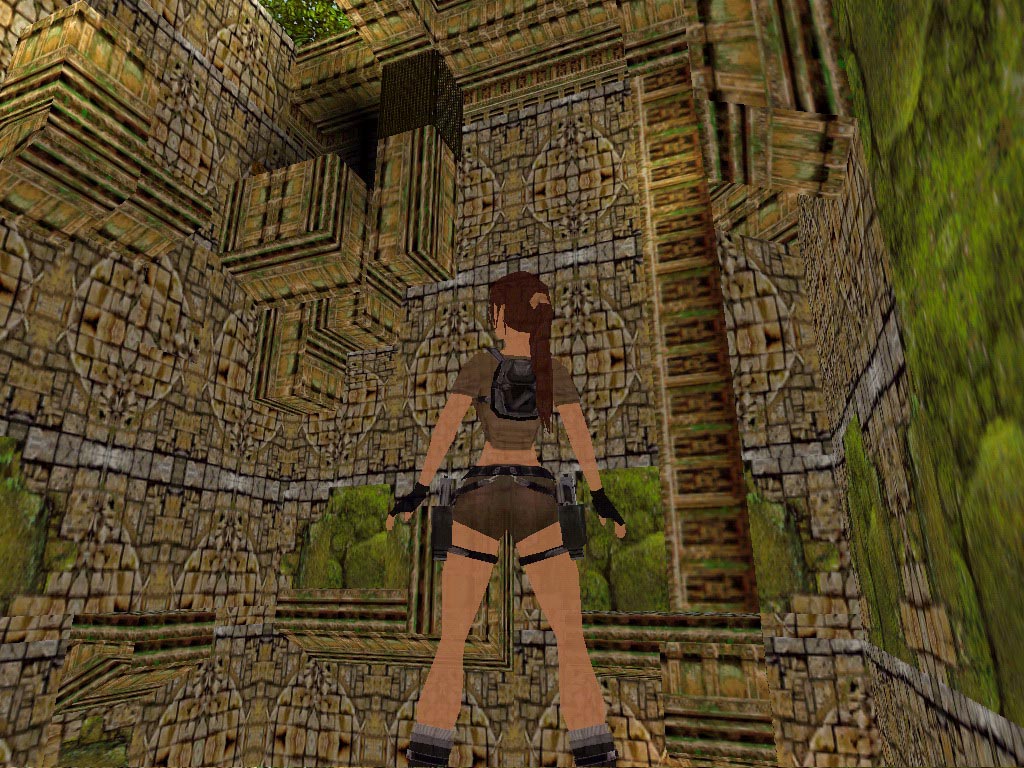
This is a great adventure. It is not linear at all; we can take several paths. Although there is a logical path, the sequence is not important. We are adventuring in India; the textures are also this kind. We follow through temples, forrests and waterfalls while we have to find the two Eye Pieces and more blue diamonds (Hand of Orion). The enemies are only some wild-boars and snakes. We can gather also weapons if we find all 9 secrets. Then we will find the UZI and the Shotgun too. In the meantime some rolling rocks, swinging blades and moving spiky walls try to make things harder. It is important to take a good look at the floortiles both in the earthquake and the fire rooms. :) The texturesa suit the level, and the added sounds are also great. It is a pity that at the end we can't return to the main menu, but the game quits to the desktop. It was a great adventure, I can only suggest it to everybody.


 Secret 1-2-3-4-5-6-7-8-9:


Walkthrough:
(The Hand of Orion=Gem Key, Eye Piece 1=Indian Amulett, Eye Piece 2= Indian Bar. )
Turn around and pull up into the small crawlspace in the wall. You can pick up ammo; the 1st secret. Now go to the small gap, jump into the water and you can pick up a medipack at the waterfall. This is the 2nd secret. Now get up to the beginning of the level, jump up and climb up into the alcove. From there you can shimmy to the other side grabbing the crackling in the wall. Jump to the ladder, climb it, then under the green plants jump back.
The level is not linear, so you can step onto several paths. I will write down one of these, but of course if you take a different route, just continue reading and you will find every info you need. Heart of the matter is to collect first one and then two blue stones and the two pieces of a talisman.
Go through the small passage into the room, but do not go up the slope yet. First go down into the small pit where you will find ammo in the 3rd secret. You cannot access this later because it will be under the rolling stones. Now you can go up the ramp, but quickly jump aside to avoid the rolling rocks. When they are gone continue upward, climb the ladder then at the closed gate pick up the Indian Amulet. Go back all the way to the ladder that you climbed and go to the left now.
You will reach a room where you can see the first blue stone you have to get. Start with a running jump to the right, get to teh stone and pick up the Gem Key. Watch out for the spikes meanwhile. Get back into the passage and place it into its receptacle. An iron grating opens.
Pull up into the small crawlspace, then after hanging down on the wall shimmy to the right and climb up at the opened iron grating. Climb the ladder, go over the ledge then climb another ladder. First climb to the right. Go across the passage avoiding the poisoned spikes and the moving spiky wall. Runjump over the pit covered by green plants and grab the edge on the other side. Pull up, kill the snake and you reach a huge room with water at the bottom.
The best you can do is to jump into the water, but watch out for the pillars. Get out of water, climb the pillar, shoot the snake and you can pick up the Indian Bar at the burning fire. Jump over to the small pillar then right to the next one. Get into the alcove, because there you will find the UZI in the 4th secret. Now climb back, up to the level where you came from. You will go higher later. Jump over the plant-covered pit again and follow to the other direction now.
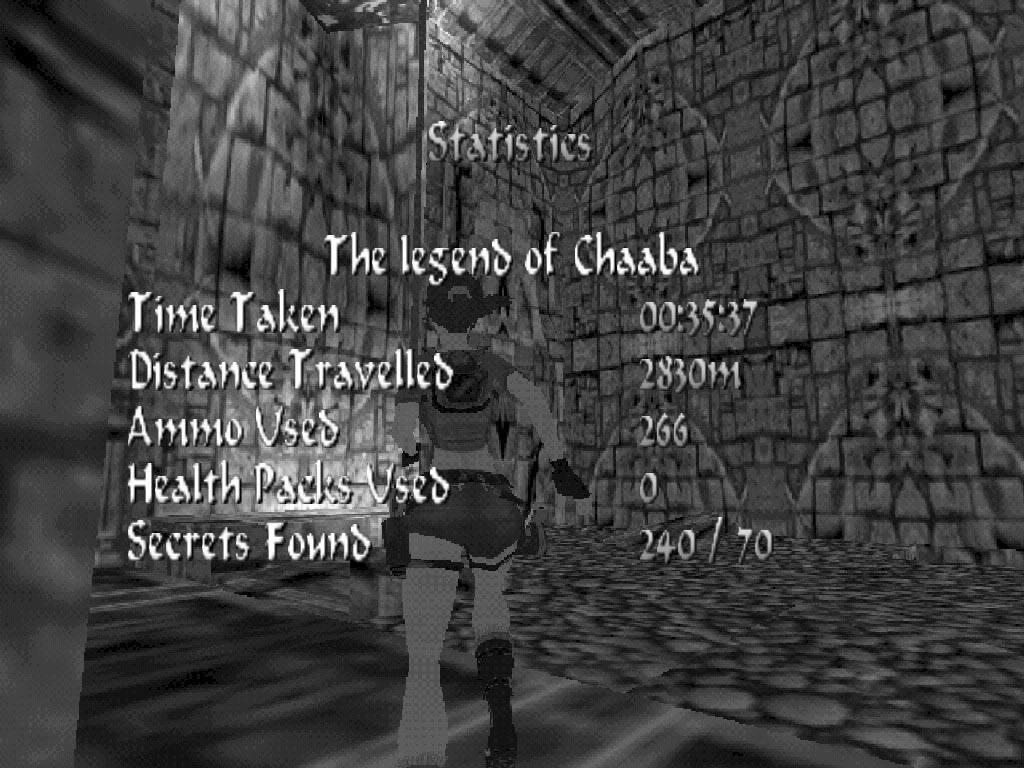
You reached a room where you can go to the right and shimmy across to the other side grabbing the crackling in the wall. Go up the slope, but be careful - two rolling rocks will come toward you. After tricking them, go up and shimmy to the other side via the dark crack. Climbing down there you will provoke an earthquake. Climb back, go back into the room and you can see that things have changed in the deep. Drop down, run over the two patterned floortiles and the grating above will open. Climb the ladder, but before shimmying on the crackling again, to the right you can notice a crawlspace in the wall. Jump there, climb through it, then after climbing down and hanging from the rocks, to the left you can pick up ammo in the 5th secret. Go back now, drop down onto the block, climb the ladder again and now climb to the other side into the space in the wall again. Enter the open grating.
Climb down to the left, into the deep pit, and you can pick up a medipack in the 6th secret. Here the secret counter will up - even to hundreds. :) Climb back, up the wall and soon you can pick up another Gem Key. The iron gate in front of you opens. After jumping to the other side you can climb down the ladder. You get back to the junction. Now go straight ahead, jump onto the green rocks then onto the terrace in the corner. Go inside the passage, up the slope and you can pick up ammo in the pit, in the 7th secret.
Continuing up the slope you can pick up the crowbar from a rock, but it is no use on the whole level, it is not needed anywhere. Go out to the waterfall, shoot the wild-boar and climb the ladder up and left. Jump back, go over the ledge that leads to a small cave where you can pick up the Shotgun in the 8th secret.
Go back to the ladder, then follow over the terrace up to the cave. Go inside, but first pull up into the crawspace to the left, because it leads to a rocky ledge where you can find a medipack in the last, the 9th secret of the level. Climb back, and at the grating combine the two key-pieces, and from the right side, standing a little bit sidelong, place it into its receptacle. The grating opens.
You reached a room where you have to get the next blue diamond. But it is not the same on whick floortiles you step. Notice that you can step onto the patterned, beautiful floortiles. Get across the room and pick up another Gem Key.
Now you have to go back until the room where there was water at the bottom; where you found the UZI and the 2nd Eye Piece. But now you have to go up, round on the ledges, up the ladder to the closed grating. Place the diamonds into their receptacles to make it open. Go across the rocky cave and you will get to a huge waterfall and a gap.
Jump into the water, swim into the tunnel and swimming up right now will get you out of the water. Shoot the wild-boar and slide down the slope. Here you have to be fast. Run to the right, and before the spiky wall reaches you, jump into the pit. Wait until it moves along above you, then climb out and you cann enter the already opened iron door. You opened it by stepping on the floortile in the pit. Crawl through the crawlspace on the right wall and you get into another room with different levels. If you want to set the camera back, simply press Numpad0 every time.
Turn and hang down on the crack. Shimmy to the right, drop down onto the slope and at the end of the slide perform a twisted jump (+END) and grab the crack on the wall ahead. Shimmy to the right to the other side and after dropping down onto the sloped pillar, jump into the passage. Jump over the moving blade, climb the pole and you will find another Gem Key above in the small alcove. Climb down, down the pole, jump over the blade and after dropping down you can open the last iron gate with it. See? You didn't need the Crowbar; it was only a bluff. :)
Pull up at the end of the passage, climb the ladder, and when you're up, step onto the patterned floortiles. While running toward the pole, the game ends. Unfortunately you won't return to the main menu, but the game will quit to the desktop. Though the adventure has the end here. But I know that there will be a continuation. :)
OBig
Translated by Lacek © TR Editor.hu
Az oldalon közölt képek, a szöveges tartalom, illetve minden sajátkészítésû anyag, a © TR Editor.hu tulajdonát képezi. Azokat semmilyen formában nem lehet reprodukálni, másolni, terjeszteni, csak a szerkesztõség engedélyével.