
No Collision
by
George
A simple yet difficult to grasp concept, no collision continues to baffle new level builders. Hopefully this tutorial will unravel its mysteries.
Firstly, there are a number of ways of joining rooms and applying no collision but I'm only going to focus on the two methods I use, which I refer to as the dry and the wet methods.
The Dry Method
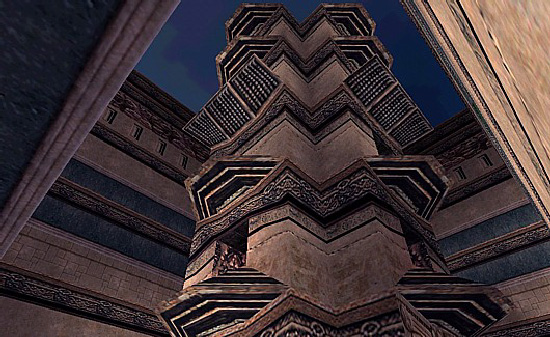
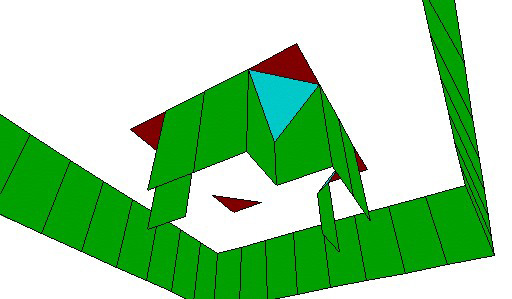
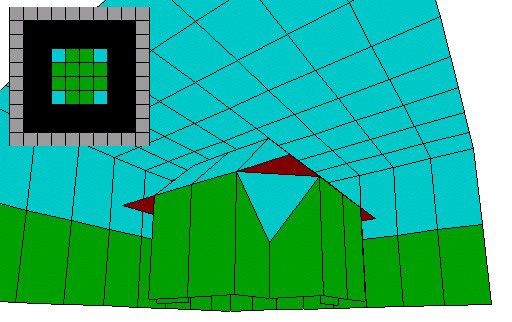
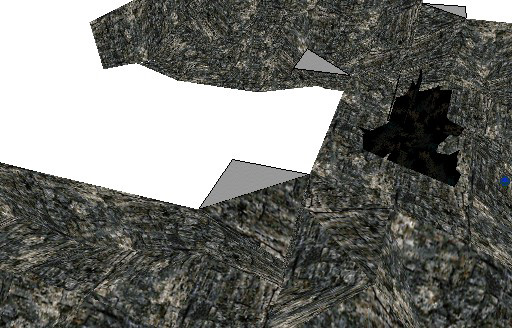
If you are building rocky canyons, caves, mountains or complex architecture like this screenshot from Catacombs of the Guardian, you will have to use this dry method.
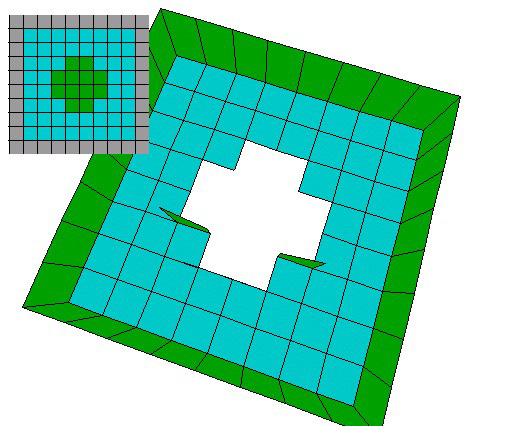
To keep things simple for illustrative purposes, I've built two 8x8 rooms, both 8 clicks high, and positioned them one above at the correct heights for joining together vertically.
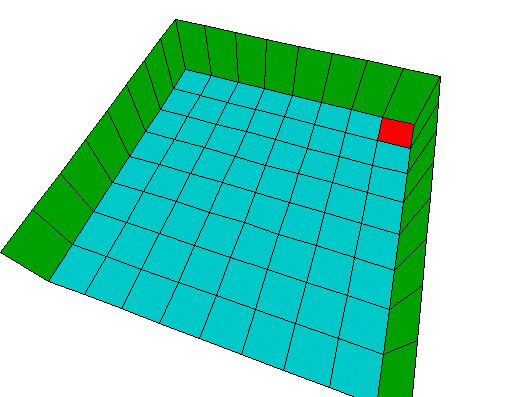
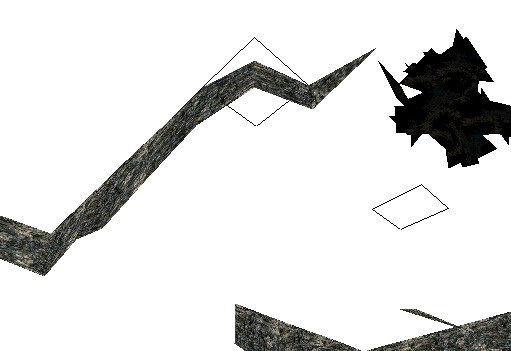
In the top room, raise the floor 4 clicks as shown below leaving triangles at the four corners.
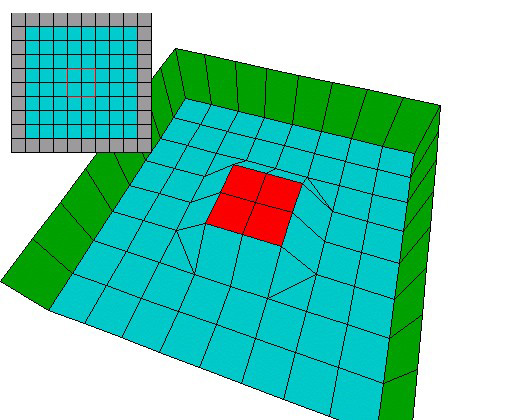
Move to the lower room and build walls where the room above is solid. Leave the triangle areas alone, as shown below.
Join the two rooms and if you look up from the lower room you should see ceiling squares where the triangles of the room above are positioned.
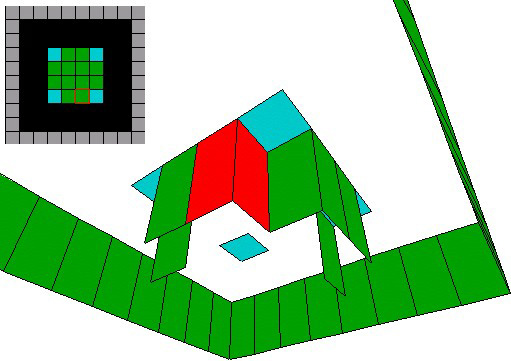
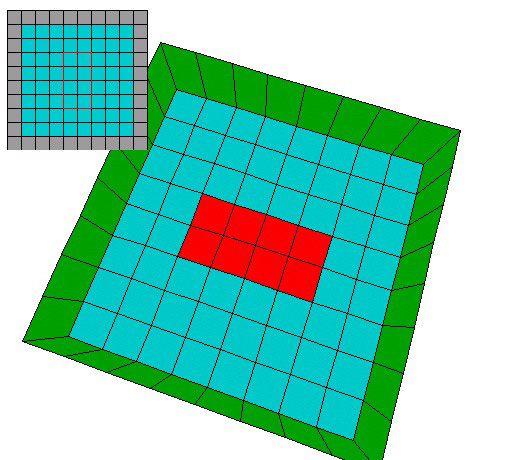
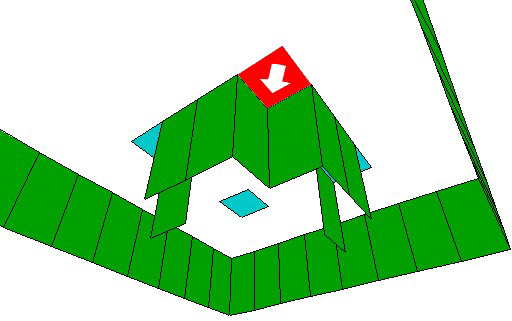
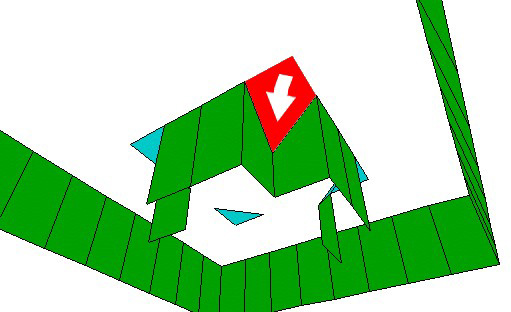
Select the arrows pointing inwards, towards the solid walls, and lower the ceiling 4 clicks where shown and do this in each corner.
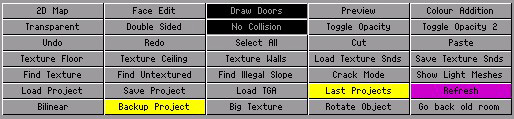
The No Collision button is placed below the draw doors button. Do not play with this button and ALWAYS ensure you SWITCH IT OFF after use. Wrongly applied No Collision will crash your level so don't mess around with it.
With No Collision pressed, highlight each outer corner of each corner triangle where you want No Collision - where Lara will not interact with the room geometry.
Do the same in the room above. Make sure you do not apply No Collision anywhere else.
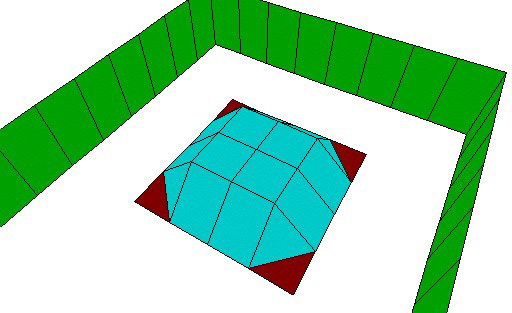
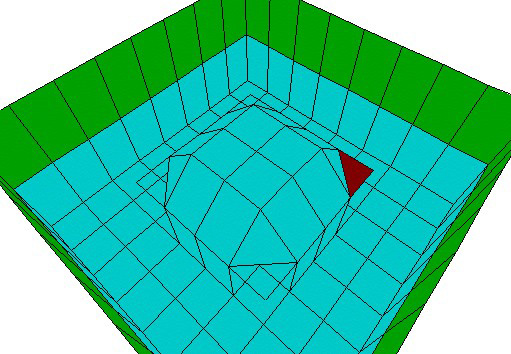
When you're done, the two rooms should look like this:
All that remains is to texture the No Collision corners on top and underneath with transparent sky texture from the top left black tile of the main colour palette.
The Wet Method
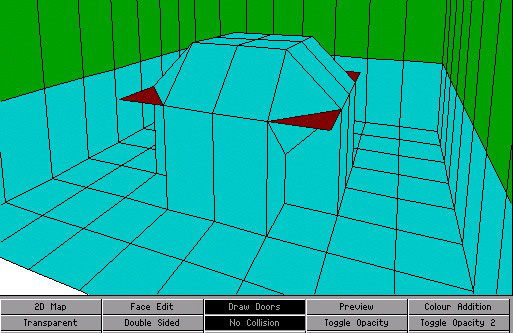
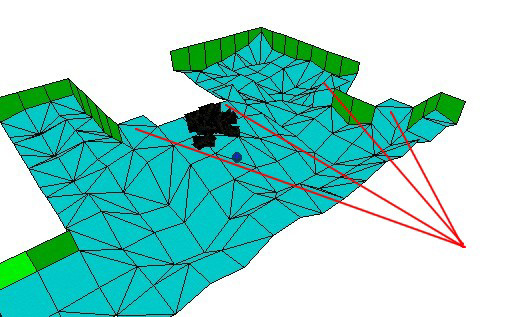
I use this method when joining dry land to water rooms, as in this editor screenshot from The Loch. In this instance you probably don't want overhangs under the banks and want the lake bottom to shelve away from land.
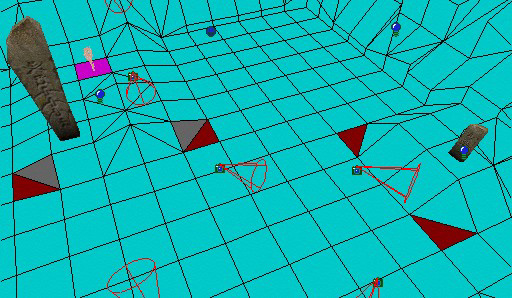
After joining the two rooms, make solid walls where all the tiles in the water room are below solid land. Then find a corner as before. However, this time, don't select the ceiling tile, select the floor tile!
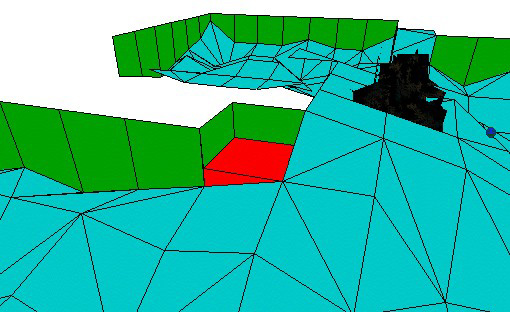
Using the arrows again, lower the outer corner one or two clicks if you wish Lara to stand on them in the water, or 3 or more clicks if you don't want her to stand on them. In this case, I've used 2 clicks.
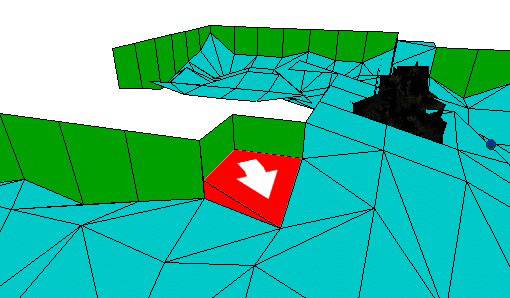
Now, CAREFULLY raise the floor tile until the inner flat surface is flush with the ceiling. Do NOT go any higher or you may damage your room portal. If you do, delete the portal, flatten the ceiling and join the rooms again.
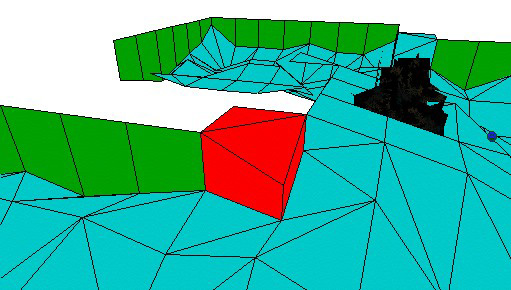
Do this for every corner tile in the area.
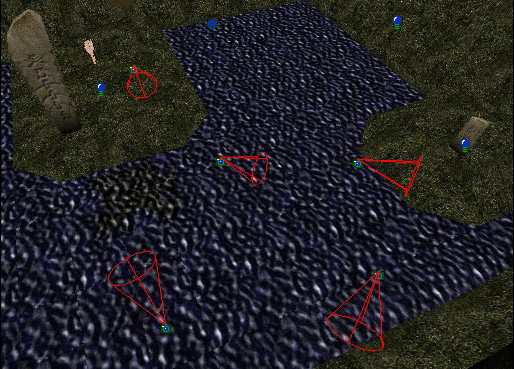
This time when texturing, you will have to use the grey colour next to the black sky texture in the main palette to colour the inner flat surface in the water rooms that adjoin the ceiling, like so:
Additionally, if you look up from the water room you will see flat ceiling tiles because you have not broken the ceiling into triangles. Simply texture these with black sky texture to make them invisible. They do not require No Collision because Lara can stand in the water and, therefore, will not be able to get underneath the ceiling to require No Collision in order to surface.
Apply No Collision to the corners above the water as before.

Points to Note
Baddies can get stuck on No Collision corners leading into shallow water. Worse than that, Lara can get stuck there with them. Place grey box squares on these corners, both below water and above water to keep enemies off them.
If No Collision is wrongly applied, the Level Editor will generate a warning error when you output your WAD. Thankfully the Editor will tell you which rooms the errors are in making them easy to locate and remove or fix. Wrongly applied No Collision will crash your level so be very careful when applying and removing this feature.